The pre-production unit and all software used for this post was sent to me for (unpaid) pre-release testing purposes by Snapmaker.
At the time of this writing, Snapmaker has not yet provided or even shown the final design for the U1 sealed cover, nor have they provided the official printing profiles for ASA.
What’s being done here goes beyond what is currently officially provided. Final results will definitely vary!
But I couldn’t resist trying…
Around the time I was getting ready to start printing ASA on my Snapmaker J1s, they reached out and said, “Hey, wanna be a beta tester for this new U1?” Well shoot. I guess I’m doing that instead. Don’t have table space for both right now.
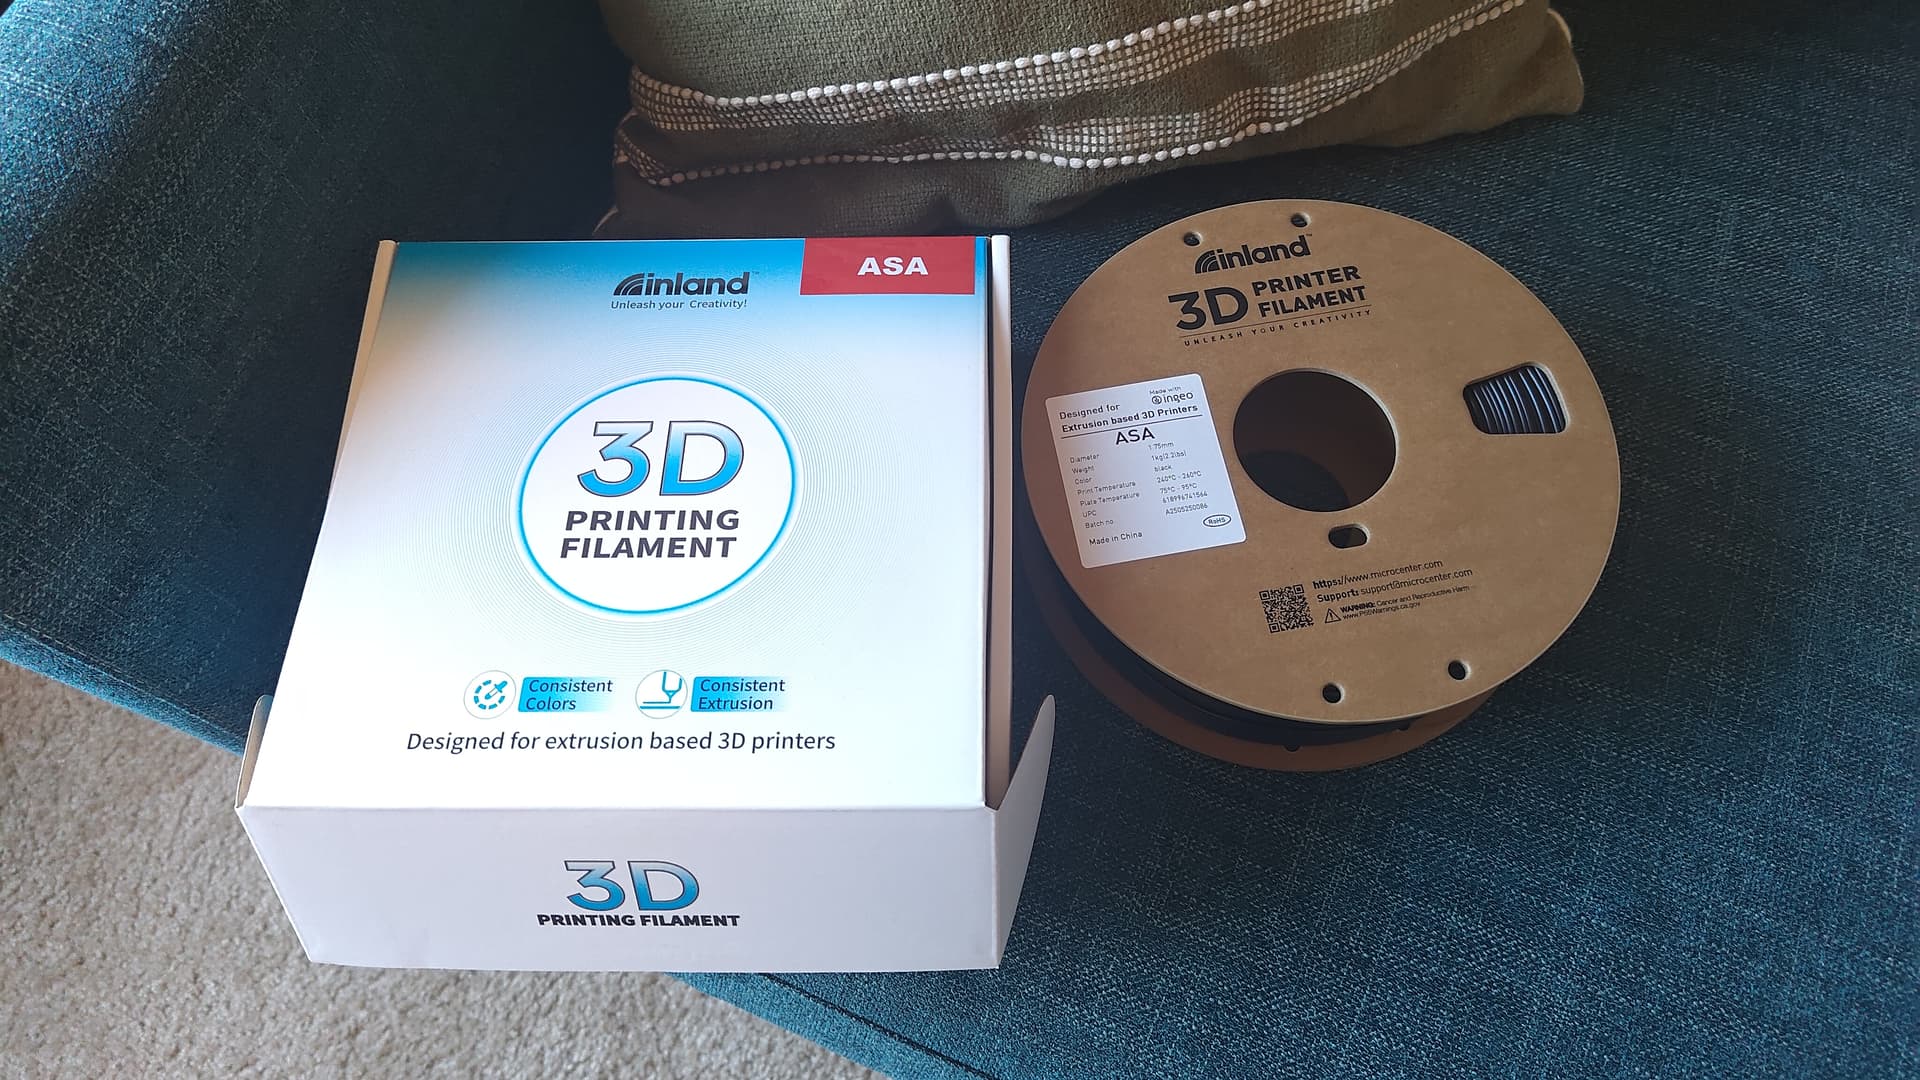
So here I am, weeks/months of testing things on the U1. But I really wanted to try ASA. And a few weeks ago when I ordered a few more SnapDryer boxes and some filament, would you believe they also sent me a U1 cover…?


That’s a joke. It’s just that box. ![]() But it sure does fit the top of the U1 perfectly, so I’m pretty sure Snapmaker wants me to do this.
But it sure does fit the top of the U1 perfectly, so I’m pretty sure Snapmaker wants me to do this. ![]()
(again joking, of course)

Warning 1: Do NOT use a cardboard box as a cover on any 3D printer!
3D printers get hot! Get a proper, non-flammable cover like the one Snapmaker is designing. I am taking several precautions including closely monitoring all prints. Do NOT do this yourself!

Neat. Now. We also need to be careful, because…
Warning 2: ASA can release dangerous VOCs including styrene fumes. Ventilation/filtration is important.
But okay. I have a BentoBox filter which probably definitely doesn’t pull enough air to be effective in this chamber, but it’s something. I also have the window right there for ventilation.

Warning 3: The BentoBox filter as I have it placed has a risk of jamming under the print bed while printing.
This didn’t happen as I watched that carefully too, but it’s another stupid thing I did that you should not.
Today’s test: ASA shrinks.
Rehash of what many people already know.
Shrinkage with ASA is an issue for dimensional accuracy, and can cause all kinds of issues with parts warping off the plate. This is a property of the material having nothing to do with the printer. I wanted to do a science experiment.
The common wisdom is ASA parts shrink something like 0.4-1.0% in X/Y depending on who you ask, and less in Z (0.1-0.3%). Stresses are different in Z since the material is constrained at the bottom by the print and bed, so it doesn’t shrink as much.
During the day I’m an engineering scientist though and wanted a quick try at the physics. Material expansion goes as dL / L = a * dT.
Here dL/L is the fractional change in length, a is the expansion coefficient for the material, and dT is the change in temperature. For ASA, a is 8e-5 to 10e-5 per degC. Let’s say 9e-5/degC. And the change in temperature would be roughly from the ASA crystallization temp 105 degC down to room temp of about 25 degC. So -80 degC.
So this gives us dL/L = -0.7% or so for X/Y shrinkage. That’s within the 0.4-1% and close to what most people seem to use for printing of around 0.6%, so okay. For Z, I just said, eh, stress in Z cuts that in about half.
I created an unofficial ASA profile based on “previous artwork” for similar printers.
These are obviously not final ASA profiles, so I will not be showing details for now.
For a test I used Microcenter’s Inland brand black ASA.

You can pre-compensate for material shrinkage in Snapmaker Orca’s material settings. The slicer pre-scales up the model when slicing to compensate for shrinkage when cooling. For a first test, I went with this:

To see if this is even close, I started with a quick and classic XYZ Calicube. With my very carefully engineered (and dangerous) cardboard top cover, I heated the bed to 100C and held it there to slowly warm the chamber. Once heat soaked and stable, I re-ran automatic bed leveling in case the very different temperatures had any effect on the bed mesh. Then we printed our cube…

And dang, that ain’t bad for baby’s first ASA print. X and Y are spot on, although it’s the tiniest bit too short in Z, but okay fine. SCIENCE! ![]()
Next up, something big and flat and all the numbers nerds are worried about the U1’s precision. I can say, I’ve been spot checking any known printed dimensions using PLA since I started. I’ve not shown it, but it’s been among the most precise and accurate printers I’ve personally seen/used. Including printers I’ve tune by hand.
That includes landing tool changes across all 4 tools with crazy precision. Just one guy’s opinion, but it’s actually incredible how precise this beta unit has been from day one.
Some will say I’m cheating because I did a pre-scale for shrinkage of ASA. And maybe I’ll get around to showing a bunch of simple PLA dimensional accuracy stuff another time. But this test is me exploring for functional ASA prints. So in the words of Ryan George, please “get all the way off my back about it” for now? ![]()
So our next print was the Vector3D Califlower calibration test (purchased/licensed).

It’s biggish (100 mm+). It’s flat. I understand that’s a nightmare in ASA. And because I’m a novice ASA printer but have read/seen enough to know ASA can be a huge pain in the butt with warping, I used my “cheater stick” (a little bit of Magigoo).
Do I know if I need cheater stick for ASA on the U1? No. I just want to feel good about my second ASA print. ![]()
And here it is:

First layer looks very good. Top layer looks fine. And following the Mk2 calculator on the Vector3D site with my calipers:

Not too bad for a first crack! ![]() In the end, maybe slightly overshot the shrinkage compensation on my first try here (X and Y left 0.09% too big from my 0.7% pre-expansion in the slicer), but pretty darn close.
In the end, maybe slightly overshot the shrinkage compensation on my first try here (X and Y left 0.09% too big from my 0.7% pre-expansion in the slicer), but pretty darn close.
And virtually no skew error, even at ASA temps.
And yes, during printing, the chamber temp did hover in the 50 C range with the our (dangerous) cardboard box cover and 100 C bed:
![]()
So yes. An idiot like me who knows just enough to get in trouble printed ASA first and second try on the U1. Including a 100 mm+ square-ish flat shape at that. And one more time for the people in the back:
Do NOT use a cardboard box as a cover! 3D printers get hot!
Get a proper, non-flammable cover like the one Snapmaker is designing. Ok thx.