With high strength and a higher temperature and UV resistance, ASA is a serious material for printing serious things. Like a five-color garden gnome that needs to stand up to the sun to look over our outdoor plants. ![]()
This print was done on my Snapmaker U1 pre-production test unit using pre-release hardware and software. It was also done using ASA print profiles I created and methods that are absolutely not yet officially approved by Snapmaker. So details and print results will certainly differ on the final product.
(And again, no joke, please do not use cardboard as a 3D printer on any 3D printer. It’s a genuine fire hazard for which I take several extra precautions.)
Our model today is Garden Gnome by Neong0_0 on Maker World which I scaled to 120 mm tall.

I was excited to try this, as our new local Microcenter has a bonkers array of ASA colors available. Not paid to say it, look at all these swatches just for ASA! It’s awesome!

I went with their Inland Black (boots), White (beard), Vibrant Blue (shirt), Vibrant Pink (hat) and simple Natural colored ASA (skin tone).


Shout out to Freeman from Microcenter who went out of his way climbing through the racks in the back to help me find the Vibrant Blue to make this possible. The color is, well, vibrant!
Painted in Snapmaker Orca, and using a single inserted print pause (M600) to swap the black spool for pink to make this five colors, as I did for the six-color PLA print. Once again, the U1 is precise enough to reproduce tiny painting mistakes around the color transitions as I showed at the end of the Pikachu video.
This actually printed in just under 4 hours on the U1 versus the (beta) slicer that said 3h37m. Still impressive for a 120 mm tall multicolor print with 368 filament changes. Also confirmed within my cheap scale’s accuracy, this was about 39 grams of gnome, 7 grams of supports, and only 8 grams for the wipe tower when printed 120 mm tall:
(In partial disclosure, I did run into a little bit of difficulty printing this one at the high temperatures. What I observed was certainly partially expected and some may have been caused in part by homemade approach to this. I reached out to Snapmaker just to confirm anyways and their engineers were very responsive and took notes. A little more on that at the end, and may post follow-ups if needed.)
And here he is! I did again use the “cheater stick” (Magigoo) just to guarantee my lil guy finished okay, as I’m honestly still kind of a novice with ASA. It printed practically as easily as doing a PLA print.


He turned out great! The extremely shallow overhangs honestly were a little rough, but my self-created ASA profile had the nozzle running too hot to be honest.

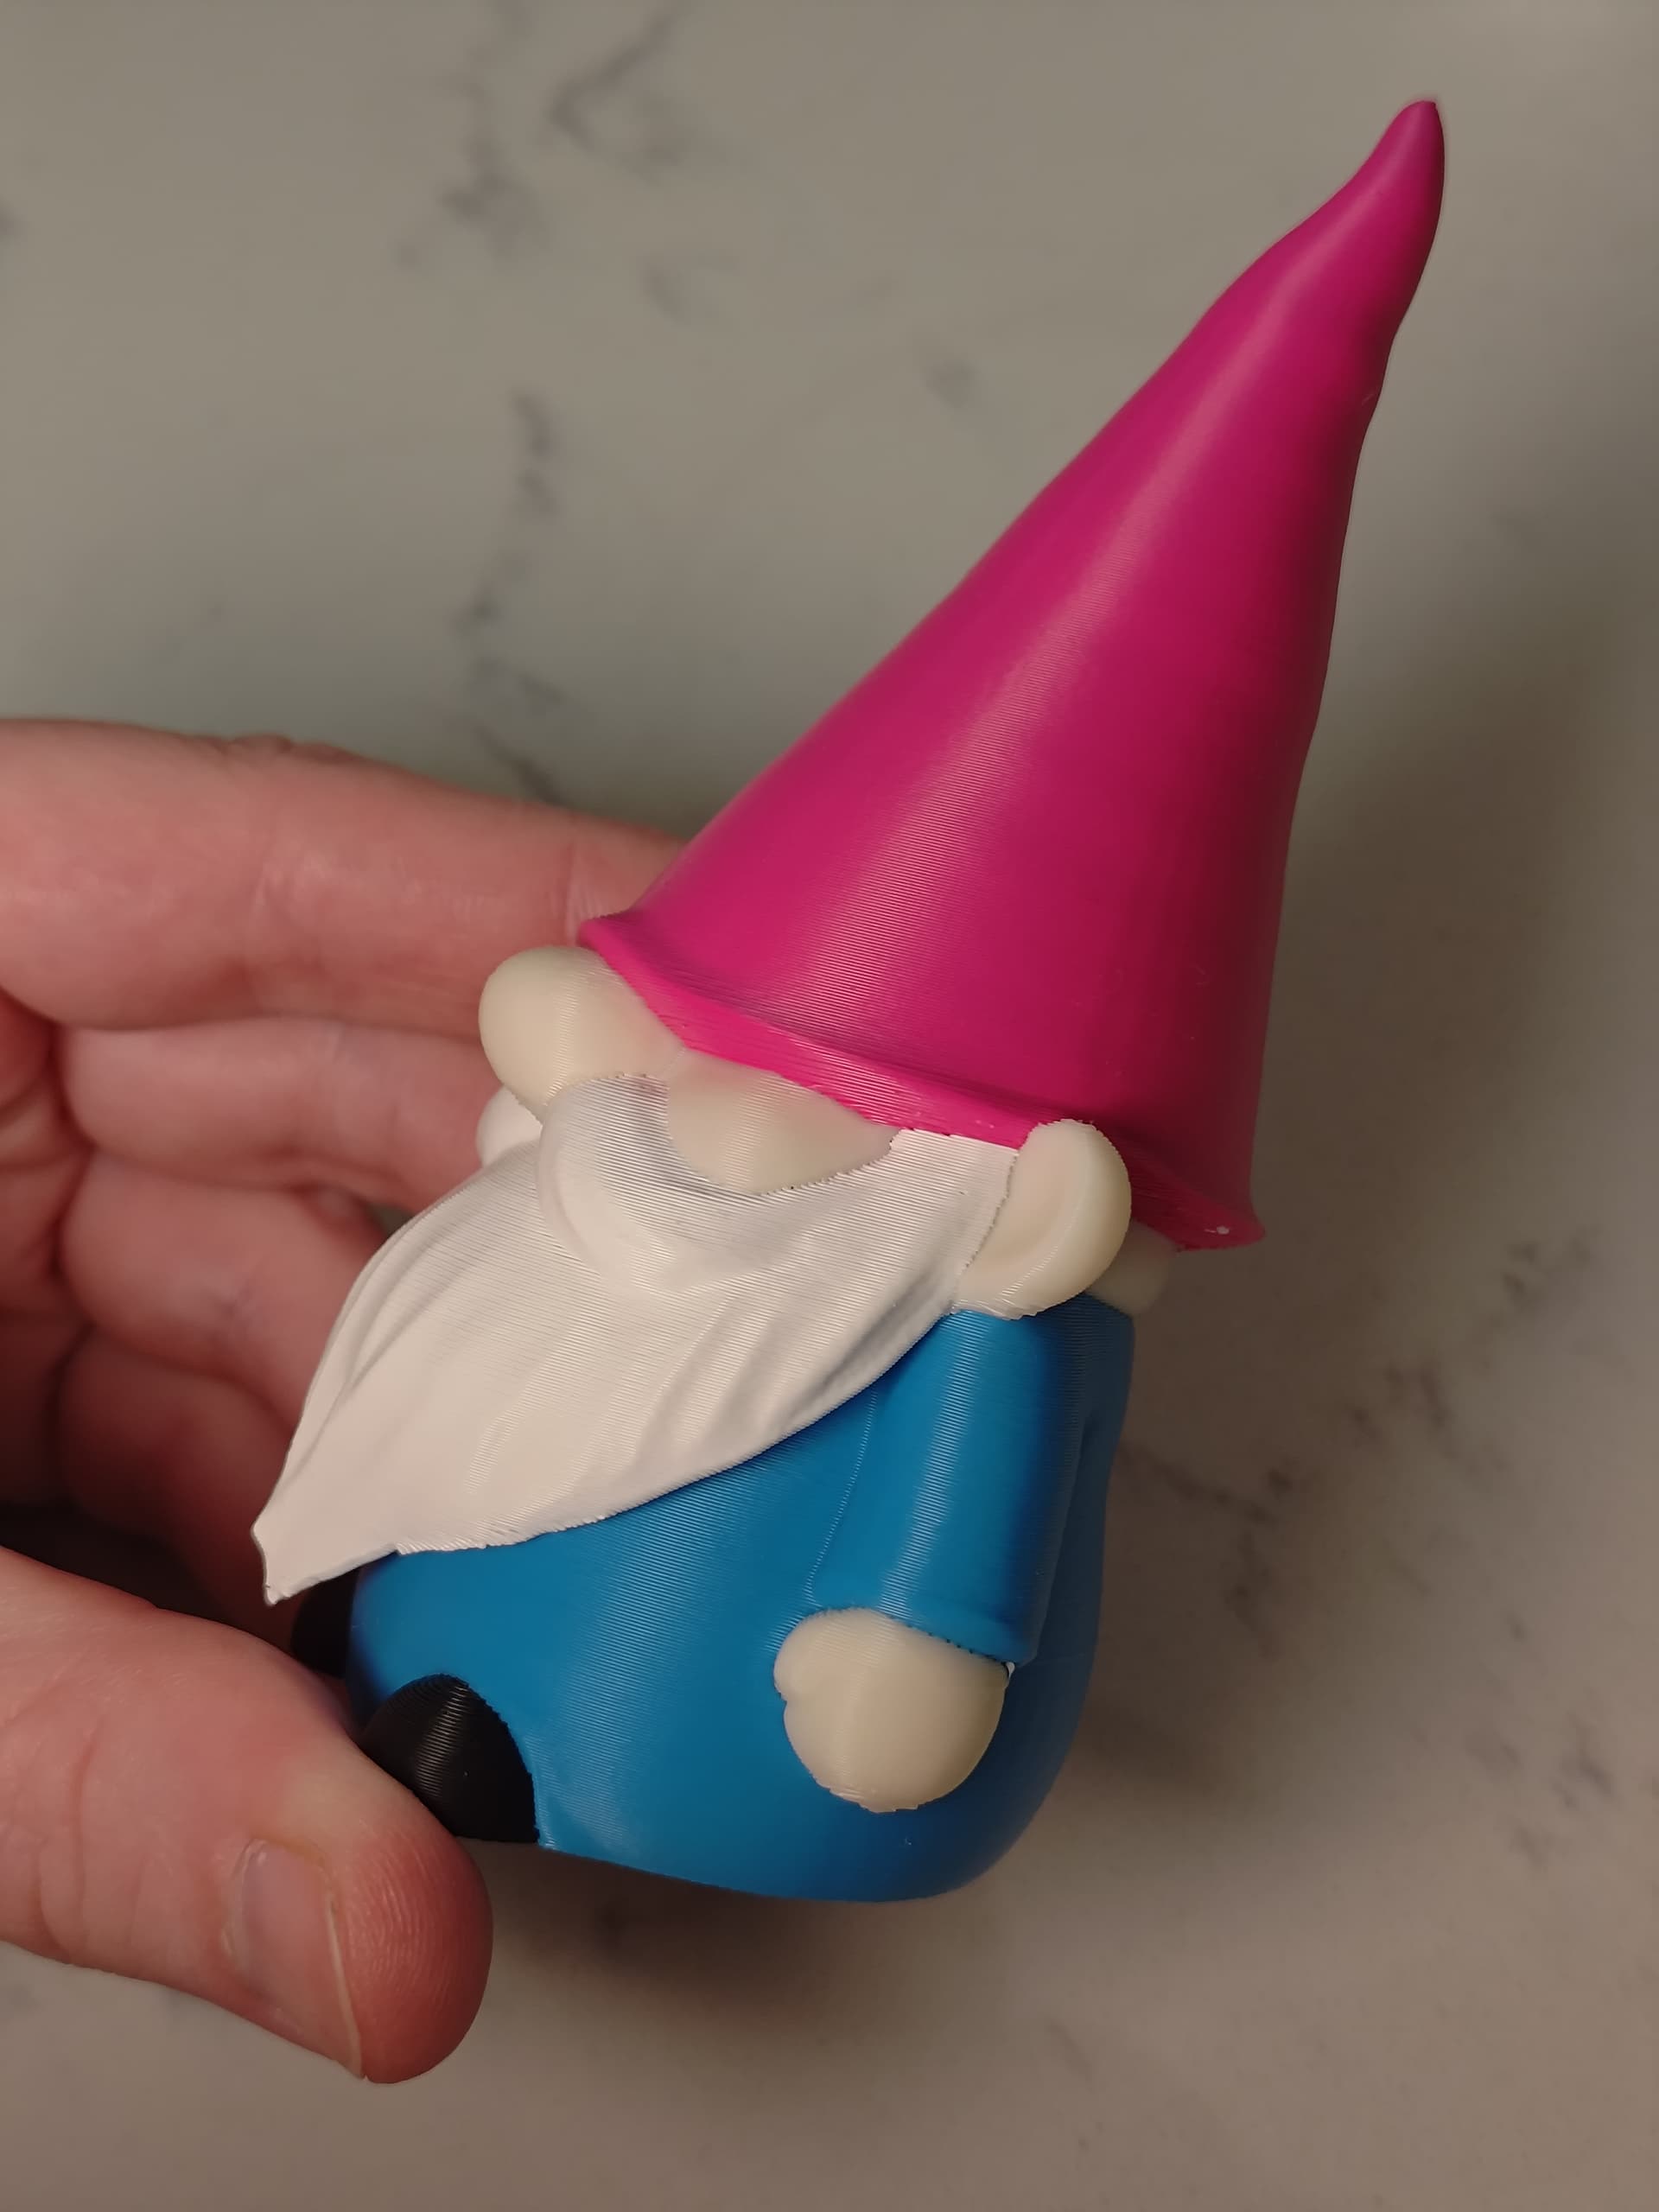

The (supported) free-floating tip of the beard, the precision, the sharp color changes with no color bleed, all very good. He’s ready to look over my balcony!
Personal thoughts on printing ASA so far with the U1:
This is only after doing these first few, 0.5-4 hour prints on a test unit with my own unofficial, homemade solutions with a pre-production unit!
When all is well, ASA certainly still requires more care to print. I think anyone who’s printed in ASA will not be surprised by that.
Passively heating the chamber with the bed [as Snapmaker has so far said is the plan for their lid] takes a little bit of time. I’d say 15-20 minutes to raise the chamber up to 45 C using my (very unofficial and dangerous) cover. It then hovered around 50 C+ once printing started.
While passive warmup takes time, I expect it probably has added advantages in avoiding thermal shock to the precision systems as it warms up.
I expected and was correct that it’s wise to measure the bed mesh when starting a print after heating up. For my test unit, there’s a small (0.1-0.2mm) change in the bed tilt from room temperature to ASA temps. This is not surprising for the tens of degrees differences.
With automatic bed mesh correction after warmup, I’ve gotten perfect first ASA layers just letting it do its thing. I did use Magigoo just in case of infamous ASA warping, but first layer extrusion/depth has been uniform.
For ASA ventilation/filtration is also important. It’s probably wise for any 3D print, but here I would say it’s required. I have the big window/fan by the unit for ventilation, and I look forward to printing on warm days. ![]() This is the cost of safety though!
This is the cost of safety though!
Lastly, precision. It’s great. My first ASA post was my simple experiments in compensating for ASA shrinkage. Judge as you will, but using the slicer shrinkage compensation got pretty darn good results! As I said there, my observation is this U1 test unit is very precise. Shrinkage adjusted, it came out very accurate on the first try with no skew even at higher temps.
I think/ask as Snapmaker approaches the release of their official cover for the U1, we will probably get official advice from them on how to easily succeed printing ASA and similar, and I recommend keeping an eye out for that. Other than warming up, checking the automatic mesh at start, and VOC safety, it ripped along like printing PLA once it got going!
Now I really need a proper cover… ![]()