For those who ask. It’s a Squonker box (vaping stuff^^)
However it was NOT sliced with snapmaker 3D. I tried several times and the printer made a mess several times.
Maybe the presets are bad, maybe the slicing algorythm… who knows.
BUT the Printer itself did a great job for a (really!!) fast print. I tried to check out the limits and the motors actually got a little warmer than expected.
Printed in 2h35min.
(time according to Snapmaker3D more than 4 hours which is a mirracle for me, because I used the same speeds, layer height etc…)
But we are here to improve this. Once the Snapmaker guys have their software package out of beta, I expect it to be at least as good as CraftWare (which I used).
I used a raft this time. I have double checked the heated bed and that is definitely screwed in correctly but the base temp is about 6deg c lower than on the screen. I can’t find away to increase the base temp in Settings to see if I can offset difference?
A 1:10 model (length approx. 57 mm) of a helical geared Motor with hollow shaft for my desk at work
“Fast Print” Settings
Print Duration: approx. 1 h 40 min
I have Troubles with small overhangs that should be parallel to the bottom.
And I don’t want to have any Support construction for this part (surface should be as smooth as possible without rework)
(Of course the overhang Problem is on all 3 ceiling layers on this part)
It seems that the hot nozzle is “pushing” the layer beneath and pulling it up when going to the next layer (High Details Setting)
Do you have any suggestions for me or is this the same Problem you want to solve with the Z-hop Setting?
Well first 2 prints were perfect. I didn’t adjust anything, just standard print. This part will be on almost all commercial airliners in the next 2-3 years. Because of this I won’t show the complete part. The details has some complexities that this printer hits dead on. Overall accuracy is the best out of my three printers. My other printers have a hard time making this part.
The software has a few issues but I’m sure with time it will be a great addition to this machine.
I have tried printing a labyrinth box which is fairly tall as well and looked like it worked fine until around 60-70% of the build but then speed out!!! Shame because it was looking good.
Like wise i have noticed that i cannot complete a print (low level) and then reprint again as the next print appears to lift on the first few levels and the print nozzle catches and drags the print off of the bed…
I would recommend levelling prior to each print.
The images are of the small gyro air on a reprint yesterday using custom settings and SM recommendations showing in progress and looking ok at 1h27m and then return 1 hour later where it has moved… the other photo is the labyrinth box inside and how far the build got prior to it going wring…
These are yesterday evenings results which were successful, I went for normal quality, for the small cogs/ gears and parts and the large 6 bearing complex spinner ran it firstly straight from the gcode no raft or supports and after 3 attempts then did it with a raft and touch support you can see the connection point on the other photo showing where I haven’t finished it…
Most of the time on the Weekend I spent (trying to) optimizing the print results.
I also bought Simplify3D to test it but since there are no Settings for the snapmaker I struggled with the different Settings (so much more than in “our” Software). The main reason was the poor Support print of the snapmaker Software. There is no way to add/streghten the Support what is mandatory for some of my prints.
All prints are made with custom Settings (just wall/top/bottom thickness and infill percentage) and a layer height of 0,1 mm
Here are some Pictures of my recent prints:
Protective cover for the sucction base of a Vibration Speaker:
(Simplify3D - no Support - no Adhesion)
My Special Project
I printed the different parts so often with different slicers but there were to many Problems with overhangs. I had to include the Support structure into the drawing itself to get acceptable results. I have to write the Team about the poor Support structures in their Software later!
(Snapmaker3D - Support everywhere & Manual Support sructure- raft adhesion)
Hi guys
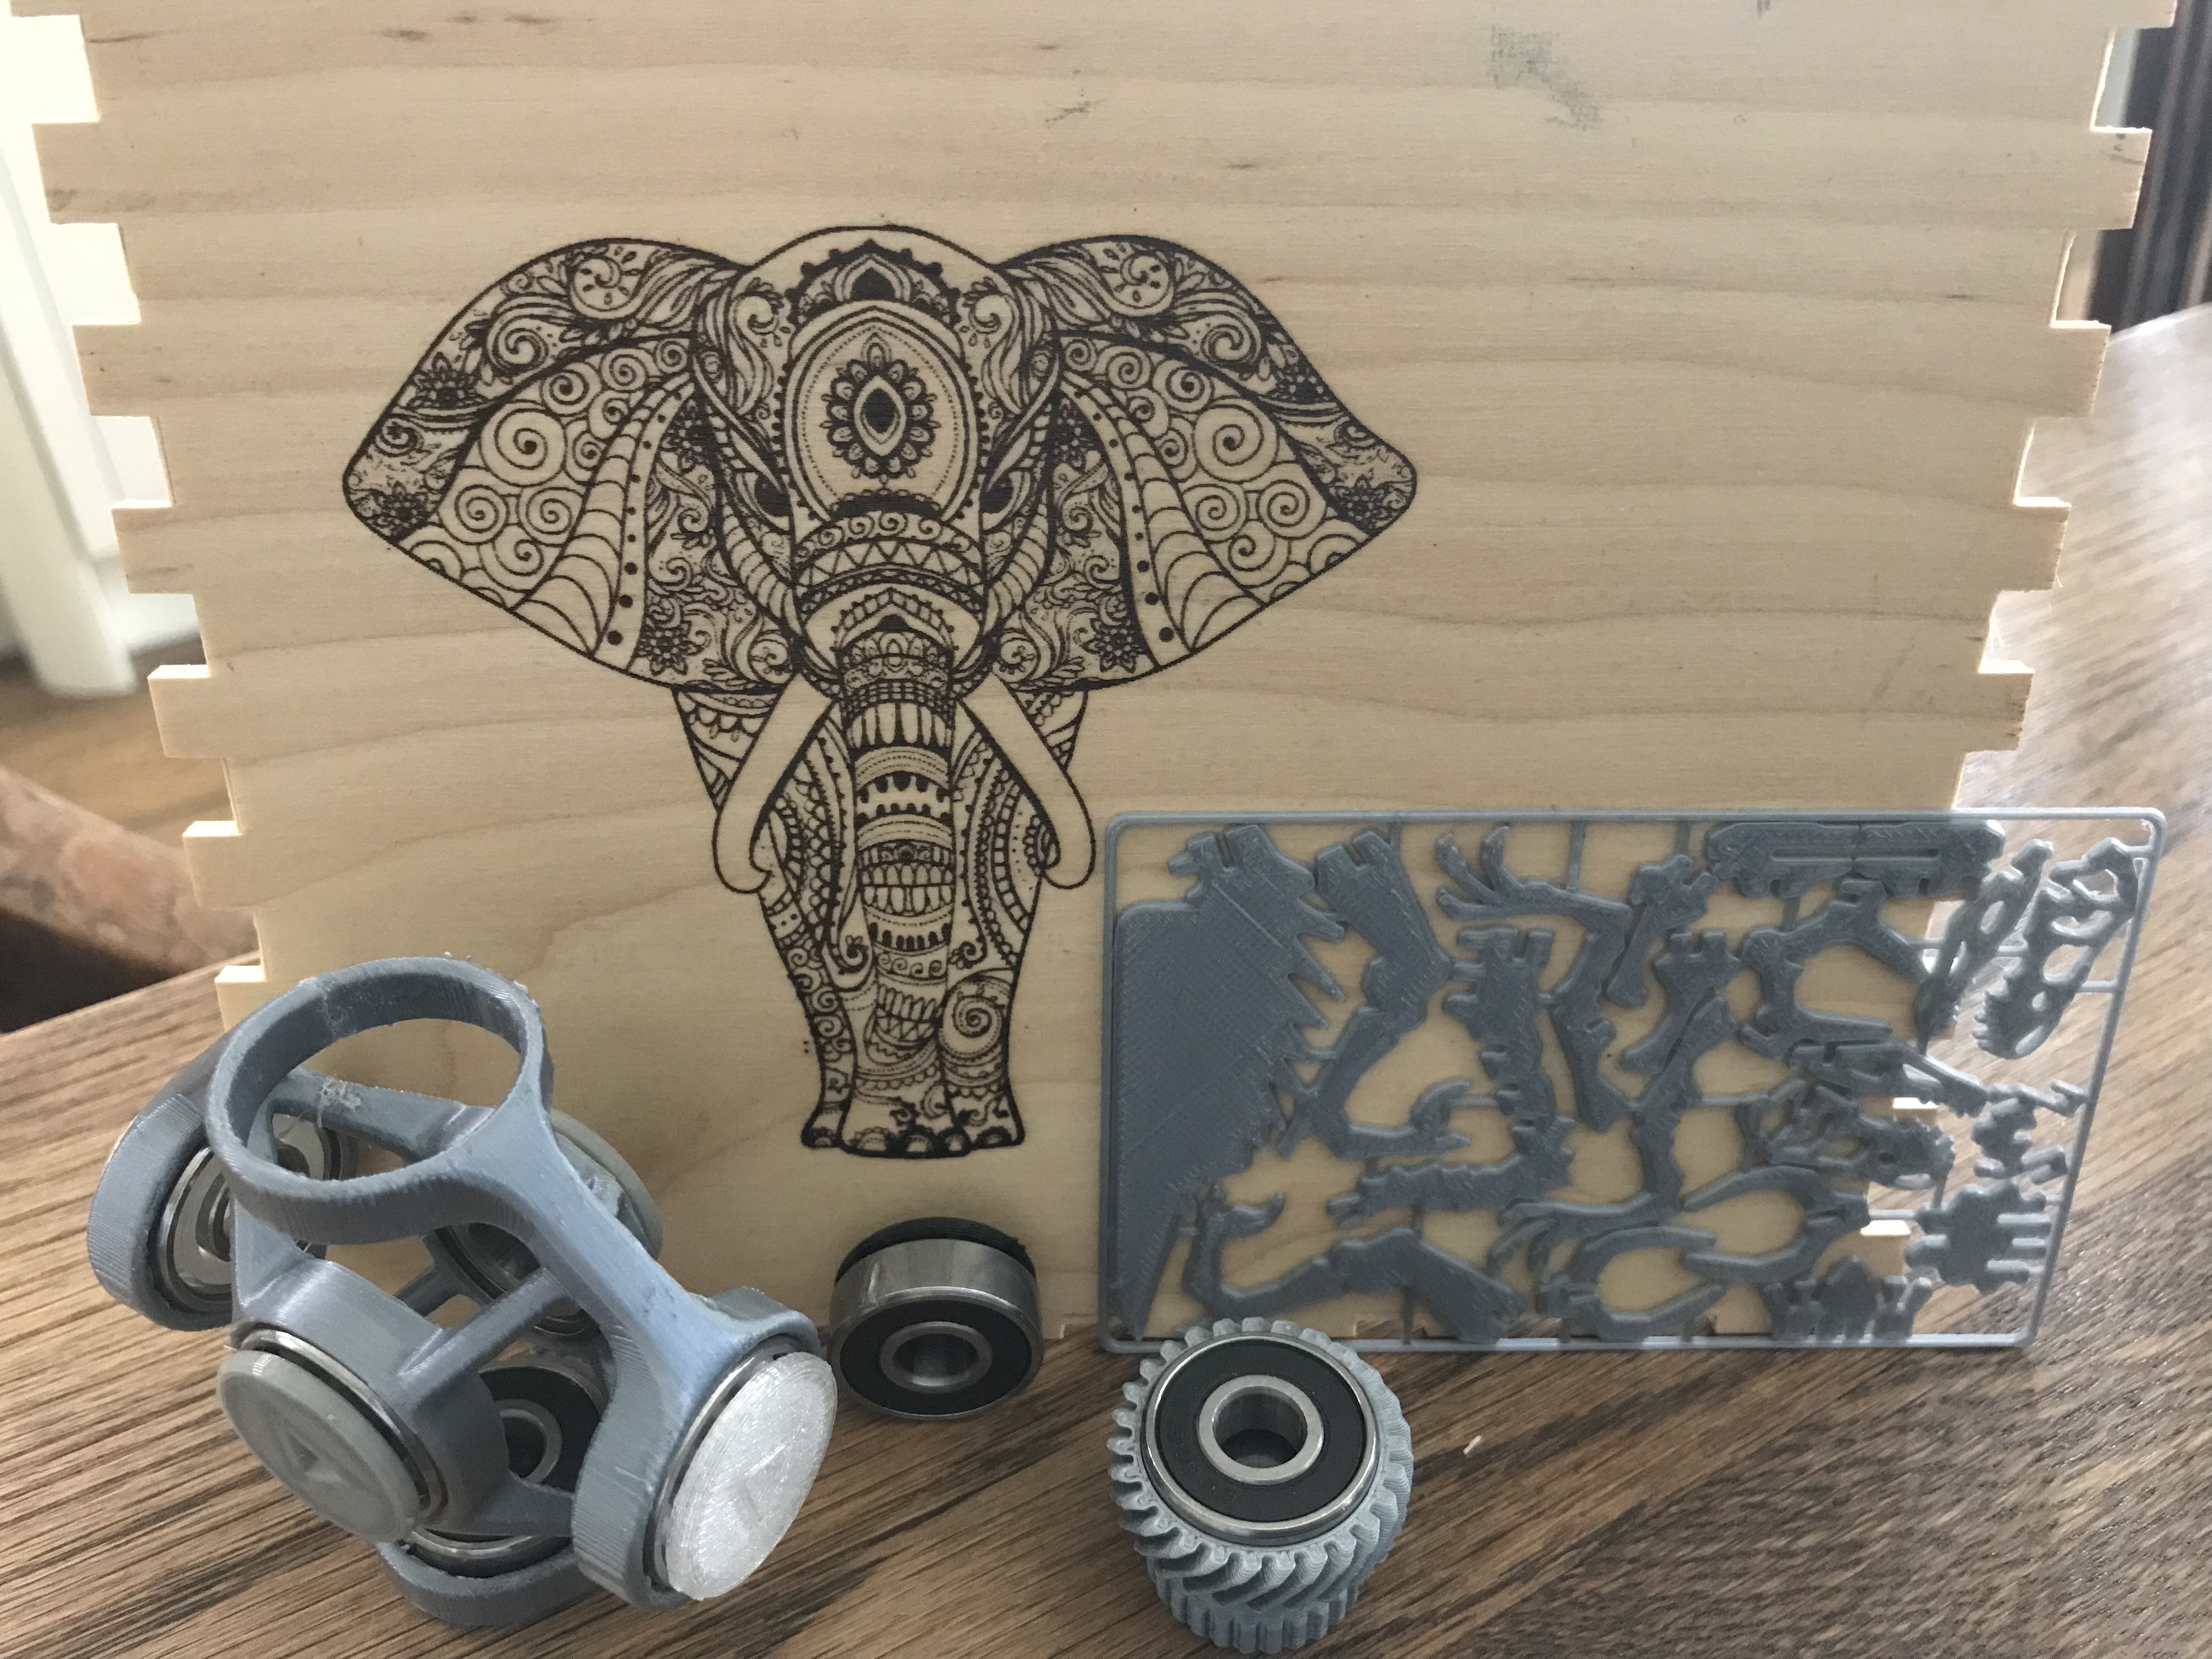
Please see attached picture showing the first laser engrave I have completed, the run time was approx 2hrs and I and really impressed with the quality of reproduction and the detail on this is incredible. However… it took me about 2 hrs to set it up, I followed the instructions in the manual with regards to focusing the laser and it was only when my mrs came in and asked what my problem was and I explained she said what does it say on the laser unit… of course there is is a focus adjustment on the laser itself… which I have already posted is a bit twitchy and doesn’t feel that controllable.
Once we have got this sorted it works fine!
The blur at the bottom of the elephants feet is where I started it 3 times…
Also I may be a bit naive and green but what does the “ F mean with the ±10% ±1% “ do as I cant work it out or see any differences…
My personal experience with the Laser was just about 20 Minutes - no problem at all.
You have to focus in “Focus mode” with the Z-axis. +/- 1 mm was enough for my b/w test on wood and grayscale on thick paper.
I love this feature!!!
The next days I want to try printing an object - not removing it from the build plate - and then reworking the flat top of the 3D model with the laser head to smothen the surface by melting the top layer with low laser power (black jpg in the size and shape of the top layer).
By noting the position and some calulation it should be very easy.
I’m having no luck with the laser module - the focus is as sharp as I can get it with the Z axis - but when I turned the knob to manually focus the laser, it turned clockwise to the stop to get the clearest circle (too big to be called a dot), and turning it counter-clockwise didn’t change anything - until the knob came off.
Well, since the adjustment knob came off (too easily) - I pulled the laser module and flipped it over. There is a slot for tightening it under the knob. I tightened, remounted, tested, and repeated until I got the focus going - then magically, it worked! I looked at it again, and it looks like the focus knob was (at one time) glued to the threads of the laser lens.
So, it looks like my problem is that the focus knob wasn’t glued properly to the laser lens. Design suggestion - perhaps a set screw to attach this knob more securely to the laser so it doesn’t come off. Manual Suggestion - cover in more detail what focusing should look like, and more steps (Z axis then manual knob), and what size dot should be the final target for focus.


