@jpoppinmoneyunit not sure sarcasm or not…rapid prototype is used for concept validation
1 Like
@harmerds
Hi David
I didn’t touched the knob at all. I think they may have set the laser and glued the position down and maybe when you tried to move it you de-focused it.
Since (I think) these lasers have a concave lense the focus of light should be able to archieve by just moving the Z-axis. The change of 1 mm in Z doesn’t have any effect on my final results.
Michael
Hi David
I had the sam problem as my earlier posts where I spent a couple of hours setting the z axis to focus and the running the laser and following it on the computer screen for progress to see if anything happened and the. Resetting it, until my mrs said have a it focused on the unit as the sticker sugg st to. The front of the laser module… it worked but found the movement of the adjustment clumsy and erratic and as you said probably needs a bit more engineering to achieve a smoother finer and steady set akin to the fine laser that it is… I am now expert in these things but soon hope to be more aufait with the finer points of laser and CNC and 3D printing.
Typically it’s illegal to put home made parts on an airplane, plastic or aluminum. Unless the user is planning on getting FAA-PMA approval, which isn’t easy, then it’s a no go.
But yeah, I would say it was about 50 percent sarcasm  Since this isn’t the forum for this discussion.
Correct but its not illegal to make a rapid prototype part since its way cheaper do when proofing a part before machining actual material for the actual part that will be used.
Hi, rojaljelly
Here suggestions based on my experience.
If you don’t want to have any support construction for the parts which are parallel to the bottom.
- Set lower print speed
- Set lower print temperature, try 190℃ if using PLA
- Place a fan next to the model when printing
- Polish model after printed
The purpose of the first three suggestions is letting the material cool faster.
So to make surface more smooth.
Hi folks!
I found my new favourite fillament: PET
A little bit higher temperatures than PLA, a little bit lower speed but the results are superb!
Very dense structure, smooth surface, you can really use these parts with walls thicker than about 2 mm because they dont’t have any problems with water or temperatures up to about 70 °C without loosing their structure. Very much better results than with ABS+ (with snapmaker3D ABS standard settings and highest resolution the model broke apart in its layers with the light press of just 2 fingers).
No problems with humidity for the fillament so you can leave it in the printer for a long time.
Since now I have just made a few test prints but after this weekend I will share some results.
3 Likes
How are you loading petg? My printer does not seem to offer a load temperature other than 200 degrees celsius. How do you load the pet at that temprature or is adjustable?
HI David,
The hard problem about finding the focus before laser engraving is already solved. We will add a calibration card in the package and users can use it to find the focus easily.
We will release an update on Kickstarter about all the improvements we have made after the beta machines were sent. Please stay tuned!
Best regards,
Rainie
I used Simplify3D to manually heat up the nozzle.
My Basic Settings for PET:
Nozzle temperature 220°C or even 225°C but I have to doo more tests (1st layer 225-230°C) .
Heated bed: 65°C first layer, then 60°C
Printing Speed for best results: approx. 25-30 mm/s not much higher
I set down the retraction to 1,0-1,5 mm (instead of 4,5 mm) because there were some gaps in printing at turning Points.
Didn’t tested with the snapmaker3D Software so far because I was very disapointed with the ABS results with factory Settings.
All my prints worked just fine with raft as Support (skirt/brim sometimes don’t stay connected with the heated bed).
I’ll send some results in an extra post.
1 Like
Hi, walker
I’ll have to do many tests before I will be satified.
The tests I’m running at the moment are with Simplify3D at the Moment because there I can draw Support structures by myself.
But the snapmaker software is much better when it Comes to Details.
Situation: hole Diameter 5,9 mm with a surrounding material of 0,4 mm around (outer Diameter = 6,7 mm) 10 mm deep on top of a 75 mm tall and narrow part (max. Diameter ~13 mm).
- Snapmaker3D: the dimensions are superb but the Support structures for overhangs are insufficient.
- Simplify3D: the overhangs are good (I have to fine tune my Settings) the support structure is removable without tools and don’t leave any noticeable marks - but the inner Diameter is getting too small.
I hope you’ll provide machine Settings for Simplify3D in the future after the Printer is on the market. Now it’s more important to improve the own Software - because not everybody will spend $150 for a slicing Software…
1 Like
So I’m back from Weekend with some PET-results for you:
Spool holder for our Printer with ball bearings v0.5
Layer height 0,30 mm


Testing part with an inner thread (Tr28x3 = European PET-bottle cap) and an outer thread 1/2" for water installations.
Perfect results with layer height 0,10 mm:


The PET-models are really solid if printed slow enough with high temperatures.
My next desings will be a bench vise for the Laser/CNC bed (complete printable) and some meassuring Tools.
3 Likes
Do we have config settings or file?
I can tell you if you are interested.
My main settings are (at this moment of testing):
- layer height: 0,1-0,3 mm
- wall/top/botom: about 1,2 mm (0,4 mm nozzle ==> about 3 layers for the walls)
- printing speed: 30 mm/s
- outer wall speed 15 mm/s
- nozzle: 225°C (initial layer +5°C)
- bed: 60°C
- retraction 1,5 mm
I’m printing the most parts with Simplify3D because there are so many more settings to try but I use Snapmaker3D for parts that have to be more acurate and to test out the software.
Just tell me if you want more information about PET-printing.
If you want the .stl or .gcode files for the spool holder I can send it to you as I created it by myself.
1 Like
Just tried repetier host (interesting for linux users in particular) it works with some flaws.
- You can’t turn on the printer and then connect. (Only god knows why)
You need to establish USB- Connection, then turn on the printer and THEN connect. - “emergency stop” command doesn’t have any effect on the printer.
1 Like
I would imagine you should be able to easily tune Simplify3D to print accurate parts as well. Usually print a hollow test cube, measure wall thickness, then adjust the extrusion multiplier accordingly. You’ll have exact parts after that.
2 Likes
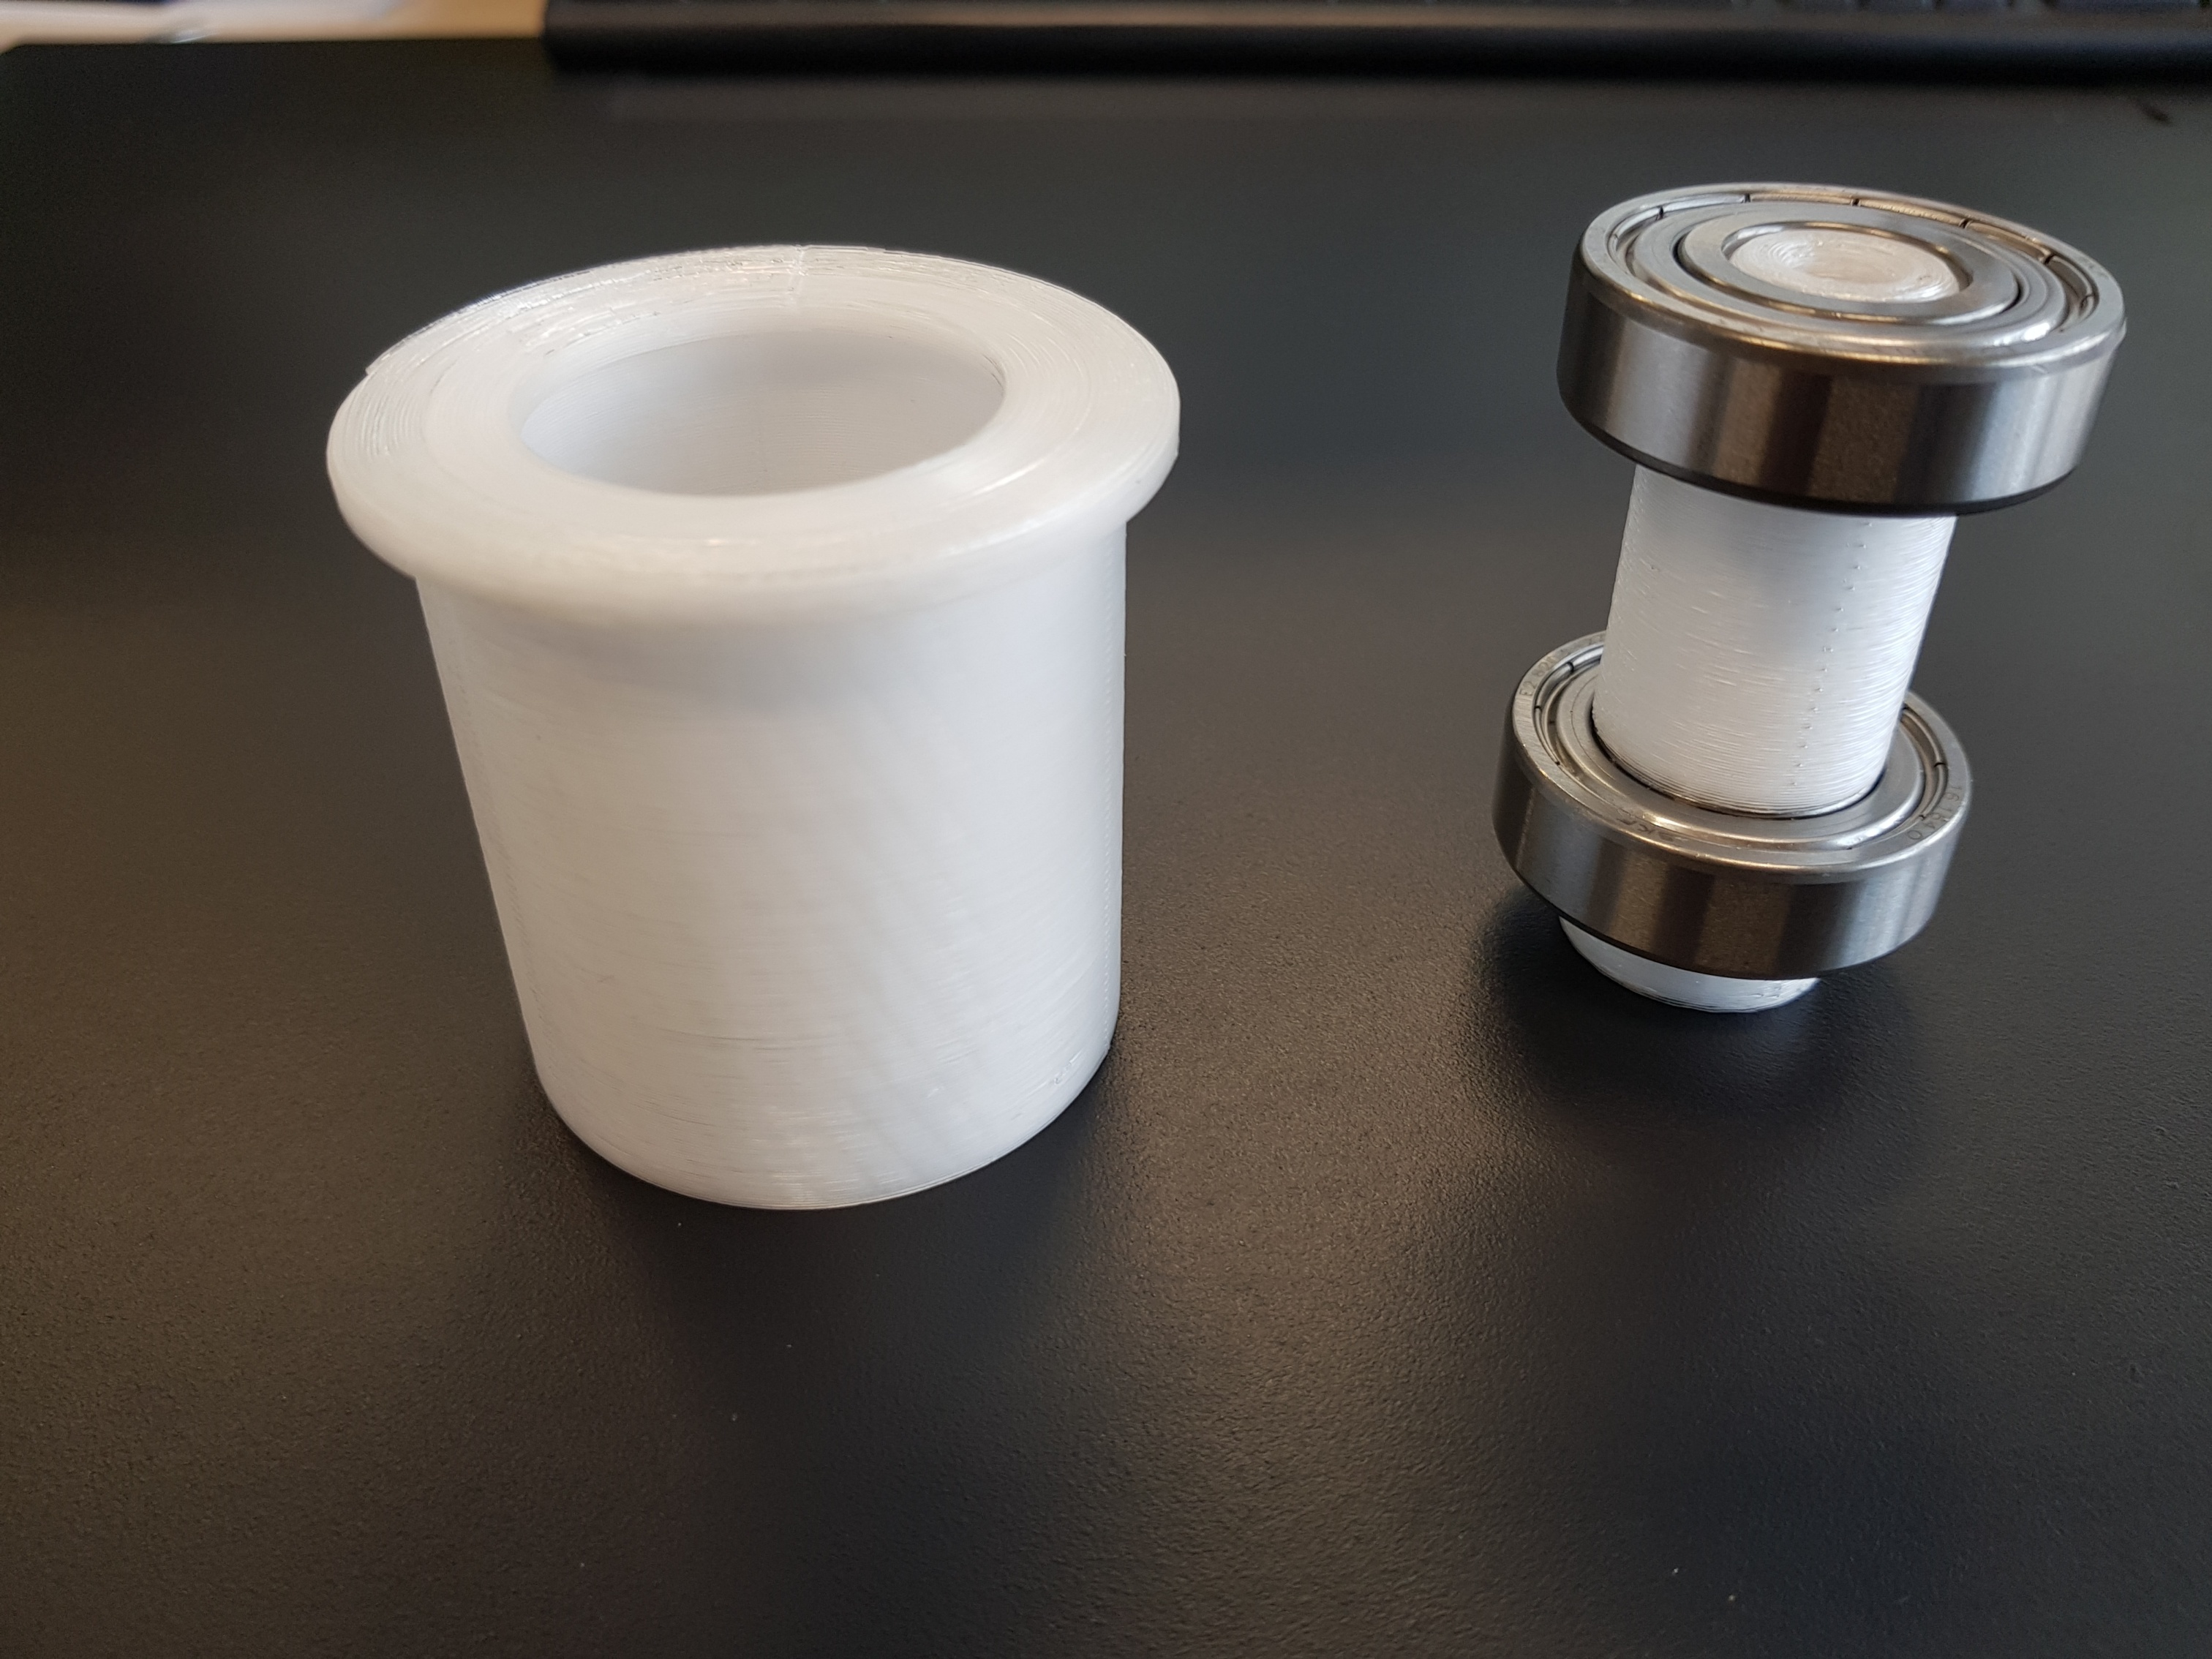
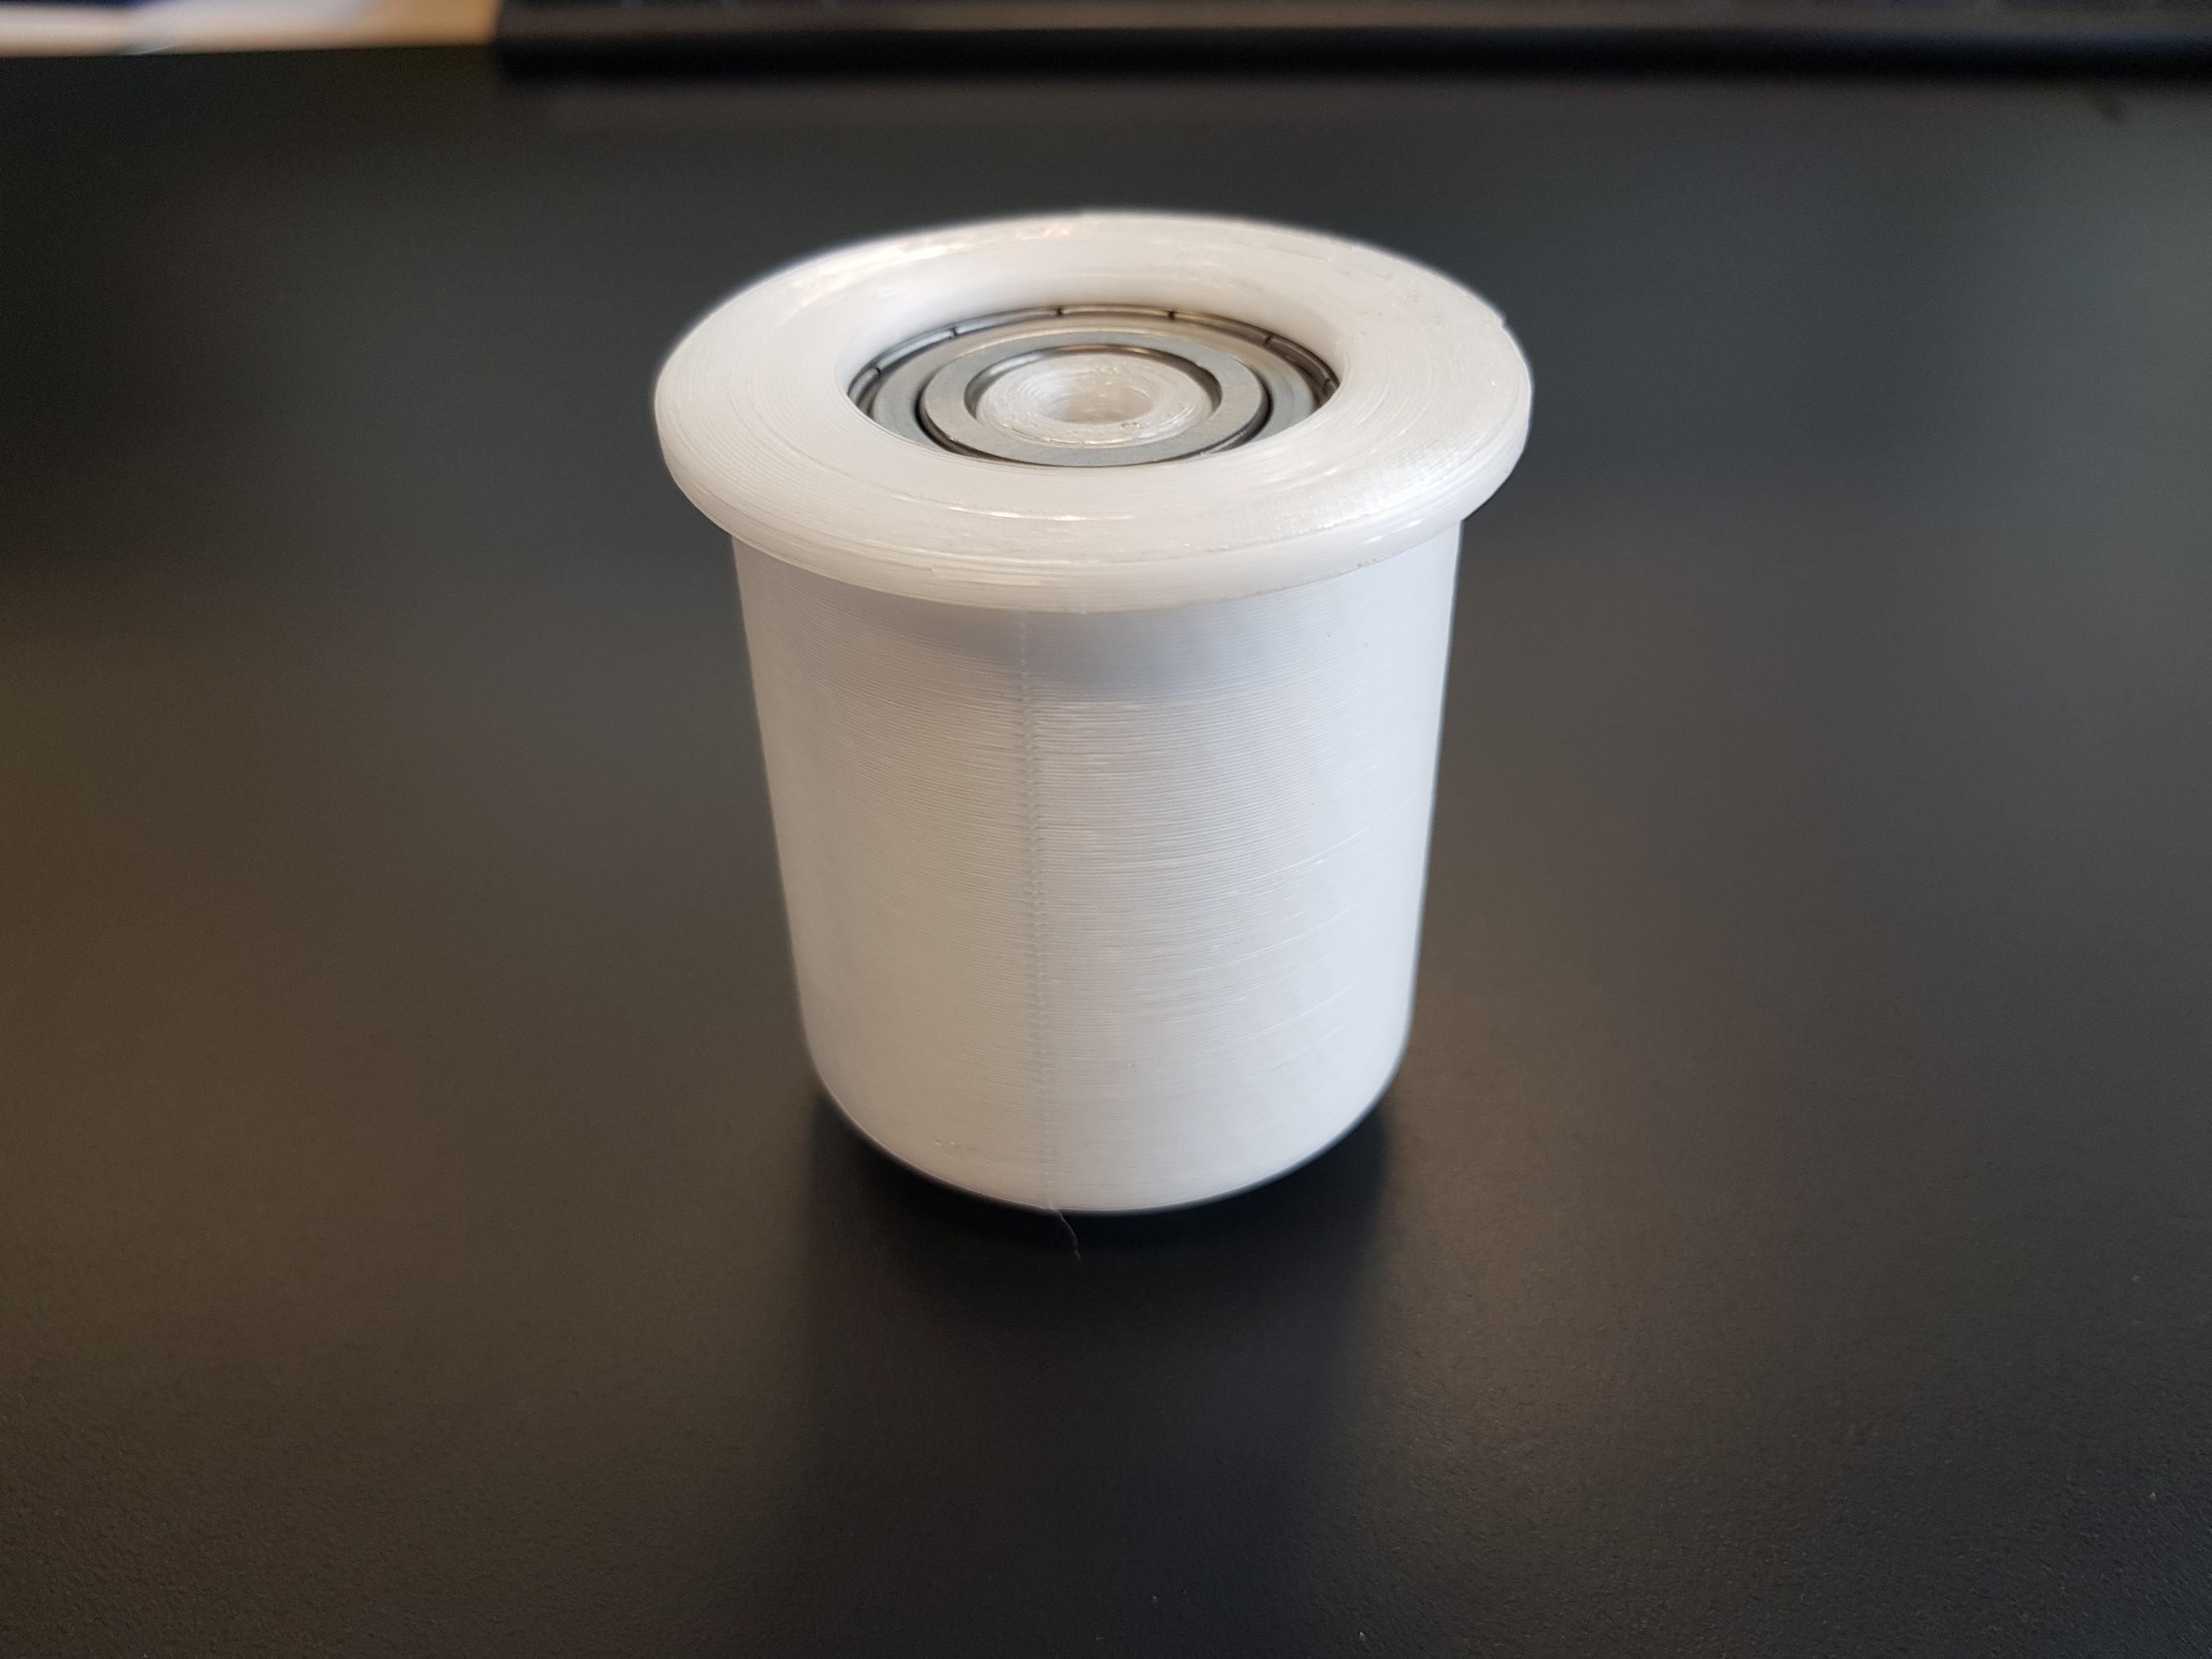
My self designed spool holder works just perfect! Very smooth rolling.
All you need to buy is 2 PCs. of roller bearings 6203-2Z (outer diameter 40 mm, inner diameter 17 mm, width 12 mm, 2 metals closing discs, grease filled) - I bought them for about $5,00.
I just finished making the designs for Version 1.0:

- perfect smooth unrolling of the filament helps to get better results on the print because the feed motor doesn’t need to pull this hard
- for spools with an inner diameter of about 53 mm
- now with screw-nut to hold down the spool onto the hub
- spool width 50-55 mm (smaller spools will need a simple spacer ring) - but usage without nut also possible
- mounting without tools on the metal rod on the snapmaker (without the plastic sleeve)
- for changing filament you only have to unscrew the M48x2 nut
I didn’t have tested this upgrade yet if it does work with the originally provided filament spools in width but the inner diameter is the same so it should work just fine.
STL-files for this mod (I suggest printing it with layer height 0,15mm):
Hub: Hub.stl (1.1 MB)
Axle: Axle.stl (250.5 KB)
Sleeve: Sleeve.stl (108.5 KB)
Screw-nut: Screw-nut.stl (305.6 KB)
Shim: Shim.stl (31.3 KB)
8 Likes
rojaljelly this is really cool. I wonder if you should move this to its own post on the showcase thread? It would make it easier for everyone to find your creation. It seems like a must have.
Hi! I’m not sure because it isn’t this special…
Maybe, but it solves an important problem with the design of the stock holder. Who wants a wobbly spool? No one does, and your design appears to solve that problem.