ich erlaube mir mal ein “Upgrade” Thema zu eröffnen, eventuell gibt es ja J1 Nutzer, die auch Ihre Ideen hier teilen möchten.
Meiner Ansicht nach, sollte man in einem Forum, nicht nur Probleme, sondern auch Verbesserungen oder auch nützliches zu teilen.
Damit fange ich jetzt einfach mal an.
Scharniere für den Deckel
Ich habe Scharnieren entworfen, damit man nicht immer den Deckel vom J1 abnehmen muss.
Eigentlich steht oder liegt der Deckel immer da wo er stört.
Ich werde noch ein Scharnier machen, das man nicht anschrauben muss, sondern ankleben kann.
Das lässt sich bestens mit dem J1 und Cura Slicer drucken.
Deckelstütze
Mit der Deckelstütze ist auch das Problem gelöst, den Deckel festhalten zu müssen.
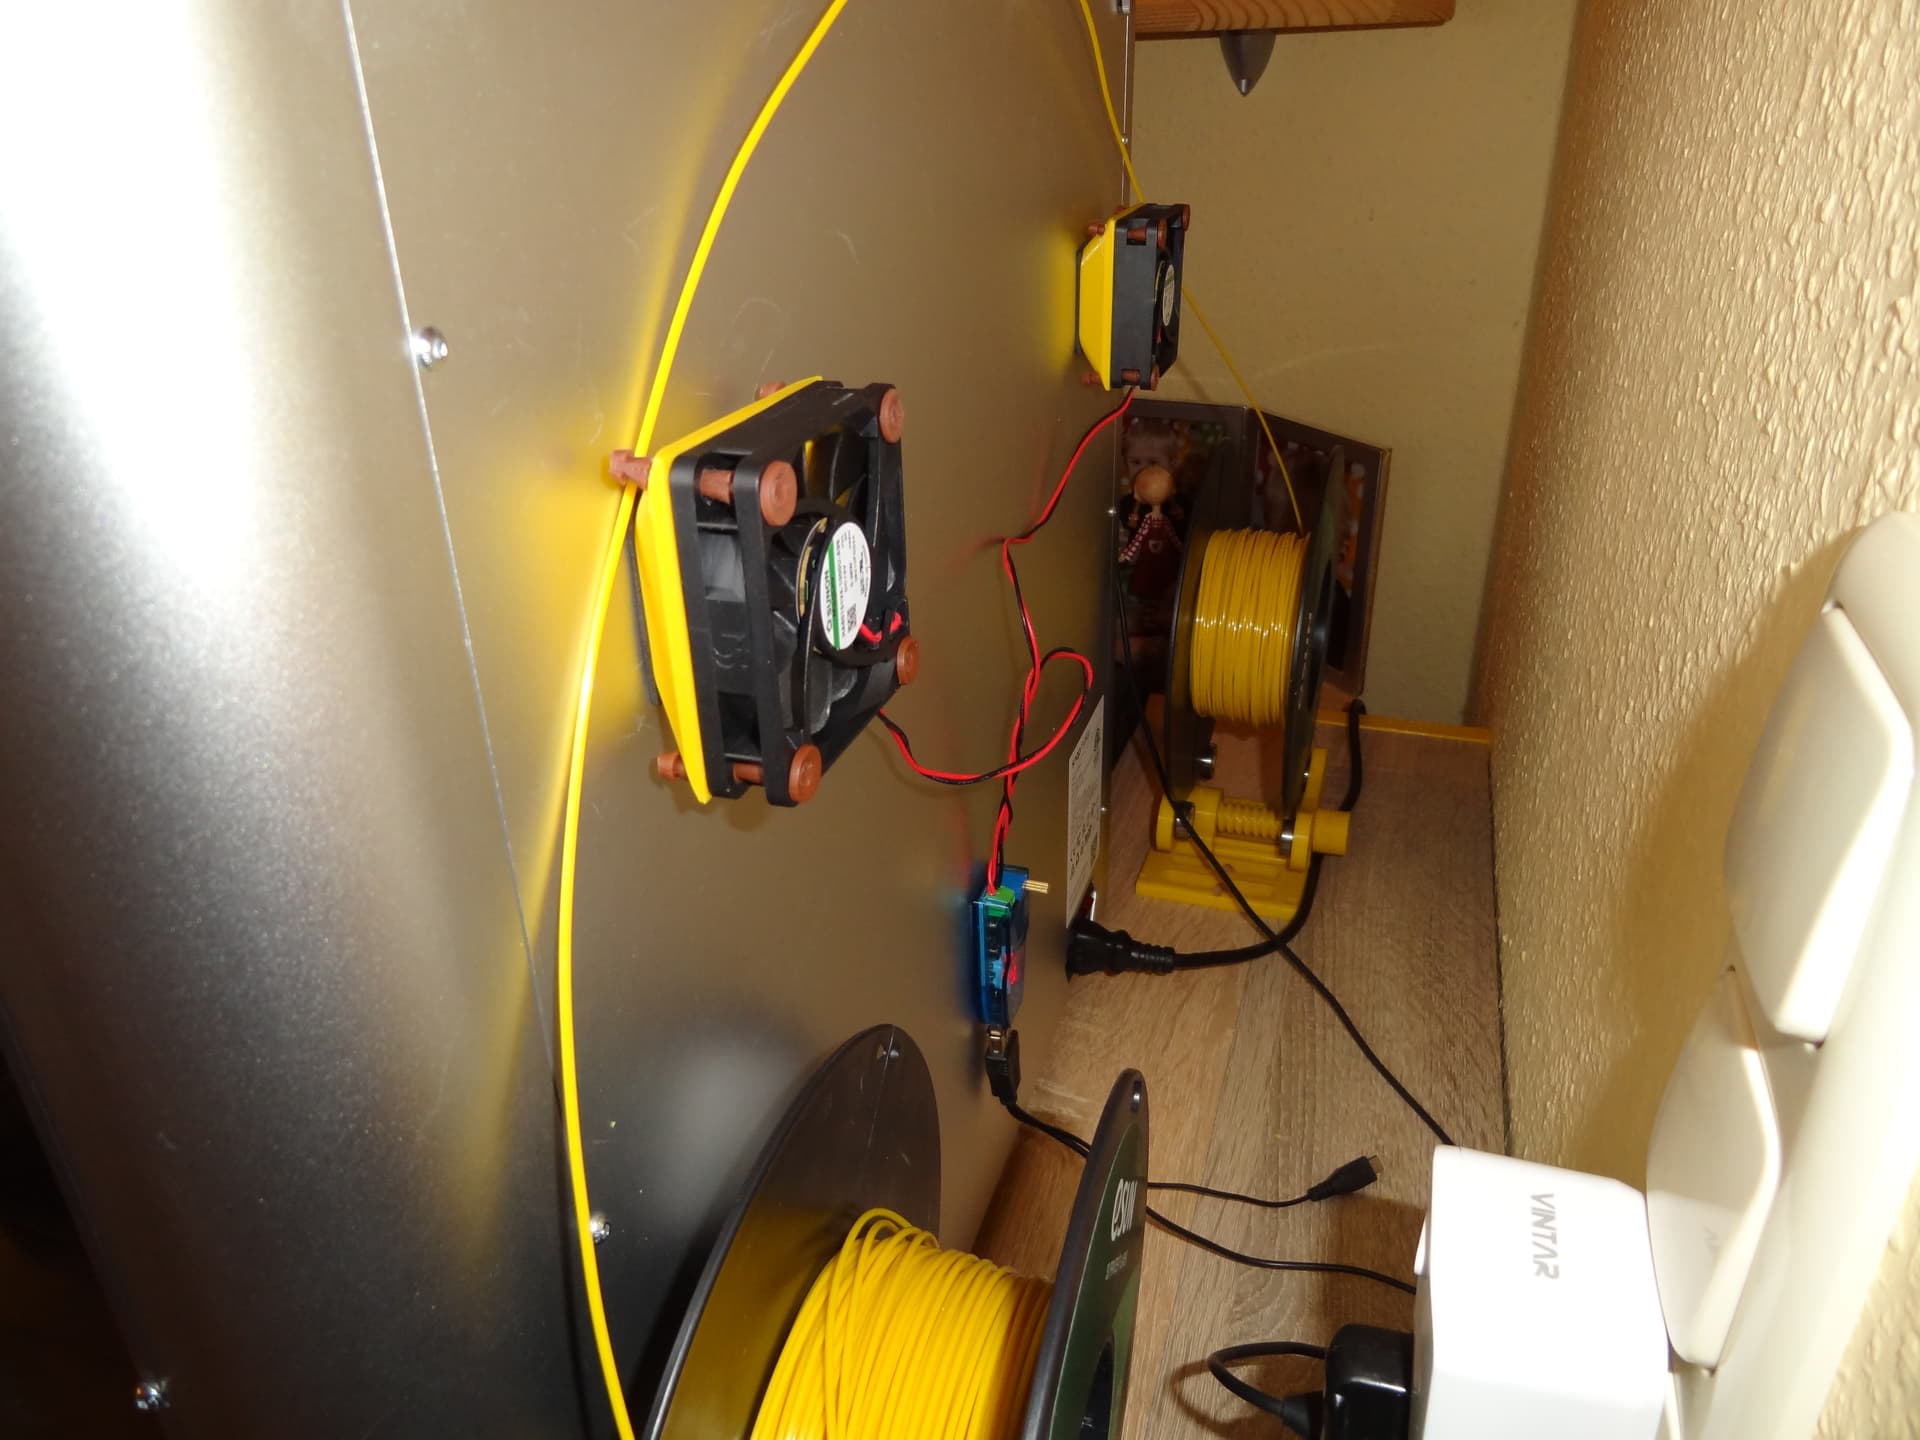
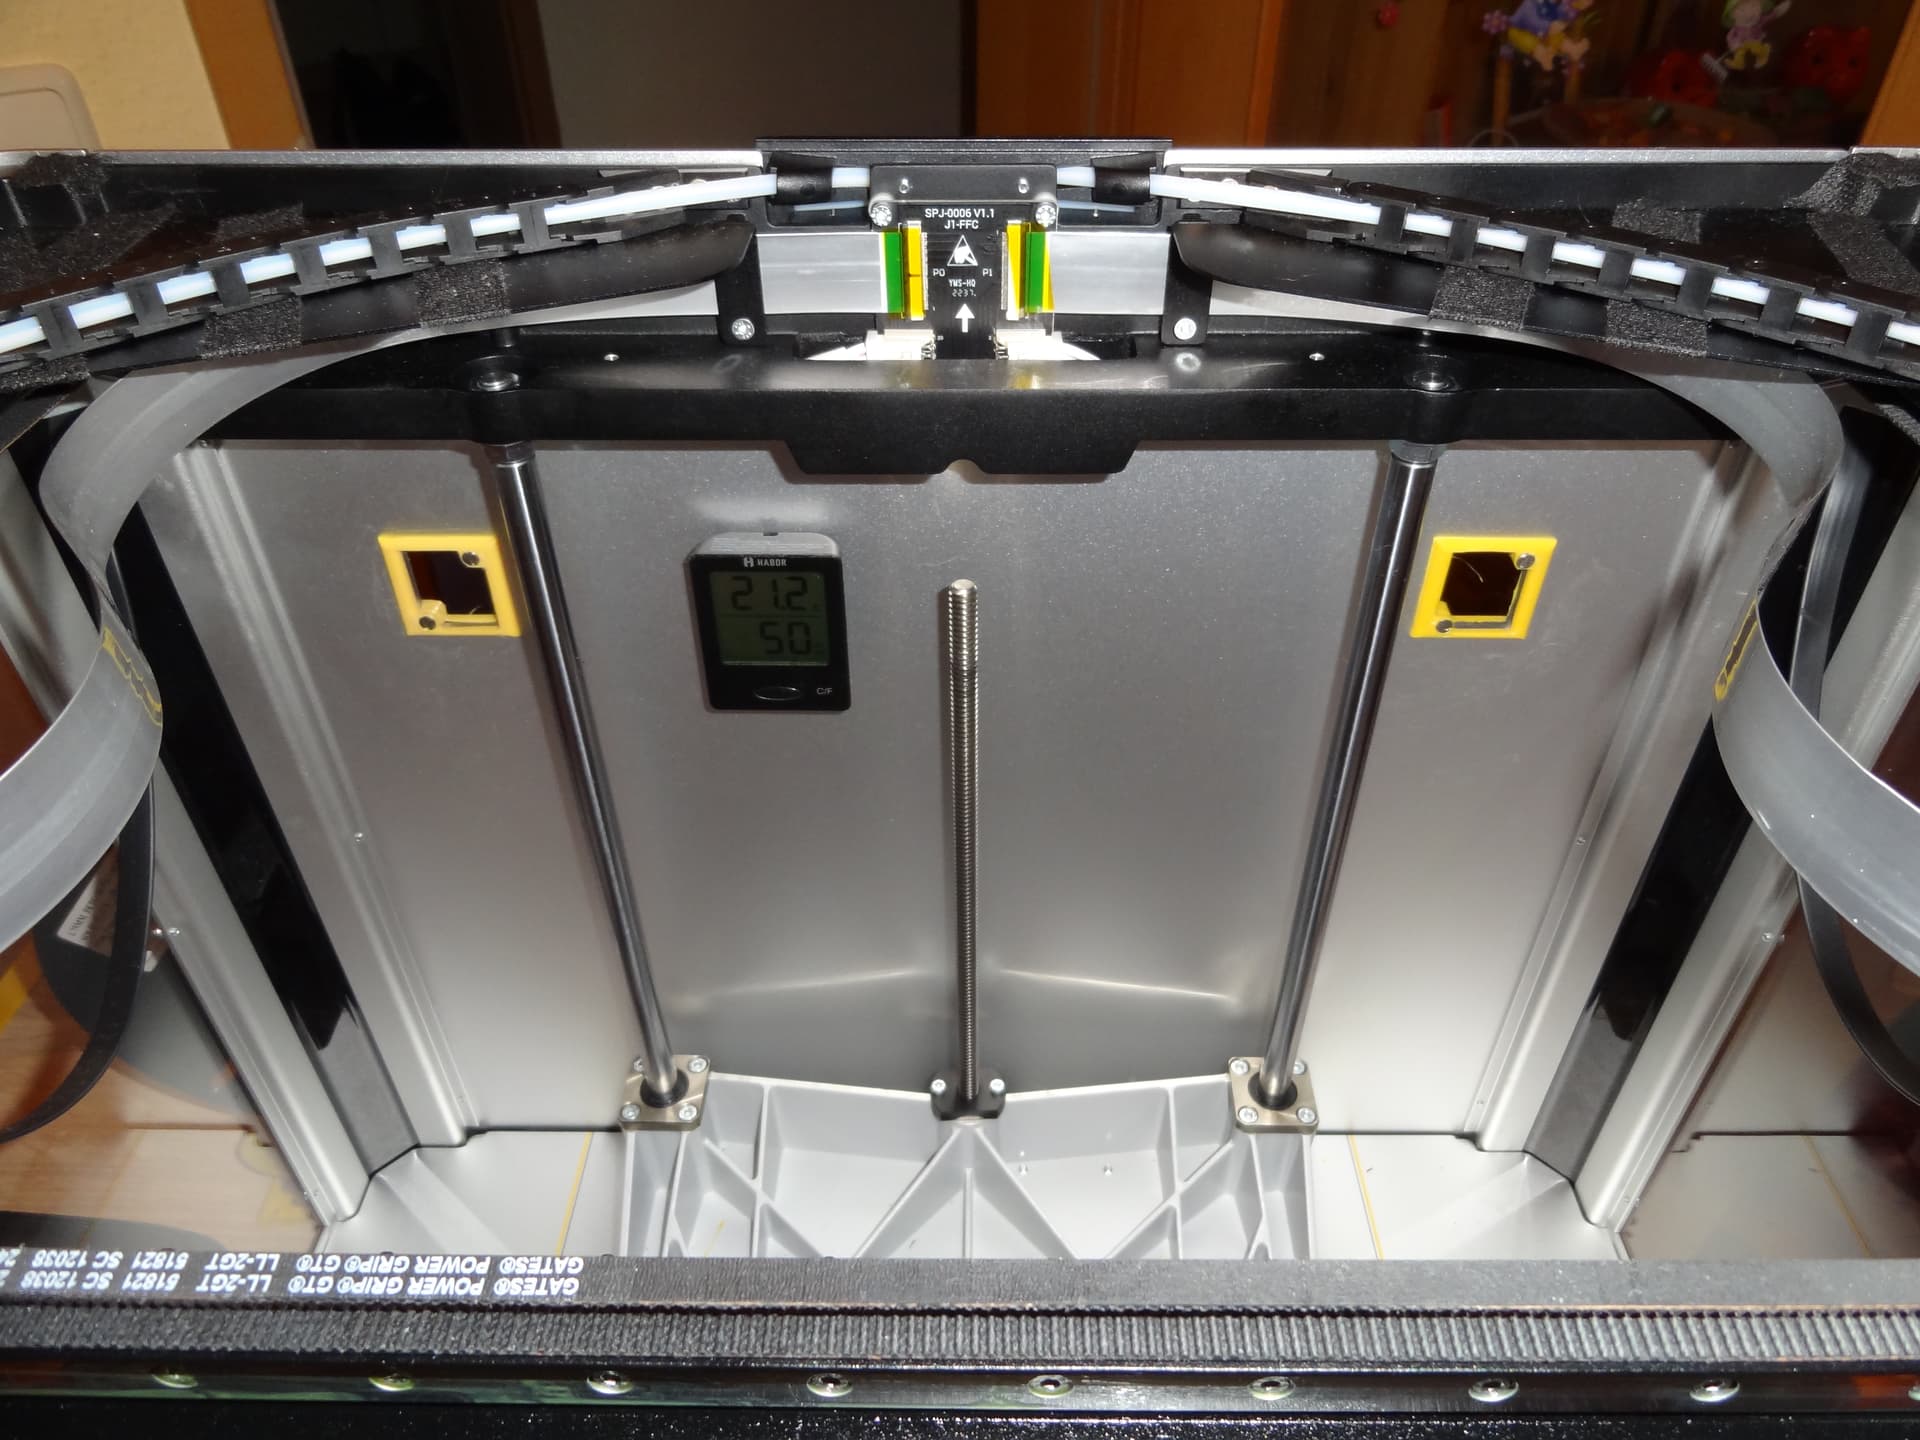
Gehäuseentlüftung
Da mein J1 im Wohnzimmer steht und dadurch ohne Deckel zu laut ist, aber PLA nicht mit Deckel gedruckt werden kann, weil die Kühlung dann nicht ausreicht, habe ich mich inspirieren lassen.
Auf thingiverse, hat jemand sein Gehäuseentlüftung zur Verfügung gestellt, die habe ich auch ausprobiert, aber leider ist das zu wenig.
Darum, habe ich das ganze etwas anders gemacht.
Jetzt können zwei 60x60 Lüfter eingesetzt werden, je nachdem welche Leistung die eingesetzten Lüfter haben, ist die Entlüftung des Gehäuses jetzt ausreichend bis optimal.
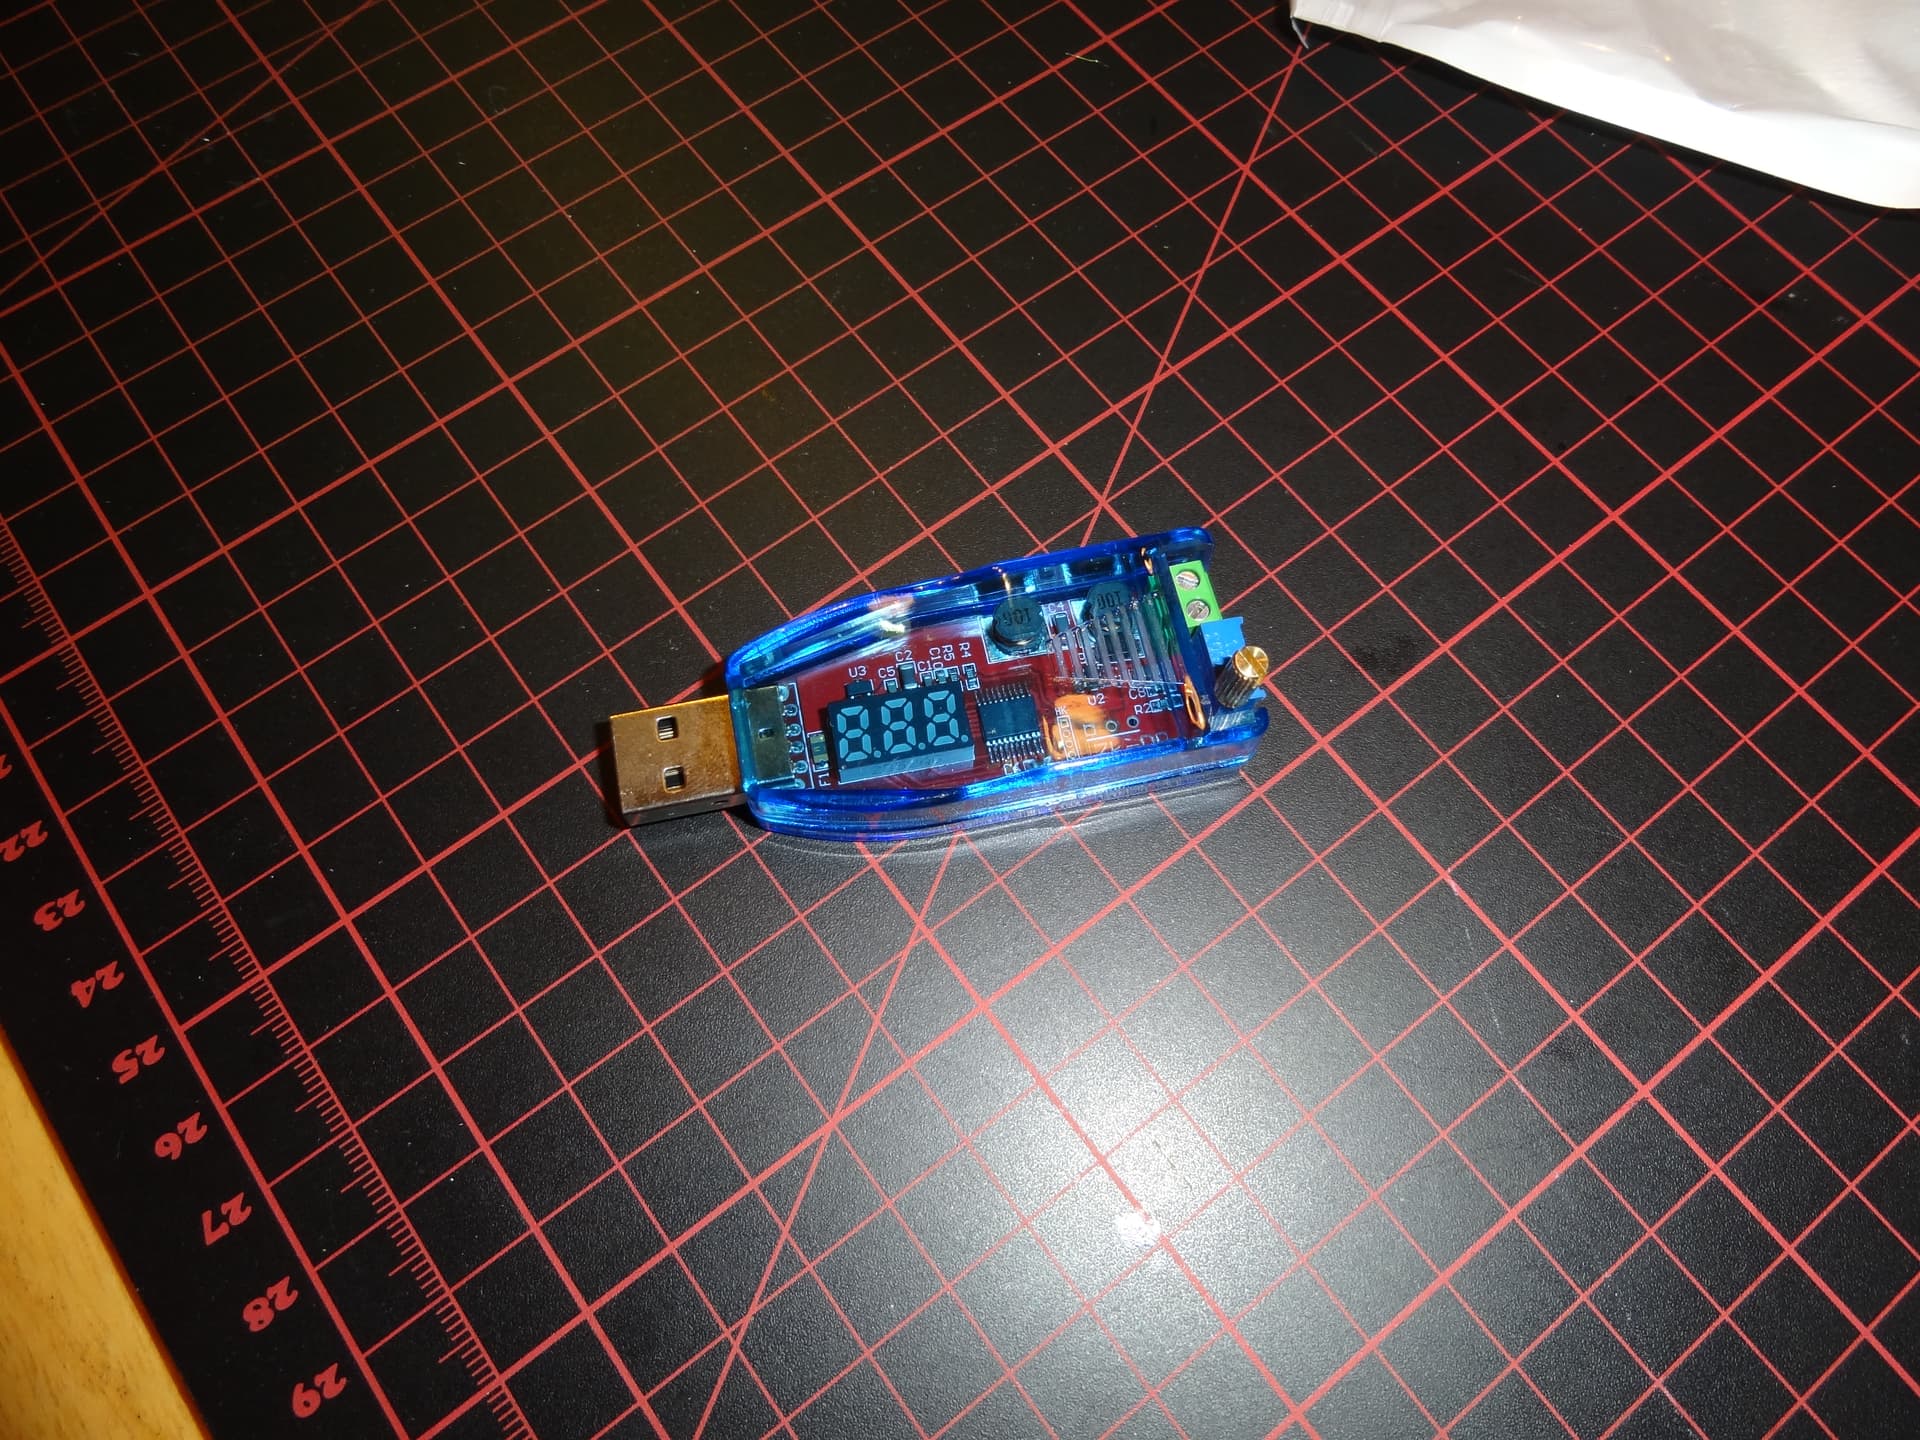
Ich selbst nutze SUNON Lüfter 60x60x15, die werden über einen USB DC-DC Wandler versorgt, bei dem man die Spannung noch einstellen kann.
I take the liberty of opening an “Upgrade” topic, maybe there are J1 users who would also like to share their ideas here.
In my opinion, in a forum, one should not only share problems, but also improvements or useful things.
I’ll just start with that now.
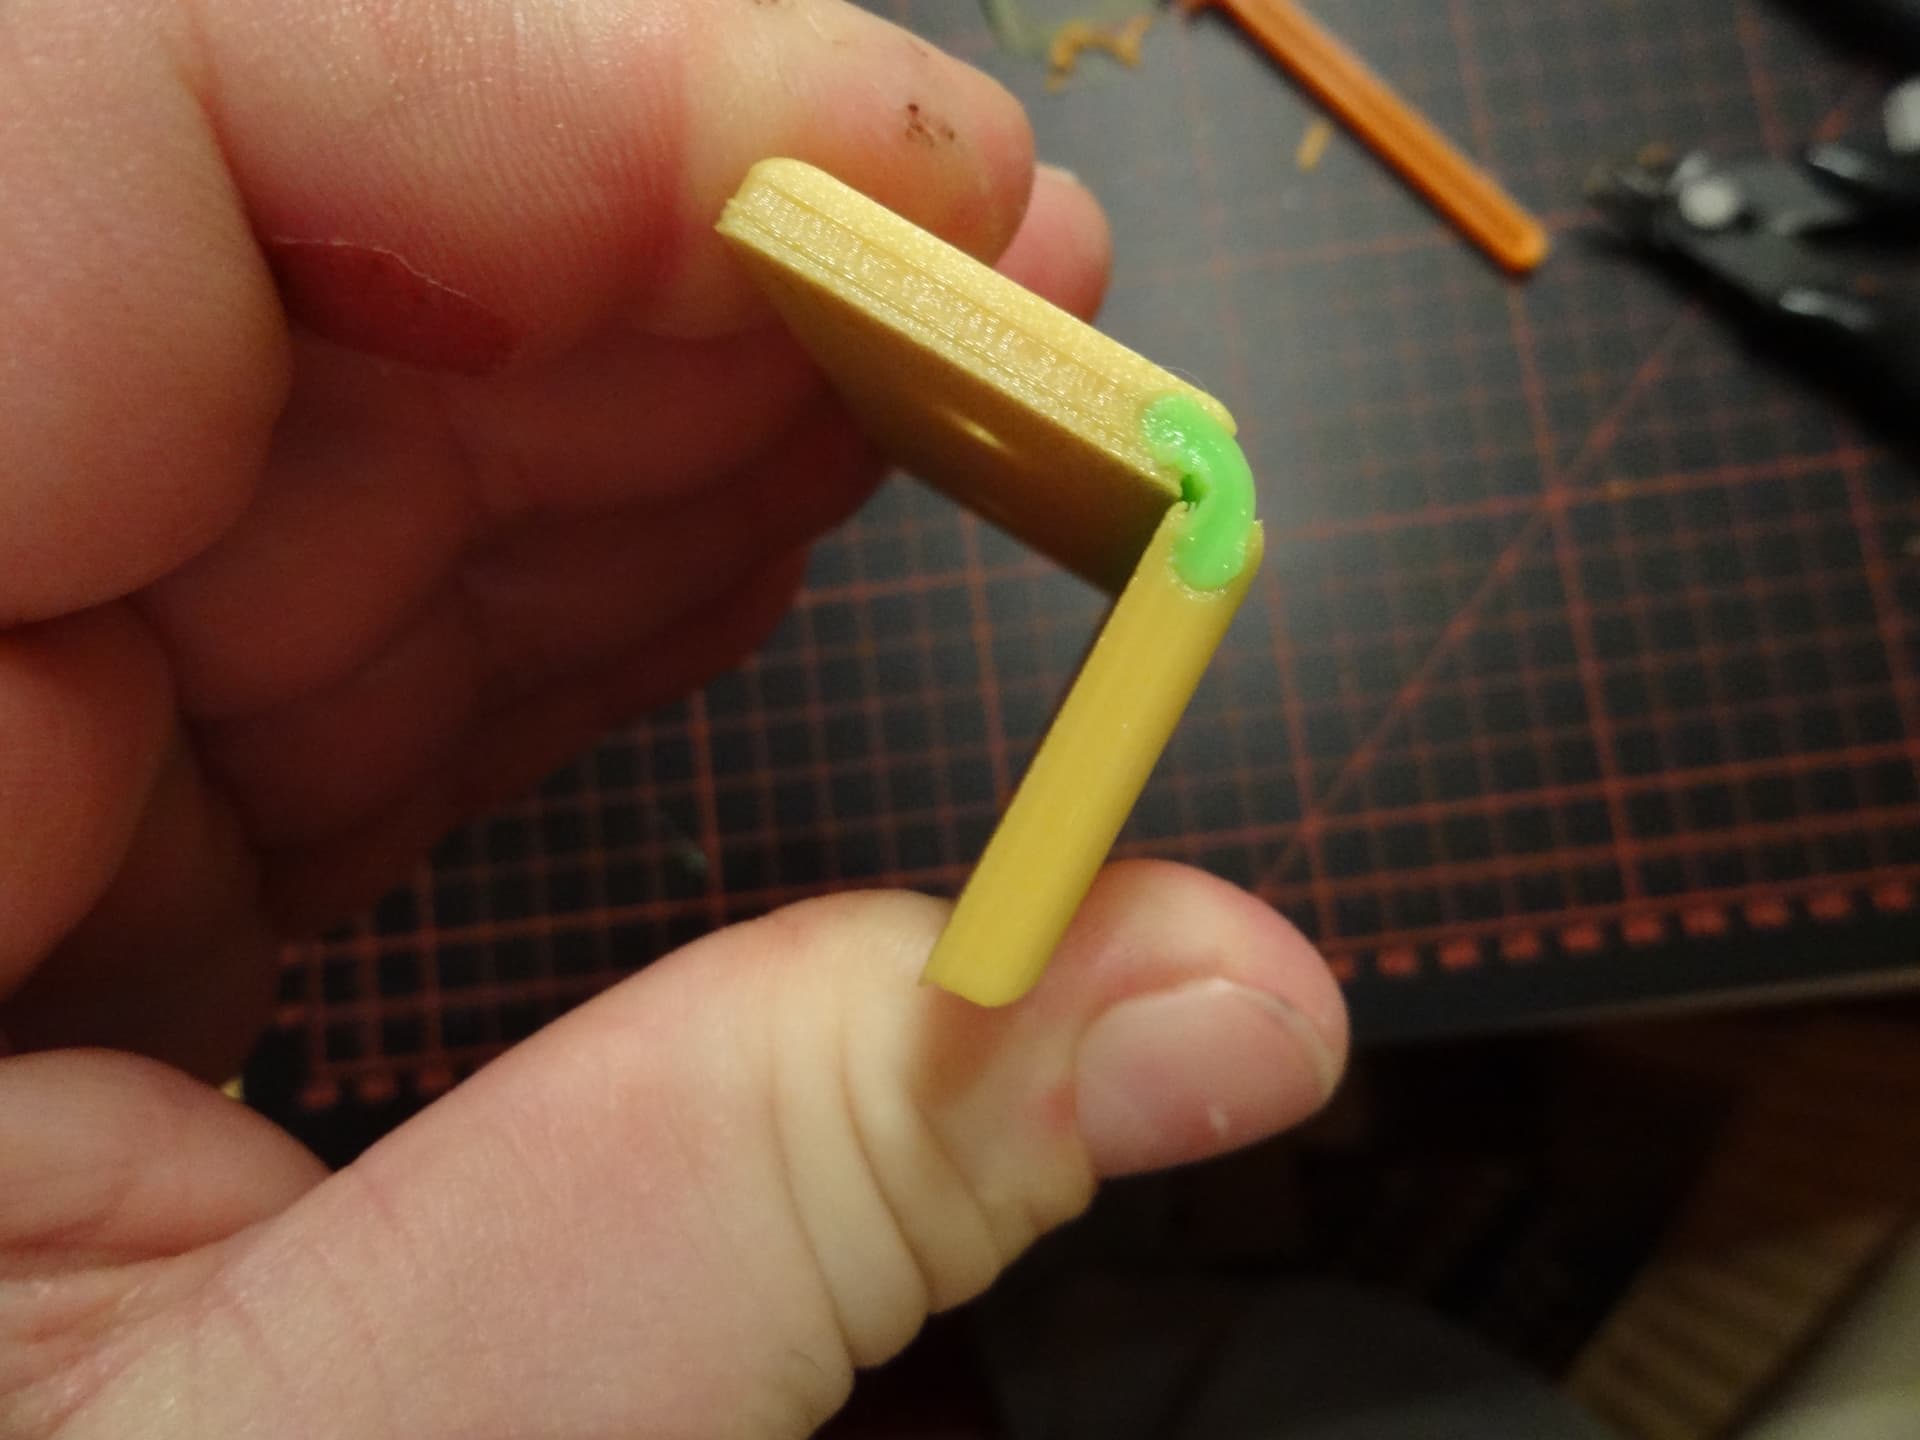
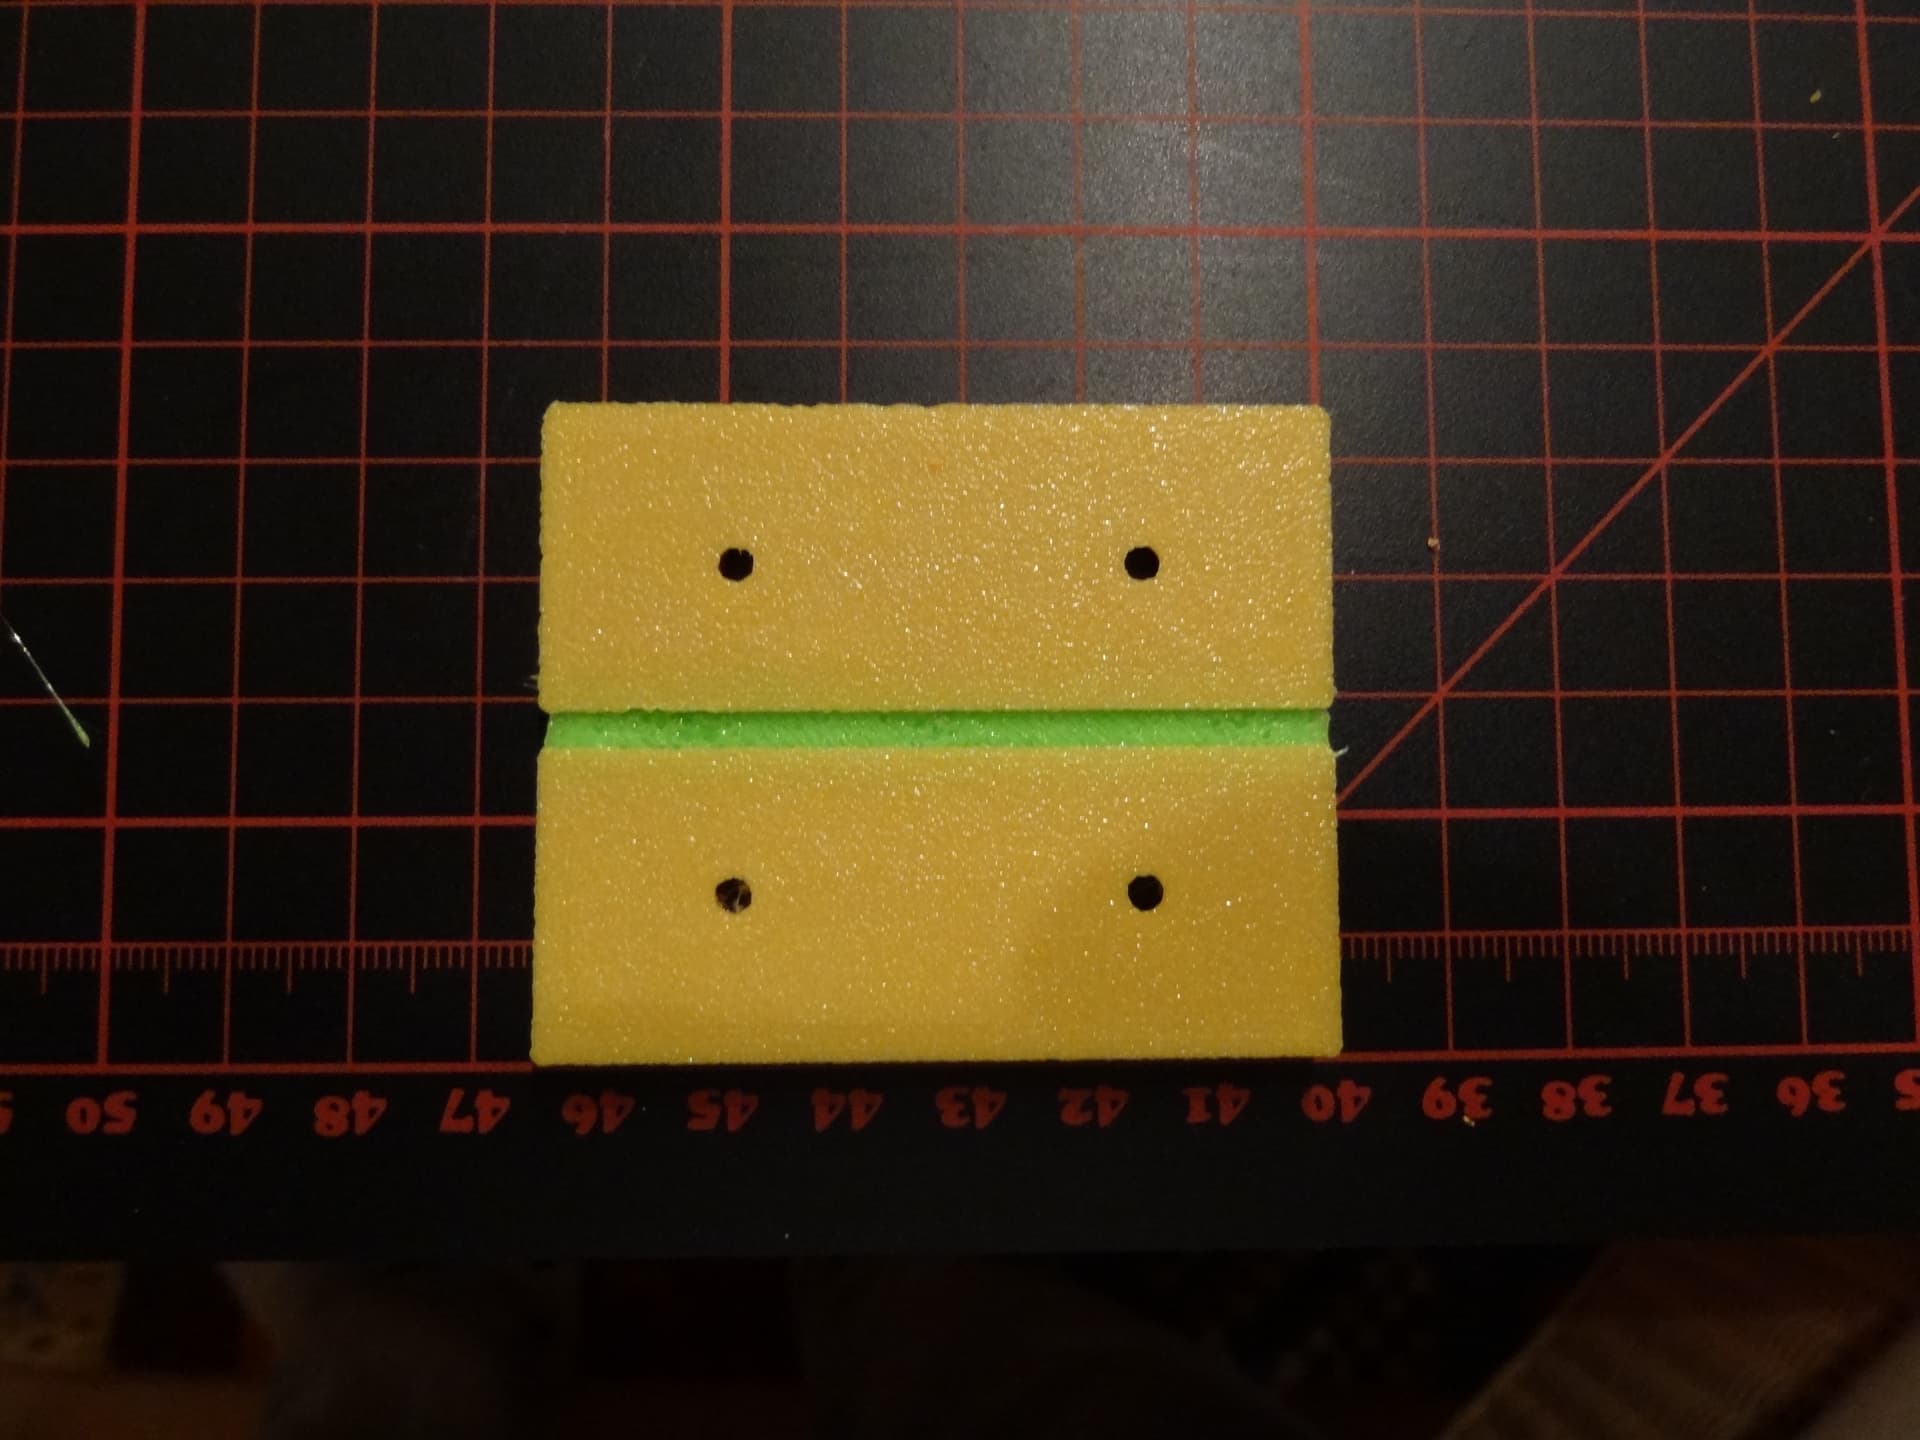
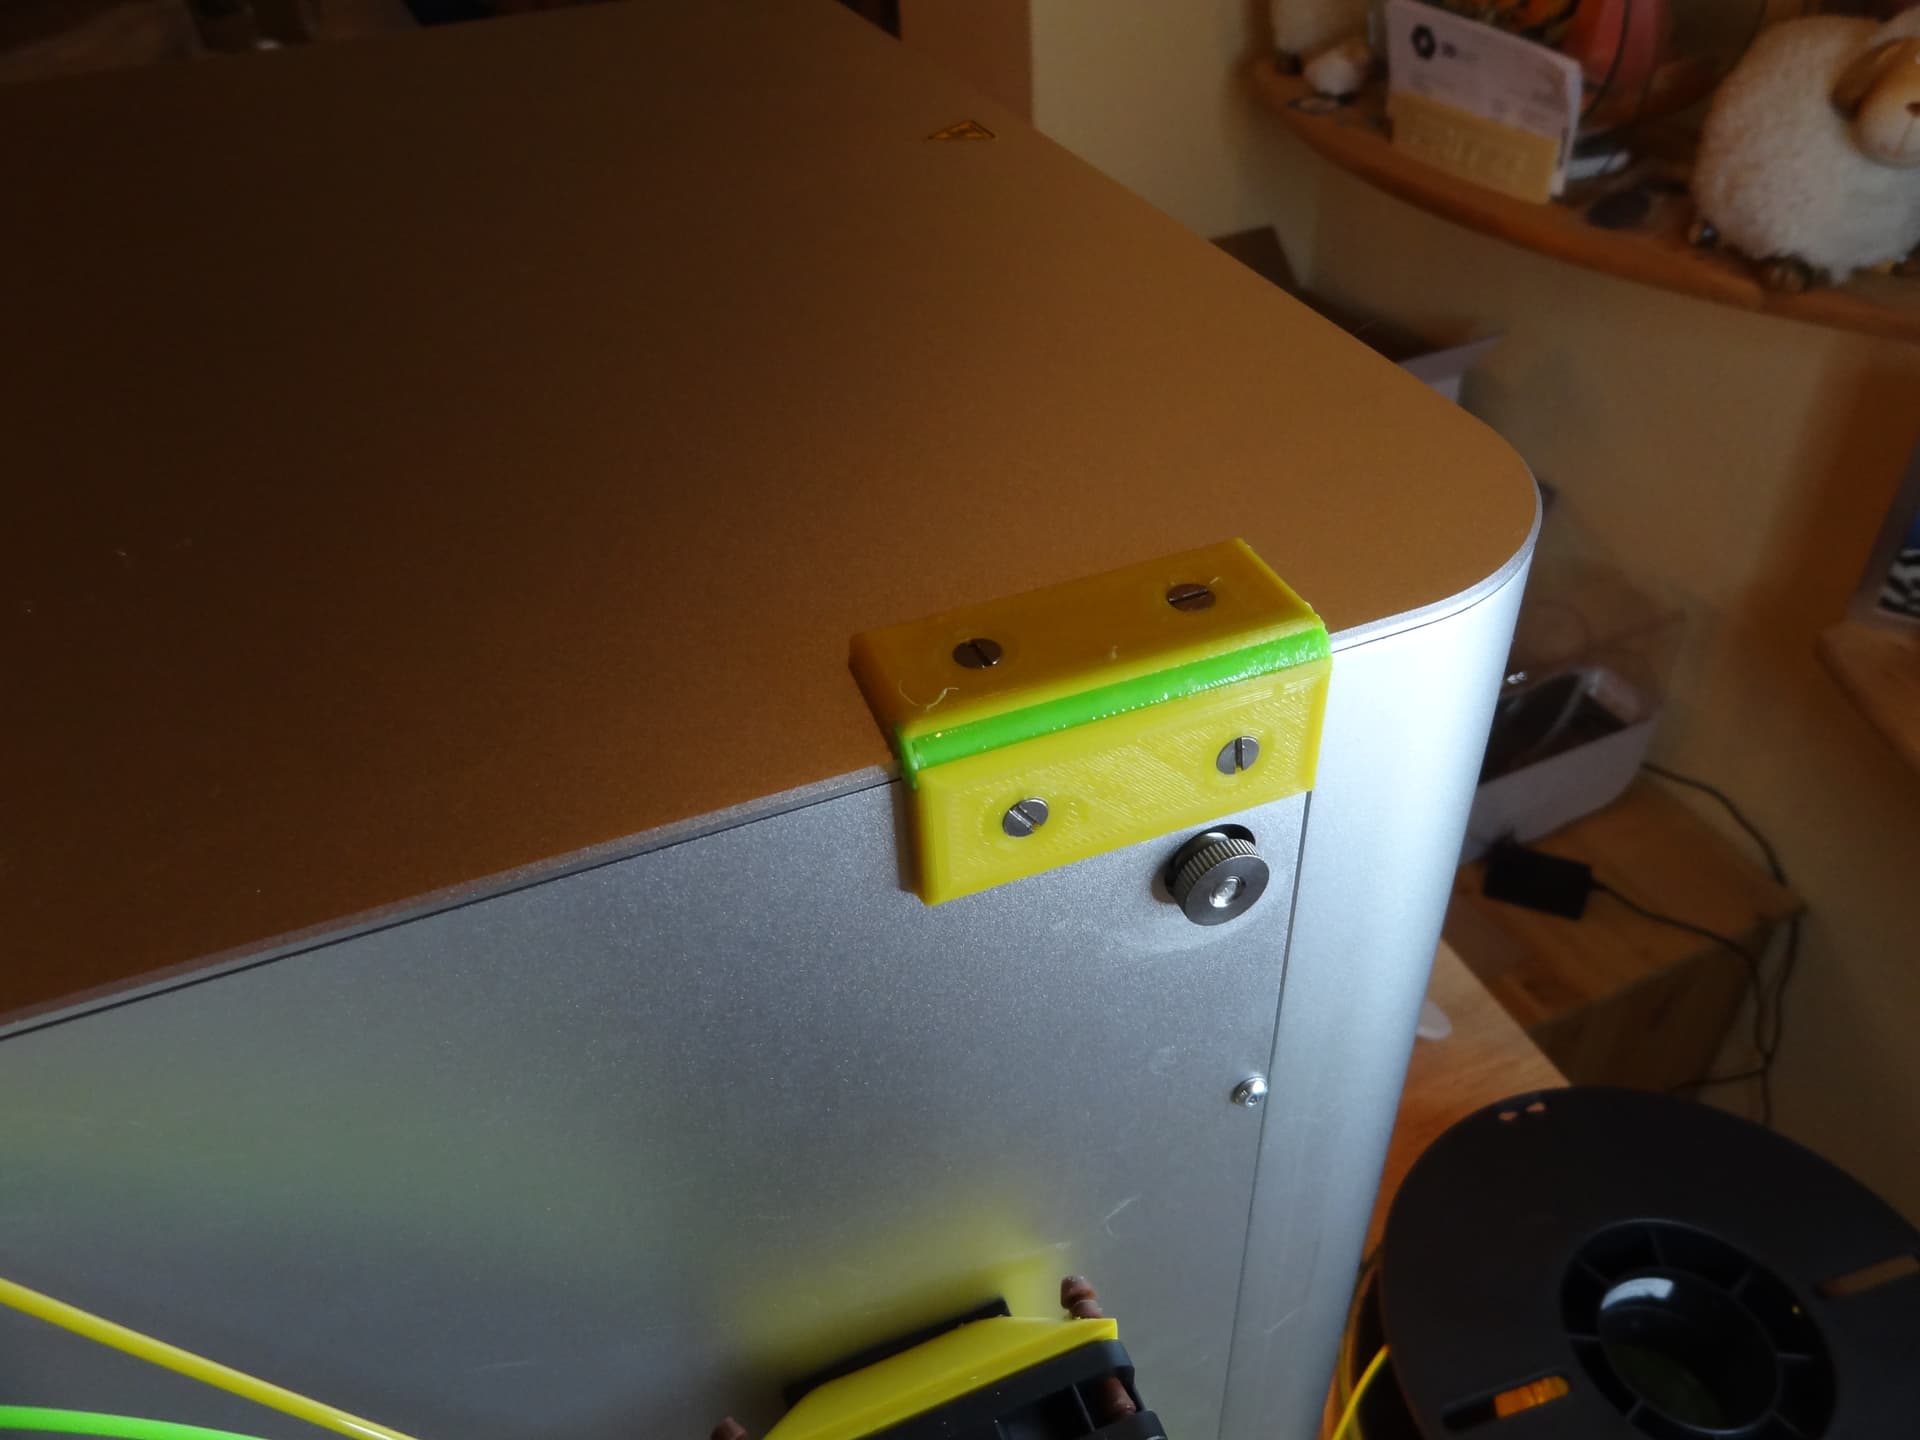
Hinges for the lid
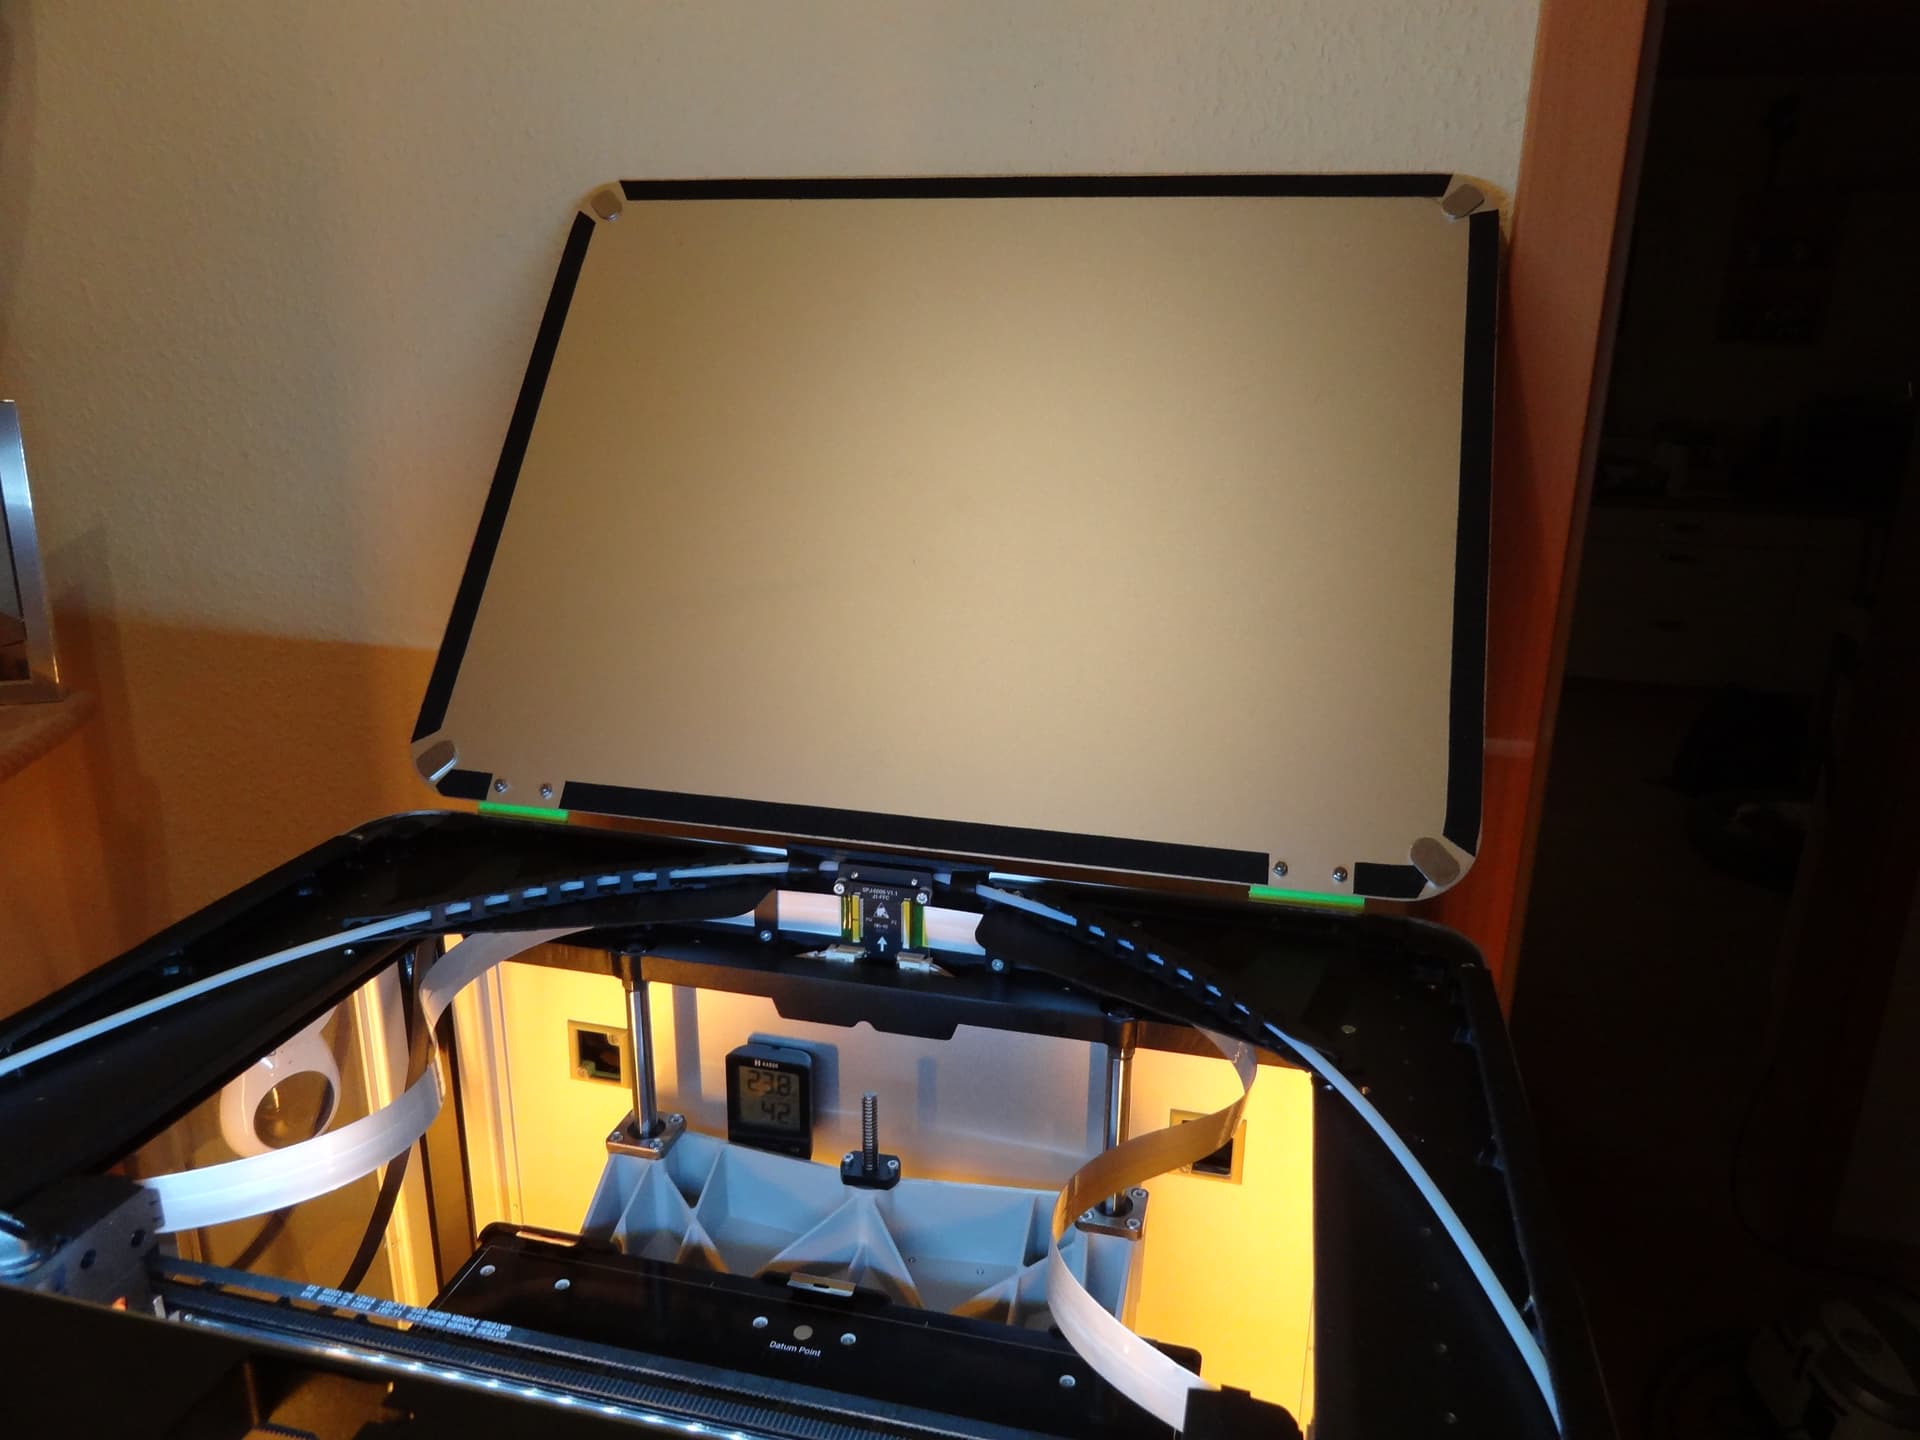
I designed hinges so you don’t always have to take the lid off the J1.
Actually, the lid always stands or lies where it gets in the way.
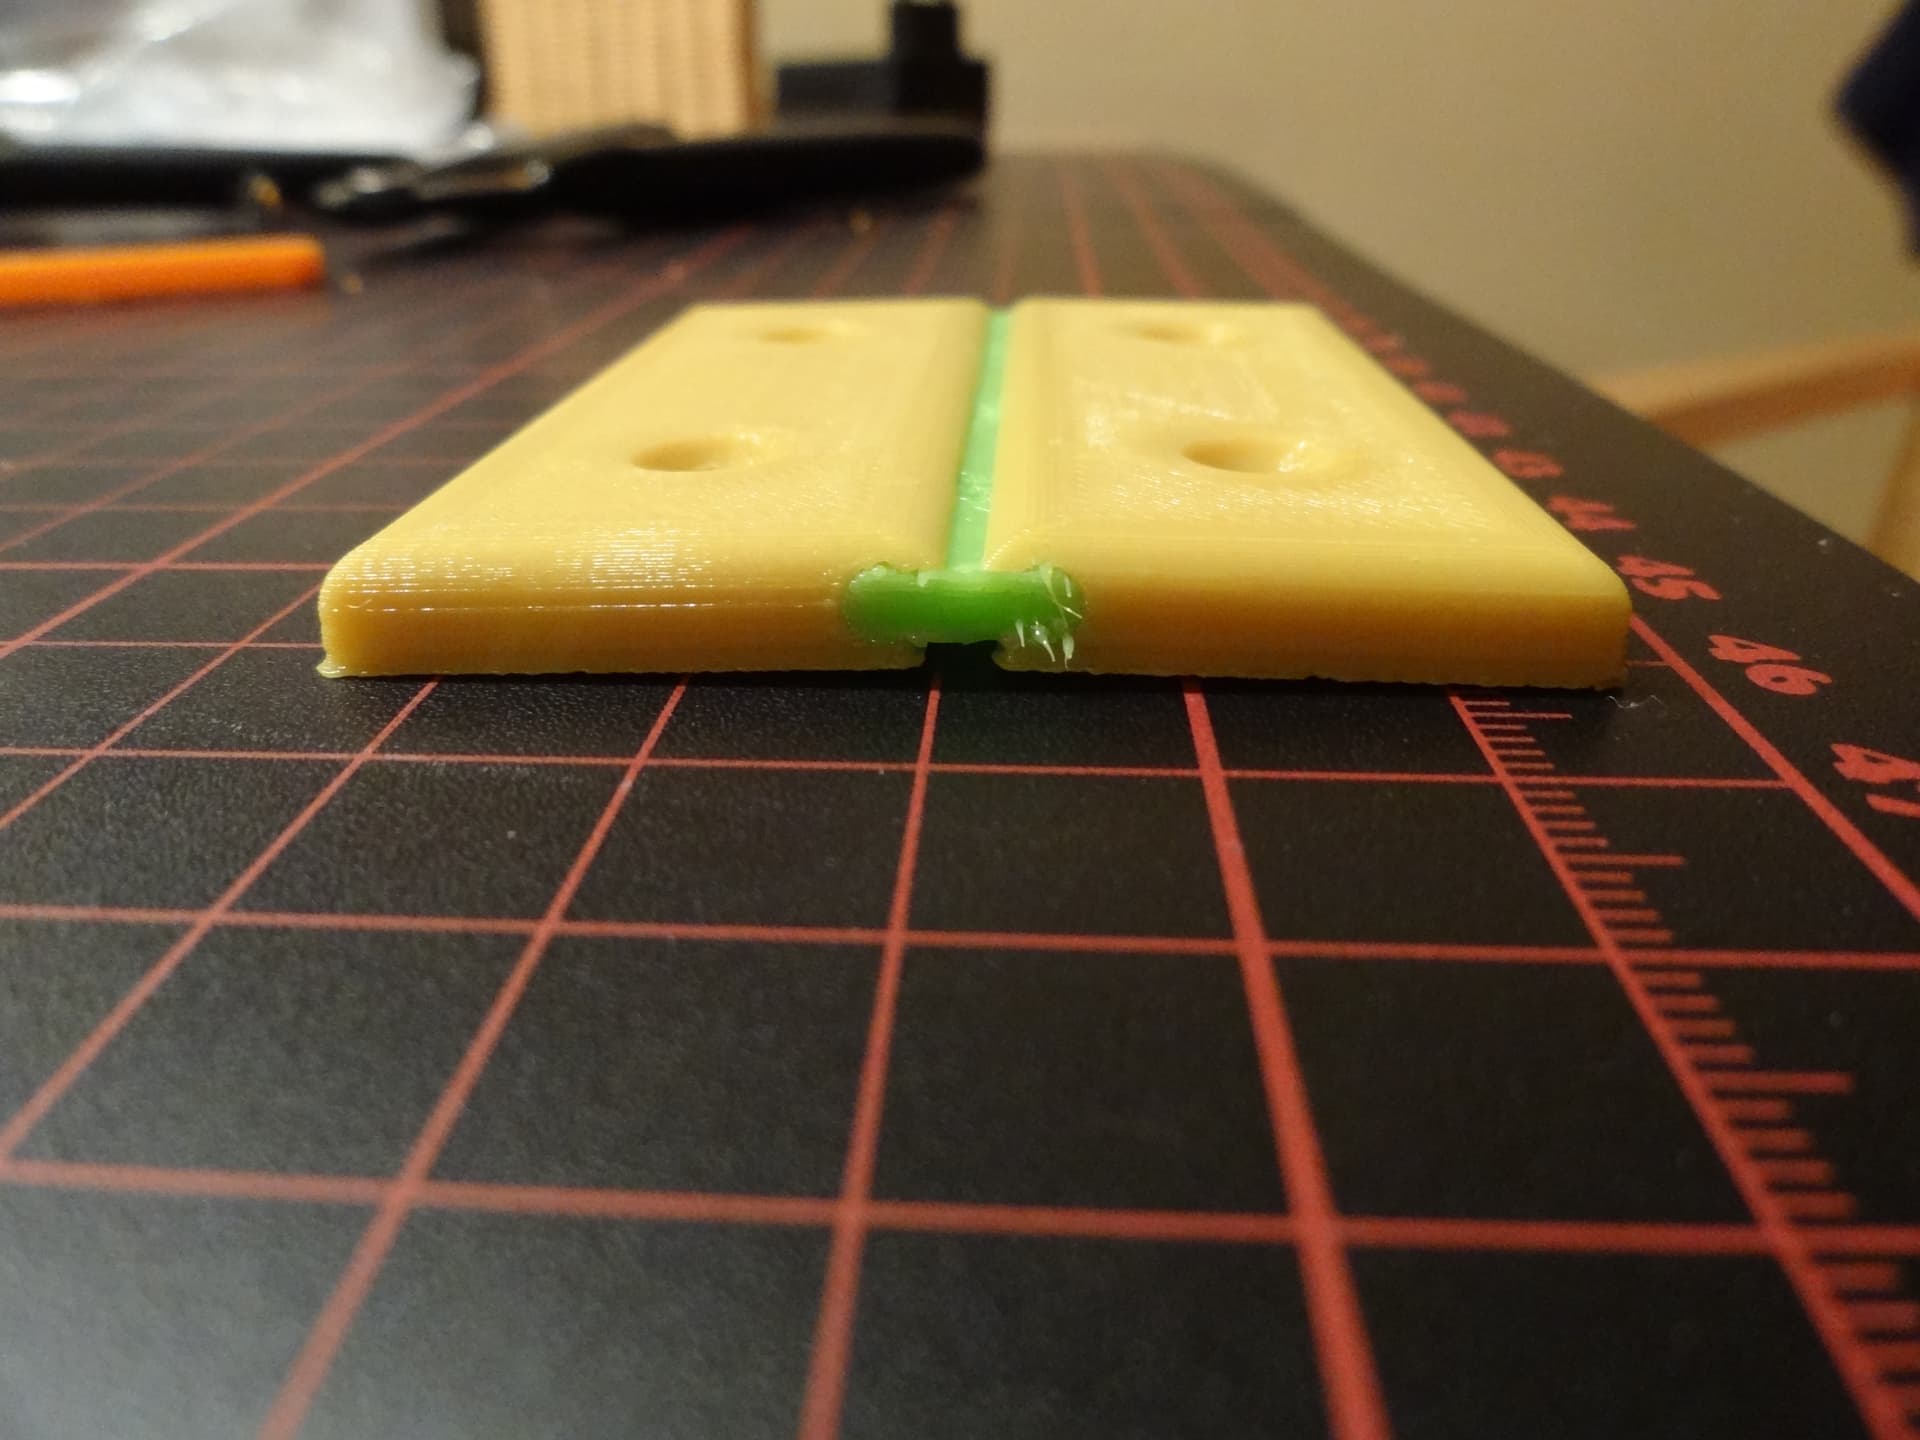
I’m going to make another hinge that you don’t have to screw on but can glue on.
This is best printed with the J1 and Cura Slicer.
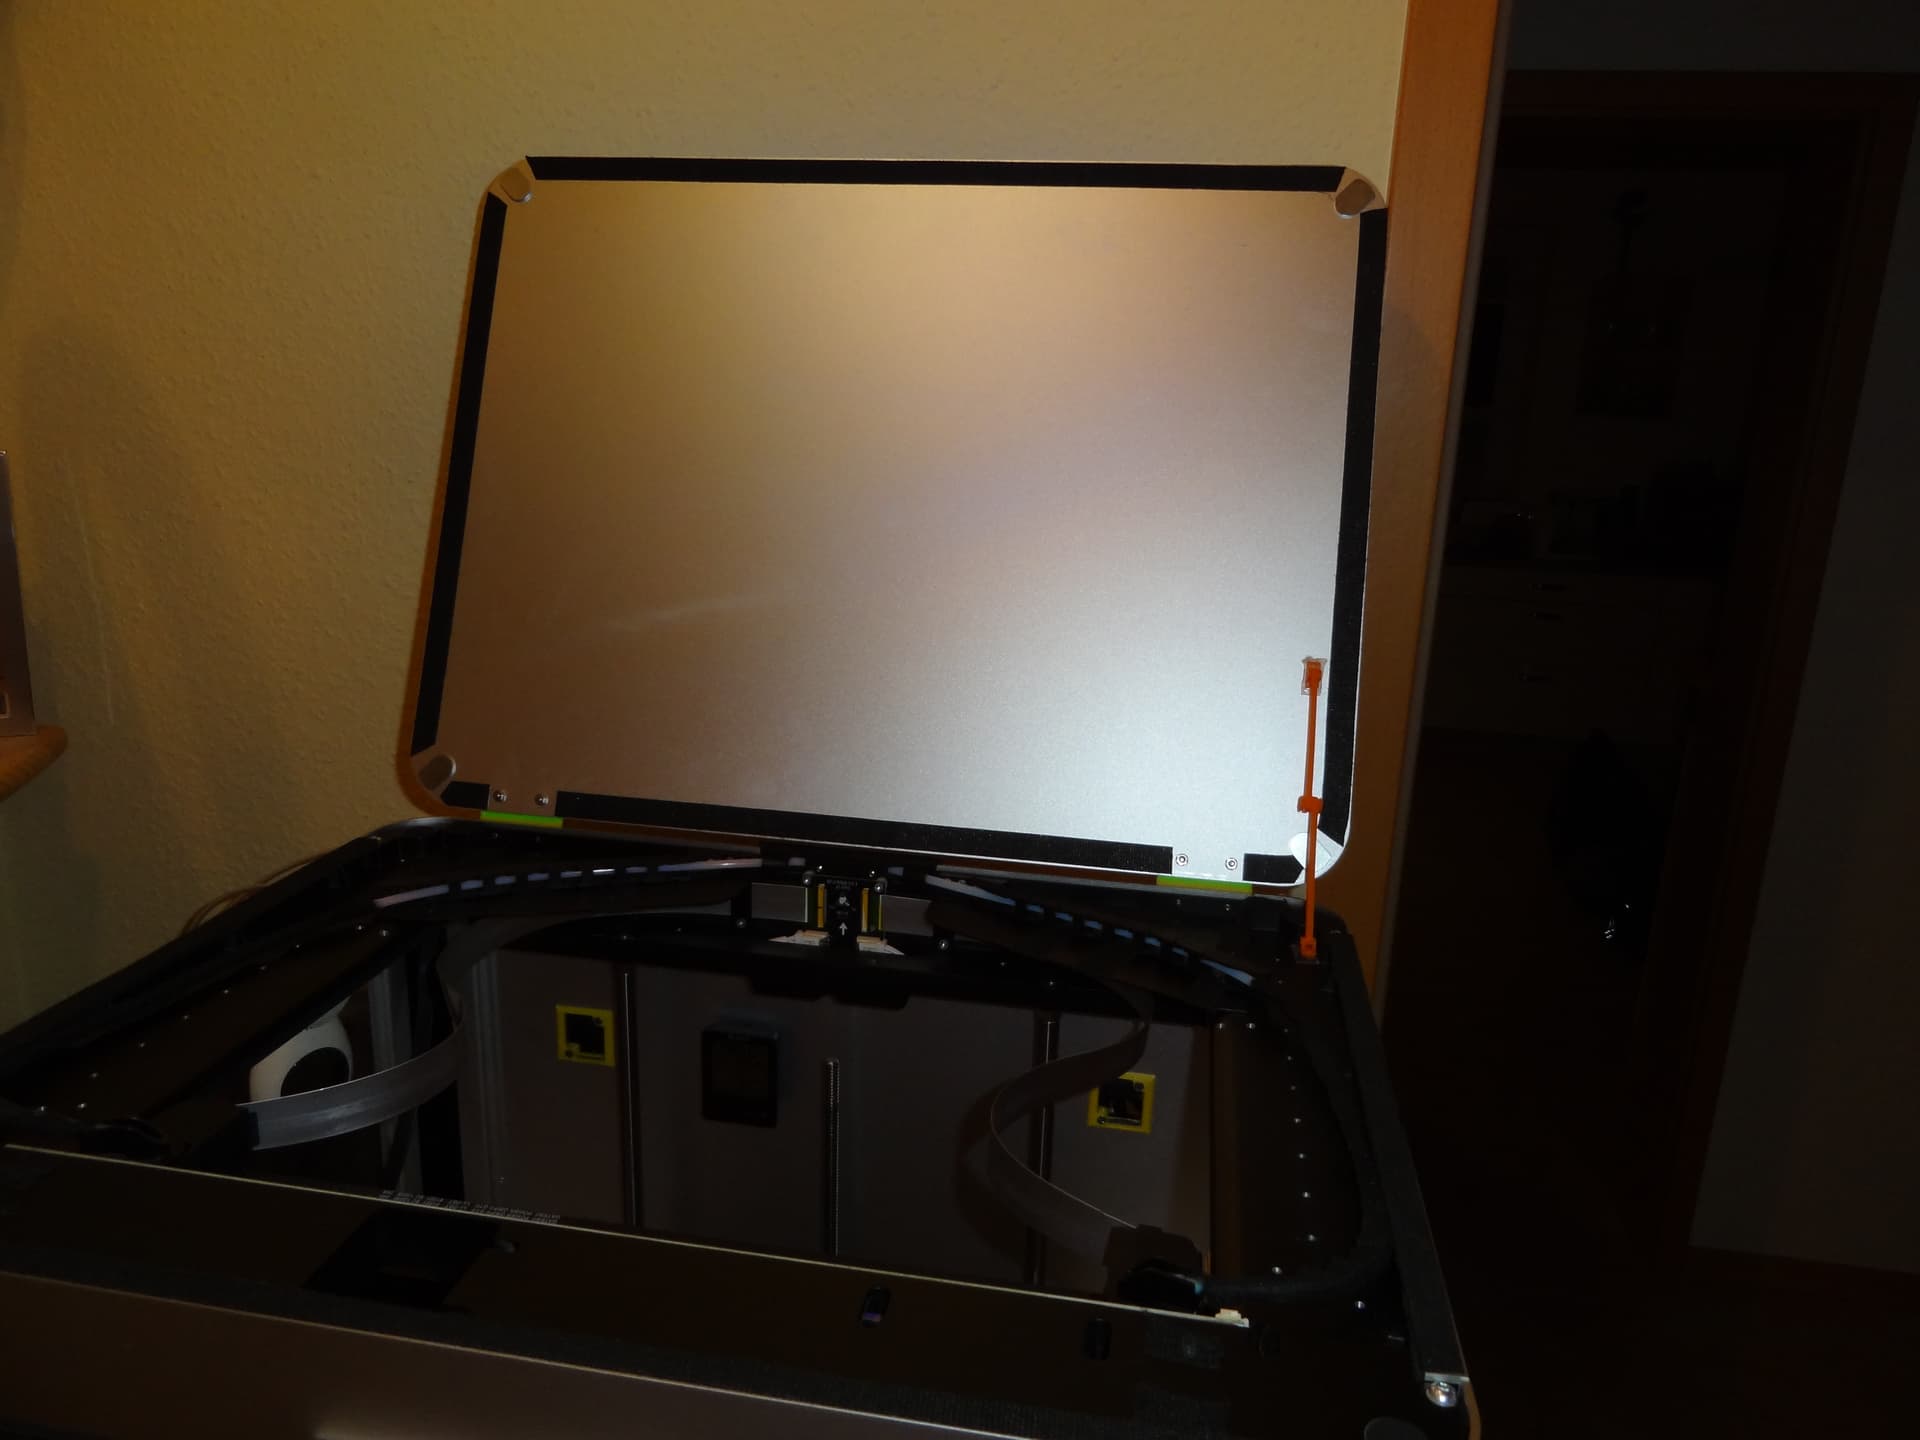
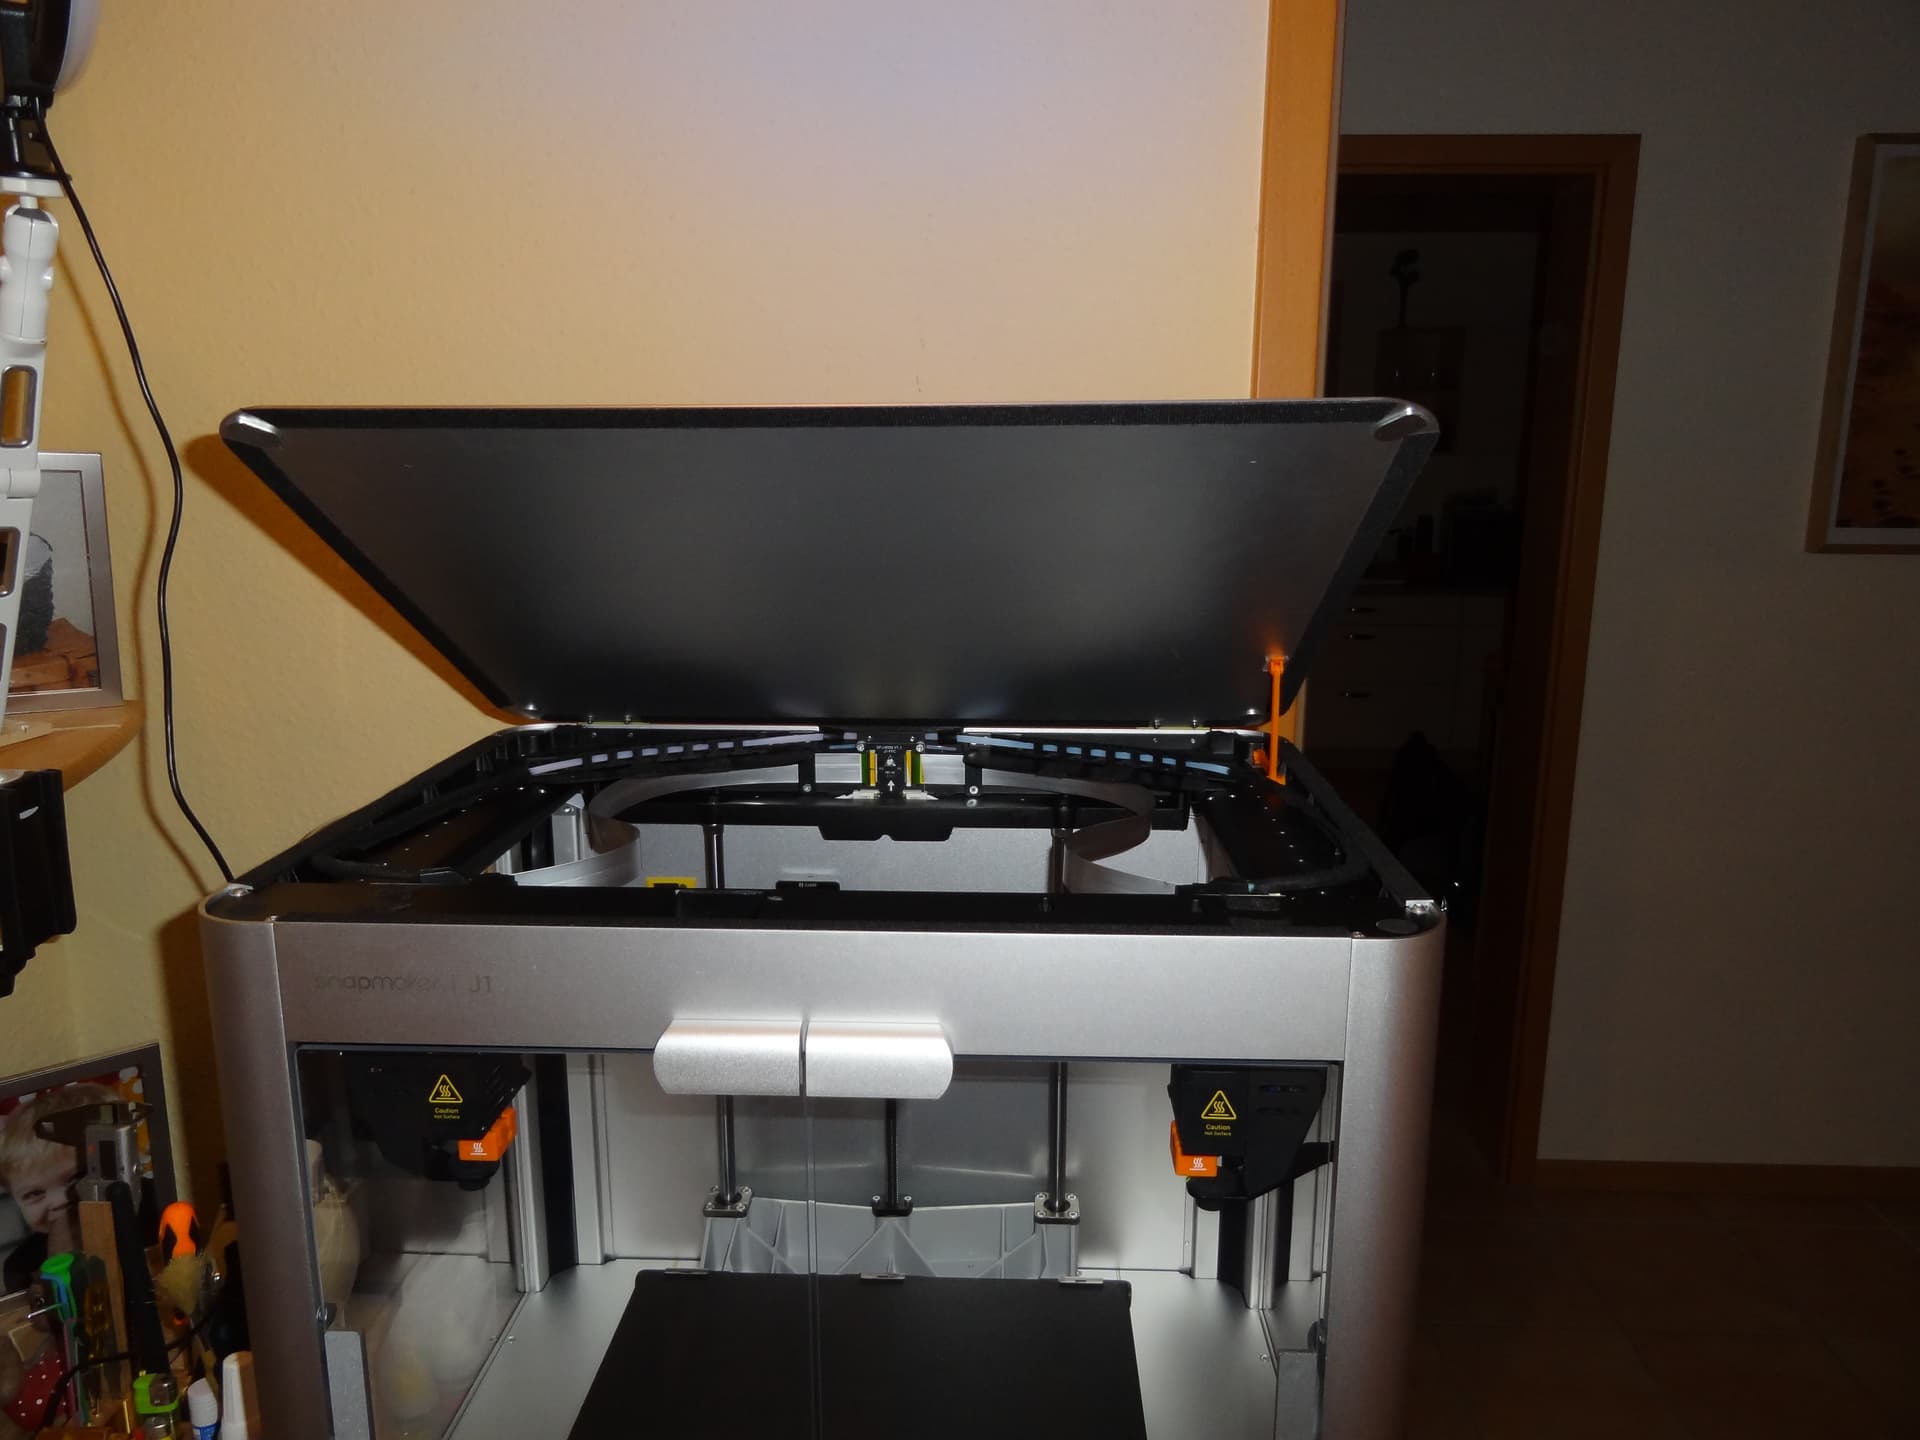
Lid support
The lid support also solves the problem of having to hold the lid in place.
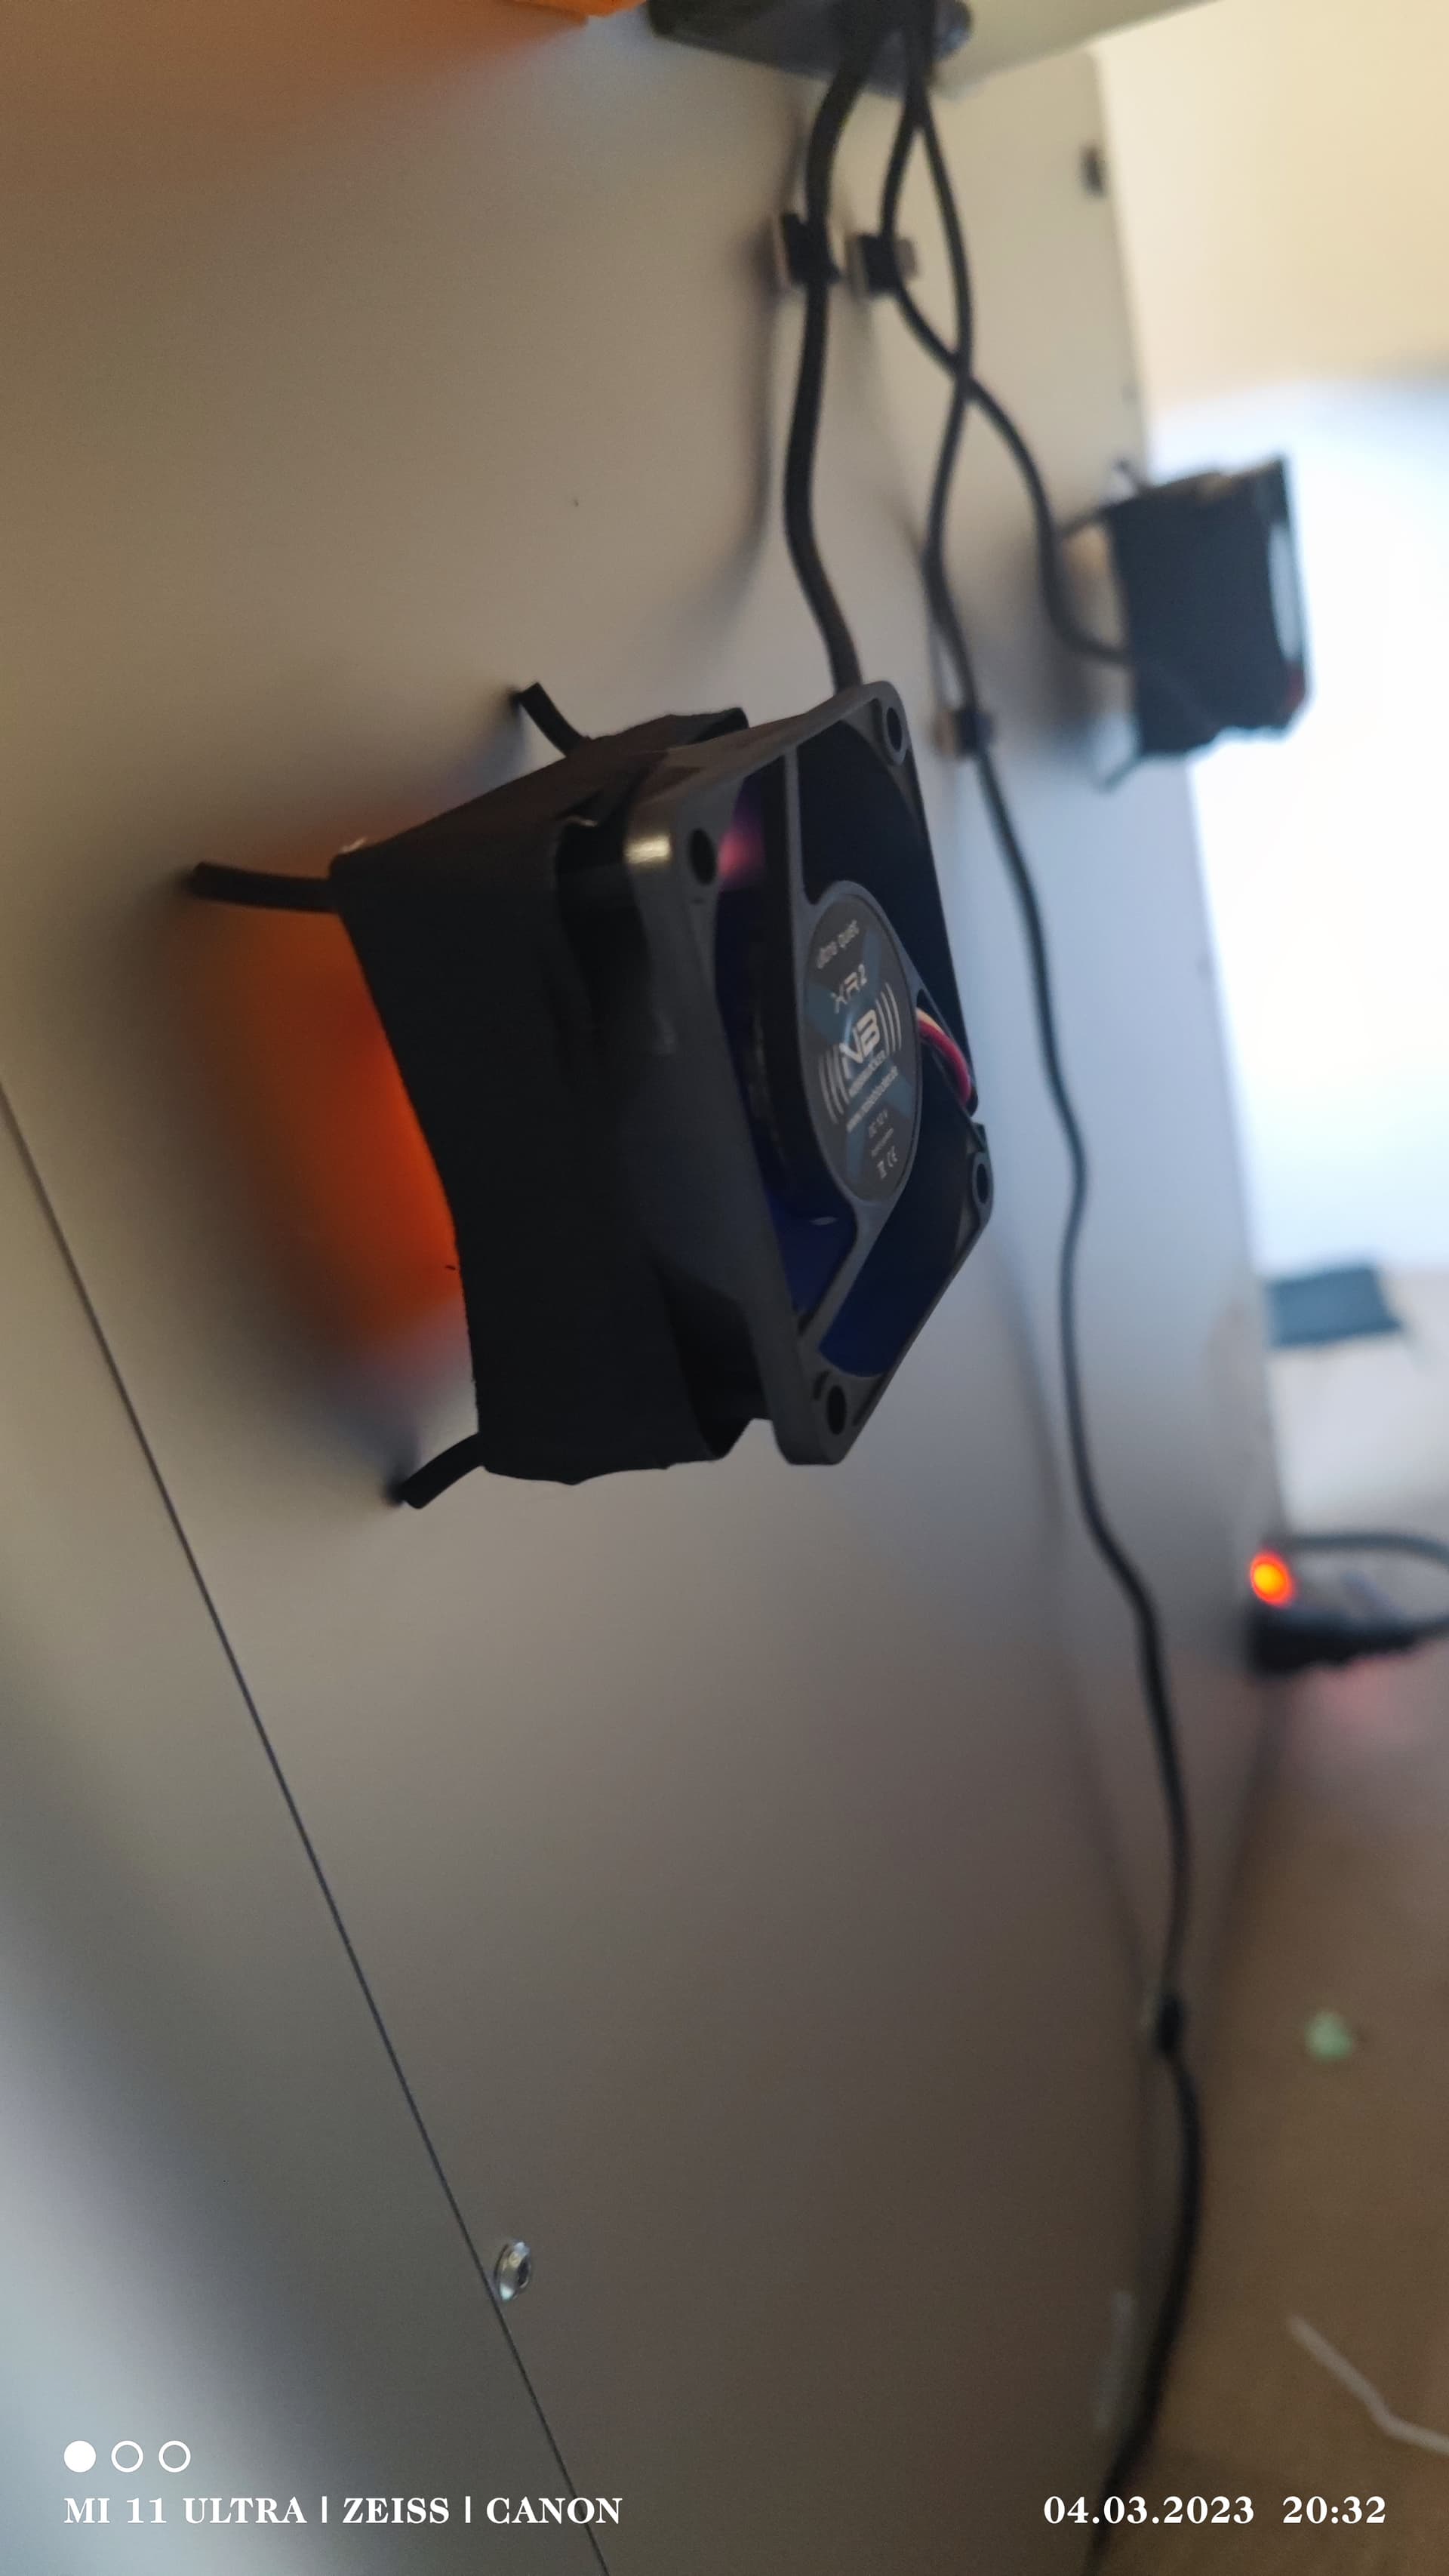
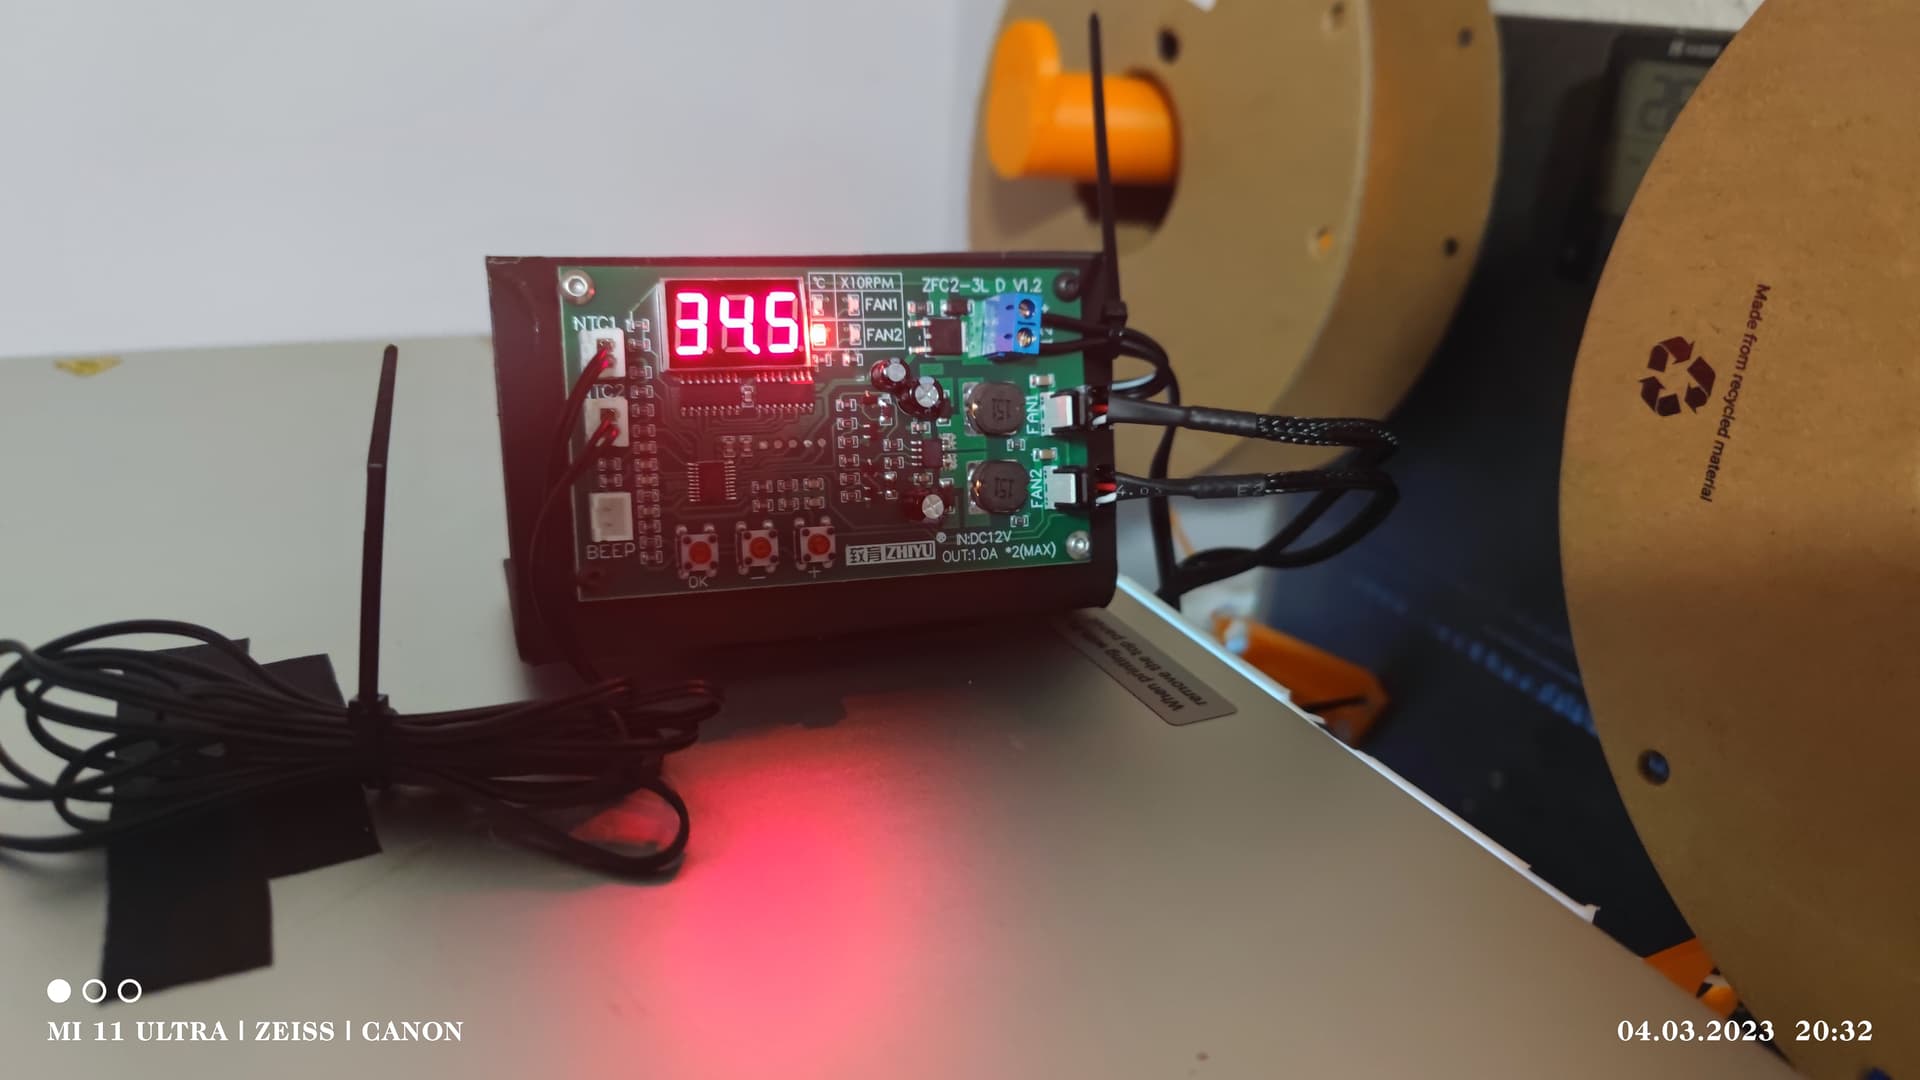
Case ventilation
Since my J1 is in the living room and is therefore too loud without a lid, but PLA cannot be printed with a lid because the cooling is not sufficient, I got inspired.
On thingiverse, someone made their case ventilation available, I tried that too, but unfortunately that’s not enough.
That’s why I did it all a little differently.
Now two 60x60 fans can be used, depending on the performance of the fans used, the ventilation of the housing is now sufficient to optimal.
I myself use SUNON fans 60x60x15, which are supplied via a USB DC-DC converter, where you can still adjust the voltage.
German:
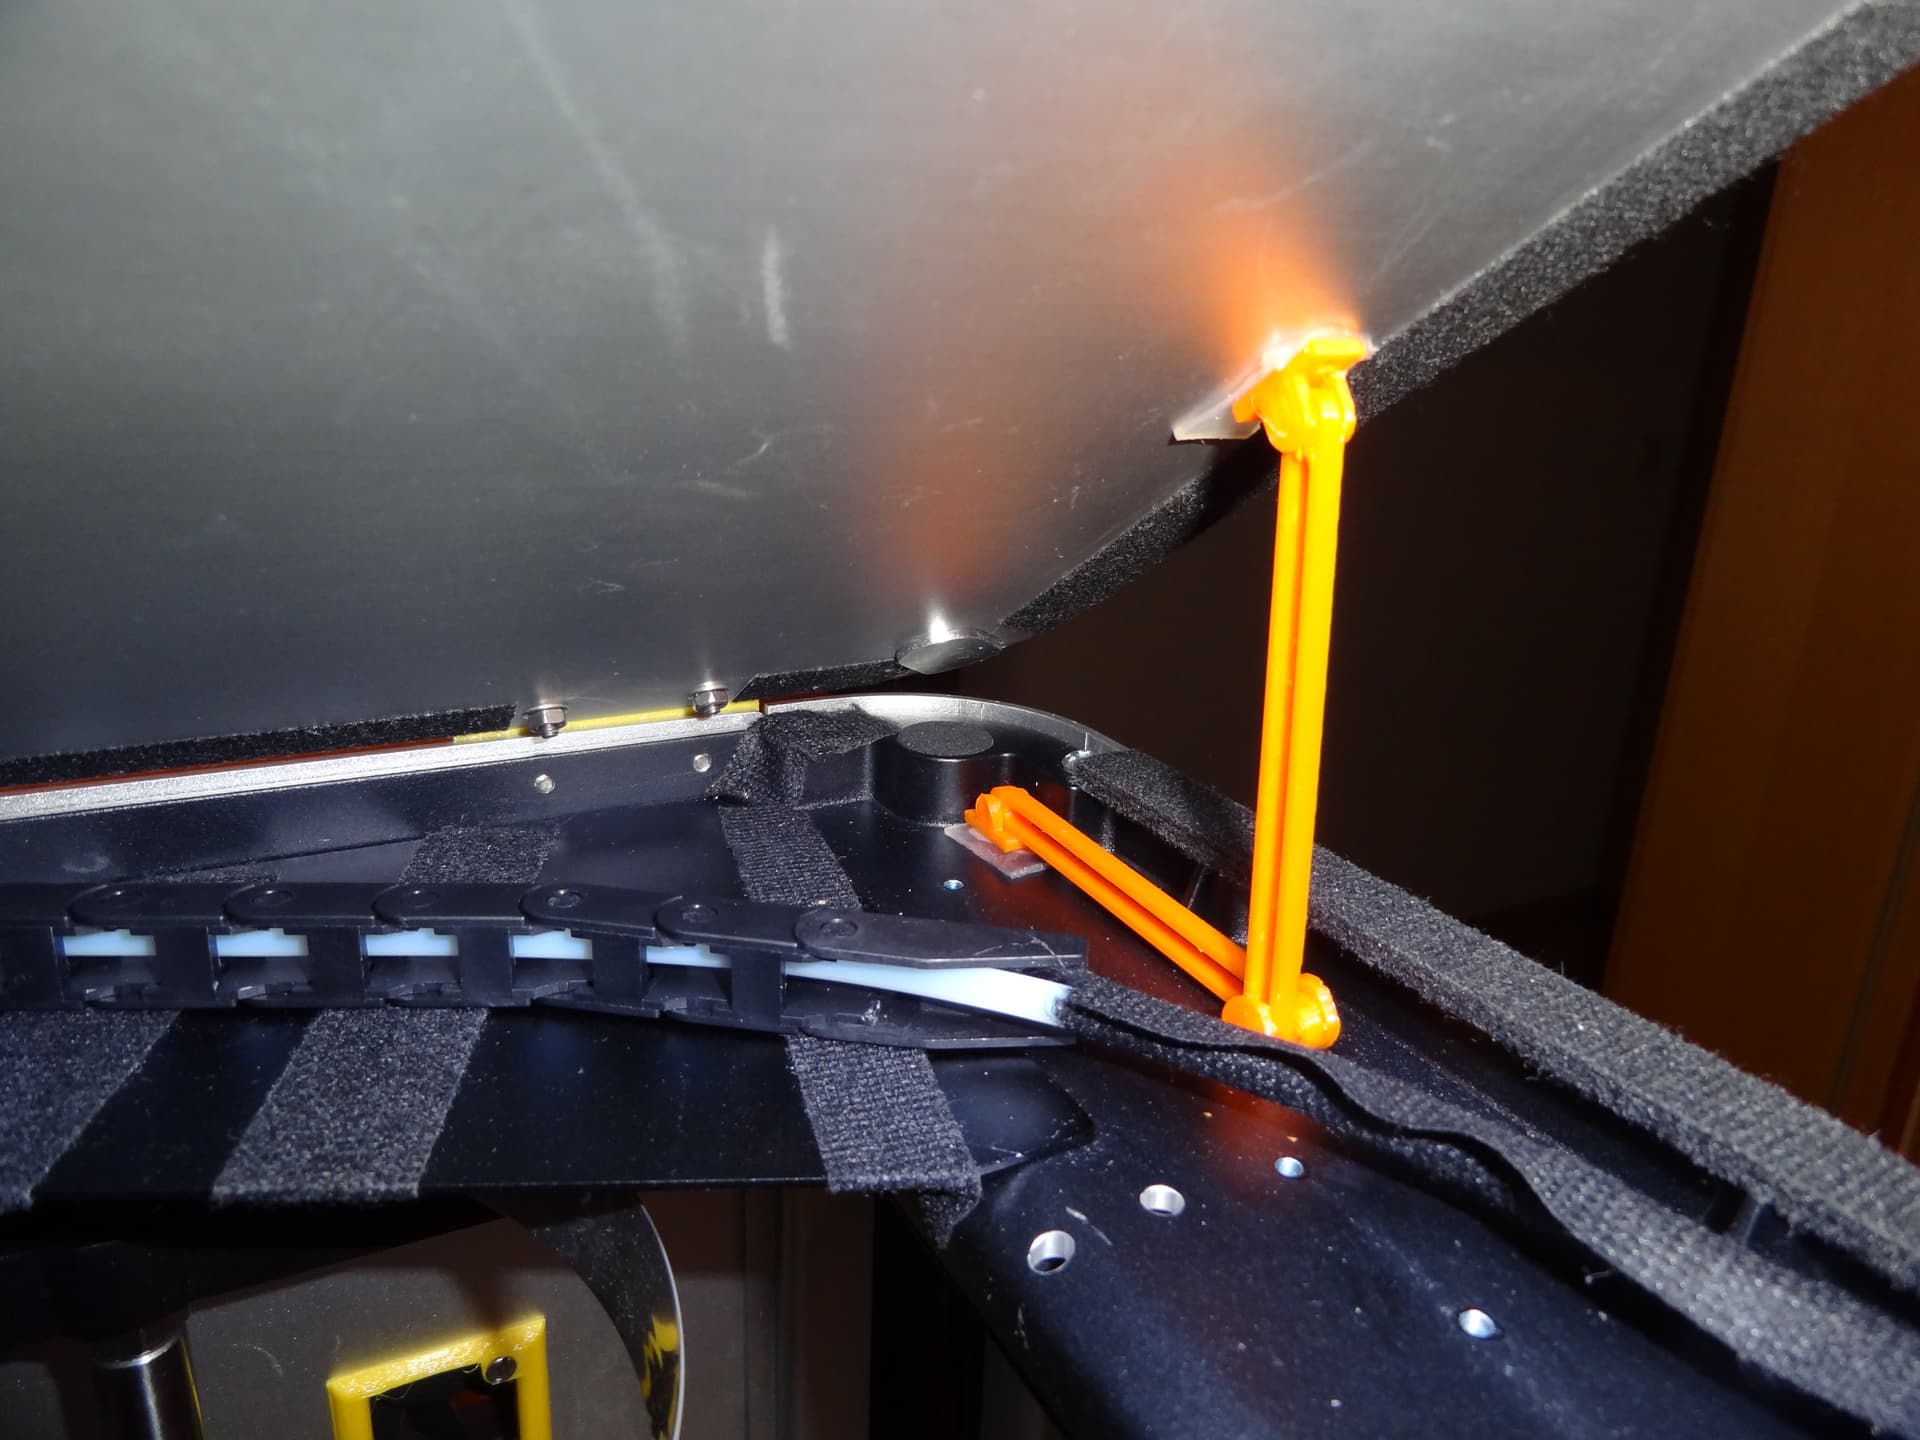
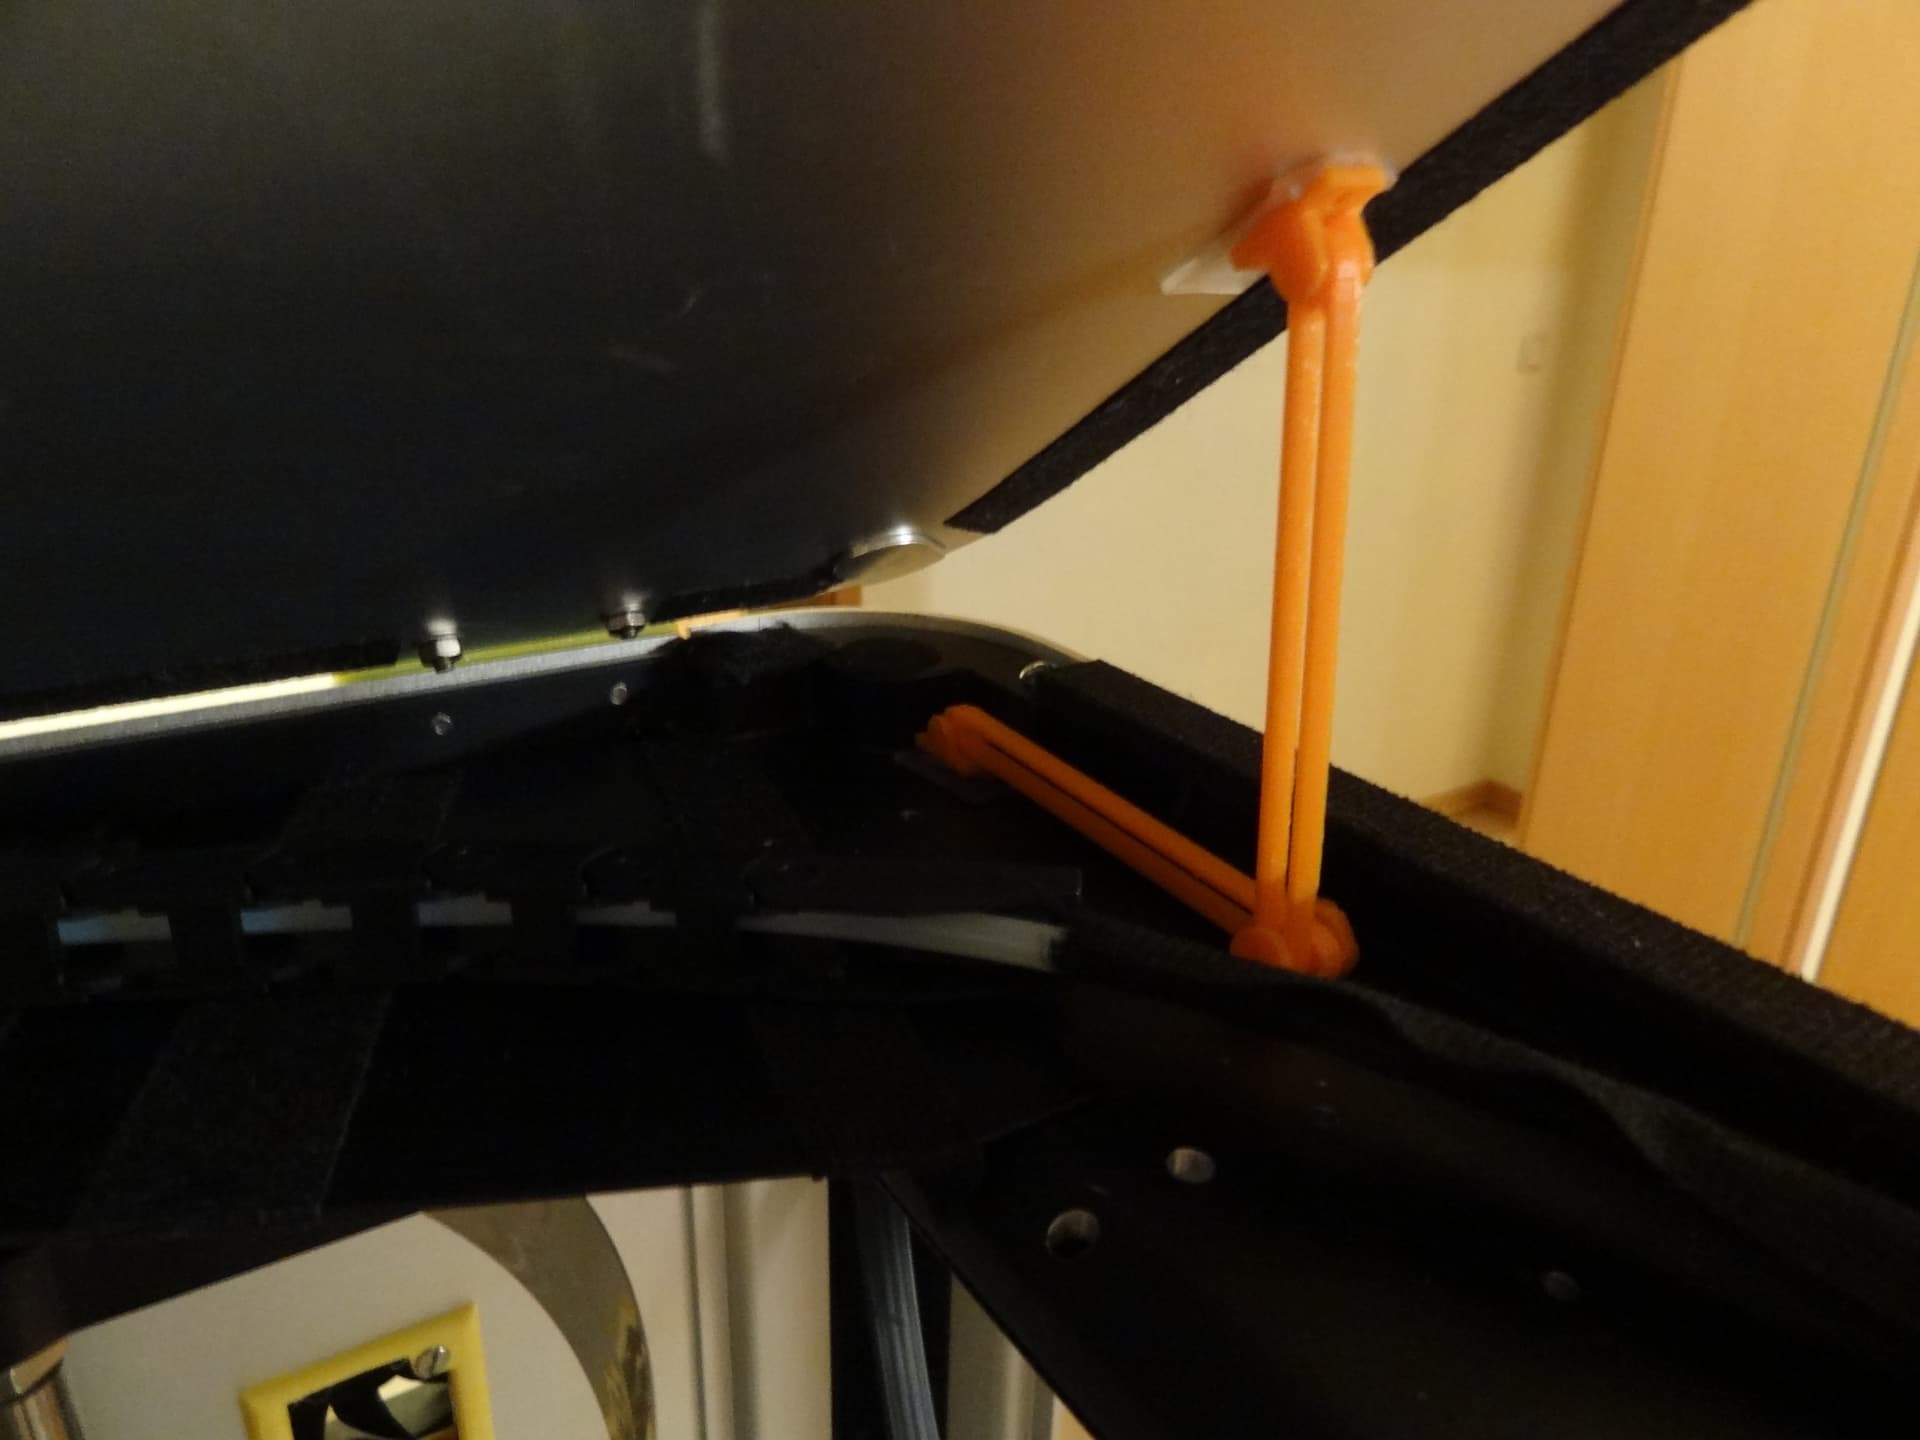
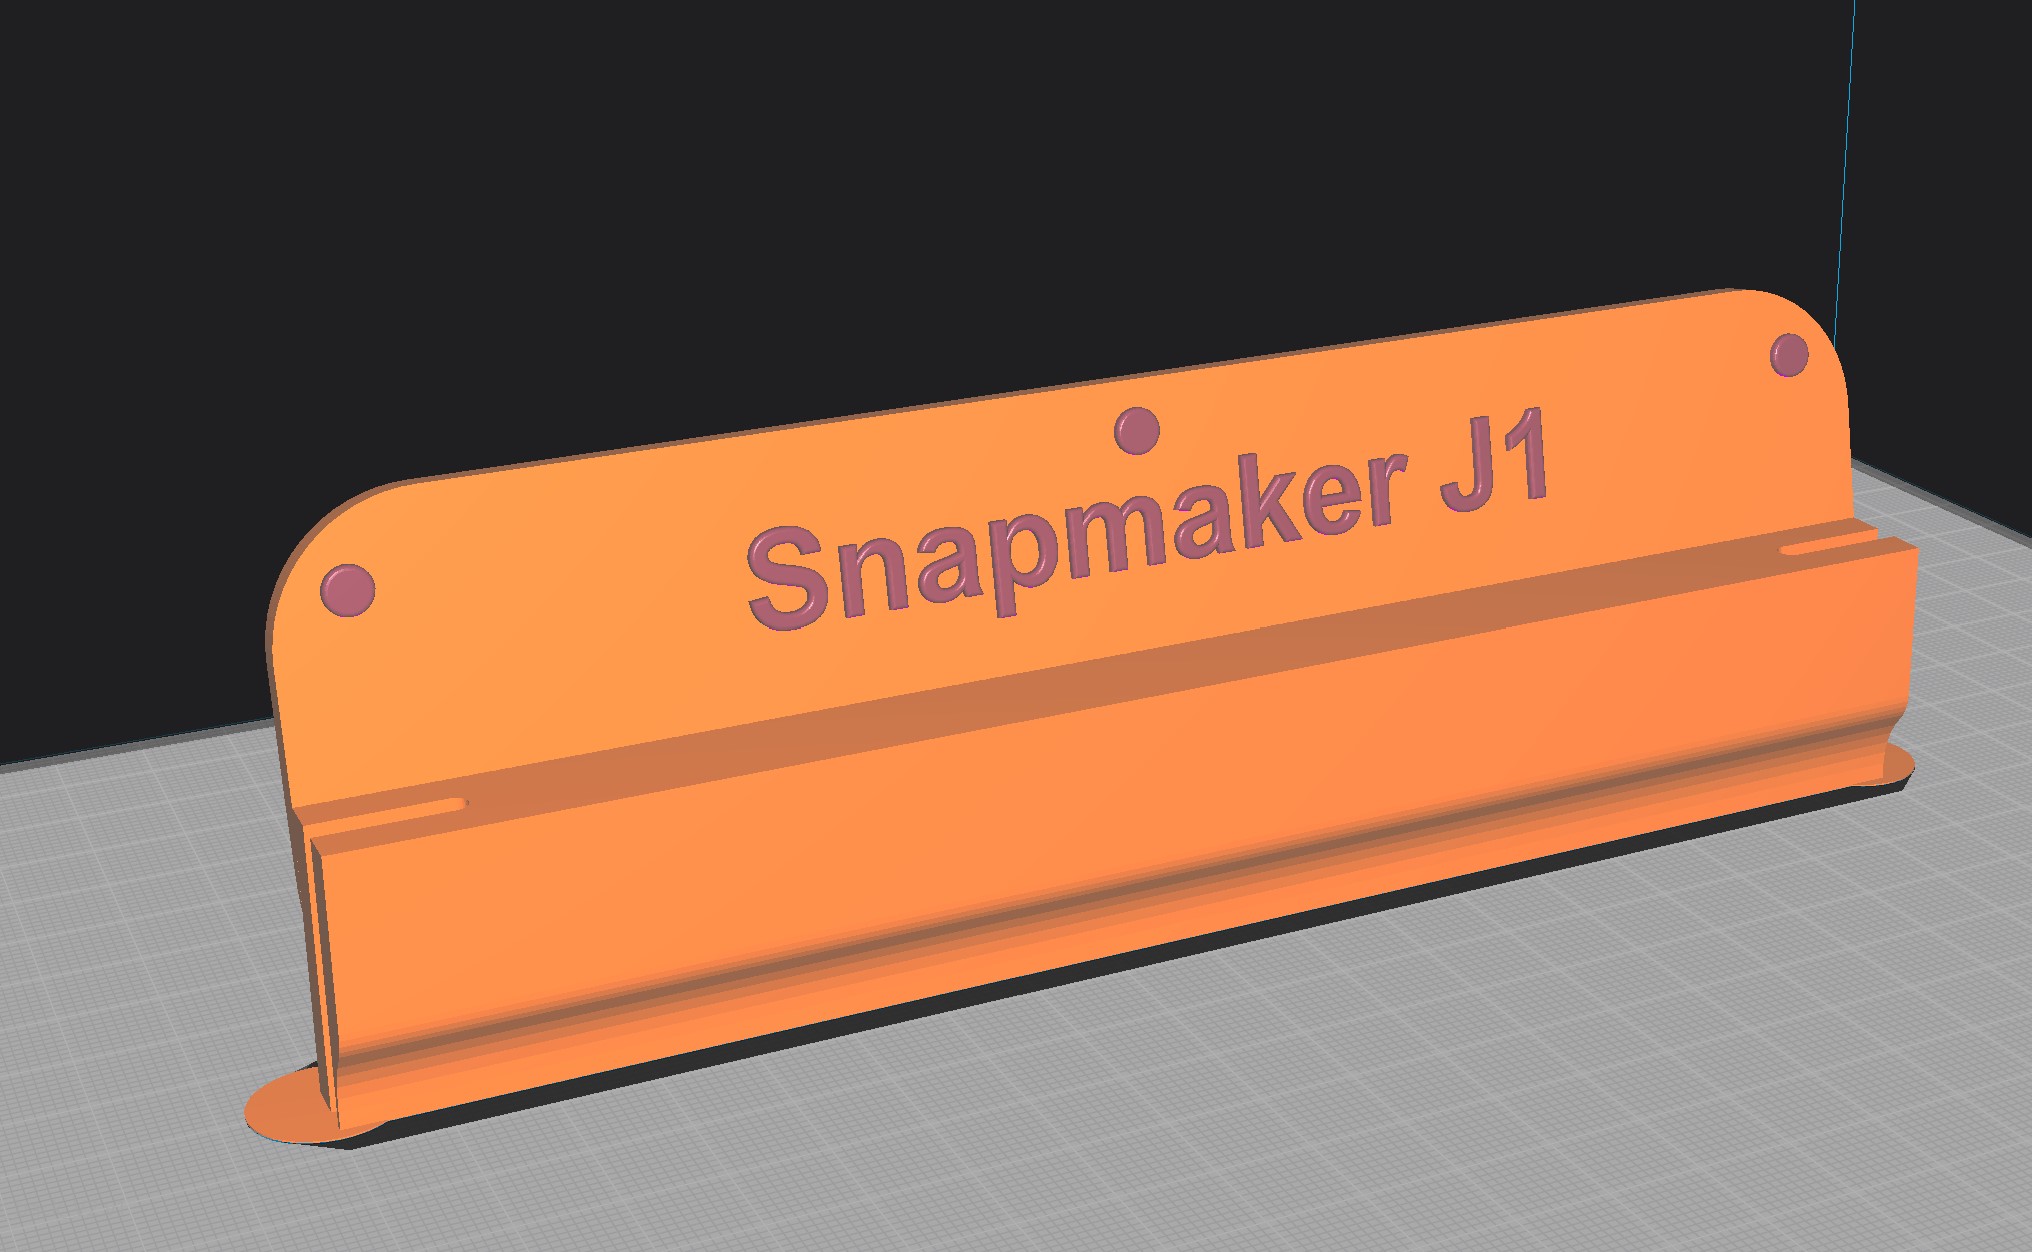
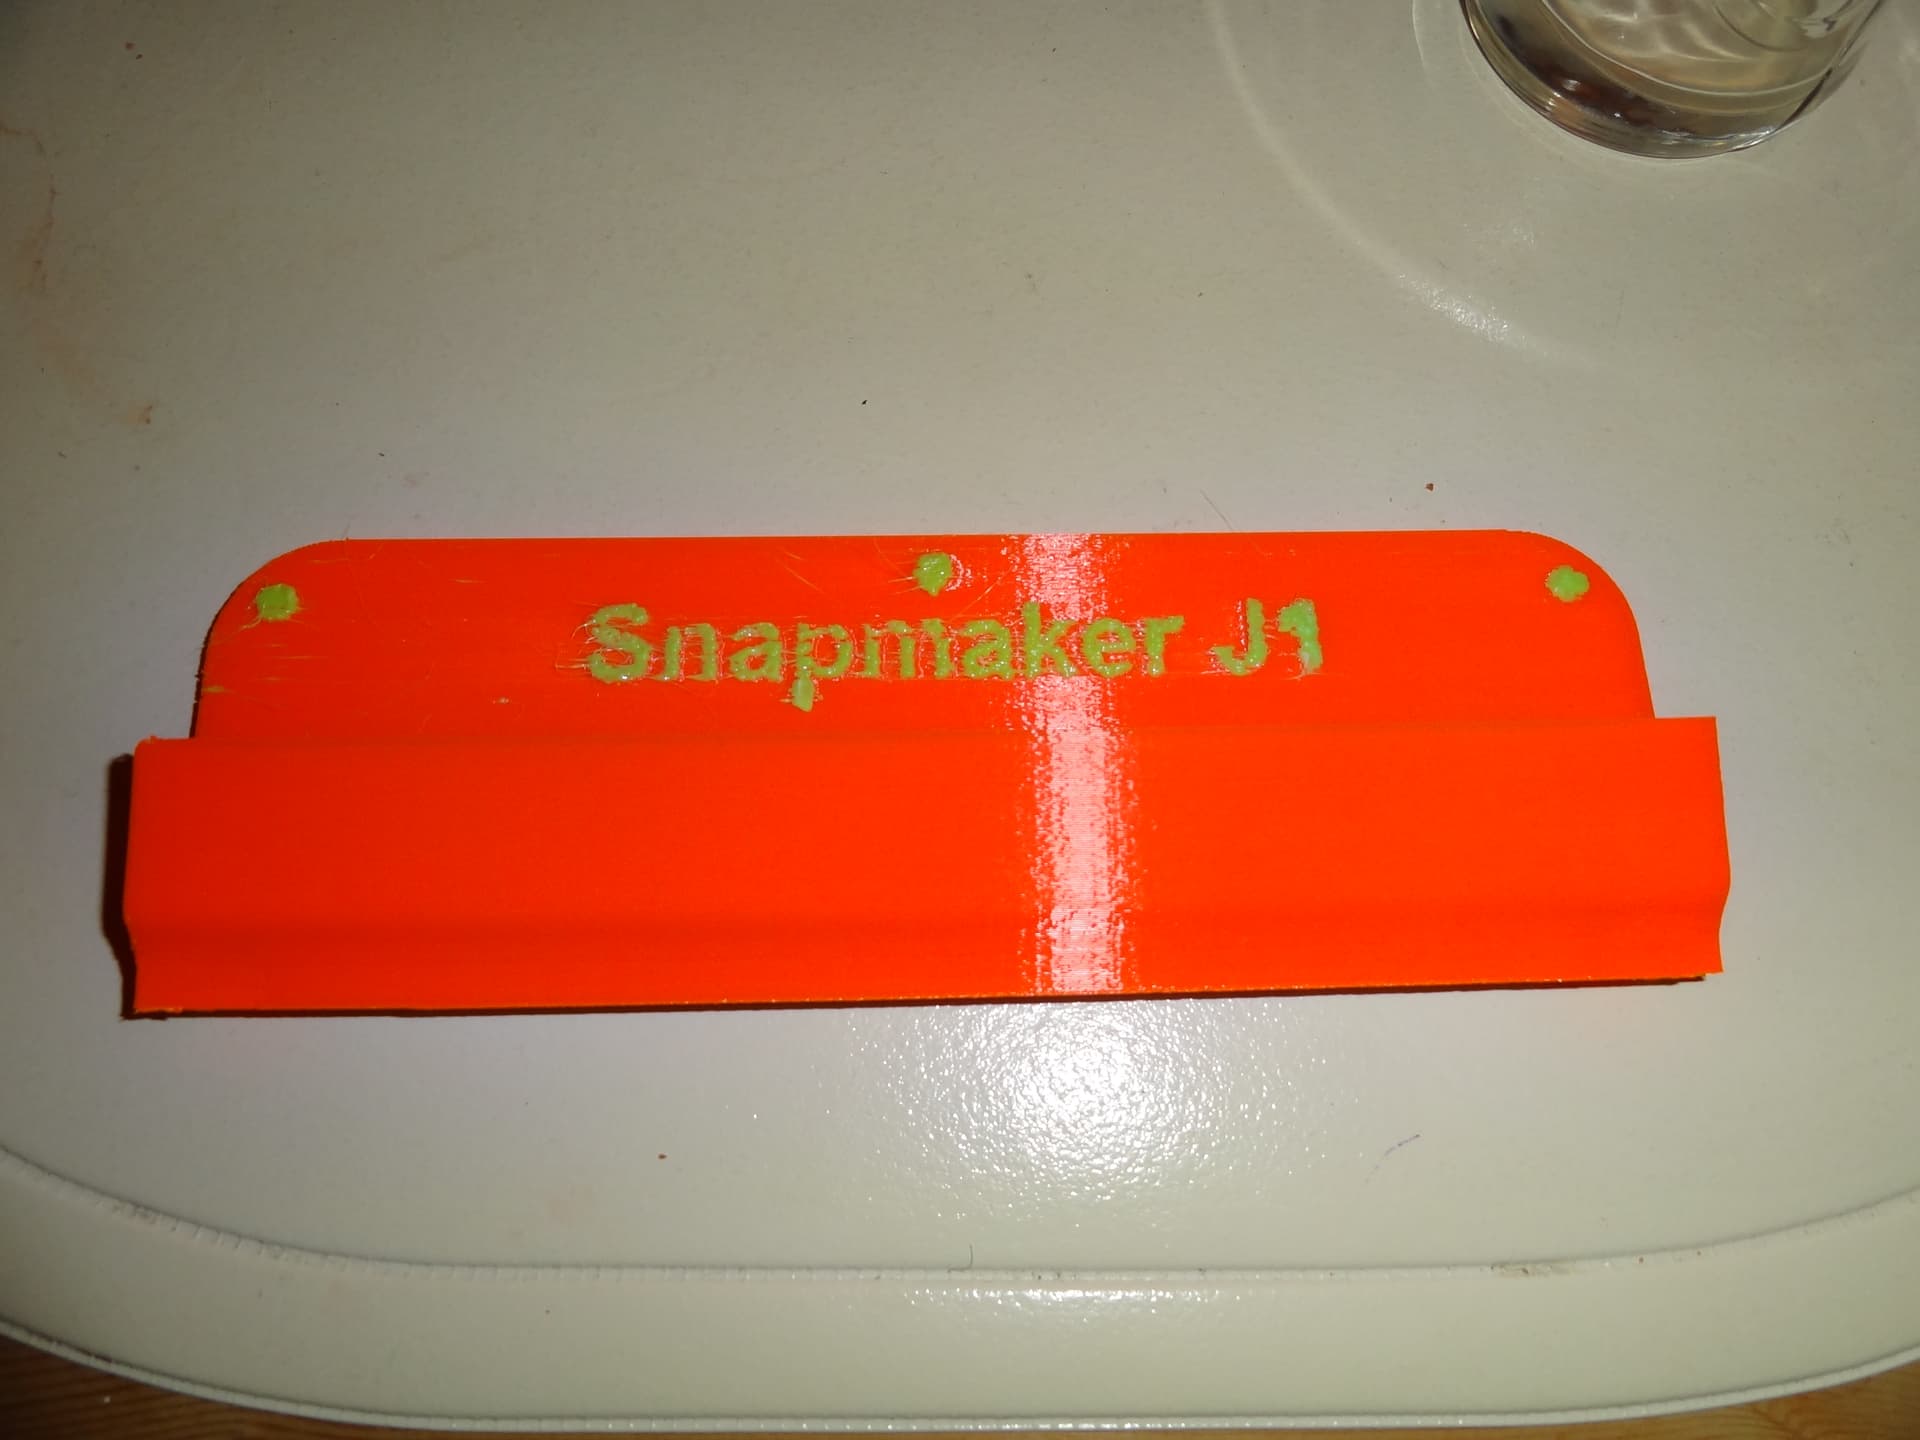
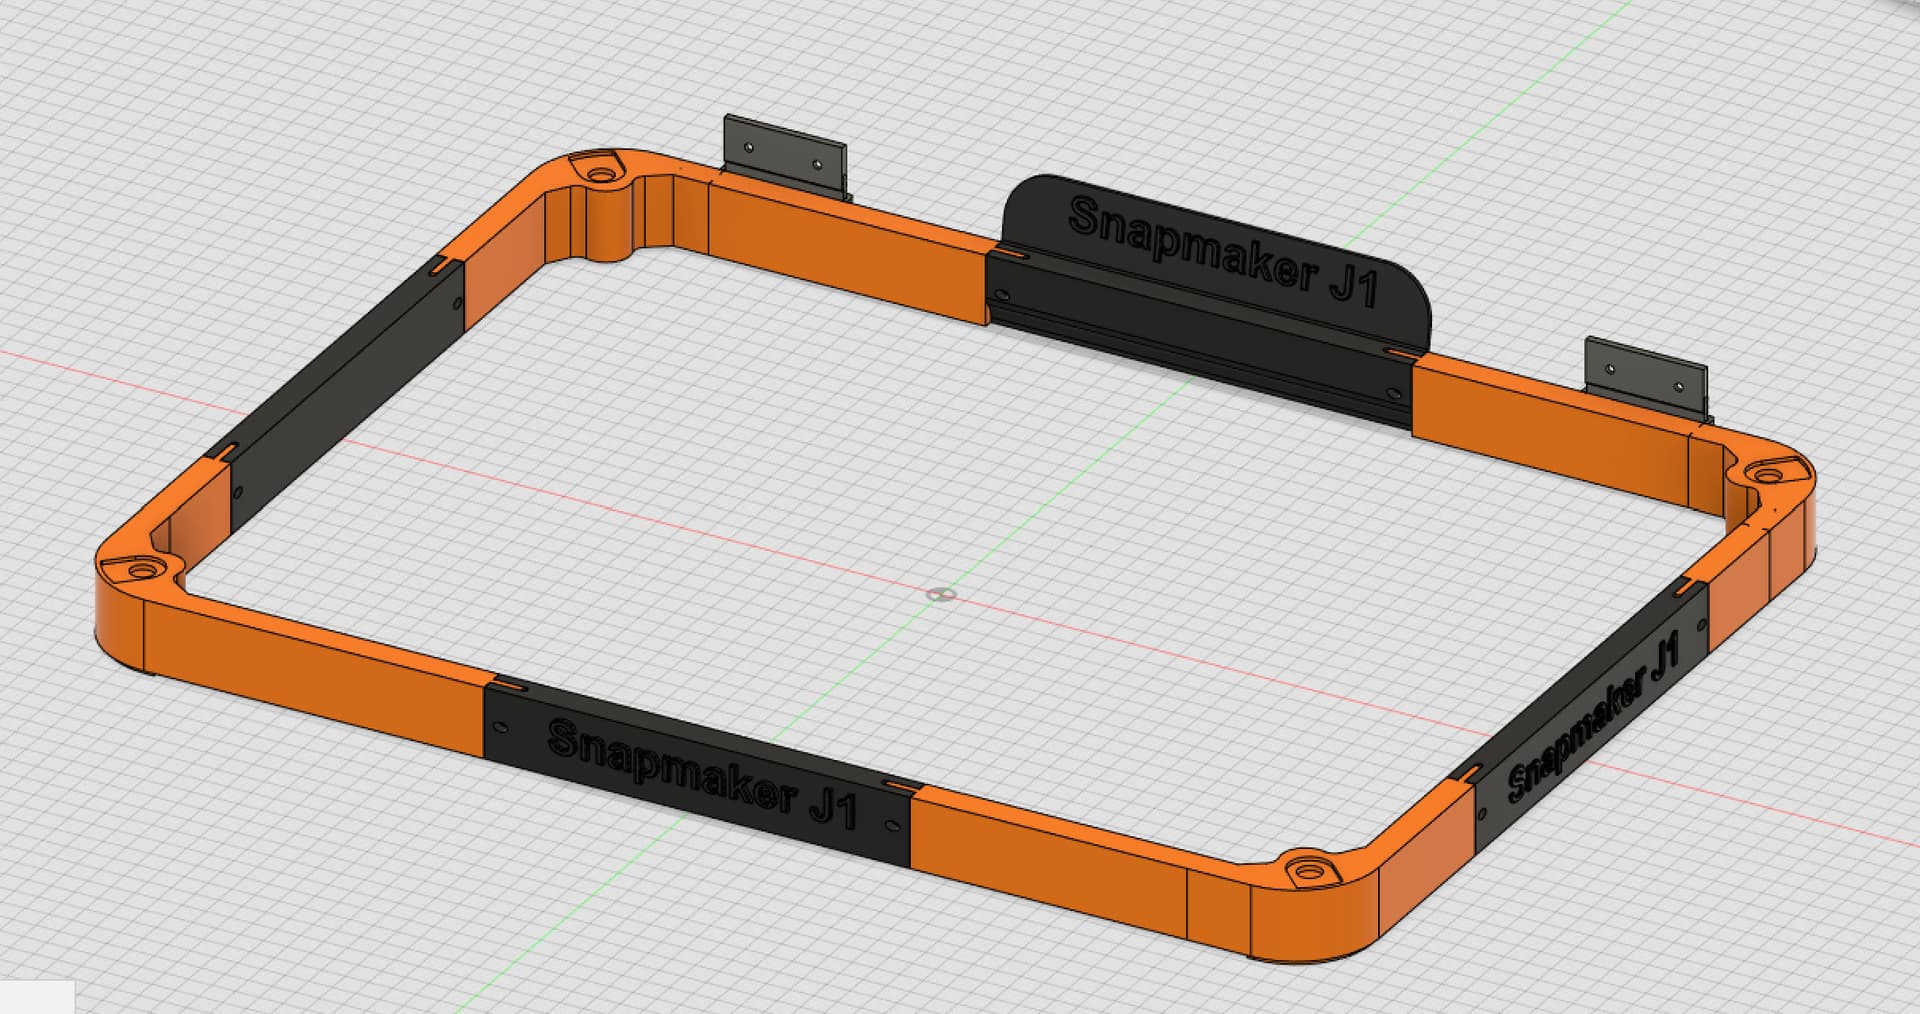
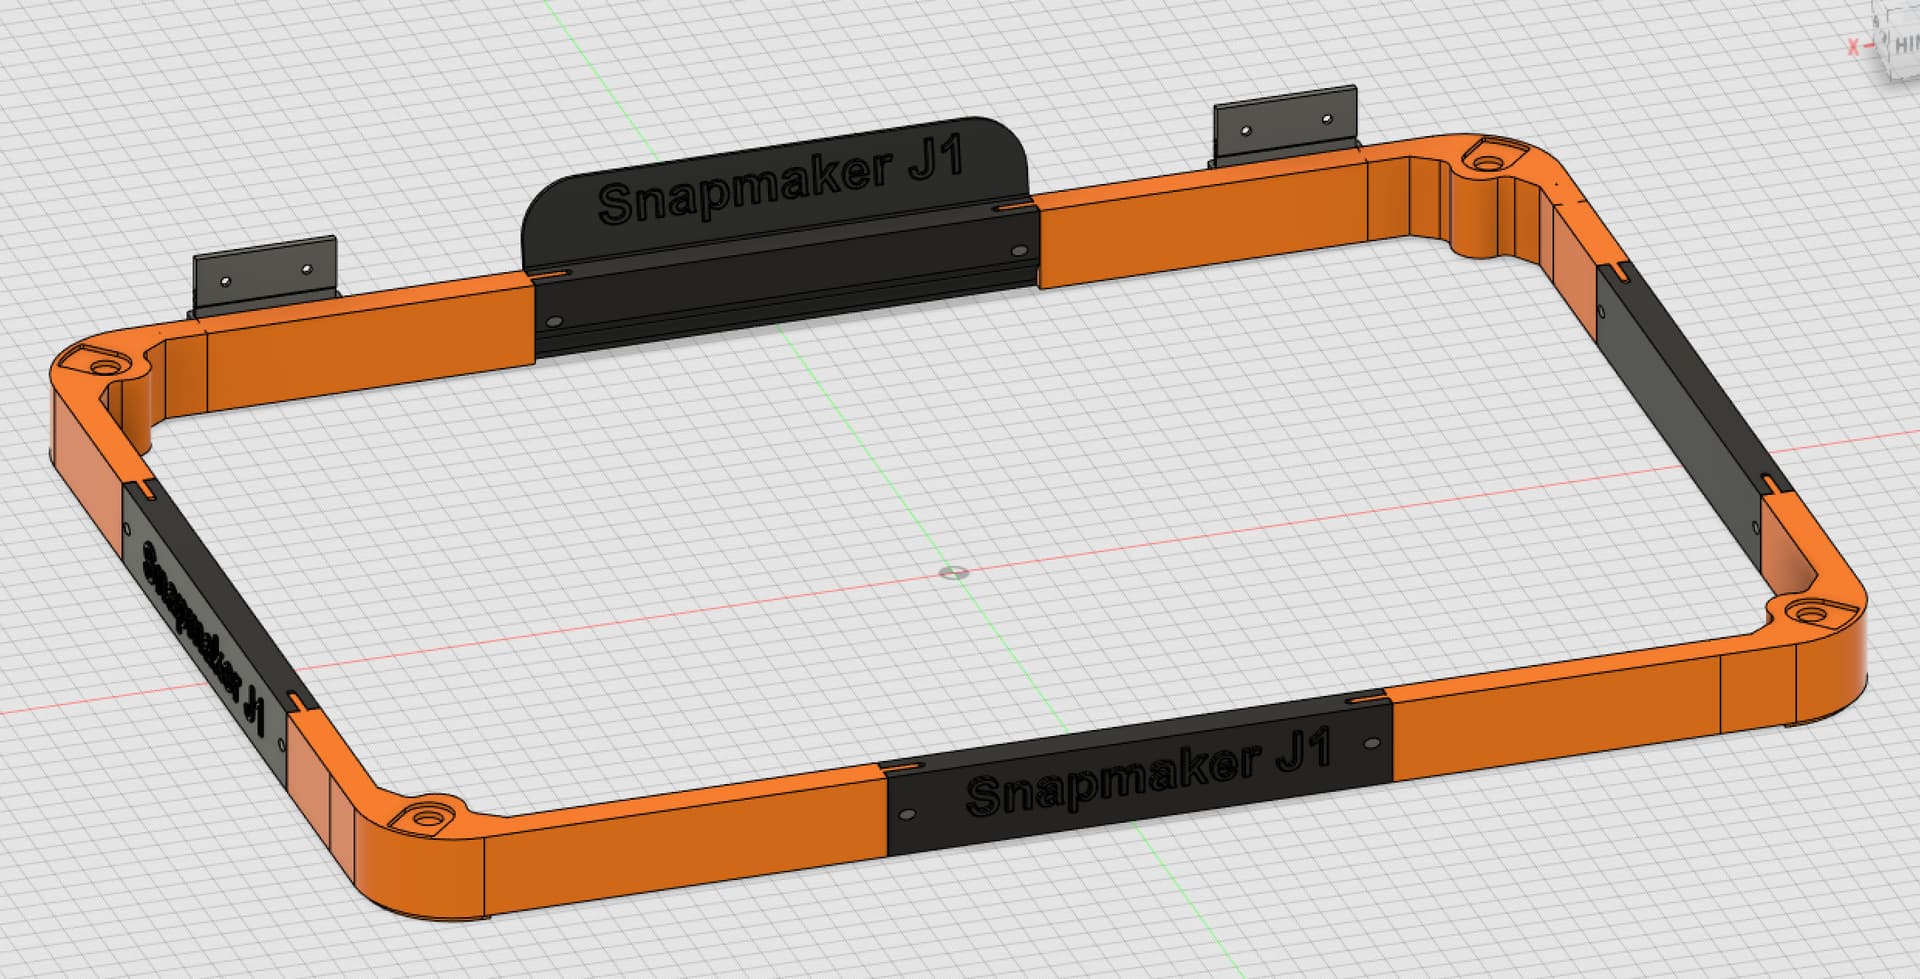
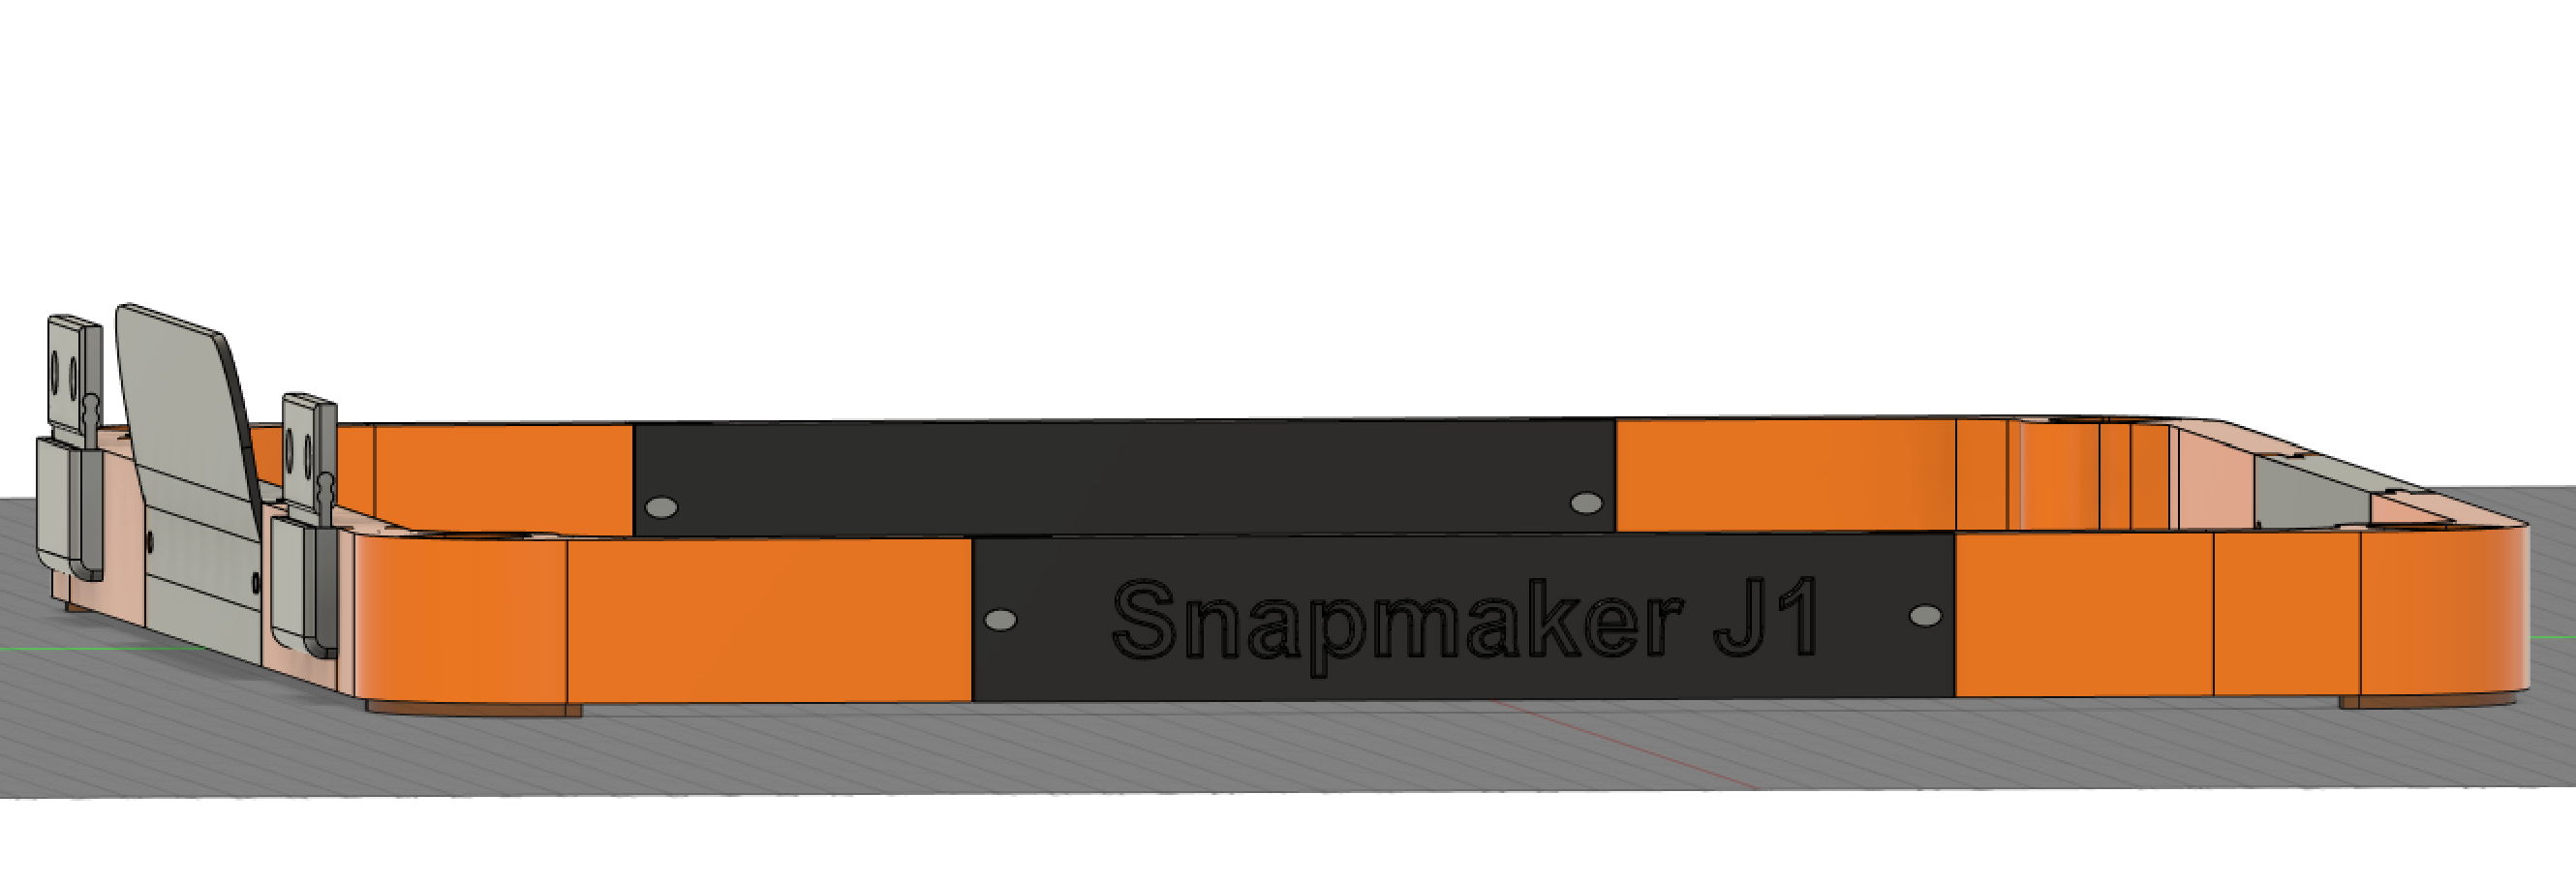
Ich habe noch mal etwas gemacht, der Druck ist jetzt nicht perfekt geworden, aber es sieht schon recht gut aus.
Das kann man recht gut mit meinem Scharnier kombinieren, dann muss man nur im Deckel löcher Bohren.
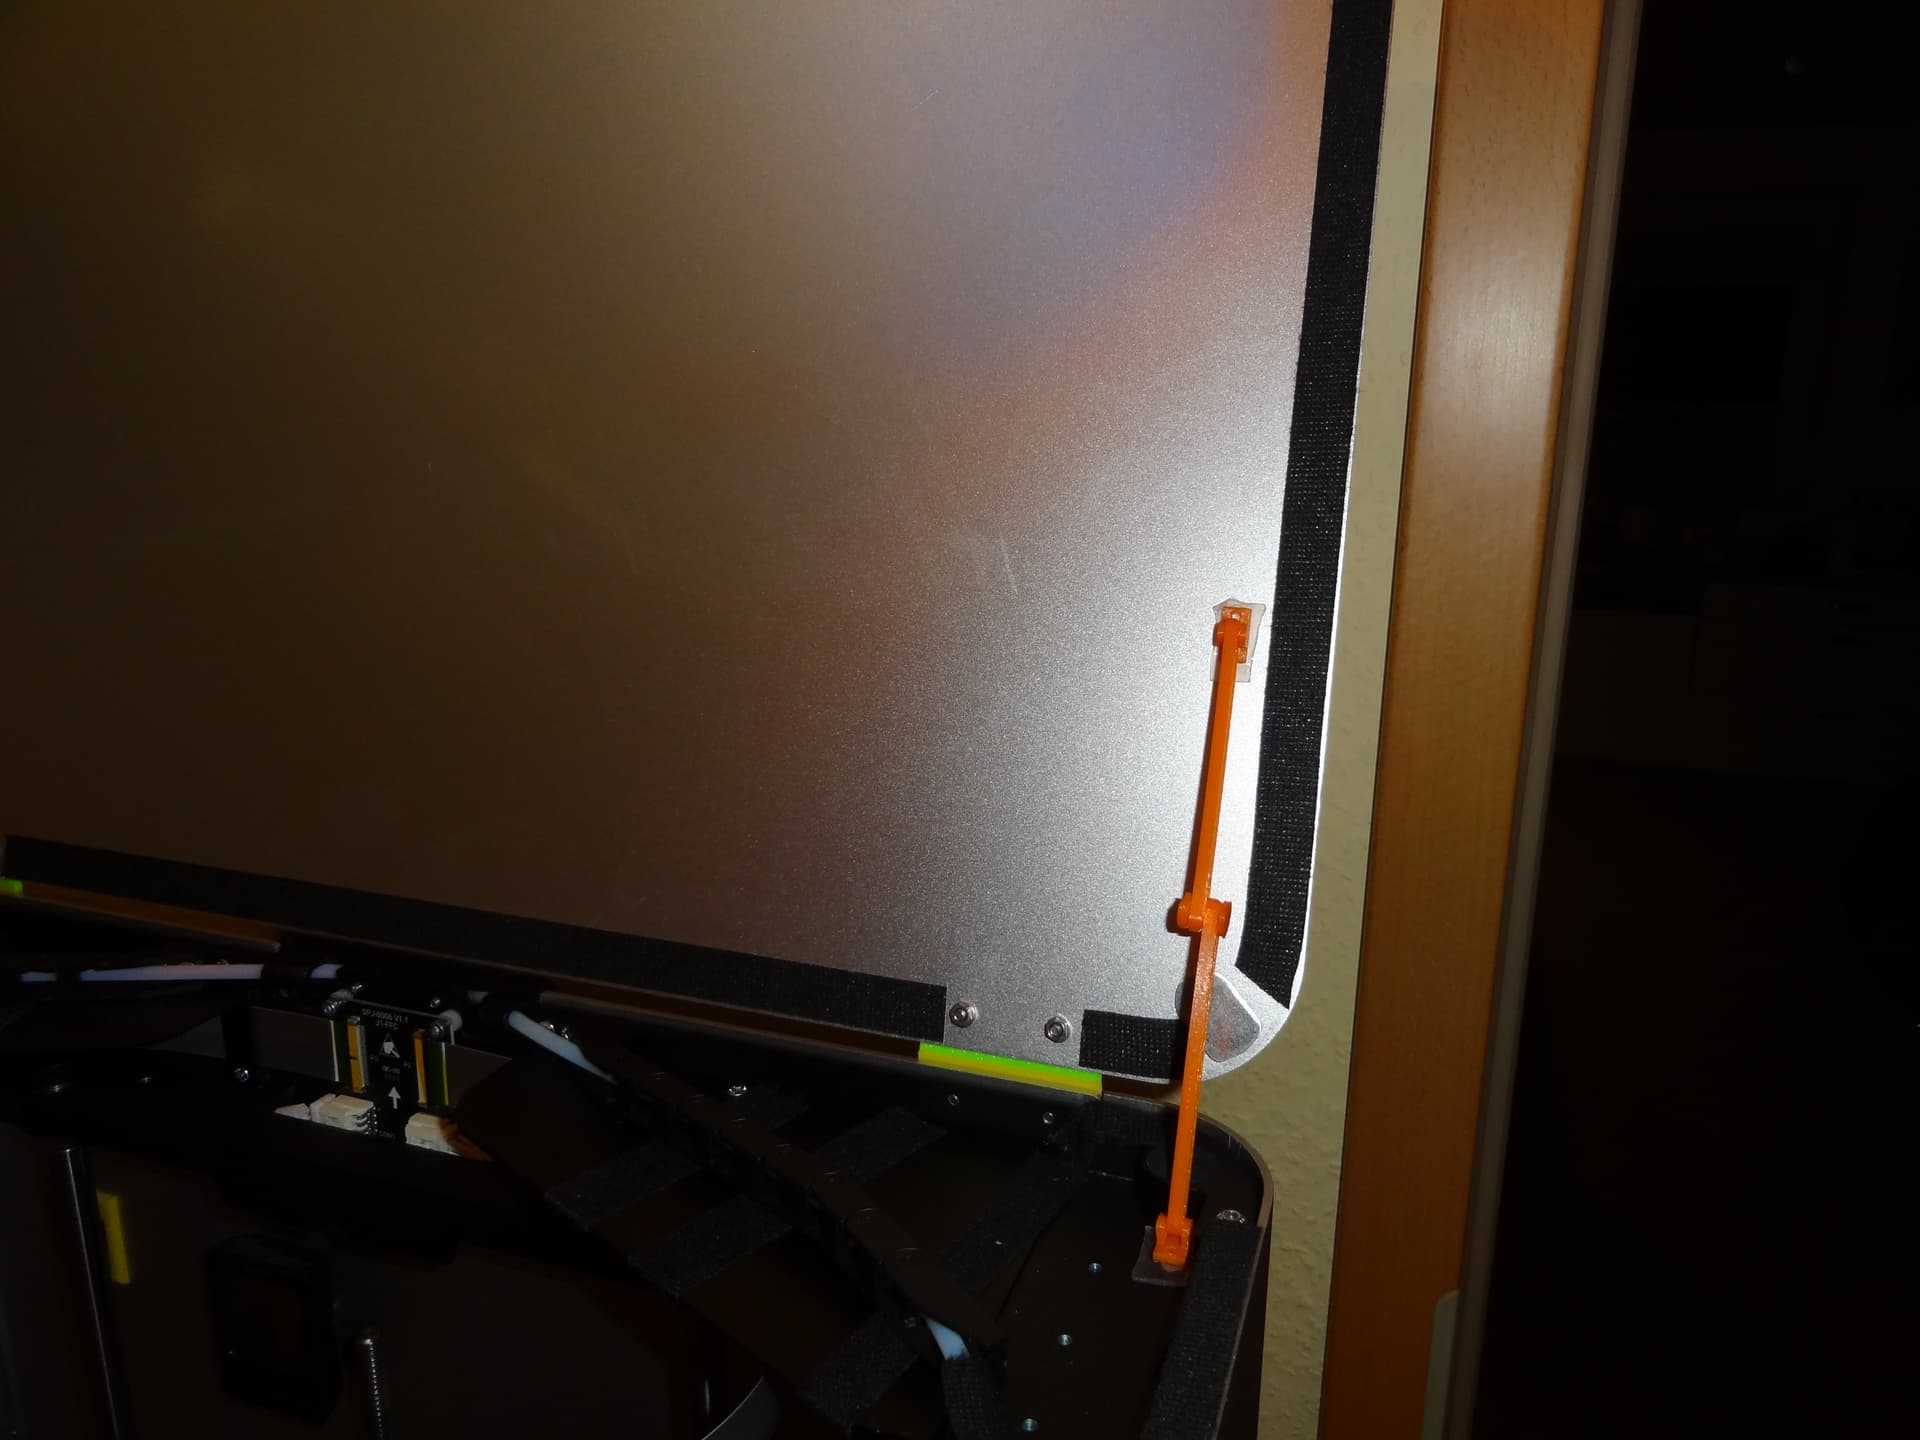
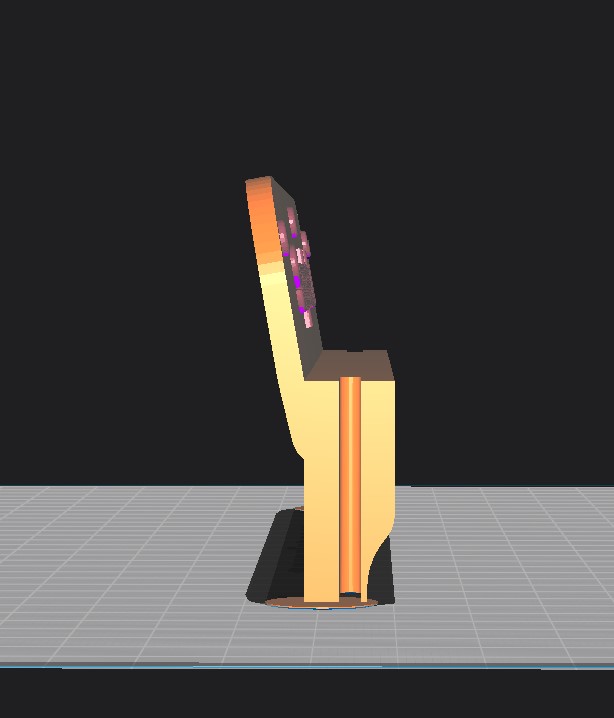
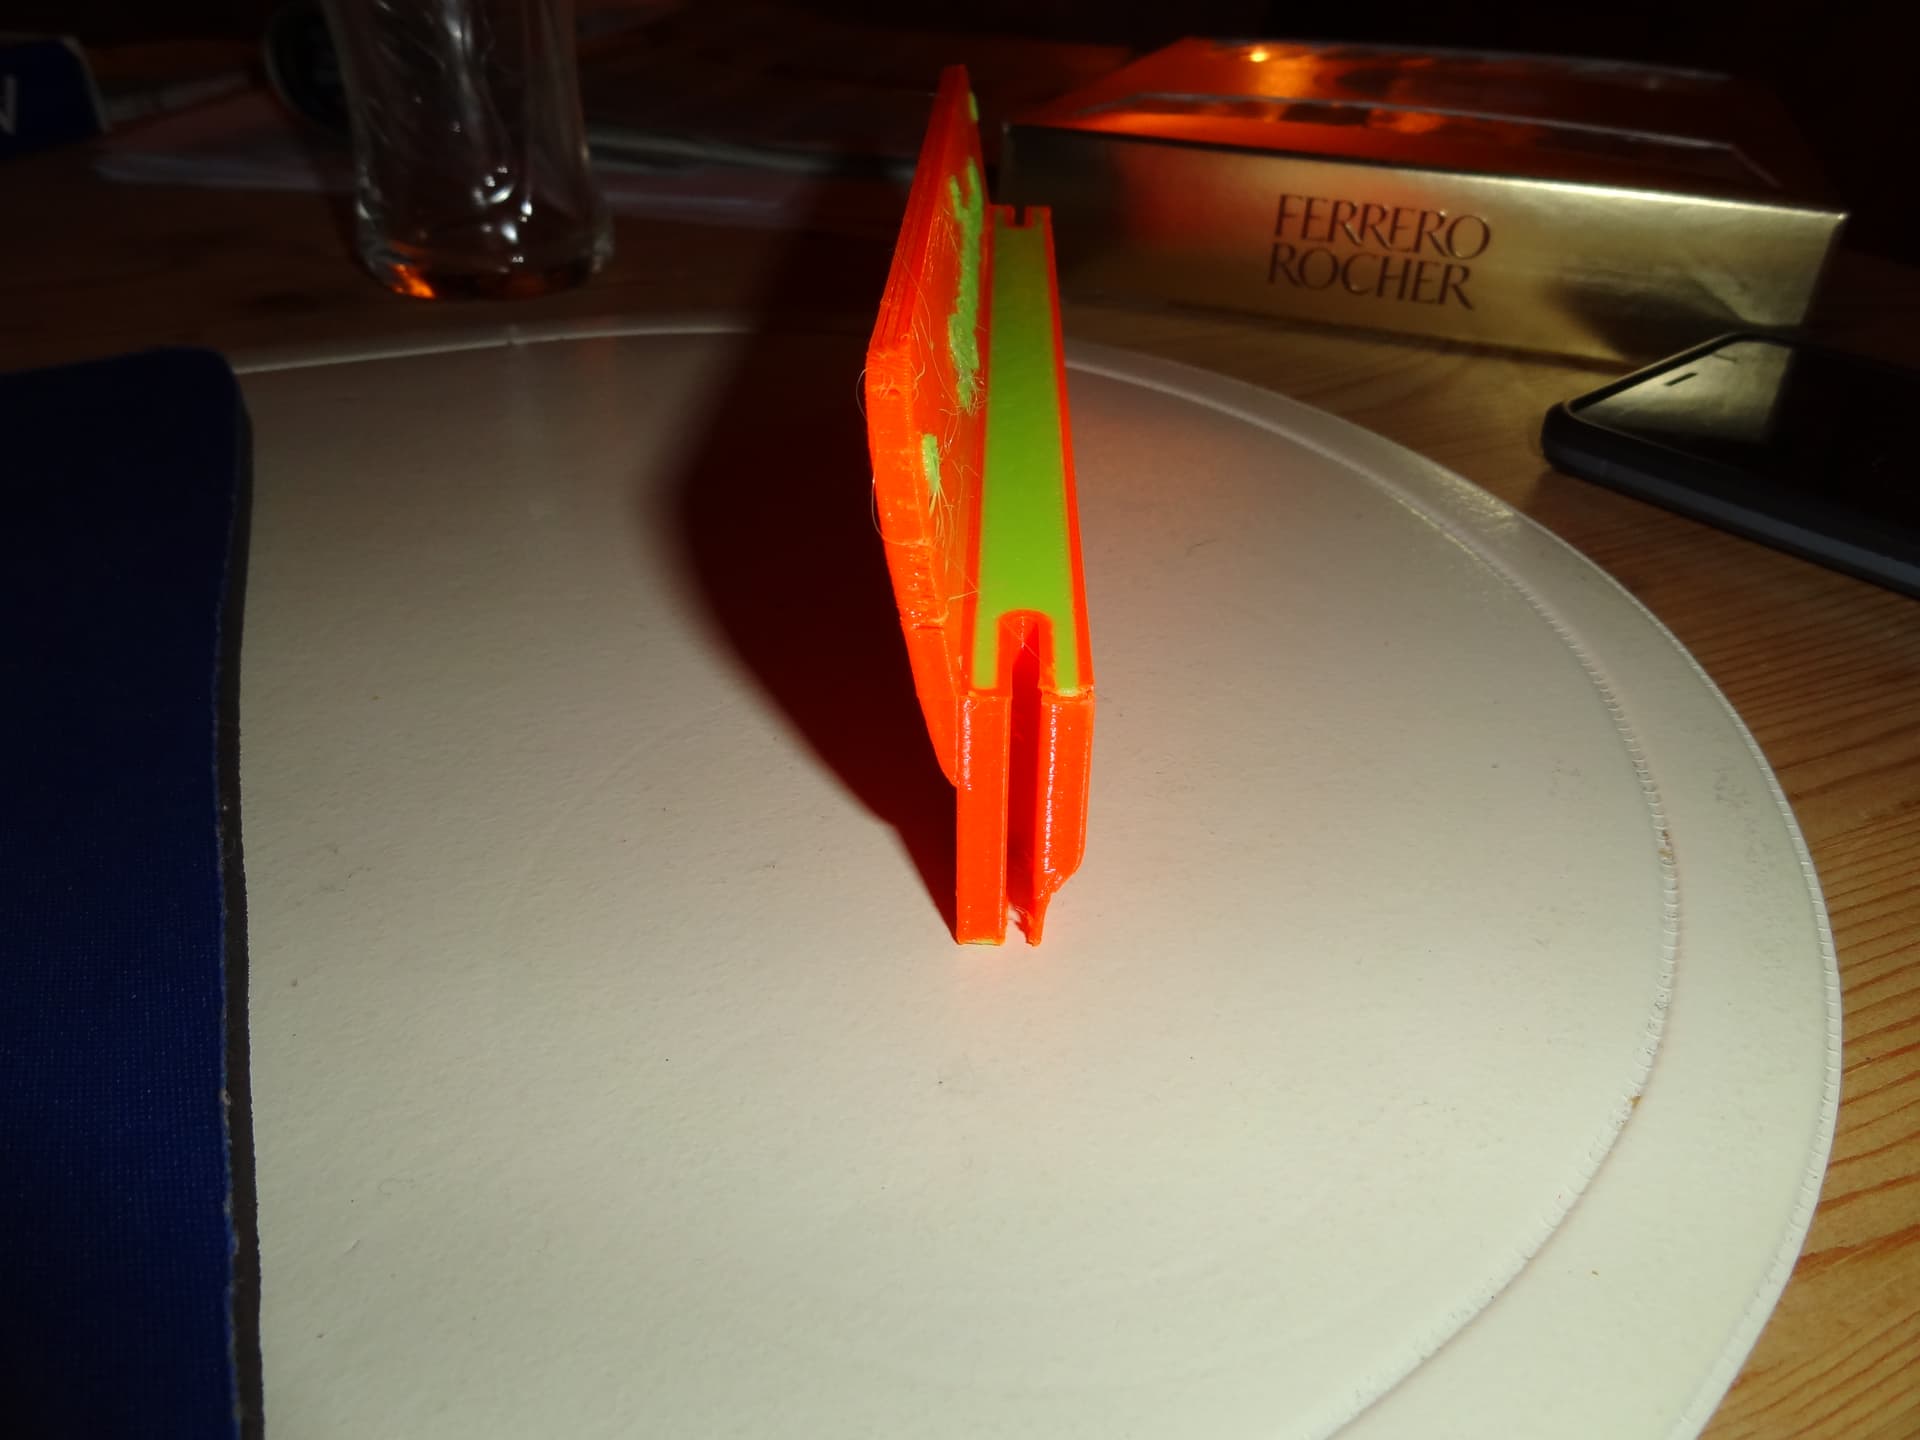
Das Teil habe ich entworfen, um den Decken anlehnen lassen zu können, somit benötigt man keine Stütze nach vorne.
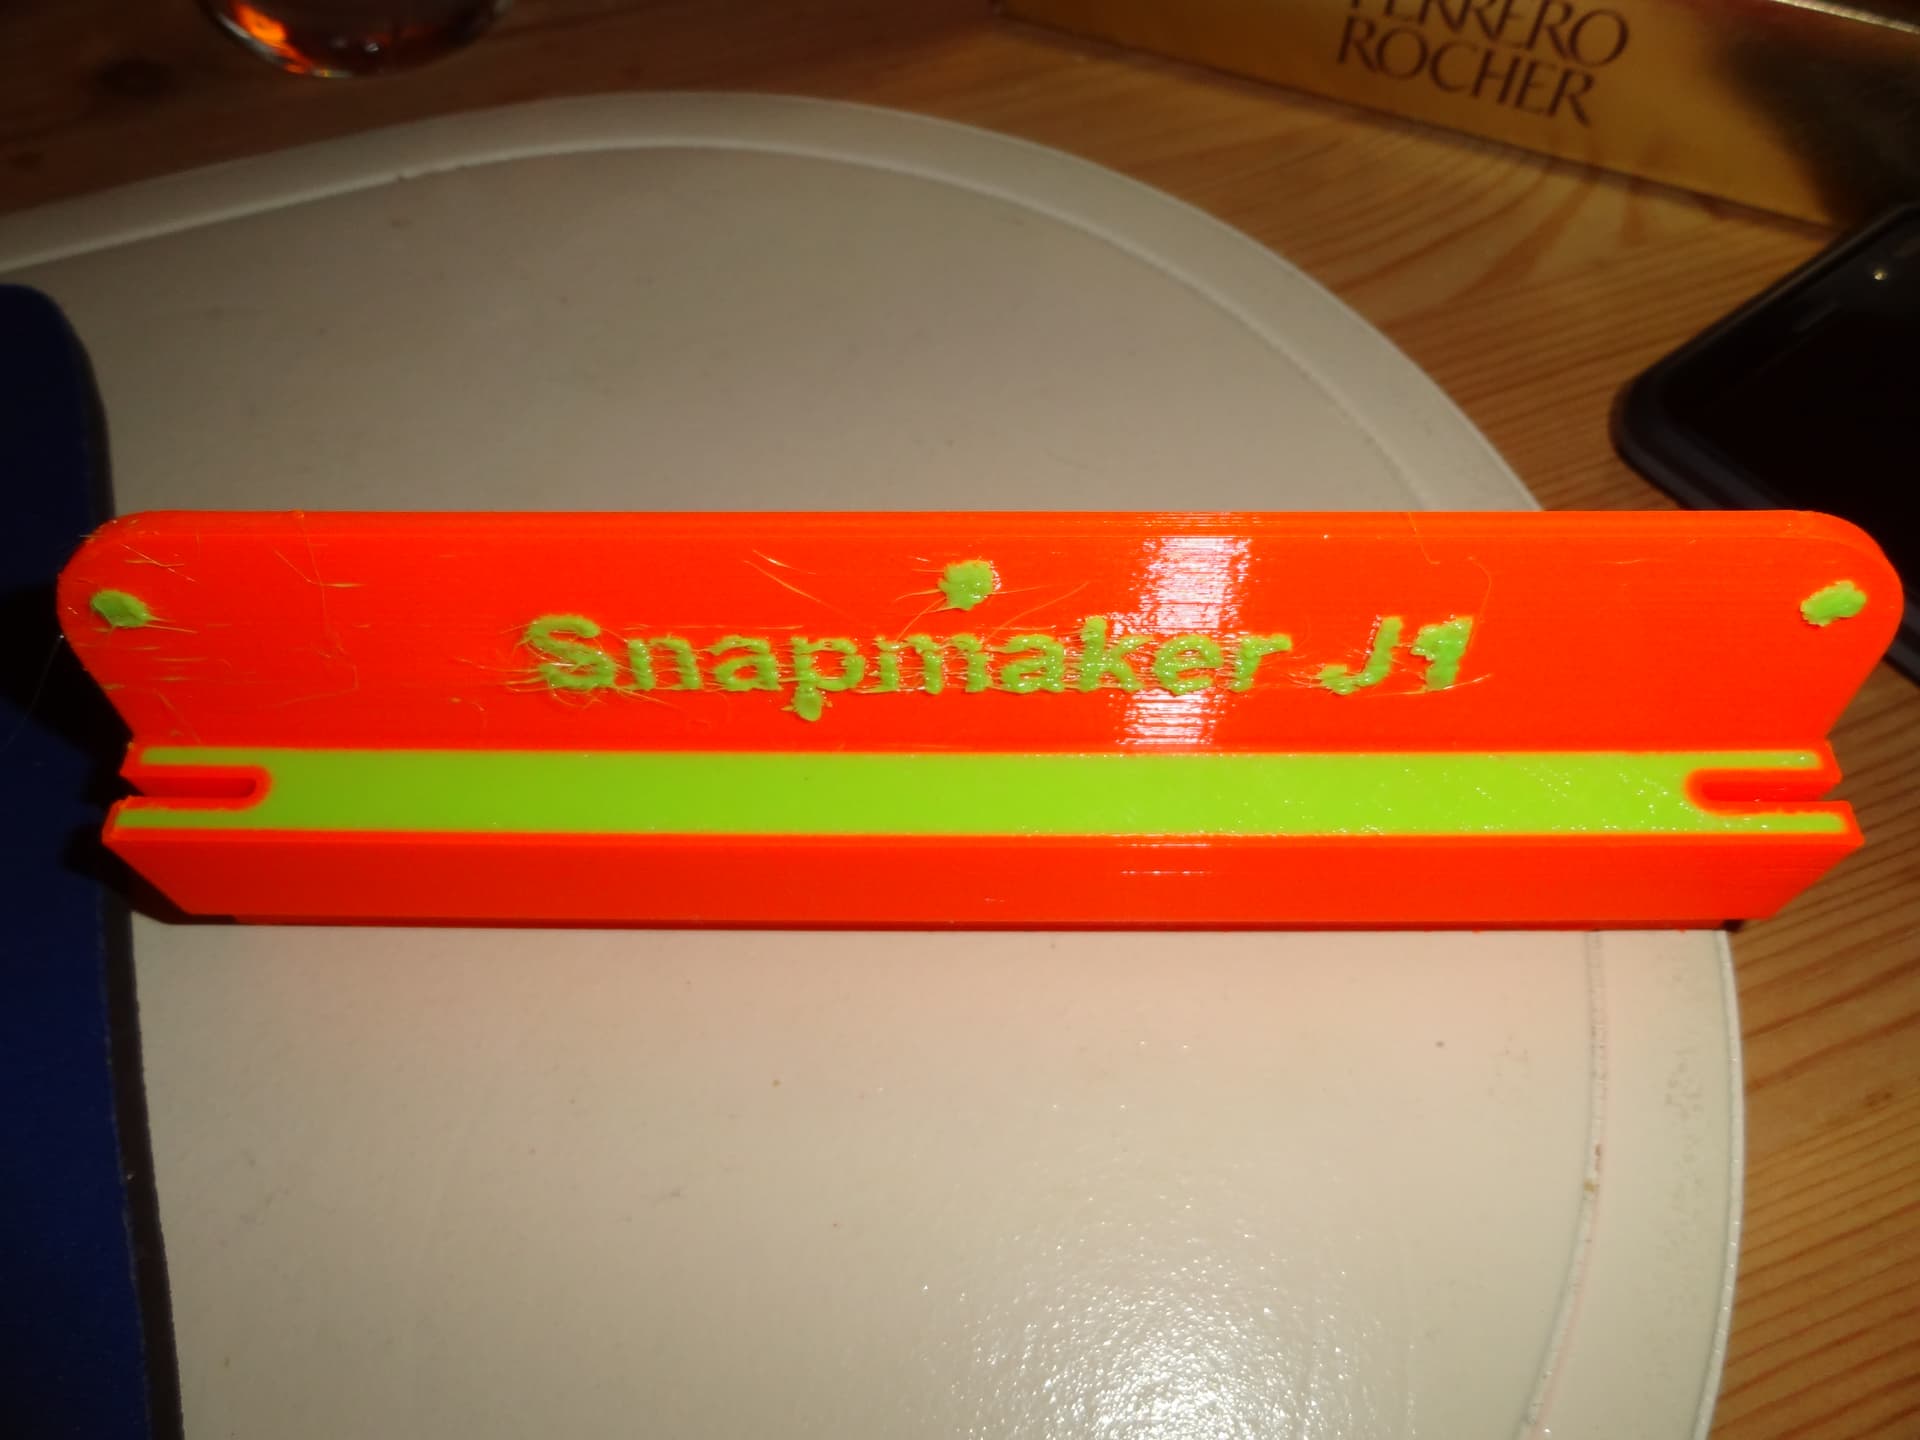
Mit PETG Neon Orange und TPU Neon Grün gedruckt
I did something else, the print isn’t perfect now, but it looks pretty good.
You can combine that quite well with my hinge, then you only have to drill holes in the lid.
I designed the part to lean against the ceiling, so you don’t need any support to the front.
Printed with PETG Neon Orange and TPU Neon Green
Not a real upgrade but rather a fix for the design flaw that only the Y belts are adjustable without disassembly - and nothing for the faint-hearted:
home your printer
put a mark onto the window on each side where the screw for the belt is
screw off the windows. On the left side, you also need to screw off the aluminium cover above the screen (mark the position of the screw there as well)
drill a 12mm hole into the window. A step drill is highly recommended since it is less aggressive that a normal drill. Use a file (or a milling machine if you have one) to remove the small part of the aluminum cover element that covers the hole you just made.
assemble everything back together
Now you can access the X axis belt tensioners with a small 1/4" hex nut without needing do remove the side windows whenever the printer is homed.
(sorry, still no pictures here - I keep getting an error, regardless if I use my computer or my phone to upload them )
If you want, print plugs for the holes, but I think they should be unnecessary - the gaps in the doors are much larger.
Speaking of upgrades, I am designing a heat sink that will allow the J1 to use the Revo Nozzle system from E3D. I will be doing heaps of testing on my printer before I release the models or sell the finished parts. My main concern is the leveling and XY calibration so that will be fun to see the results of.
Würde ich ja von Herzen gerne machen! Aber wie geschrieben - ich kann keine Bilder anfügen. Beim Uploadversuch bekomme ich erst die Hochlademeldung mit der Prozentanzeige - und dann nur “an error has occured”. Das passiert sowohl mit den drei Browsern, die ich auf dem PC getestet habe, als auch wenn ich es über das Smartphone versuche.
Leider ist mir schleierhaft, warum das so ist.
I really would like to do so! But as I wrote - I cannot add pictures here. If I try to upload some, I get the “uploading xx%” message and then just a popup “an error has occured”. That happens with the three browsers I tried on the PC as wellnas when I try with the smartphone.
Yes, I do - but if I turn off Wifi on my phone, it does not run via PiHole, but the problem persists. The PiHole log does not show anything being blocked either. It seems the picture is uploaded to some AWS server… and then obviously “an error occurs” to cite the unhelpful message I get. It is like that since the forum was put into “read only” mode for a while in January.
But I do not want to hijack the thread for that stupid upload problem. Thanks @i3sven for adding the pictures!
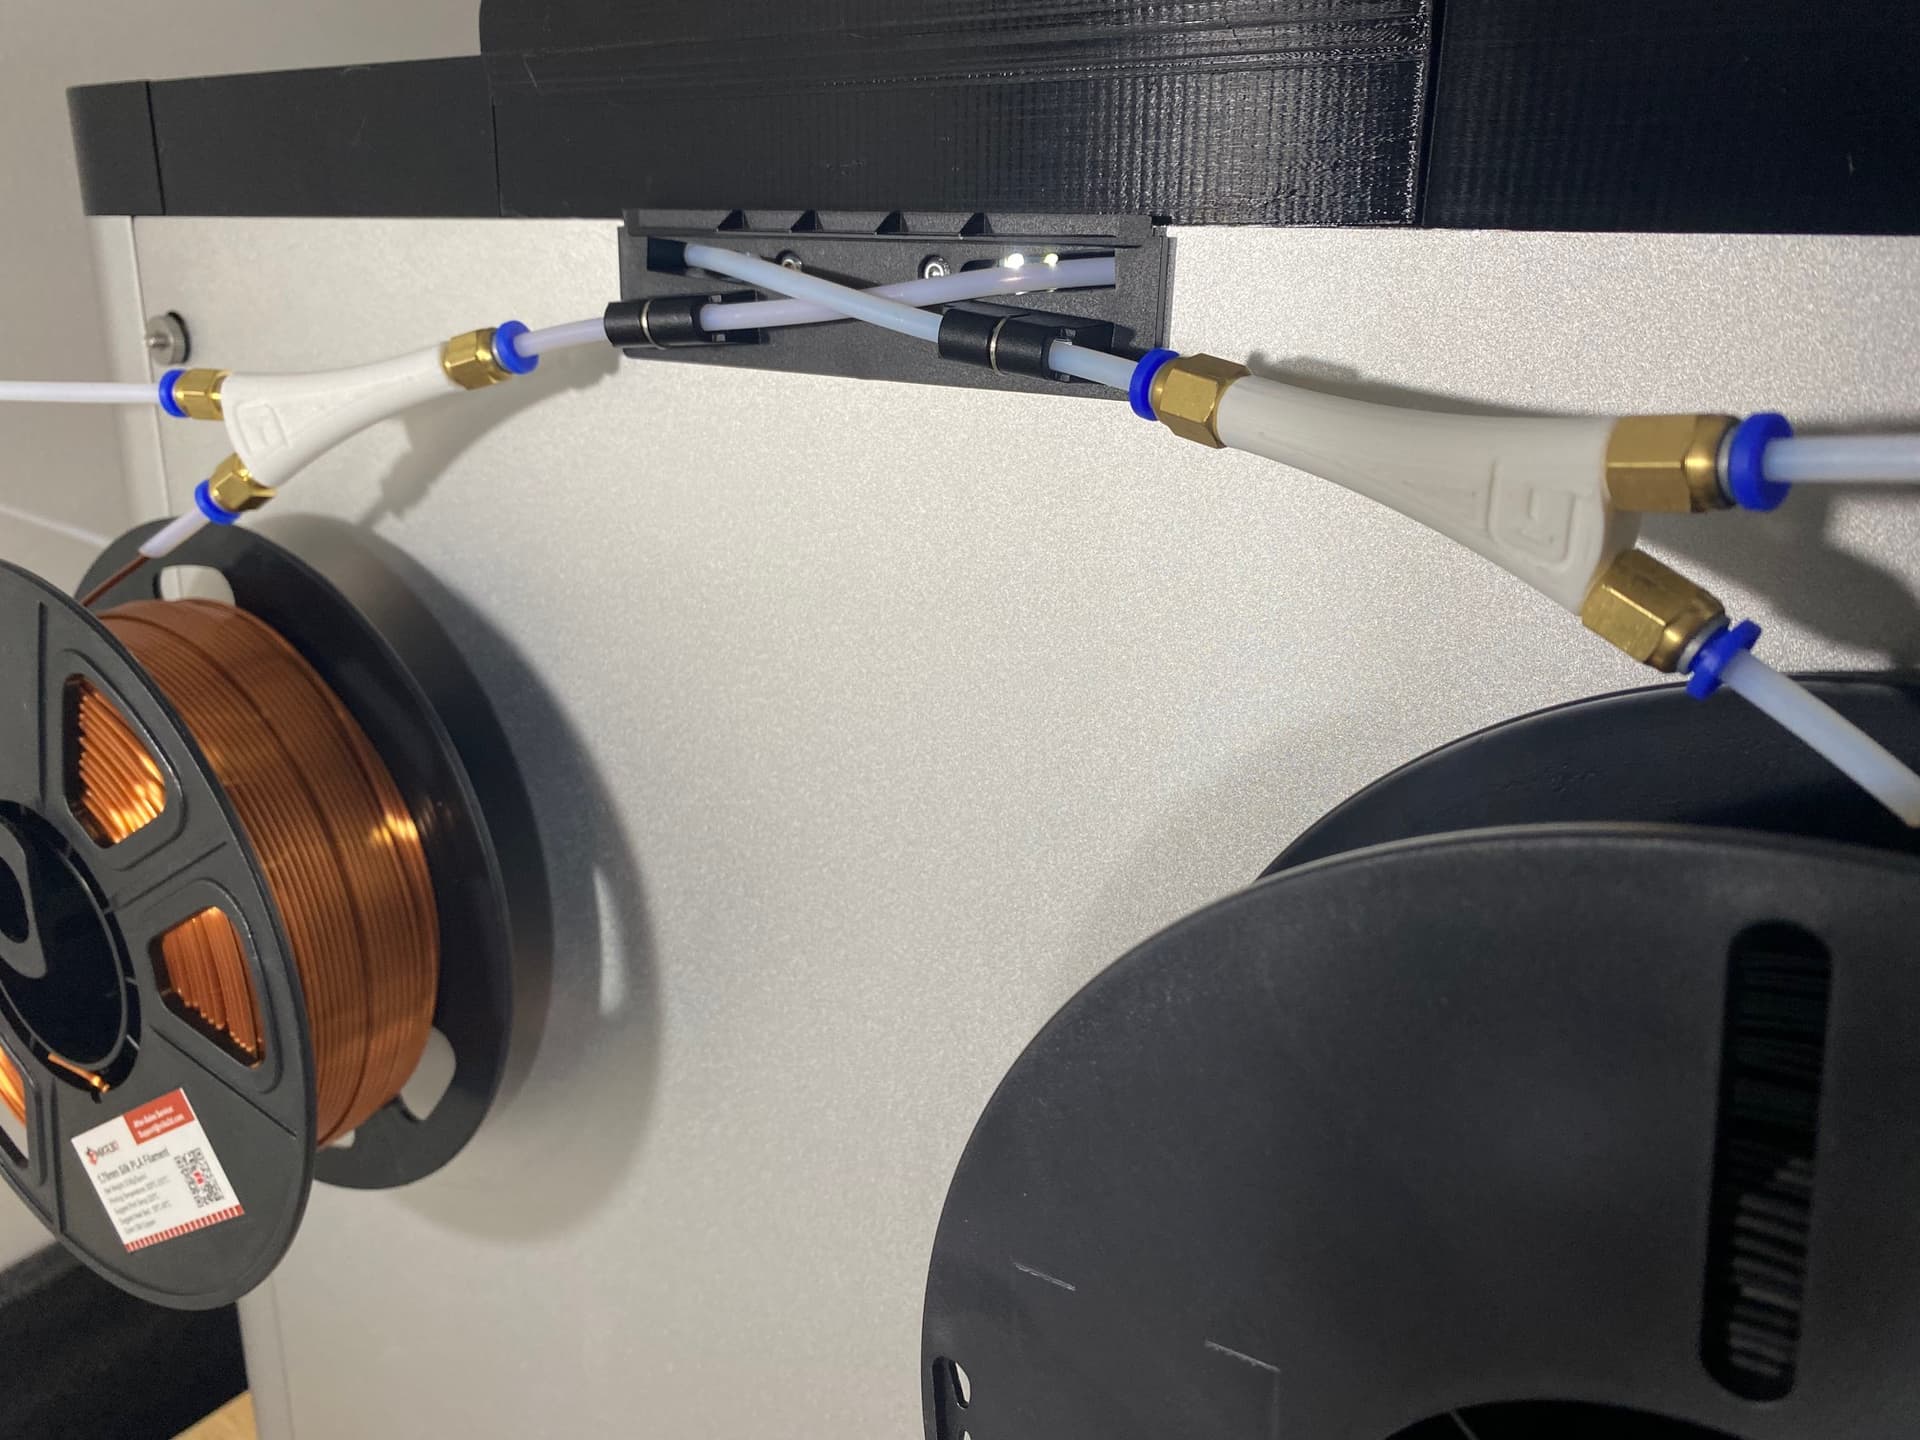
Cooling Fans on housing with Temp controlled Fans
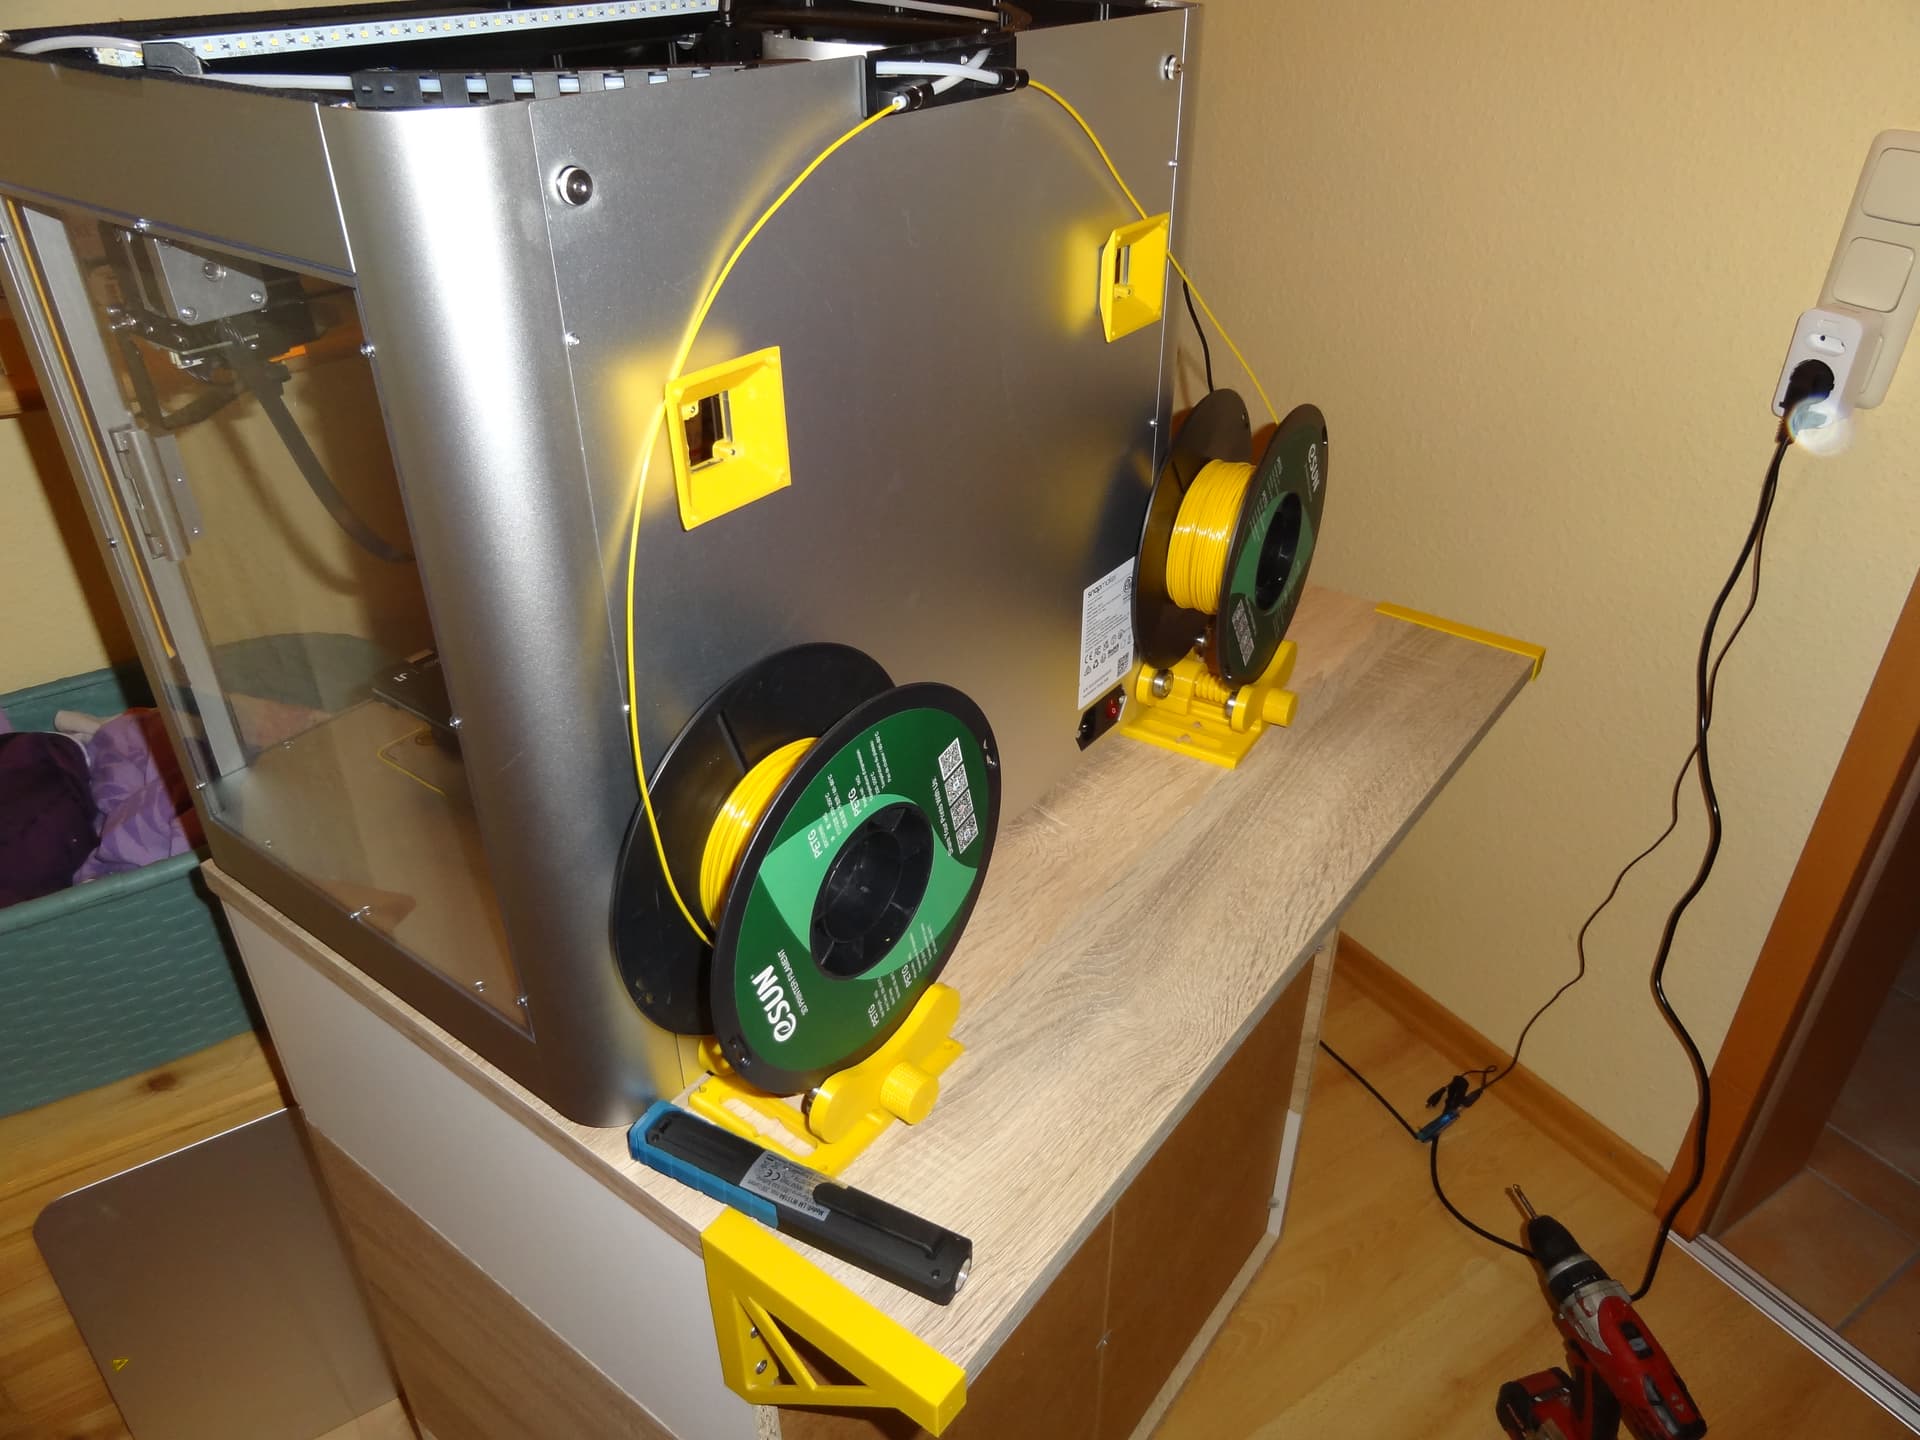
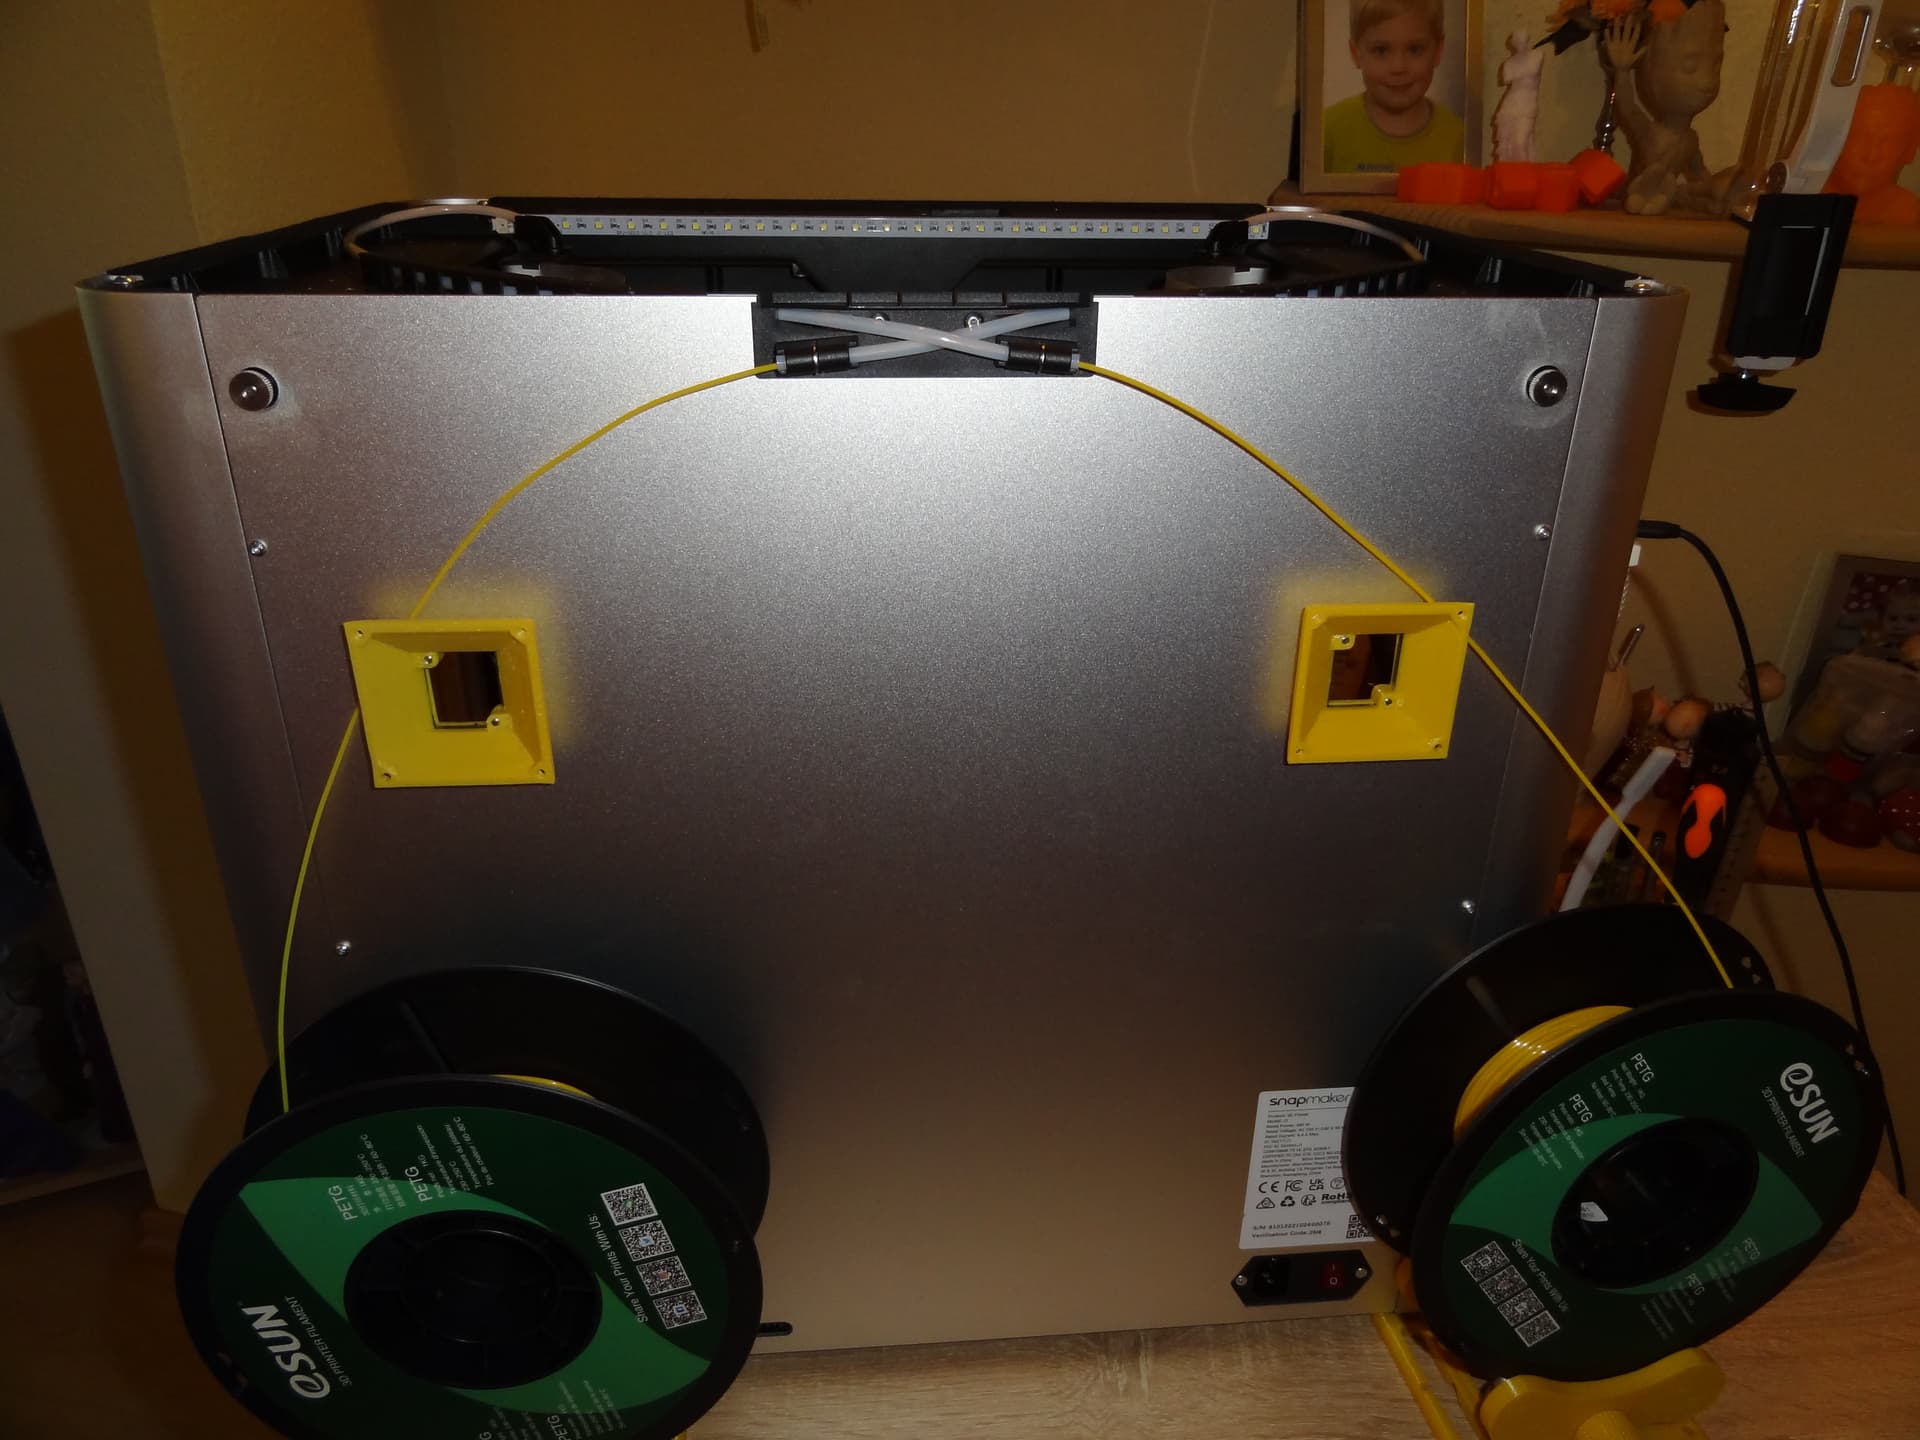
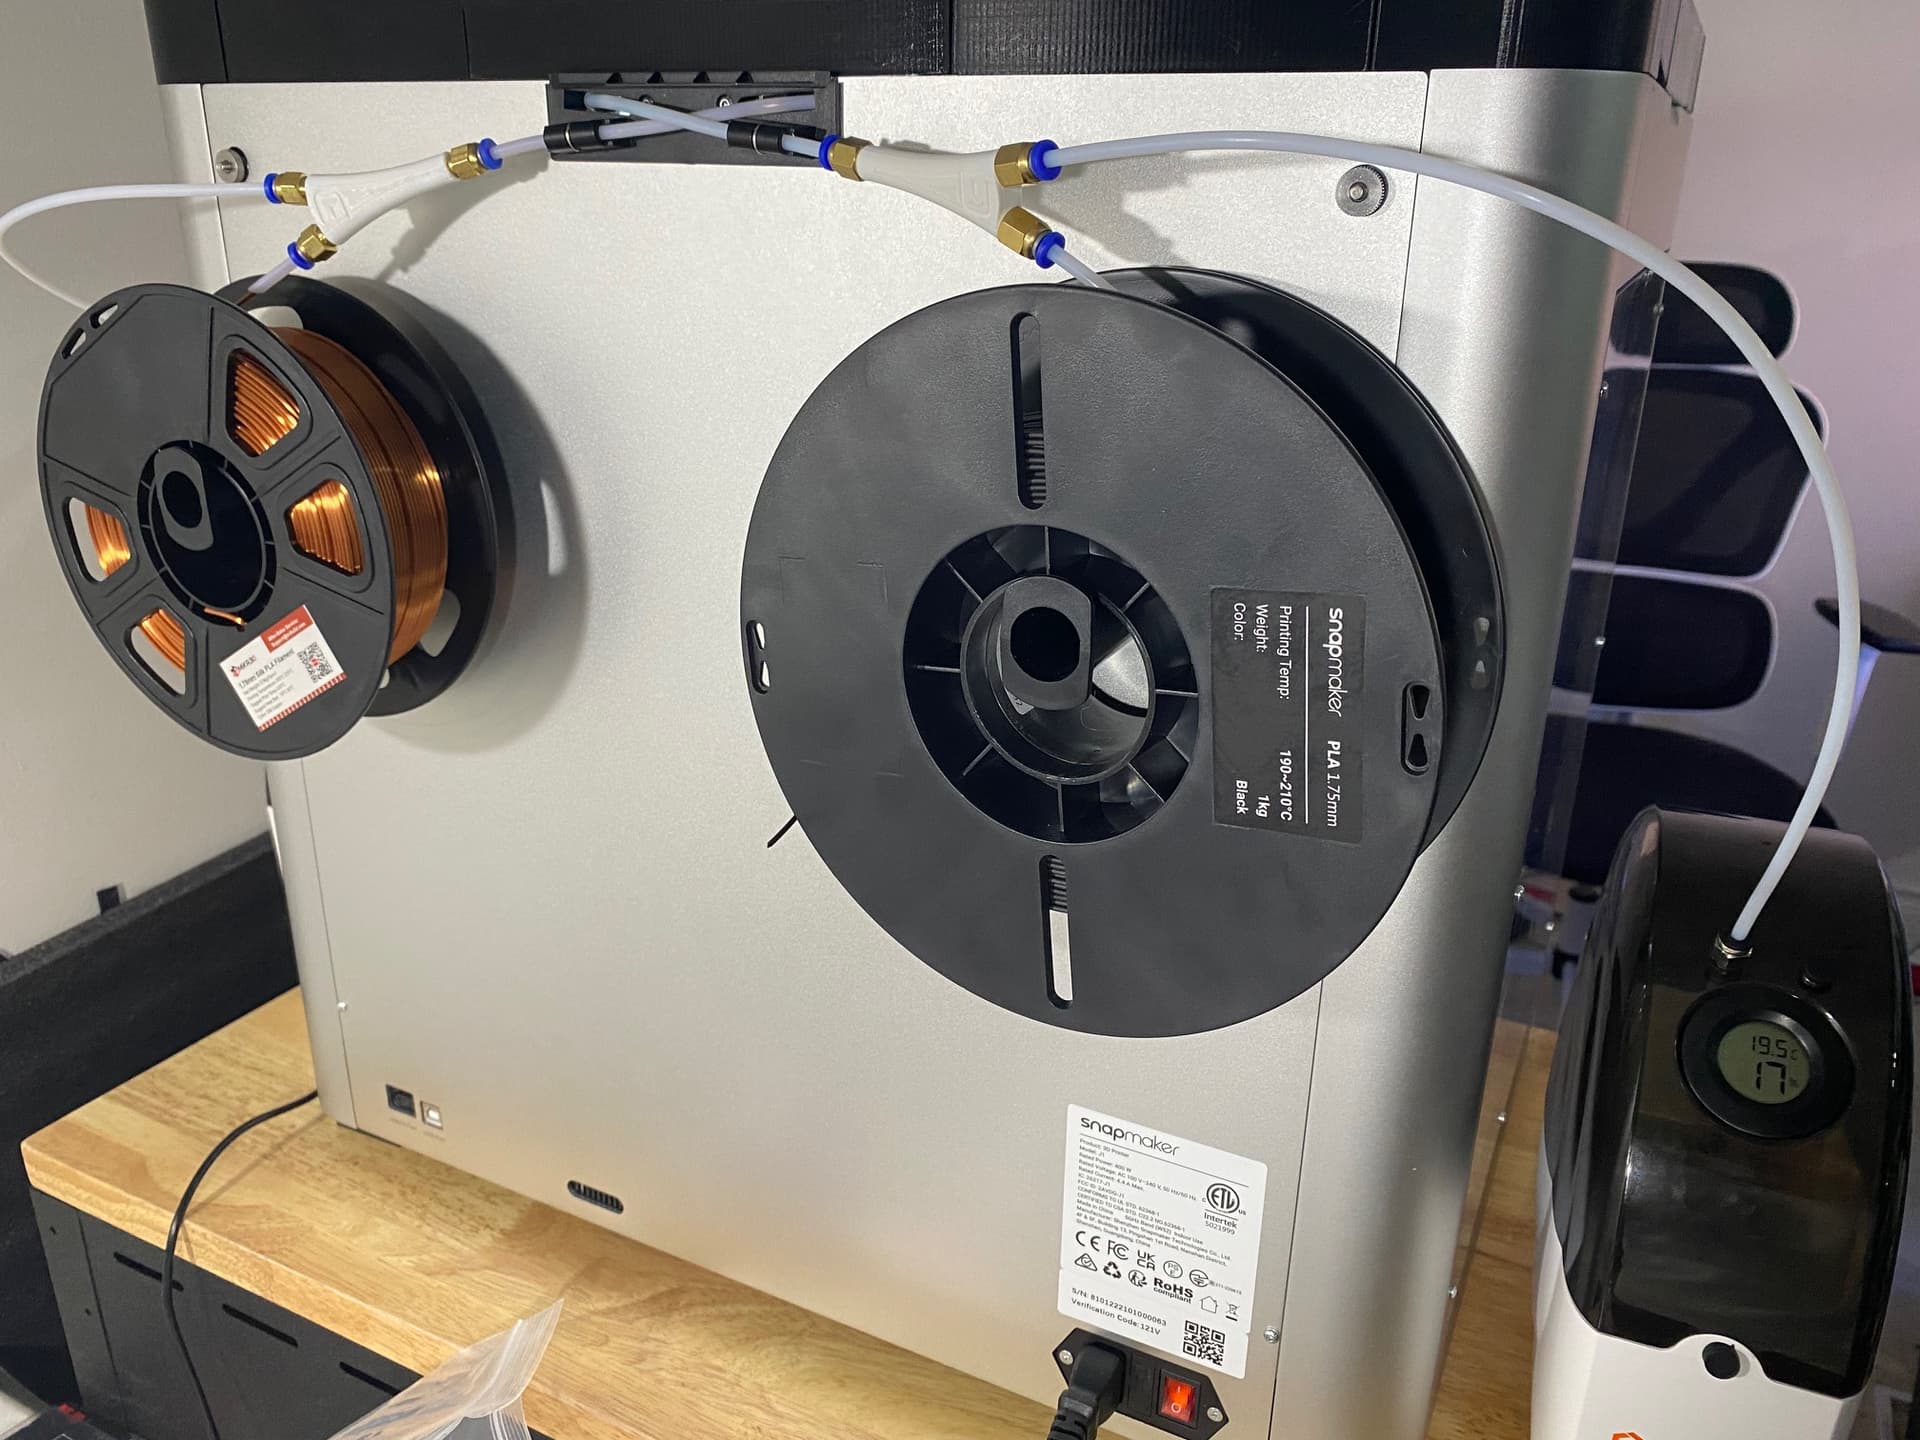
Spools on the wall
Lokbuild Print surface
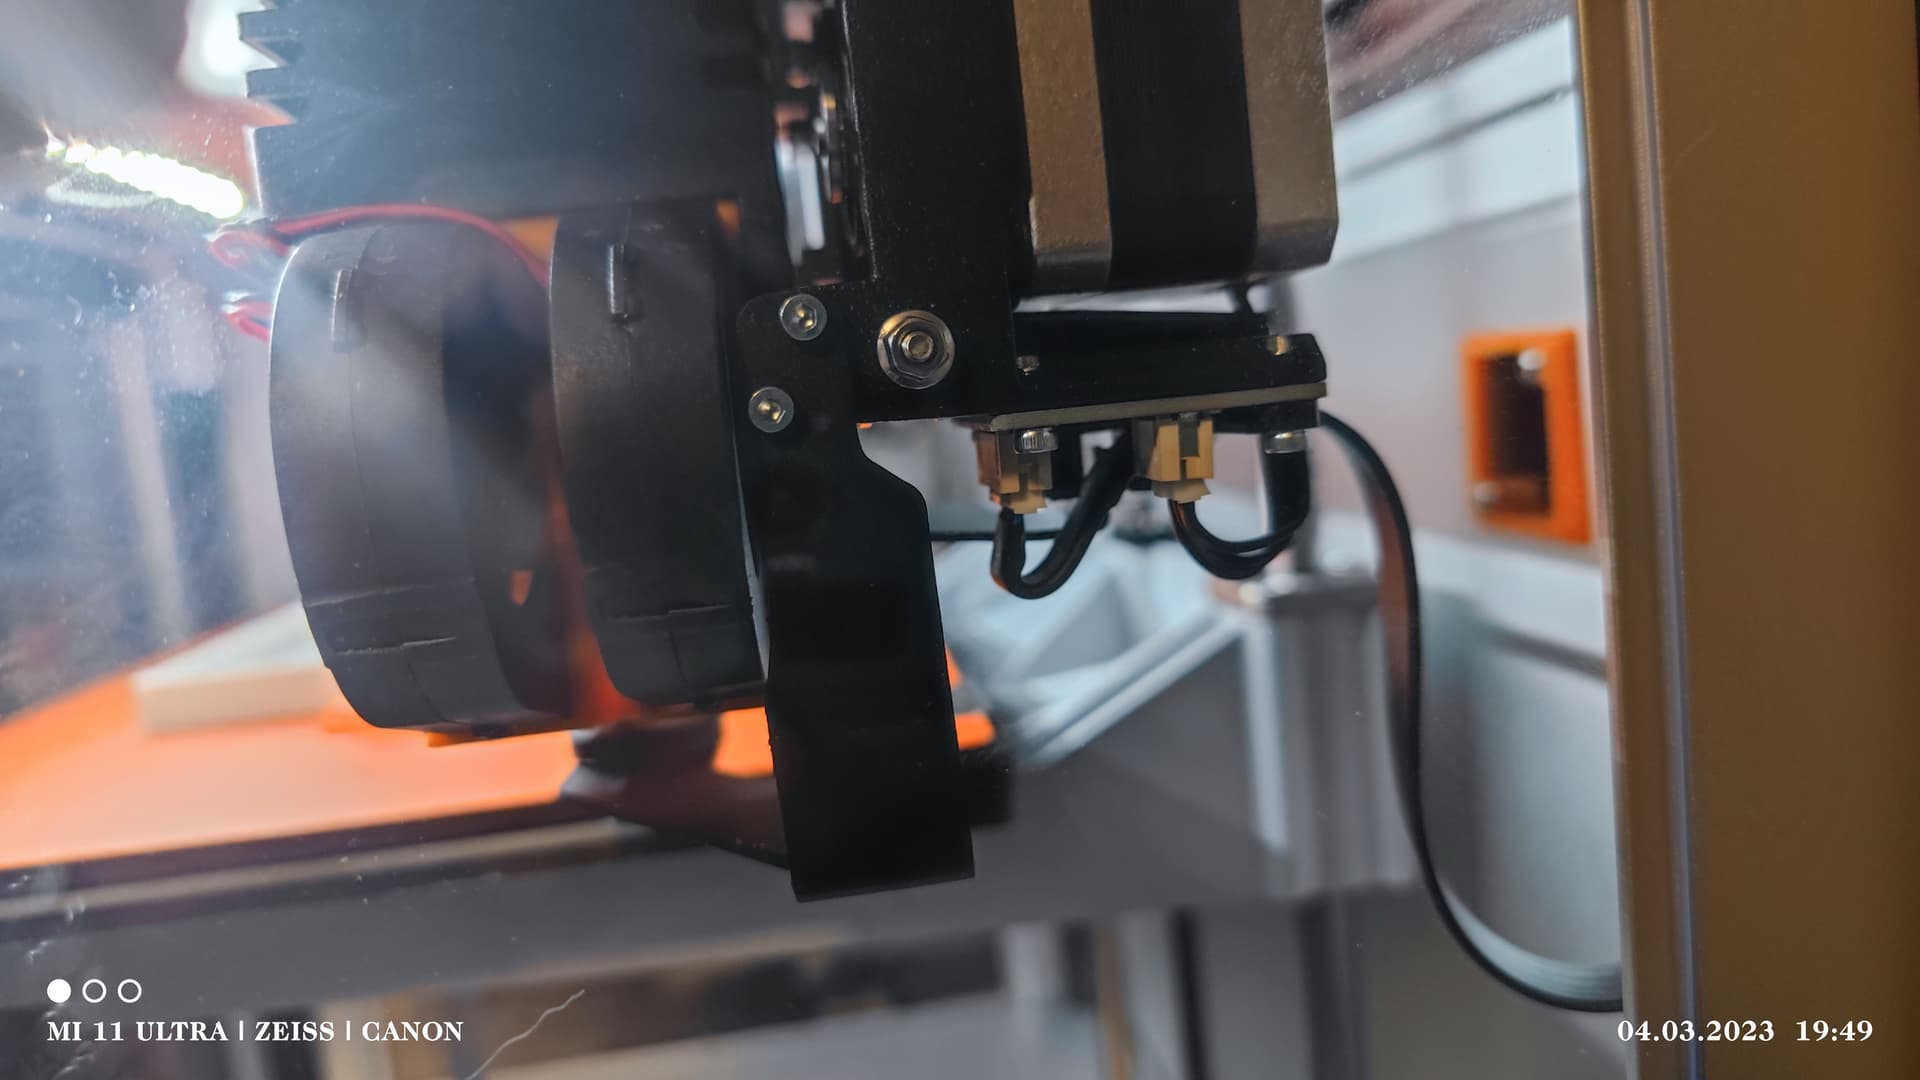
4x 5015 part cooling fans
Release the filament tube clips on the back of the housing and put some guide clips on the end of the chains
See my simple multi filament fed/change for each nozzle. Playing with idea of automating the feeding to the nozzle so no longer manually pushing through on filament changes.
Na ja, die Scharniere habe ich schon etwas länger, siehe Posting ganz oben.
Aber die Erhöhung habe ich noch nicht gehabt, war mir aber nicht ganz optimal, daher meine neue Variante.
English:
Well, I’ve had the hinges for a while, see the post at the top. But I haven’t had the increase yet, but it wasn’t quite optimal for me, hence my new variant.