I’d like to extend the usability of my Snapmaker 2.0 by using Octoprint.
I know there are already people using Octoprint with a Pi plugged into the USB.
Now I have tried installing it in a docker container on my NAS, which works well.
Only downside is it is looking for USB/serial port.
If Luban can connect to SM2 over wifi, control the printer and send commands, I do not think it is an issue for a software like Octoprint to do something similar.
Apart from putting up a request for Octoprint to connect to Wifi-ready 3d printers like SM2, was thinking if anyone in the Snapmaker community is savvy enough in python to create a SM2 plugin?
Also, is anyone on SM2 using the Mosaic Palette 2S/Pro?
I have high hopes that someone will create a full-featured plugin for Octoprint that can connect to SM (wifi or USB is fine for me) and correctly handle print, laser, and CNC jobs.
IMHO Snapmaker should consider putting their development efforts behind Octoprint as a hardware/job management platform and steer their customers towards Cura, Lightburn, CarbideCreate, etc. for design and slicing. This path would better deliver best-of-breed capability and new features on the design front, and let the SM team leverage what is already there in Octoprint and focus on stability and performance for the actual printing/cutting/carving tasks.
I fully agree! Though do you think the reason why they push out Luban is because the other software are not capable of handling non-3d prints? (e.g. CNC, laser).
How do we get the attention of SM staff to this request?
Octoprint currently does NOT support the other heads - I tried it with a laser job and it did not work. It is open source though, so it should be much less complicated for the SM developers to modify it to support the other tools than to keep Luban up-to-date with all the new stuff that Cura, Lightburn etc. are developing.
Just unpacked my SM2 A350 (which is working fine, from the laptop via USB or Wifi ). Similarly I’m trying to get the Canvas Hub S and Canvas Palette 2S Pro combo to work and not really having much luck getting the Canvas Hub S to connect to the printer. So very interested in this thread.
Yeah I just jumped right in after spending some time researching it. After a bit of persistence and several meters of PLA, its working…well its printing a splicing. I’ll see how “calibrated” the colour position is in a few hours but I’ll upload a picture of the output when its done.
Setup was a bit fiddly, mainly because I could benefit from definition of each setting but a combination of using Octoprint, the physical settings, several meters of PLA and rebooting the hardware in a specific order it all came together.
Just out of interest what NAS are you using? QNAP?
how difficult is it to define when the colors come in, is there like a special slicer for assigning layers at certain colors or what?
i can’t quite comprehend how you would assign the colors for it to decide which material to use, unless perhaps it is considering each spool a different extruder then fusing it? even then i dont understand how to color change, although i do comprehend supports in a 2nd material anyhow.
Ah well…there’s a story…I spent and absolute age colouring in the model using 3d builder (the tools that ships with Windows 10). I exported into Canvas3D for it to only ignore all my hard work. So using Canvas 3D the tools are not as intelligent as 3D Builder (IMHO) but I was able to assign the colours to the model, which is pretty simple. Its a case of picking / tagging the surface 1 to 4 which is the feeds on the surface. I’ll upload some example videos linking to my workflow in a few days if its any use to others.
That said its started to print the splices and its safe to say I need to keep calibrating…
consider looking into the “extruder calibration is a must” thread to get the filament consumption where it should be, the machine underextrudes out of the box.
I’ll do some research into Simplify3D, I’m only just getting into 3D printing and only started using Canvas since it works with the palette and the Canvas Hub as a workflow. I’ve uploaded a short demo of Canvas to see how you can quickly change colours (by index) as well as just paint on the surface using the tools. Finally how it slices… although as I’m finding not quite calibrated yet…
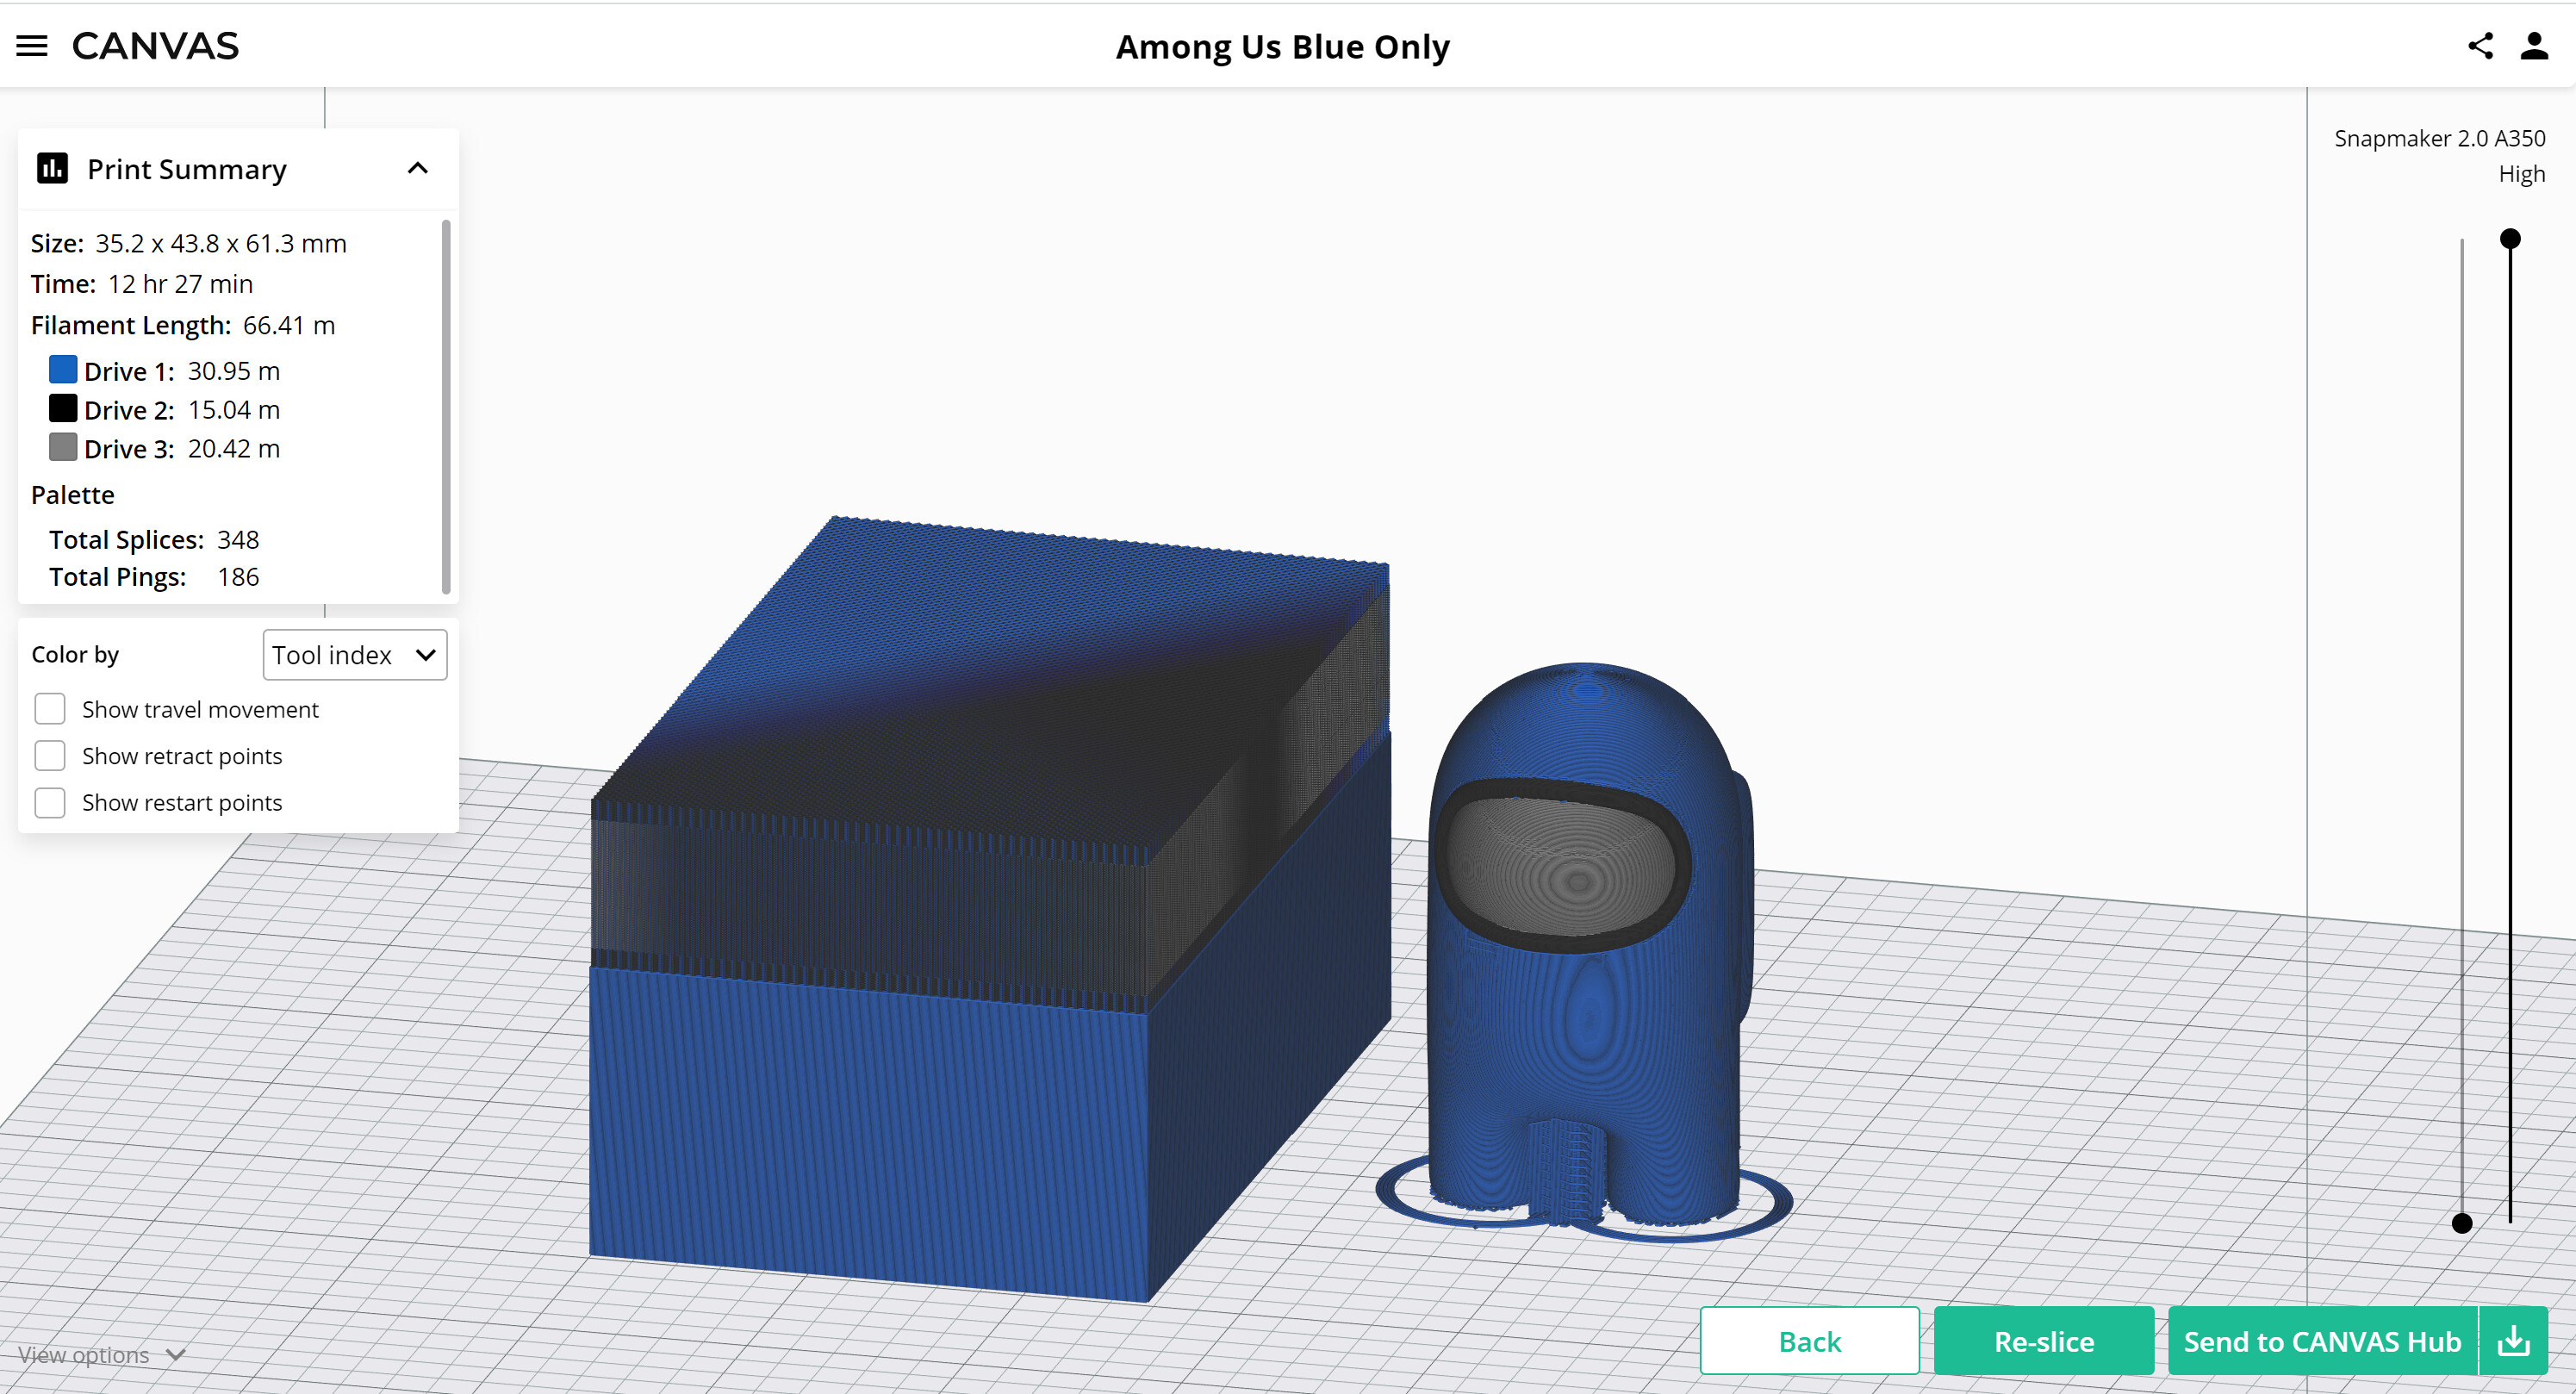
Work in progress, the first issue is I’m using a daft setting for the transition which just oozes filament into space then just drags it onto the model,which is where all the rough edge appear. That would be fixed by a transition wall.
The second issue is the “black band” and the “silver helmet” which should be blue, so I need to figure out why that happened if it was colour coding on the model or something to do with calibration. Its not a random skew effect as I would expect to see a bleeding effect between surfaces but its pretty neat. Which is why I’m thinking its perhaps a colour index thing.
I’ll try to go back and merge the model and repaint it