Hi,
Is anyone able to use octoprint on Snapmaker 2.0? If so, what settings did you use for the connection?
I can’t seem to connect to the printer. I’ve even change the cable.
Hi,
Is anyone able to use octoprint on Snapmaker 2.0? If so, what settings did you use for the connection?
I can’t seem to connect to the printer. I’ve even change the cable.
I’m using it with Serial port set to AUTO and baud rate 115200. It is great - would be even better if Snapmaker would throw some resources at it and write plugins to support the laser, CNC, filament runout detection, power loss restart, etc.
Yep same as JCKnox, Auto serial port and 115200 for baud rate and hit Connect.
Do you have a printer profile set up for it?
Have you had OctoPrint running for another printer? Are you running on a Pi or another computer?
It would be even better if they developed the built in wifi that we paid for so it worked as well as octoprint does.
It would be even better if they developed the built in wifi that we paid for so it worked as well as octoprint does.
It’s completely capable of doing everything that you use octoprint to do. Just needs to be programmed. They’ve been promising to open source everything. Re-affirmed that along with rotary announcement. Maybe when they do that some people will be able to get it to reach it’s full promise.
-S
Hi,
I have a raspberry Pi with octoprint installed on it.
I’m still getting an error when I try to connect to the raspberry.
@sdj544 I agree, its capable but not currently implemented. My main point is that I would rather the SM team work on the built in wifi over adding octoprint integration.
The only time I had the problem you are describing, my USB cable was not fully plugged in to the printer. Also, make sure you are plugged into the mini USB connector in the SM, not the USB connection used for the thumb drive.
To troubleshoot, open a terminal to your raspberry pi, disconnect the USB cable to the printer, then reconnect and run dmesg in the terminal The last few lines should show you if the pi is detecting the printer and what port it is using. In my case, it is ttyUSB0. If dmesg isn’t reporting any serial connections, you need to verify that your cable is good. If it is, then try connecting directly to the printer with a PC to verify that the USB port on the SM is good.
If these steps don’t get you anywhere, maybe try asking at https://community.octoprint.org. They will know more about Octoprint problems than this forum.
Thank you for the feedback.
The mini USB is connected to the controller and the USB in the raspberry Pi. I’ve even changed the cable and the results are the same. The cable works when I connect it to my pc via luban.
I will test it via terminal and see what happens
Someone mentioned in a another thread, if you touch the touchscreen, before connecting with octopi, it won’t connect. Maybe that helps?
I got it working with my A350, and seems solid.
Be sure you don’t have the GPX plugin(like if you used your Octopi with an old FlashForge or MakerBot printer and tried to just move it over to the Snapmaker 2.0). I found GPX gets in the way, so I disabled it in the Plugins manager.
Raspberry Pi Model B Plus Rev 1.2
OctoPrint 1.5.2 Python 2.7.16 OctoPi 0.17.0
Cura 4.8
Core - 700MGz
Mem - 512Mb
Video Mem - 64Mb
processor : 0
model name : ARMv6-compatible processor rev 7 (v6l)
BogoMIPS : 797.66
Features : half thumb fastmult vfp edsp java tls
CPU implementer : 0x41
CPU architecture: 7
CPU variant : 0x0
CPU part : 0xb76
CPU revision : 7
Hardware : BCM2835
Revision : 1000010
Serial : 00000000ca9f99f0
Model : Raspberry Pi Model B Plus Rev 1.2
Additional modules:
Andonstar USB 2MP Digital Microscope 12MM Diameter Endoscope Video Camera 8 LED Magnifier
Add OctoPrint Installed Plugins:
Custom Control Editor (0.2.2) Marc Hannappel (Salandora)
Makes Custom Controls editable via settings
AGPLv3 Python >=2.7,<4
/home/pi/oprint/bin/python2 -m pip --disable-pip-version-check install “https://github.com/Salandora/octoprint-customControl/archive/master.zip” --no-cache-dir
UI Customizer (0.1.1.8) Mikkel Skovgaard
Customize the layout of OctoPrint userinterface, add webcam widget and more
AGPLv3 Python >=2.7,<4
/home/pi/oprint/bin/python2 -m pip --disable-pip-version-check install “https://github.com/LazeMSS/OctoPrint-UICustomizer/archive/main.zip” --no-cache-dir
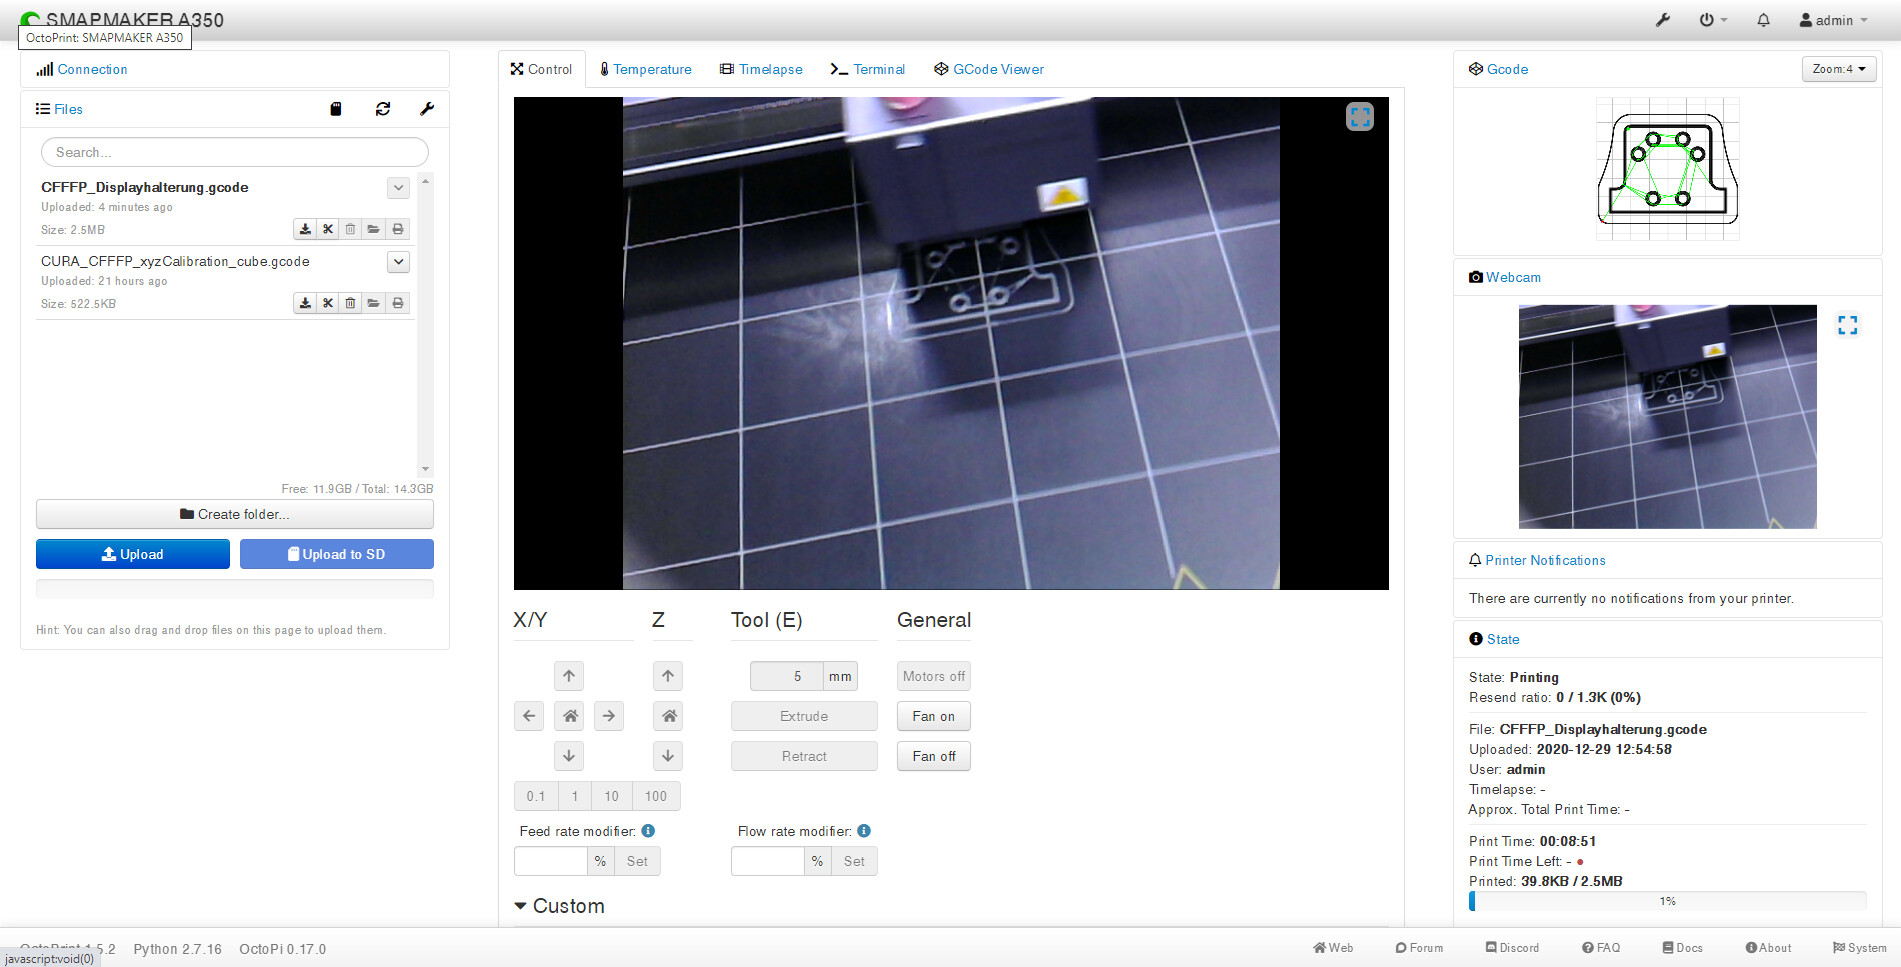
Photo report:

Hi, i am new here. It is my first 3d printer (snapmaker A350).
I am running Octoprint. Can some please post the “Axes” settings.
I also have problems with cura. In my eyes it looks better than Luban.
Please can someone post the Materials. I use the original snapmaker PLA materials.
Thanks from Germany
Stefan
Good materials i get from Material4Print its not a seller its a producer of filament.
The Settings in AXIS are for me:

Settings are only for manual jogging around.
Hope this helps
Yo! I had the same problem. I found a better cable and now it’s working really well.
Hope you got yours going.
You might want to try a USB cable with a Ferrite core- I’ve had this issue due to interference in the past on the Prusa mini- and that resolved it for me.
Pretty good idea. I bought a box of these awhile back and it certainly couldn’t hurt to add one to the SM.
I like this idea. I got one of my 3B+ setup with Octoprint and got as far as it is running and can see my printer.
Things to do:
Print a case
Install a fan
Get the M4 T Nuts to mount the octoprnt box along the top front rail of the enclosure, out of of the box but close enougn to run the camera inside (with a 2 meter ribbon cable.
I don’t see one thing, however. Does it have to be connected with a serial cable? There is no option to use wifi and I saw no plugins either.
USB A on the Rpi to USB B mini cable into the bottom of the control box alongside the USB C connector for the handset.
Ok, so Octoprint won’t connect to the Snapmaker with wifi. Oh well, now that I’ve mapped out how to attach it to the top channel, serial is fine.
And I’ve currently got it connected serially. And I found a power cable that’ll make it easier when I need to cycle the power.
While this is setup for Octoprint, I need to secure the Pi otherwise.
I use the setup from this site: Pestmeester