Snapmaker 2.0 - A350 new machine Woes

Greetings all,

I have just received my new snapmaker 2.0 a350 last week and I have been working through the setup and configuration on my machine. I am brand new to 3D printing, did a fair amount of homework searching and reading reviews before deciding on the A350 as I wanted to have the capabilities of the printer, laser, cnc and with it’s larger active area, the A350 was a good choice. Being that the machine was on the higher end of home/enthusiast it was quite an investment for the printer and enclosure especially with the results of 2020 not being a good personal year.

Assembly was not a problem for either the machine or the enclosure and I feel confident in the results of the assembly.

However as I mentioned in the extruder calibration thread, I’m having a number of woes in getting the machine to print anything of decent quality. I’m struggling to get this up and running and producing good quality prints. I’m trying to do this before moving on to the laser / CNC (lord only knows what awaits me there). So I’m reaching out to the wonderful people of this community for help.

I have been using the https://teachingtechyt.github.io/calibration.html as a baseline for testing and calibrating the machine. I have been using Luban / Cura / and Meshmixer on the various prints that I have tested. Been mostly using Cura for slicing and higher control level but I’m still learning on it.

So my initial prints were so-so. For all prints so far I have been using the included Snapmaker Black PLA filament since I was trying to get my feet wet with one filament before swapping to others. I have purchased some ABS (Hatchbox) and another PLA (Overture) but have not tried either.

Frame Check - I have gone through each of the frame pieces and enclosure pieces and made sure there was nothing loose or binding. Being that it is a new machine, everything looks great

PID AutoTune - I noted that a few users said that this was not possible on the forums, so I skipped this step. If it is possible please let me know what the proper procedure is for it.

First Layer - I increased the self-leveling bed resolution to 5x5 using the controller then performed a configuration to settle in my Z-offset. I used the Gcode provided by the webpage adding M420 S1 to make sure the saved mesh was used from the auto leveling. I then went through about 20 test prints of the squares in the corners. I kept running into what I thought looked like the “ridges”: from the leveling guide so I would increase the offset when I saw this. Eventually I would start to see thinning between the extrusion lines and I would move it back in. Finally dialed in a Z offset (in the home position) of 327.94

At that offset the squares would have some slight ridging, but any less and I would find myself with gaps. Also of note - when I printed the calibration cubes in the follow steps, I still saw an expansion of the width of the base layer which may still be impacting, so not sure about that.

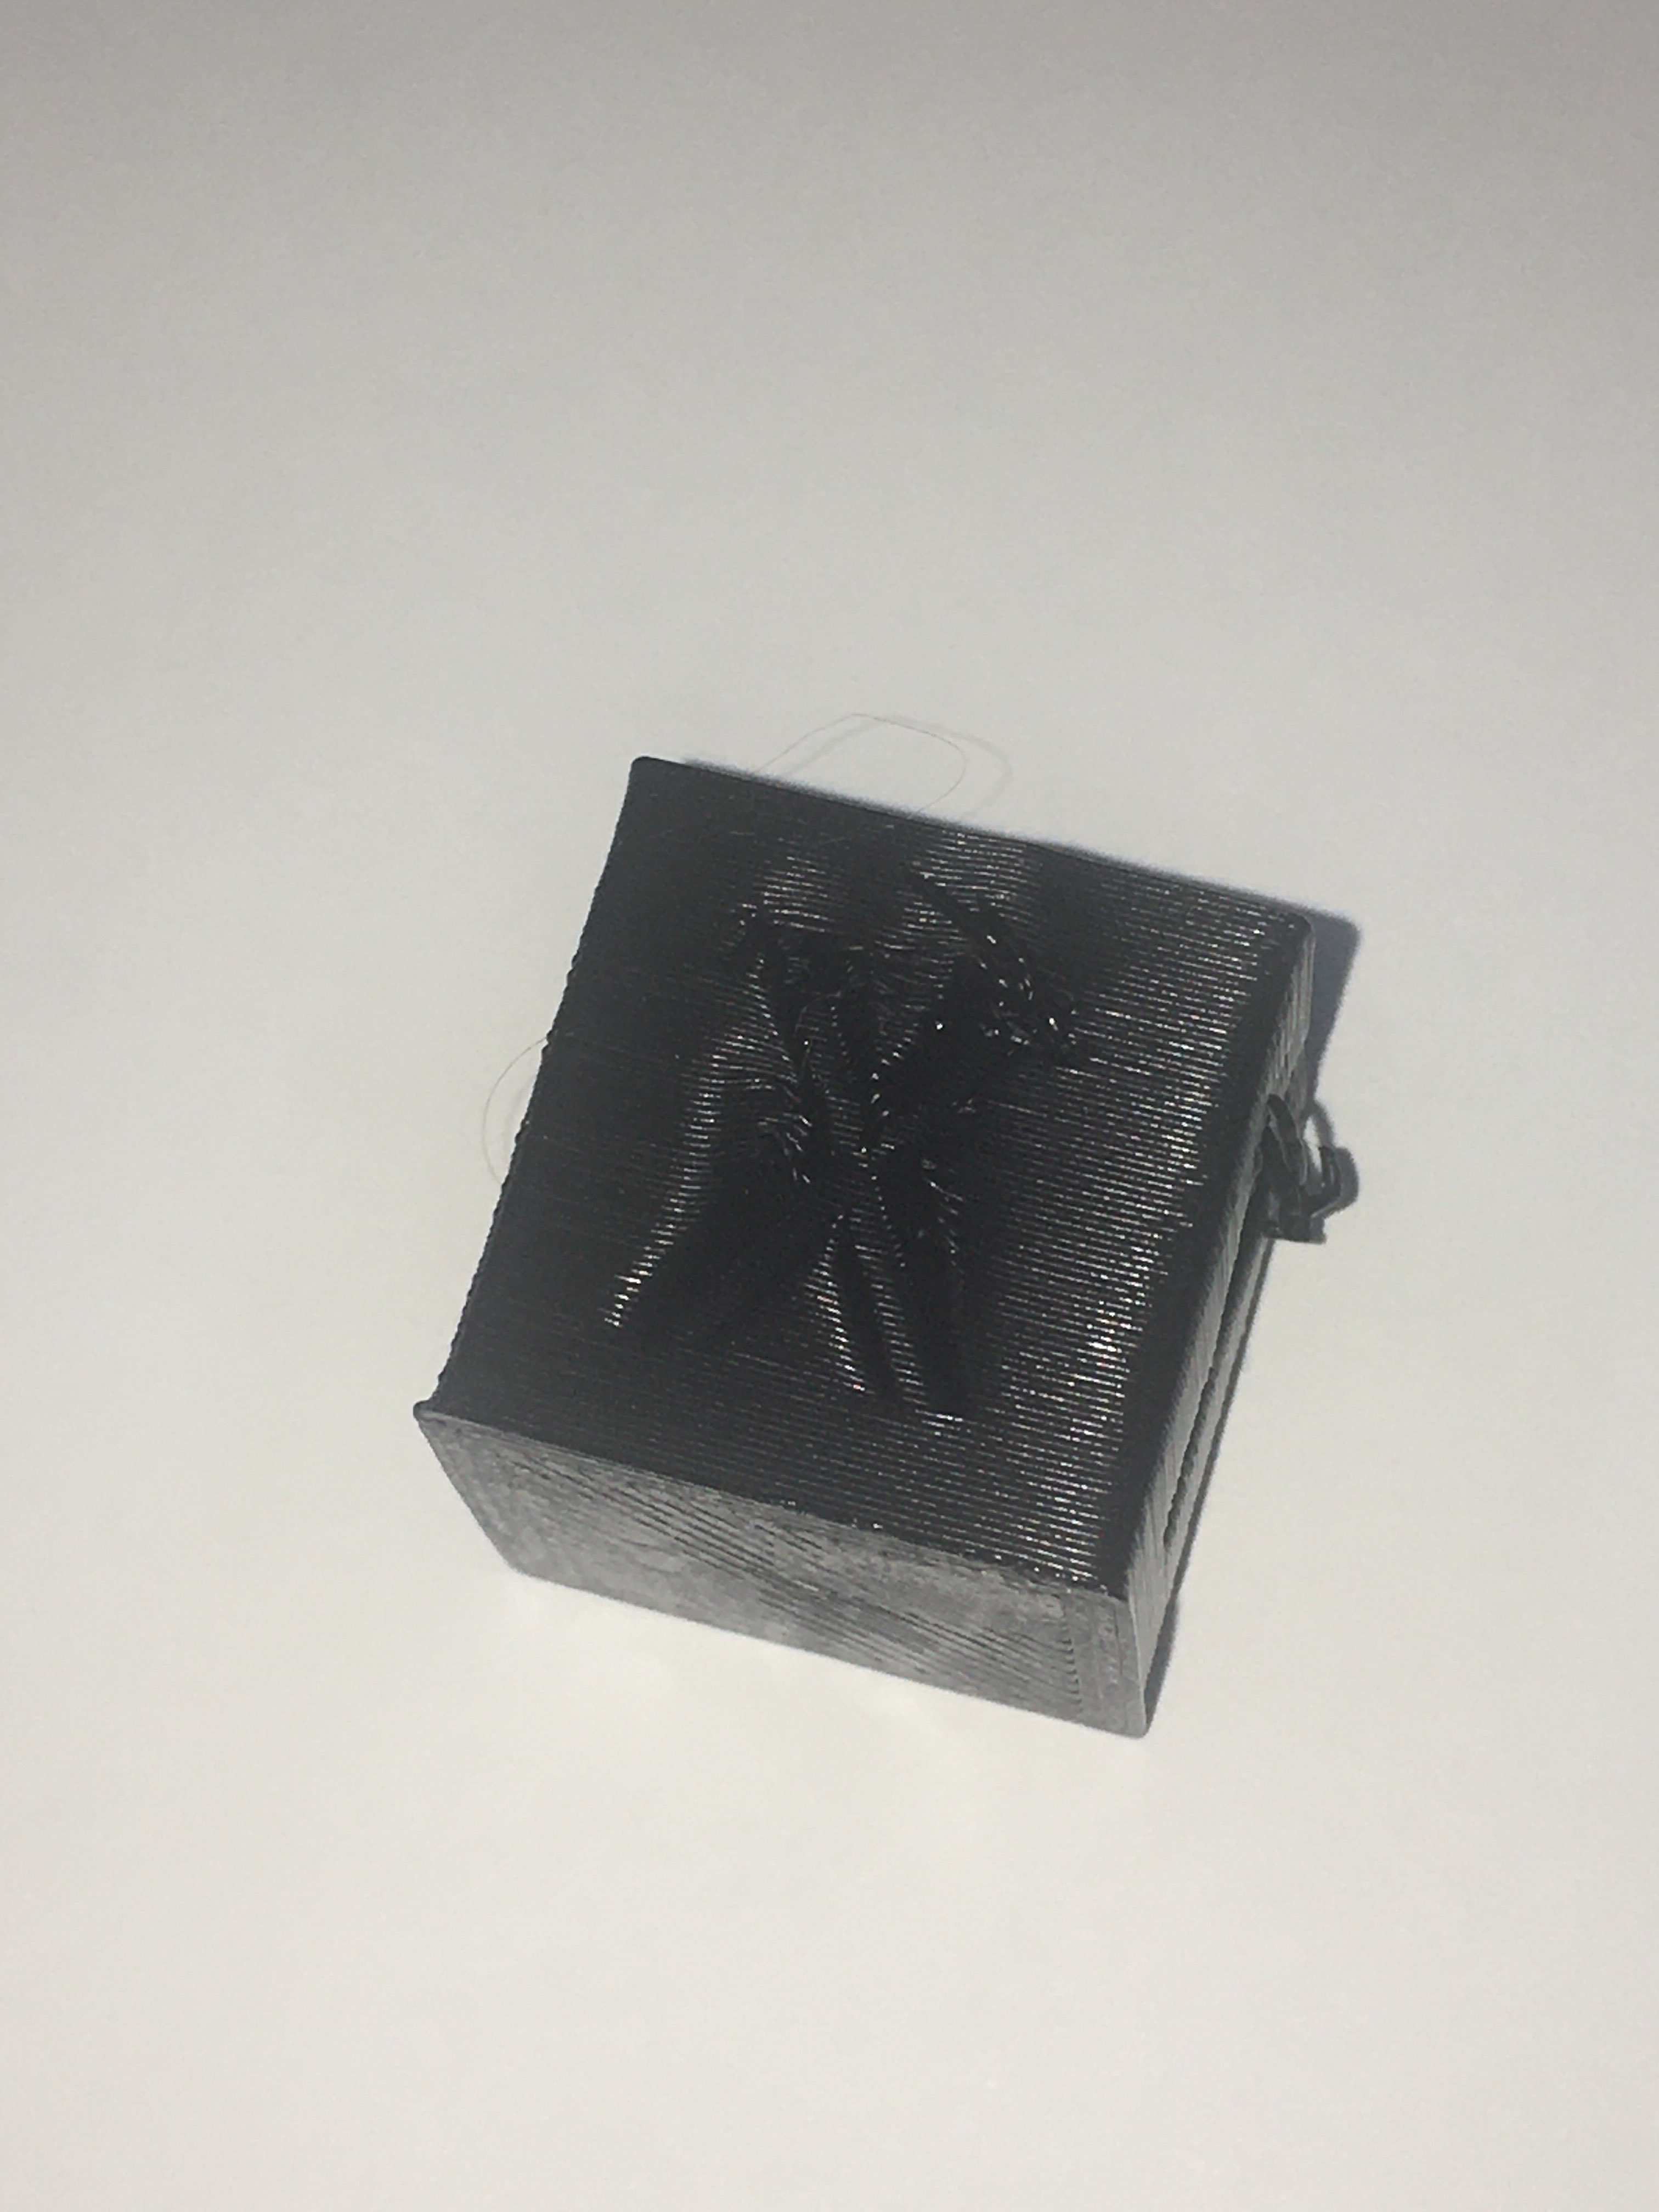
Baseline print Using the cube created by the Gcode generator on the page, I ended up with corners being droopy and the X and Y letters having errors on the edges of the letters (in the center on the X and on the top on the Y). It was also hard to remove from the print surface and looked to be impacted.
First Attempt Shown here:

second attempt (shown below) was about the same with some stringing and despite the offset being raised to attempt to stop stringing, the print was even harder to remove.

Extruder Esteps Calculation - I measured out the 100mm and another 10 beyond it just in case of over extrusion. Much like everyone else in the forum I had my value set to 212.21. First attempt, 1mm shy. so I adjusted the Esteps value using M92 / M500 to save. I turned off the machine and back on again. Ran another test - went 11mm. Increased to 266.20 and ran third test. Mark was less than 0.5mm from extruder entrance. So I considered that a win.

Slicer Flow Calibration Downloaded the Cube file and performed modifications to the file in Cura to obtain the desired single wall cube of 0.4mm thickness for testing of extruder flow. 100% flow in Cura file.

Model came out looking pretty smooth which was a shock. The wall thickness was rough though, at 0.54mm it was too think. This created a reduced flow value of 78.43. Adjusted in Cura and attempted again.

Second print was noticeably thinner. Upon measuring it was 0.41 or 0.40 depending on the face. I considered that another win.

Stepper Motor Current Tuning- I didn’t find any section on our forums that said if the steppers could even be tuned, so I skipped this one for now.

Retraction testing - Used 200/60 degrees for the temp/bed and the M420S1 to recall saved mesh.

Used the following values for the layers and received fairly decent results. 1mm retraction distance was based on the fact that the SM 2.0 is a direct drive.


All the values looked decent except for E and a little bit of D(1.2 / 1mm respectively). So I settled on using 0.8mm as my retraction.

Temperature Tuning - And this is where it all turns downhill. I used the Gcode generator to produce the folowing

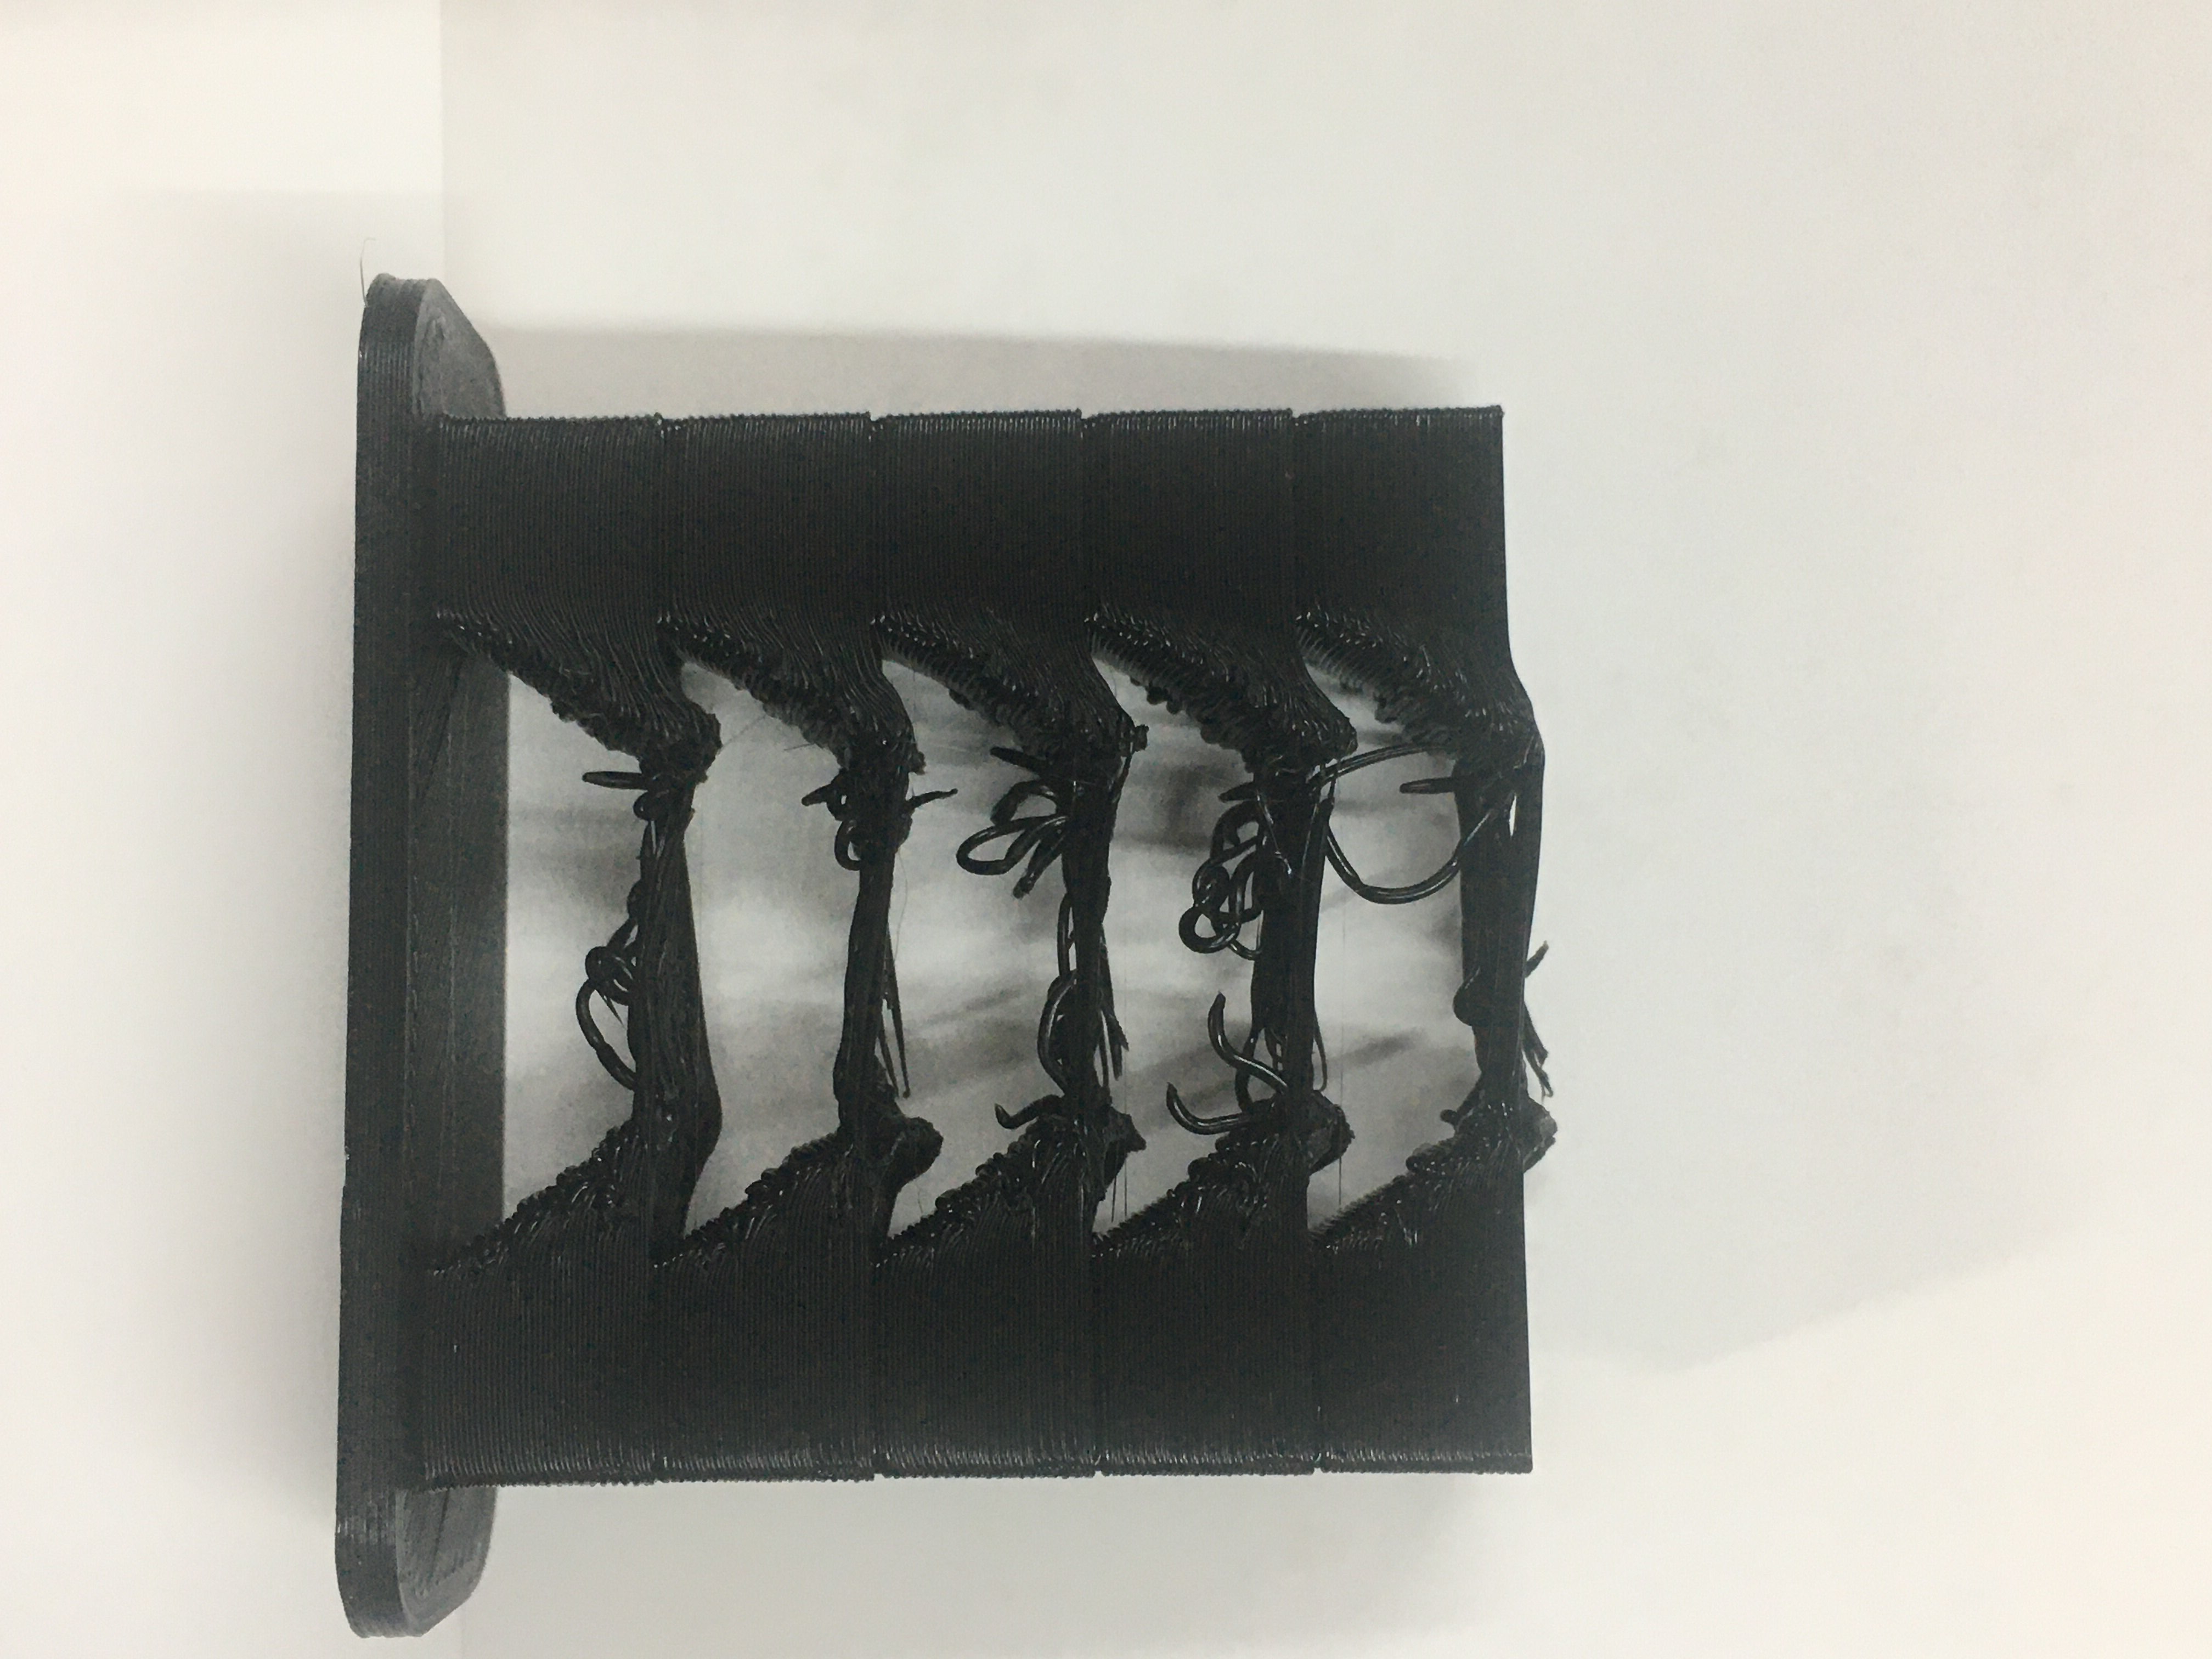
And what came out was absolute junk - not a single level even looked salvageable. This was with the reduced flow value set in the slicer.

So I decided to print another Temp Tower with a larger temperature range.


It also came out like garbage. No layers were even close and the 180 degree was too low and didn’t even complete the top layer.

I then was going to take the advice of a wonderful forum member and try better quality PLA material. But when I went to change it, the extruder was chunking the filament and nothing was coming out. The 180 degree test level apparently may have clogged my nozzle. I was able to push filament through but it was at a partial volume and it was shooting to the side in very thin streams, not like a normal stream. So I ordered some 0.4 cleaning needles to help fix that tomorrow.

Have not done the remaining tests adjustments on the page
I am struggling through this right now, but any suggestions are appreciated. Just trying to get this up and running and at the highest quality print that I can get. I love my machine, I just need to continue to learn and adjust. I hope that our forum team can make suggestions to allow me to figure it out and get some excellent print quality!

Thanks in advance!

1 Like

As you acknowledged, the first thing you should do is try throwing out the SM filament.
While some people have had no problems, it’s been a source of frustration for many.
You should be able to fix your clog without any tools. Heat it up to 210 or so and then wipe off the nozzle with a cloth. Then do a cold pull to clear the nozzle. Then reload the new filament by pushing it through with the door open.

-S

3 Likes

I’ve had my A350 for about the same about of time - spent a good portion of last weekend getting it going.

Having read the tales of woe regarding the provided filament, I bought some Polymaker matte filament to use instead. That may have been a mistake as it is very gooey - I recently ordered a filament with a lot of “it just works!” reviews, and will be using that as a baseline when it arrives. I don’t believe the filament should be that relevant, though (unless it is absolute garbage) - it sounds like any interesting filament is going to require some tweaking to get a satisfactory print from.

I suspect that the snapmaker 2 has a tendency to over-extrude. I fixed the main problems with the runniness of the matte PLA by lowering extrusion/flow (~ 5%) in Cura; the remainder of the original stringing was due to the bed not being level. If you don’t have the tools for measuring this, it is likely worth doing a manual calibration for bed leveling.

Yesterday I set the Extruder E-step, and immediately encountered all of the problems I had before lowering the extrusion flow. Since the extruder is now producing more filament (100mm instead of 88mm), this makes sense - and it makes me wonder if the factory E-step value is an attempt to compensate for the over-extrusion present in the hardware.

I have been putting off the steps on that 3-D printer tuning page because, quite frankly, those should be required for a $400 3D printer, not an $1800 one. I guess these machines can’t be tested before they are shipped because assembly is required on delivery. One of the flaws inherent with a gantry-style printer (as opposed to an enclosed one, like those Dremel Digilabs), I suppose - regardless of quality or price point they’re going to need careful calibration to produce acceptable work.

EDIT: have a print going now (past initial-layer stage) with the matte PLA using the following settings, and it seems to be going well:
Flow : 80%
Temp : 215 C
Bed : 70 C
Speed: 25mm
Obviously these are tuned to my extruder calibration and the matte PLA I am using, but I think it illustrates how much the extruder might default to over, er, extruding.

Do the calibrations. It is worth it. I wouldn’t run a 3d printer at any cost without checking the calibrations myself.

I’m curious what you’re considering an over extrusion. Mine was severely under-extruding on delivery. It may also be the filament being used, have you measured it in a variety of spots (forming at least a cross with your calipers to check roundness since many tend to have oval cross sections). The flow is normally used to correct for filament size imperfections.

1 Like

Yeah, I’ve been doing them, although most of them are telling me things I’ve already figured out (e.g. temperature, retraction, bed level) making much smaller parts*. The PID autotune doesn’t seem to complete, and the linear advance test hasn’t given me any usable info yet.

I guess I am using “over-extrusion” inexactly. On delivery, the A350 is calibrated so that its e-steps under-extrude: that is, 88mm of filament is extruded when 100mm is expected, That would be the feed of the filament into the extruder.

What I am seeing with my prints - and again, this is likely exaggerated by the gooey matte PLA I am using - is an over-extrusion at the nozzle. This can be managed with the flow parameter in Cura. With the stock PLA, a flow of 98% worked well; with the matte, it is more like 80%. I’m not at all satisfied with the PolyTerra matte, it is variable in diameter and in winding, and the surface finish is just awful.

  • Setup/testing procedure: I have been using the Strain Relief component of the Heated Bed Cable Saver as a test piece: it is tall enough for walls, it has a few sharp corners, and two through-holes that are prone to stringing. I have been aborting test prints as soon as they go wrong (failed bed adhesion, layer separation, nozzle hitting over-extruded filament) and using a dedicated Cura profile for all the tweaks. To save changes I made the Cura config directory a Git repo and have been doing commits when a solid improvement is made to the profile.

EDIT: just saw this:
Does PID tuning work on SM2? (short answer- Nope)
…and this:
Improving print quality
The latter making me think that perhaps my expectations for PLA in general, and this matte filament in particular, are unrealistically high. The side walls of my prints look like
Update #6
…which received the comment “the variations you are seeing are completely normal and you would be hard pressed to reduce them much further”.

Are you printing too hot?
That would cause it to be runnier and the flow rate to be too high.

Some filaments are just strange. Whatever they use to make it have the matte finish may just make it really temperamental.

-S

Hmm, could be, for the stock PLA. I’ll be putting that spool back on later today, so I’ll do some tests at 190 instead of 200. The matte doesn’t stick to itself below 205, despite what’s written on the spool (“low temps! fast speed!”) - and yeah tempramental is putting it a bit mildly :slight_smile:

Noticed on one of those links something about setting extrusion width to greater than nozzle size (i.e. 0.45mm). Something else to play with, I guess.

OK, I was intending to put the Snapmaker-provided PLA spool back on the printer so that I can more directly relate the fixes I am finding to the OP’s problem. Had to prototype and print a part for the shop though, so I kept the matte on for a bit as I have a "works-but-not-perfect’ setting for it.

In regards to this, to look into the flow settings, I drasticlaly underextruded (75%) the infill. This of course ruined the print immediately, but what I learned is that the effects of under-extrusion combined with high temperature looks a lot like over-extrusion unless you watch the printing as it happens (under-extruded filament does not reach or stick to wall, print head then moves it around on each line and it ends up at the edges as an over-extruded blob). So Stevanzzo and sdj544 are correct: the printer is not under exttruding, and reducing the temp to 195 (215 initial layer) and the flow to 90 (100 initial and top layer) appears to work well for this PLA.

Alright, I think I finally have some tests that directly relate to Boots’s problems.

I put the black PLA from Snapmaker back on, and rolled back to the default Cura settings (A350 - fine, Generic PLA), and continued my tests using the strain relief component from heated bed cable saver

Here are the results:

The grey ones and the temperature towers are previous matte-PLA experiments. The black ones have the following (cumulative) changes from the default settings:

  1. Quality: Layer height 0.08 (initial 0.16)

  2. Quality: Initial layer line width 125%
    Shell: Enable Ironing
    Infill: Pattern: Octet
    Material: Printing temp 200C (initial 205C), Build plate initial layer 65C, Inflow fill 99%, Initial layer flow 101%, Linear advance 0.085
    Speed: Print speed 45, Top/bottom speed 18
    Travel: Retract at layer change, Retract distance 2mm, Retract speed 25mm
    Cooling: Fan speed 50%
    Build Plate Adhesion: Brim, Line count 5

  3. Quality: Layer height 0.04, Line width 0.395
    Shell: Wall thickness 0.4, Top/bottom thickness 0.64
    Material: Printing temp initia layer 200C, Initial layer flow 100%, Initial later advance factor 0.075, Outer wall linear advance factor 0.075
    Speed: Initial layer speed 14
    Cooling: Fan speed 25%
    Special Modes: Surface Mode = Both

  4. Quality: Initial Layer Line Width 110%
    Shell: Top/bottom Thickness 0.06, Top surface skin layers = 1

The ironing of the top isn’t as smooth as I was getting with the matte (possibly not hot enough or extrusion to low), and there is an odd transition point where the edges start blobbing. I think the latter occurs after the initial layers, and so could me a temperature change issue (maybe fas kicking on?), and the last revision was a failed attempt to address it. Interestingly, the corners and the round holes are crisp during the initial layers (until I am satisfied and walk away, basically), but they get ruined by the blobbing of the outer wall.

In general, though, very well behaved and none of the string that the OP was seeing. From the original photos, and my recent experiences playing around with Cura settings, I’d look at the following:

  • temperature in the 200-205 range
  • speeds about 45mm
  • extruder calibrated and bed leveled (of course)
  • X-axis linear module is precisely level
    This last one is tricky and caused a lot of top-surface problems at first, because the nozzle kept hitting the plastic. The x-axis has to be the same distance from the Y-axis rails (not the bed; that is handled by auto-levelling). The way I did this is to put a 1-2-3 blok on each rail, then jog Z until the X-axis module is in contact with a thick feeler gauge on one of the blocks. The feeler gauge is then used with small Z steps to determine which side is higher; the high side is pushed down until it matches the height of the low side (as judged via feeler gauge). In place of the 1-2-3 blocks, two items that are close in size can be used (could probably even use a deck of cards if you are careful), as the difference in their sizes can be determined with a caliper, and accounter for by extra leaves of the feeler gauge.

UPDATE: Temperature tower from the calibration github completed printing, and it suggests 210 for the temperature (steps 190, 195, 200, 205, 210). Looks like the lower temperatures fail on bridging, and there is some stringing at 190.

1 Like

I’m running the temp tower from CURA now, range of 220 to 180, but according to the touchscreen, the temp is 200 and isn’t changing. What’s up with that?

If Cura is generating the gcode then you’ll need to modify the gcode by hand (export to gcode, edit, save, import) to add the temperature changes (M104) at the start of each part of the tower, before printing it.

Hmm. So how do I know what layers to put the temperature commands in?

I’ve not done this before.

I just use Notepad++ to edit the gcode, adding the M104 code at the start of each part of the tower. Comments in the gcode identify how many layers there are and also the start of each layer, which along with knowing your layer height, the tower height and how many towers there are, you can work out where to insert the M104 codes.
E.g. if there’s 5 towers plus the base, your layer height is 0.2mm and the towers are 10mm high, then there’s 50 layers per tower (50 x 0.2 = 10). Edit the gcode file and see how many layers there are (it’s in the comments at the start). Let’s say there’s 260, so there’s 5 towers which are 50 layers each (total 250 layers) plus the remaining 10 is for the base (which is at the start of the gcode). So you’ll need to insert M104 codes for the temperatures that you want at the start of layer 11, 61, 111, 161, 211.

There’s several YouTube videos on how to do this :slight_smile:

You can also use https://teachingtechyt.github.io/calibration.html#temp to generate the gcode for temperature towers for you, but you have to be careful with the parameters - it doesn’t know what your printer is capable of. It’s safer to generate the gcode in Cura (or Luban etc) and then add the M104 codes yourself. There are also some scripts that various people have written for doing that in Cura, but I don’t have any experience with those.

1 Like