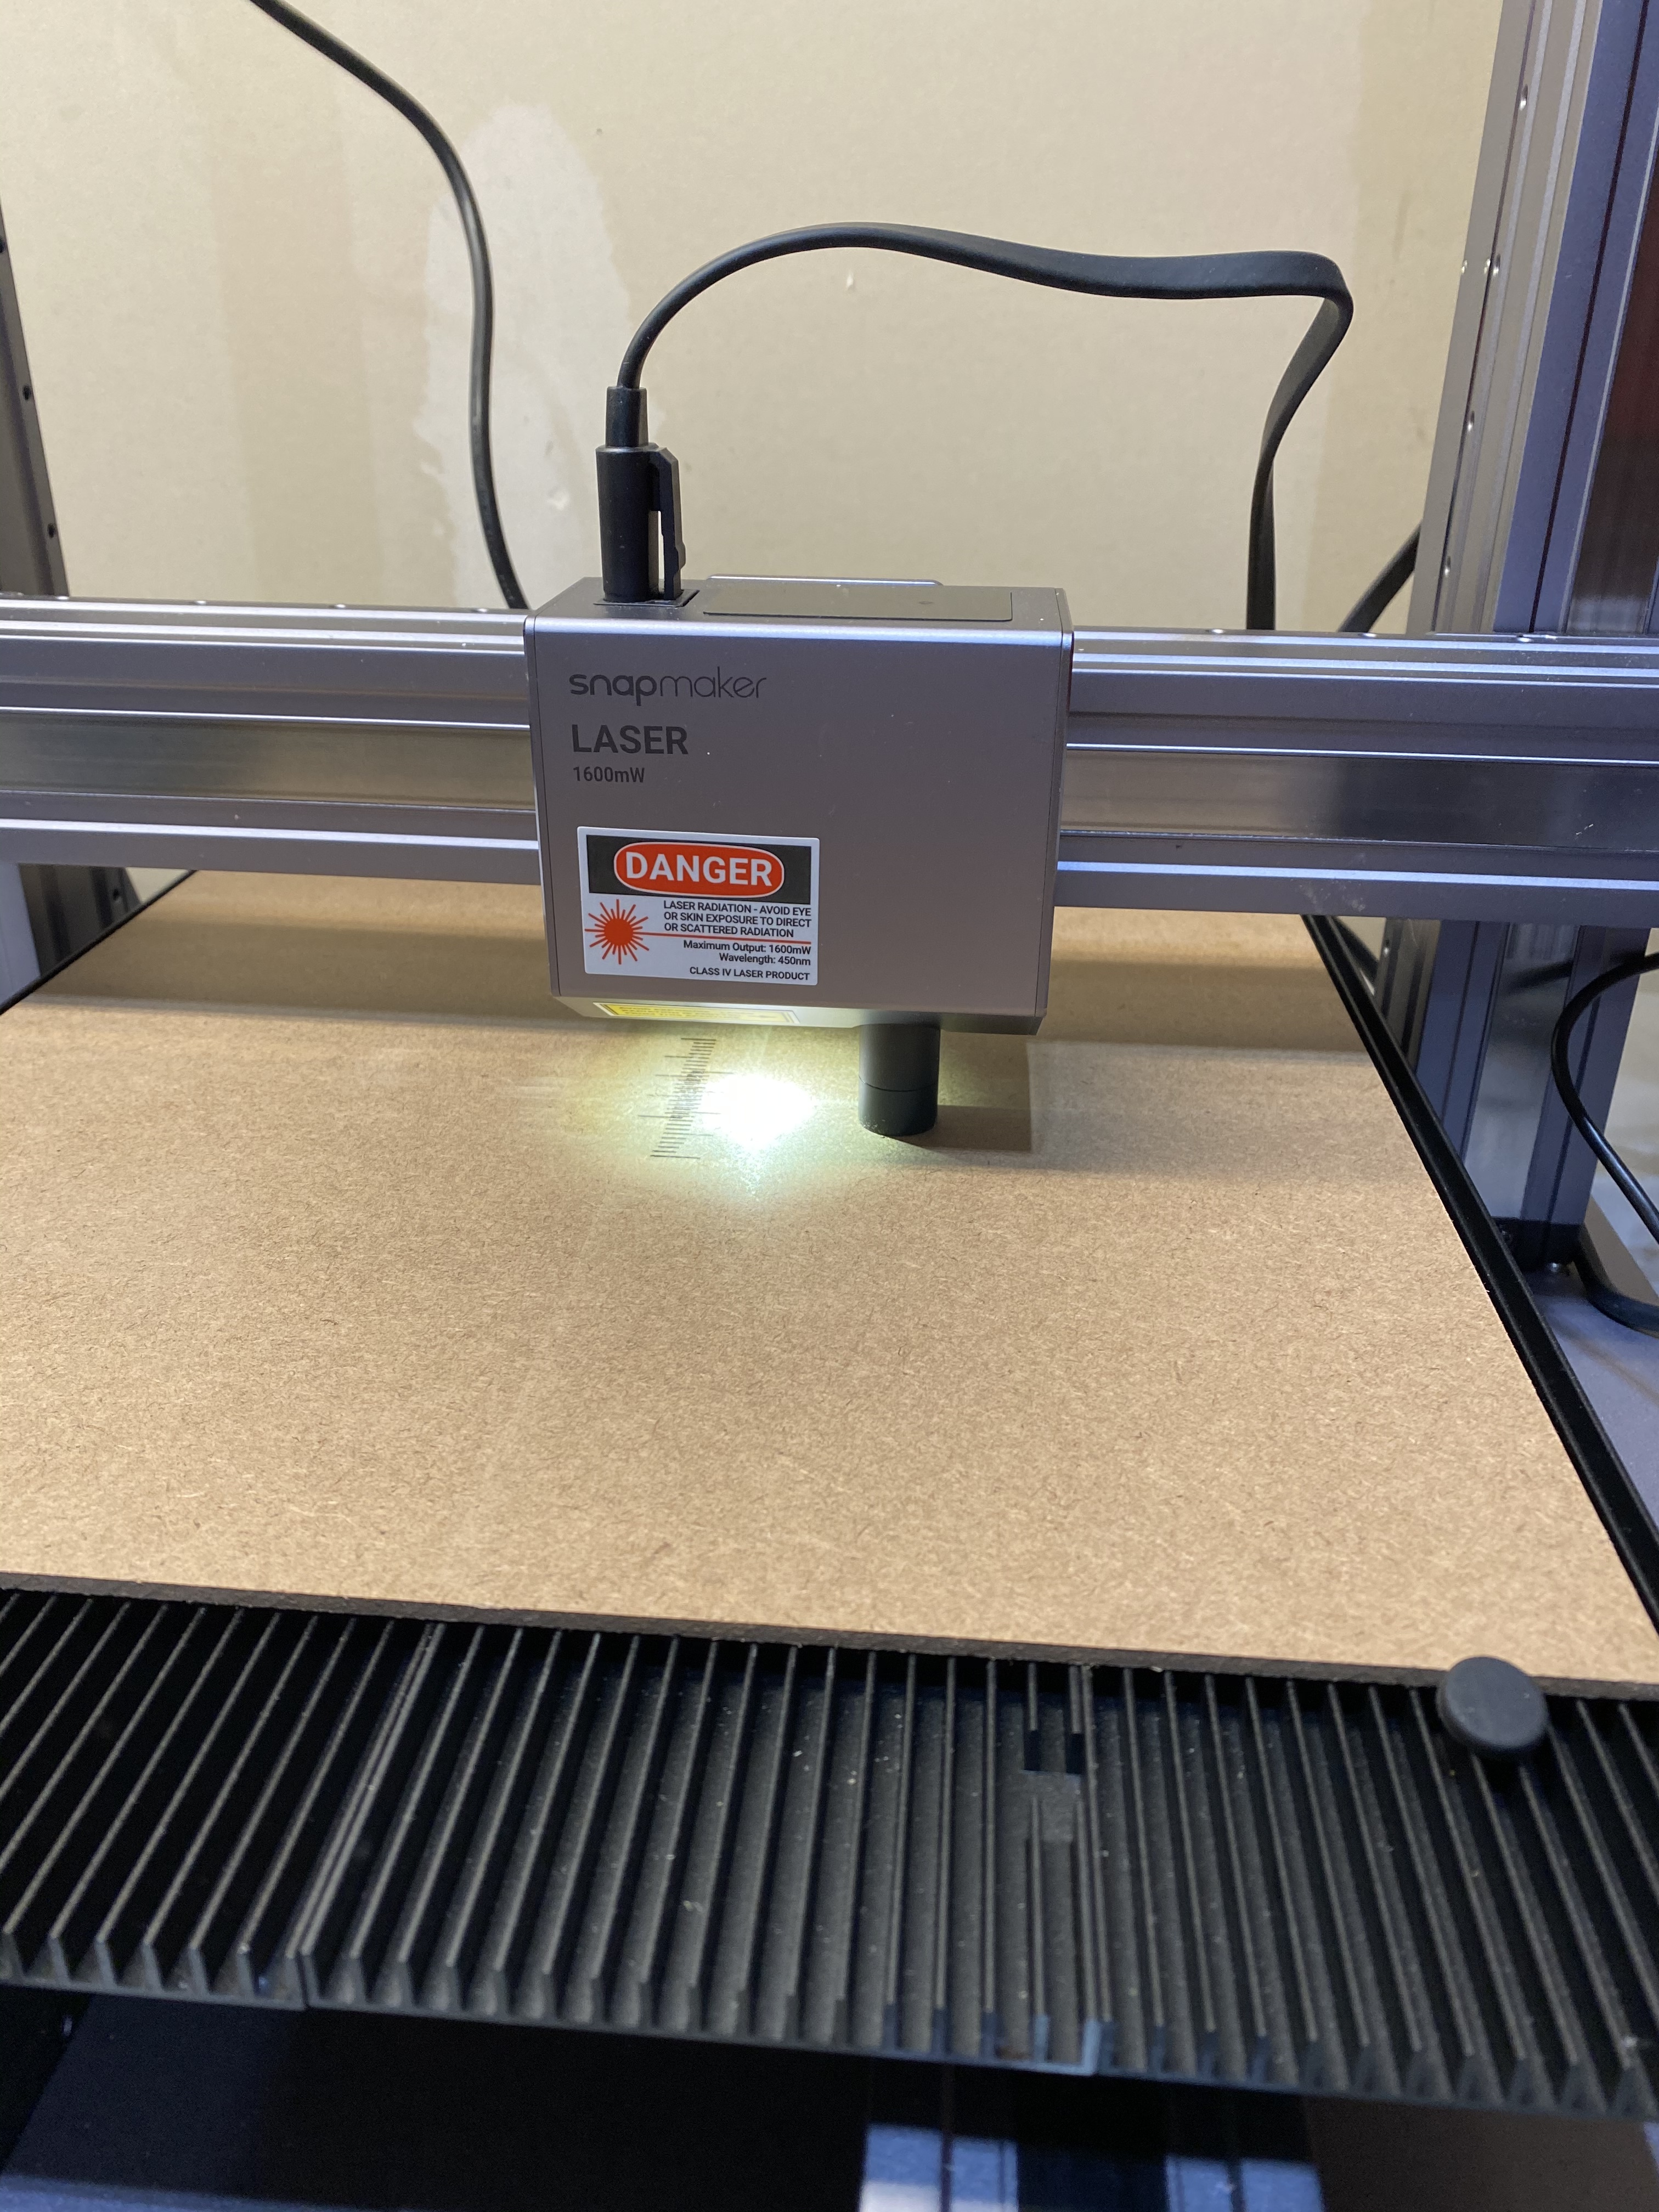
Hi, I just got my A350 and assembled it. When doing the initial calibration the laser module just smashes into the work surface repeatedly.
I have tried it a few times and it does it both when laser engraving the lines for the first test and then sometimes it will laser engrave but when the camera goes to check the work it smashes into the work surface.
I have turned it off and waited. I have unplugged the module and I have hooked it up to my lap top. Nothing seems to work.
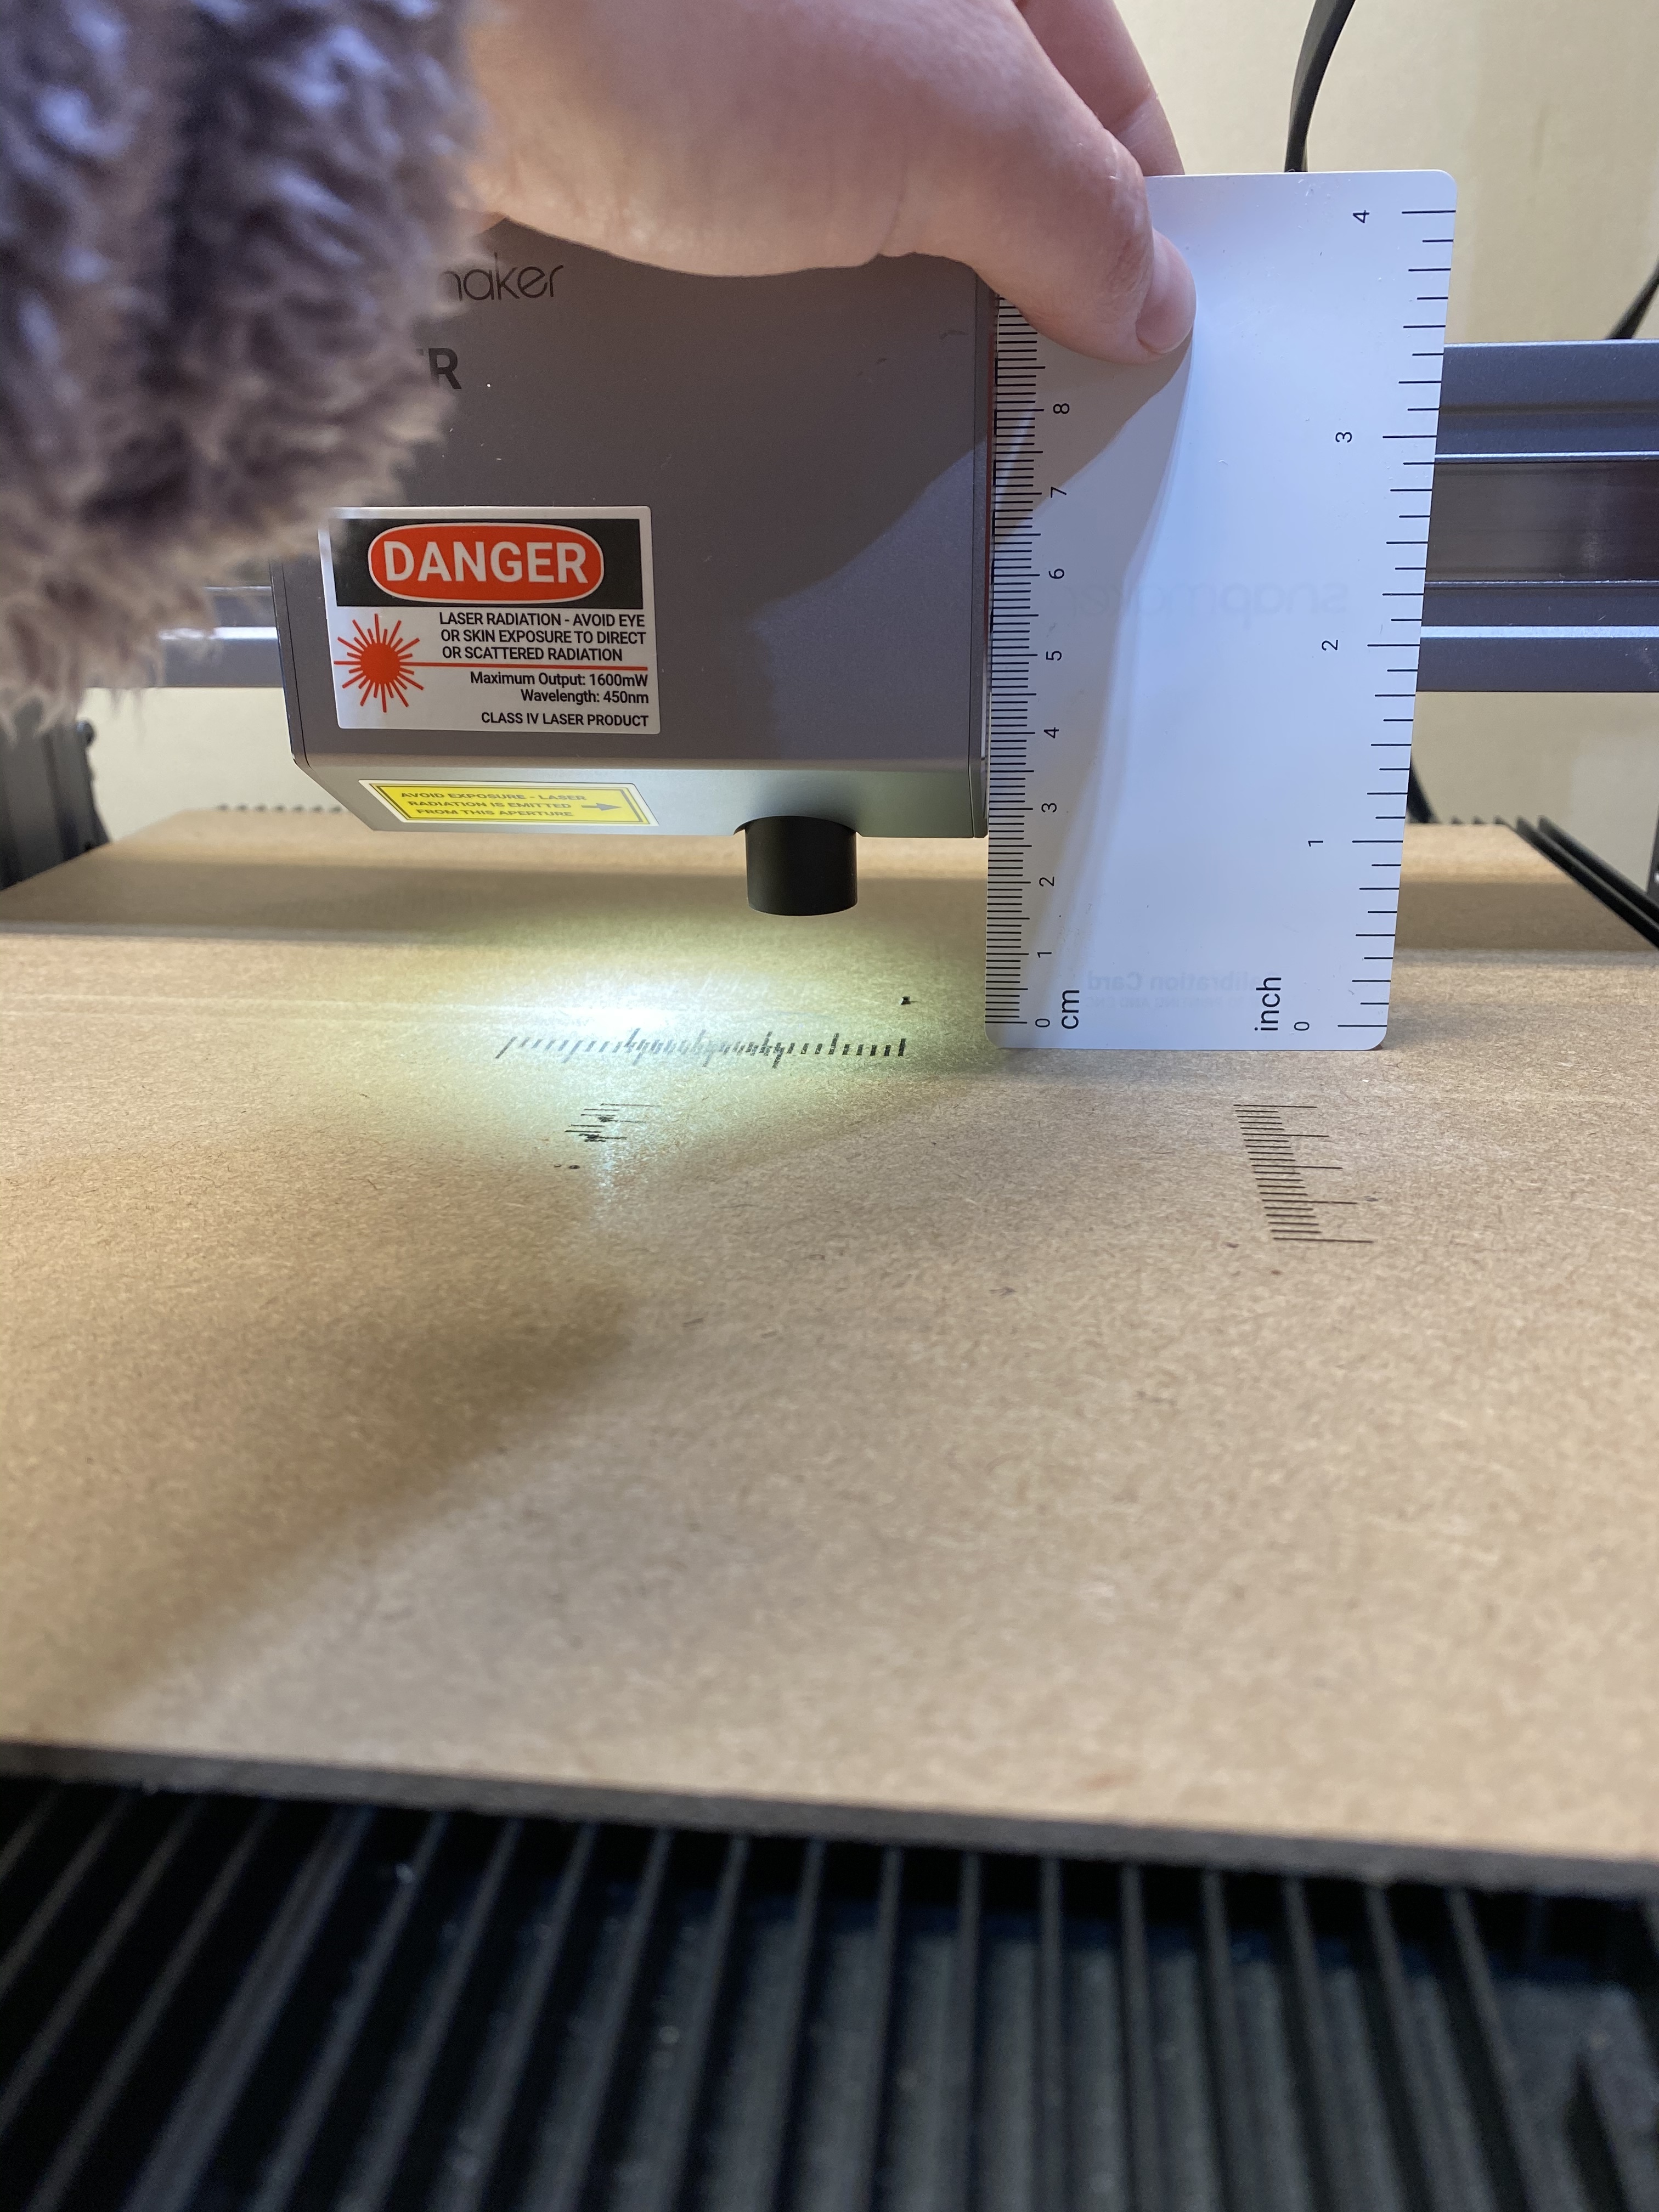
Sorry if this is too basic and you’ve already done this, but did you take the lens hood off? It’s only briefly mentioned in the online manual. If the focal length is too low it’ll crash, and the online instructions say take the hood off first. You could also try and manually set the laser height to around 23mm, which seems about right for most people. If you’re significantly less than that it’ll probably crash.
Make sure you’ve updated the firmware. (2.9 is the most stable)
Verify that your cables are correctly connected.
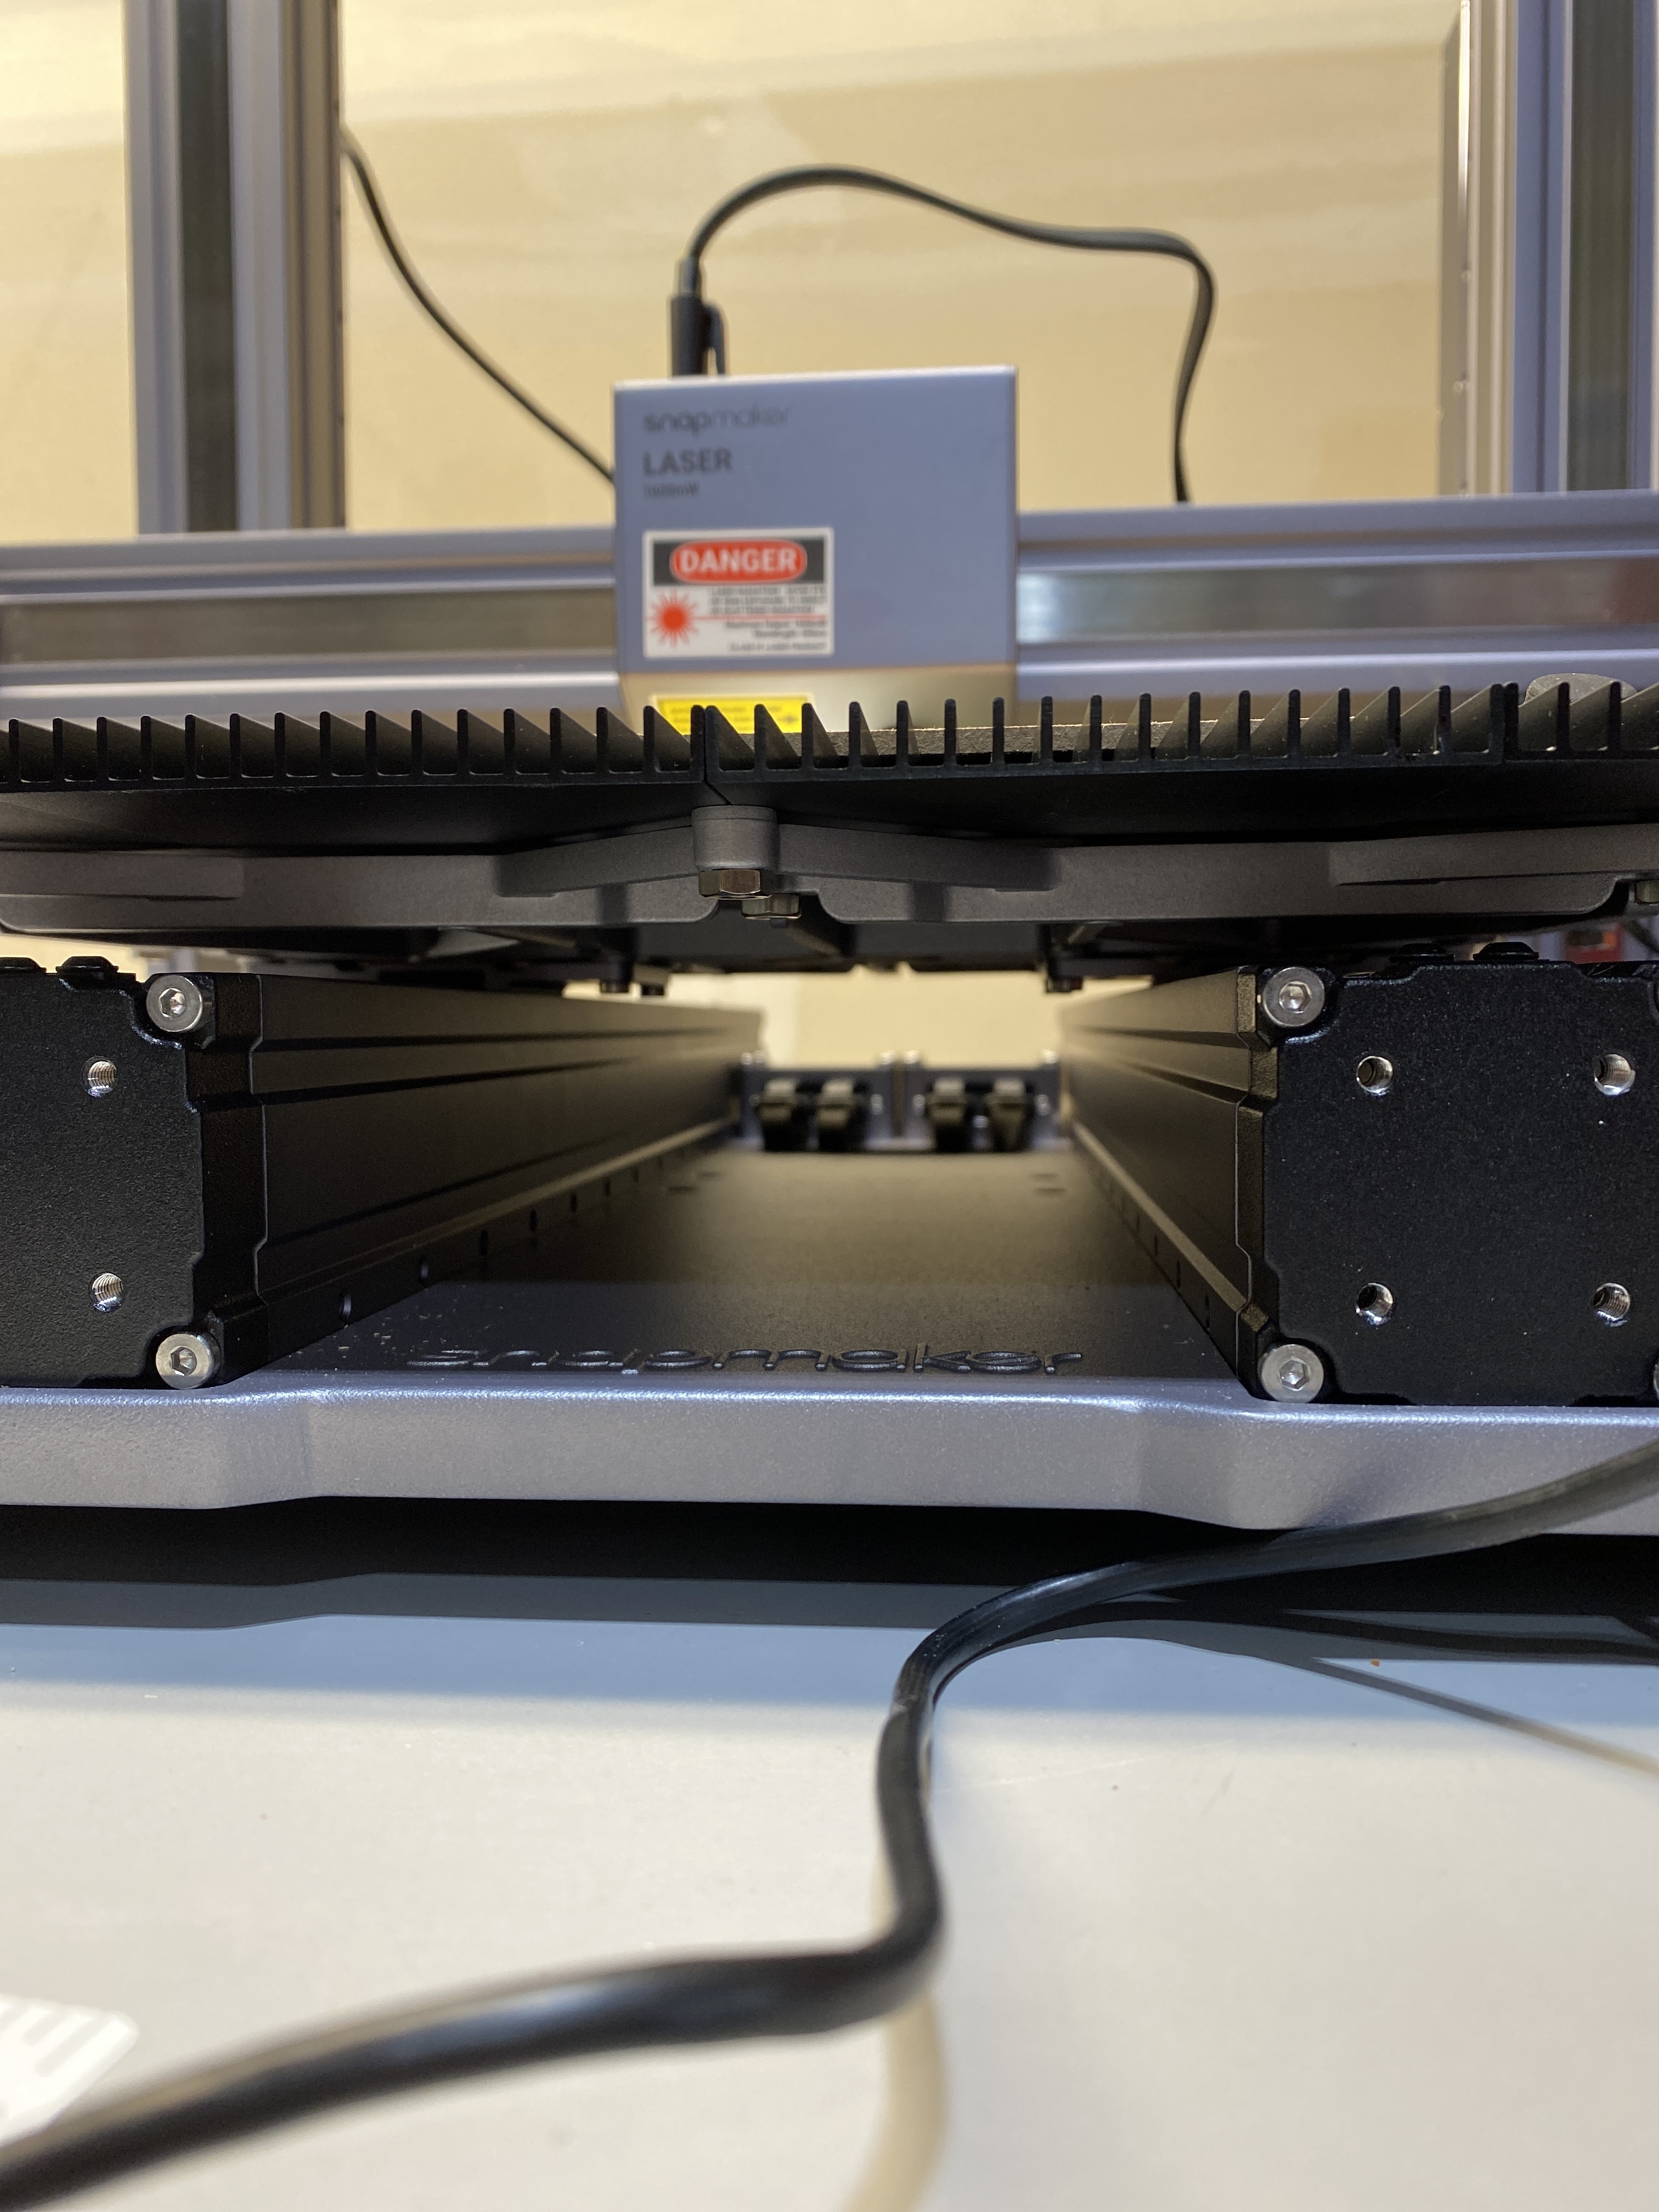
Double check that you’ve assembled correctly - bed frame should be nuts down. Proper screws. Linear rails centered and properly seated. Head attached to the correct screw holes etc. (You can post pics if you want us to see if you’ve missed something)
-S
If you manually jog the controls on the touchscreen so that it’s close to the bed, Z height wise, about what Z value is that?
My focal length is also about 24mm, and if I jog to a Z height of 24 (without the lens hood on, I just keep mine off) there’s like 5mm or so of clearance.
take the lens hood off and retry. It looks like you’re getting a burned line, so it’s close to being correct.
I was referring to jogging the controls outside of calibration, just the normal controls option from the main touchscreen window. You can’t move Z when setting work origins
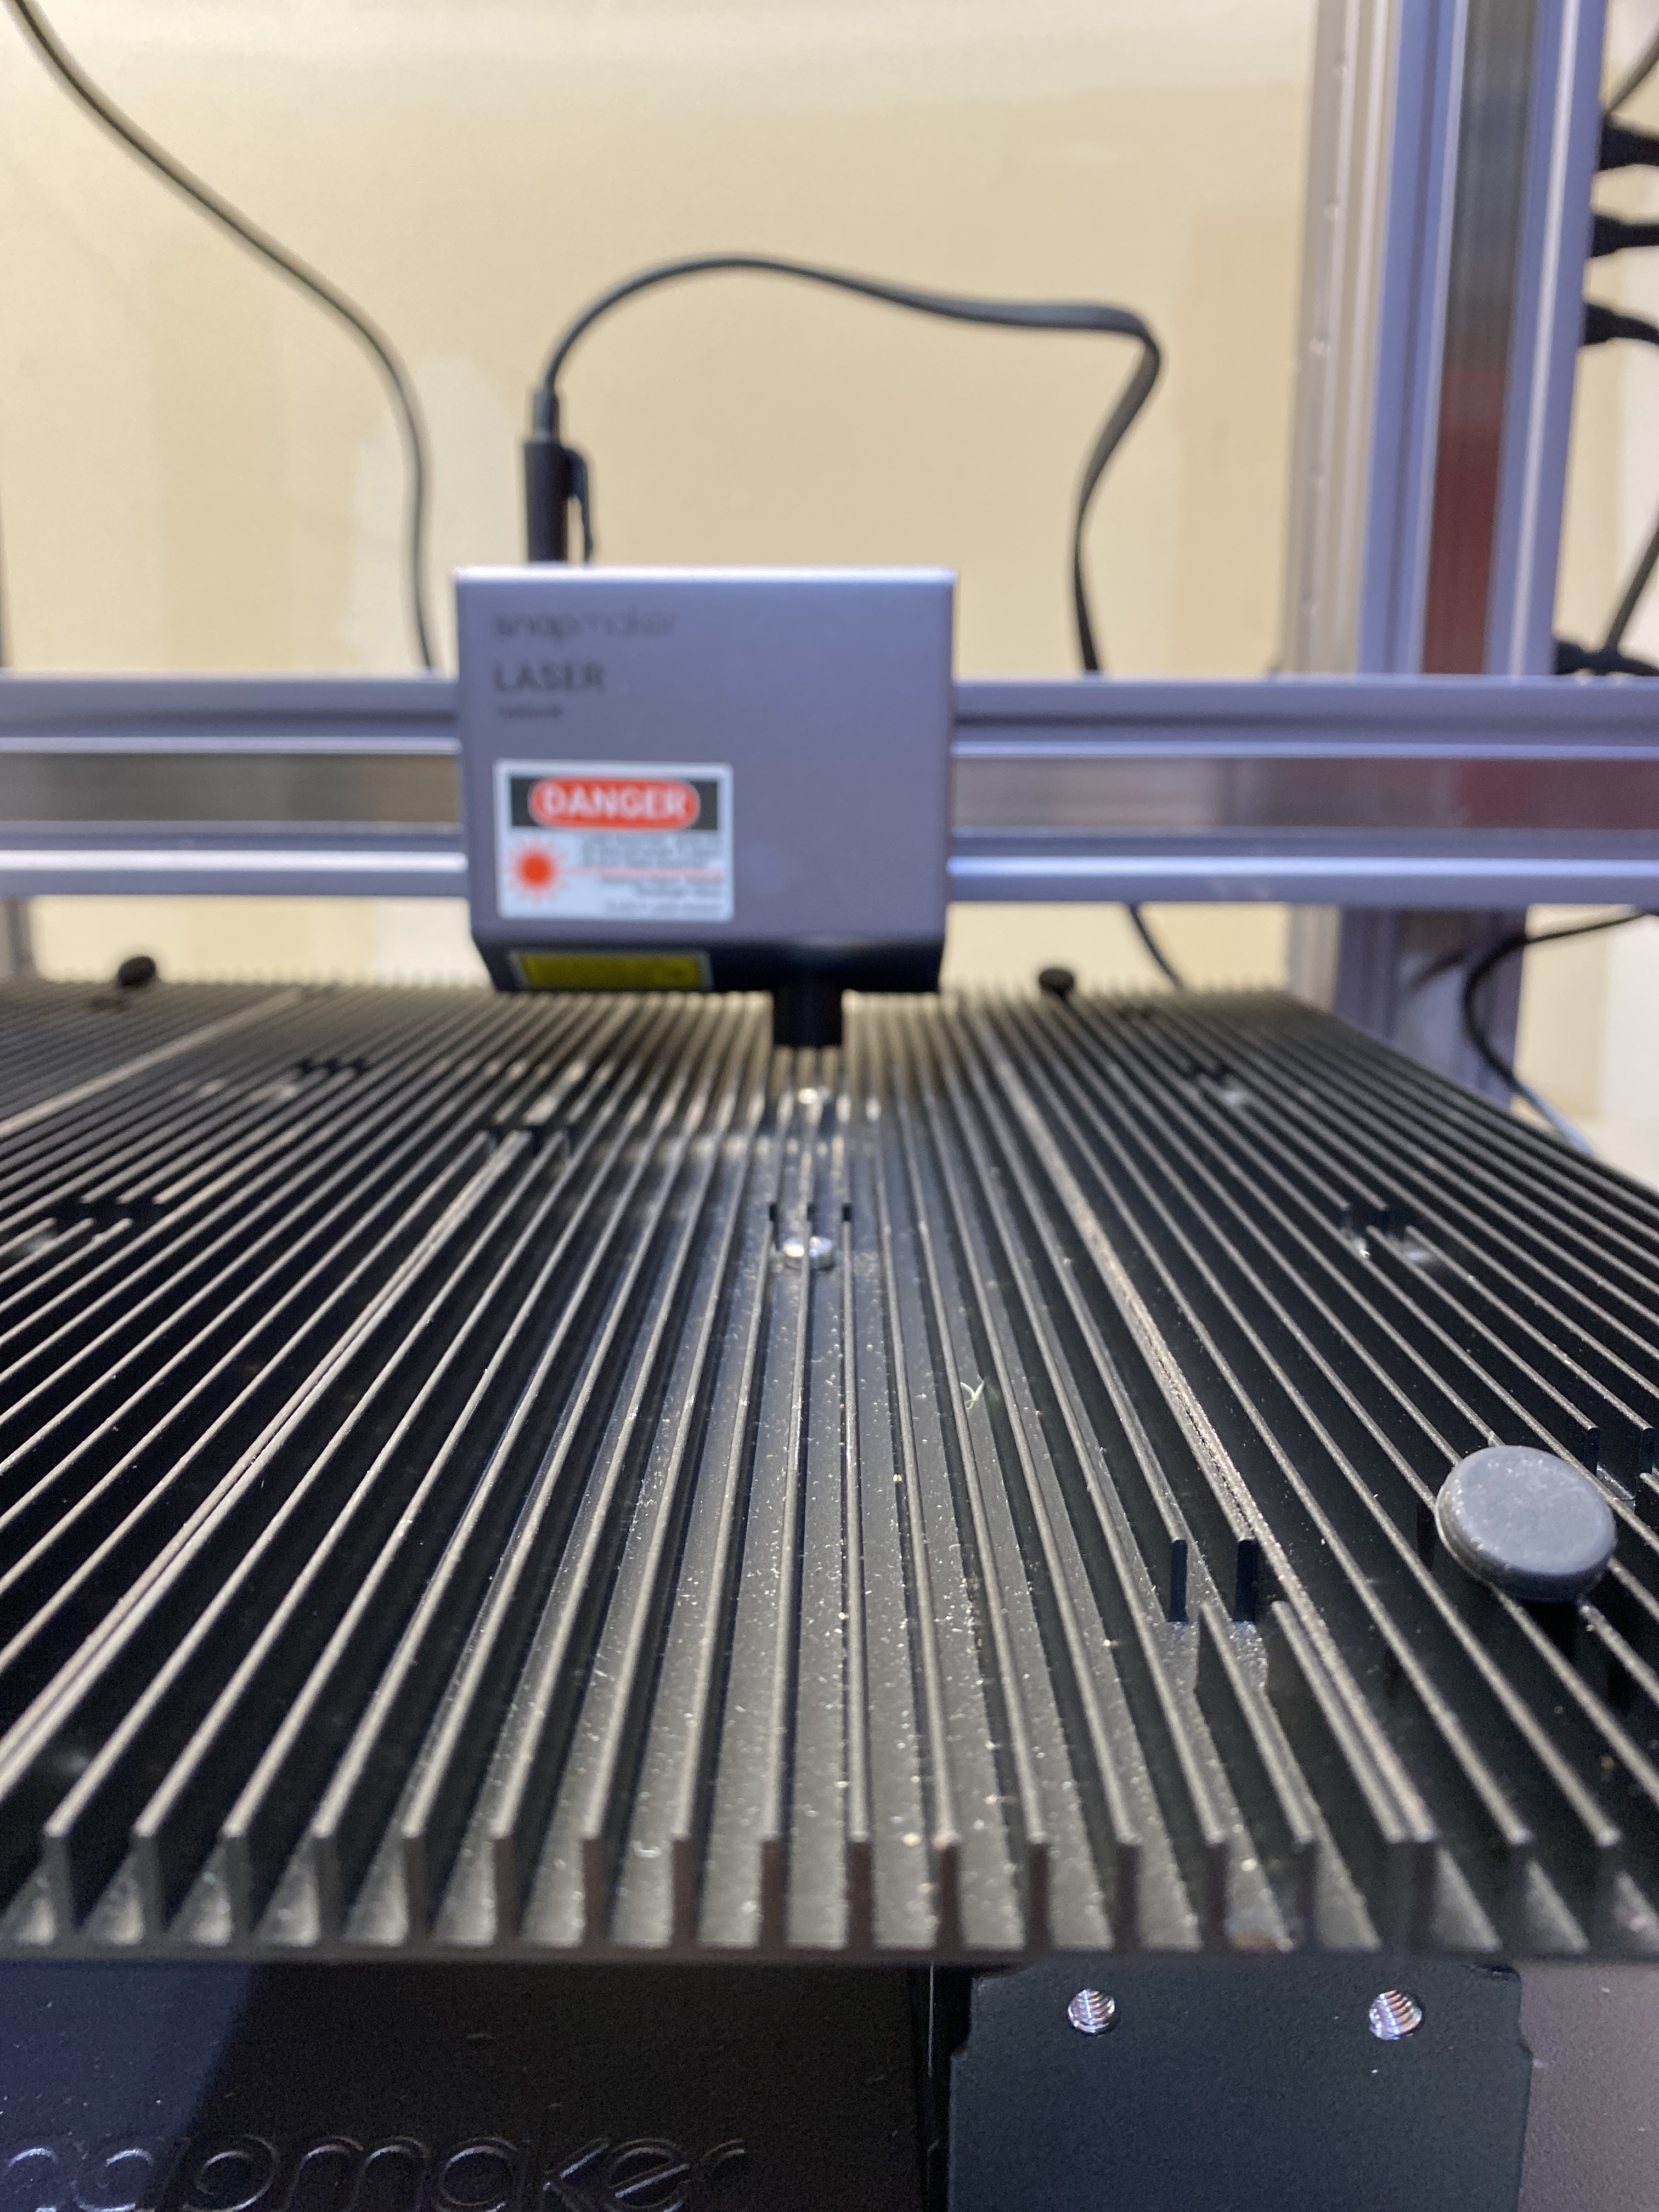
That coordinate of Z 34 seems a little high for how close it is. I know you said the nuts are down, but could you post a picture of the platform underside anyways?
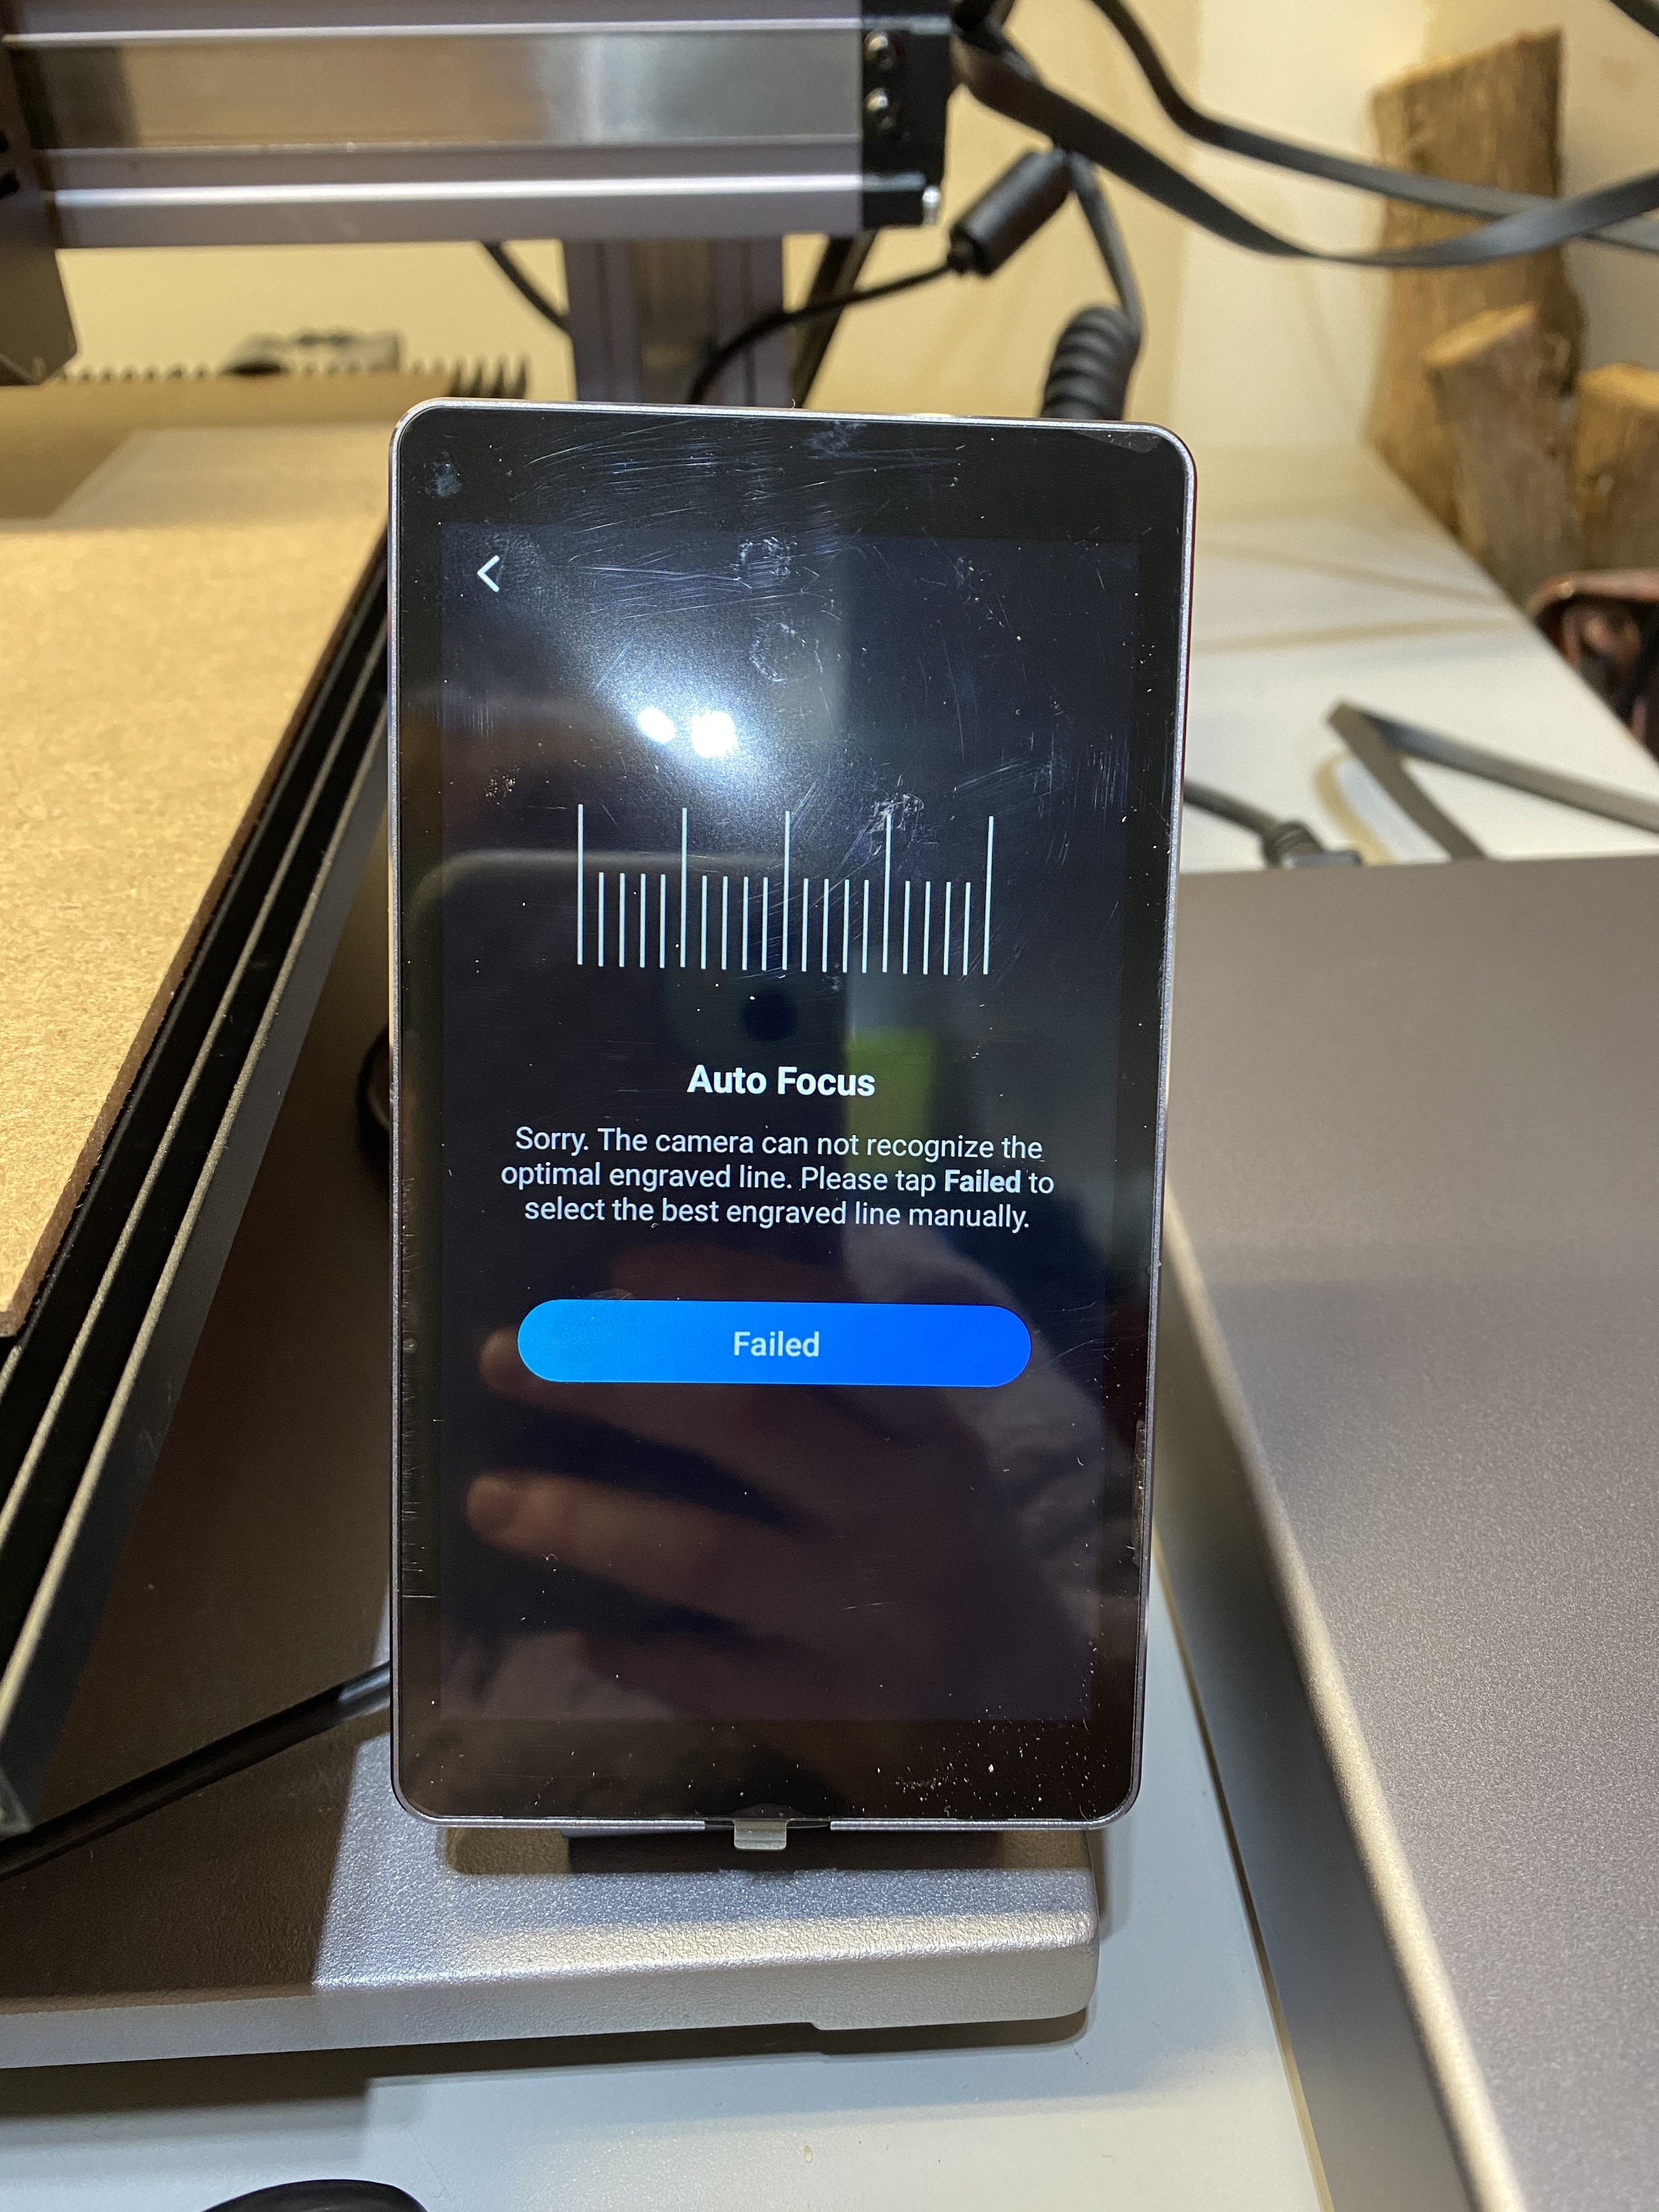
You picked the line on the far right? The right side is getting higher, so that’s indicating it’s too close to the bed. If you picked the far left that would lower the laser closer to the table.
You can always go into the touchscreen settings->laser focus (or laser height, can’t remember the name exactly) and raise it 5 or 10mm.
Also, can you post a picture of the underside of the platform?
I think the height is determined when you do the calibration card. I do that without the lens hood also. There very well may be something wrong, I don’t know. But just pretending the lens hood didn’t exist worked for me.
Also the auto calibration is super buggy sometimes, try setting it in the touchscreen settings to manual calibration. It’ll ask you to jog up and down to get the tightest laser spot, then do the +/-5mm pattern from wherever you set. That’s what I do because half the time it chooses the wrong line automatically. Some people here on the forum have told me it’s a firmware bug but I don’t want to downgrade since it’s like the only problem I’m having.
I am working on test laser prints and it seems to be working. However, when I over the z axis is moves 20 mm and smashes into the work bed.
It appears my largest issue is with moving up in the z axis, the machine does not do it at all, that is with the firmware right out of the box and right after the update to the newest firmware.
I had the same issue, I solved it by removing both top caps on the Z actuators, clicked the switch on each, then replaced the caps. After doing this, the Z moves both directions. Hope this helps.
Thank you! Support did get back to me and they sent me instructions on how to troubleshoot the issue. I did click the limit switch but it still gives me the same problem. I am getting a new rail via post.
From their support told me to do this to troubleshoot:
Please follow the below instructions and send us a video of it.
Remove the X-axis linear modules.
To check if the converter or the linear modules is faulty.
Turn off the machine.
Unplug the Z-axis linear modules’ cable from the Z-axis converter.
Unplug the cables connected to the X-axis and the Y-axis port of the controller.
Plug both the Z-axis linear modules’ cable into the Y-axis port and the X-axis port of the controller. (plug the cables from the two Z axis linear modules directly into the controller)
Turn on the machine and go to the control page of the touchscreen.
Select the Jog Mode.
Control the X-axis and the Y-axis , see if both the linear modules can work normally. (Mine had one that did not go up fully which was the issue)
If the problem persists, dismantle the side cover to the end of the linear module. Check if the limit switch is triggered.
So from here when I dismantled the end of the defective Z axis linear module this is what I saw. That is the Z axis limit switch activated. It clicks when pushed, and Support asked me if it did but did ot tell me what it means. Another user said he licked his and it works normally, but mine did not.
Snapmaker is sending me a new linear module. Should be sent in two weeks and get here in two weeks.
I hope this helps anyone else who has this problem. Mine was like this straight out of the box.