So when I showed the kids thingiverse, and asked if there was anything they wanted to print, I thought my son would want a Master Sword. He’s been obsessed with Zelda for a while, and there are some cool models on there that print in a few pieces, so I figured it’d be a large, but fairly straightforward print. Instead, he asked for a Fierce Deity sword. Now there are a couple of models on thingiverse, but none of them are quite right. They either cheat by having the two blades as one piece, or the bottom didn’t look right, so we decided to just model our own in SolidWorks. This one is beyond my skill at this point, but fortunately my wife was able to put it together in an afternoon. Final model is 48" long, so obviously had to print in pieces. Some of them printed just fine:
I gave up on trying to print the middle bits vertically, and resigned myself to supports. Unfortunately, since there are almost no flat surfaces, this is how they came off the printer (some of the supports already removed in this pic):
Finally finished the whole thing this weekend though. The mount is laser engraved on the snapmaker, and the mask is 3d printed and painted. I was going to CNC the whole thing, but the profile of the mask looks better printed and glued on:
The Master Sword is impressive and I think our users can learn a lot of things from your attempts. Could you share the Luban settings so that other users can replicate your success if they want to.
I will PM you later and offer you some incentives for sharing this work.
Sure, the settings were actually almost all the “normal quality” defaults for the 3d printed bits. I did enable z-hop for the taller bits, but other than that, it was print and go. For the laser stuff, that was a piece of maple that I had around, and I did that at 50% power, 3 passes, and 140mm/minute (default speed) with 0 fill. I tried out some other configurations, but I liked the way the vector text looked in that font.
Excellent Job! The finished product looks really good.
I made several attempts at a Master Sword for my grandson a couple of years ago (pre-Snapmaker). Got the design off of thingiverse. The design broke up the sword into 6 pieces. The problem was that the design used tabs and slots to connect the pieces, but the tabs & slots were way too thin and they didn’t provide much in the way of stability. So the first time my grandson swung the sword around it fell apart at the joints.
The second attempt was to make the tabs & slots much beefier and epoxy the joints together. This was more stable, but still swinging around the blade cause the sword to break - but at least not at the joints! The layer to layer adhesion was just not enough to hold it together.
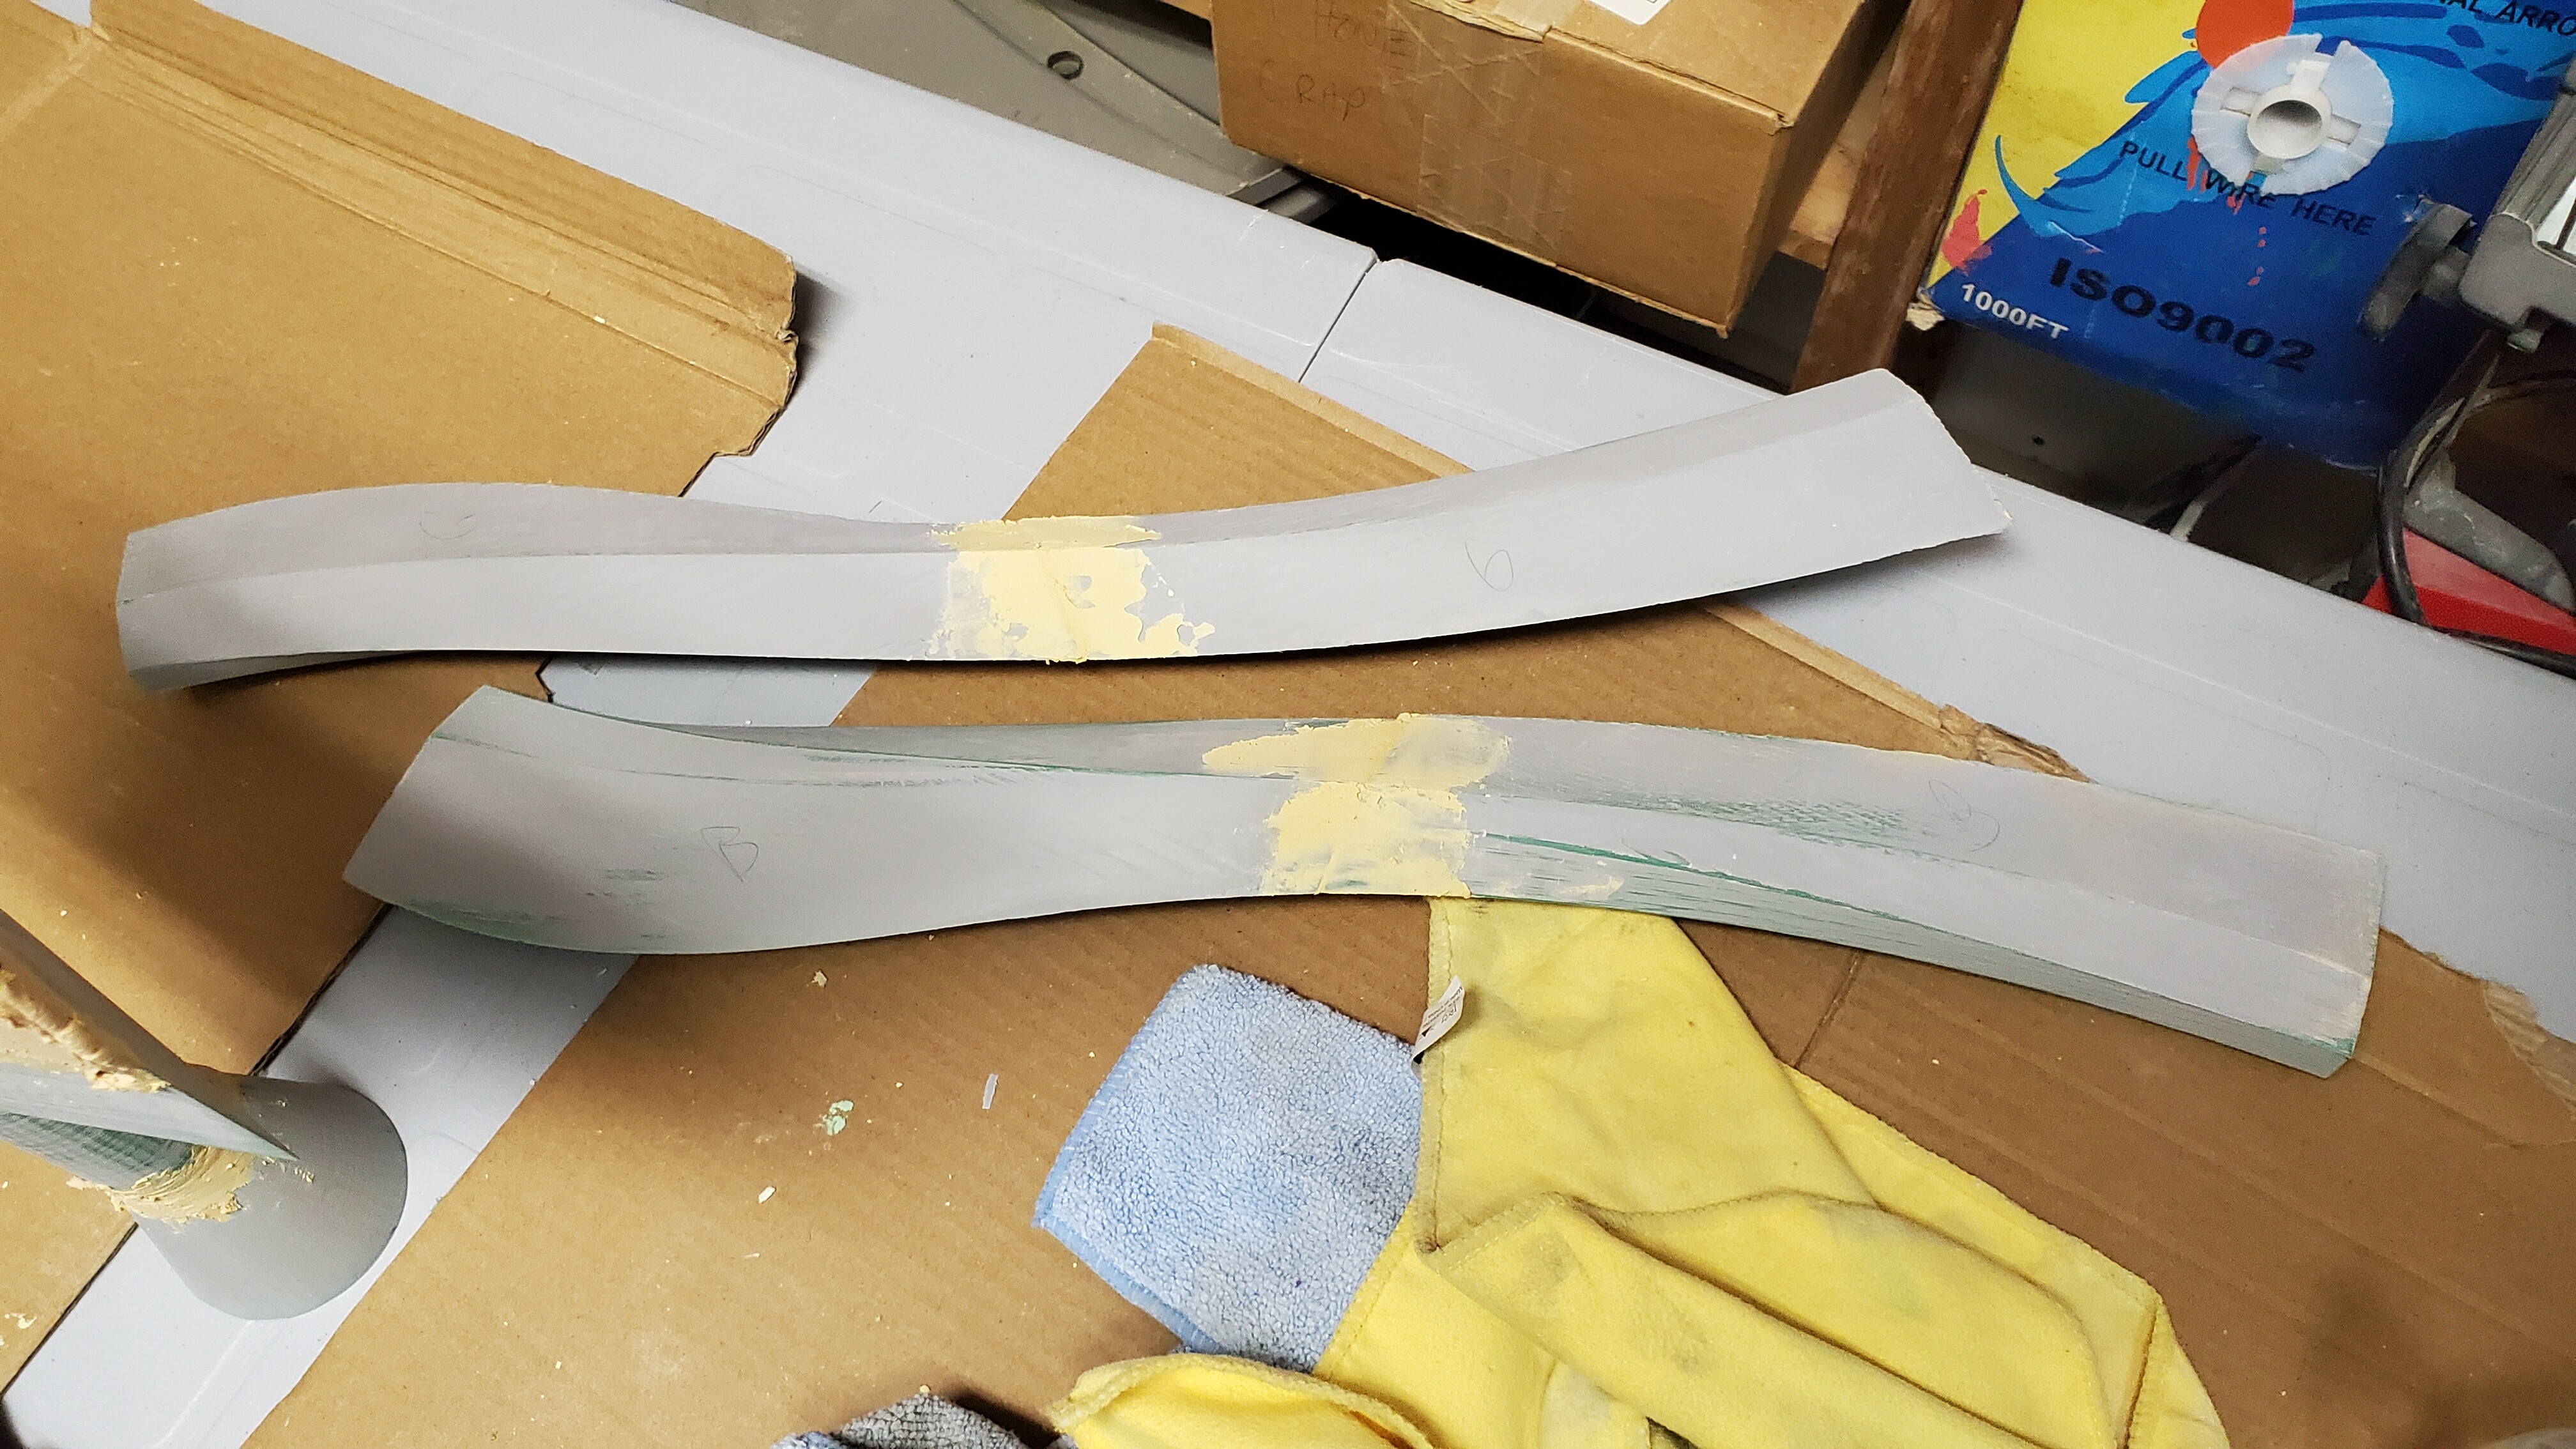
For the third attempt I ditched the idea of having tabs & slots and had a piece of acrylic cut that would act as a “spine” from the handle all the way through the blade. Each piece had to be made with a channel that would accept the spine. Once the pieces were printed I used epoxy to glue them all together. Below is a picture of the result (not painted):