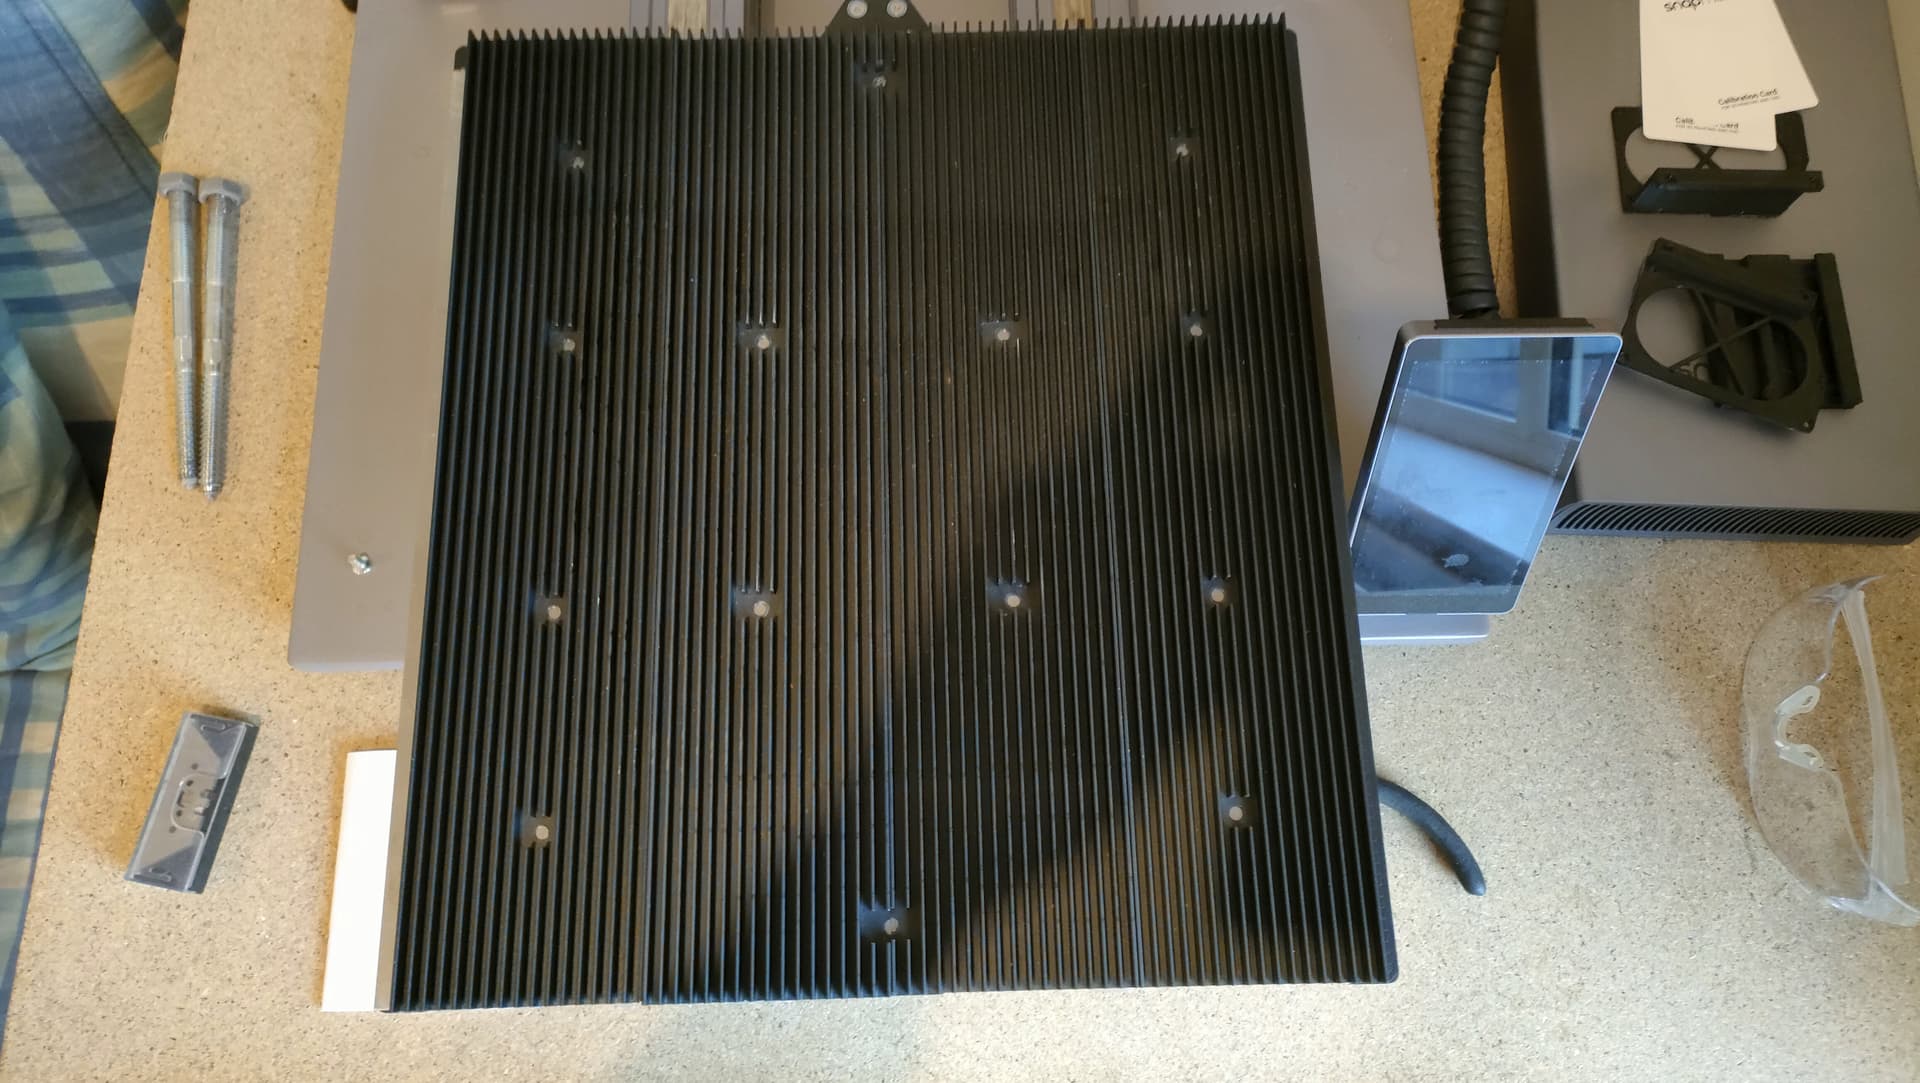
What I’ve done is keep the heated bed on as the base layer but not using all the screws. When CNC’ing something I temporarily screw it down onto the heated bed using the 3 holes on the second row from the front and back of the bed. As for the laser bed I’m getting a sheet of 1.5mm steel plate and sticking the aluminium bits to it so that the steel plate uses the magnets on the heated bed for location purposes.
I think I want to try a variation of this too. Found an 8x10 magnet sheet that’s thicker and strong (so they claim). Going to use the 3d printed parts that just help 'splice the aluminum parts into one and glue to that, perhaps a little disk of foil where the screw holes are for protection of the print surface / heated bed (but the laser should be pretty defocused that far down?) or can perhaps drill one or more spots thru the magnet and source some extended screws for a couple alignment points at most, and skip the steel intermediary. (I never plan to CNC on the SM so only looking for a quick change for 3d print to laser.)
If I leave the spring steel printing plate on the heated bed under this, I might still have to be careful about polarity of the sheet on the aluminum plate (steel is a magnetic shield but thickness matters), so will wait to test before gluing just to be safe…that would be an amusing mistake! I know I’ll be losing some vertical usable height with both the spring plate and magnet thickness involved but I can’t seriously imagine myself lasering something that was exceeding 2-3 inches thick anyway…I like the idea of just slapping the plate on top and then at most corner clamping/aligning since I’ll want a corner crowd 0-position indicator like others have done anyway.
My 10W was supposed to deliver yesterday and is still showing in what I assume is the customs warehouse in Cincy, thanks no doubt in part to the storm that moved thru the US this week and caused both flight and road freeze delays all over…
I got a sheet of mild steel, don’t use stainless steel as it is not magnetic, cut the same size as the build area of the 3d print 320x350mm by 1mm thick and used double sided tape to hold the laser bed plates on. Make sure there is no tape sitting outside the size of each plate so that there are no gaps between them when assembled.It holds very strongly to the magnets on the heated bed and should not move during work, although I have not tested it yet. Although the laser bed is smaller than the heated bed this is not really a problem as the work origin is set manually for each job.
The same idea may work for holding the CNC board down but I’ve not gone that route as the laterial cutting forces may cause the bed to slip on the magnets.
Could you post a link to the .stl files for the clamps for the CNC & laser beds? I can’t figure out how to export or save those objects to .stl files from the link you provided.
Just putting in my 2 pence. I used Gorilla glue sticky pads and just stuck the laser bed strips to a spare print sheet I bought a while ago. It works a treat. Thanks for the inspiration.
@jason_farns Here is the STL file for the CNC board clamp to the 3D deck - w-out the print surface. I print 6 of these to make the board secure. I am still perfecting the Laser bed to 3D deck clamp. I will upload when I think it works well.
Thanks for the file! I don’t have those same options when I click on the part. Maybe I need to have an account and be logged in? I considered creating an account but wasn’t comfortable with all of the information they needed so they could try to sell me their software.
I did something similar, but cheeper.
I ruined some PEI sticker plate with acetone, it did not only clean off the grease but destroyed the PEI.
Afterwards I removed the broken PEI layer (its just glued with some glue like on duct tape).
And I attached the laser plates on top of the steel sheet metal remaining, with the remainder of the glue.
For lasering I now just swap the print plate against the magnetic laser plate and continue.
For CNC I have doubts that this works. The magnetic force need to be big enough to not let the stock slip under load.
And I already had failed CNC projects where the stock slipped while pressed with 4 clamps.