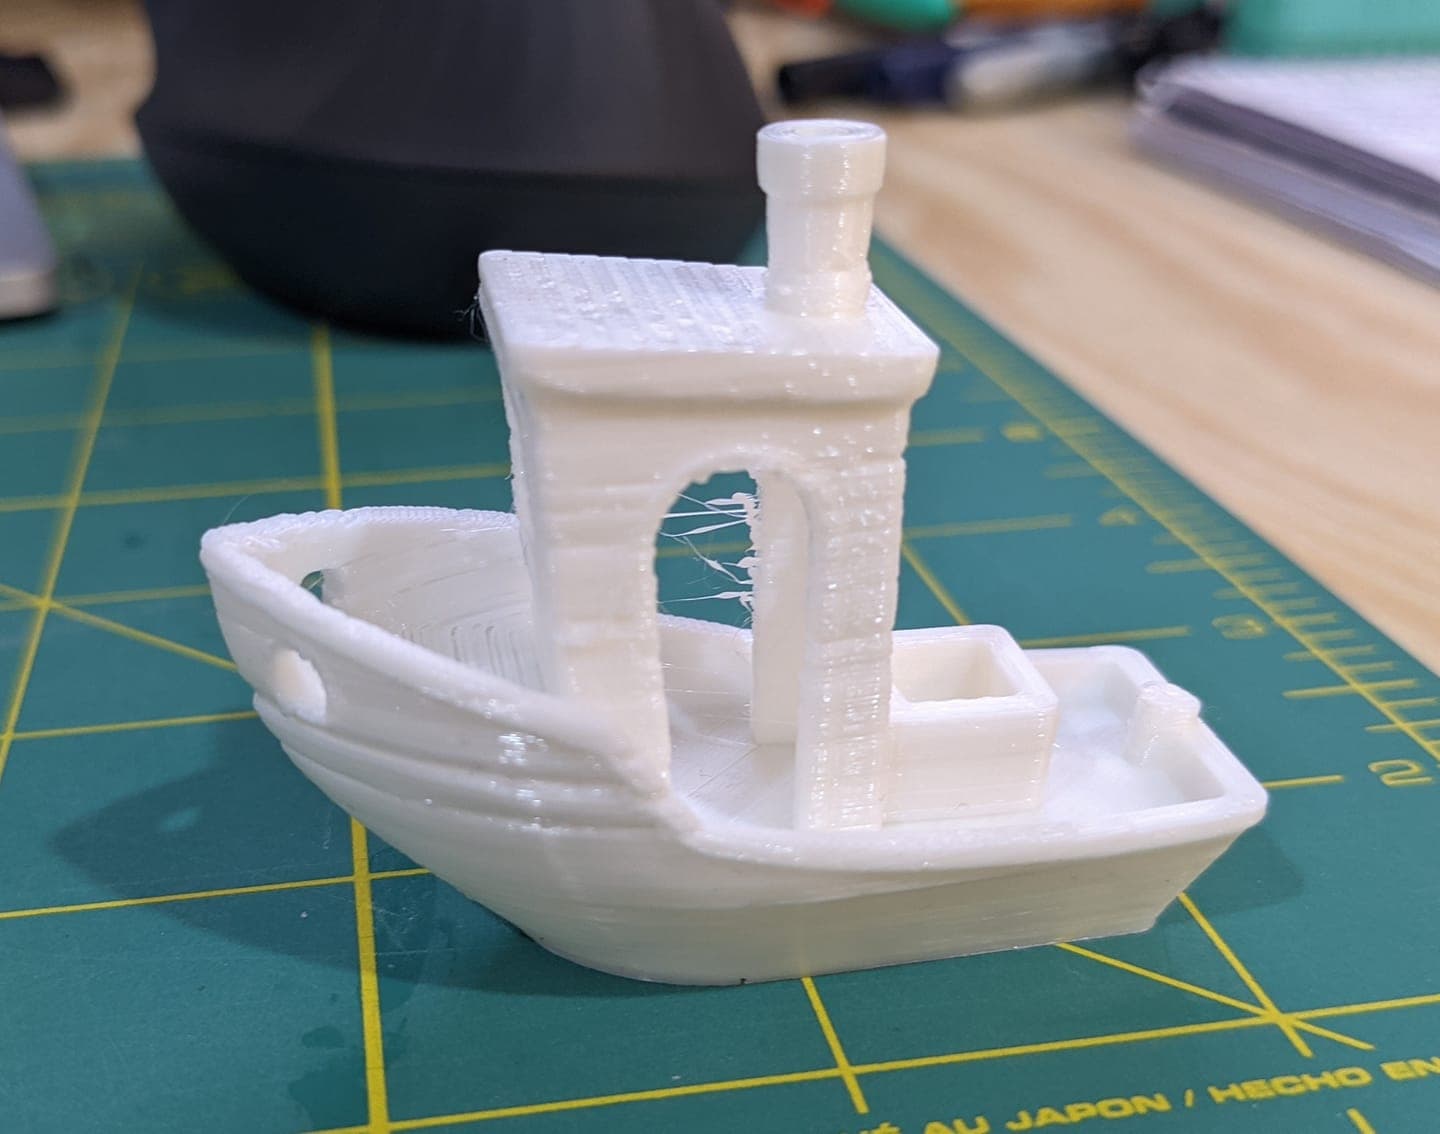
You see a problem with the bridging in this print? Can you tell me where so I know how to identify it?
These guys:
Not in this print, although there is a small surface finish defect it appears:

That looks really good. It’s amazing the difference just doing e-steps does for most people.
You can spend a lot of time chasing perfection. A lot of what you want depends on what you’re printing and using it for. If you’re making stuff for use/function it doesn’t need to be as flawless as something that’s for display.
-S
i got the same bow issues with blue hatchbox filament, was most unimpressed with it, i switched back to other filaments that don’t exhibit that issue (oddly for me one is snapmaker black that came with my machine and it was excellent - i got very very lucky there…) i am hoping the new print head with improved air flow will help… havent tested yet…
(Sorry for the delay. I got throttled because I’m a newbie.)
I’m thrilled with the cube and the fast print of one of my project parts that I printed before bed turned out quite well. My project is for someone who is visually impaired. It doesn’t need to be perfect, but I’m trying to eliminate as much textural noise as possible.
Thank you so much for all your help getting me this far!
You can use sandpaper to knock down any rough spots.
-S
Follow up in case this is useful to anyone else out there.
After my last post excitedly showing off my cube, I tried again to print my project files and they were horrible. The top half was smooth, the bottom half looked like the gnawed hull of the black Benchy that I shared in an earlier post…but much worse. This is unacceptable for my purposes even if I were to sand it. Again, I’m not looking for perfection as much as I am consistency across the entire print. This all led me to do a complete tear down of our A350 where I made sure to tighten and clean everything, switched out the nozzle kit for a new one and switch out the bed pad with a new one. (Before all this, I also printed the parts I had mentioned for the filament guide and heat bed cable protector. :D) The idea was for me to learn more about the machine and to create a better baseline for calibrations.
In addition to above, I also switched to using Cura by importing Snapmaker A350 print profiles (mentioned here) and plugins for both sending prints directly to the A350 (found here) and for calibration shapes (here).
After all that, I started working my way through the Teaching Tech Calibration steps (the ones that were mentioned as the most important) using all of the above changes and the test results so far have been very encouraging. Even the melty/gappy thing I was experiencing seems to have disappeared. I’ve learned a great deal in the last few days that has given me confidence in printing and in our Snapmaker.
Book marked your post @justacarol so when I recieve my printer, I will know how to proceed.
Thanks for sharing your experience.
Happy my experience can help someone else! I added a couple more links to things so you can review them. The filament guide is a must have! If you are also getting the enclosure, print the filament guide before covering with your enclosure or it will be tricky to install.
@justacarol Does the filiment guide keep the roll on the outside of the enclosure, or inside? I really like the idea of putting the roll inside the encloure. Which by the way I am getting. Looking real close at the Raspberry Pi configuration also. Any thoughts there?
@Jax3DTrains I unfortunately can’t speak about the Raspberry Pi configuration but I’m certain others here with more experience could assist with that. I’m still quite new with all of this.
As for the filament guide, it appears to be for those of us that have the filament mounted on the outside of the enclosure. I’m not sure if the same issue exists if you have the filament mounted on the inside. The problem it resolves for me and our enclosure setup is that when the print head is raised to the Home position, the filament naturally falls to the left side of the Z tower. This means that as the head lowers at the beginning of a print, the filament gets trapped on the left side and creates additional tension that can negatively impact print quality. With the filament guide installed, the filament stays put on the right side of the Z tower.


That’s quite the list of changes. I’m happy to hear you were able to make it through the gauntlet and finally get a good quality print. That looks very nice.
If I was to give feedback, the first layer looks like the nozzle was slightly too high - the filament strands aren’t completely fused together. That would explain why the D is missing the inside.

@justacarol What was the temp on the first Benchy? (white)
I’m asking because the look, which most would call kind of melty, is the look I am after. Locomotive frames are done in cast steel, at leat the ones from around 1875, which is what I will be modeling. And that type of texture is what I am after.
Would appreciate the info if you have it.
Cheers!
@Jax3DTrains The white Benchy was done at 210 using the white PLA Snapmaker filament. Based on the progression of how things happened in my experience, that filament was also bad which caused that texturing. When I say “bad”, I don’t know what actually makes it that way but the filament was extremely brittle after extrusion and drying. I have since read that that could be from the filament getting wet from environmental humidity which can happen when not stored properly between uses.
Your project sounds very nifty, by the way!!
You might be interested in some of the metal filled materials for patina
Scroll down and have a look at a few of these Gnomes in Brass and Copper
Pugs
@pugs Do they have an Amazon store? I would hate to pay shipping from Au!
Equivalent materials should be available mate, just an idea for your project 

Pugs
@pugs Happen to know David Fletcher in Melbourne? David has done some great work for our project. Thought you might of heard of him.
I really appreciate the suggestion. I look forward to trying out some fun and exciting methods and materials for our display models.
PS. Just got shipping confirmation!
Here we go!!
Cheers!