My name is Evan. I am a retired programmer with a long list of projects whose completion require the services of a device like the SnapMaker. I have experimented with most of the available freeware CAD, CAM and CAE software but I think the ability to actually realize objects will inspire a much more intense involvement with these tools. I knew when I read the specs on the SnapMaker that it was the 3D printer I had been looking for and I hope I am right.
How long wold you recommend?
Hi,
your friendly newbie here. As you may noticed from my posts have I am either doing things terribly wrong or there is something intrinsically wrong with my Snapmaker.
- how long are the calibration settings supposed to be retained? I try to print something and the settings change. I turn the unit off and the setting change.
- Other than using a micrometer is there a way to tell if the bed is warped?
I did get one successful print but have been unable to get another one.
I truly did not expect things to be this difficult.
Hi @Nigel
Put a notice up of what city you are in and see if there are any other Snapmaker user nearby that you could go and see and show them what you are doing
Take care and have a good week.
Doug
On second thought forget the microwave for drying filament - too difficult to judge times and power.
I do use the microwave to dry out the pouches of silica dessicant though, and that works great.
For filament, stick to an oven - preferrably a convection oven . Get a separate thermometer and test that you can maintain a temperature in the oven of about 40 - 50 degrees before trying this. PLA has a very low glass transition temperature.
I am just outside Toronto
Hi All
A call out to anyone near @Nigel outside Toronto, who can share some time and a little experience to help him get going with his Snapmaker… he needs to have fun
Doug
https://us1.discourse-cdn.com/flex022/uploads/snapmaker/original/2X/1/17c8064c36e053ef0368297d4ed2ad8e2fd4130e.mp4
After many frustrating moments, I started from the beginning:
-
Storing my filament in zip lock bags with the desiccant it came with.
-
Using the settings here:
https://manual.snapmaker.com/3d_printing/faq/snapmaker-profile-for-cura-and-simplify3d.html -
Using Cura 4.0 to do the slicing
-
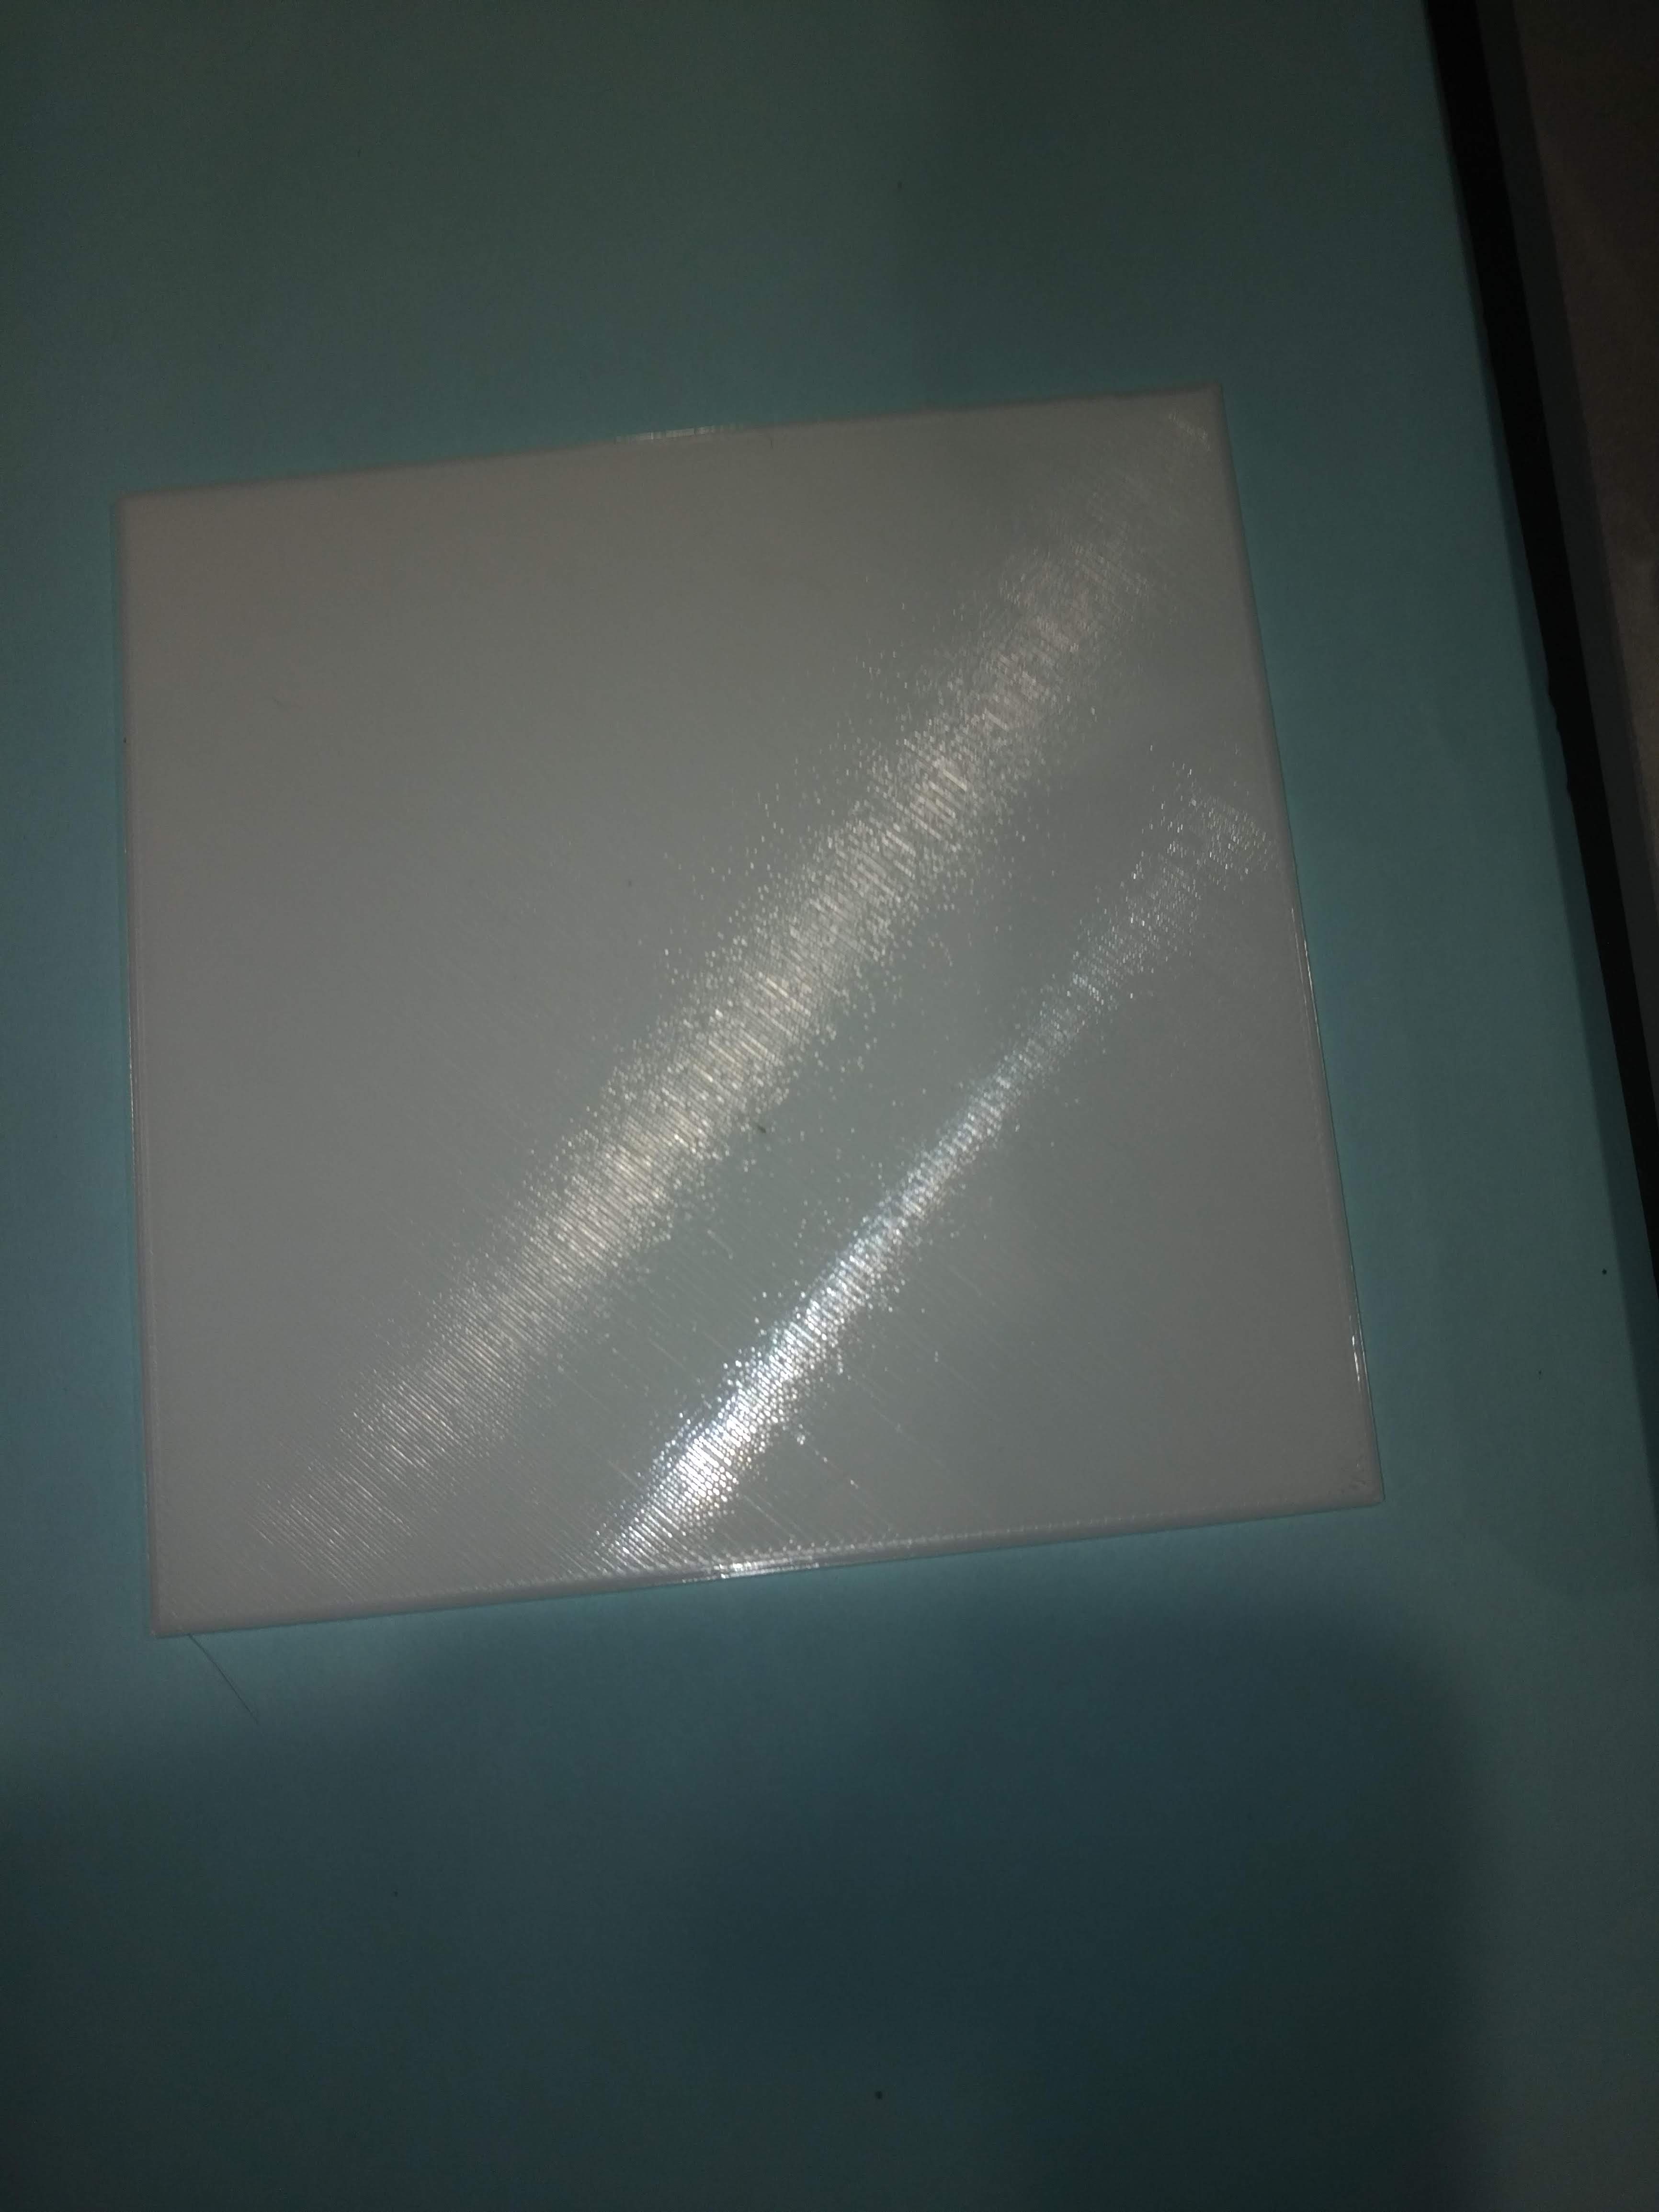
Still some fine tuning to do but these printed nonstop and adhered to the bed without any tape or glue.
-
Thanks to Papaclaw, Commod0re and jstncrft for ready made ‘things’ on Thingverse. A great way for a newbie to get started.
Thank you all who had suggestions and understood my difficulties - BriHar, SchnabsiX and Doug to mention a few.

I have a Microsoft Lifecam lying around doing nothing. Does anyone know if there might be a suitable mount for it? (/me Holds breath)
I have to say there is a lot to learn but it becomes addictive. Definitely a Canadian winter pastime though.
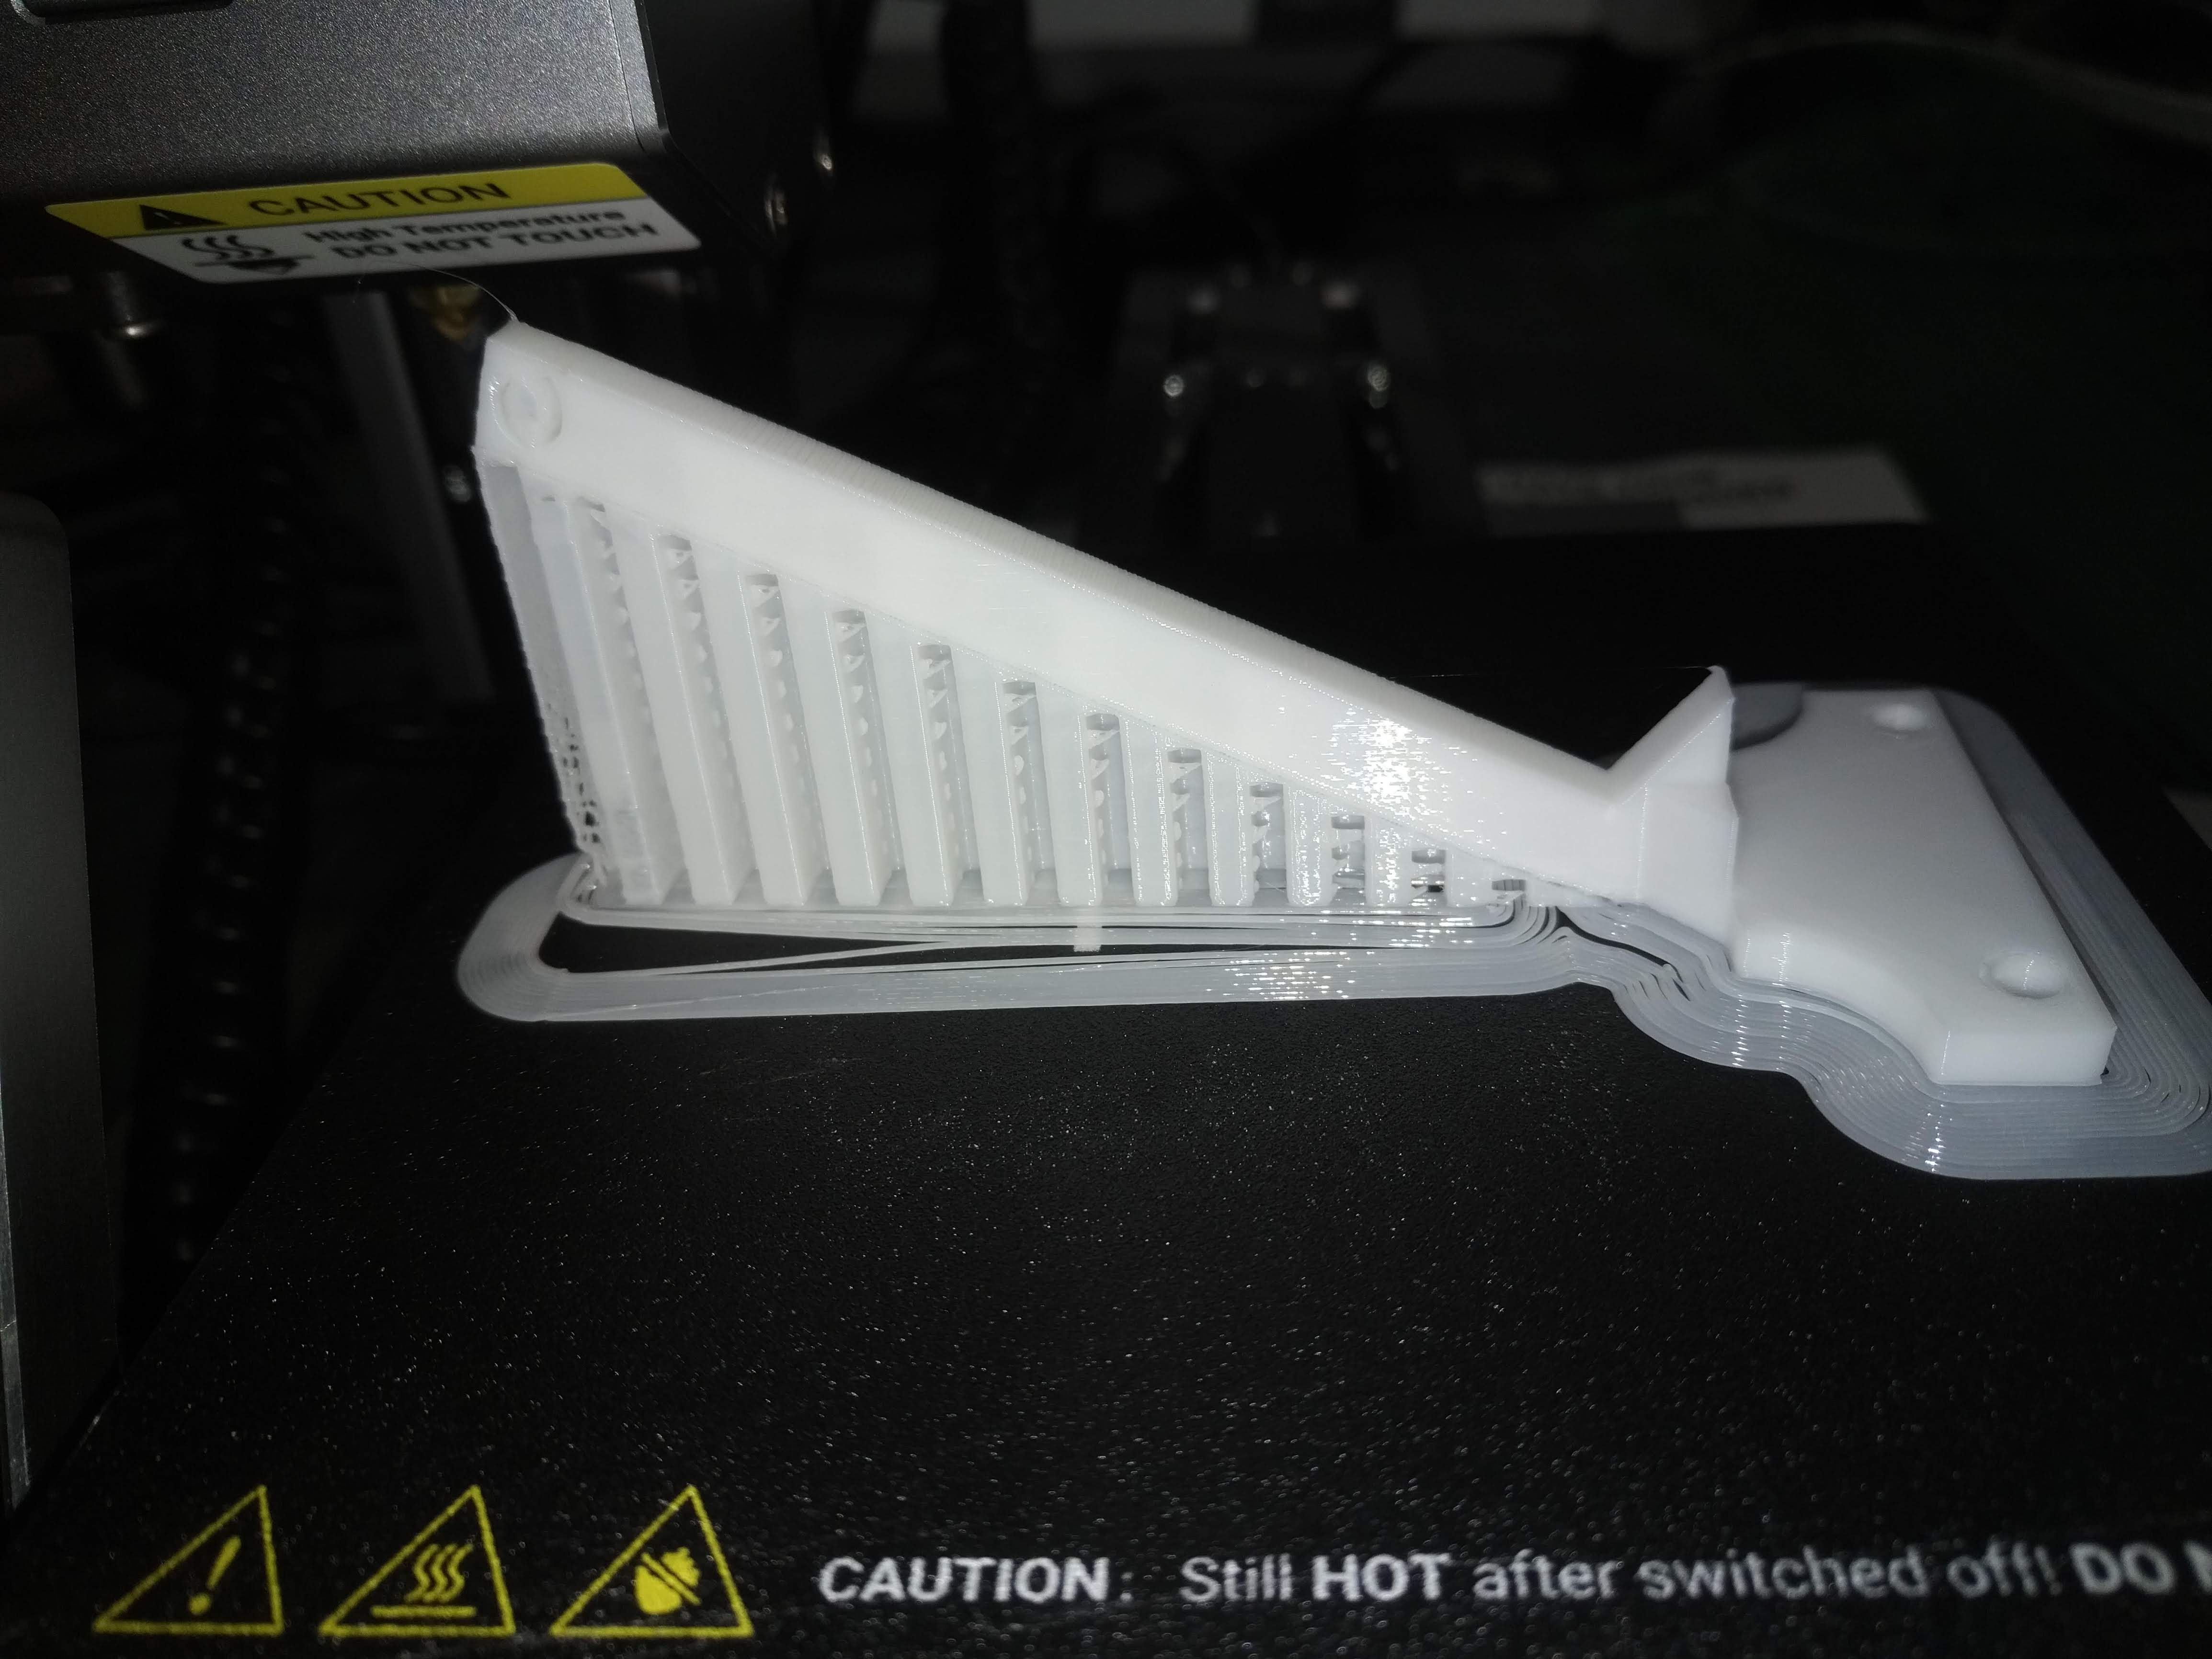
I’ve been busy downloaded ‘things’ from Thingverse to print. Thought I would share one of them. I made this for my daughters sewing snaps. Going to have to print a lot more though and somehow find a faster speed that works.

If you don’t care about the finish, you can try to rise the layer height to 0,3mm. It is the most efficient way to cut down time
Hard to believe I just joined this forum a month ago today. I have learned so much keeping up with posts and receiving awesome advice. Having said that, there is so much more to learn. One thing I have learned is that this does tend to become a bit addictive.
Nigel… not a bit addictive…VERY addictive… @Rainie will control all of us through the Snapmaker and she will take over the world… she is the modern evil Dr Fu Manchu 

Hi my name is mark. Tag Minto. I am a pen Turner. I was looking at a laser for engraving the boxes for my pens. When I came across snapmaker 2. The idea of the rotary attachment would open up some very interesting options so I have purchased. / pledged for a 250. I am now learning tinkercad. Lots of youtube videos. I think the combination of laser and cnc is very exciting. Now have to wait till December till mine is delivered. Till then I will be learning and asking newbie questions. The first of which is… where can a find a manual (pdf format) on snapmaker ja. How to use and tips etc… thanks in advance. Looking forward to Christmas this year. Ha ha.
@Minto. A newbie myself I was pointed to this. Lots of info there. Afaik there is no downloadable of the the software.
Hi there! I’m Mike. Here’s a few things:
- Wisconsinite
- Glowforge Laser Owner
- Dremel 3D45 3D Printer Owner
- Weimaraner Dog Owner
- Just pledged to the SnapMaker 2.0 Kickstarter
- Star Wars, Game of Thrones…
- Photography: Time Lapse, Drone, Landscape
- Love dill pickles and squeeky cheese curds.
Well done @Tone your Snaplinks is wonderful.
Hi Nigel,
Thanks for that I will check it out. Lots to learn.
Hello fellow Snapmakers!!! I’m Kyle Aruda, from Texas!!! I’m a Portfolio Development Exec for Siemens Solid Edge. Very exited to get my hands on V2.0 of the Snapmaker!!! Will be working with my daughter on designing/building/printing many objects soon.