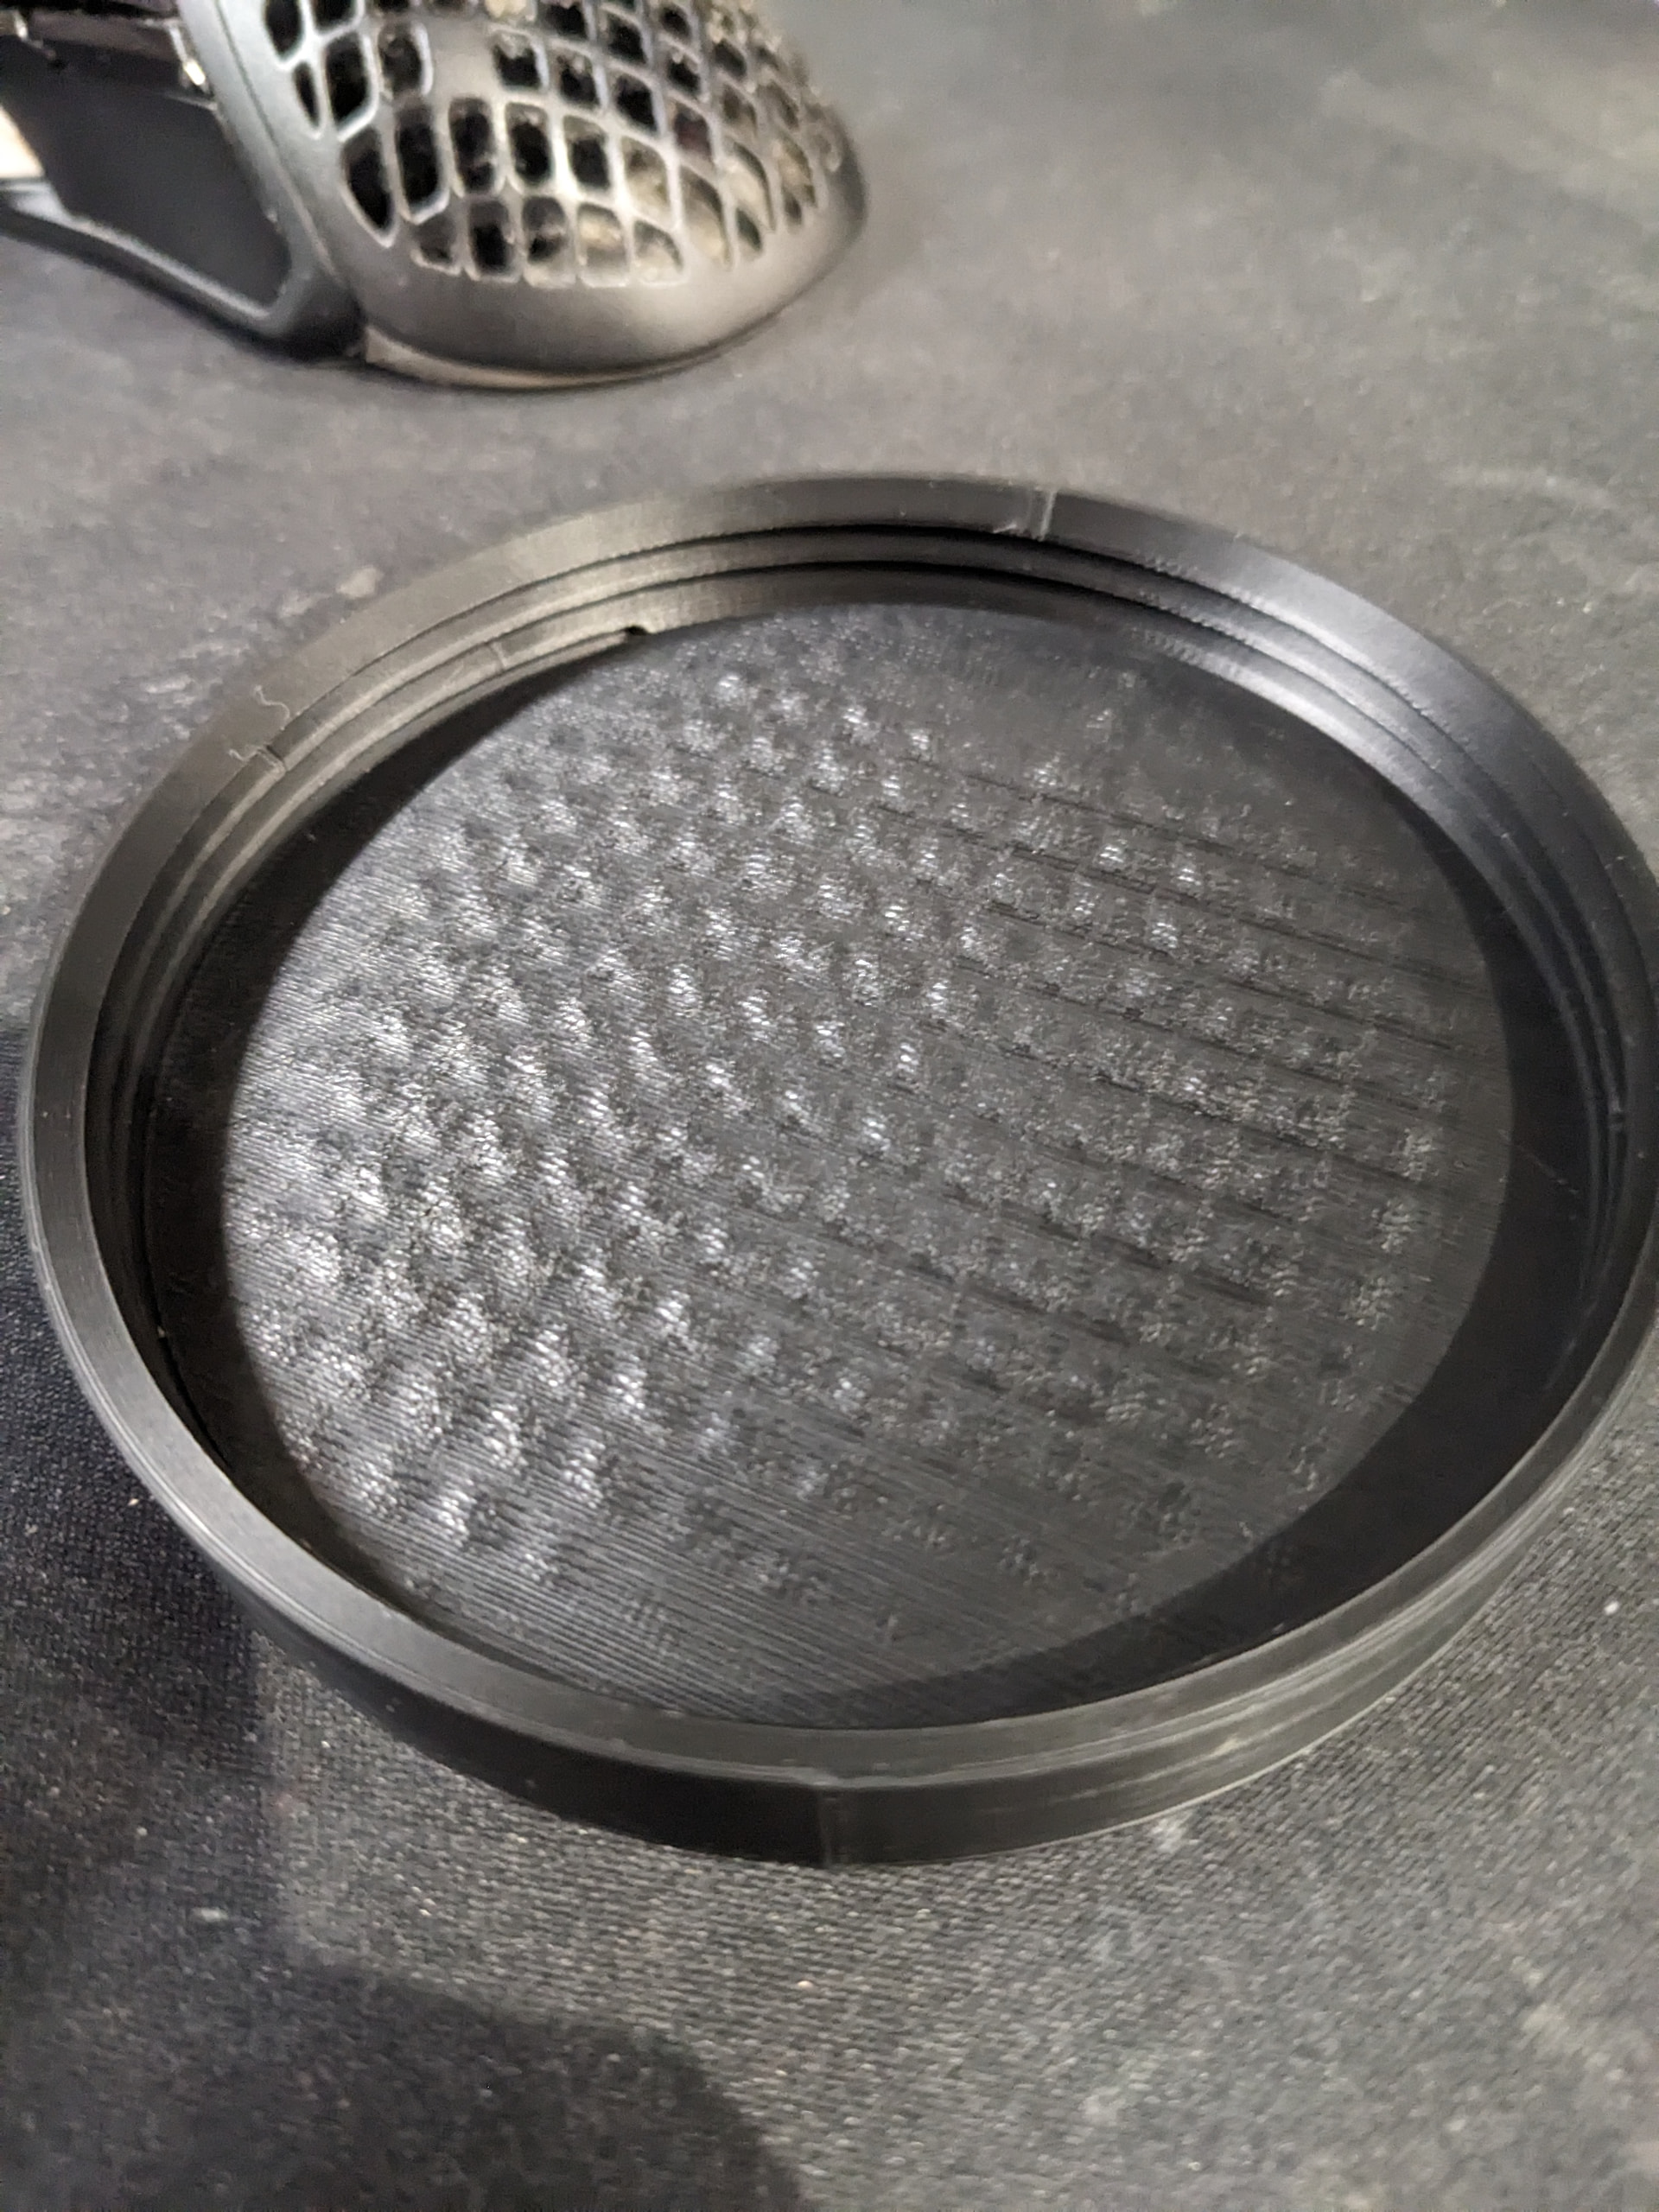
It doesn’t happen all the time, but it happens often enough to make me reconsider buying this printer. The extruder nozzle grinds into the prints as it works, causing either patterns etched into the print that resemble the inverse of the infill pattern or the print to fail outright. At this point I have more failed prints than good ones. I am completely at my wits’ end with this printer, which is now nothing more than an overpriced paperweight. Does anyone have any suggestions?
You can submit a ticket at the same time in case the technical staff or fellow users in the forum don’t respond promptly.
Most customers have given positive feedback on print quality, so some factor you haven’t noticed may be causing this. Try contacting support to help troubleshoot the issue together.
How is that a solution? Oh, I know it’s not. I am going to re-run one of the prints that exhibited the problem to see if what I currently think caused the problem is, in fact, the issue. If it is, I will share it here and on Reddit; however, saying “submit a ticket” is not solving anything until then.
I love this Community and the Forum; however, I have also complained about Mods marking things with Solution… Also, when I go to reply to your Post, it wants me to make sure I want to comment on a solved issue ![]() Regardless of solved or not, I should be able to reply without that annoyance as well! Don’t let it deter you from using the Forum, just know that you’re not the only one that’s irritated by this
Regardless of solved or not, I should be able to reply without that annoyance as well! Don’t let it deter you from using the Forum, just know that you’re not the only one that’s irritated by this ![]()
![]()
Got your suggestions—I’ll make sure to identify the real, final solution before marking anything in the future.
May you show us your print defects?
I guess you need to add a z-hop to your slicer settings but it’s not clear for me.
What’s your 3dprint skill level, are you aware of settings like z-hop?
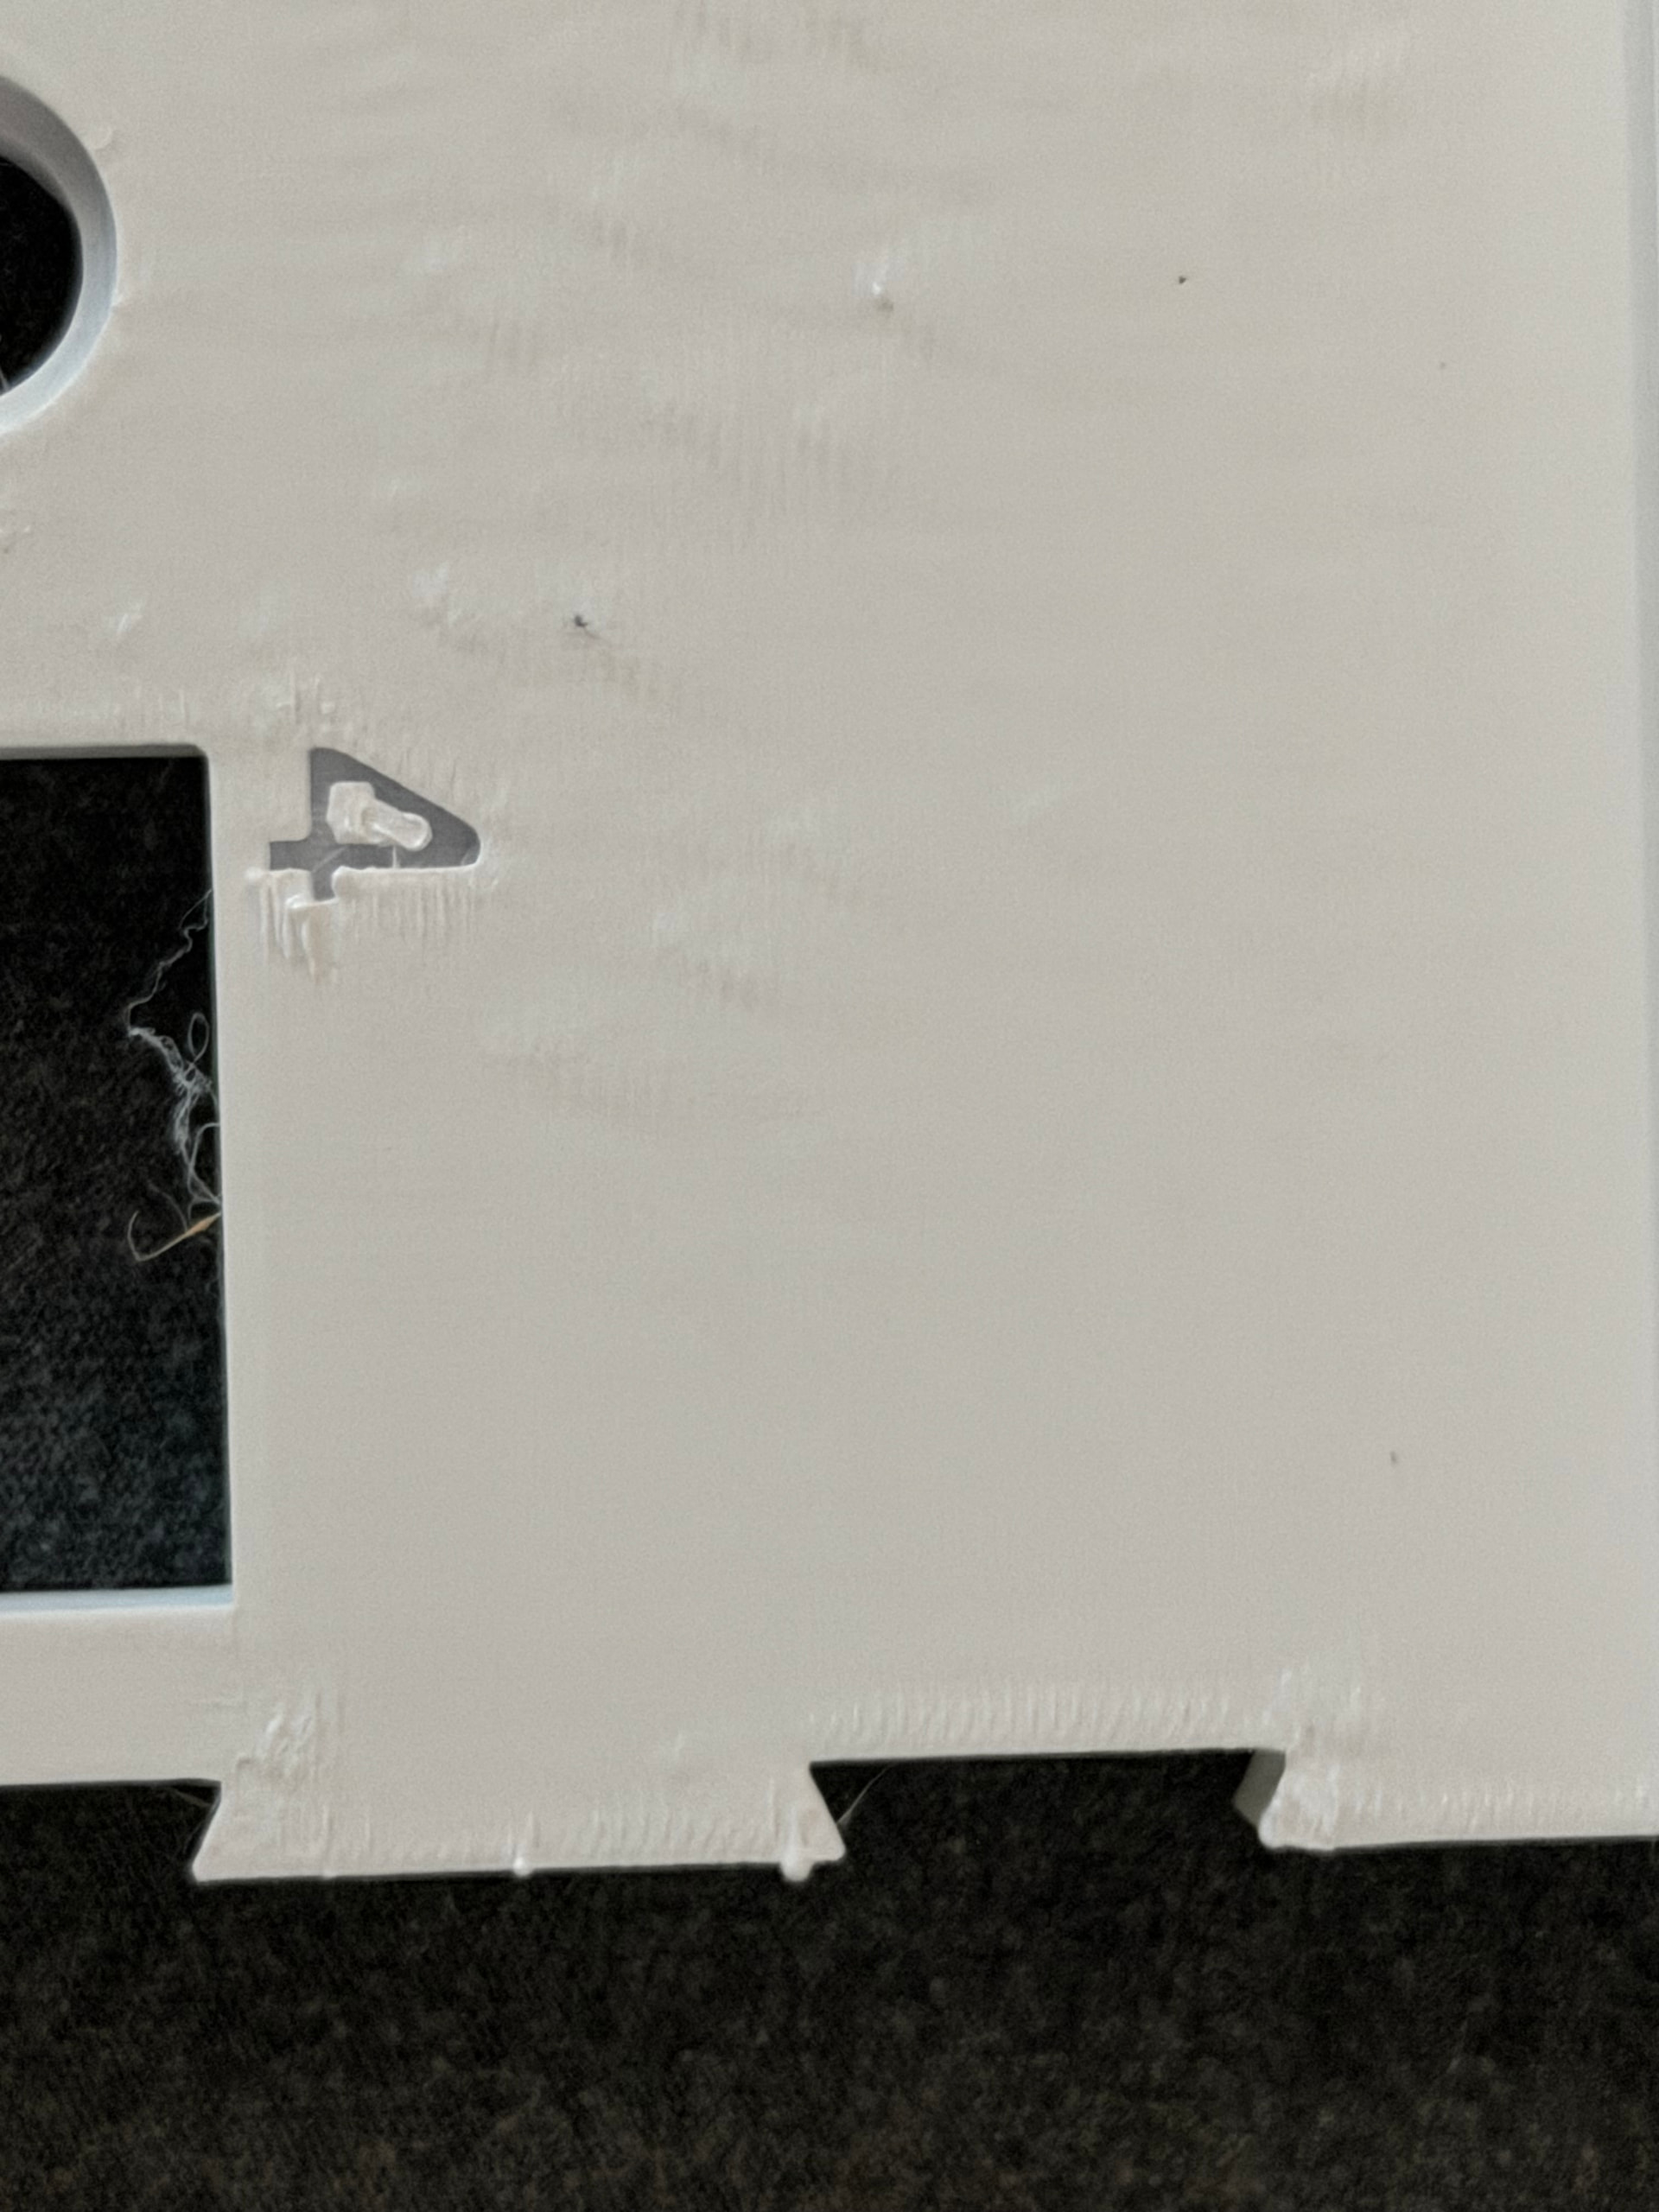


Bottom, it’s a bit hard to say but it seems your nozzle is too near to the bed. ( I don’t know if there is a possibility. Probably on the touchscreen live z-offset while printing?)
Top surfaces are rough because of support structure or not enough top layers.
Increasing the top layers would help, less top layer speed could help too.
Hope it helps.
Looks to me like it could be over extrusion. Also agree with the over extrusion comment. What did your 1st layer look like?
I’ll be the first to say I’m no expert but I’ve spent a great deal of time on my Elegoo Neptune especially after converting it from Merlin to Clipper and seen some oddities. I’m going to second the extrusion issue or maybe a filament problem. Does this look like this when another spool of filament is used? When I’ve seen the head dragging in the filament it, at least for me, it didn’t look like this. I did have some bad filament before and it reminds me of that.
With that said, I’ve not experienced any issues with my U1 but that matters little when you can’t get your own printer to work so I understand the frustration.
If it were me, I’d do a single layer patch and see what it looks like. I’d also swap the filament from one toolhead to the other and see if it has the same issue on another toolhead. Hopefully with the group here you can get to the bottom of the issue.
I use this first layer patch sometimes scaled up on the X/Y only to do a first layer test and then I created the height steps file to just test a single layer and multiple layers at the same time. I think it’s .2mm then .4mm then 1mm and then finally 5mm.
HeightSteps2.step (14.4 KB)
First_Layer_Patch-0.25mm.stl (684 Bytes)
Have a look to a similar topic.
unfortunately I was not able to merge ..
I checked with our print-process guys and combined other tips from the thread—what you’re seeing looks like Pillowing defect. The core idea is to use the process of elimination:
1.First-layer issues
(1) Filament gone bad? Re-print the same file with official PLA and compare.
(2) For third-party filament, run a one-off flow-calibration (tick the box before sending the job). If the result improves, save that flow value directly in the filament profile so it sticks with the spool.

2.Check and adjust top-surface settings:
(1)Increase top layers (try 3–5) and switch internal top infill to rectilinear.
(2)Lower top-layer speed slightly.

3.Your filament parameters don’t match:
(1)Third-party filament temperature is off—try raising nozzle temp (start with +10 °C; if it helps, print a temp-tower to find the sweet spot).
PS:The Z Hop is enabled by default; it’s recommended to just keep the default setting.
I’ve done that; I have used Snapmaker filament, Polymaker filament, and eSun Filament, and it’s the same issue. I have done all of the calibrations I could possibly do, both the built-in ones and ones that the fine folks in this group and Reddit have suggested, and it’s STILL THE SAME. Mind you, the printer I got was sometime in November/December, so unless you sent out the printers with bad filament, it’s definitely not that. Let’s accept that, when this happens, there might just be a hardware problem. Maybe I should have just stayed with the resin printer or gone Prusa/Bamboo. Either way, I submitted a ticket with Snapmaker, and I am sure it will go one of two ways: denial or help. I am hoping for the latter but expecting the former.
Thanks, I printed you small guy and it had just one tiny lil bump in the top right corner, so I got brave and tried to expand it to most of the print bed. First attempt the printer decided it identified as Chef Boyardee! Spaghetti everywhere well that was after it split the first few layers in half. The second attempt it just decided to stop at 7 percent. Im on the third go now and it still exibits the acne problem. So I am sure I got a dud. maybe the shipping company did what they do best…… and OOPSed it.
Is your printer packaging still around? Check the outer box and the machine itself for any obvious impact marks caused by shipping, and take photos. If after-sales confirms the issue is due to rough handling—frame deformation, damaged parts/boards, etc.—you can request a replacement!
In my view, if every fix has been tried, it may not be a software or user problem.
Make sure to submit all possible information, including any shipping-related suspicions, to the after-sales staff in the ticket.
We’re truly sorry this unit gave you a poor experience. We’ll reply to your ticket ASAP. If anything else comes up, keep posting here or update the ticket directly—let’s cut down your trial-and-error time!
I unfortunately got rid of the packaging. It was taking up far too much space, so it had to go. I can’t remember any glaring issues with the package, but I wasn’t home to see it delivered either. I will check to see if I have video of the delivery to double-check its condition on arrival. This stinks because I really do like the idea of this printer, I mean, I wouldn’t have backed it if I didn’t.
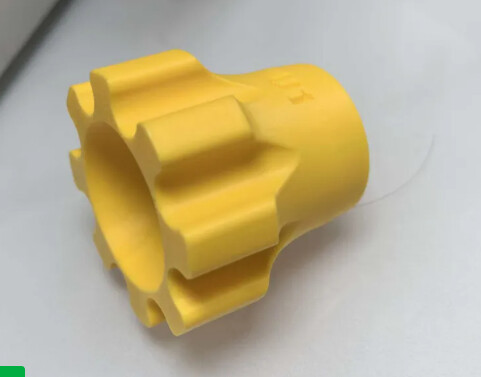
I have no idea if this is relevant but did you check the yellow knobs under the bed to make sure they’re not loose and causing the bed to wobble? Is that even a thing?
Regardless, with all the pre-production and production units out there, there’s bound to be a few that have issues before packaging, even after passing QC.
Early reviewers and forum posts suggest that Snapmaker Support has done just that, supported the users. Nothing is ever perfect so here’s to hoping they carefully consider sending you a replacement! Sucks having to wait but it seems the best alternative at this point…
I remember the knobs under the heated bed are quite tight; they’re usually only used when you need to perform bed leveling. But the bed is usually leveled one time at the factory before shipping.But I don’t think this is what’s causing your issue.
Still, I’ll add the steps just in case.
After the bed is mechanically leveled, you normally only need the software-level compensation from now on (see image) and won’t touch the mechanical knobs again.

before mechanically leveled start ,you can printing the adjust tool:U1 加热平台螺母套 - 免费 3D 打印模型 - MakerWorld
than fllow step in machine:


Tips:
- When deviation is large, adjust in 1/4-turn units.
- When close to target, switch to 1-3 mm units per nut rotation.
Actually, none were loose, but one (the front right, as you face it) was tightened so much that it required a tremendous amount of force just to move, even with the printable knob extension (a very good idea for everyone to print!). I discovered that when I was performing the manual bed leveling for the first time. The springs under the print bed are actually quite good and keep the bed from wobbling, so much so that I am sure that it would almost be a two-person job to replace the heated bed if you needed to. Hopefully, this can be resolved. I want to use the printer for things other than fidget balls or baby dragons.