I used the Snapmaker for laser writing onto an egg. (Designed for the Snapmaker Original only.)


Step 1: First I printed the three parts I published on Thingiverse.
Step 2: Reconfigure the Snapmaker Original:
- a) Dismount the horizontal axis and remount it 2 screw holes to the left,
- b) Mount the 1600 mW laser module sideways as shown below, (Danger: Laser class 4 pointing sideways now!)
- c) Swap the cables of axis: original Y-axis in port 2, X-axis in port 5 and Z-axis in port 3. (Now the Z-axis is the main axis of the laser again.)

Step 3: Mount the rack and the pivot with the Snapmaker supplied screws and slide the turntable over the pivot.
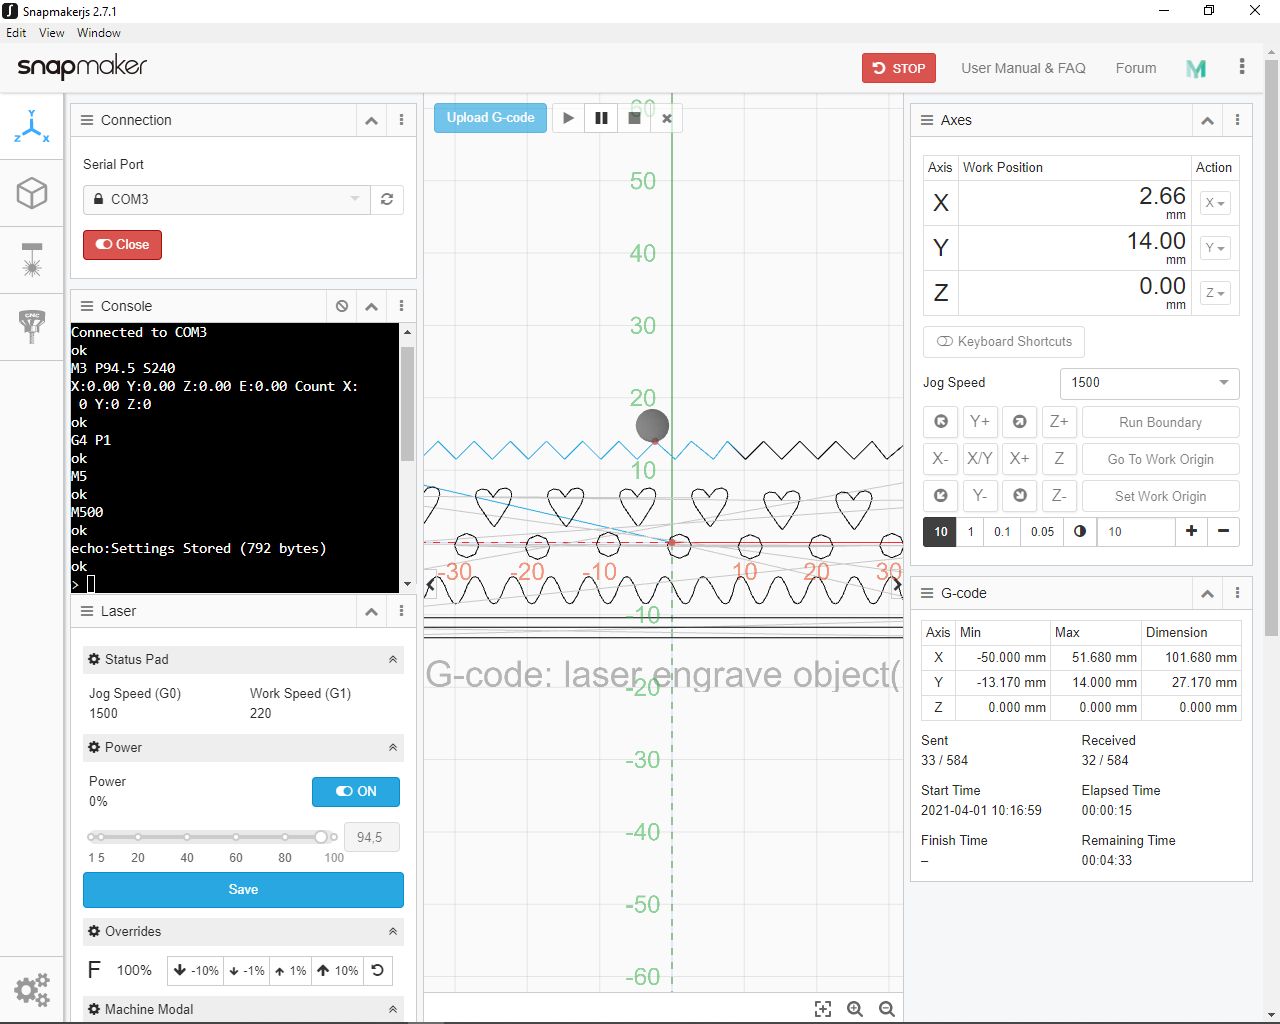
Step 4: Prepare an image you like, e.g. in Inkscape. The image size is 100 x about 35 mm (one revolution = 100 mm). Now the X-axis is the horizontal axis, the ‘equator’ of the egg and the Y-axis is vertical.
Step 5: Place the egg (Use boiled white eggs.), position and focus the laser in the middle of the egg and the middle of the rack as origin.
Step 6: Print the egg! (at ~100% laser power)
(I used SnapmakerJS to operate Snapmaker because Luban 3.14 is not working any more:)