Update:
I had to recalibrate again, after I switched the machine off - again it started printing about 3cm over the sheet (printing into air)
Could it be, I used the “wrong” mounting holes???
wish i could help but im stuck with stringing and/or calibration issues
I mounted the print head the way the manual says - I will see, if the re-calibrating issue will disappear.
Other than that I’m having issues with the print settings… I seem to get no solid object out of the dual extruder and I don’t know if this is a calibration or a settings problem
The model in the pic was meant to be solid (100% infill)
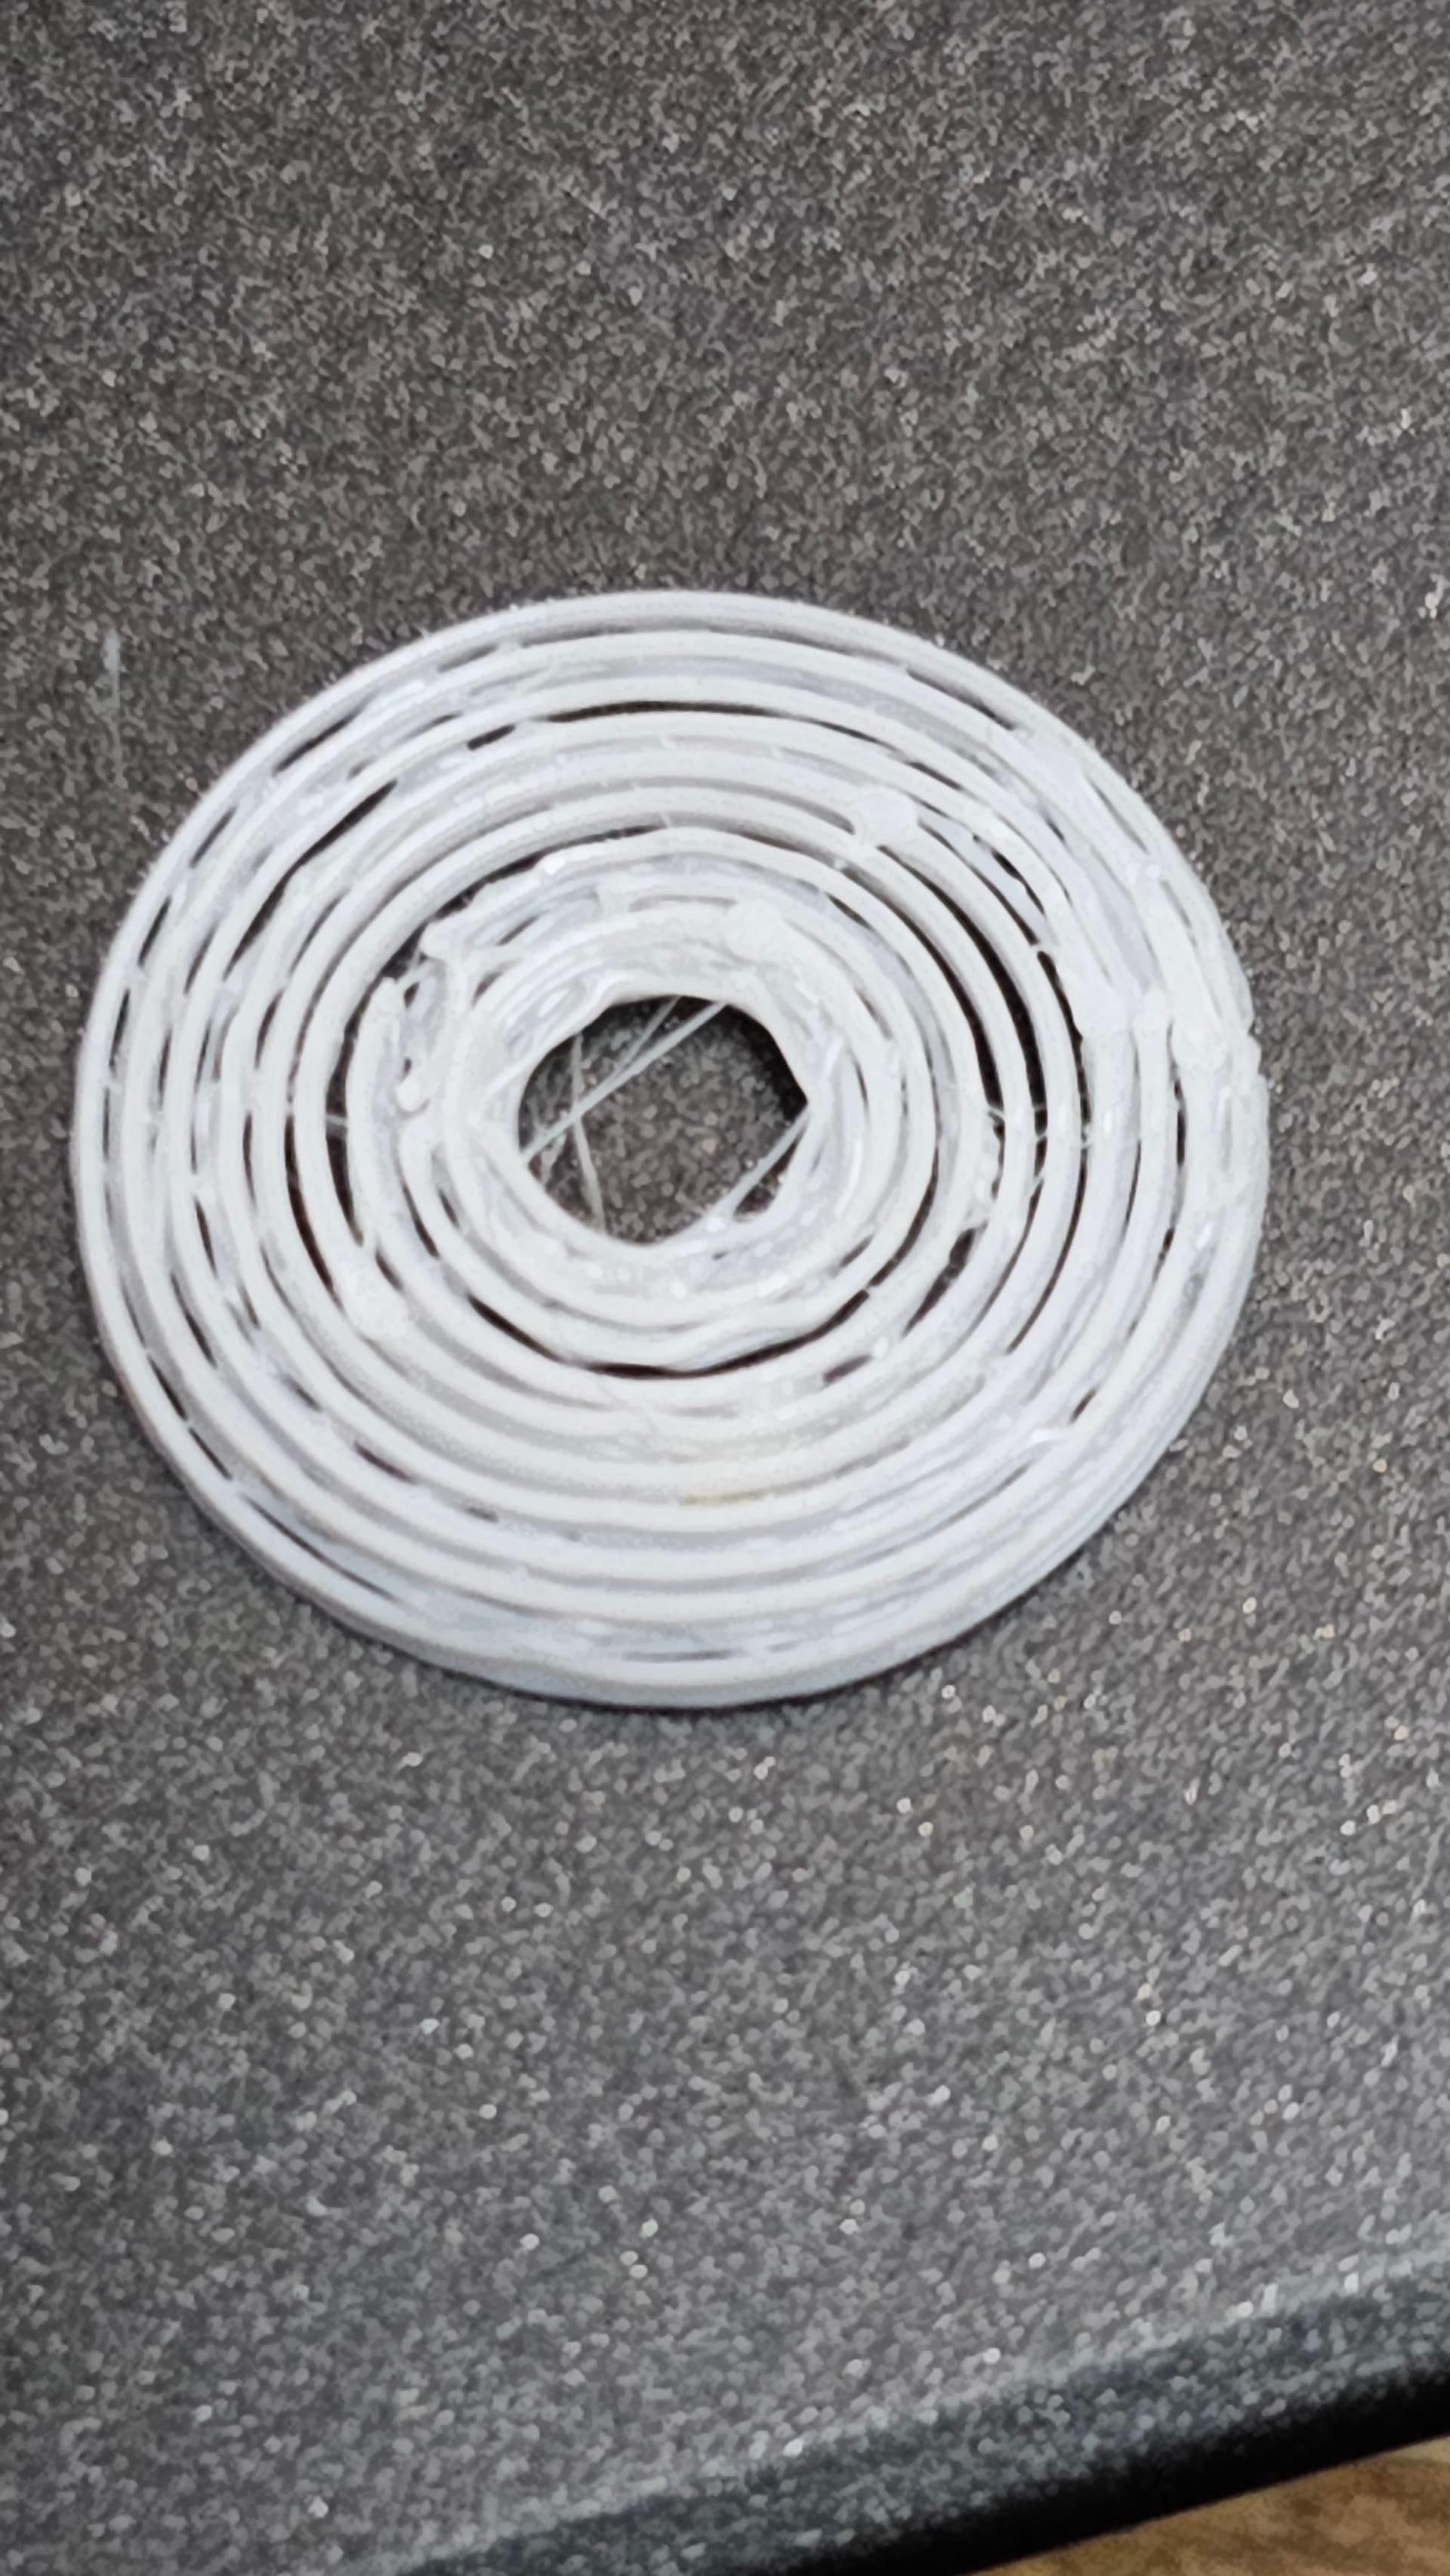
The image looks like you’re printing too high. Perhaps try to use the on-the-fly controls to fine-adjust the Z-offset.
I think you’re right… on the fly seems not to work while the machine is connected via USB - maybe I will try via WiFi and/or calibrating Z manually instead of automatically…
Lots to learn and find out …
e.g. I wondered why my models in Luban seemed to be “topless” - you could see the infill - so I found out that I simply had the upper layer set to “0” ![]()
all in all I have to admit that the prints look way better with my dual extruder (even when I print only one color) than with the single one (it is my third one due to ruining the first two) - I had so many issues with warping, stringing, adhesion and so on.
Next challenge for me - printing in two colors… since I create my models in Sketchup, I don’t know how
I got the same problem. It looks like the temperature that I set is reset when printing the test model.

Update on my issues:
- I mounted the print head on the “right” holes - now I don’t need to re-calibrate everytime I switched the machine off and on - it keeps the settings
- printing with USB-connection still shows “single extruder” connected - but prints in two colors without trouble
- calibrating Z manually did the job, now I get a proper first layer other than shown on the picture above
- printing in 2 colors using Sketchup as a modeller: I simply have to build two stl-files and save them separately; put them in Luban and set the different nozzles for the different parts; I designed a little test cube with two colors - worked out well
for me it does not look that bad compared to my first attempt ![]()

Now upgraded to firmware .20
I now also understand the problem with setting the temperature. The right hand nozzle temperature could only be set when it is active. So it wont take any changed settings until then. A clear bug.
And, why do I get blobs of filament. They connect with the print and then tours the print away when the head is moving over the blob. It looks like the retracktion is not properly set for the test model?
More bugs, when chenging the temperature on the display for the test print it wont change the target temperature.
The automatic z ofsrt is going to high dispite calibrating the sensor with a paper.


Stil problem with tthe inner cicle with version .20
I think the temperature is to low. And there is a green blob in the circle.
My impression is that the model for this check is hard-coded into the firmware, i.e. it is GCode pre-sliced and just stored away somewhere. I assume they sliced with 200°C pre-set, and there’s no way to override this. So better use PLA that prints well at 200°C ![]()
That said: Your result looks just right! Perhaps X/Ycalib can be slightly better (gap in the “north” is larger than in the “south”), but the green blob in the circle is “intentional” in the sense that the circle is the purge/wipe tower and intended for getting rid of oozing filament. That the red circle is not perfect - again an indication of X/Y calib not perfect, but otherwise IMHO of no consequence. The purge tower is supposed to be discarded anyhow.
Don’t worry about the wipe tower, it’s doing it’s job, you only need to focus on the calibration model. When the extruder is going to the wipe tower it’s still getting up to temperature so it won’t be optimum, it’s also used to re-pressurise the nozzle so it will under extrude and may blob as well. In addition, the extruder that has just finished, will wipe itself on the tower so you may get a blob from that.
I agree the model prints with the right nozzle at 200 and it should be 220 for their breakaway filament they supplied. The 150 idle temp seems fine.

Just out of curiousity what should the filament width tolerance ranges be for
a) black pla
b) breakwaay
I’m not sure if you are asking for an ideal tolerance or the tolerance that is common for those specific filaments. Obviously, the lower the tolerance range is better. I try to go for +/- .02 or .03 mm. I have never seen a set tolerance for those specific filaments because they vary from manufacturer to manufacturer. One manufacturer may make Black PLA with +/- .05 mm and another may make it with +/- .02 mm. Some manufacturers may have more than 1 product line of filament, one with a high range and another with a lower range. It’s generally more difficult and more expensive to manufacture anything with a lower tolerance. I have never seen anything lower than +/- .02 mm. But, each filament should indicate the tolerance on the packaging, spool, or both. Personally, I would stay away from filament with anything larger than +/- .03.
1 Like
i guess i was trying to find find out what snapmaker suggests for their extruders.
thanks
Oh, I see. I’ve not seen any specific recommendations from SM. I don’t think you will have any problems extruding with anything on the market from a reputable manufacturer. In my experience, the tolerance is more about print quality.
The nozzle on the single extruder has done both of those things to me, too, for the last year or so, much to my chagrin. It’s a bug, but I’m pretty sure it isn’t a new one.
Try canceling the print, and starting again, after which it picks up the right temperature. ![]()
Put another way, they absolutely should not have shipped that filament and told us to use it for calibration. ![]() The left hand doesn’t know what the right hand is doing.
The left hand doesn’t know what the right hand is doing.