Sorry if the ASA and PLA topic is getting old from me… ![]() However, it is lookin like the cause of my first three failures for combining ASA and PLA was fully due to the Bambu Lab ASA I was trying to incorporate
However, it is lookin like the cause of my first three failures for combining ASA and PLA was fully due to the Bambu Lab ASA I was trying to incorporate ![]()
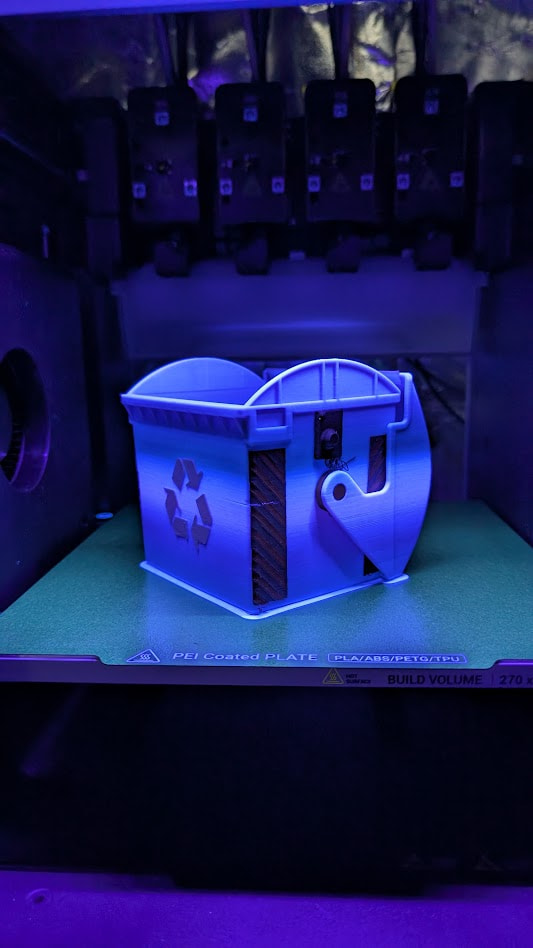
The Benchbin - Multi Color 3D Printing Torture Test: The Benchbin - Multi Color 3D Printing Torture Test by Prusa Research | Download free STL model | Printables.com
- ASA - West3D Ambrosia (Glitter/Sparkle)
- Why did it take so long for someone to bring such beautiy to ASA?!?
- Actually, at this point I don’t care because this is absolutely a beautiful multi-color ASA with sparkles

- PLA - Polymaker Polylite White
- Always a solid Brand choice
- PLA - Protopasta Copper Filled
- PLA - Protopasta Iron Filled
- LOVE how well the two Metal Collection filaments I’ve used from Protopasta print and how awesome the outcome is
I’ve had to do some Slicer “magic,” please correct me if you find my methodology “scary!”
-
ASA - Generic ASA profile straight from Snapmaker Orca
- Wanted to see how well it prints out of the box, will definitely run Calibrations for various brands in the future
-
PLA - Labeled as ‘Floating,’ also no brand Calibration tests yet
- Min/Max temp set to 215°; for this instance that is the Protopasta max recommended temp for their Metal Filled PLA
- Using the max temp for both min/max to keep it as “close” as possible to the ASA temps… Not close, I know but it’s working so far!
- Bed temp set to 90°
- This is where the label Floating came from; I believe the bed temp should be irrelevant since the PLA will not touch the bed at all when using this configuration of ASA+PLA
- My hope is that warping will be at a minimum and my fear is if I leave the bed temp at 60° when the PLA prints it would drop the bed temp and the ASA would suffer. Is this logical?
- Slight worry about cooling PLA, I didn’t change the default Fan Speed, and it having a negative effect on the ASA but from a distance it looks good
- Min/Max temp set to 215°; for this instance that is the Protopasta max recommended temp for their Metal Filled PLA
-
Snapmaker Orca
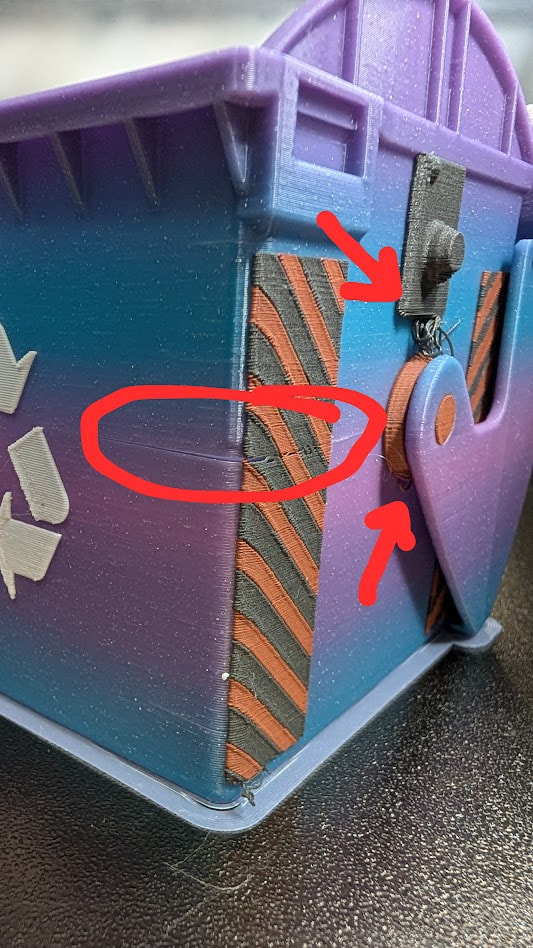
- Multimaterial > Use beam interlocking
- Parts on this model, Recycling Logo and side stripes, are seemingly too “thin” for this to have any effect with my limited knowledge/experience. Larger parts in PLA clearly show interlocking when viewing the Slice
- Compare Presets, which Bambu Studio has, really needs to be implemented
- Multimaterial > Use beam interlocking
I think that’s it… We’re at 29% in, 168 out of 573 layers, and time remaining 7h 14m out of 10h 15m and I feel like a Rock Star ![]()
![]()