Project Introduction:
- I’m an early-bird U1 owner and didn’t buy the top cover—so I’m going to design my own with acrylic and printed parts. Hoping to come up with something fun.
(a.k.a. filling the hole … )
Project Introduction:
(a.k.a. filling the hole … )
You are Snapmaker staff?
Yes. I guess I think I indirectly hinted at it to him with my post [ https://forum.snapmaker.com/t/ral-color-of-the-u1-housing/40349/2 ]
Nice to see that even staff members are makers ![]()
Btw.: I ordered a top cover but it will be delivered march next year. I`ve searched for an alternative
I would add this post to this comparison:
https://makerworld.com/de/models/2022565-snapmaker-u1-top-hat-by-srin?from=search#profileId-2180097
Because I’m now a U1 owner, I’ll be helping to moderate the forum—I only joined less than two weeks ago.
Quick update on where my head’s at:
What material should I use for the printed parts?
Besides acrylic, are there any other options for the clear cover?
Which standard screw size can cover everything—ideally just one?
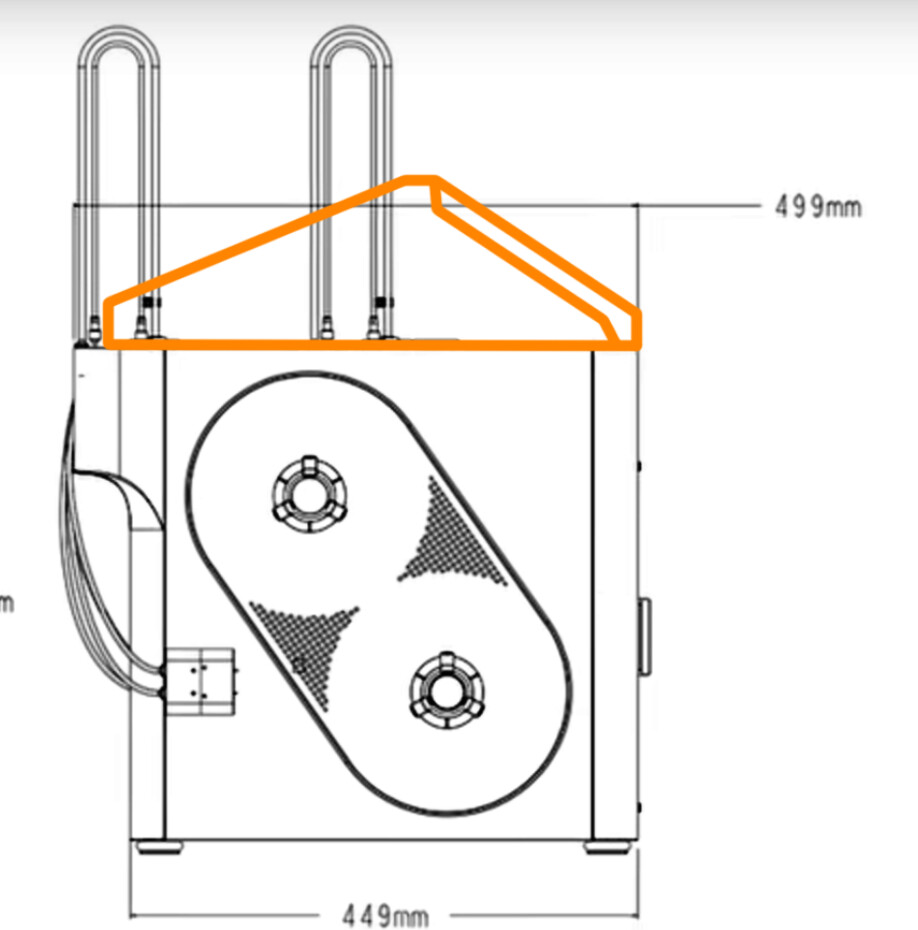
The official dome is pretty tall; any tricks to cut down on material?
Don’t forget to add a spot for LED lights! ![]()
OK!I will take the LED into consideration!
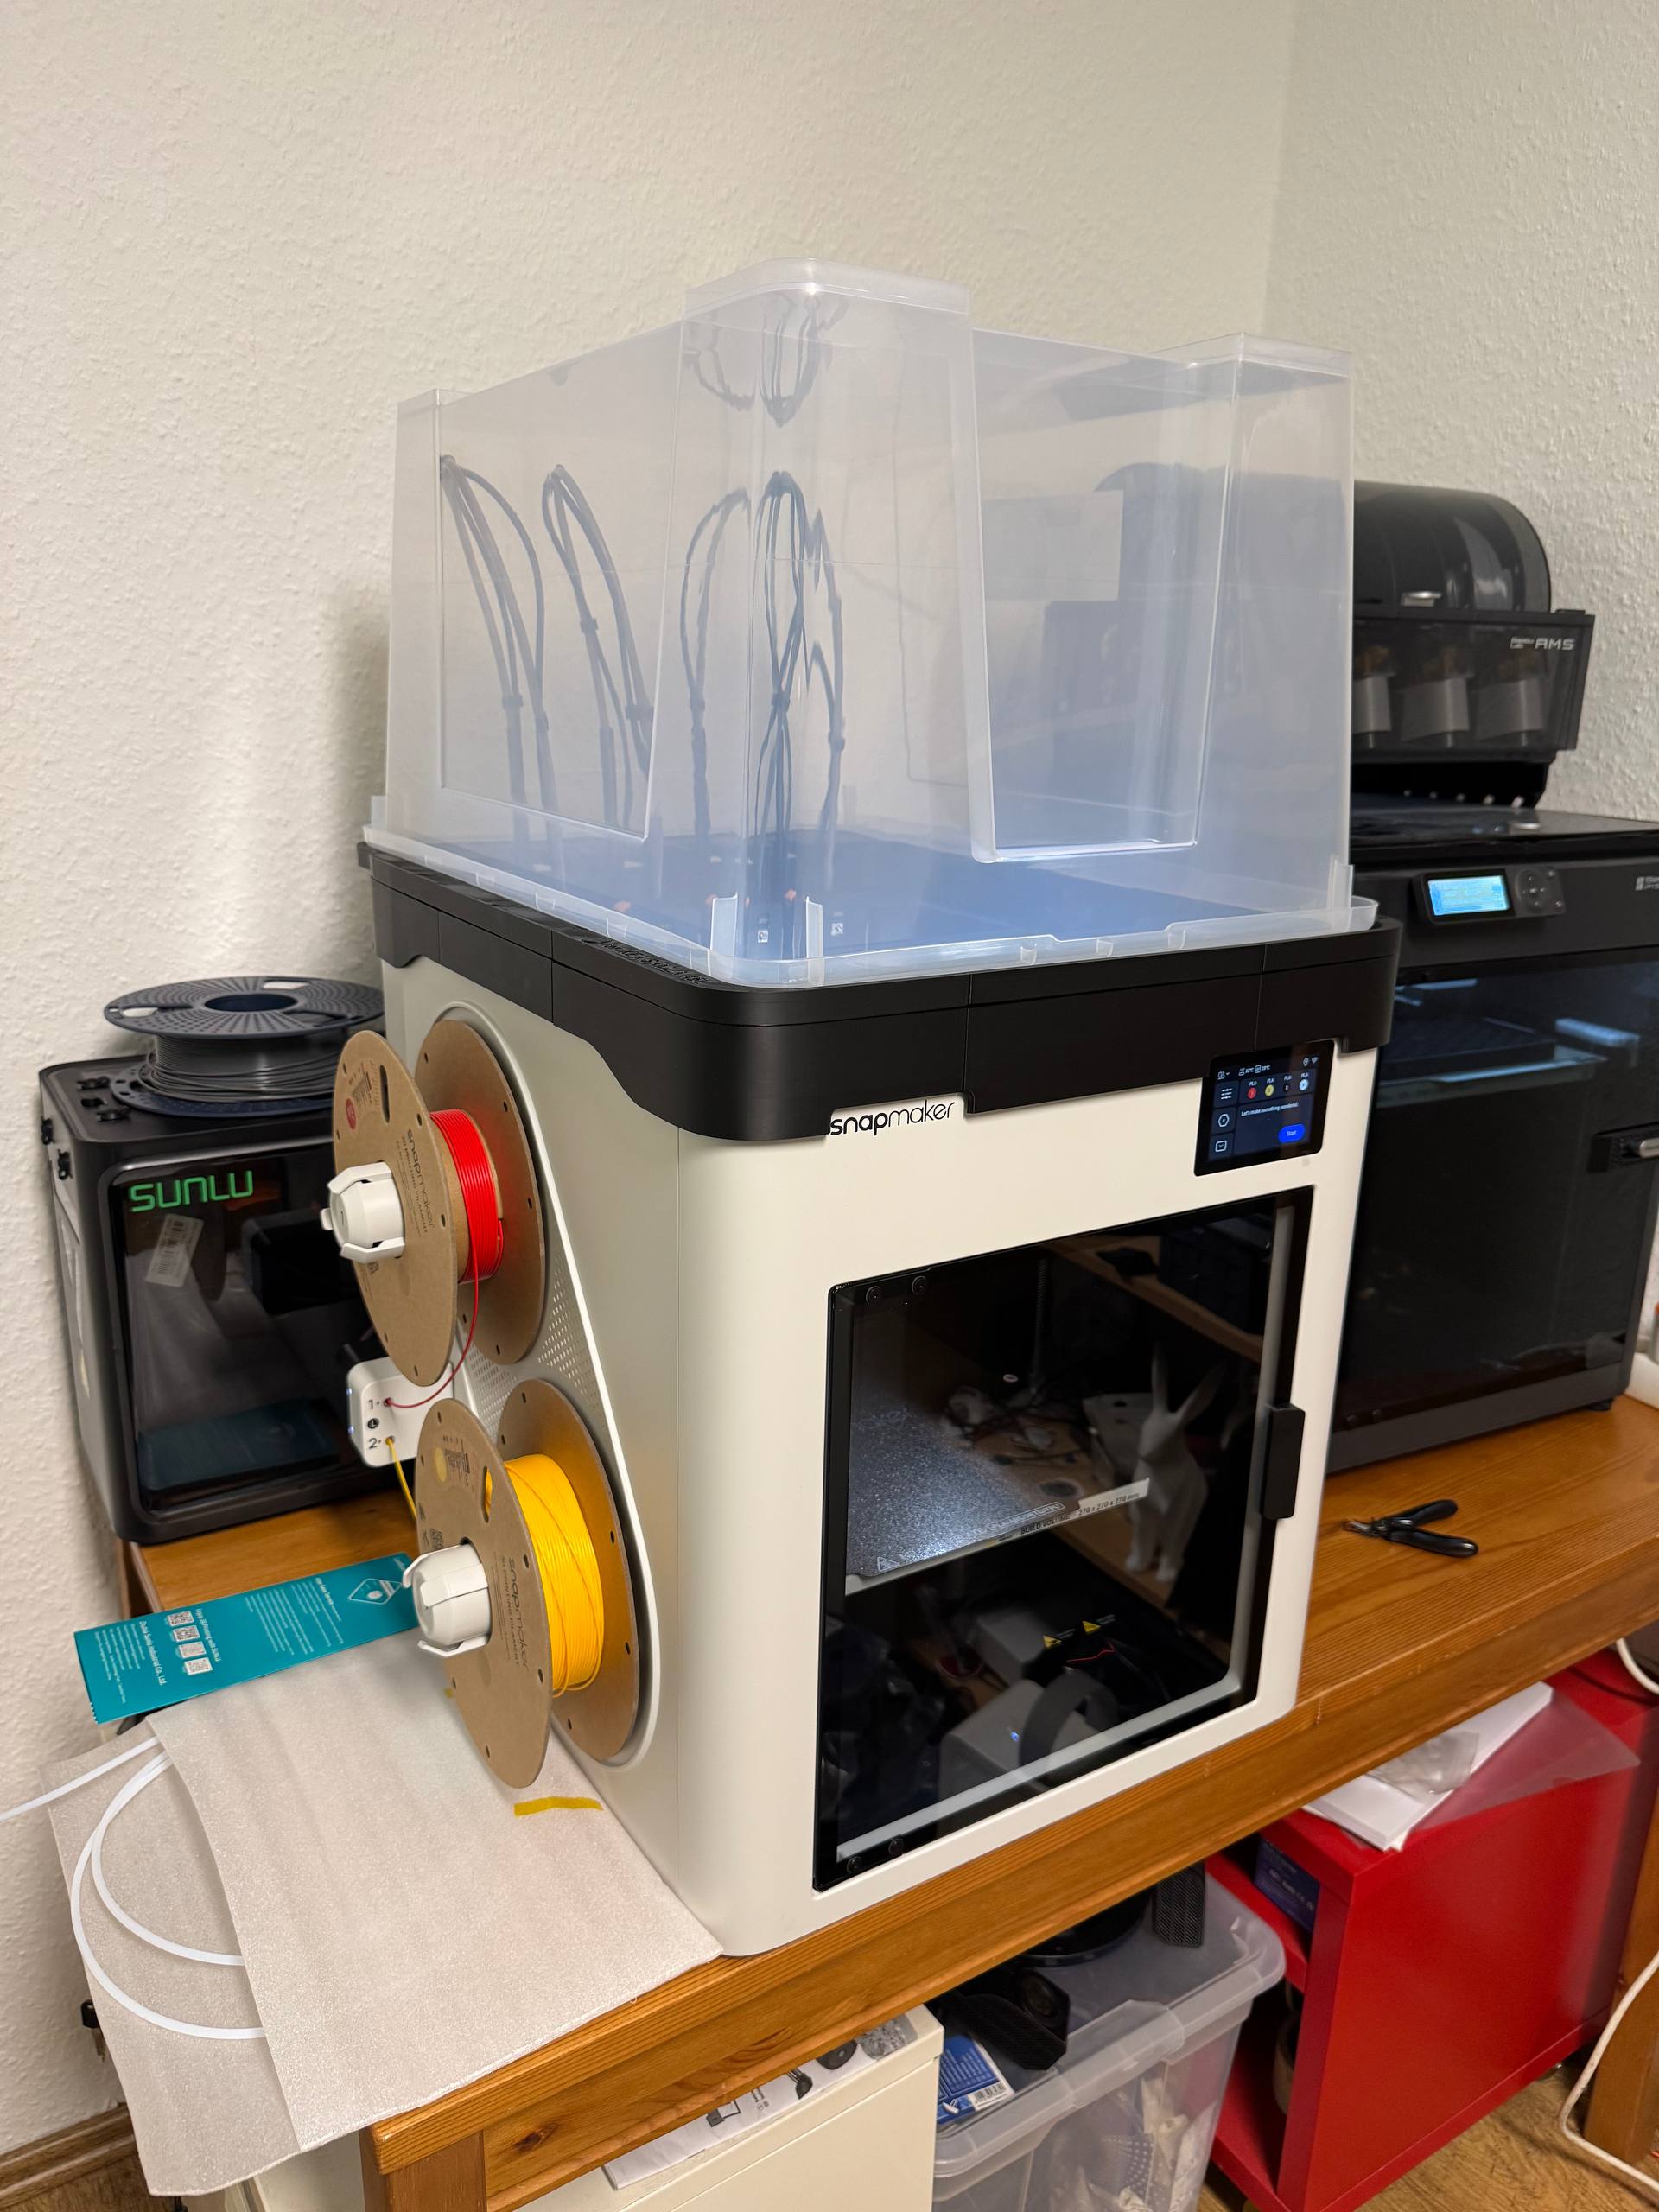
I would prefer a straight top plate without angles and slopes to place things on it. Maybe it is possible to add the snapmaker dryer boxes into it?
I share that concern:
With the dry-box on top, will it be difficult to feed the filament up through the 6 mm PTFE tube into the print head?
My machine has arrived—time to start detailed planning for the top enclosure.
Quick update:
1.What material should I use for the printed parts?
2.Besides acrylic, are there any other options for the clear cover?
3.Which standard screw size can cover everything—ideally just one?
4.The official dome is pretty tall; any tricks to cut down on material?
5.Following the feedback, I’ll add a 5 V LED strip.
6.The extra space might as well be used to add a tool storage box.
Its COOL!!I can offer everyone one more option!
Update, pleeeeease!![]()
My machine has arrived—time to start detailed planning for the top enclosure.
Quick update:
1.What material should I use for the printed parts?
2.Besides acrylic, are there any other options for the clear cover?
3.Which standard screw size can cover everything—ideally just one?
4.The official dome is pretty tall; any tricks to cut down on material?
5.Following the feedback, I’ll add a 5 V LED strip.
6.The extra space might as well be used to add a tool storage box.
————————————————————————
Quick update:2025-11-30