Enclose a Snapmaker U1 3D printer in a standard 15-unit 19" server rack.
This project is a guide and a set of 3D-printable parts for enclosing a Snapmaker U1 3D printer inside a standard 15U 19" server rack. Check out the 3D model previews
You can find the source FreeCAD file as well as STEP exports and many more at Servergnome Prints / u1-in-a-rack · GitLab
It’s also available at Printables U1 In A Rack by horza | Download free STL model | Printables.com

Introduction
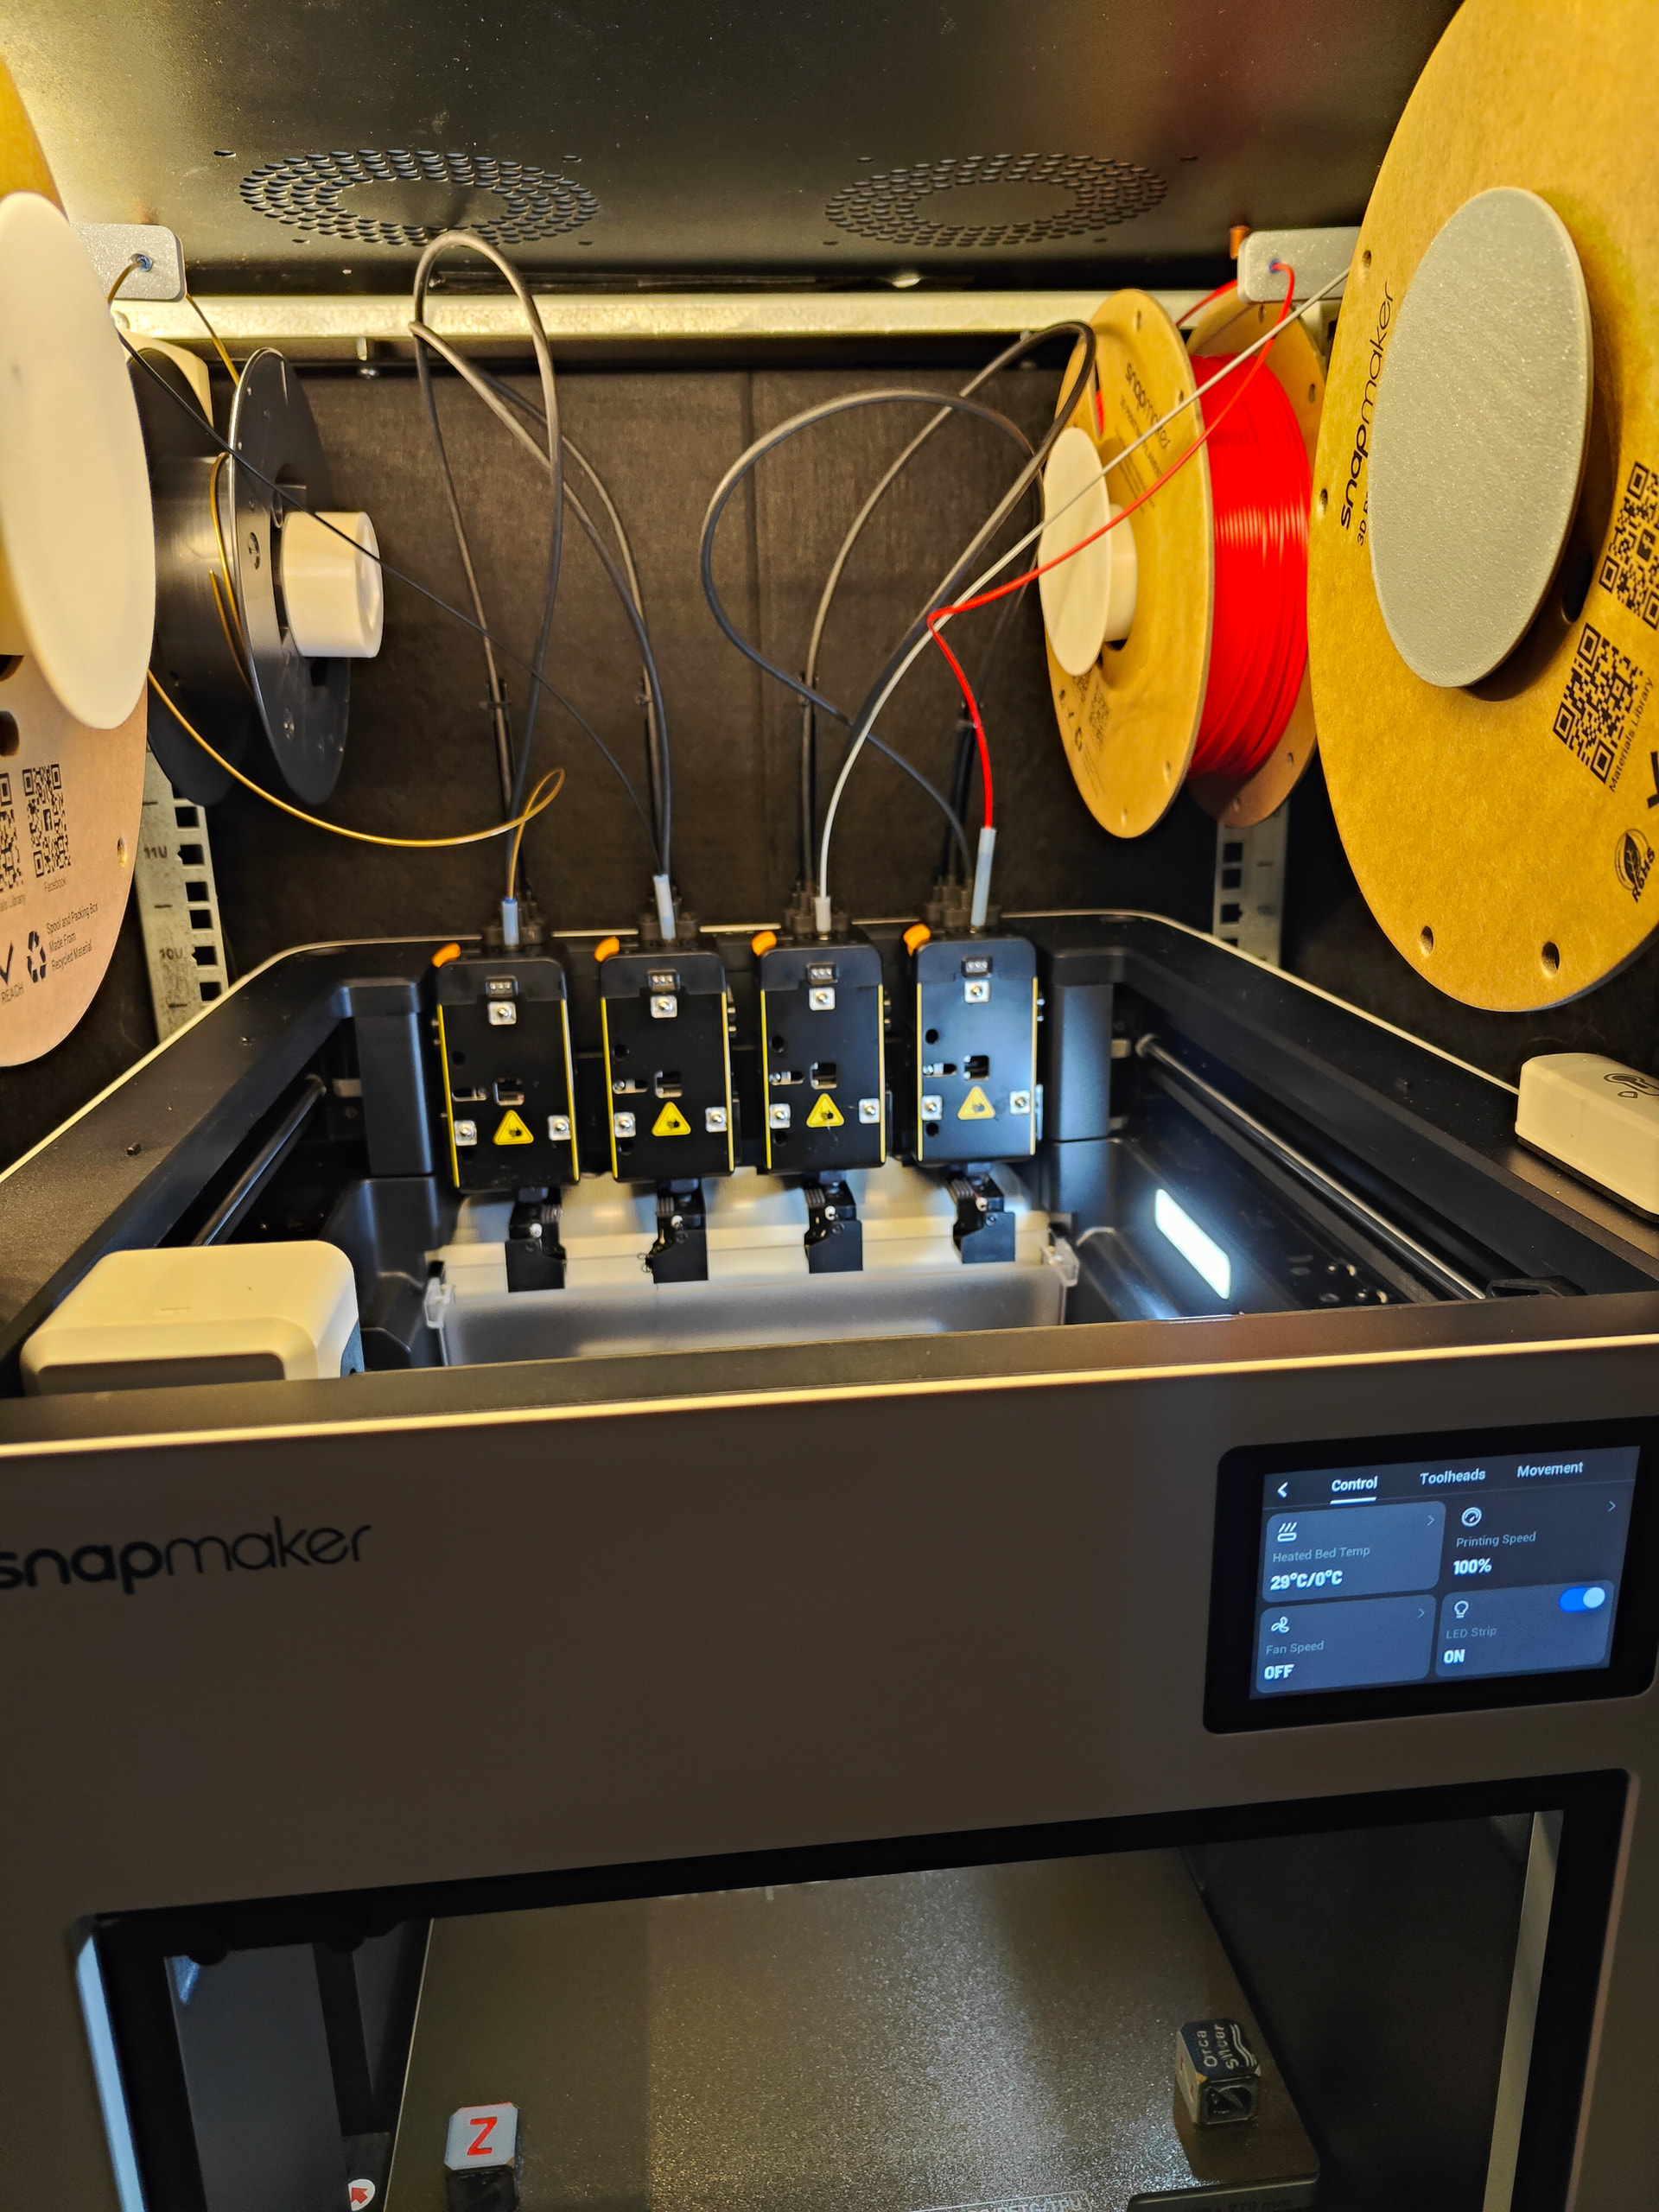
I have a habit of using this standard 15-unit 19" server rack for enclosing my 3D printers. This has several benefits which are very similar to having it in a normal enclosure, but also multiple added benefits that are important to me:
-
Print quality
- As with any enclosure, there’s no drafts or temperature swings so filaments that like to warp (ABS, ASA) print just fine
- Filaments which need a bit higher enclosure temperature get it by default because normal temperature inside the rack is around 40-45°C when printing without any additional heating or tricks
- Bed heater can be used to pre-soak the enclosure to around 50°C and after soaking it can maintain that temperature without running hotter than usual
- A proper enclosure heater would have no problems getting temps much higher but I’m not going to do that until I figure out a way to supply the PSU and mainboard with cooler air (but without losing fireproofing!)
-
Fireproofing
-
In case the printer catches on fire in any way, seals will not only prevent the fire from spreading but also significantly reduce the amount of oxygen available to the fire, thus extinguishing it
-
Notice that all holes except the door are sealed using duct tape
-
Door is sealed using sealant strips
-
Felt panels inside the rack are fire retardant
-
-
Noise reduction
-
Felt panels and sears significantly reduce noise levels:
-
e.g. my Prusa Mini, even after it got input shaper and speedups was still completely inaudible from my work desk 3 meters away
-
Snapmaker U1 is much louder, but I can still have calls without anyone noticing any background noise. Also, I can actually work in the same room because the enclosure completely cuts out all the high-pitched sounds
-
-
-
Humidity control
-
Spools can stay attached to the printer without the need for additional dry boxes
-
Because printing warms everything up inside the rack, humidity in the rack is always below ambient humidity
-
I’ve also noticed that filament moisture drops over time. It’s not as fast as a filament dryer, but just because they’re always warmed up when printing, they are constantly drying out
-
-
Harmful particles and fumes containment
-
I can print ASA and ABS without smelling anything.
- When the print is finised I open the window, crank the AC fan to max, put on my respirator, remove the print and vacate the room for 10 minutes
-
Seals are so effective that I literally can’t smell ASA while it’s printing and work normally next to it
-
Felt panels help catch harmful particles as they fly inside the enclosure so they don’t go flying out when I open the door.
- Every few months I vacuum the felt panels to remove the particles (HEPA filter on the vacuum!)
-
-
Prevents outside dust, pet hairs, nuts and bolts from flying into the printer
-
Compatibility with standard 19" rack mount equipment
-
Handy when adding cameras and stuff because there’s a ton of brackets and mounts for all kinds of gear
-
Note that 15U rack doesn’t leave any space above or below the printer
-
If you’re planning to add something that takes up a full unit, consider going for 18U or 20U rack instead
-
If going with a bigger rack think about mounting stuff below the printer so that its temperatures are lower than printer’s. This would also require some really strong shelf for the printer plus the old concrete paver + foam trick to dampen vibrations
-
Bill of Materials
-
15U 19" server rack
-
Mine is 600mm deep, 560mm wide, 740mm tall
-
The one I use is some generic model that I got for 135EUR from eBay. It’s a wall-mount model (those are cheaper). Unfortunately, it is no longer available.
-
Search the internetz for “15U 19 inch server or network rack cabinet”
- Make sure to get one that has both sides removable and a door that seals well
-
-
8x standard rack bolts. I used M6x16, get longer ones if you can
-
8x M6 square nuts. You can also destroy some rack cage nuts and take the ones from there
-
2 packs of sound dampening panels
- I used these from Amazon . Make sure they’re fire retardant
-
A whole spool of double-sided tesa tape (for attaching the felt panels inside the rack)
- Don’t skimp on this. Get good quality and use a lot of it. First time I did this I only used like 10cm of tape per panel and had panels falling off mid-print; wouldn’t recommend it
-
Some duct tape (for sealing holes in the rack)
-
About 1kg of filament
-
I currently used PLA because prototyping; will upgrade to ASA at some point
-
If you’re going to go for very high temperatures make sure to use appropriate filament
-
-
30cm of 4mm PTFE tubing for spool roller bearings
-
Inner diameter is not important, outer must be 4-ish mm
-
Cut it into 40 pieces, 5mm each
-
Usage
Slice the STEP files yourself. Do not print my 3mf file, it’s there only for reference. I don’t take any responsibility for that 3mf file. For all you know, I might have tuned the profiles in there to break your printer. Included STEP files can be opened in all slicers and if you need to re-export any of them there’s my FcStd file which can be opened in FreeCAD or any other CAD software that is able to read FreeCAD files.
Support
This is provided as-is and there’s no support. Instead, there is a FreeCAD source file and STP file to make it easier to modify.
Sponsor this project
If you like this, please consider a donation.
Contributing
Merge requests are always welcome. The FreeCAD file is made with v1.2-dev. Please note that it is not backward compatible with older versions.