Retraction calibration tool

I stumbled onto this as a result of my PETG woes, and it’s awesome:

http://retractioncalibration.com

The resulting Gcode files do work, but with PETG particularly, be sure to prime the nozzle immediately before printing, and clean any drips right before it prints the raft to avoid weirdness. In other words, don’t start this remotely on Octoprint—you should be there to start the print.

5 Likes

This is an example of the later stages, where I have discovered clean retraction settings. It can be pretty ugly in the earlier “guessing” stages.

1 Like

Did you enter anything in the “Custom GCode” section? Looking at the Cura Profile starting GCode, I don’t think any of that is necessary, but I’m not entirely sure.

I did not. It proved unnecessary.

Definitely do the G28, the linear modules can drift between prints, and G28 will reset that drift. It won’t be a problem at first, but you’re risking running the head into the bed every time you start a print without G28.

I’d also include the M104 and M140 from the end code, but that’s just me being overly redundant.

Not a bad point, but without looking into the resulting GCode, I wouldn’t know if a G28 isn’t already in there (it might be).

Could you provide the settings you ended up with? May not be perfect for everyone (sure to vary depending on the particular PETG used), but might be a better starting point for us than the default values on that site.

It does already include a G28. I reordered this a bit, but I didn’t add or remove anything. The original would heat the bed, wait, then heat the nozzle, wait. I changed it to do both at the same time.

;Start Gcode
M140 S50
M104 S190
M105
M190 S50
M105
M109 S190
M82
G28
G92 E0
G1 F200 E1
G92 E0
G90
;G29

The ;G29 being the default contents of the Custom GCode box.

There is also an M104 and M140 in the end. There’s no comment labeling the complete end, so I think it’s

G1 Z0.1
G1 Z5
G90
G28 X0 Y0
M84
M107
M104 S0
M140 S0

I ran a test using (I print in High Quality mode the most):
Layer Height: 0.1mm
Start Retraction Distance: 0.5mm
Inc Retraction Distance: 0.25
Start Temp: 190
Travel Speed: 40
Print Speed: 40
Inc Temp: 0
Inc Fan: 0
Everything else is the default values.

And I got


In the GCode, it gives a summary of the results (along with all the inputs [not included]):

;Variables by Height
;
;Height         Retraction  Nozzle      Fan
;               Speed       Temp        Speed
;
;25 layers      150.00      190.00      40.00
;25 layers      140.00      190.00      40.00
;25 layers      130.00      190.00      40.00
;25 layers      120.00      190.00      40.00
;25 layers      110.00      190.00      40.00
;25 layers      100.00      190.00      40.00
;25 layers      90.00      190.00      40.00
;25 layers      80.00      190.00      40.00
;25 layers      70.00      190.00      40.00
;25 layers      60.00      190.00      40.00
;25 layers      50.00      190.00      40.00
;25 layers      40.00      190.00      40.00
;25 layers      30.00      190.00      40.00
;25 layers      20.00      190.00      40.00
;25 layers      10.00      190.00      40.00

The left corner is the origin.

I don’t really know how to interpret this. I think this is telling me that my nozzle temp is too high, because none of the variables gave me a clean travel. On my temp tower, 180 actually looked the best, but it requires more force to push filament through when I’m loading. 190 was almost as good as 180, but with the same amount of force required as 200 and 210. So I went with 190.

I do think it’s odd that the top layers, with the fastest retraction speed, have the most dense ooze sculptures.

I’d be happy to give you the range I ended up using for my last test print. I was frankly stunned when I discovered how slow I have to retract in order to get clean PETG prints. I haven’t tried this with PLA yet, so I do not yet have any data in that area. This would be a great place to share that.

The defaults are okay, I suppose, but I saw better results when using the lower speeds of a direct drive feed, rather than Bowden tube.

Start Retraction Distance: 3.1
Increment Retraction: 0.1
Start Retraction Speed: 2.8
Increment Retraction: 0.1
Layer height: 0.2

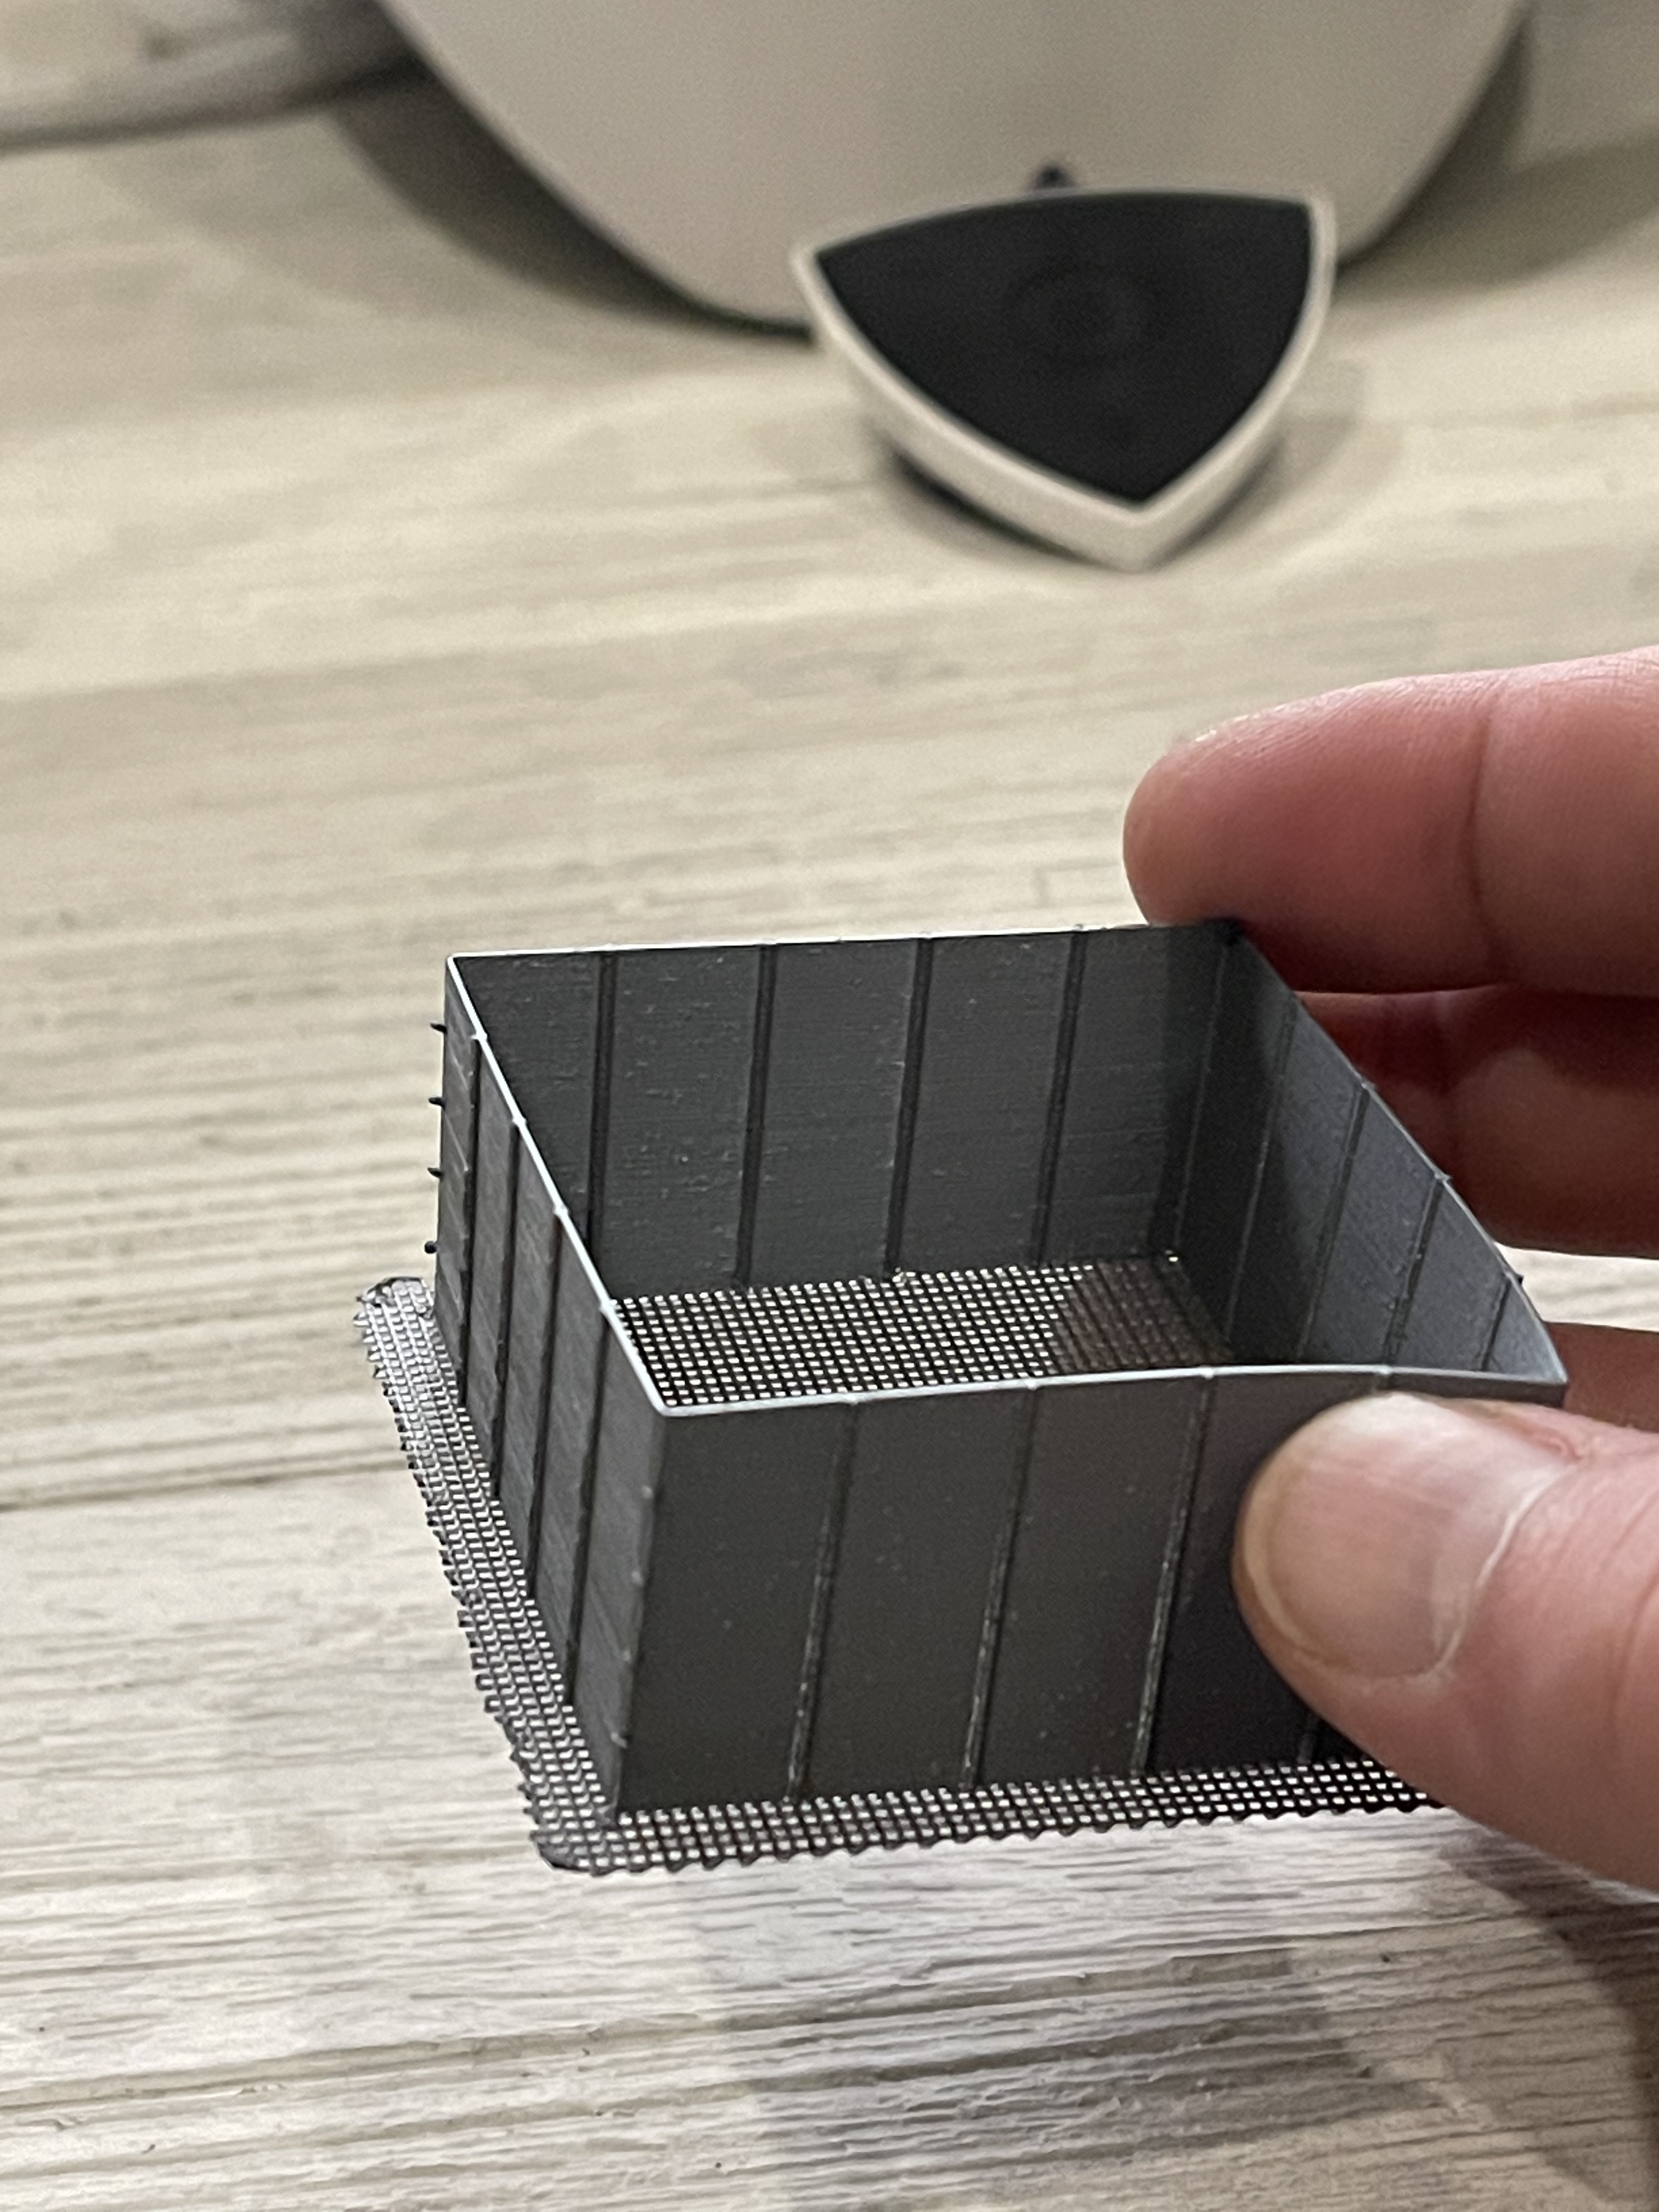
I did successful tests with 0.2 and 0.16—I prefer the output of 0.2 better, and it’s stronger, even though the layers are a tiny bit smoother with 0.16.

Start Temp: 242
Increment Temp: 0

This will vary with your material’s particular melting points. I used Overture PETG, which officially has a range of 230 - 250 °C. I had success between 238 and 242. PETG gets stringier the warmer it is, and layers do not adhere as well if it’s too cool.

Fan Speed: 80
Fan Increment: 0

There’s no bridging here, and the stock fan doesn’t throw a ton of air, so this worked out well for me.

Layers per test: 25
Number of tests: 4

I found that the walls warped a bit the taller it got. 10 to 15 was just too many, and ended up wasting time when I was close. As always, your mileage may vary.

Travel Speed: 150
Print Speed: 40

Faster travel seems to help reduce stringing, and the 40 print speed is within reason.

I consistently found (for myself, with PETG) that 4.2 - 4.3 retraction distance and 2.9 retraction speed were the cleanest. It’s astonishingly slow, but it was clean.

@clewis the “magic numbers” for SN2 should be in increments of 0.04 for optimal results. You can find this information in other threads in the forum. It is a mystery why Luban would give 0.15 layer height results in the face of these numbers.

As such, perhaps 0.12 will yield better results. Also, as I mentioned above, I think that the retraction speed and distance should be set lower because of the SN2 printhead design—direct drive vs. Bowden tube. Just my experience with this retraction tool.