Hello all, I made this post to share my personal experience with the J1 and some modifications I have made to it throughout the month. Hopefully it will be useful to new owners of the J1 and those who may be interested in modding their J1. (Skip to bottom for TLDR)
Introduction
I am not a complete newbie to 3D printing nor tinkering, but I have never used a CoreXY machine before and only had experience with 1 machine before.
It was a strange secondhand i3 style printer with a really bad direct drive extruder which broke soon after I purchased it, which I then promptly replaced with a Mellow BMG Wind v6 extruder and volcano hotend.

The zip tie was a integral part of the extruder, in fact its both the tension spring and the only thing holding the whole thing together (the screw thread was completely stripped).
It was practically held together with hopes and dreams lol, but hey it worked.

After the upgrade it was a good machine with really sturdy frame and I managed to get some nice prints out of it with TPU PLA and ASA.
With the BMG extruder I was able to do some manual multi-material printing but it soon proved to be too tedious. Which is when I went down the multi extruder rabbit hole.
The J1

I bought my J1 during the Christmas sale last year, I was originally debating between the J1 and XL but the sale sealed the deal for me.
It arrived just a little over a week later on Jan 2 at noon, despite the outside box being quite beaten up the printer was perfectly fine.

I was able to get the printer setup in the same day of arrival, since I have snooped around on the forums while waiting for my J1 to arrive I already have Prusaslicer profiles by Dylan installed so I sliced and printed a benchy via USB right after I setup the printer clocking in at 1h 27min.

In the following days I printed height extension to allow the reverse Bowden tubes to move more freely, rerouted the filament to a dry box and added foam around the doors to improve insulation for materials like ASA,
I also added toolholders inside the printer for easy access to tools for cleanup.
Height extension: Snapmaker J1 higher mounting lid by benny911 - Thingiverse
Tool Holder: Snapmaker J1 Tool Holders by edgett - Thingiverse
The cooler
Although I had a great time printing I really disliked the fact you had to print PLA with the lid off since the place where I work with the printer has a lot of dust, and not just any dust but really abrasive and hard dust and the thought of that getting into the grease in the rails gives me shivers. I have no clue where they come from but me using the Dremel in the workshop couldn’t have helped lol.
And so I designed a cooler for it.

Its powered by 2 5015 fans and works much in the same way as the J1s, drawing cool air from the outside and sending a sheet of cool air across the printing plane.

Install the backplates first with 4 10mm M3 screws and nuts, add the M4 nuts for the fans at this stage.

It can be installed with a filter.

The cooler body is then assembled with 2 M3 screws and nut, and 4 M4 20mm screws for the fans, you can take the back panel of the J1 off for easier assembly. Cut the top opening for the right adapter piece with the cutters that came with your J1 and simply snap the piece off at the layer lines, add some foam or blue tac to get a nice seal with the fan and some where the lead screw is to help stop vibrations.
All parts are designed to be fitted none permanently for easy maintenance, the cooler body should be held in place by friction from bracing against the Z rods, the body is designed with some springiness so it should fit snugly but shouldn’t take much force to install.

The whole development process was really rapid (about 3 days) and I didn’t really document it, I designed and modeled the whole thing in Plasticity, If you have it the project file is included.

The whole cooler can be printed in one go with mirror mode, some supports are recommended especially for the hex nut holes.

My janky™ wiring, since I bought voltage controlled 5015 fans I took a voltage step down board and replaced the fine potentiometer with a knob style one. Feel free to DIY this stage as this is honestly a suboptimal setup. White cable ties are printed and held down with 5mm M3 screws.

Brace for the front panel for stability.

Fuse for safety lol.
Although I don’t have a J1s to compare, the cooler moves quite a lot of air accurately across the printing plane.
Grease
It was during this time the printer started making weird scratching/ grinding noises when the bed moves down kind of like shredding plastic, at first I was freaking out thinking my modification broke something or that the dreaded dust somehow got into the motors but then I remembered in the Things to do first with a new J1 thread “Remark: The same applies to the z axis. It should move without any noises apart from the motor. If you hear some clicking or cracking (might also happen in just one direction), add an NLGI class 2 grease suitable for ball bearings to the linear rails” and so I went and got some grease.
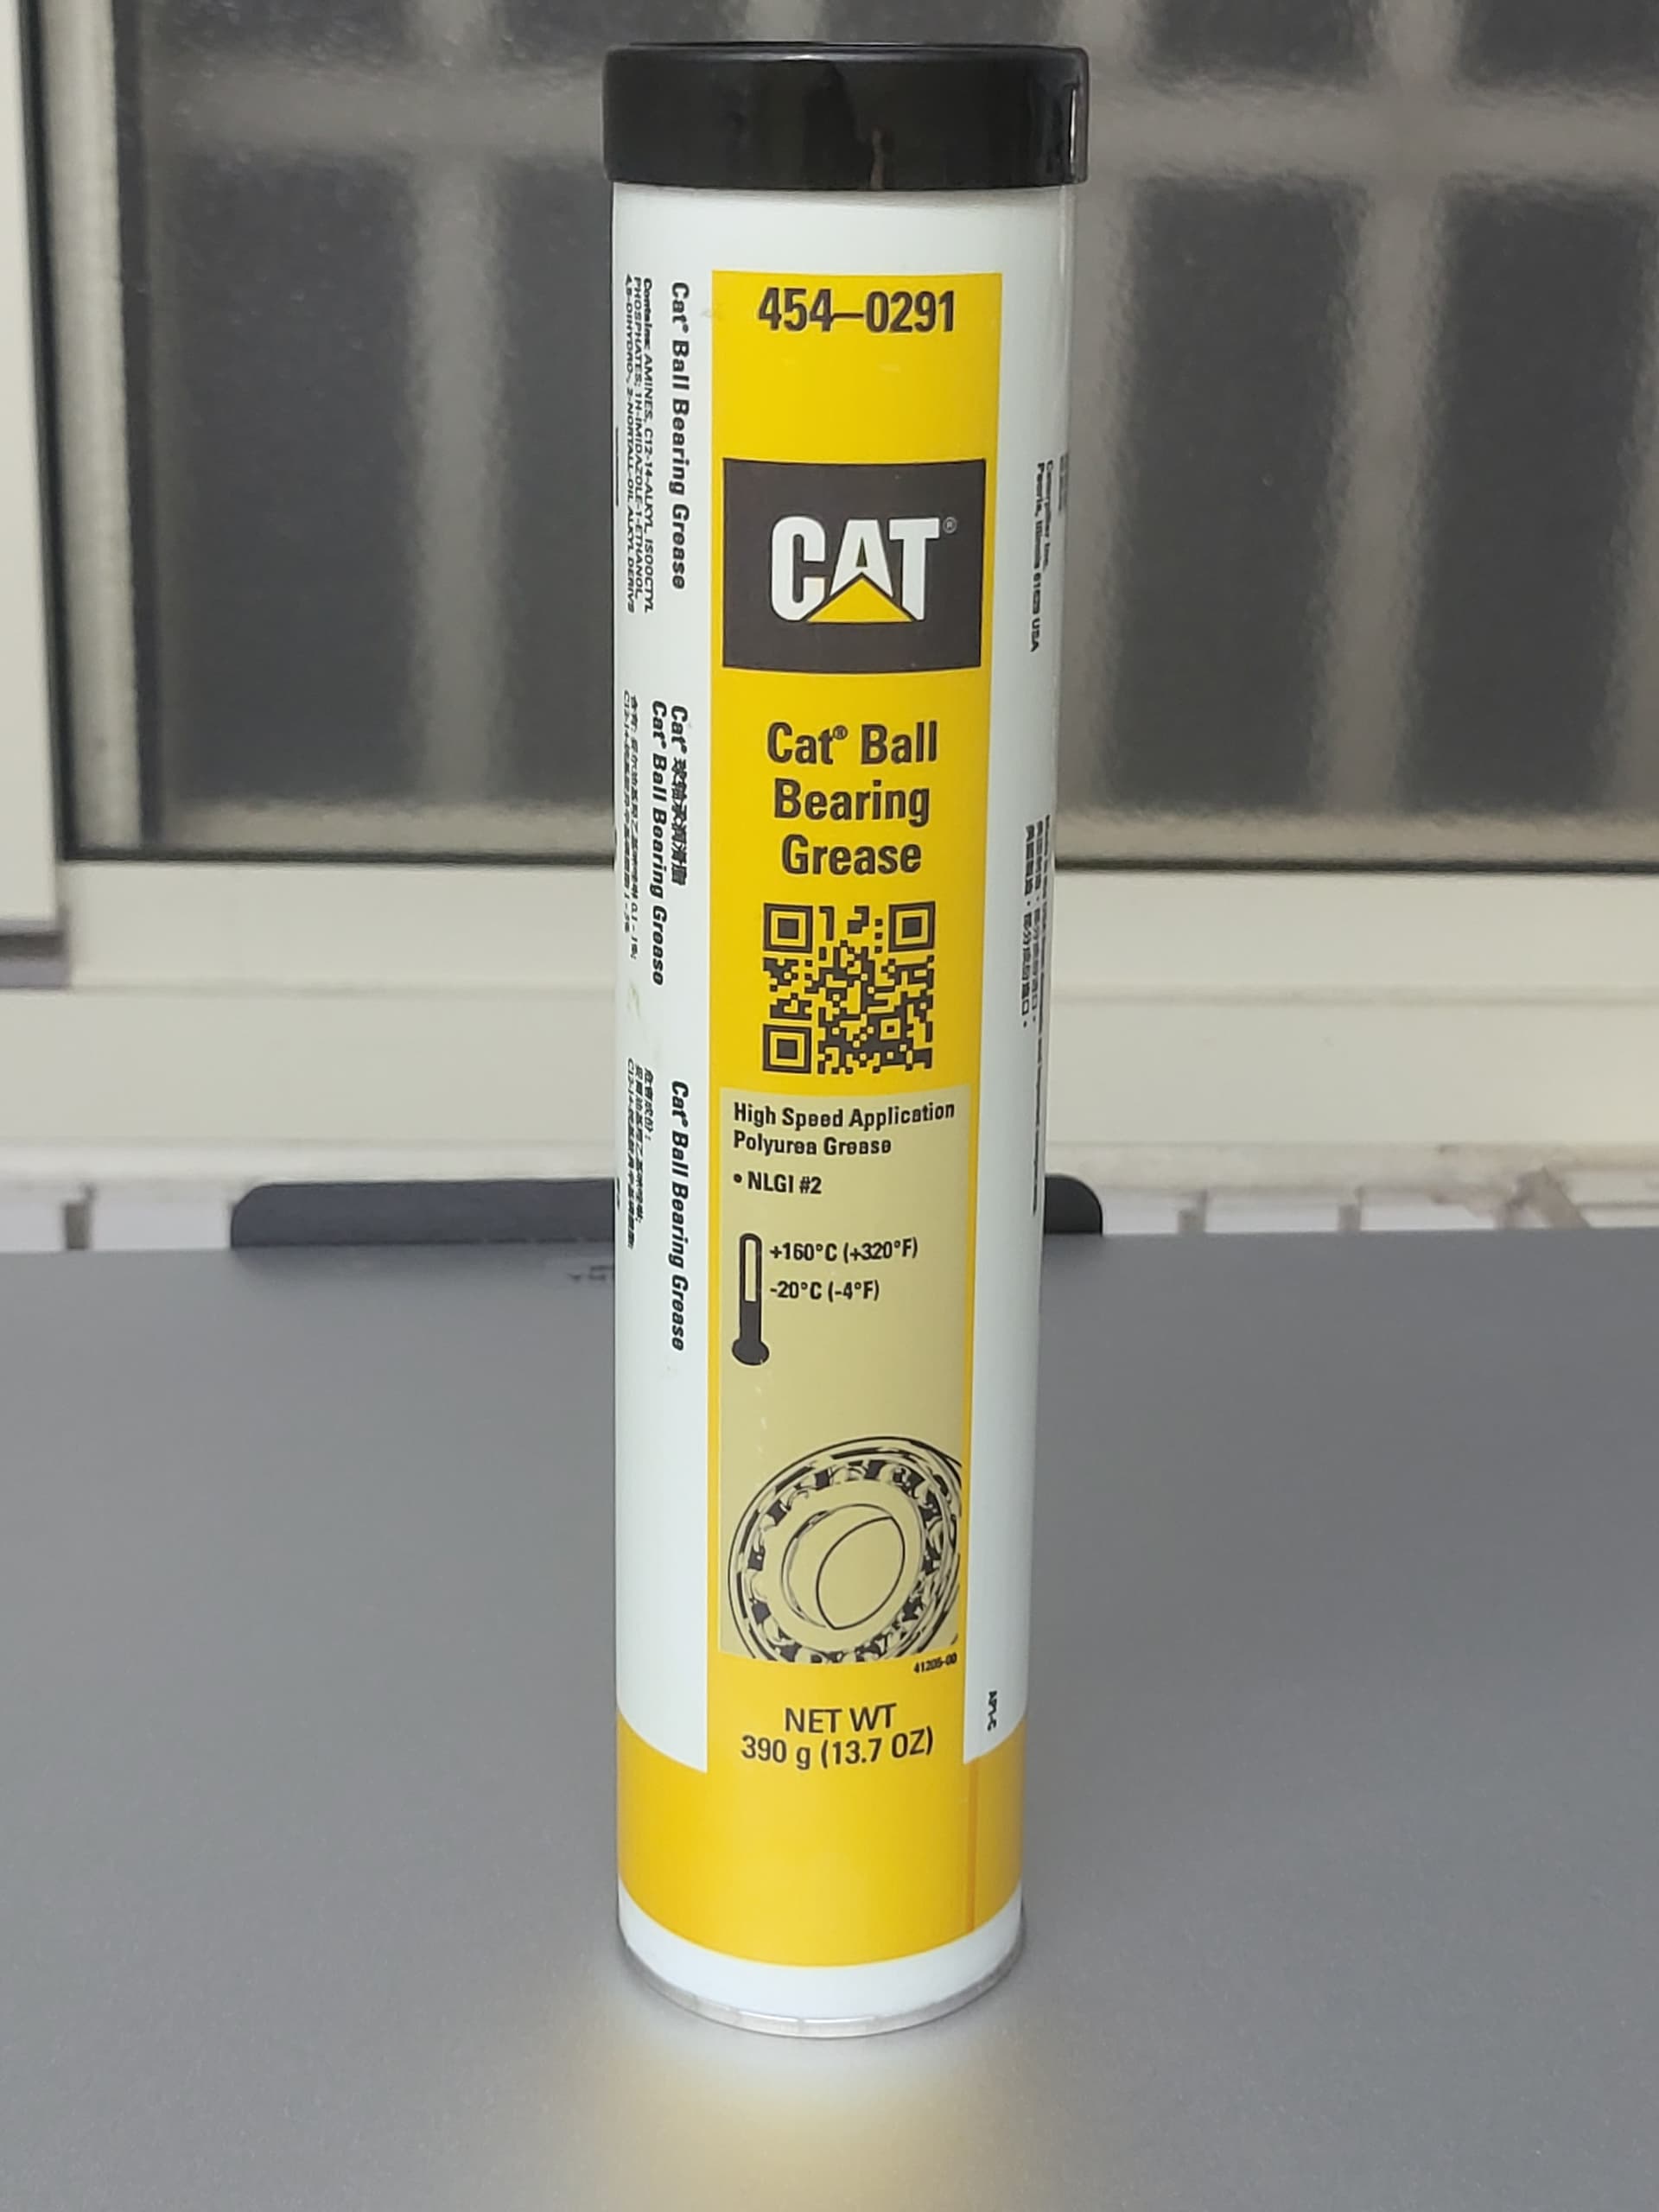
Lo and behold the noises were no more and I let out a sigh of relief knowing that I did not just break my printer. So to all you newcomers heed this lesson and get some NLGI#2 grease ASAP for your printer.
Hotend
After this I went away for about 2 weeks during which I ordered parts for a hotend upgrade according to Findings and solution for the Snapmaker J1 clogging problem not just for clog free printing as the hotends that came with the printer has worked for more then 48 hours of printing by this point and not a single clog, but to be able to use any nozzle I wanted.


I went for copper-titanium heat breaks and volcano adapters as spacer. Despite many people claiming the extra bit of the heatbreak sticking out of the heatsink may cause clogs, personally, my experience with my previous printer tells me otherwise.
I had even more of the heatbreak sticking out of the heatsink and was not directly exposed to air since I had to add washers around the threads to get the correct Z height, despite this it never clogged in the whole year I used it for PLA TPU or ASA.
The assembled hotend with the volcano adapter gave me a Z height much more closer to the original configuration ensuring good cooling and easy calibration.
Some people mentioned wire strain causing shorts but since the original heater block is the same height as this configuration I kind of doubt the validity of the claims, what I suspect is they probably seated the temperature probe or heater too far into the heater block causing the insulation for the wires to either melt in use or stripped back during installation causing the short.
Be sure to install the heater and temp probe to the heater block first after installing the heat break and secure with set screws firmly, then screw the PCB + fan to the heat sink. Make sure you did not seat the temp probe too far into the heater block, a little bit of it should be sticking out and the wire should be flush with the silicone sock, install the hotend on the printer.
After heating it up to 250~300 degrees Celsius use a large spanner to hold the heater block at the correct angel and use a torque wrench to install the nozzle. DO NOT put any torque on the heatbreak throughout this process and make sure the heatbreak is on the heatsink firmly or it may come loose during nozzle installation.


I used Mellow Sharp NF nozzles at first then switched to what I always wanted to try: Mellow Phaetus Tungsten Carbide nozzles. If you can’t tell already I’m a big Mellow fan, their parts may be on the expensive side but they had never let me down.
Benchies
During all these modifications of course I printed Benchies to check the effectiveness of my modifications, after the cooler mod I tried my first run at a fast benchy.


Clocking in at 47min 48s it surely was a massive improvement over the stock benchy and the finish is also much better.
After completing the swap to Tungsten-Carbide nozzles I then followed benchy rules and made a profile based on a combination of the stock J1 profiles on Prusaslicer and profiles by ne0 with a bit of my own tweaks and sliced this.


Spicy


Clocking in at 34min 55s this dual color speed bench was the fastest I have ever printed and I don’t think I’ll attempt to print this fast ever again, my poor wooden table was shaking so bad I had to brace my arm on the printer through out the entire print to dampen the shaking. It was pretty terrifying seeing those massive print heads zipping about.

Here are all the Benchies I printed throughout the month from the right:
- First benchy, default Prusaslicer profile by ne0 @0.2mm layer height normal speed, in box filament.
- No cooler test, closed door and lid, all Benchies from this point are E-sun PLA+.
- 35min speed bench, closed lid open door max aux cooler, speed bench rules.
- 0.12 layer height slow printed benchy, aux cooler at gentle breeze, very fine finish.
- 48min fast bench, closed lid and door max aux cooler, 0.2mm layer height (I think don’t quite remember).
Mugshots in order


First benchy


No cooler test


35min speed bench


0.12mm


48min fast bench

All of the Benchies pass the Chimney and box test but only the 0.12mm slow benchy passed the fishing rod test.
Review
Honestly overall I’m super impressed by this printer, the kinematics has been rock solid and the fact its pulling filament out of a dry box through about 3 meters of reverse Bowden tubing and spitting it out at breakneck speeds at such accuracy is mind-blowing to me. The fact that the 35 min benchy look so good is absolutely amazing too even though I kind of cheated as this printer is now closer to a J1s then a J1.

Sadly it was not all sunshine and rainbows, this is one of the hotends that came with the printer after I swapped it out. It appears to be not tightened correctly which caused all this gunk to build up, despite my efforts to heat and unscrew this hotend with a heat gun the nozzle actually sheared off which is something I have never seen before. Attempts to unscrew from the other side only ended up with the heatbreak breaking.
For those who are interested all my mods can be found at:
TLDR: Excellent printer, really fast and accurate. Grease your rails, very important. Original hotend is OK I guess but should upgrade.
If you want cooler go download at link above and read the cooler section of this post.