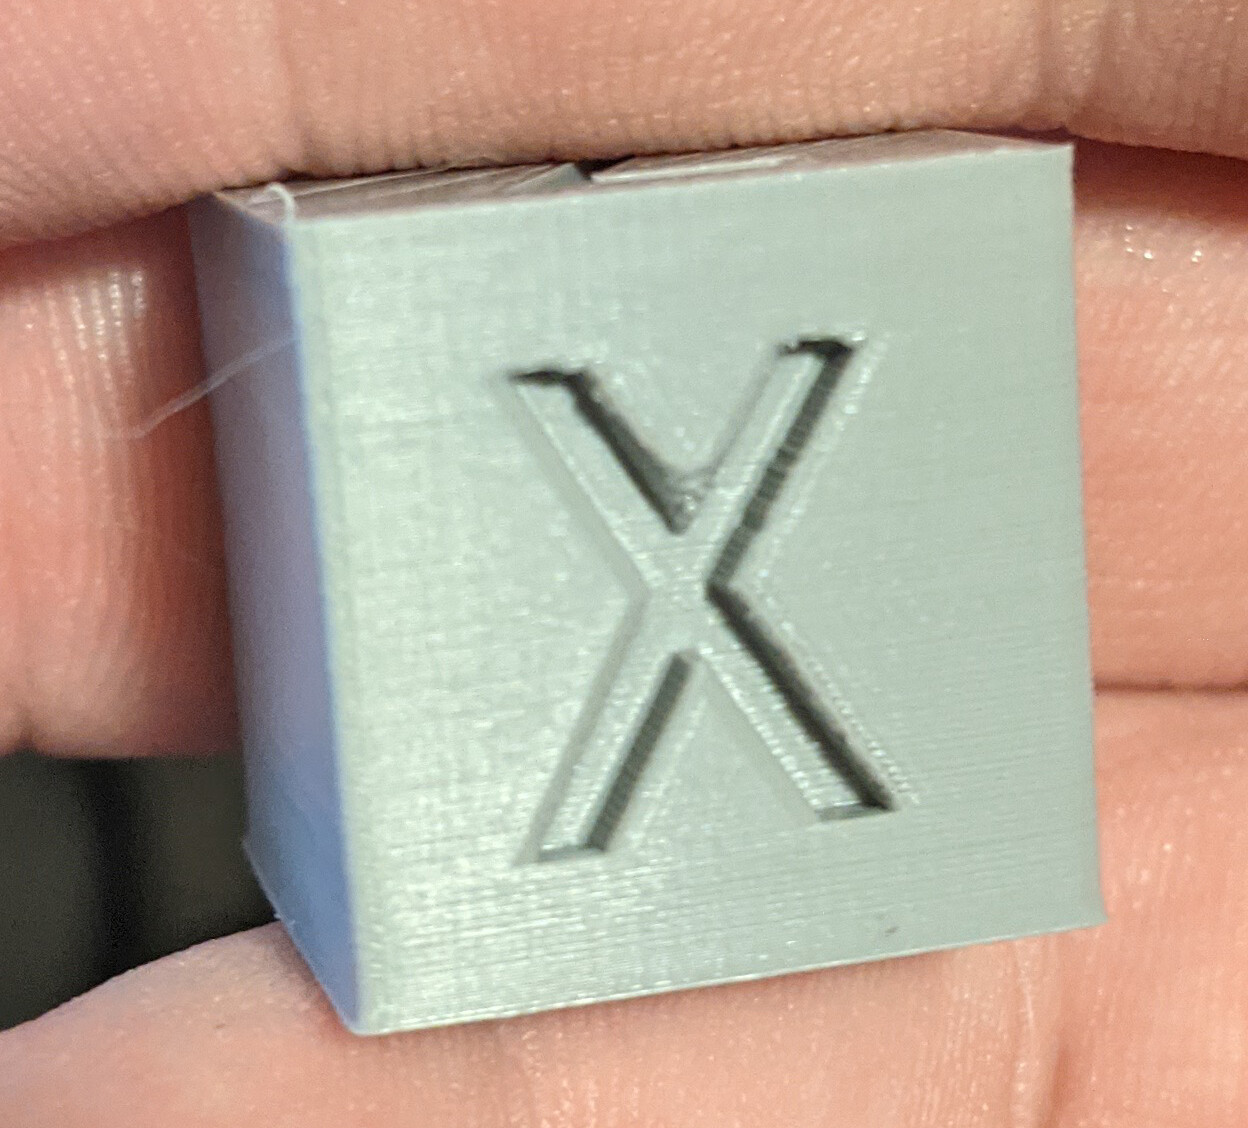
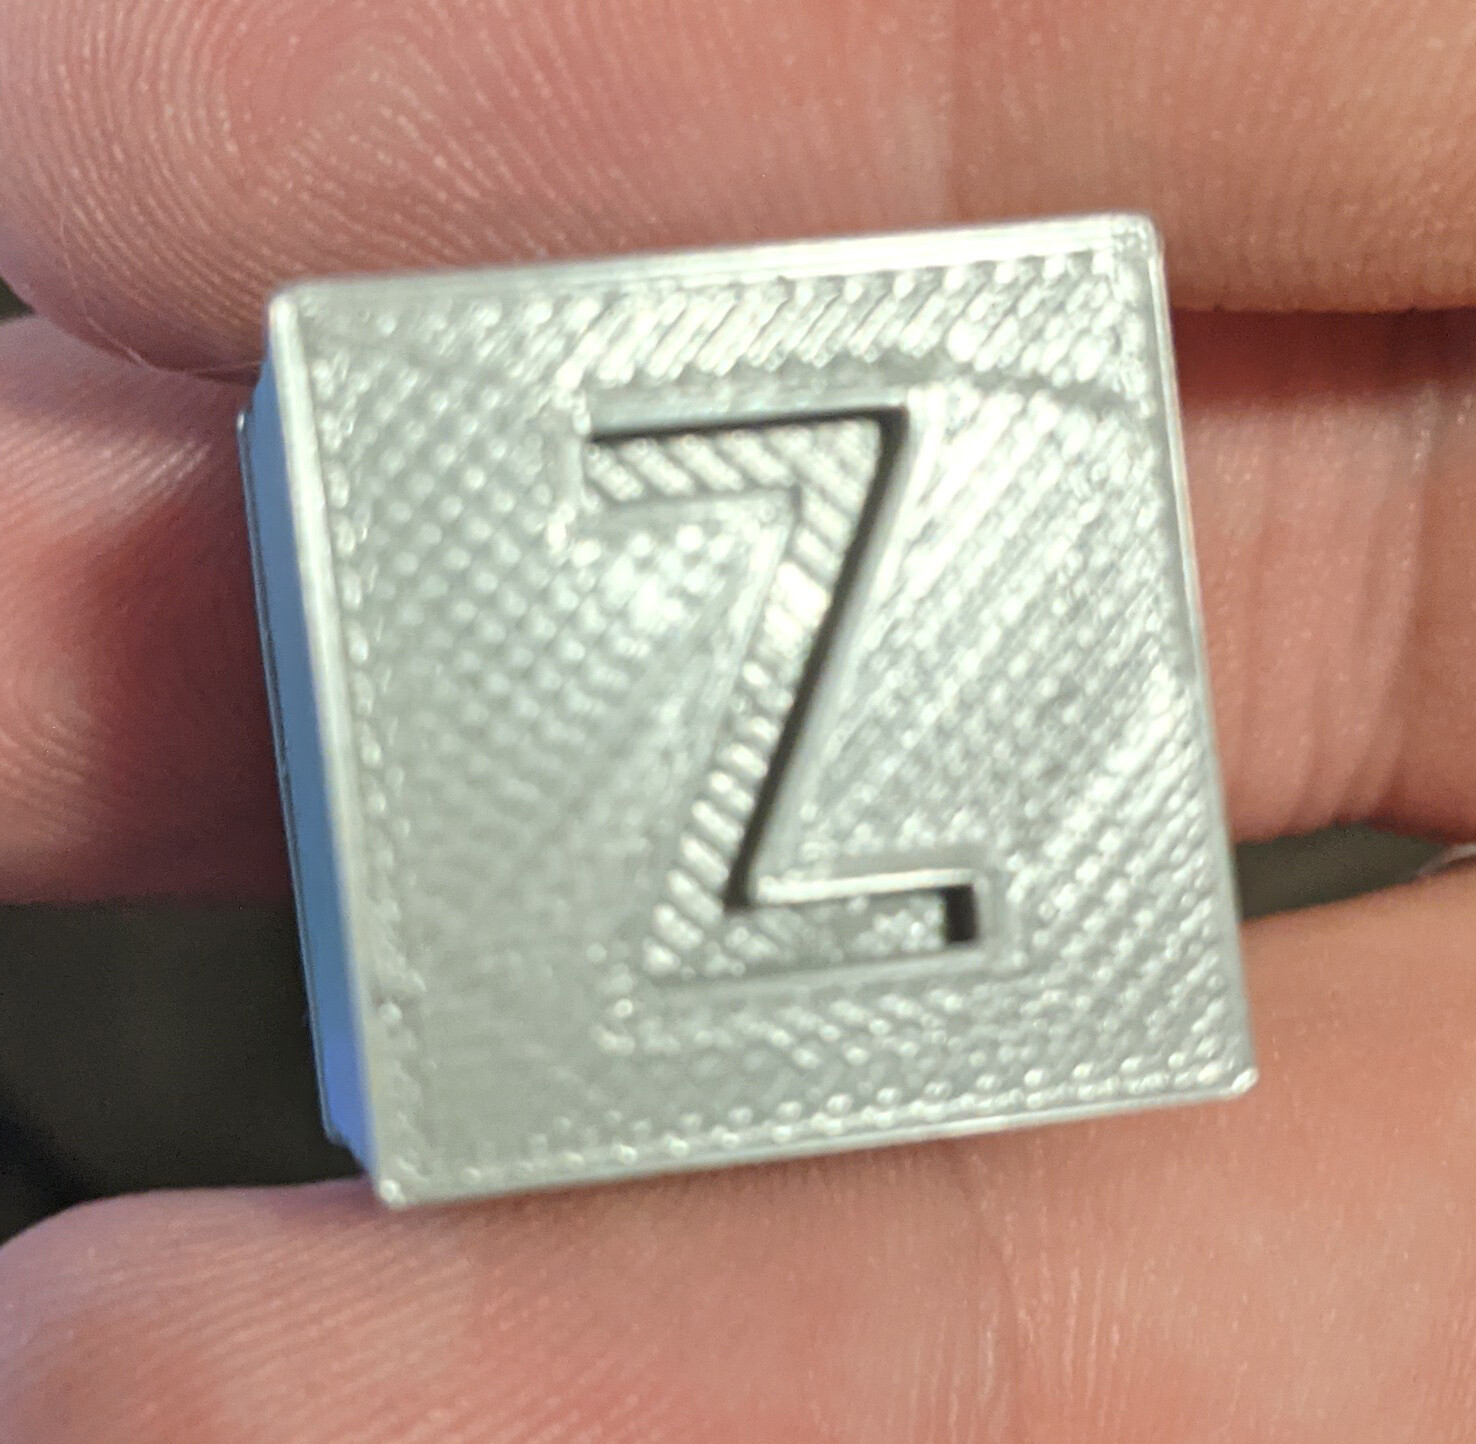
I’ve spent the past few days really trying to calibrate my Snapmaker 2.0 350. Previously I was getting some very bad layer separation regularly and the part was sticking to base pretty snug, could still get it off but it required the blade. Slowly i’ve been working and I think I’ve got my layer separation down a lot and I can basically pull my builds off the base now with a moderate amount of force. Now my next hurtle is the top layer. I cannot figure out what to do to help with this. I’ll attach photos and my settings.


You may need to change the extrusion rate in Snapmaker Luban. You can try 95% and see if it makes any differences.


If you have some vernier calipers then you can calibrate the flow accurately using this method: https://teachingtechyt.github.io/calibration.html#flow . I do this for every different roll of filament, as there can be quite a difference in flow rates for each.
Without accurate measurement, you just have to eyeball the print. From your last photo you can see that there’s gaps between the lines, so you need to increase the flow a little.
With Cura you can use a feature called “Ironing” to improve the top surfaces. It’s hidden by default. You may need to fiddle with its settings to get an ideal print.
Also, if you haven’t already, you should calibrate extruder e-steps. The link that @Darwinian posted has a good guide for this as well.
If you use Cura instead of Luban, you can enable Ironing. That improved the top layers on my prints a lot. The sides are still rough though, so you end up with only one smooth side - quite noticeable with die-like objects such as that calibration cube.