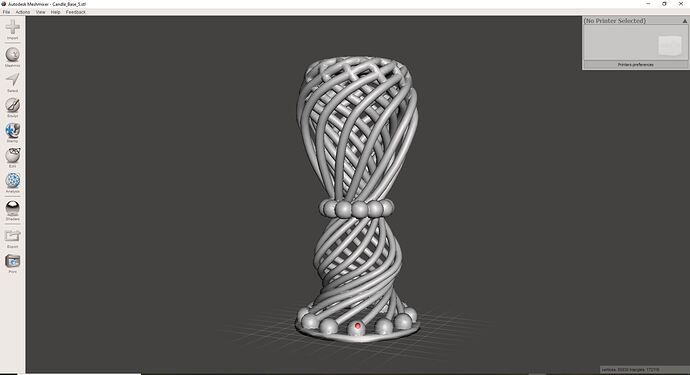
Designed with Oculus2 using Gravity Sketch
Fine tuned with Autodesk Meshmixer
Printed at Snapmaker 250
3 Likes
Great!
Do you have more information about the workflow? I am an IT-teacher and want to start working with Gravity Sketch, too. Maybe this could be an interesting approach for my students.
Hi TobiH
- I designed the item in Gravity Sketch
- Saved in the cloud (Landing Pad) as obj
- Imported in Messmixer to check inconsistencies, errors, etc
- Imported in LUBAN (3d Print program for Snapmaker) and Print.
You may iterate between 3 & 4 (at least I did a couple of times) because there might be defects (i.e. something had no or bad support, two lines were not stick together, etc). The competence you may have for Messmixer might reveal these defects and let you repair them before finding them out while printing…
Personally I am new to all these apps and I experiment…
I hope I helped.
Kind regards
1 Like

