You know I haven’t thought about that, I swear if that is the problem I am going to lose my mind or just blame this damned dissertation! I am going to take a quick look at it right now.
Dang it! they are all super secure. So that wasn’t it. I thought about it and I remembered that I have the same issue with all of the printheads. Ugh guess I am going to have to try to find a build plate quickly to test.
I know you can have the Picker grab a Toolhead. Have you tried that and then wiggled the Toolhead? I’m still guessing here but maybe there’s something making it wobble when attached to the Picker…? Not seating fully?
I’ll check that as well. Besides, it will be semi-automated when I do a multi-tool calibration, so during the time it tells me to scrub the extruders, I can check it then.
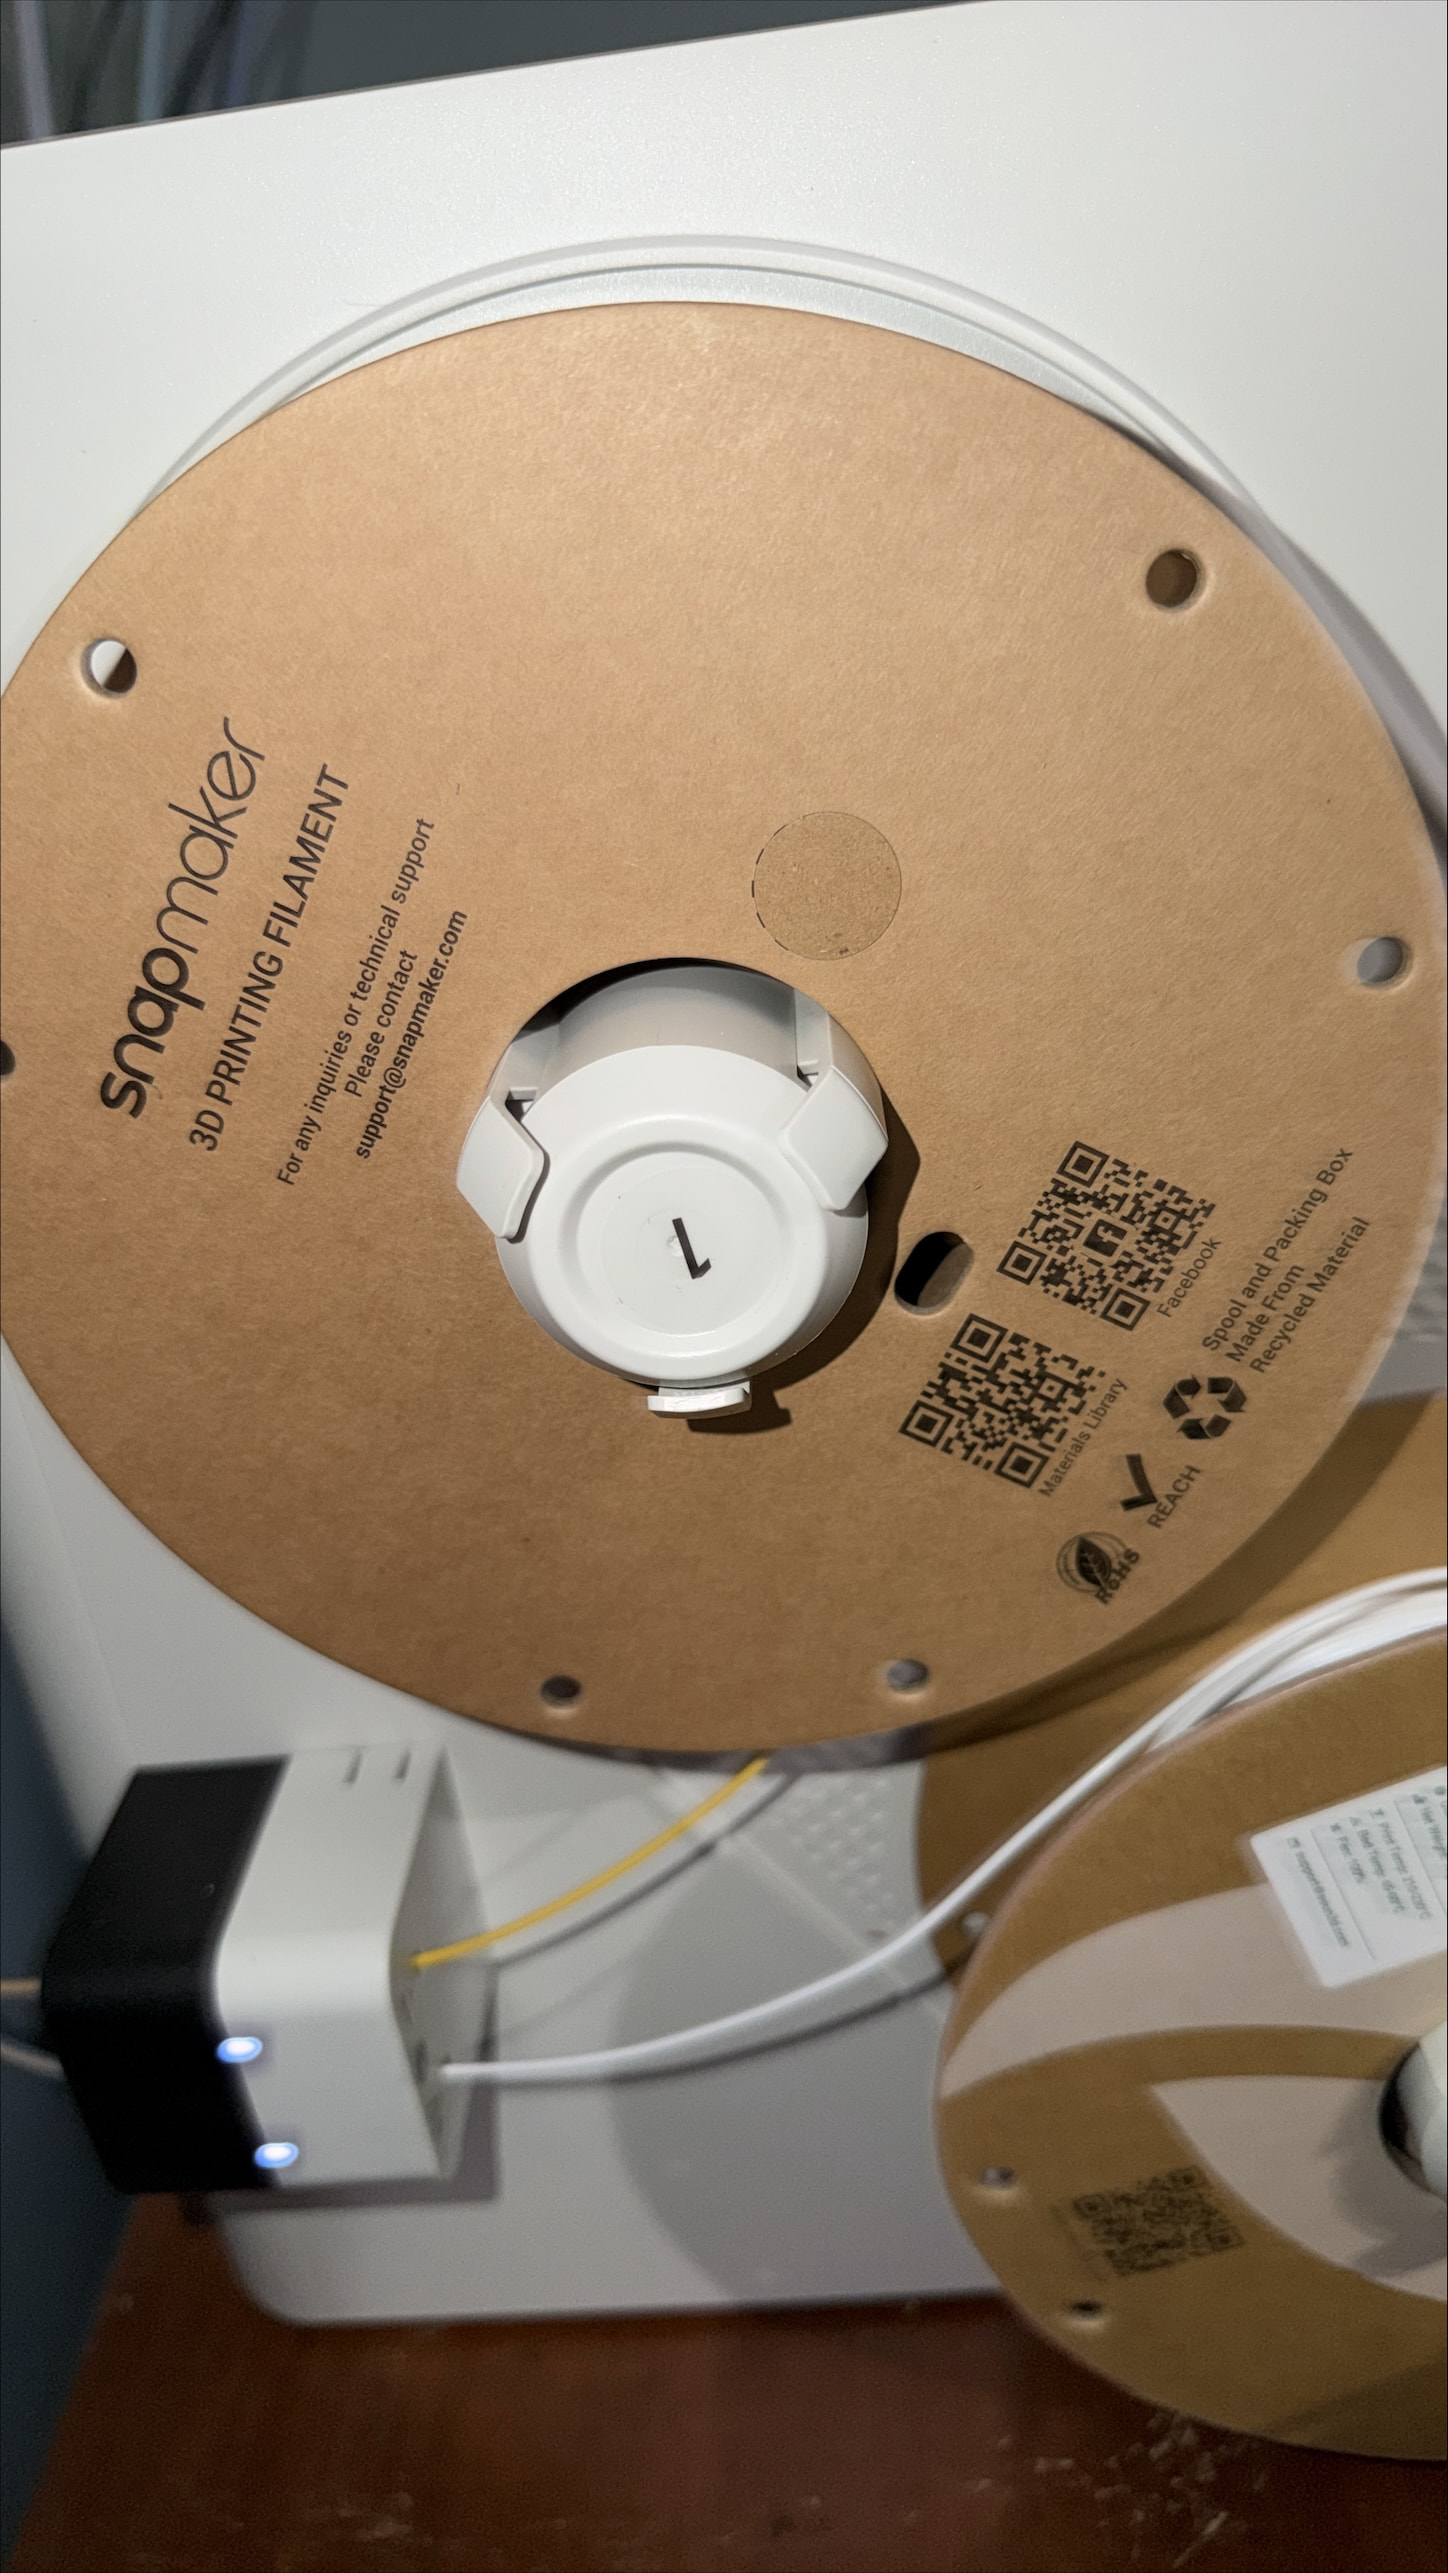
![]() They fit perfectly, the printer is possessed!
They fit perfectly, the printer is possessed!
Have you specifically asked for them to send you a replacement? The “paper trail” is quite long…
Not yet But I think I will in the morning I want to get this one final print done before I just give in.
After you finish printing, can you check your steel plate against the video below as one of the troubleshooting items?
No obvious deformation is normal.
If you encounter something similar, you can record a video and post it here.
Abnormal condition~1.zip (7.9 MB)

normal steel plate.zip (10.4 MB)
ah checking for warps or other odditites OK I will do that after the print is done. It will likely be after I get back from the office this afternoon.
OK!by the way:
Ask if your ambient temperature is very cold. Without a top cover, when printing large-area models, you can wrap it with a packaging bag or cardboard box for insulation (although PLA doesn’t need excessive insulation, if it’s too cold, it can still cause uneven heating). This will rule out the factor of ambient temperature being too low.


If you encounter similar issues, I recommend testing this print file as well.
U1 full plate print test.zip (103.0 KB)
-
Add official filament, select filament type
-
choose 0.2 mm print process.


I’m asking on behalf of our technical support team.
Can you send me your email ? I’ve reminded them to contact you as soon as possible.
I’ve messaged you my email, thanks. Support have been in contact with me everyday for past 10 days though, they just sent some different first layer Gcode today. I’ll test both and get a picture but my first layer has generally been pretty good for all my prints, just the right Z offset after autolevelling and only minor issues towards one corner of build plate which could probably be improved with another manual level.
I haven’t printed your file yet but I printed what support gave me and my first layer is fine, close in the corners and a slight far in the center but very much like what @mikeyman2171’s layer looked like. The stock build plate also is very flat, no noises when I flex it. I’ll print your Gcode as well ![]()

I see mostly a bad top layer.
This comes in my opinion from too less top layers or maybe (you speak about grinding and scratching) bad bridging.
Top layers should hide the obvious and is a likely evil, additionally it adds strength.
Bad bridging causes a not consistent connection to the support walls (infill) and lifts up in variable spaces.
To increase the binding between the infill and the first infill top layers it would help to slow down, as you already mentioned @mikeyman2171.
Maybe a bridging test would help to see the best settings in this case..
Once again, this seems really similar:
You are correct imo, for me there is pillowing that I noticed during printing that gets mostly erased by using thicker layers but doesn’t get fully hidden when using thinner layers even with a few more top layers. I tried to eliminate the pillowing by messing with the cooling profile on the fans, adjusting heatbed temp, reducing filament temp to lowest I can go without ruining layer adhesion but I couldn’t get it to go away. I’m curious to see if it gets solved in the other thread, it’s throwing me off that Snapmaker support can successfully print my design without any of those issues.
At least on my printer it’s not just pillowing creating the pattern though, it’s uneven layers in general. At normal settings I get ghosting that creates a bumpy pattern which is enough to start the grinding when using thinner layers. It’s only removed by printing slower, not by placing printer on floor or anything. Running vibration compensation and/or retensioning belts does nothing. This was with 0.2mm layers, at this layer height it’s mostly pillowing causing the grinding (ignore slight wave, that’s from Z offset and is mostly gone by 3rd layer)

I will have to run more tests with higher infill percentage and slower first infill layer, I really don’t want this to be a thing where have to print slower, denser and thicker layers than my other printers for acceptable quality ![]()
I am still working with Snapmaker support; however, I just got another G-code sample to try, which I am about to do with some of my remaining pack of filament. I hope it finally works, but here is the issue: this printer has settings that SHOULD work, especially with their own filament out of the box PERIOD. It doesn’t in my case. I don’t mind tweaking things, especially with the 3rd party filament (I’d expect that), but this is beyond tweaking. It can’t even print at the advertised speeds at this point. SO, what is beyond the tool changing? For me, I don’t know, the issues make it not really worth it. Again, and I cannot restate this enough, the concept of this printer is AWESOME. I am just having a bad go at it. Since I am having a bad experience, I hope everyone else can learn a thing or two from it; I know I am. OH, and shout out to Snapmaker support, they are trying to get this thing working to spec without having to hire a priest from the Vatican to remove the demons. BTW, because it was asked, my ambient temp at my house is 74 degrees F (a bit more than 23C).
I’ve used the following, with zero configuration filament runs:
- Included Snapmaker
- Amolen glow in the dark; some old and put in the AMS 2 Pro/Polydryer, some old but previously unopened from vacuum seal
- Various Polymaker also put a dryer
- Protopasta Copper and Iron Filled PLA
- West3D ASA
I’ve run ASA + PLA in the same print with better than expected results! It’s insane the amount of time put into this…
Multicolor is ASA, white is Polymaker, plus Copper and Iron

HOLY COW FOLKS we may have finally exorcised the demons!!! This was the latest G-code snap maker sent. I am unsure what changed just yet I have to really look at it, its smooth BUT printed pretty slow. I used pretty much what was left of my Pack-in Filament. Once snapmaker reaches back out to explain what they think was going on with their filament MAYBE I an figure out the issue with the eSun filament which I also managed to get a pretty smooth print out of while I was at work (again a SLOOOW) print. IF printing slow is what I have to do for smooth prints on this thing I still think it defeats the purpose of this printer. OH and no grinding at all! (thats a win)


Great to hear progress has been made… 100% correct that not fully utilizing all the benefits touted for this machine is still unacceptable!
Hopefully they can see the errors of the machine, send you a new one, and reimburse with some spools of filament.