A little preface, I am definitely a novice when it comes to printing, and I have had my A350 for about 2 years now and maybe only used 2 rolls of filament since I bought it. I am trying to branch out and find some things to do with it so its not just sitting there like an expensive nugget. lol I just recently bought a RC vehicle build kit requires a 3d printer and down the rabbit hole I have gone. Lo and Behold, I have discovered that my printer doesn’t print quite as nicely as I thought it did, and much to my chagrin my neighbor with his $200 printer is chugging out RC plane models like that are going out of style.
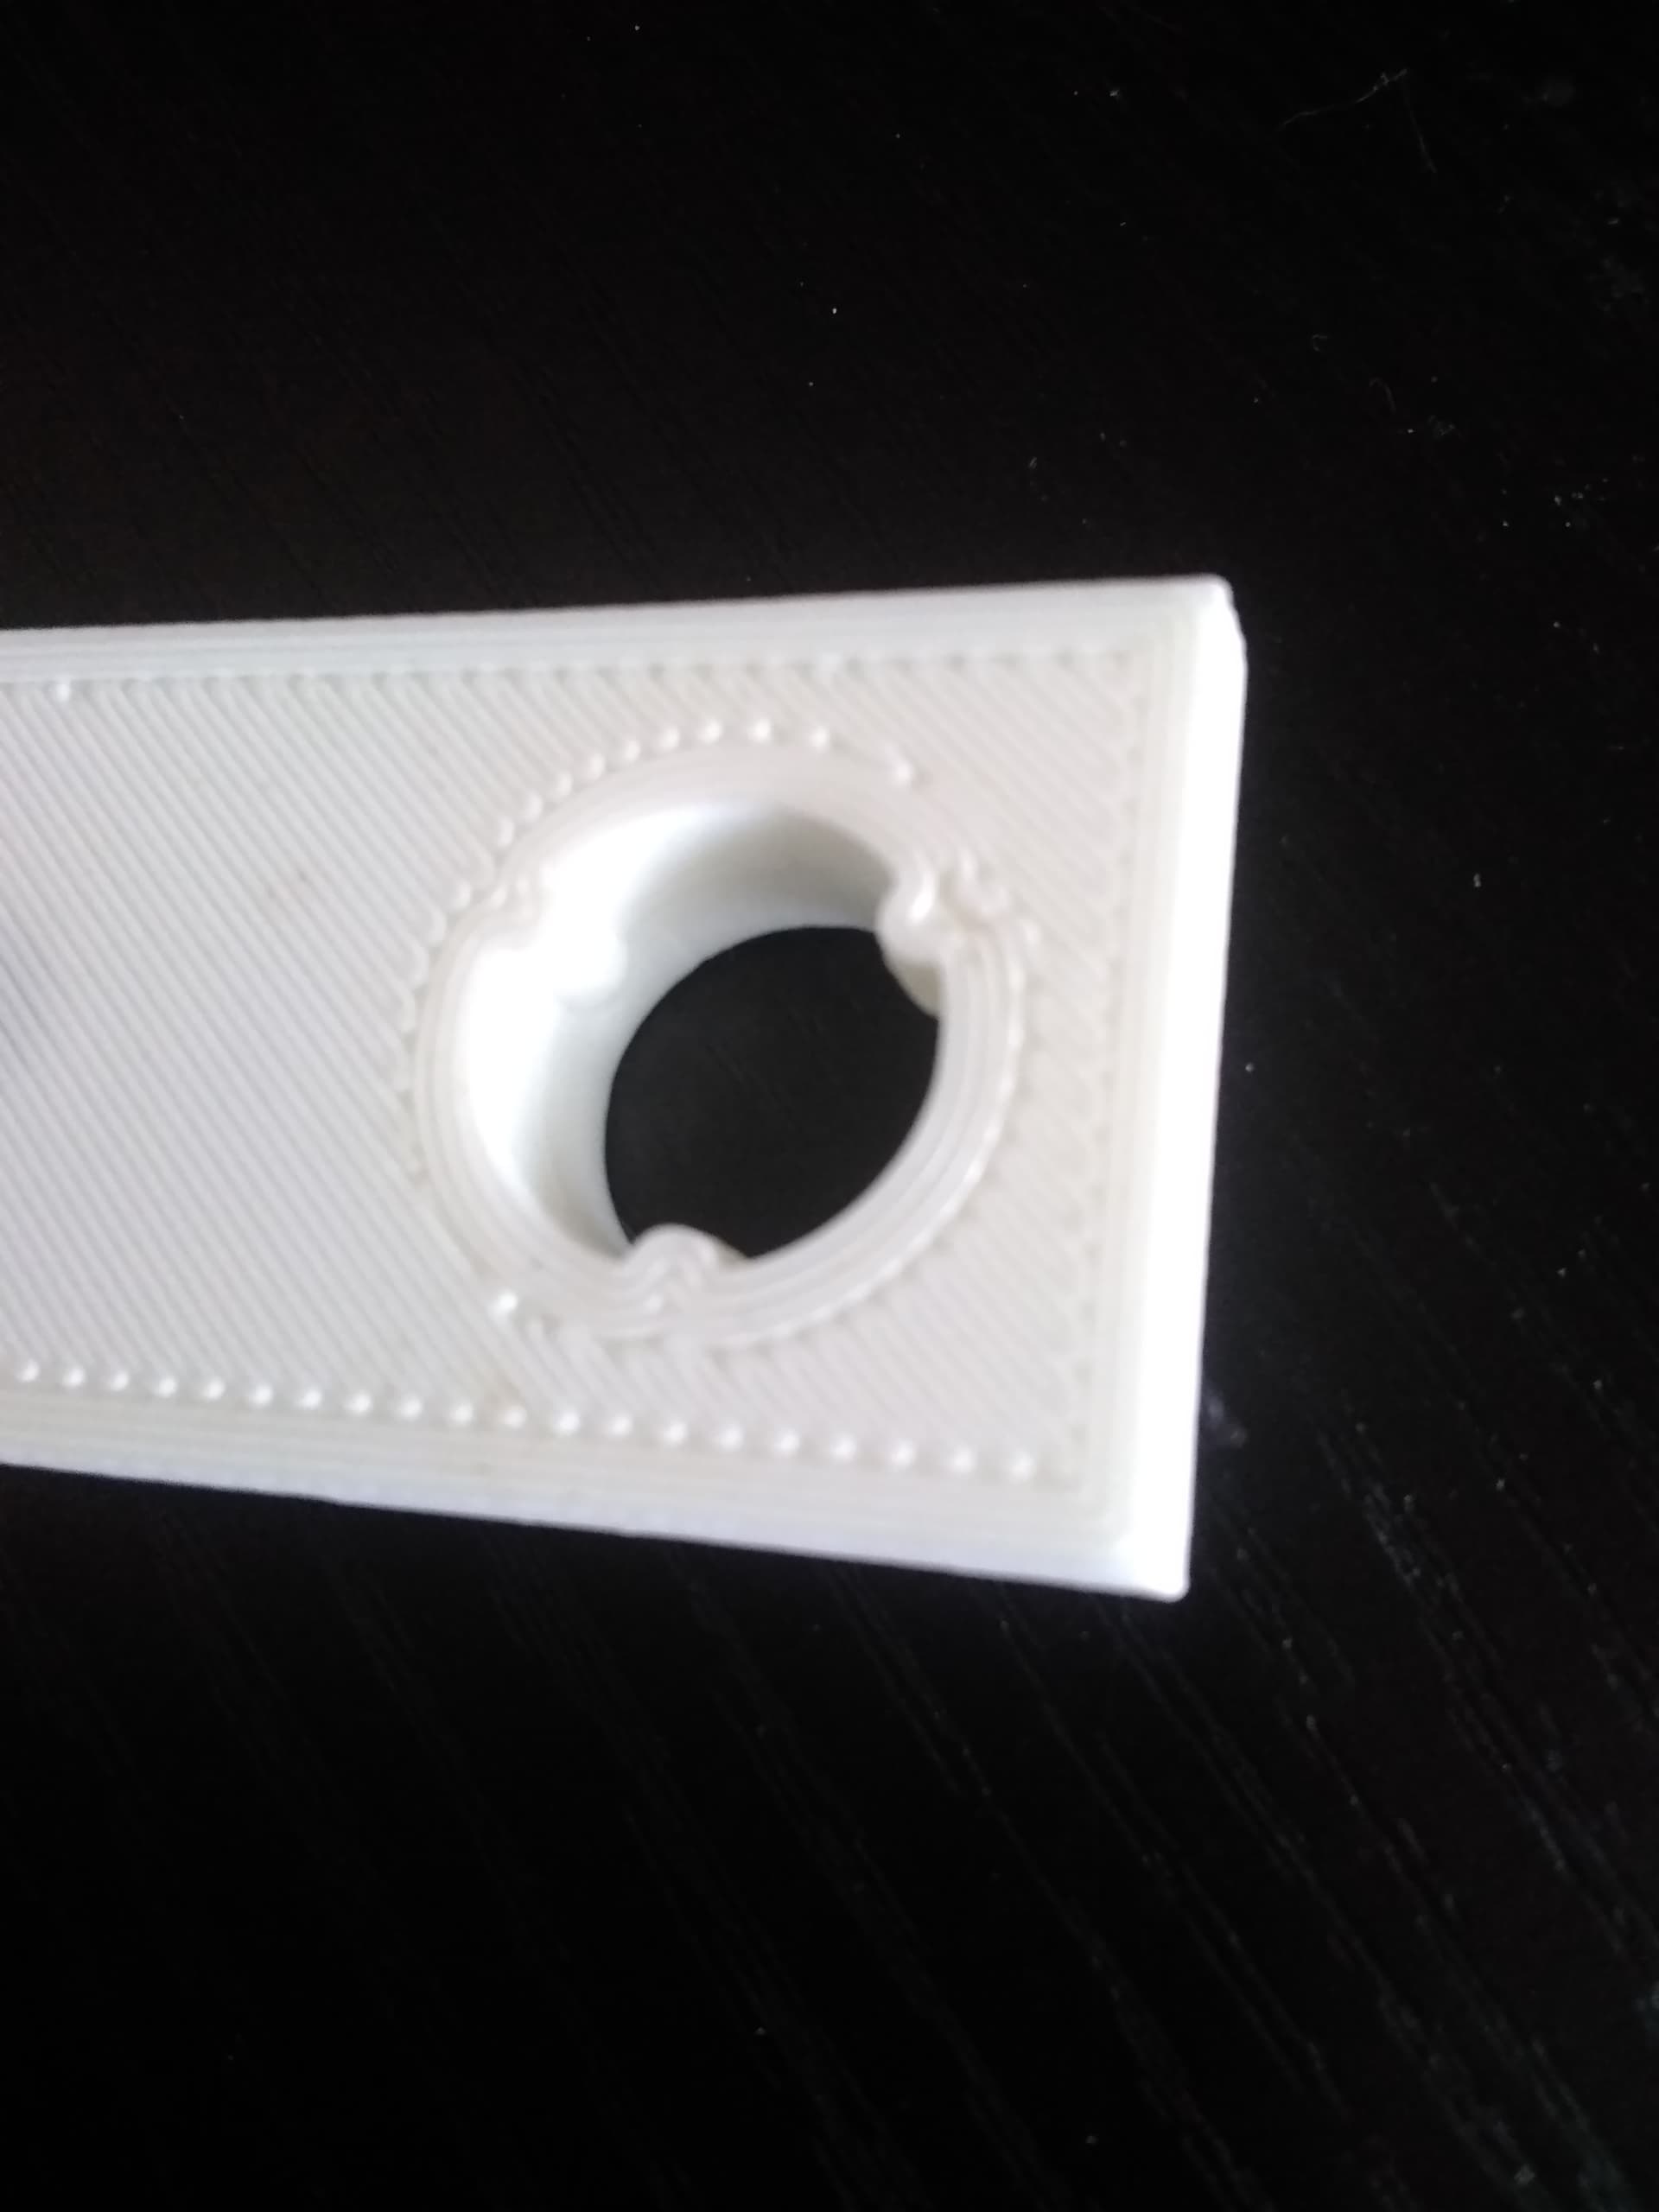
I have attached some pictures of a calibration test print for the Model. The purpose of which is to determine if my printer is accurate enough, and the precision seems great EXCEPT my top and bottom layers are wonky. I should clarify that actually my bottom layer is wonky and my top is actually fine normally.
I am engineering student so I have access to a number of skilled people one of which is a chemistry professor that works with plastics and subsequently 3d printers, and he has been trying to help me get the issue solved through different slicers and settings. (The issue is not solved, so here I am)
What I’ve tried so far:
Slicing with Cura, Luban and Orca.
Upping my extrusion rate 5%
Lowering my print speed
Ironing on and off
Ironing all layers
Calibrating 50 million times, (manually and automatically with the new dual head)
Tried different filaments I’m currently using Overture White and Black 1.75mm
Raised temperature’s slightly
Lowered Fan speed
What I have arrived at:
I have a physical problem with the printer, maybe an encoder issue?
What it looks like is happening with the print is that regardless of settings the print starts out with very low definition and ends with very precise definition. I have good adhesion, and the flow rate seems uniform. When I increased my flow by 5% I ended up with exactly the same bottom layer as always but an over extruded top layer. (which you can see in the picture) You can actually see in one of the pictures below where the print transitions from poor quality to good quality, its about halfway through the print. This is what leads me to believe its a mathematical error somewhere. Perhaps with an encoder?
Your first layer is a little bit too far away, but it’s OK. You could adjust the live z-offset while printing from the touchscreen on the touchscreen by swiping left to the offset setting.
Your top layer is a bit over extruded, you could calibrate your e-steps but over all it’s also OK.
Are you sure your neighbor does no post processing like grinding?
If you need further advise share more information like print speed, temp, material, model,…, and make better photos about the bad details.
I do know that they are not doing anything to clean up the airframes that they print. They are using lightweight PLA so I imagine the foaming effect probably lends a bit to having a smooth surface. I emailed over that same model and asked if they didn’t mind printing it for me so I could see how their printer did with it.
I have been using either the calibration card or a piece of standard white paper; lowering the nozzle until i can pull the paper out from under it but not push it back under it without it crinkling up.
How should I be calibrating z-offset? I have tried it manually and let the automatic sensor handle it with little to no difference.
Adjust your live z offset while printing on the touchscreen for a better first layer.
I do this while printing a skirt to be sure the whole model sticks well.
Your lines of the first layer seem not connecting, you could adjust your infill overlap settings in cura and maybe calibrate your linear advance (the stock settings of the k-factor are not bad so maybe not necessary).
I suggest to print with a first layer of 0.2mm and not going beyond 0.12mm layer height.
I had the exact same issue. I calibrated the Z live and ended up with -.4mm to get rid of the gaps. This was after auto calibration. I think that’s too low since I can see where the nozzle is digging into the first layer as it extrudes. But any higher and I end up with those gaps you have where the skin meets the infill. This has been a frustrating experience getting the DX working correctly. With the SX I just calibrated e-steps and everything was great. The dx I’ve been fighting since I got it to get a good print. Still working on that…
I donated my single to the university because they have a snapmaker. I didn’t think about the issue possibly being with the extruder itself. I kept thinking about the gantry being the problem. I’m sorry to hear it’s a design problem, but I’m also kind of glad to hear it’s not just me.
If I’m printing in .08 and the lines are too large/poor definition, wouldn’t printing in a larger layer just make it worse? It looks like there is no overlap at all on the bottom layer at all. I’m almost at the point of giving up and just filling, sanding, and painting. I would like to avoid that obviously and I feel like that shouldn’t be necessary.
It’s not. Print a test and as it is printing swipe left. That will get you to the area where you can manually adjust the Z height while printing. Adjust the height down, .05mm at a time, until the bottom looks good. Seems like -.3 to -.4mm is right for most people on the forum. Why doesn’t auto Z height leveling work? Great question. Still waiting on an answer for that from SM…
I went down to -.35 and it worked! I’m going to try again at -.3 as the top layer looks a bit rough. Now I just need to figure out how to avoid having to adjust live. Tyvm!