Why I made this mod
The default autoleveling probe on the Snapmaker 2.0’s is not very good; it’s an inductive sensor that measures the steel sheet inside the bed, not the surface of the bed. This means that it can miss imperfections on the surface of the bed, and you can not use non-steel beds like glass. For this reason, many people have made mods that allow you to attach a sensor that physically touches the surface of the bed, but all the mods I’ve seen require you to manually deploy and stow the probe.
My printer is in another room, so I don’t want to manually deploy the probe, so I made a sensor that uses a limit switch to detect the bed, which automatically deploys for leveling and retracts before a print.
Because the Snapmaker does not have any ports to add an electronically deployed probe, I designed a mechanism inspired by this model: https://www.thingiverse.com/thing:117957
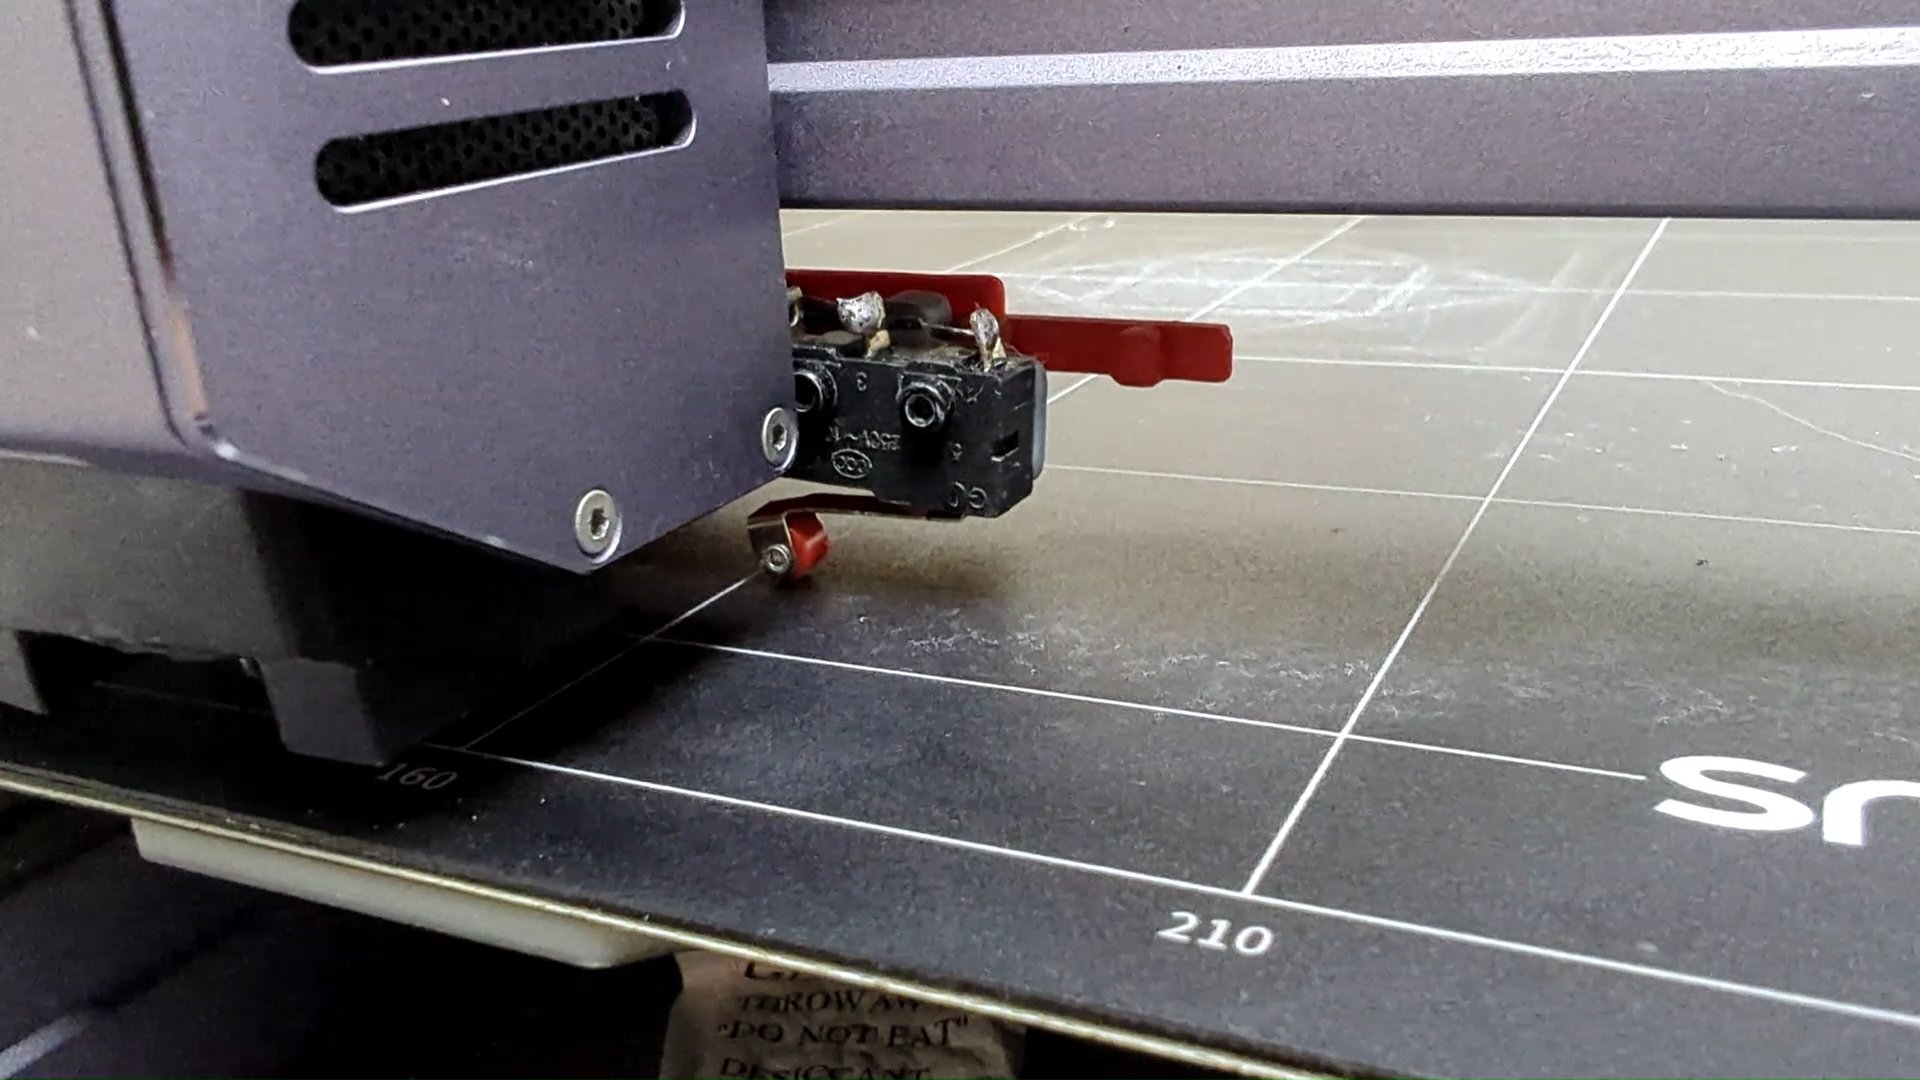
The working principle
When the printer homes, the probe hits a paddle that deploys the limit switch for leveling. When the printer moves to the other end of the X-axis, the probe hits a paddle that retracts the limit switch.
Here is a render I made to show how it works: https://youtu.be/C9LN63WmWas
And a video of it in action on my printer: https://youtu.be/SuLJZ8ECiow
Assembly Instructions
-
Print all the files from Thingiverse
-
Insert the pusher into themain body and screw on the and screw on the switch mount with one M2x16 nut and bolt
-
Attach the limit switch with two M2x12 bolts and nuts
-
Remove the old inductive probe
-
Connect two wires, one to the switch C pin and another to the switch NO pin
-
Feed the wires over the probe and through the hole where the inductive probe was
-
Connect the other ends of the two wires to the probe port in the toolhead
-
When you screw on the printhead, put the bottom two screws through the main probe body first.
-
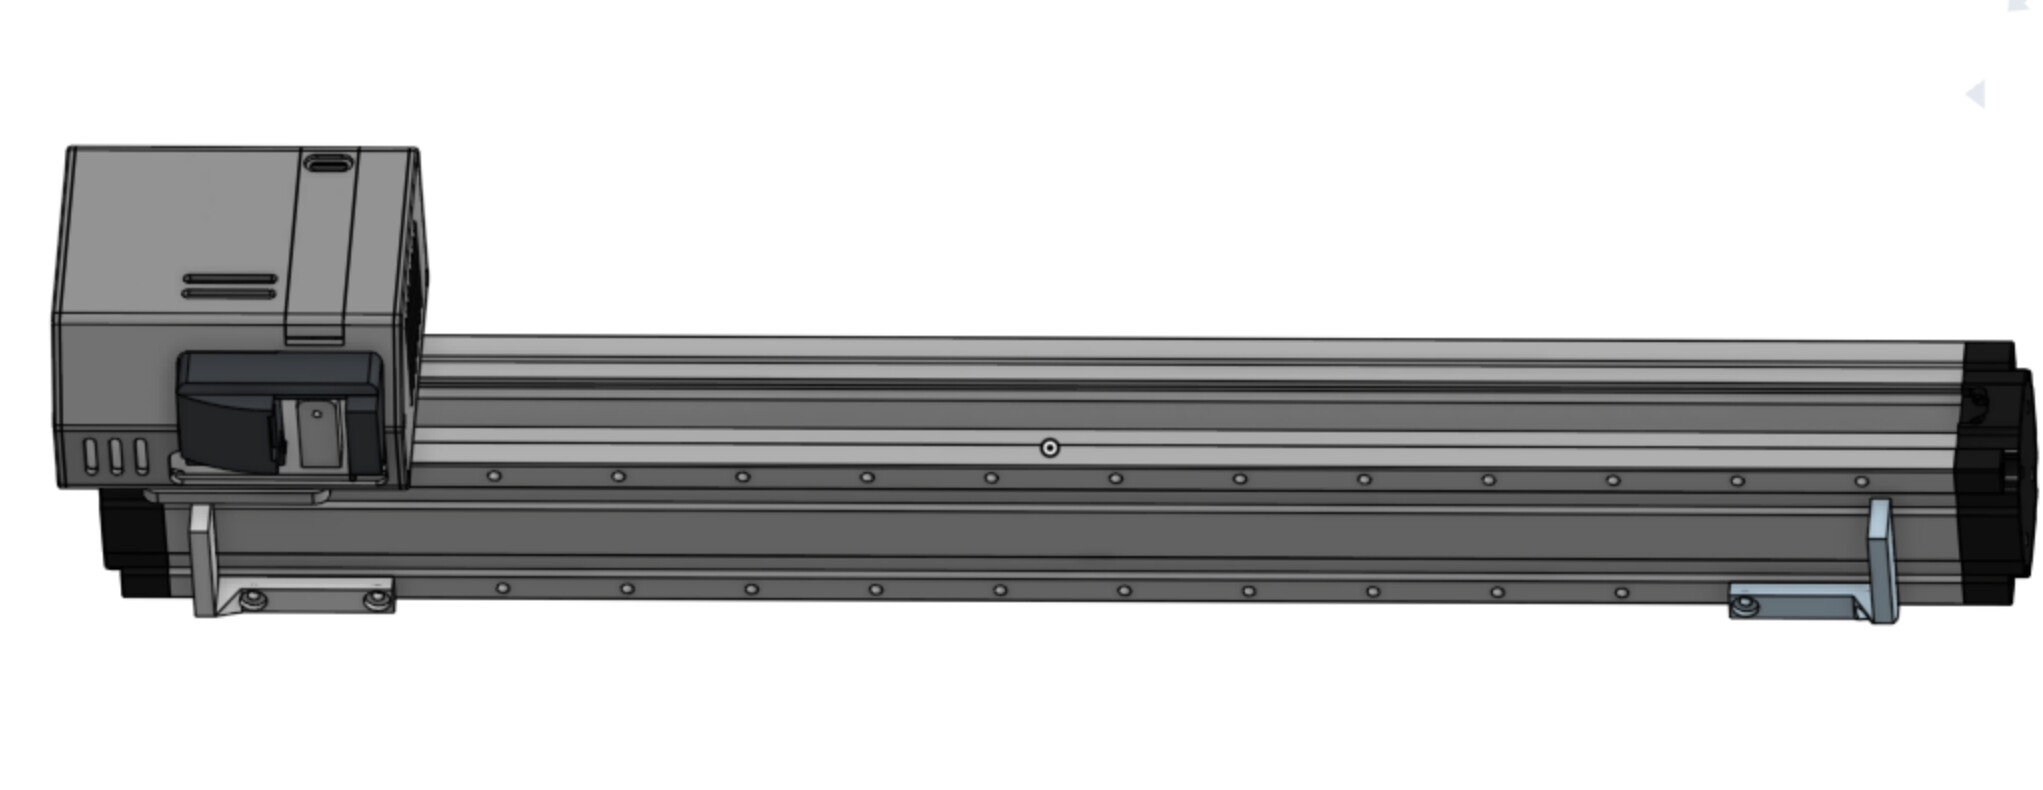
Attach the paddles to the underside of the X-axis


https://www.thingiverse.com/thing:7285292
Important notes for using the probe
The probe automatically deploys when the printer homes. This means it will deploy at the beginning of every print, so you must add the following line to the start G-code in your slicer after all homing operations(G28). Add the line G0 X339 F6000 This will retract the probe so it doesn’t crash into the bed
Accuracy
I tested the accuracy by running leveling repeatedly, I recorded 80 values for each and took the average deviation. For the inductive probe, I got a value of 0.024mm, and for the limit switch, I got a value of 0.026mm. These values are essentially the same, so it’s safe to say the limit switch is just as repeatable as the inductive probe.