issues with printing - no it prints just fine, visible markings on the first layer, absolutely.
try moving where you print the round thing, and raise your z offset by +0.05 or even +0.1
(i just had to solve an issue by raising my offset to +2.0 - i couldn’t figure out why, then realized i had removed a blob from the nozzle (glad i spotted it or it would have destroyed the head) i think when i pulled the blob off it pulled the nozzle down by maybe 0.15 - just showing an example of how z heights can get thrown off by non-obvious things)
getting late here, I’ll try the tricks and tips in the morning. Is there a Z height compensation adjustment in Cura? I can’t seem to locate one.
yeah its 11pm here and i am in middle of job, wont get to this until tomorrow.
i don’t know cura, however if you uploaded the gcode to the browser on the A350 you can adjust the z offset from the touchscreen
(i actually do that on the touchscreen when i want to off set using octoprint cause i don’t trust the A350 and gcode…but that’s just me)
I think using the touchscreen to change the z offset is more typically what people do. But it looks like there’s a Cura plugin for that: https://all3dp.com/2/cura-z-offset-simply-explained/
Also it’s pretty easy to just insert the gcode in the file manually to introduce a workspace offset using G92.
If the start of the file has a line like:
G1 Z0 F3000
Change it like so:
G1 Z.1 F3000 ; Instead of 0 go to .1
G92 Z0       ; And tell that machine that's .1 is the new 0
I personally was surprised how much the slicer can matter. So perhaps try if Prusa slicer helps here also. Prusa is not better in every regard, but it’s worth a try. That said, I personally suffer - as many who received the Kickstarter version - from a somewhat bumpy print bed. This in my case results in places where the filament is squashed down on the build plate too much, while in other locations it barely sticks. That causes an inconsistent bottom layer quality/look. For me it yet was not that relevant, I get along, but if you also suffer from this, there are many threads here in the forum with suggestions to mitigate the problem. Snapmaker updated the base platform at some point - I’ve no idea if that solves it. I personally plan to at some point use paper washers to compensate for the build platform imperfections.
Just to highlight, there isn’t any food safe FDM materials. You have to seal them with something.
Good luck,
Thanks. Food safe here refers to the plastic composition, not all the fine nicks and crevices that could collect bacteria and food particles.
I’ll need the good luck. 
I’ll give Prusa a try, but right now my build plate is out of action due to the fusion of the filament with the bed.
From my personal experience, and from what I have seen on the forum, there is about a 90-day period in between getting the A350 and producing acceptable prints on it, and most of that time is spent lowering expectations. The print that @brent113 shows above I would have considered to peer poor quality when I first got the machine; now I look at it and think, that’s a pretty good print!
So in addition to the foregoing discussion about possible fixes, I’d say read up a bit on finishing (I think 3D people like the word “post-processing”) if your are getting prints which complete, and hit spec for measurements, but whose surface finish is not what you wanted.
So like, I have stuff on my bed all the time… just print over it. When you print, throw down a skirt… and adjust your z offset around it. You’ll see where the nozzle is too low and find a happy medium. Since I figured that out, I don’t have bad prints.
My bed is scratched all up; I’ve been doing full prints and don’t have any issues with those minor inperfections. (PLA/TPU mostly)
Interesting. I’m in kind of a dumb zone this morning, could you elaborate on “When you print, throw down a skirt… and adjust your z offset around it. You’ll see where the nozzle is too low and find a happy medium”?
In Cura/Luban, under bed adhesion, select the skirt option. You’ll get the ability to put down multiple skirts. For your first one do 3-5 depending on the size of your object. When you start the print, swipe left on the touch screen and select z offset at the bottom. As it’s printing the skirt (just a line around your object), look at it and see if you like the line. If there is no line or it looks thin, move the nozzle up, if the line starts flaking off, move it down.
The z offset is carried over from print to print, so you shouldn’t have to change it after you do this. I usually print 1 skirt line just to get the nozzle working before I print anything.
Make sense?
Have you considered going to a filament that can be chemically smoothed? HIPS, maybe? I believe it’s technically food-safe (although preventing warping may be an issue).
PLA can be chemically smoothed with a couple chemicals. Ethyl acetate or methylene chloride.
Methylene chloride is used to make decaffeinated coffee, so that’s food safe right? lol.
I aways use the California metric. If it can be shipped anywhere except California, it’s probably safe. Might even be edible!
2 Likes
Technically any plastic can be chemically smoothed with something-or-other. The question is whether you want to use a relatively safe chemical you can buy at a local store, or something you need to order from a lab or industrial supplier and that requires substantial handling precautions. Dichloromethane, AKA methylene chloride, is pretty toxic. Ethyl acetate . . . not as bad, but you don’t want to breathe more than a certain amount of the vapour. HIPS is acetone-polishable.
But yes, I’m sure they’re all known to cause cancer in the state of California. 
2 Likes
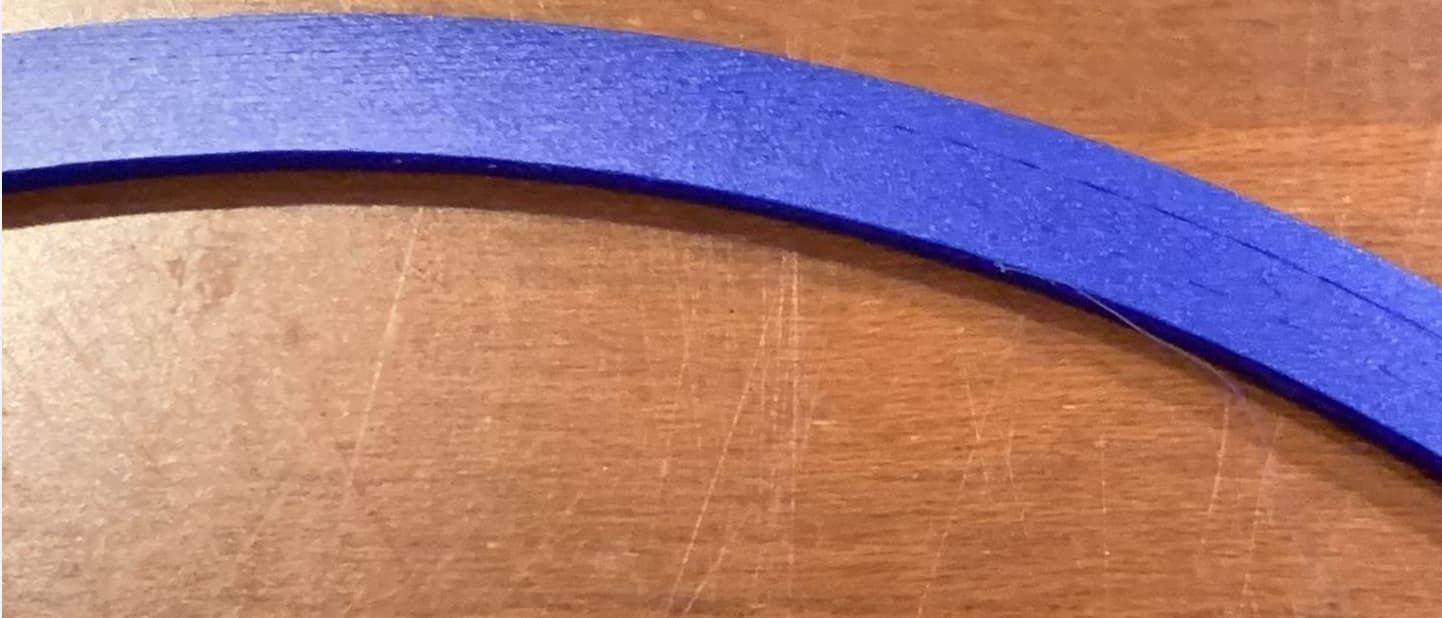
before you begin looking at these note i am not happy with this blue hatchbox filament and i don’t think its fully dialed in on my machine (you see some evidence of warping - it seems super sensitive to that), i also haven’t done Y backlash since getting new rails. As such i think i could dial it more, but for my purposes this is mostly as good as i need, it also feels much smoother to the touch then it looks. I am also not happy with flow rate as a flow calibration cube implies i need to be at 1.38 multiplier, but that is nonsense as it makes full object nasty. This was printed at 1.12 flow multiplier (i am still messing with flow). Also had unexpected stringing so my nozzle temps may be a tad too high at 200 for first layer.

pretty sure the divots above caused by nozzle dragging over first layer (see my other weird bed leveling inconsistencies)

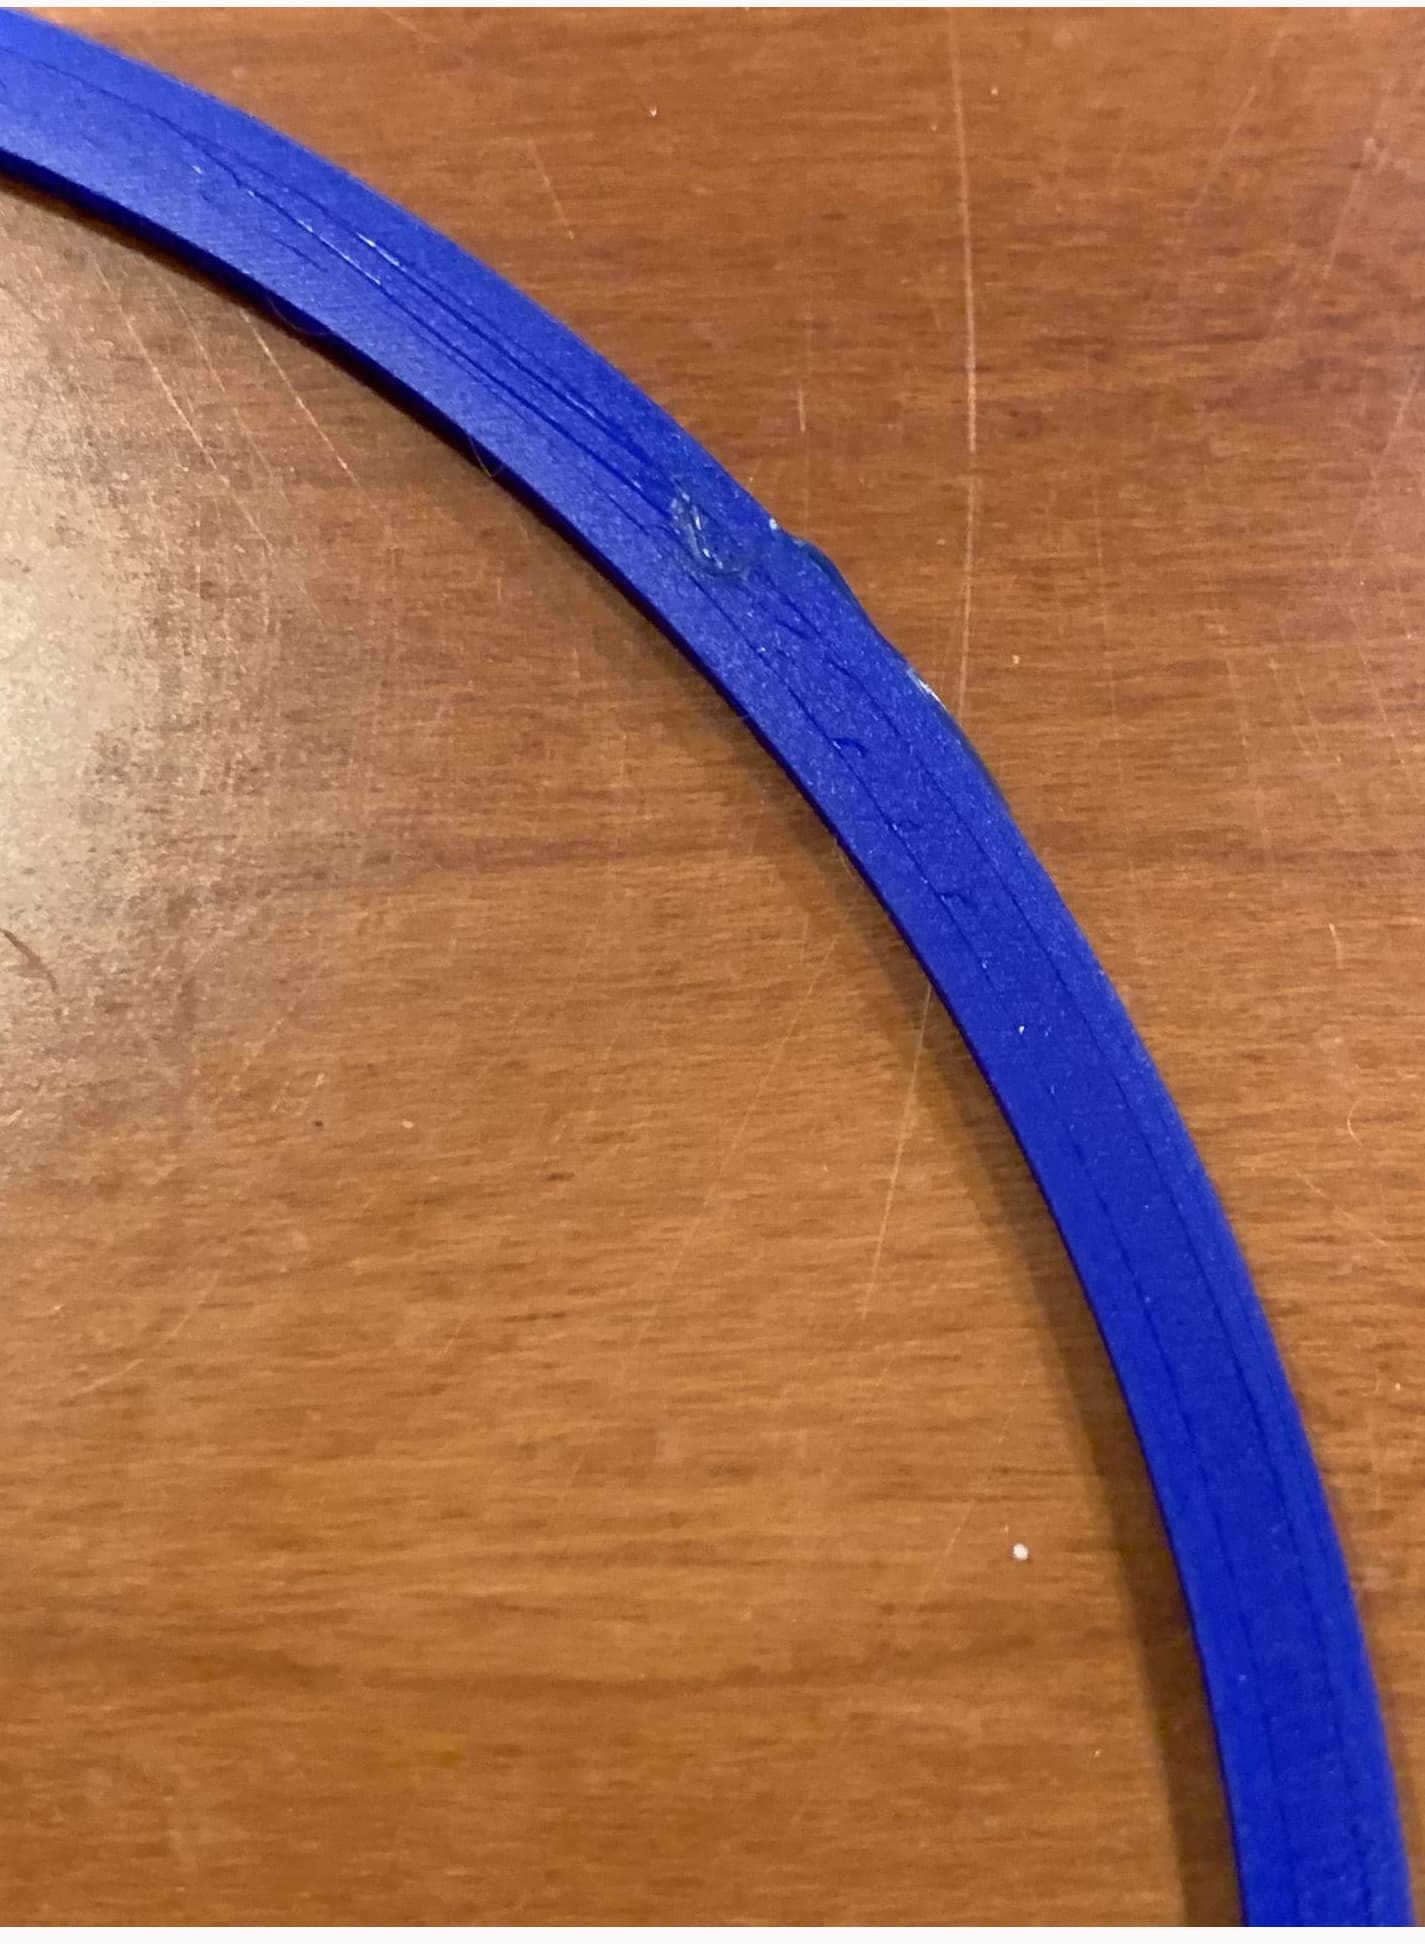
not sure whats going on here, looks worse in picture than real life, based on experience i think this is just normal artefacts of using FDM printer. --edit-- oh this is where some stringing created a micro-blob i removed mid print with my finger nail…

i consider this result pretty near perfect with some room to maybe dial in some more quality.
Interesting results. Glad to see it’s not just me with the issue. I agree with the print head gouging (saw it while printing), but is there anyway to stop this?
Makes sense. I wonder if this would fix the head gouging into the first layer?