Did you not receive the fixtures with the Snapmaker as per Page 13 in the booklet, or are you talking about something else?

Doug
Did you not receive the fixtures with the Snapmaker as per Page 13 in the booklet, or are you talking about something else?
Doug
sure, oak and maple should work just fine…
just go shallow and slow at first…
(if it sounds “wrong”, it probably is…)
william…
Oops! Going through everything again, I did find those. Thanks!
@zeveck hahahaha, I understand, you are too excited and just want to get started… breathe, breathe, breathe, read the manual and take your time
Keep having fun
Doug
Currently muddling my way through it right now. So far I know that you need to update the extension. Once I have this figured out I hope to make a complete noobs guide for how to use it.
I have used Inkscape to create SVGs from other image files then over to Fusion then to Snapmakers software. I’m hoping to find suitable alternative software that might require fewer programs in the chain? It’s definitely out there but I won’t recommend any here until I have some success.
Within Inkscape I know that we can export Gcode directly, via the extension. Currently attempting to set the tool profiles, and then simulating it with CAMotics, also free. Also looking for the default feed rates.
Good afternoon All, Following up on my Inkscape.org (open source software) post.
I used Inkscape and it worked VERY well to produce a SVG file.
Then I found makercam.com (Web Based software) to produce my G-Code, and that worked well also.
Just needing to tweek settings and get speeds and bits more accurate.
Overall it is SIGNIFICANTLY easier than using Fusion 3D for all of the noobs out there, me included.
If someone, with more experience than I have, could do some research on setting while working with these two programs, I think this is a better solution for 90% of the people out there.
The tutorial page shows using 2d contour - do we know what others will work (3d contour, 2d pocket, 3d pocket etc) - and can you easily run more than one setup on a workpiece (change from a mill to an engrave bit for example) ?
Yes, you can multiple setups in Fusion 360. I’ve been able to use almost all of the 2D and 3D milling strategies with various degrees of success.
OK. That’s pretty cool. Been watching some youtube on fusion and cam (cam is a bit new for me).
I found a very similar example to what I want to do. He used
2d contour for outside edge
3d adaptive clearing for a rough cut
2d engrave for some text
How does snapmaker take the different proceses in gcode. Do you do a setup per tool? Or just change tool per path process?
In other words - how does snapmaker know to let you stop and change the tool - what is the correct setup in fusion for that?
Managed to get some time to test today (been a bit busy with some other stuff - laser engraving etc).
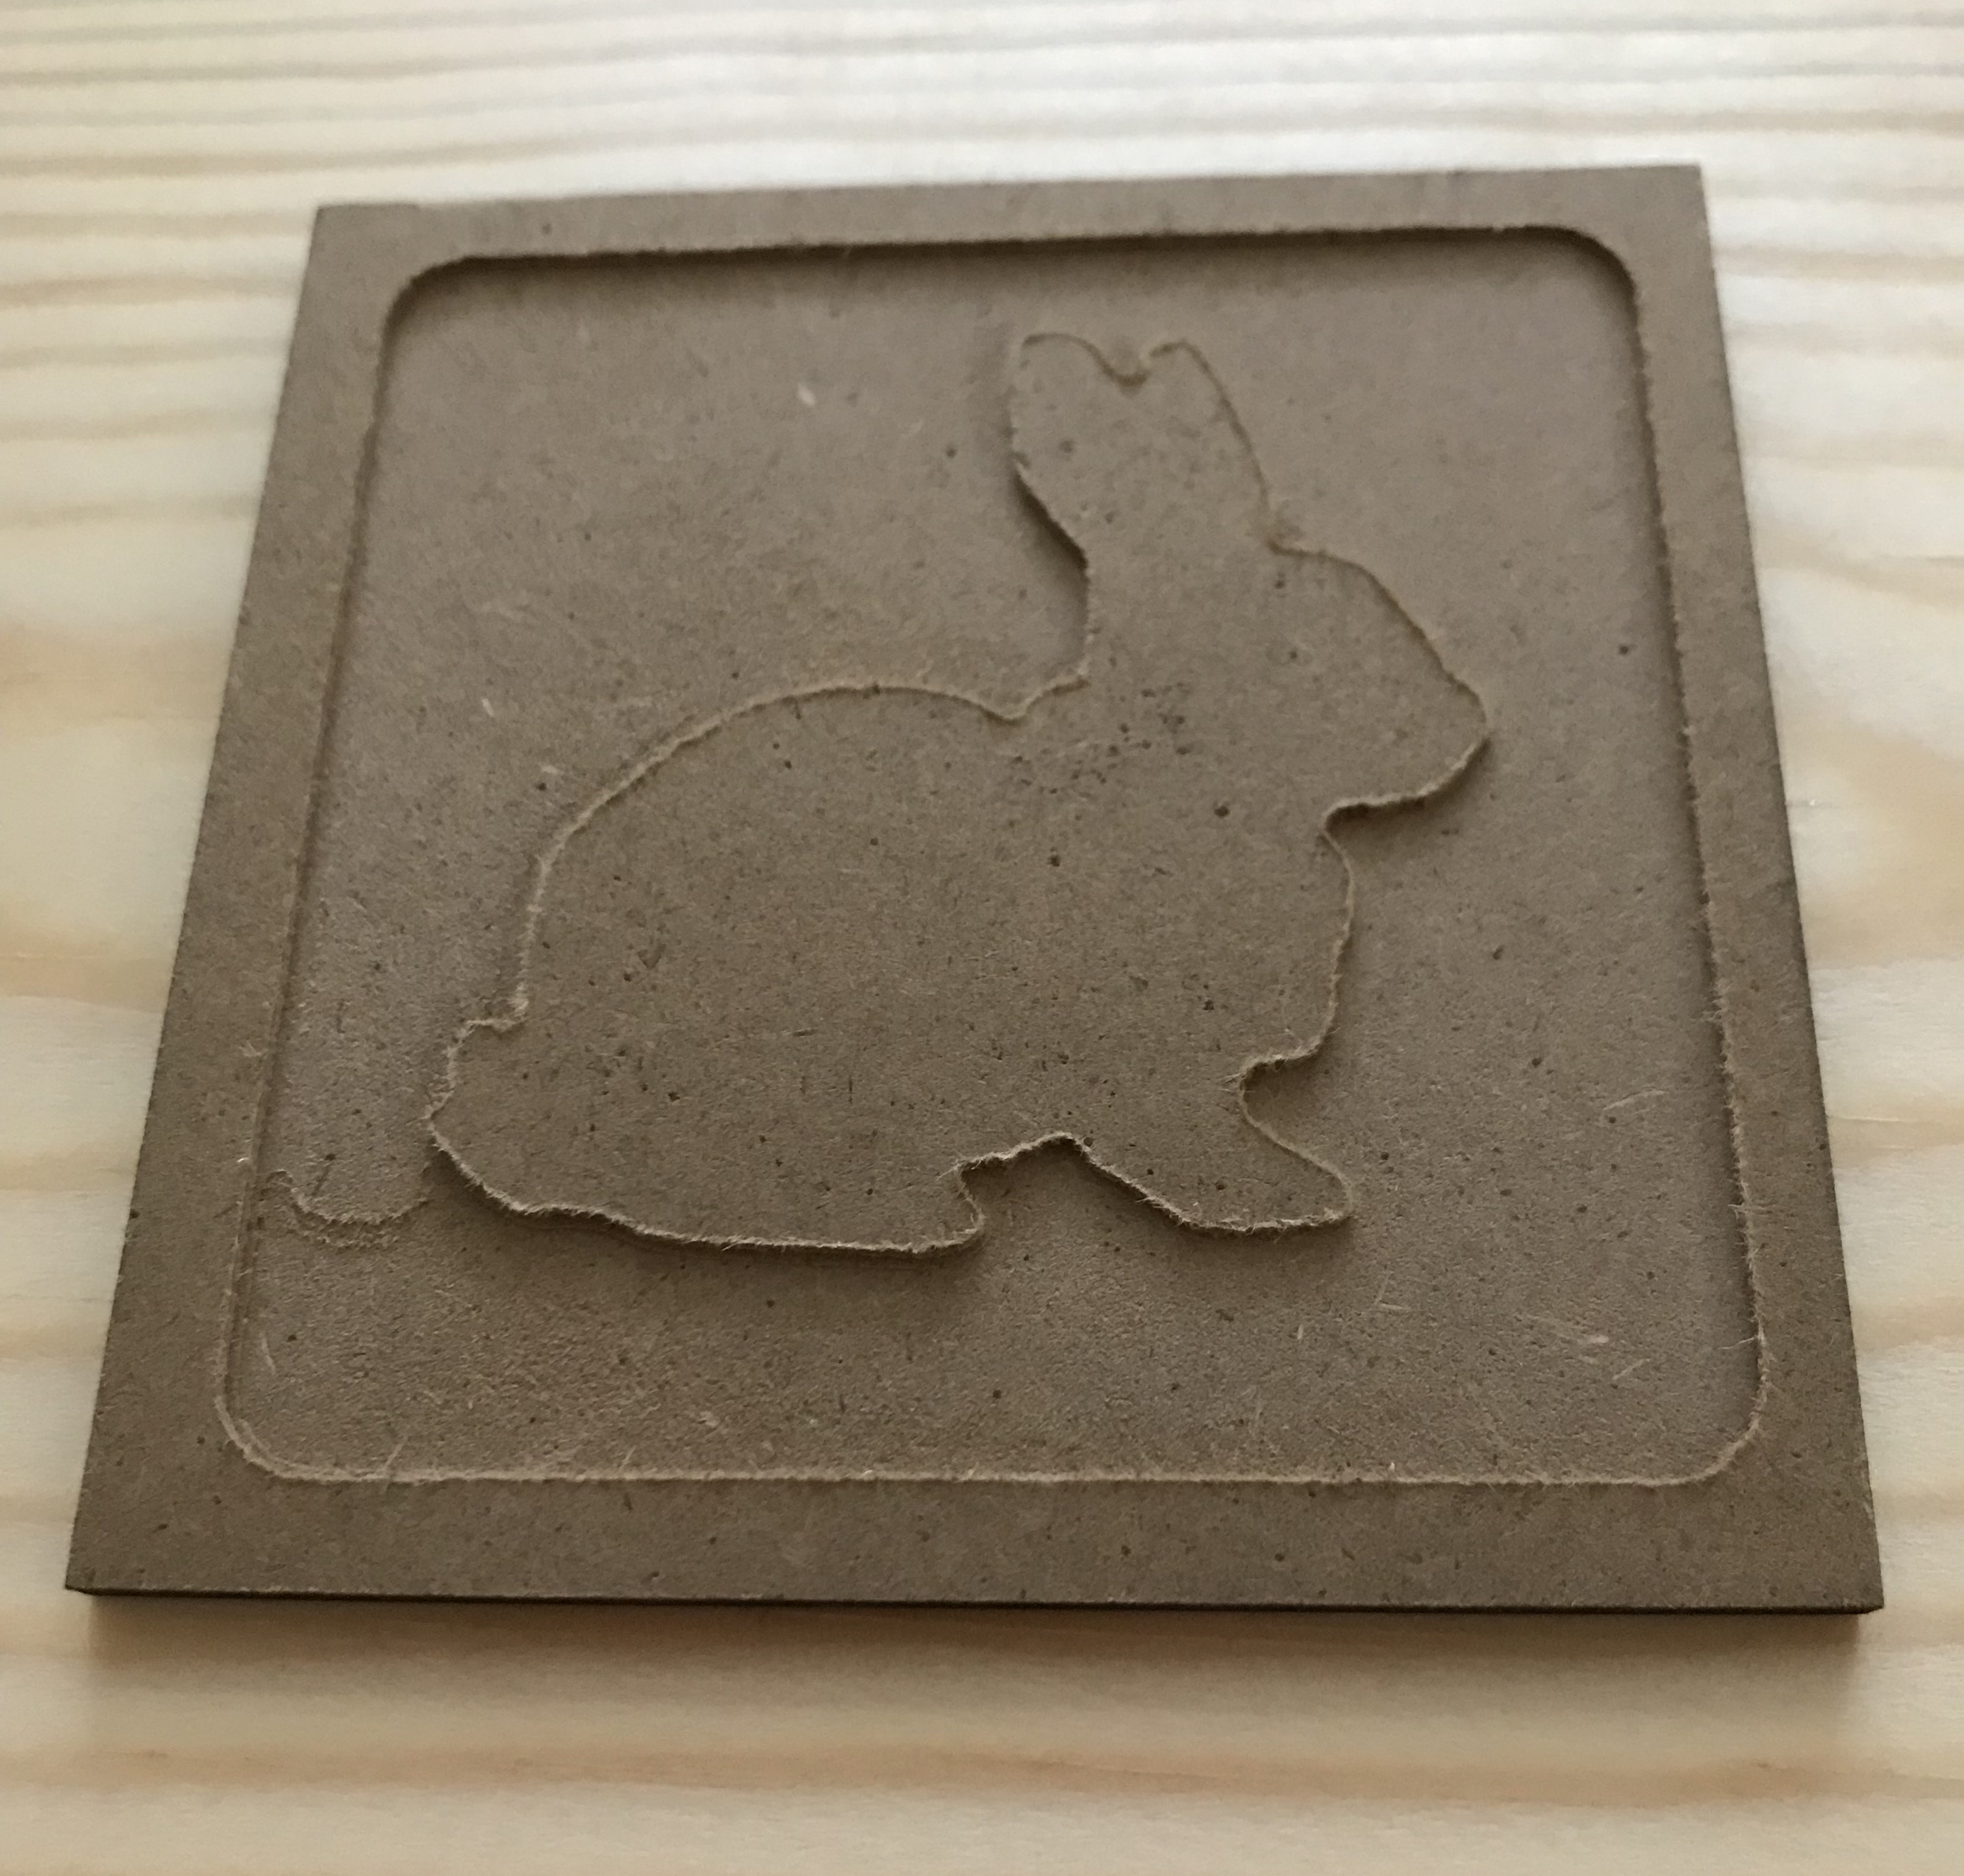
Ran a simple test of an SVG outline - just recess around it.
Used a 2d adaptive clearing then a 2d contour - came out OK 
This was using just one tool.
Still wondering what the snapmaker will do if I switch tools from one process to the next within a setup (would like to know before I try). Does it move up and wait for you to change it? How does it know that it has changed?
Or do you need to have them as separate jobs?
Oh and some other things I wonder about:
The size limits
The 90x90 - I understand this is to allow fastening the stock to the plate. Is it actually enforced by the software or is it just documentation?
The depth of 50 - is this the max you can mount or the max cut depth?
The reason I am asking if this is just documentation or is actually enforced in snapnakerjs is - I wonder if I had an MDF stock 125x125x70 - I could then use 15mm screws to screw thru the plate from the underside - it would be secure but not need clips above so could be wider. And being thicker than the 50mm cut depth the screws would be out of reach of the milling head in the lower 20mm of stock.
Engraving of images
Is there any tutorial online showing gcode generation from an image (in fusion360 or separate) ? I am thinking of the engraving video from snapmaker that showed a full image - rather than a CAD modelled object - things like https://www.youtube.com/watch?v=WcijPEDiQ0I
@chrisdsearle
Chris I have been using Vetric LTD Aspire to convert JPEG images into G-Code that I can then import into Snapmakerjs.
I have limited my working area to 80 X 80 to make sure that I will not accidently hit one of the hold down clamps with the tool during the milling operation. I have been tempted to use double faced turner’s tape to fasten a 125 X 125 work piece to the table but have not yet gone their.
Playing with the two bits that I received with my SnapMaker I have found that the V Bit provides the greatest detail while the spiral bit will remove material faster.
Vectric looks interesting but also looks to be windows only. I’ll google around for some equivalents.
I’ve only tried the end mill so far. I also ordered the extra bit set - so I have an extra one of each plus a flute (I think it was). Next step is simple v bit engraving I think (starting with simple line engraving).
But the next step after that is relief carving if I can figure it out.
Hi together,
does somebody know if its possible to generate a g-code by programming like its done on regular cnc machines? Instead of doing it via the fusion programm.
Would be great if somebody could help me.
@jobo - any CAM program can be configured for any machine and our Snapmaker is no different. Is there a particular program you have in mind the you would like to use? I can see about getting a post made if you let me know what you’re trying to do. I have some experience in this field, I’m a full time CNC programmer 
Hi @mcpohorton (Adam)
Doug the newbie here, I am just starting to tackle the CNC, I have engraved the test 2D dragon and used the Fusion 360 tutorial to carve out the letter S.
I am not even sure how to ask the right questions because I do not have the knowledge. If I frame my request the way that most newbies would want, is a piece of software that we can load a 3D image into and have the CNC engrave it. From the letter S exercise of selecting all the faces to cut seems like a tedious exercise and I am not sure how one would do that on a complex 3D image. If you have a KISS (Keep It Simple Stupid) approach I for one would welcome it.
Thanks in advance
Doug
First of all thanks for your replay.
I need to have the snapmaker work in a different way. After it is switched on it should move to its home position to have this as a reference point. After this it should move to some positions I need to programm. So I do not need a special shape to have programmed.
Hopefully this is more less clear 
@jobo - are you following the procedure for setting the work origin that is in the manual? The way the program is generated does not tell the machine where to origin of your work is located. Instead it relies on the user to manually move the machine to the start location and then “Set Origin”
In order to automate this process you would need to know the exact X and Y offset from the home position of the machine to the origin or the work piece. Also, you will need the Z offset from home to where the tip of the tool touches the top of the work piece. These are not easy numbers to determine on our little Snapmaker, particularly the Z.
I hope I have answered your question but if not I will keep trying! I have linked to the manual below to show you the origin setting procedure I talked about above.
https://manual.snapmaker.com/cnc_carving/set_the_work_origin_using_snapmakerjs.html