My A350T build blog

Hi fellow Snapmaker owners, after having my snapmaker 2.0 A350 for a while, i have noticed some things that I’d like to change, and I thought some of you might be interested in the modifications I’ve made and would like to see them. So this is going to by my build blog for my A350T!

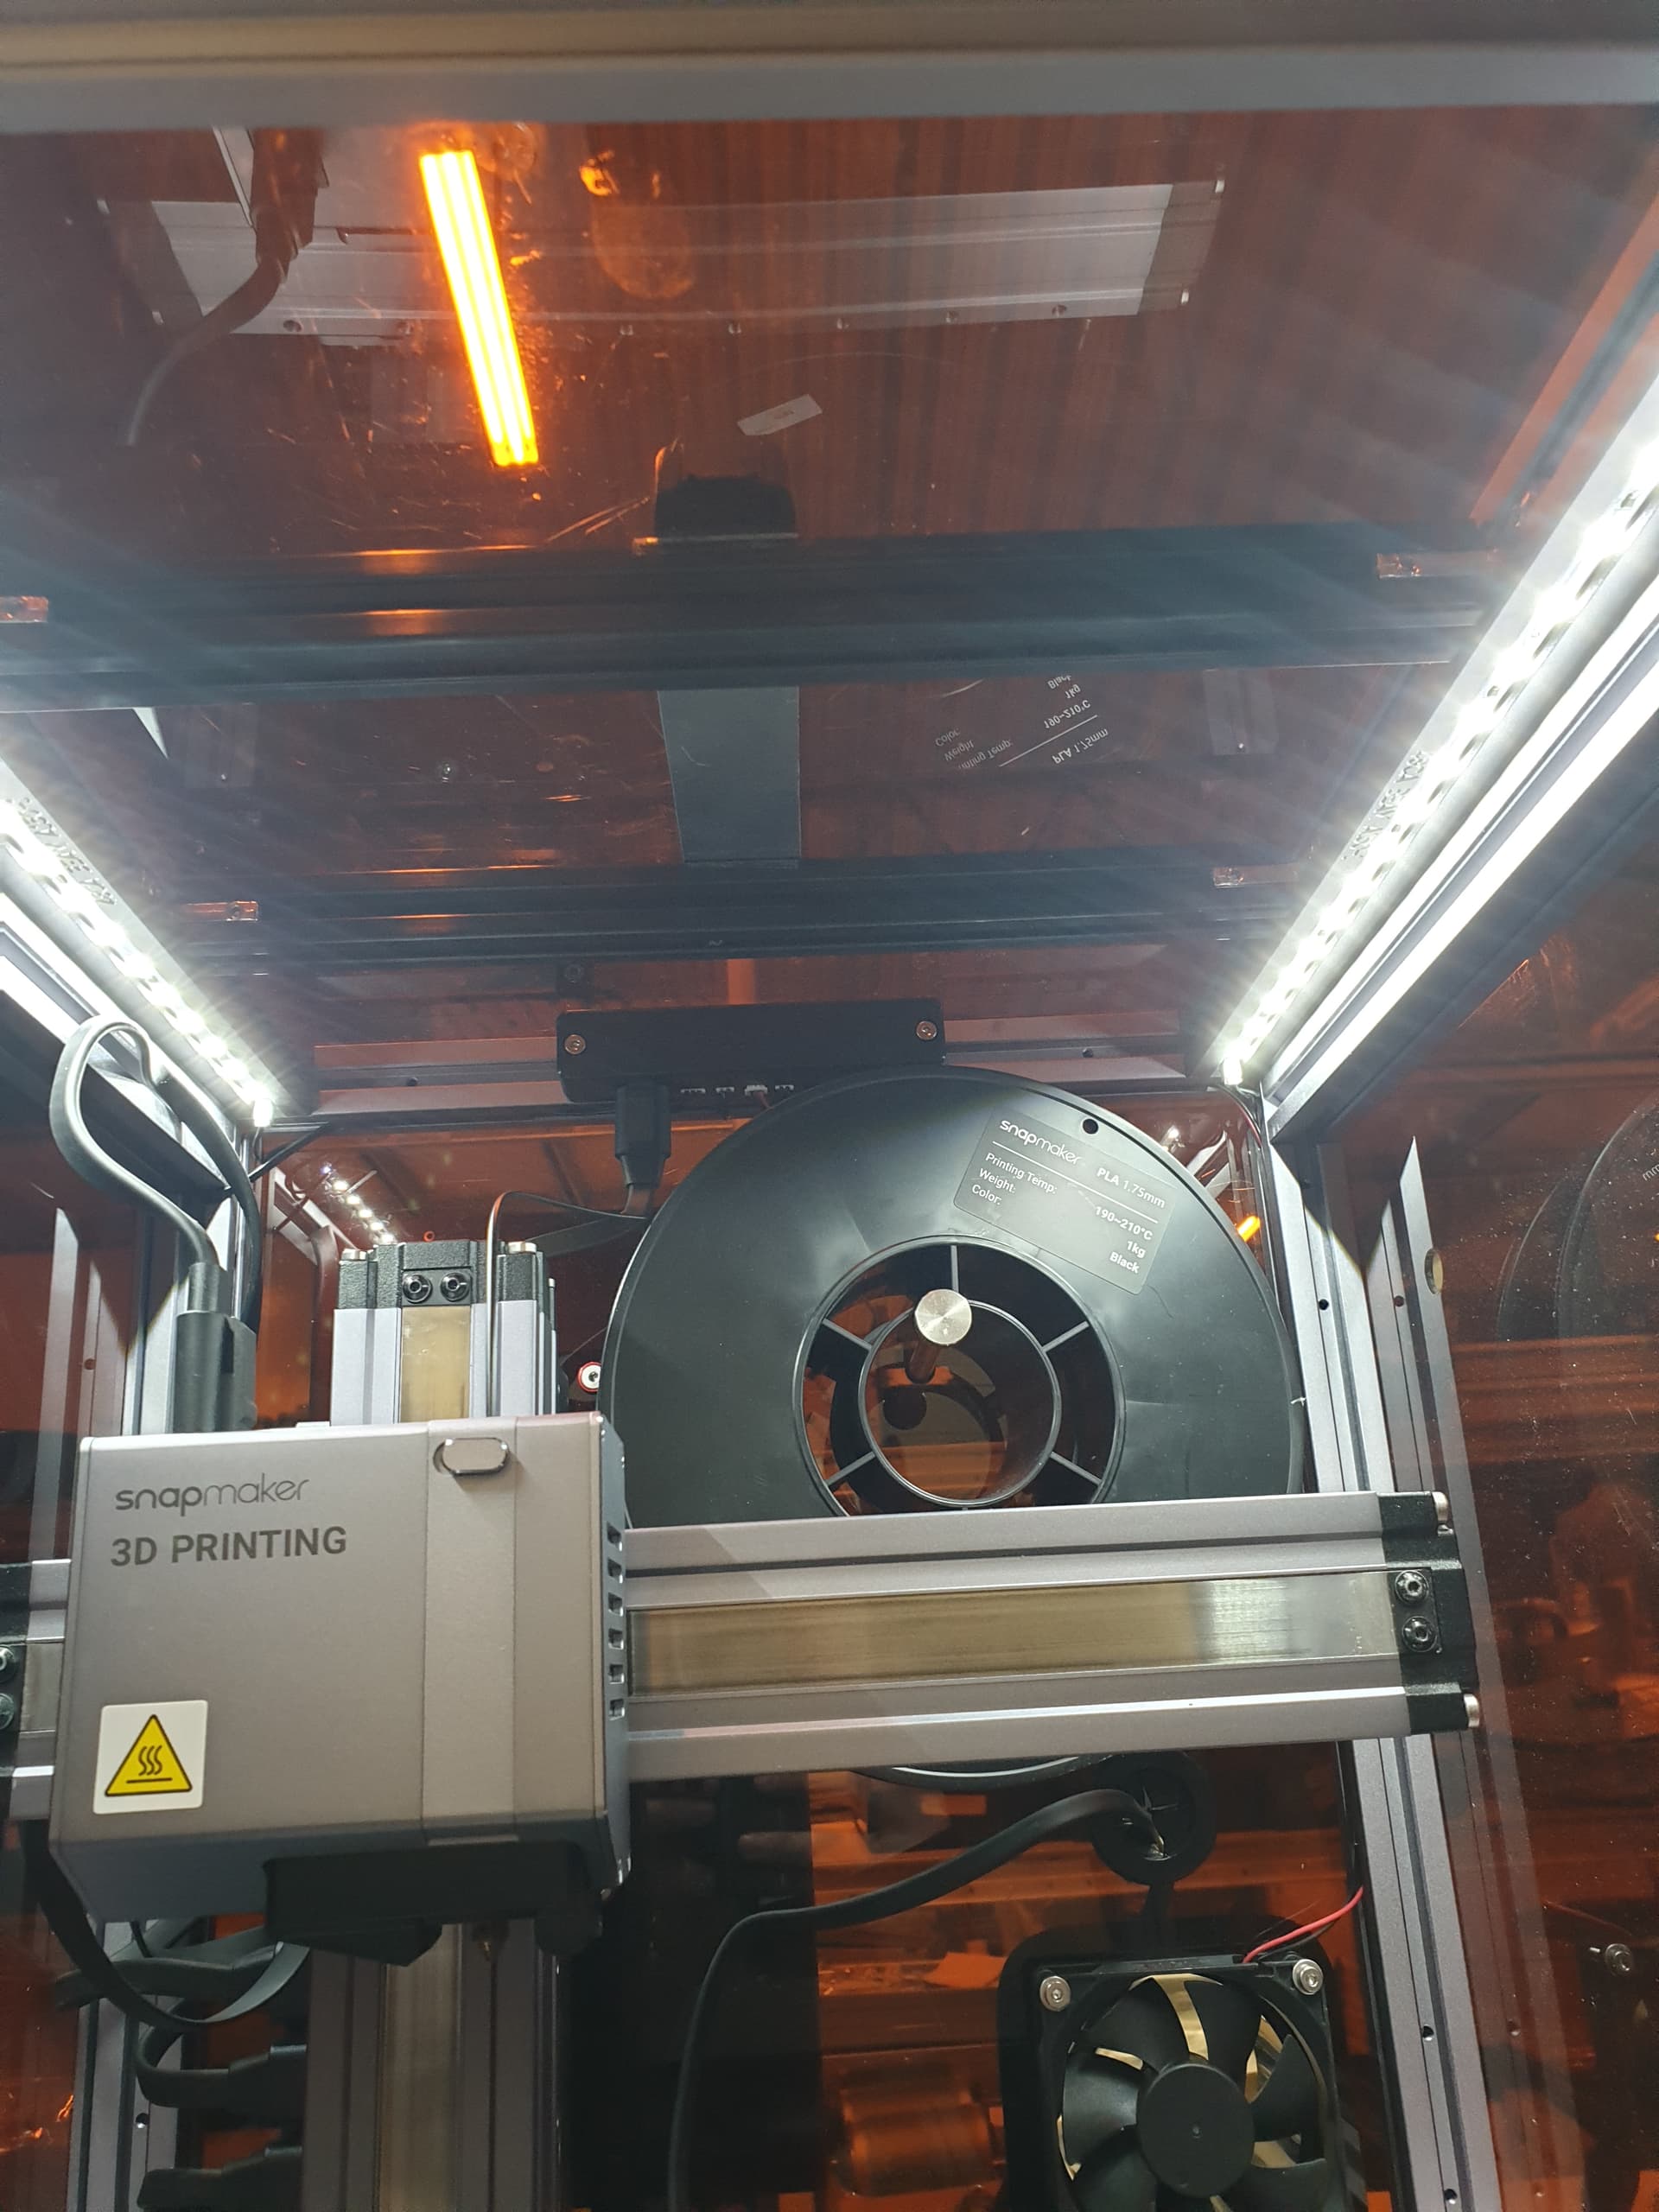
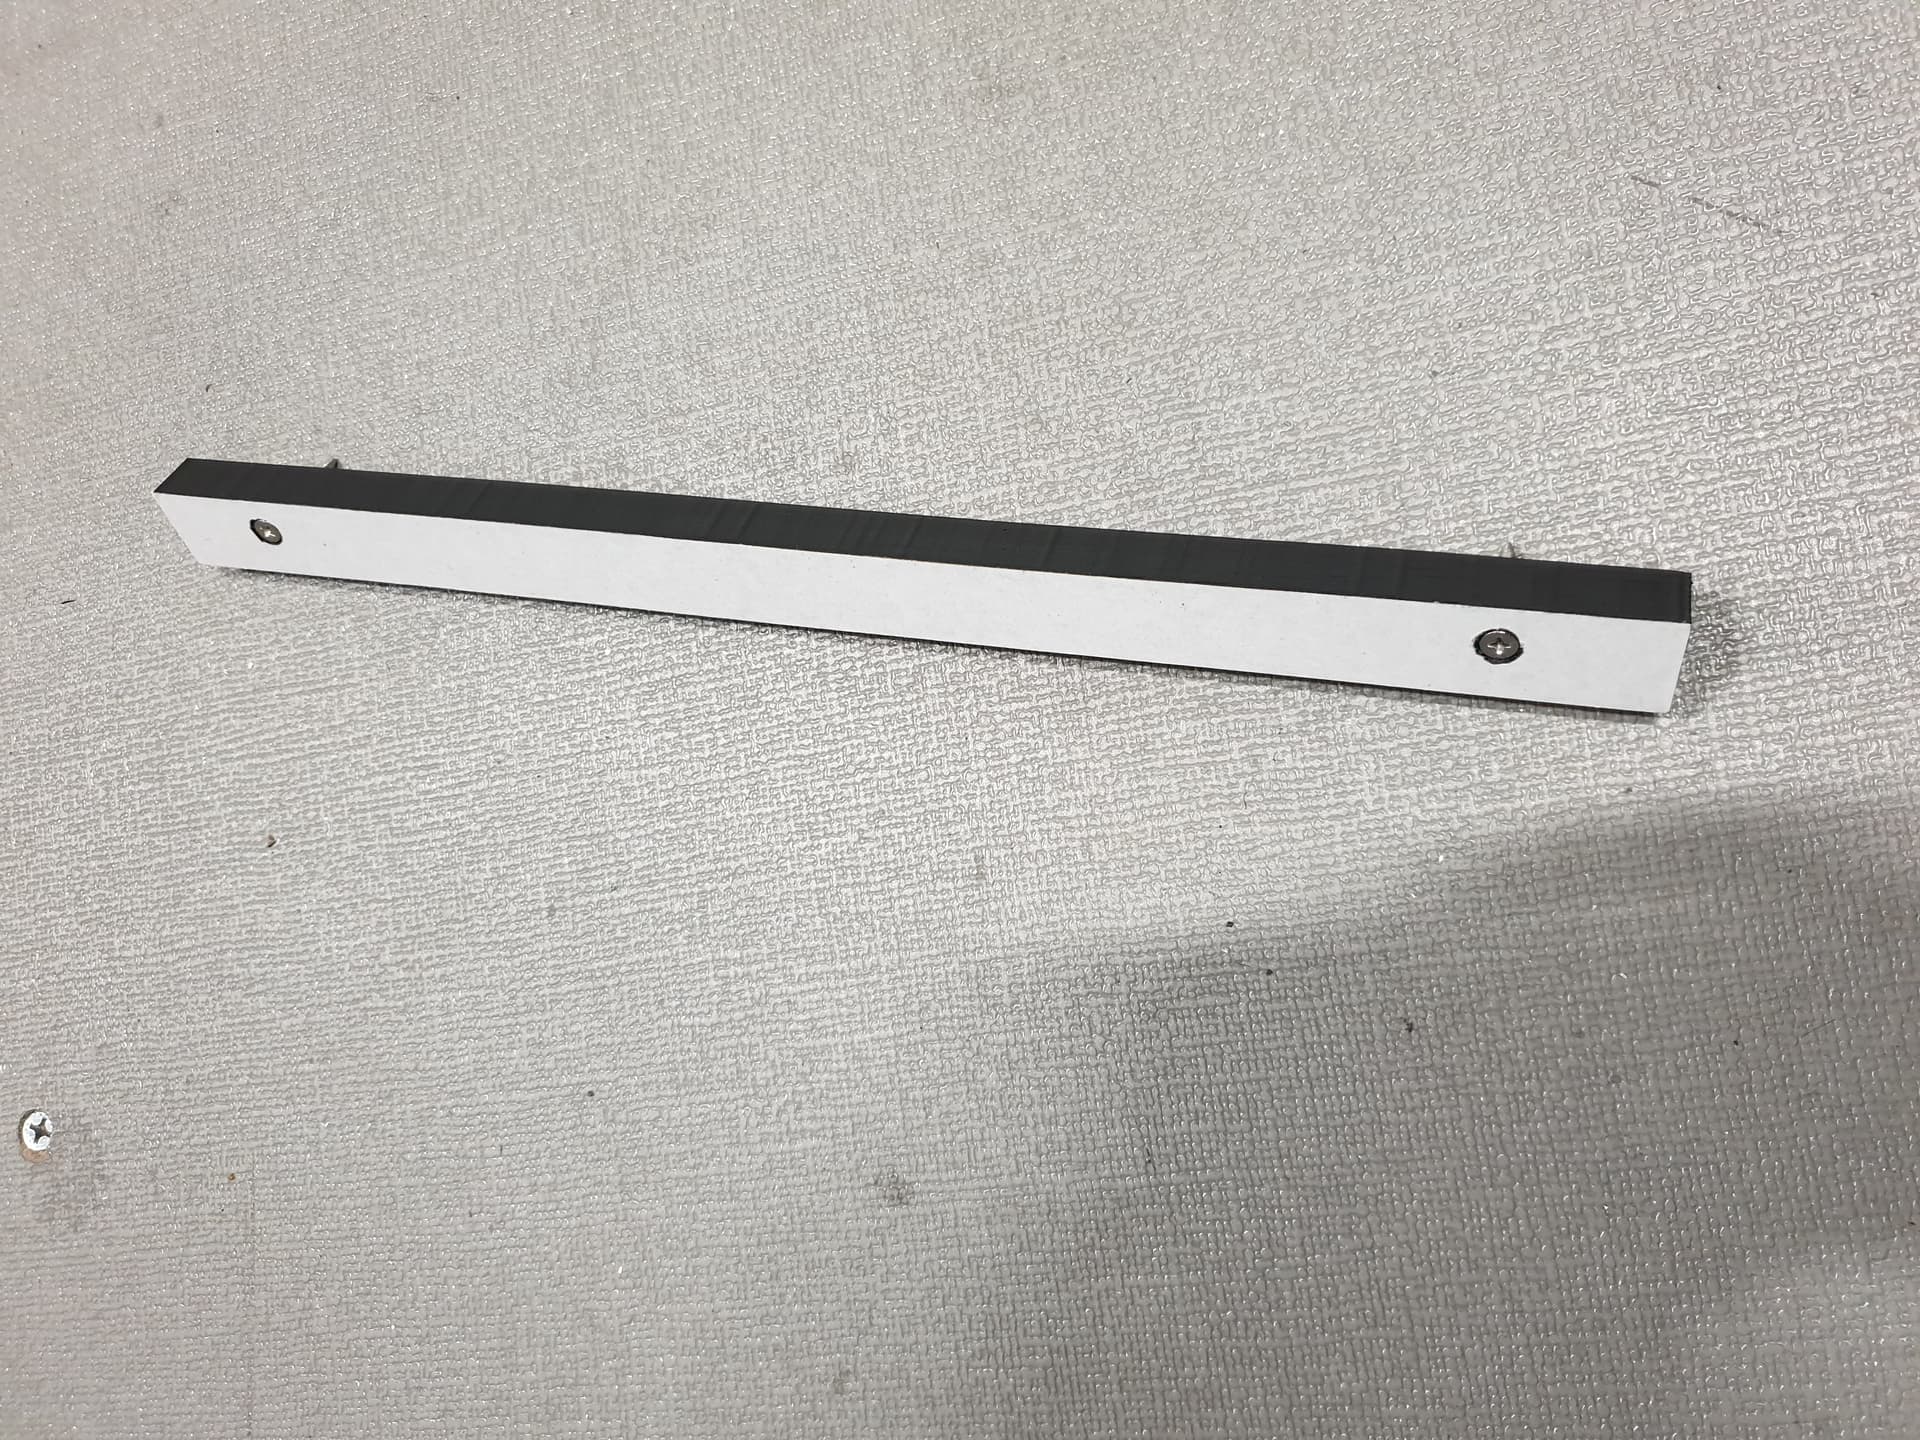
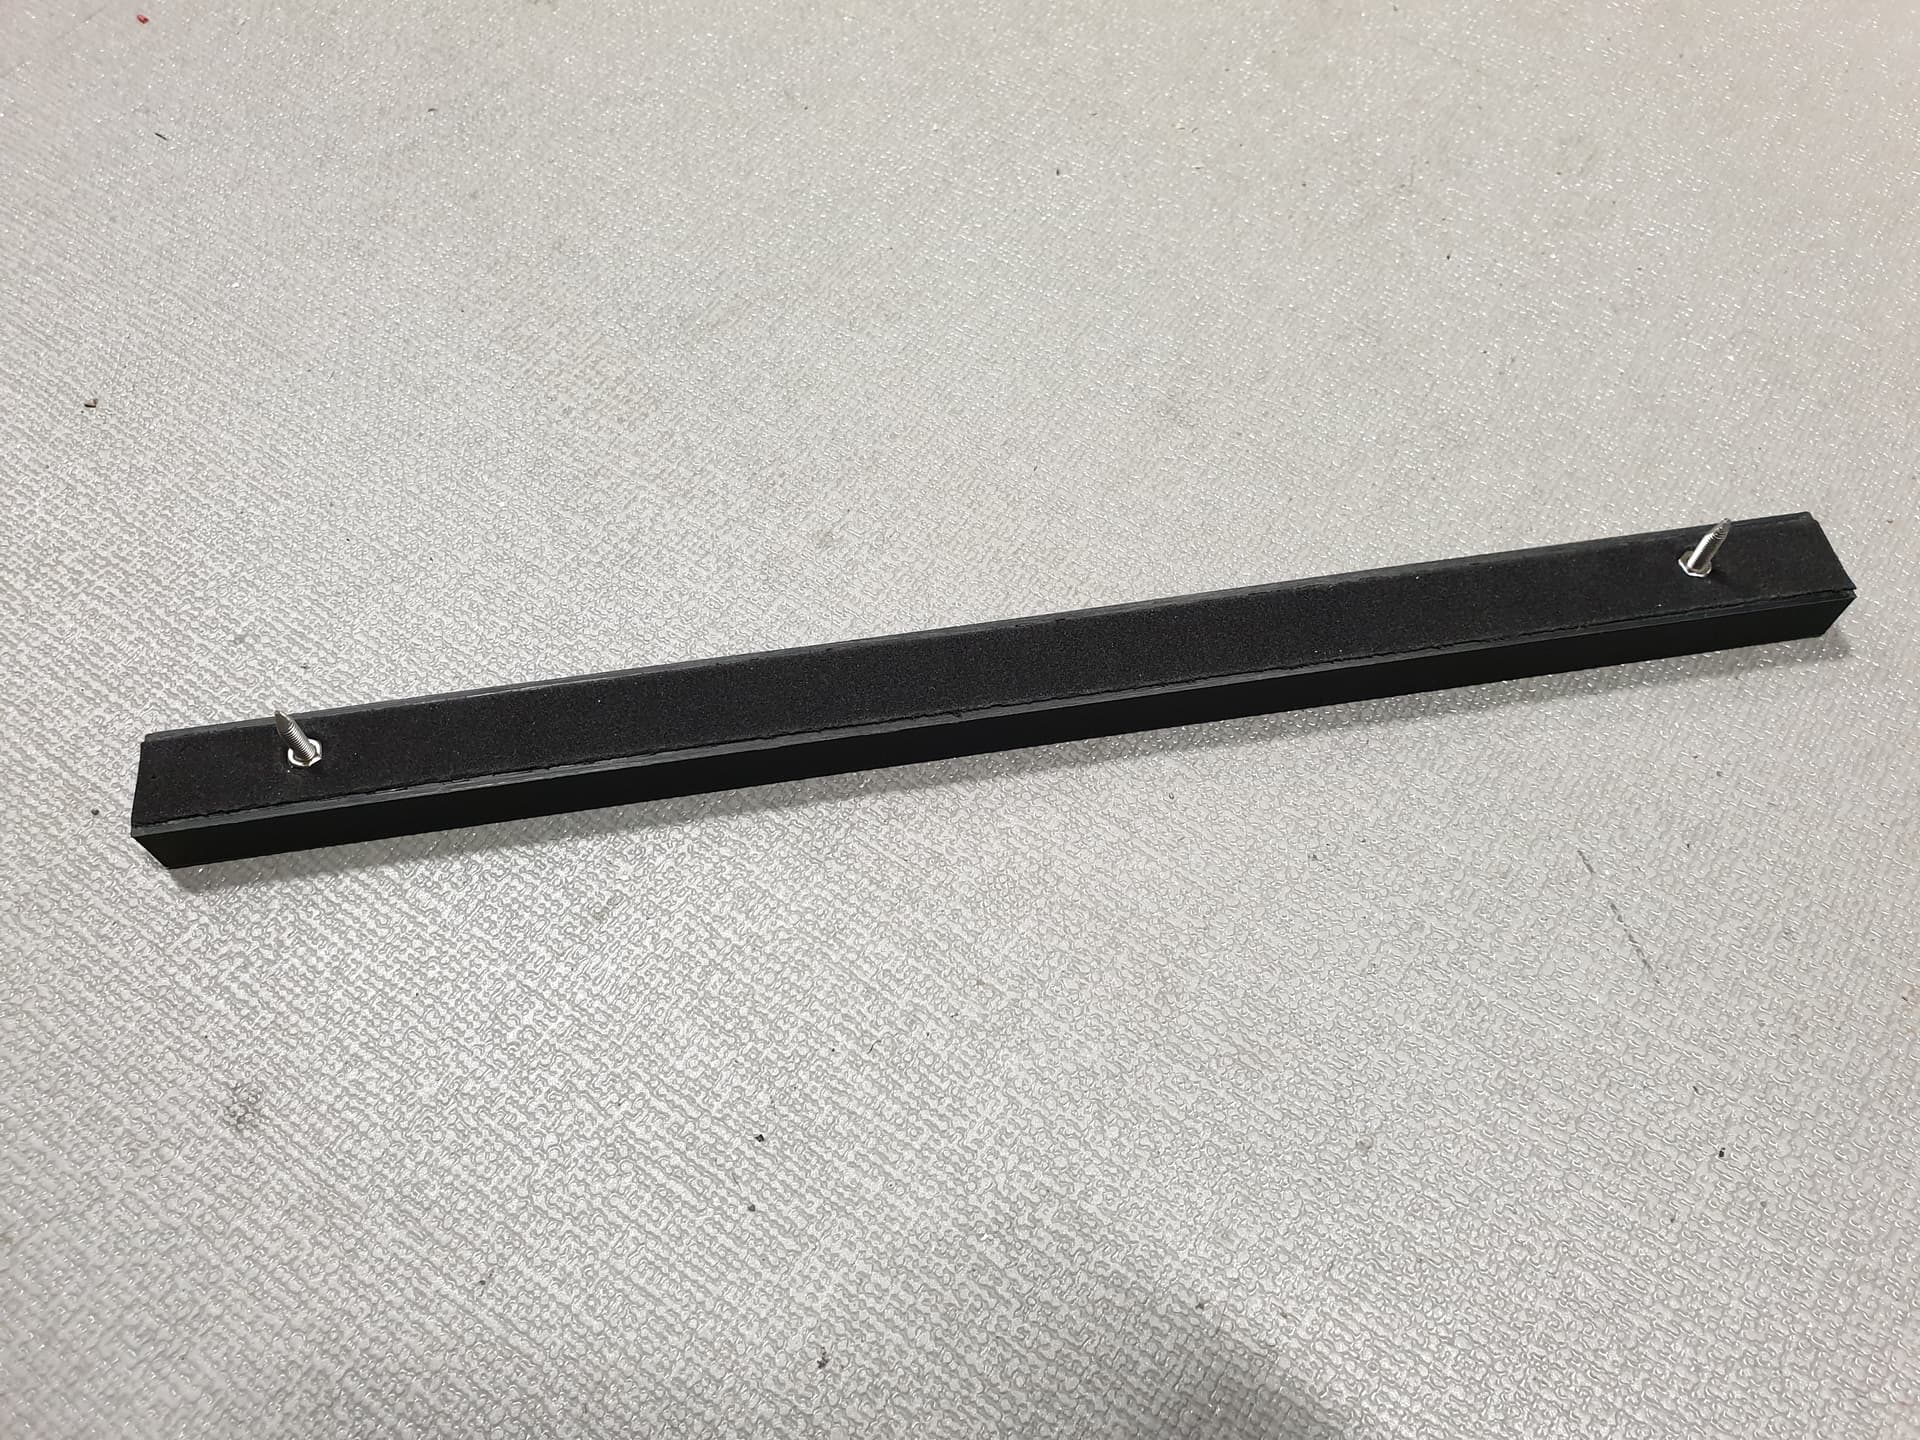
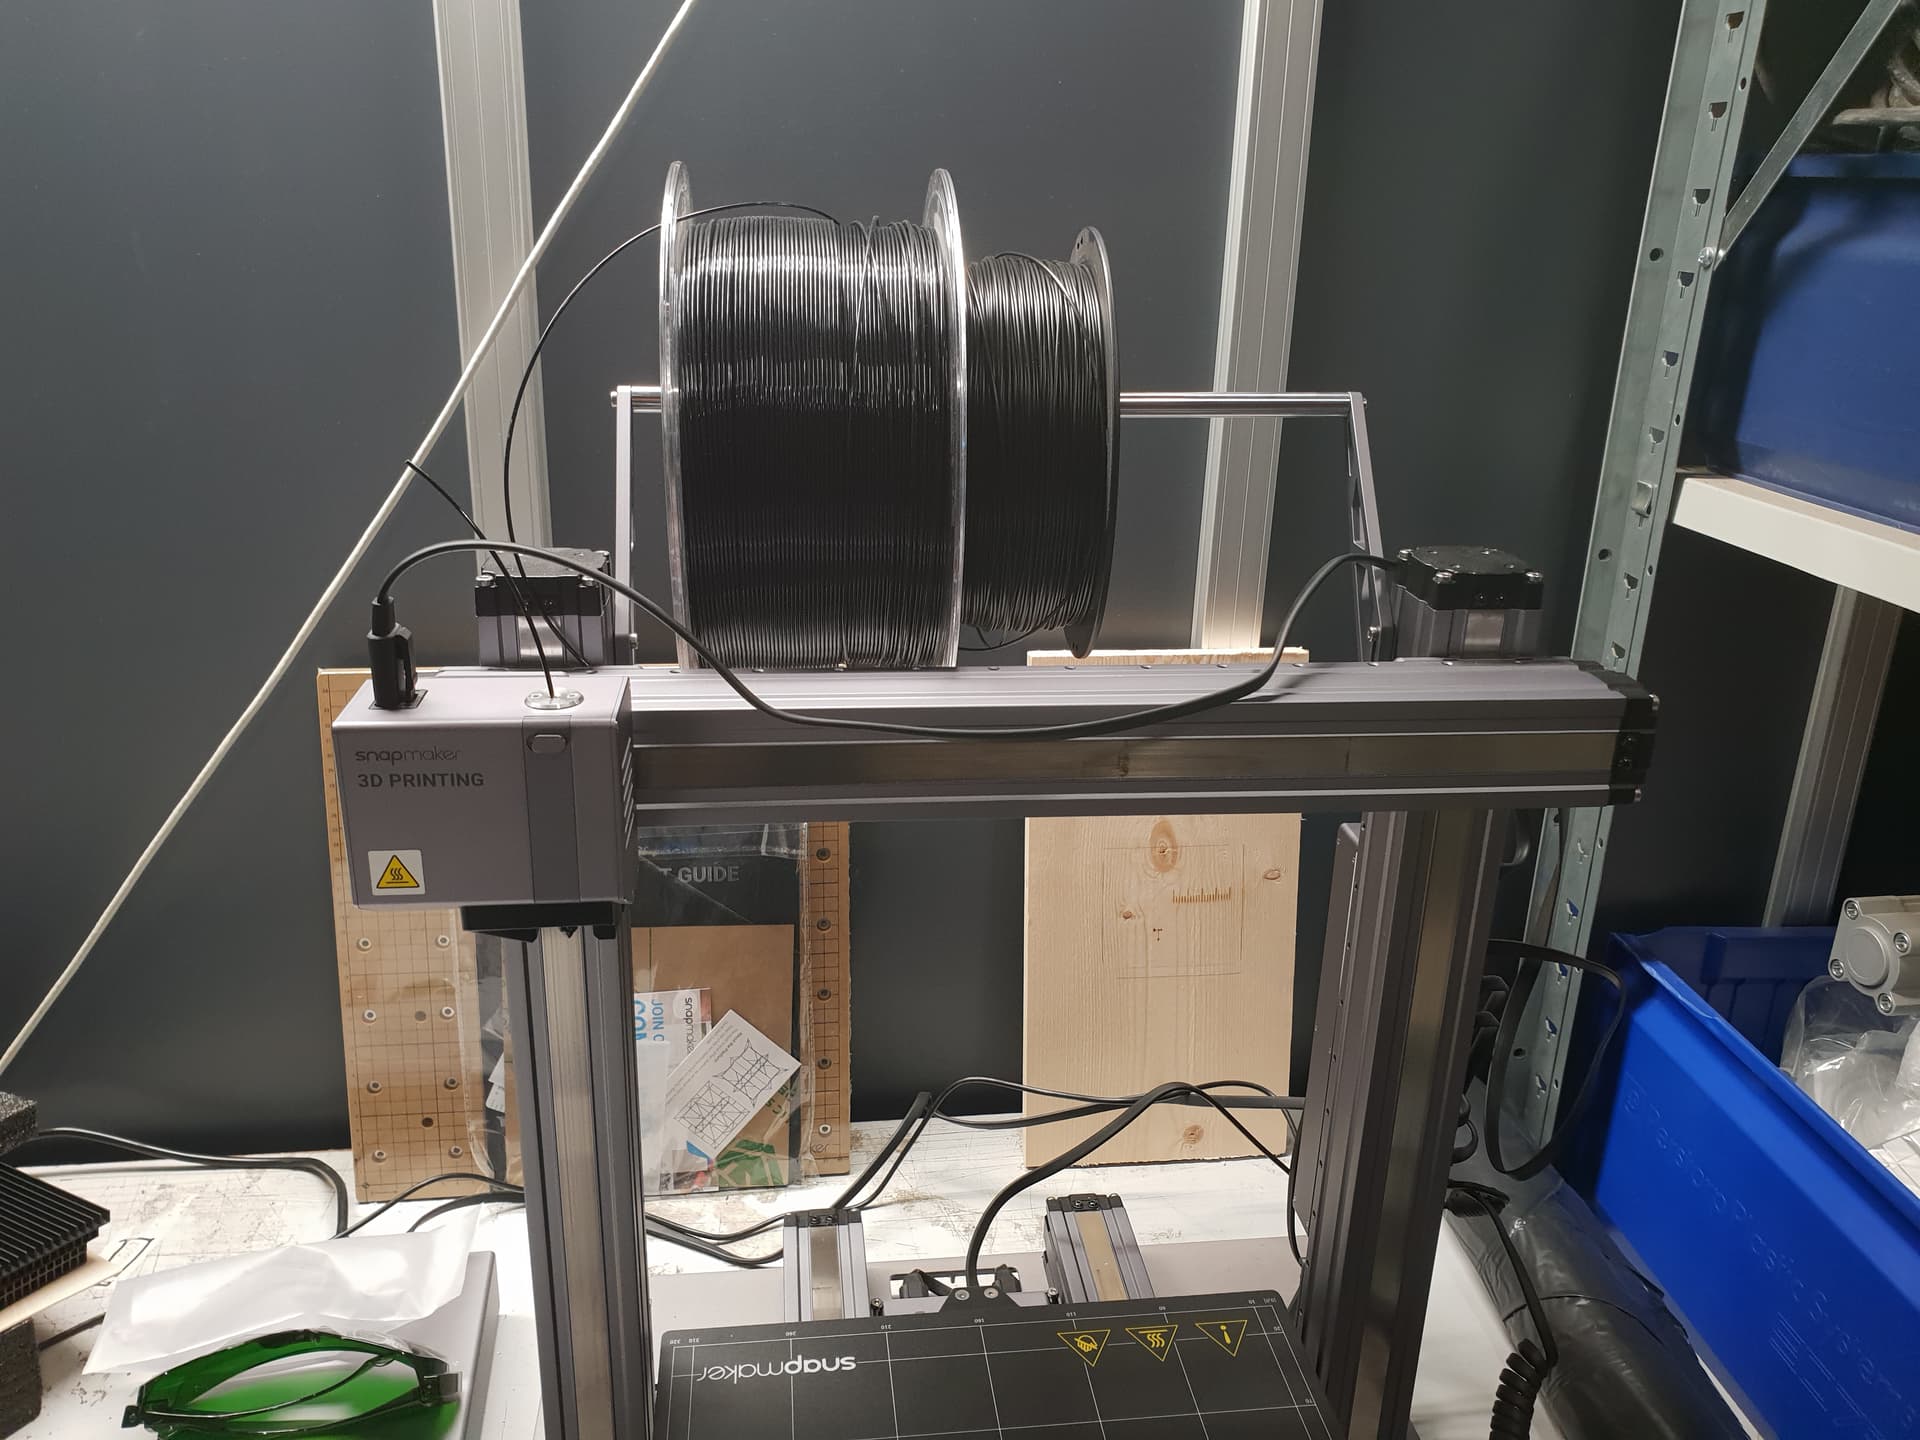
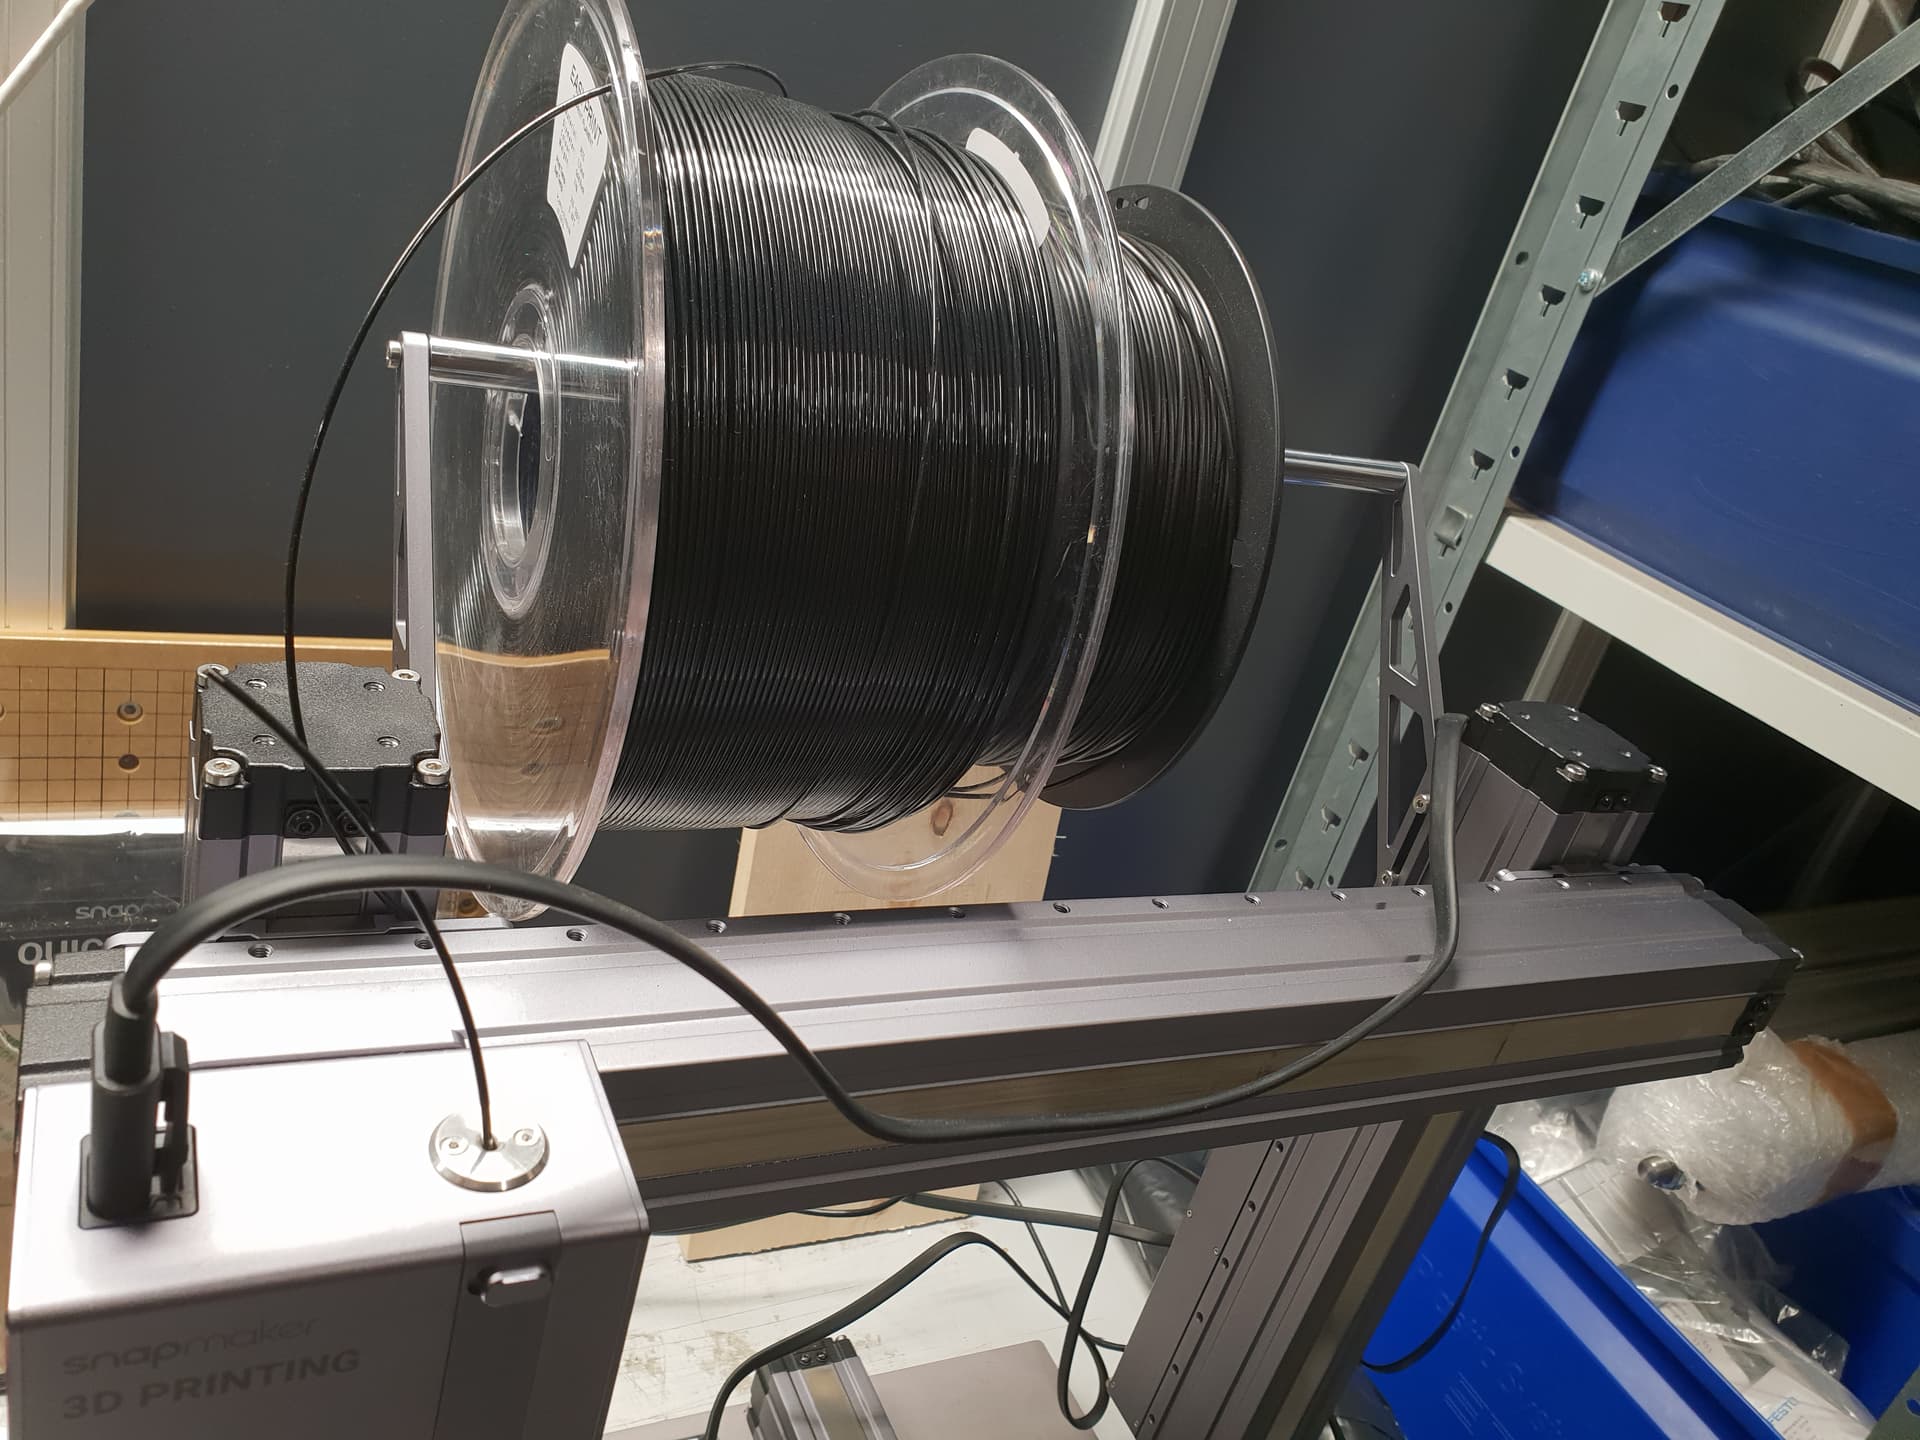
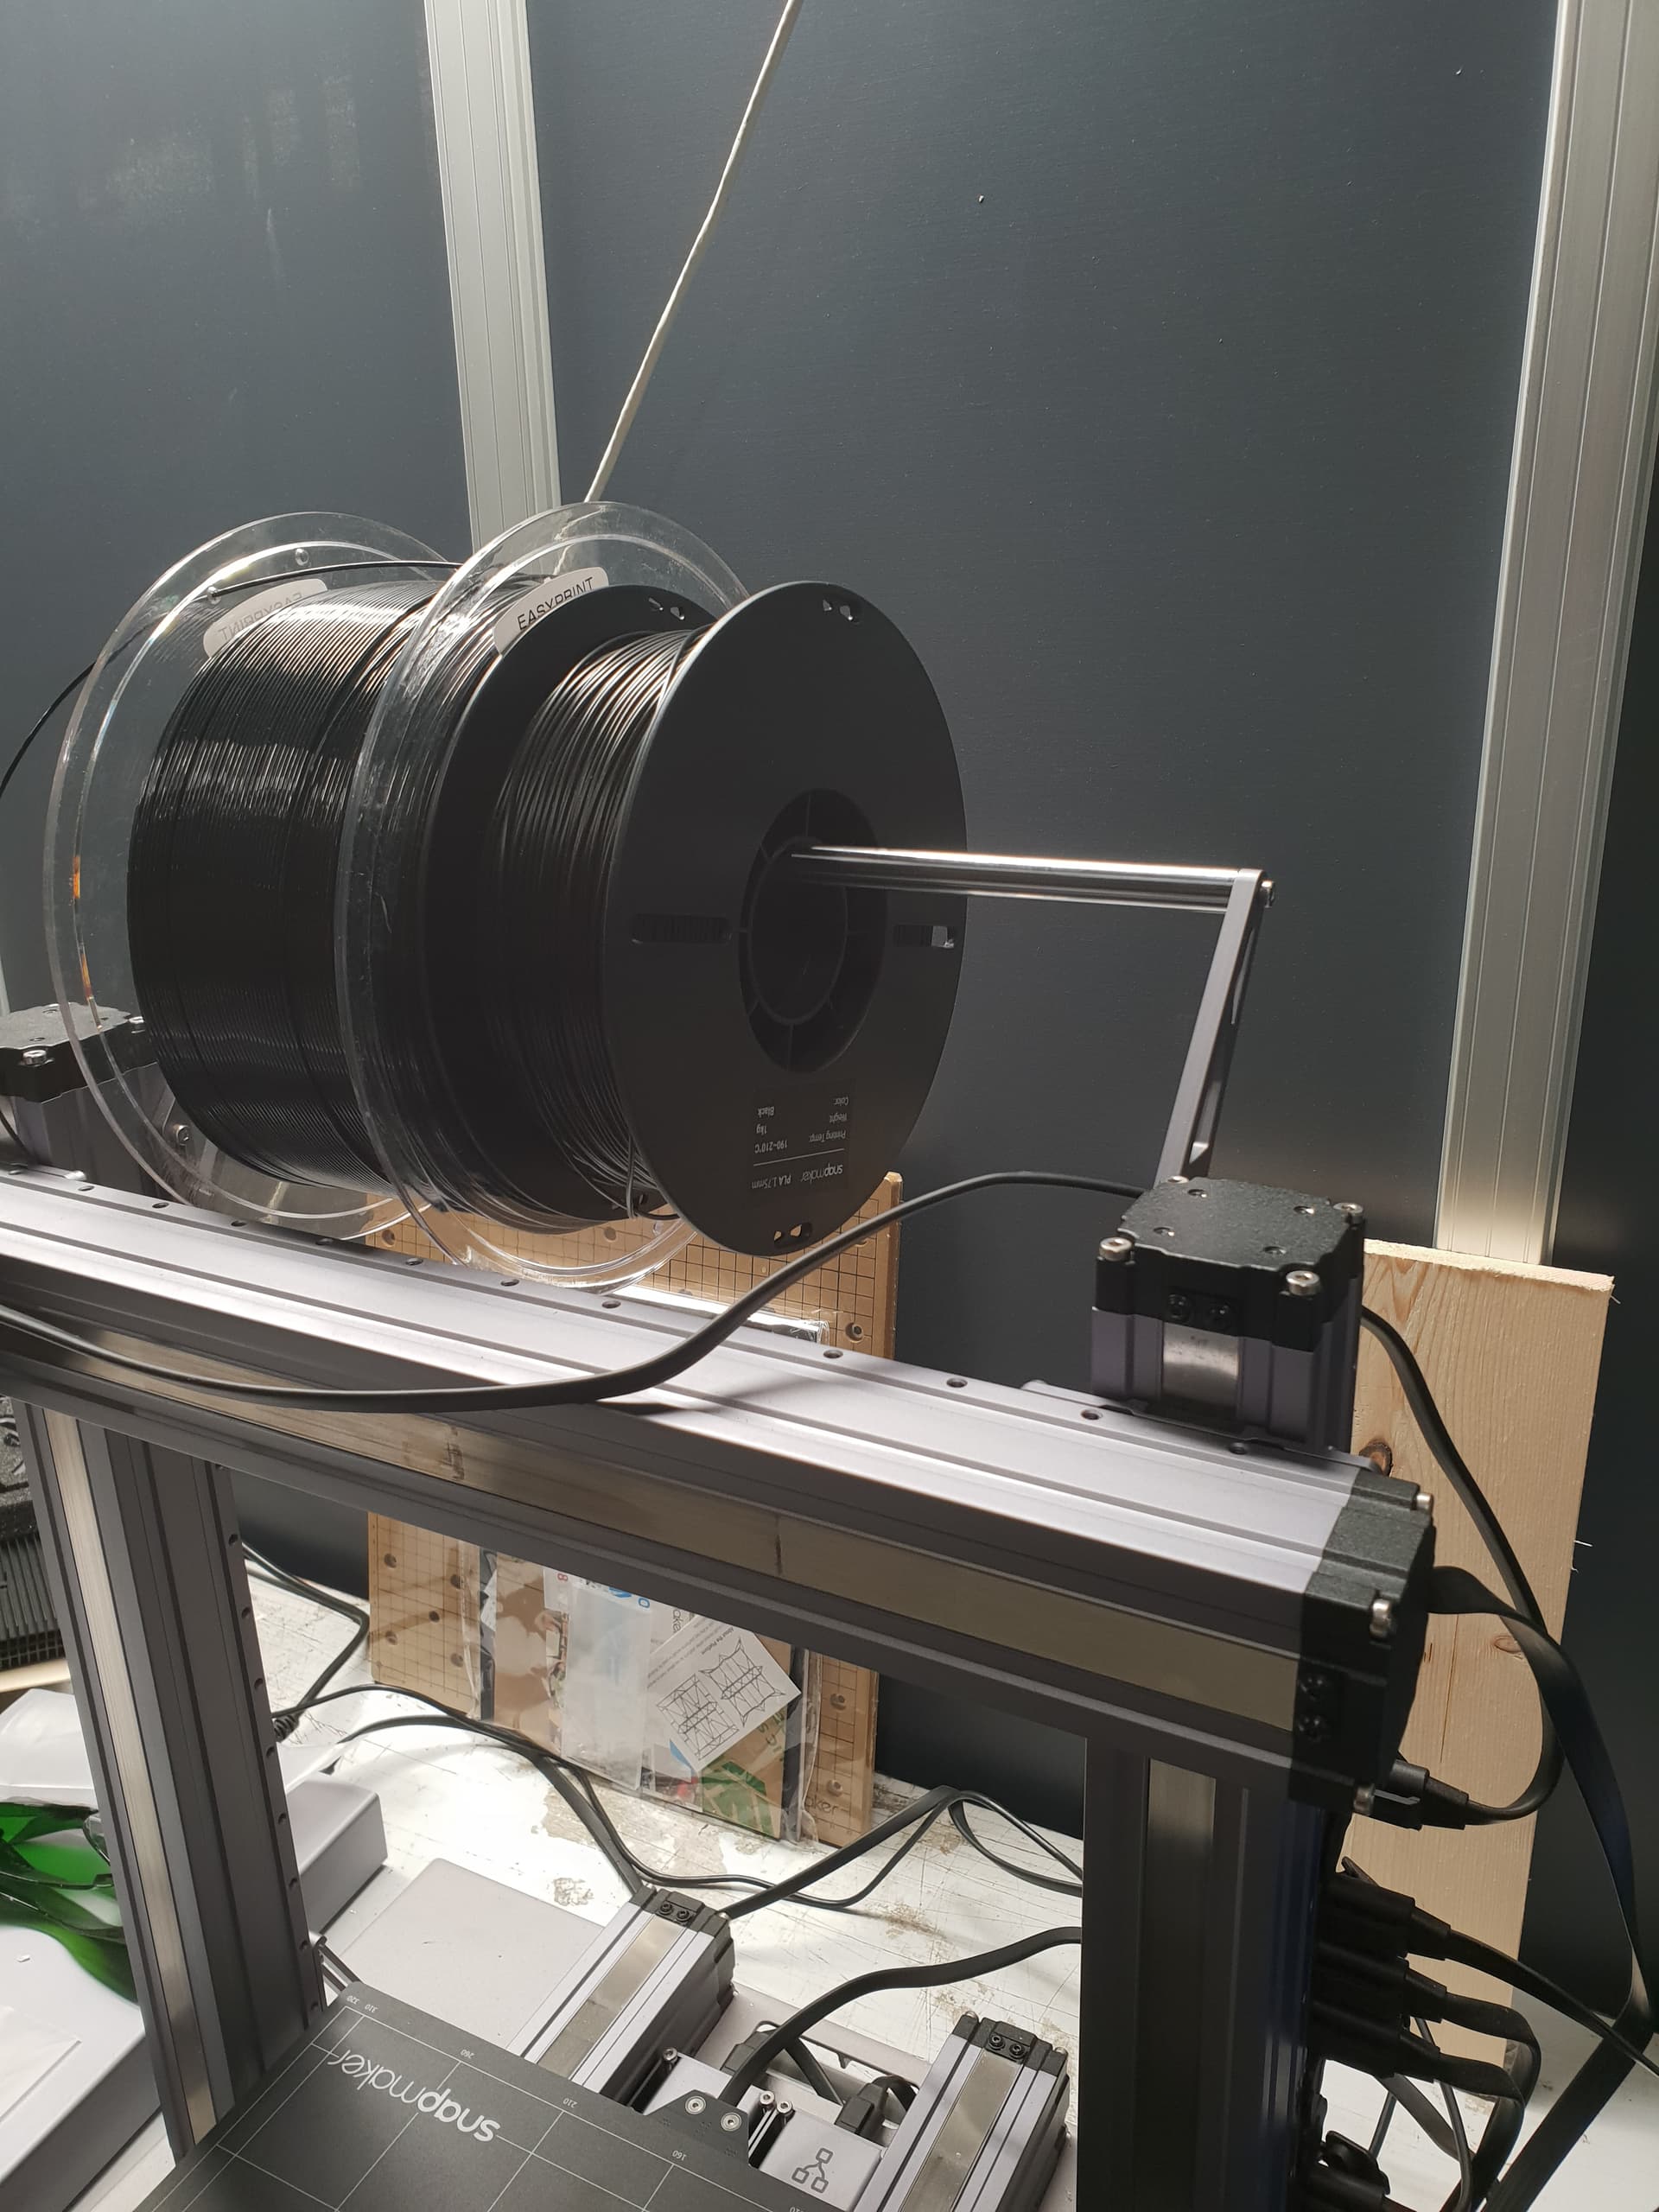
so the very first mod I did was a large rail to support multiple rolls of filament. this worked well apart from it being not very user friendly when changing the rolls:


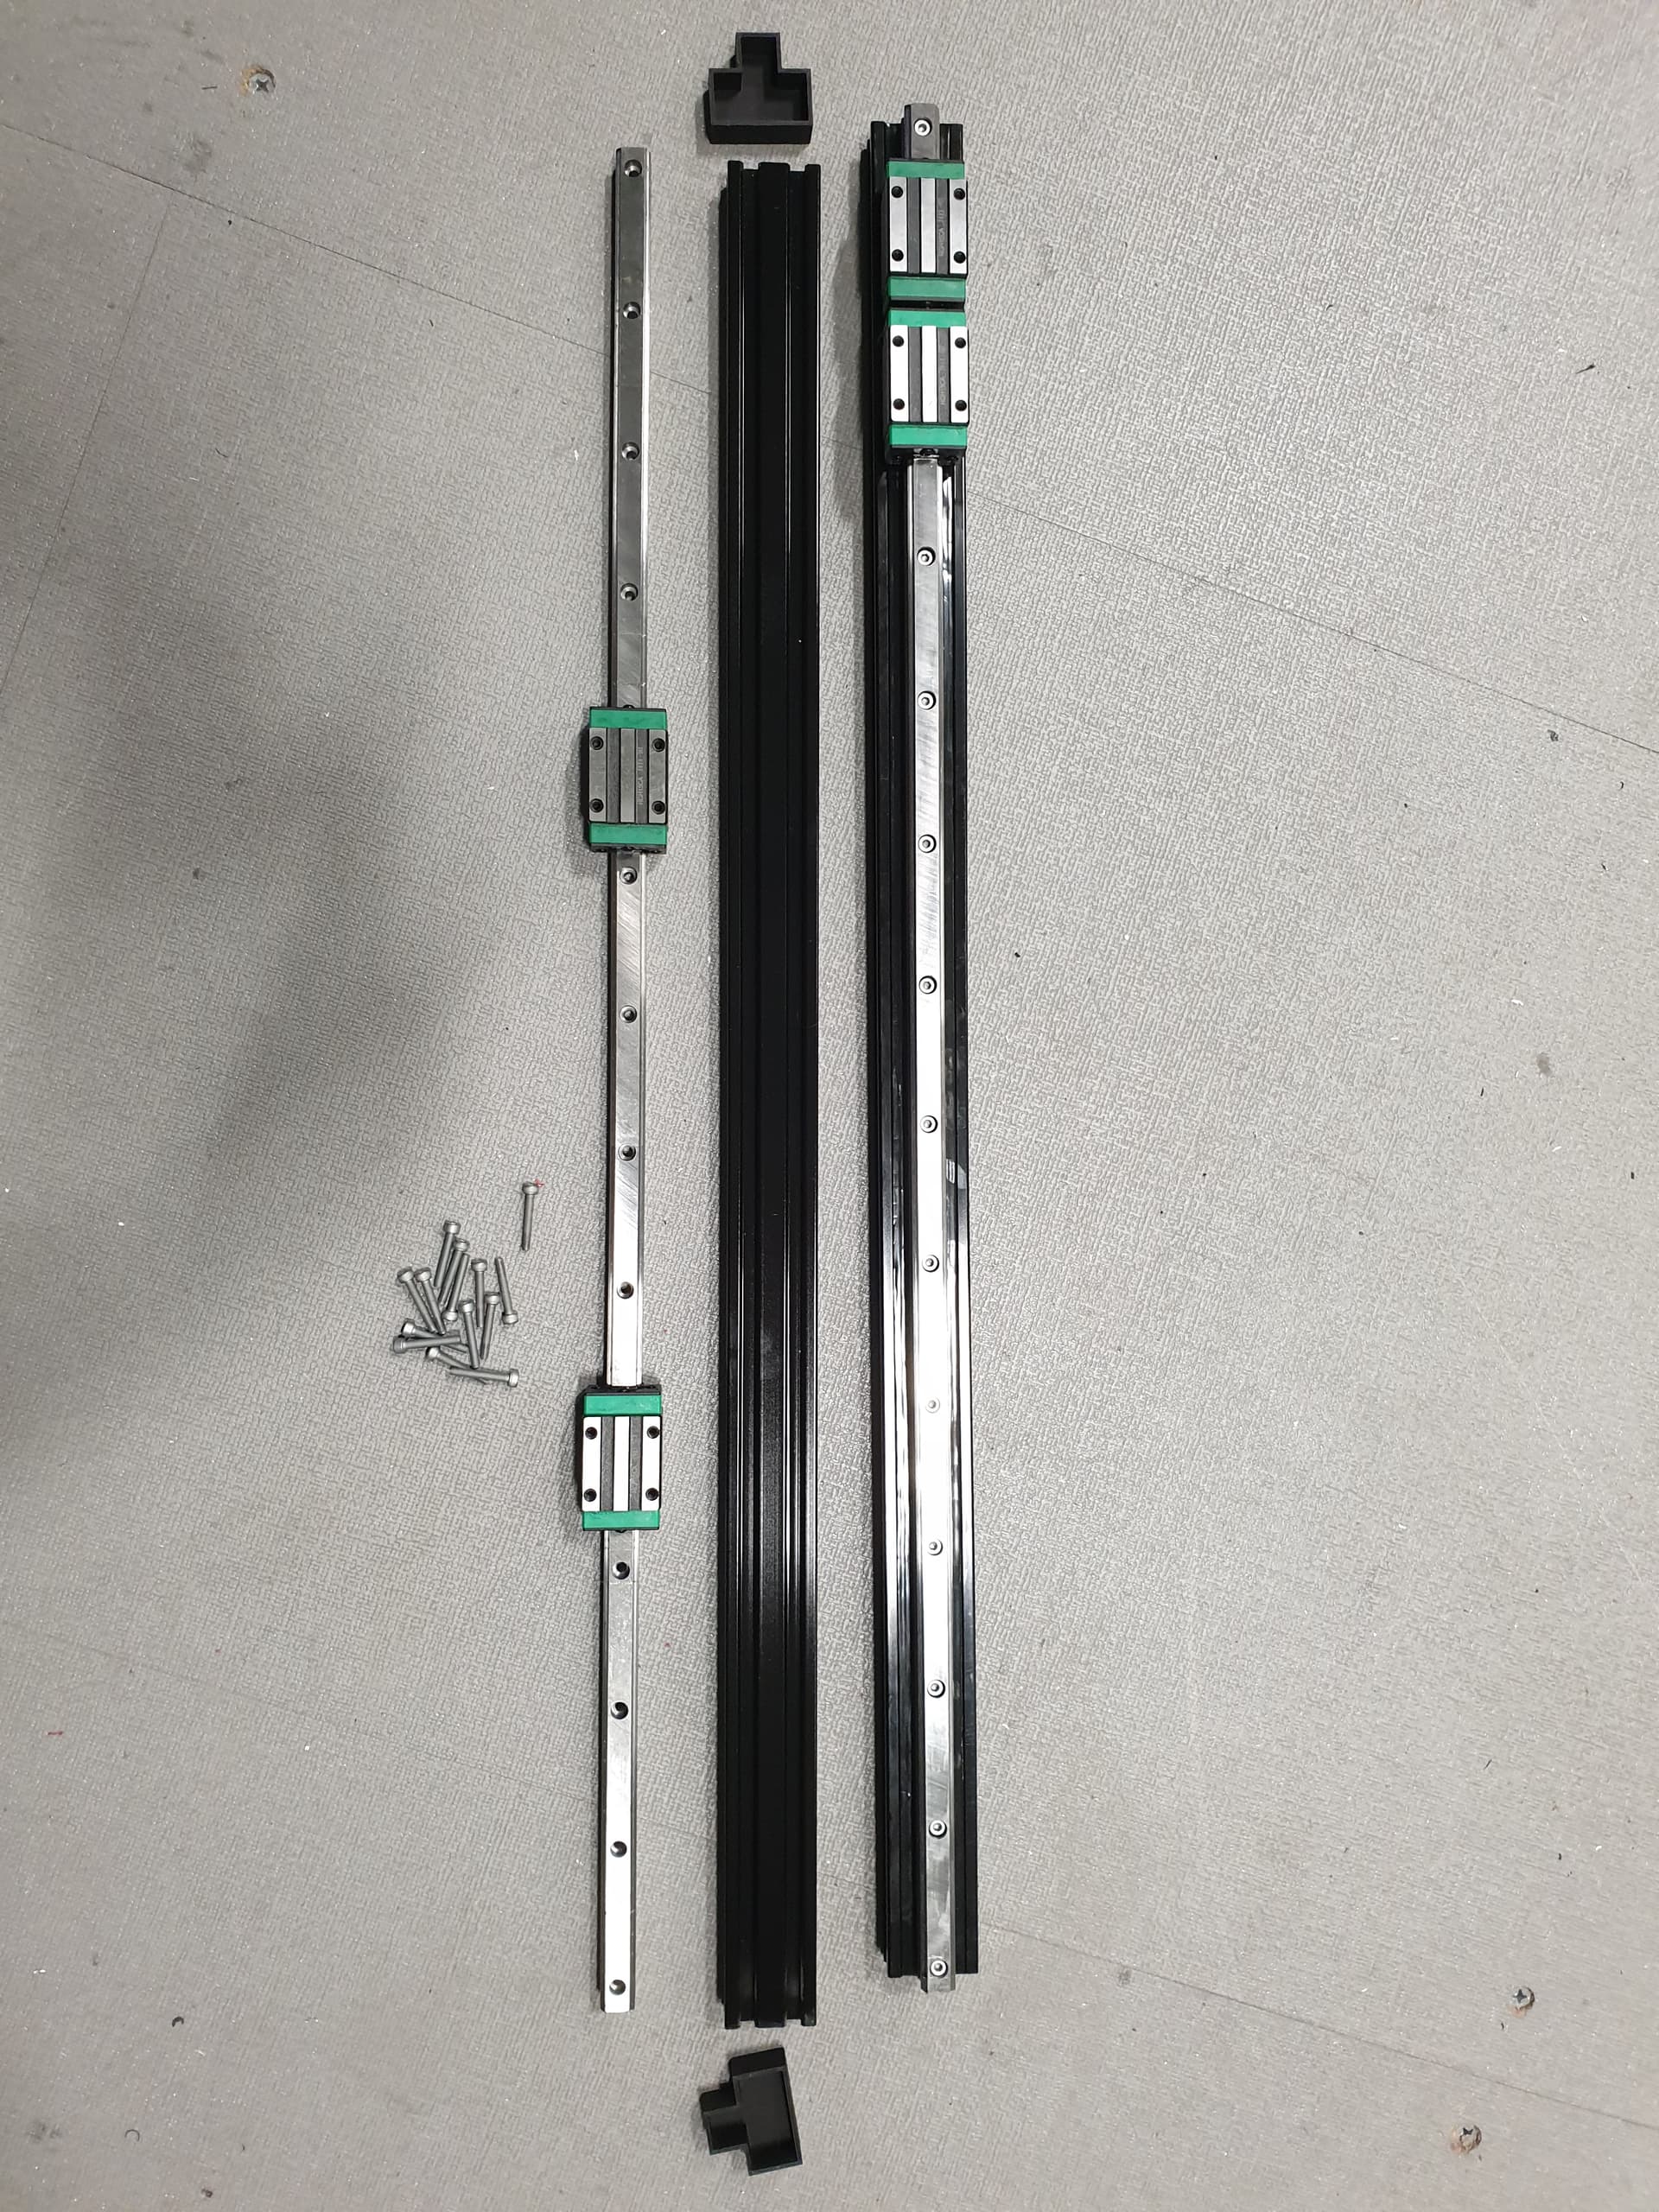
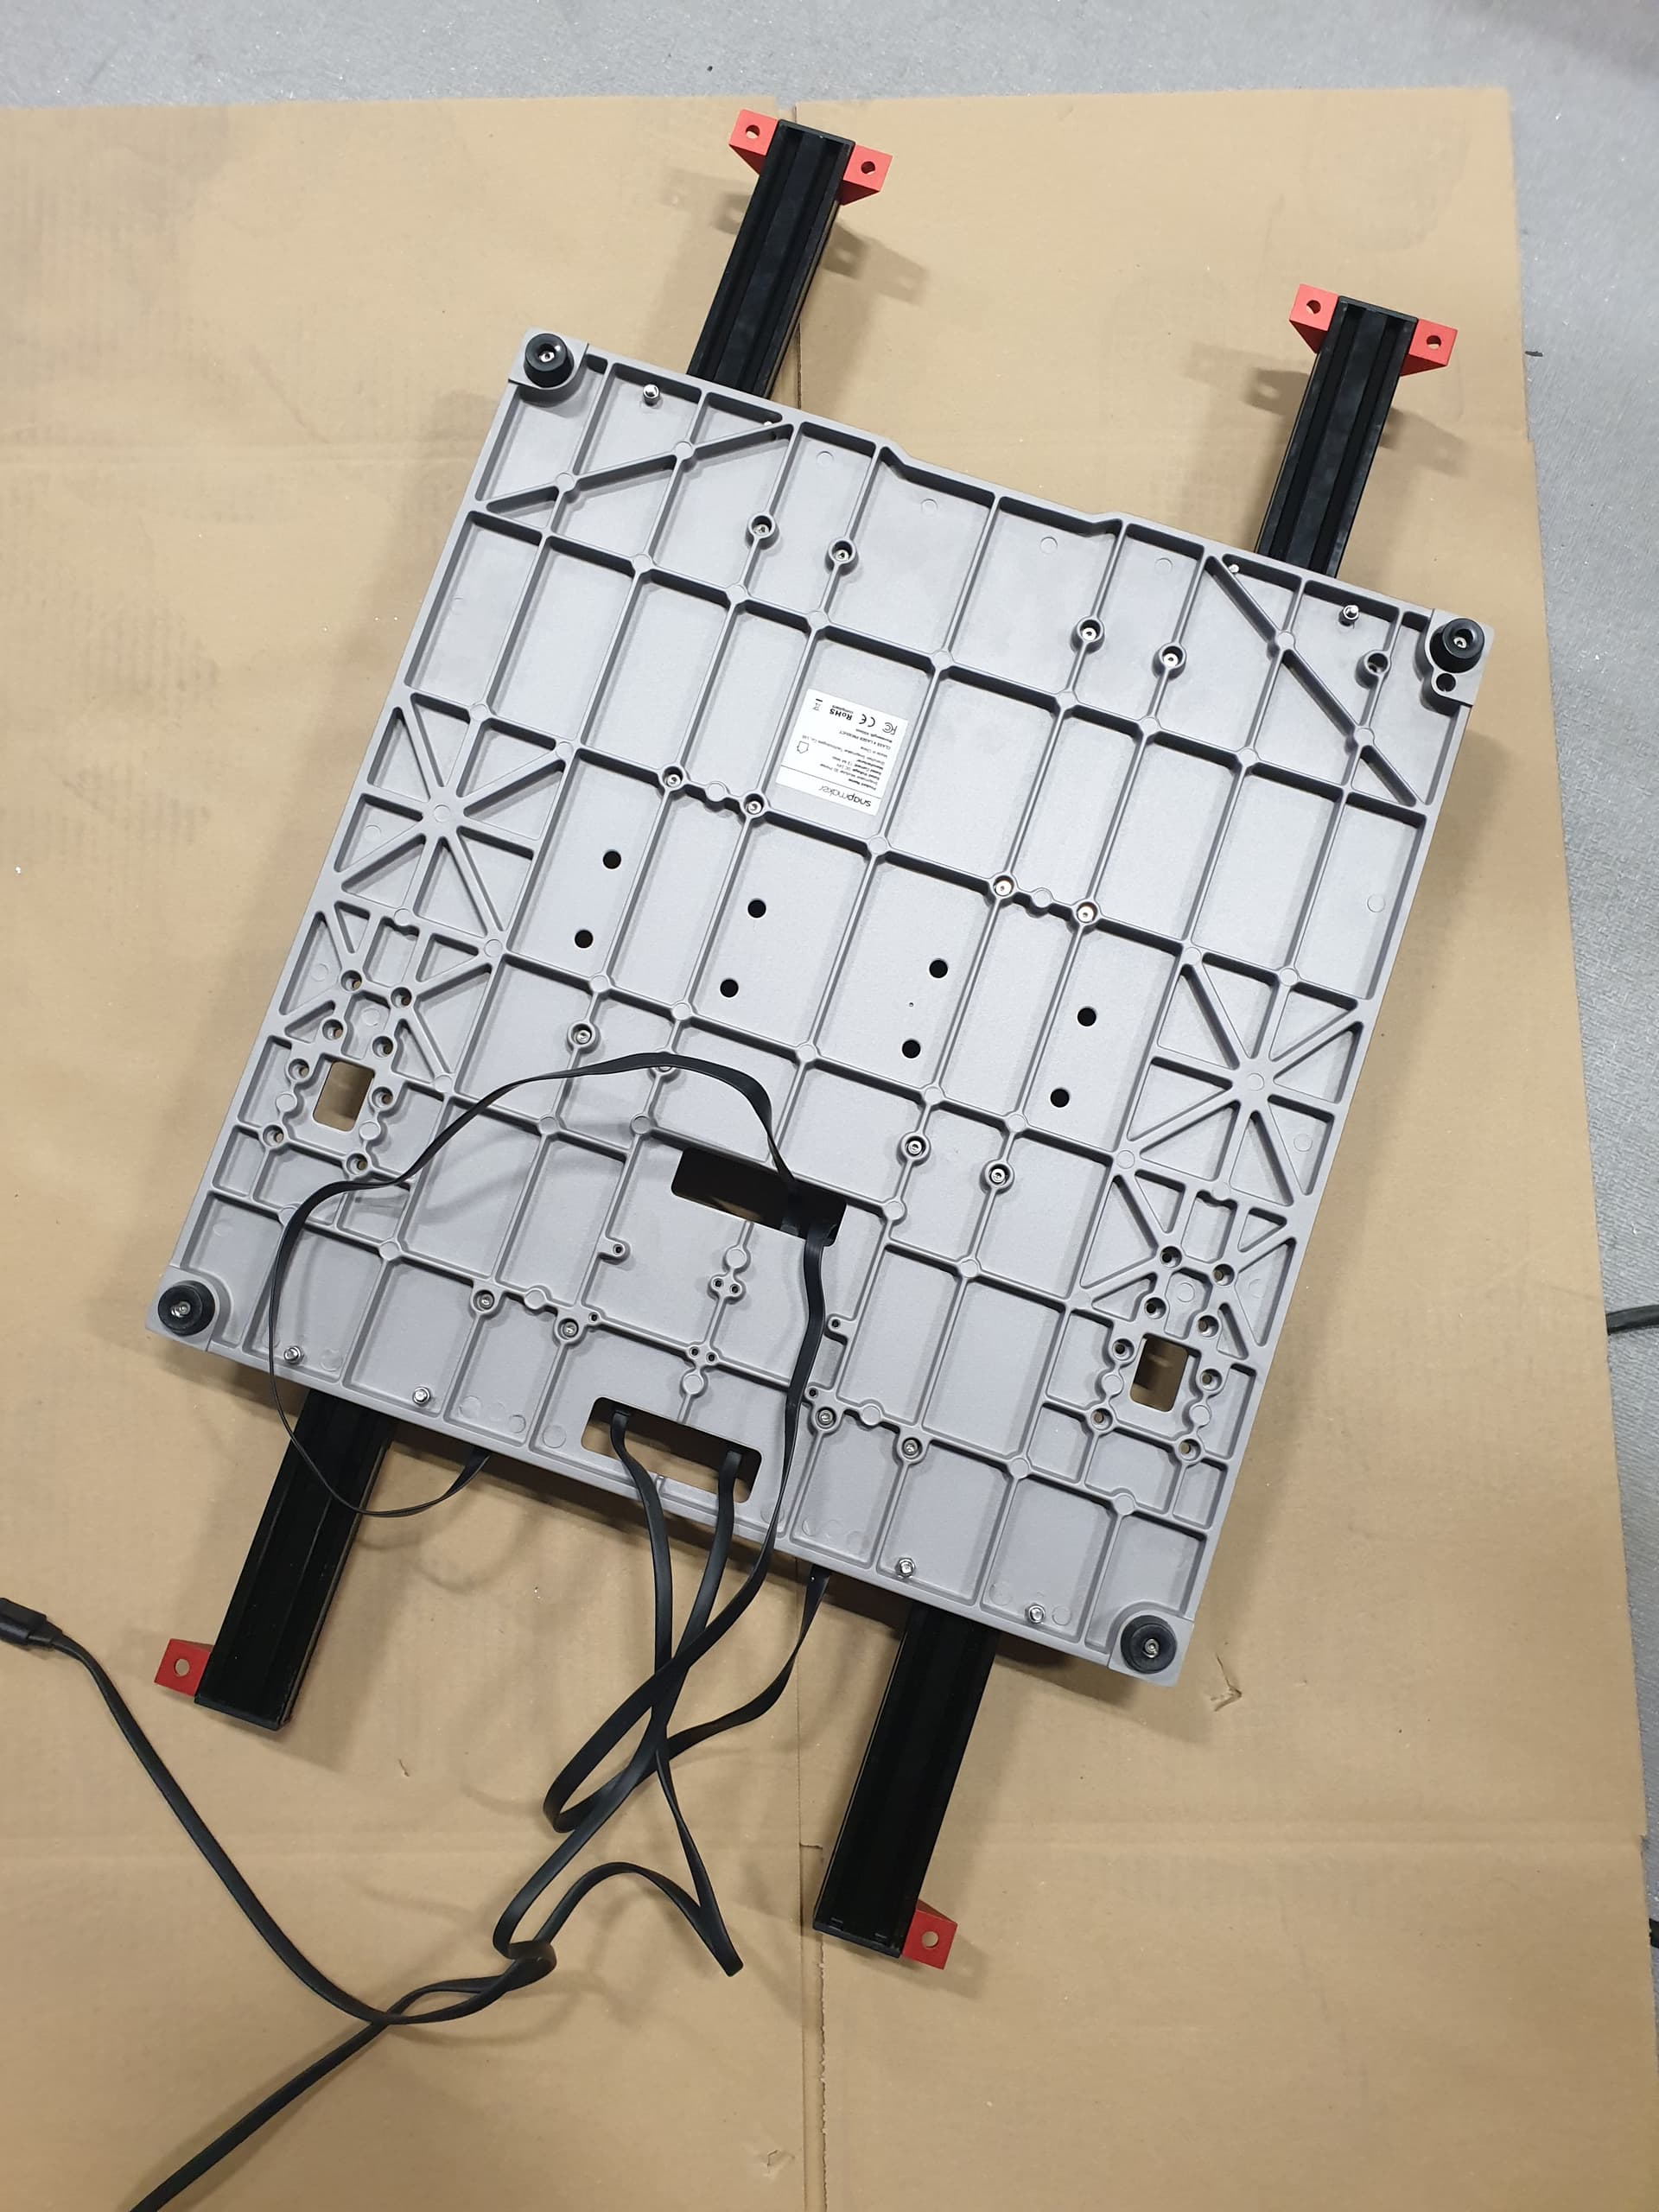
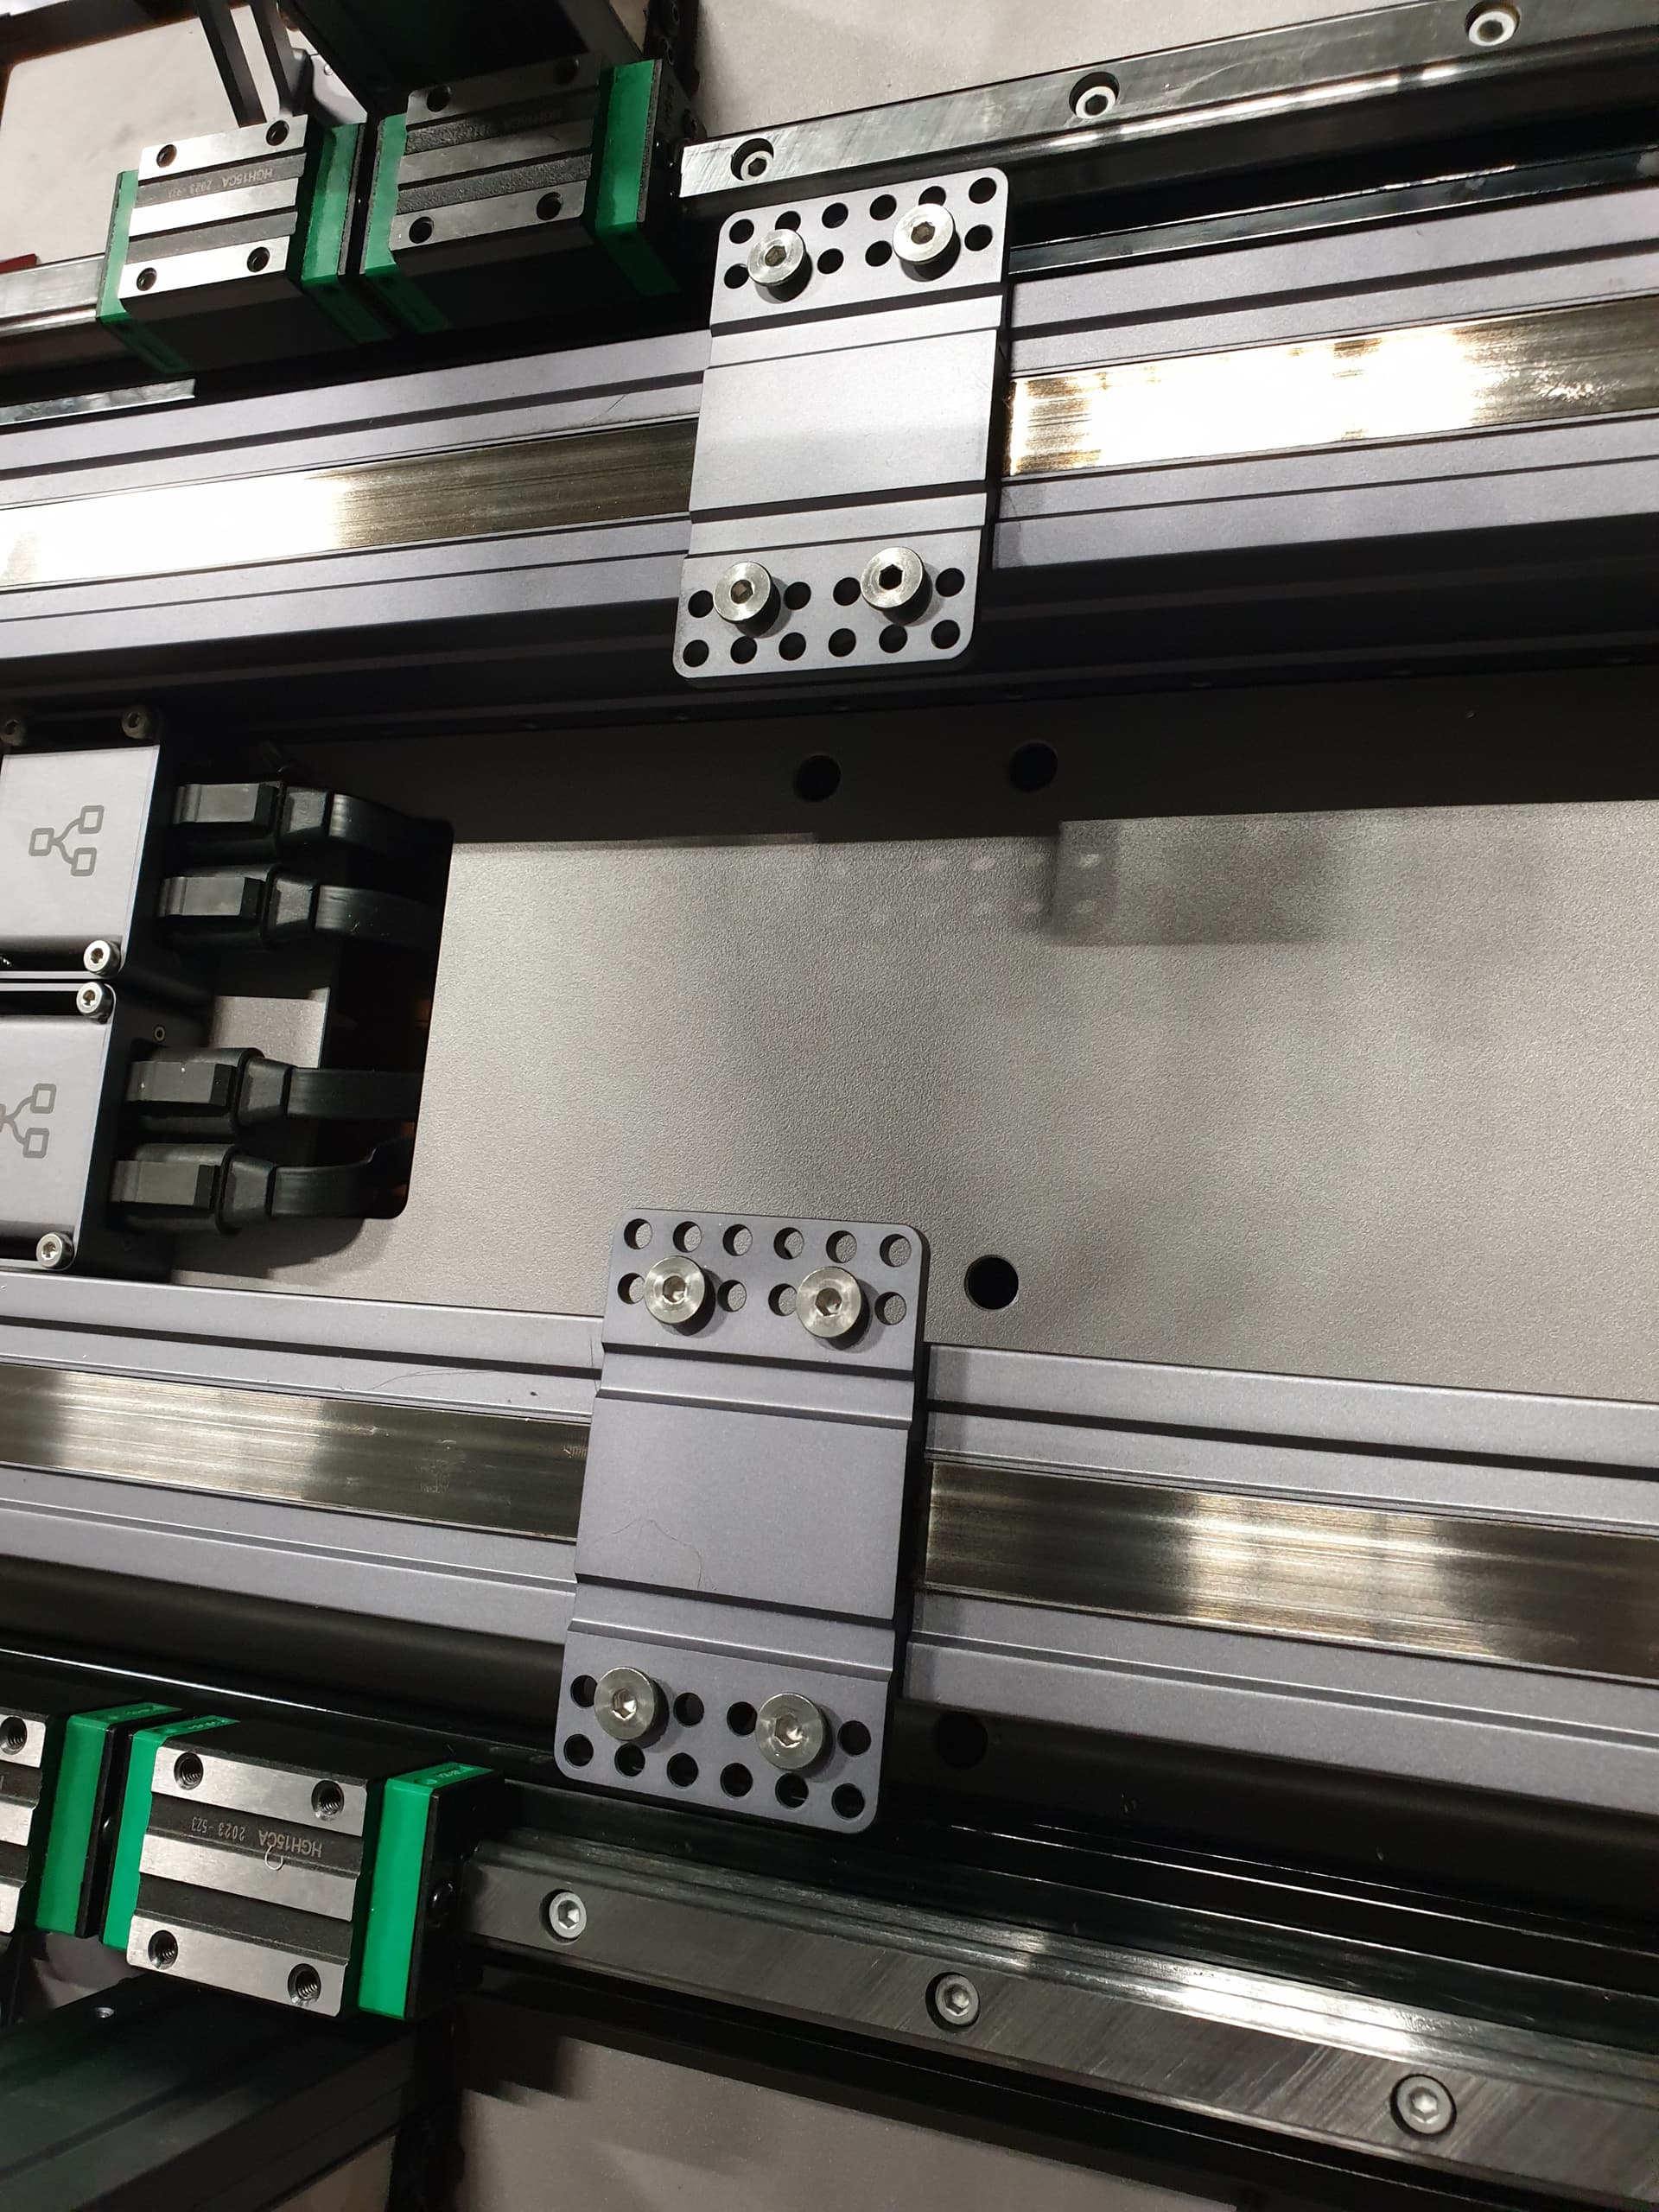
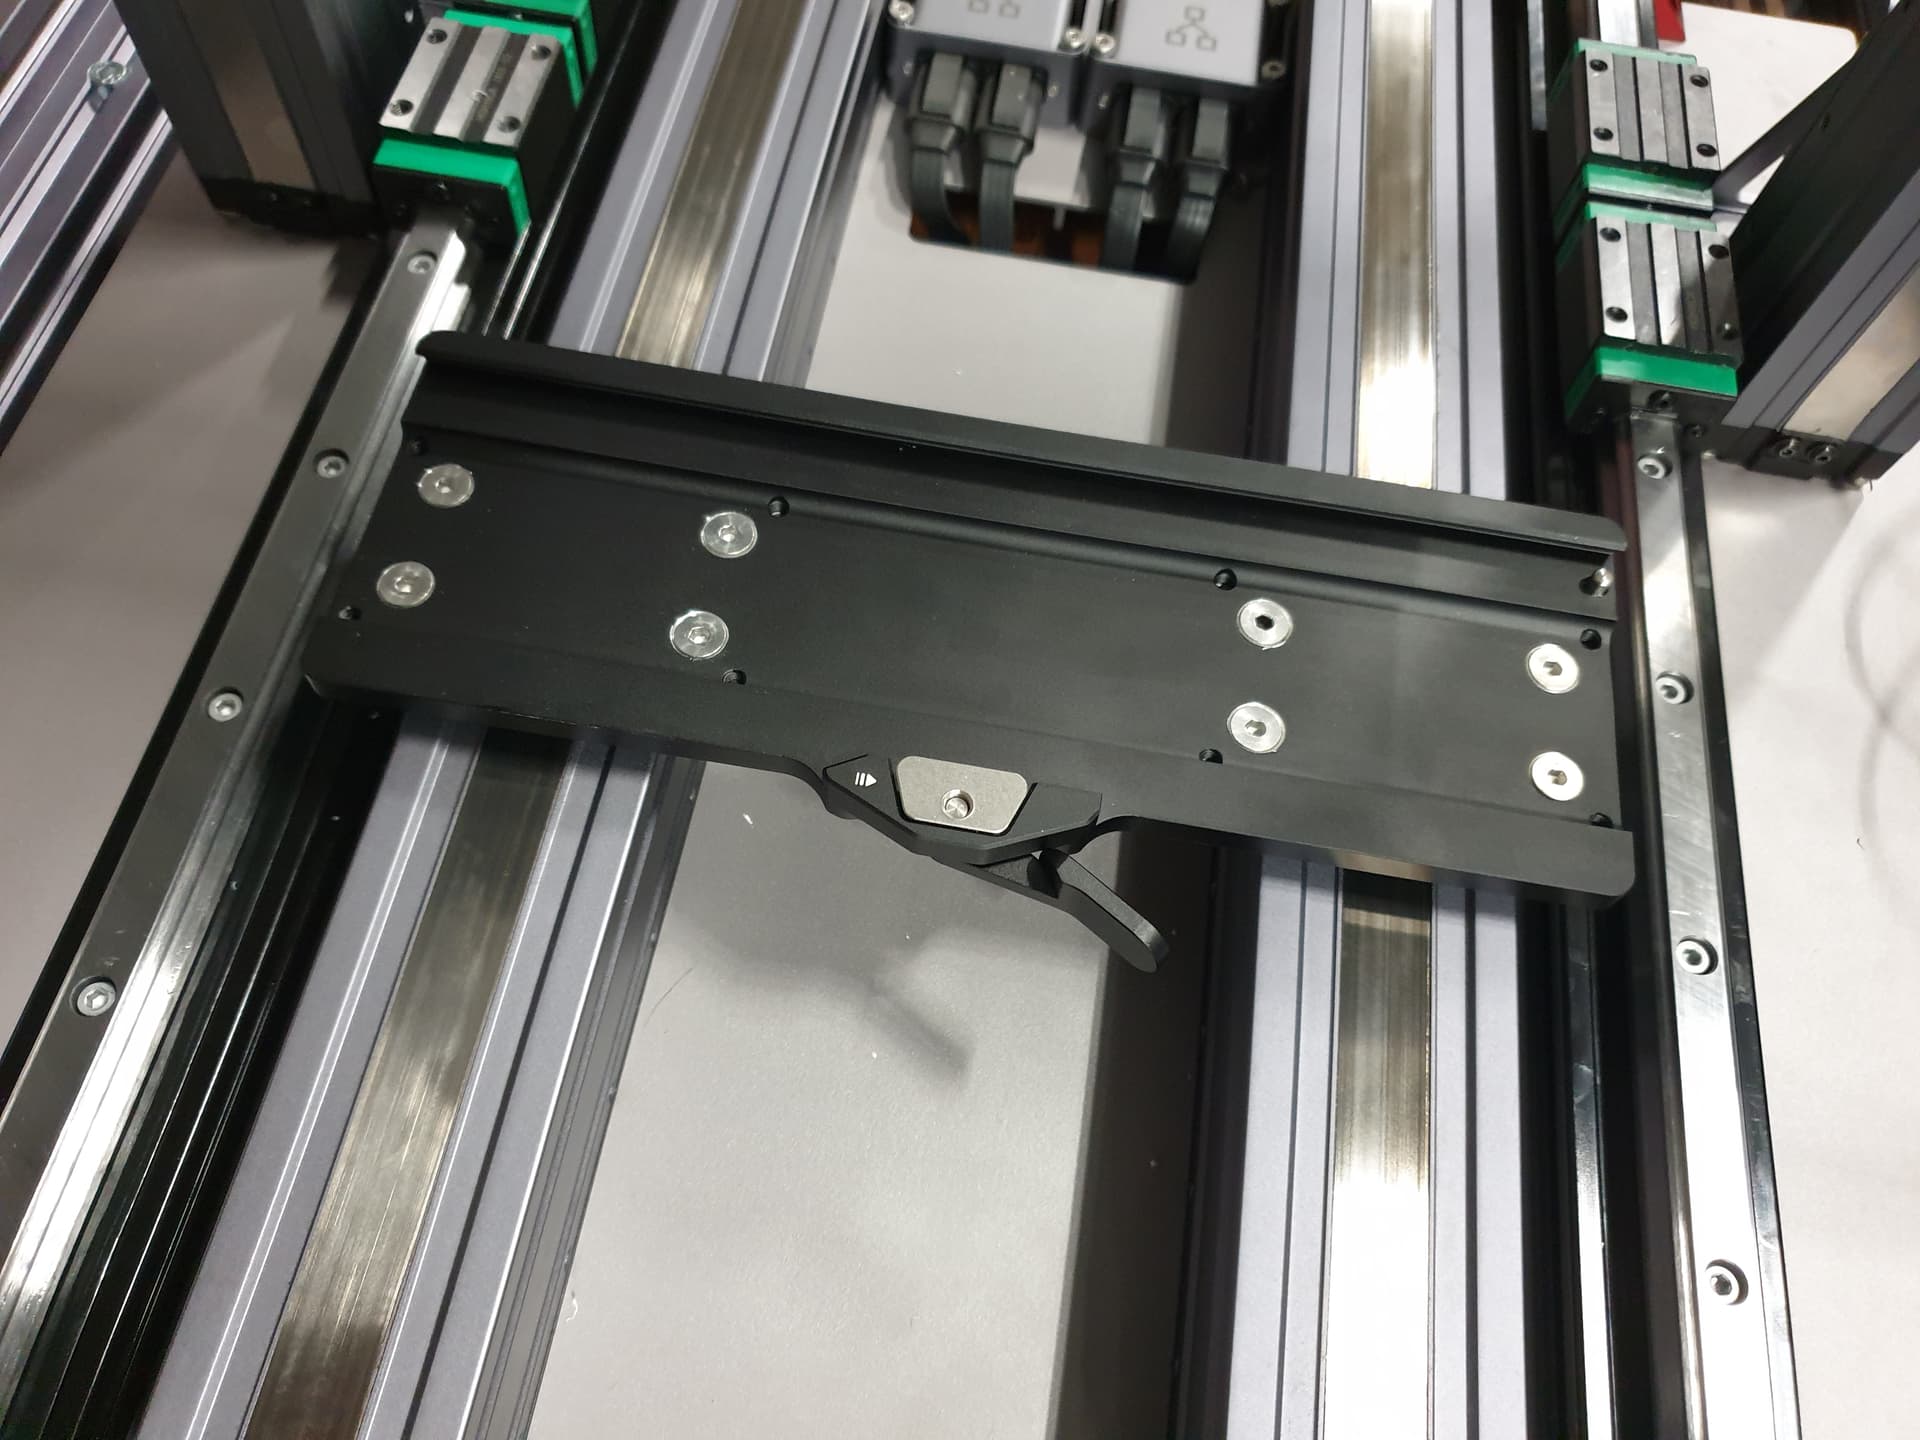
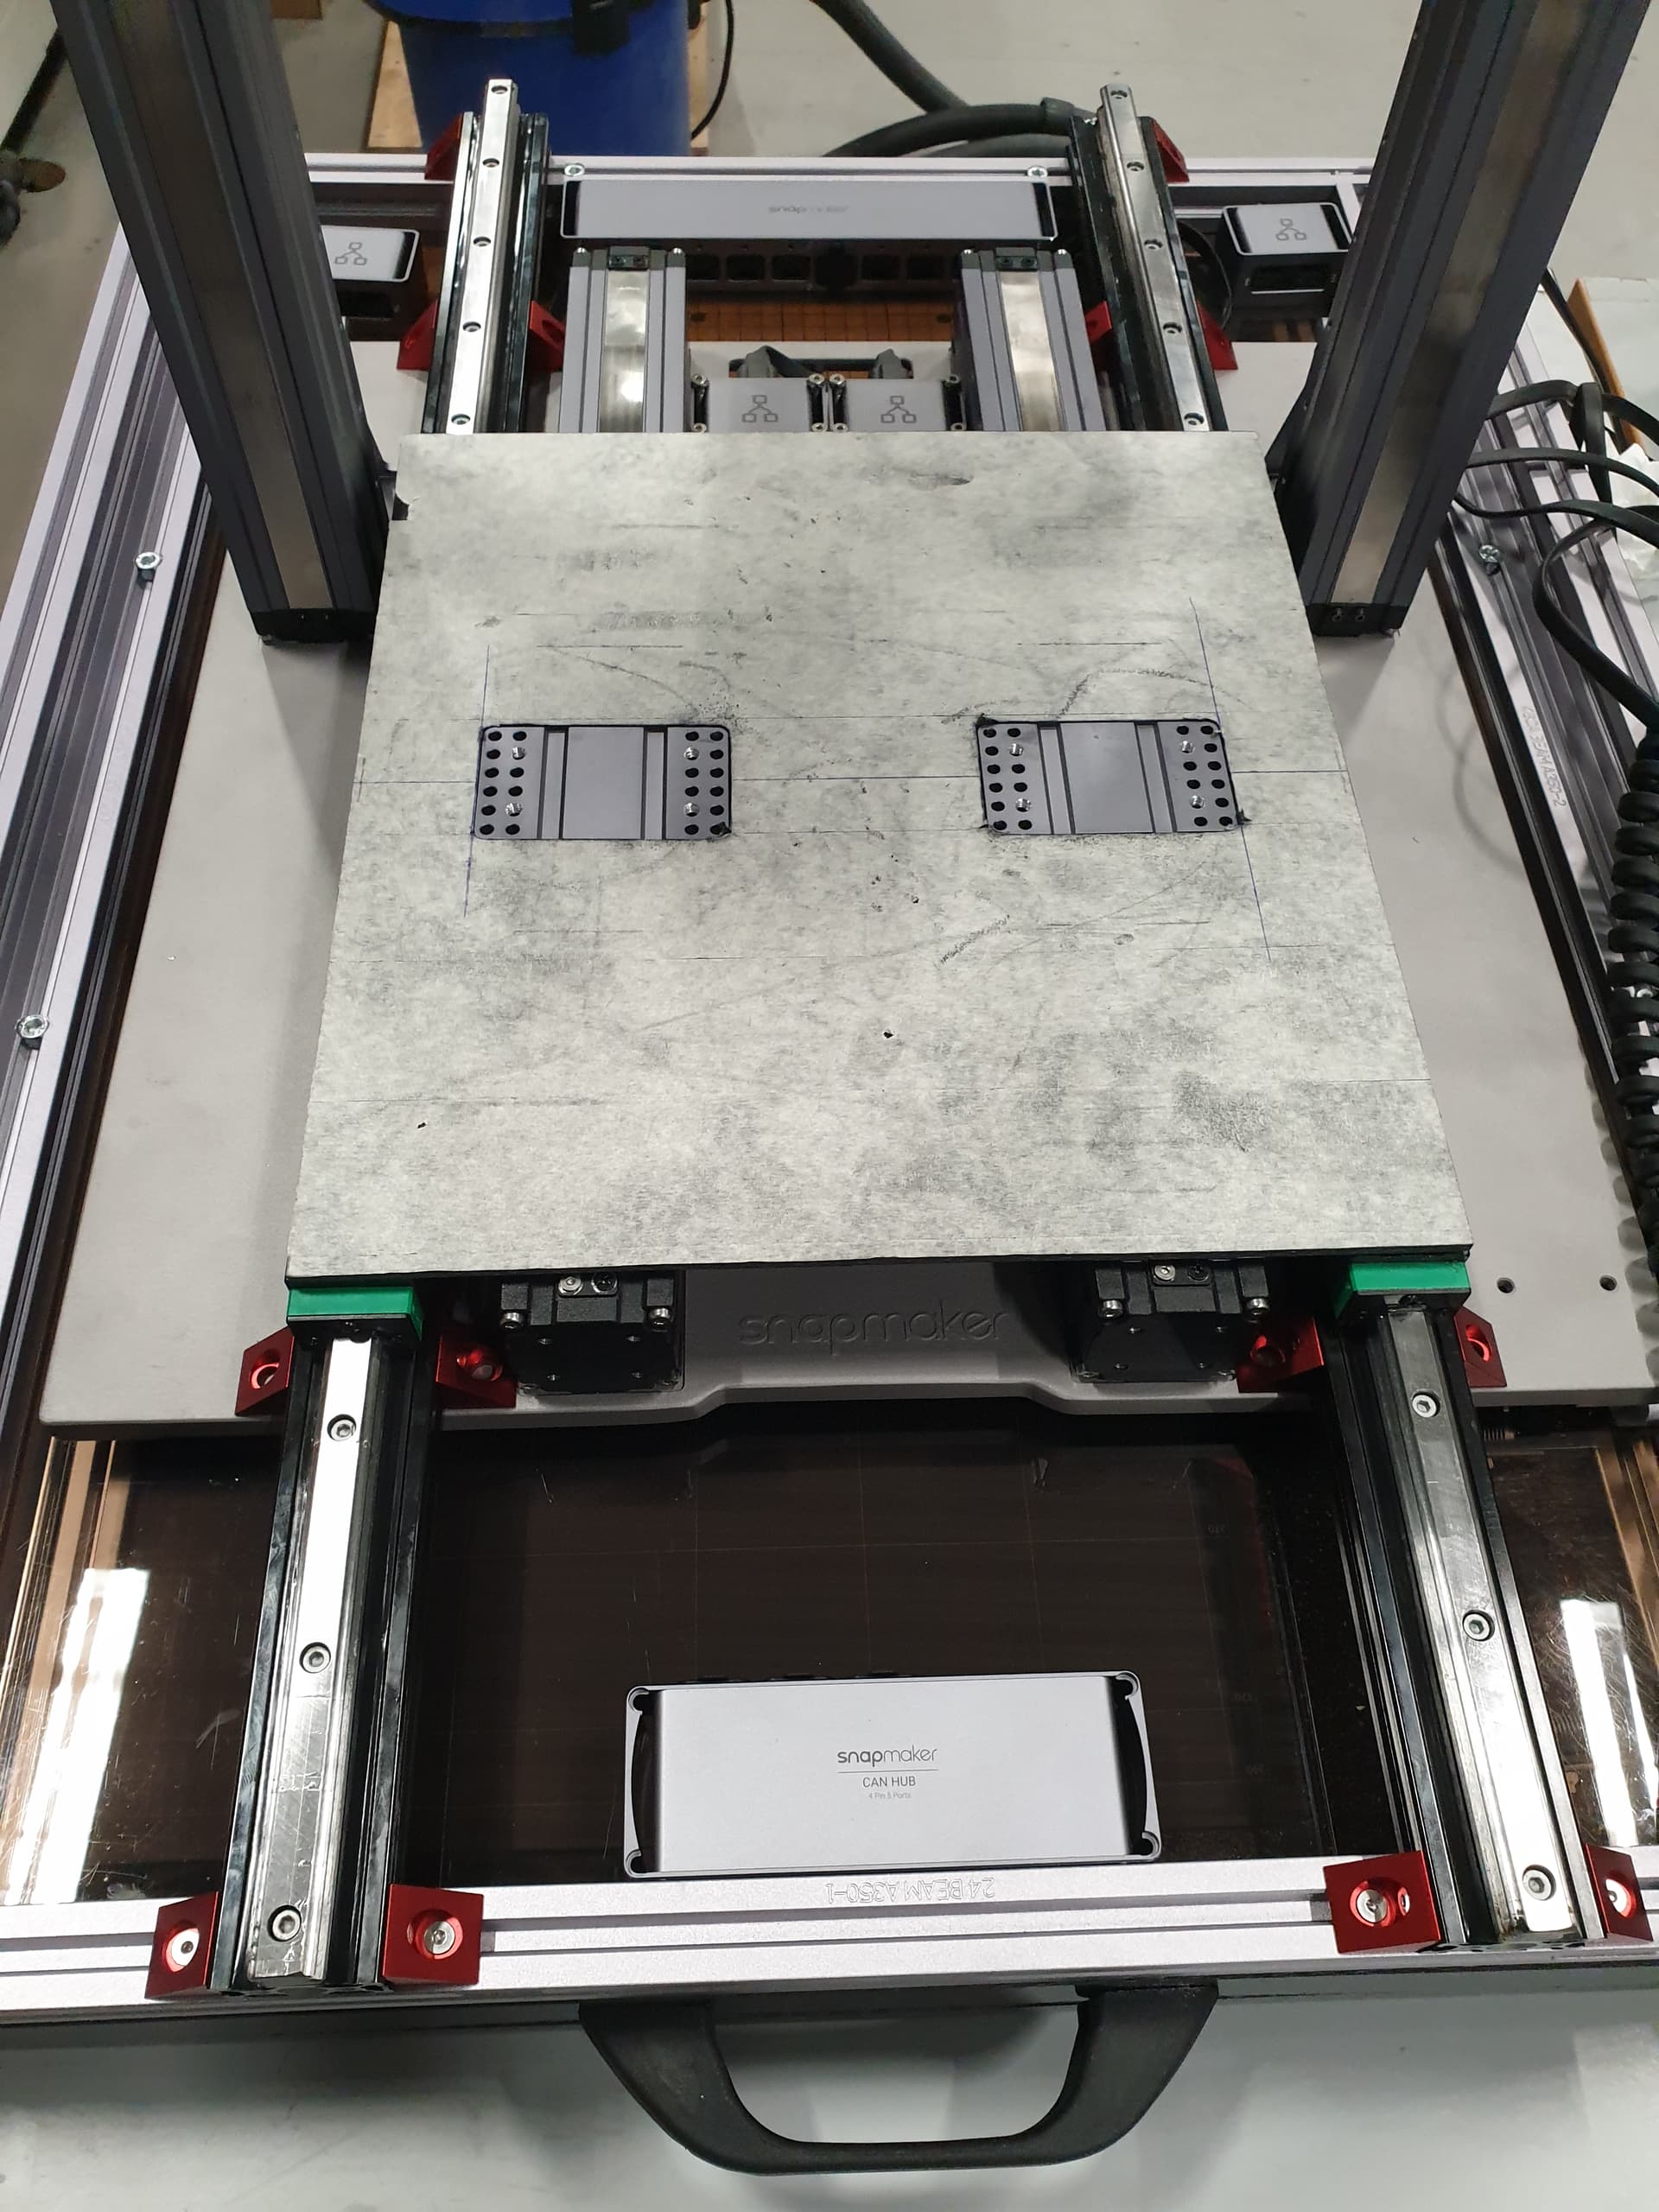
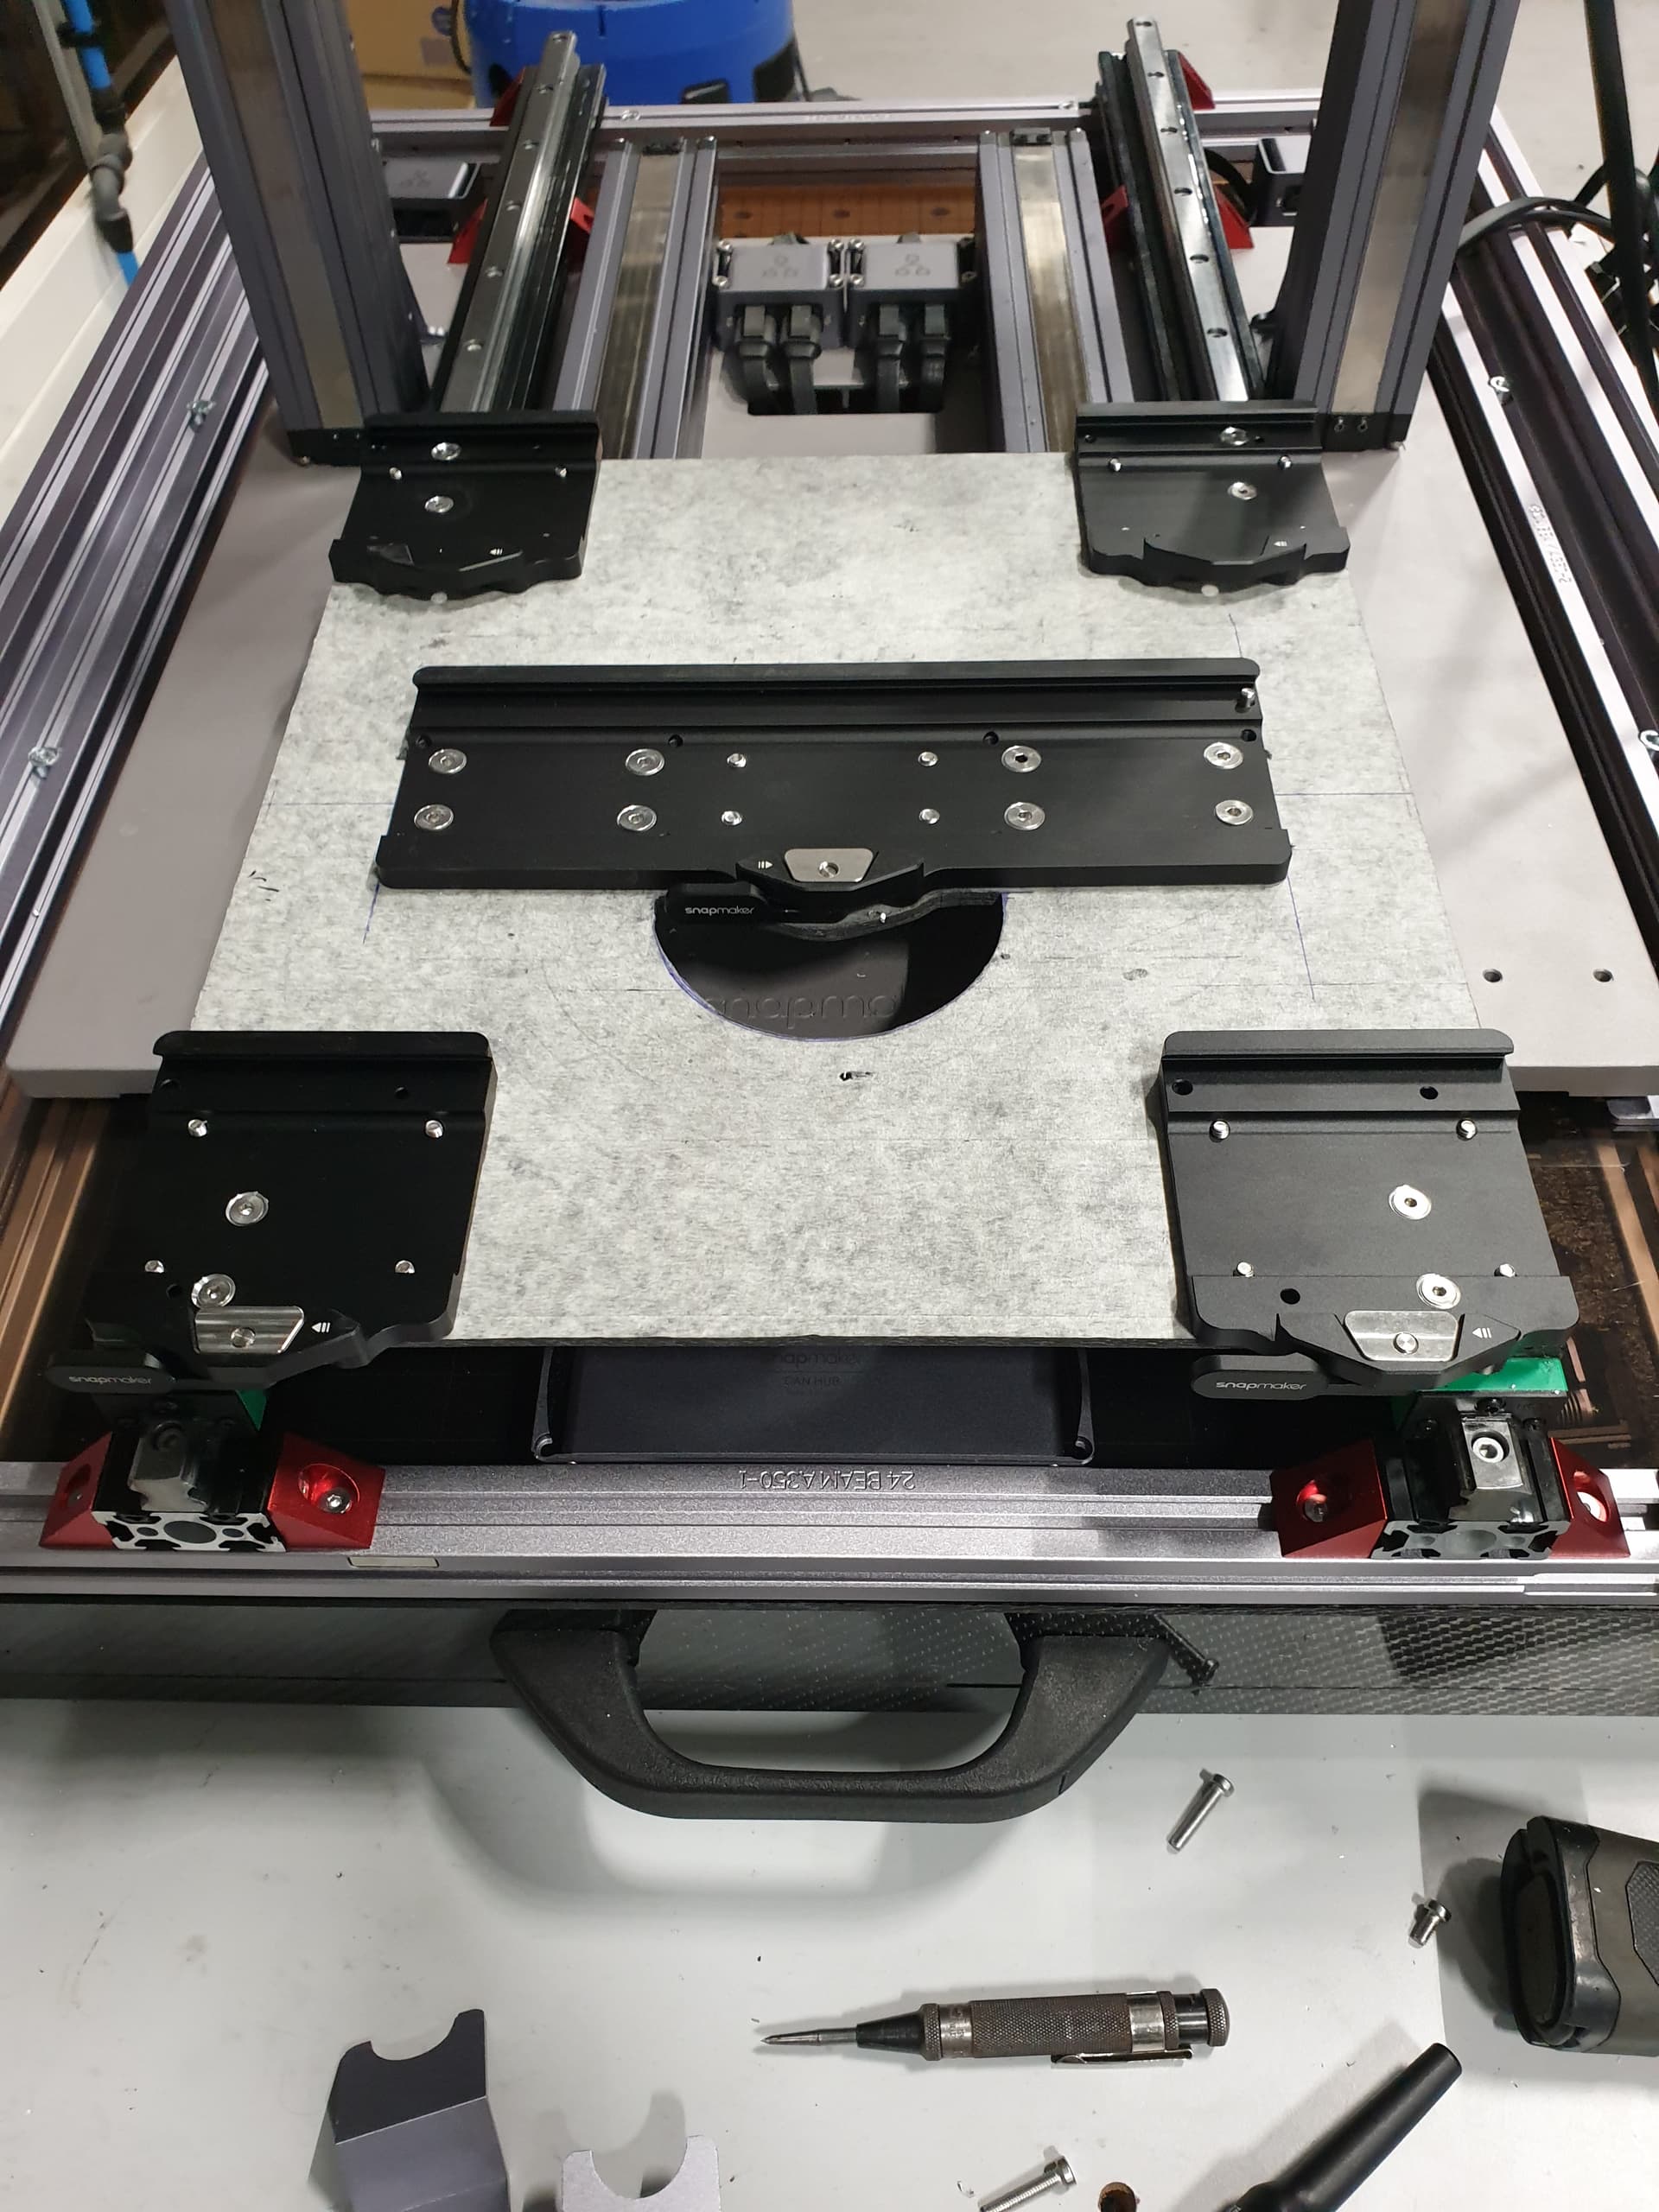
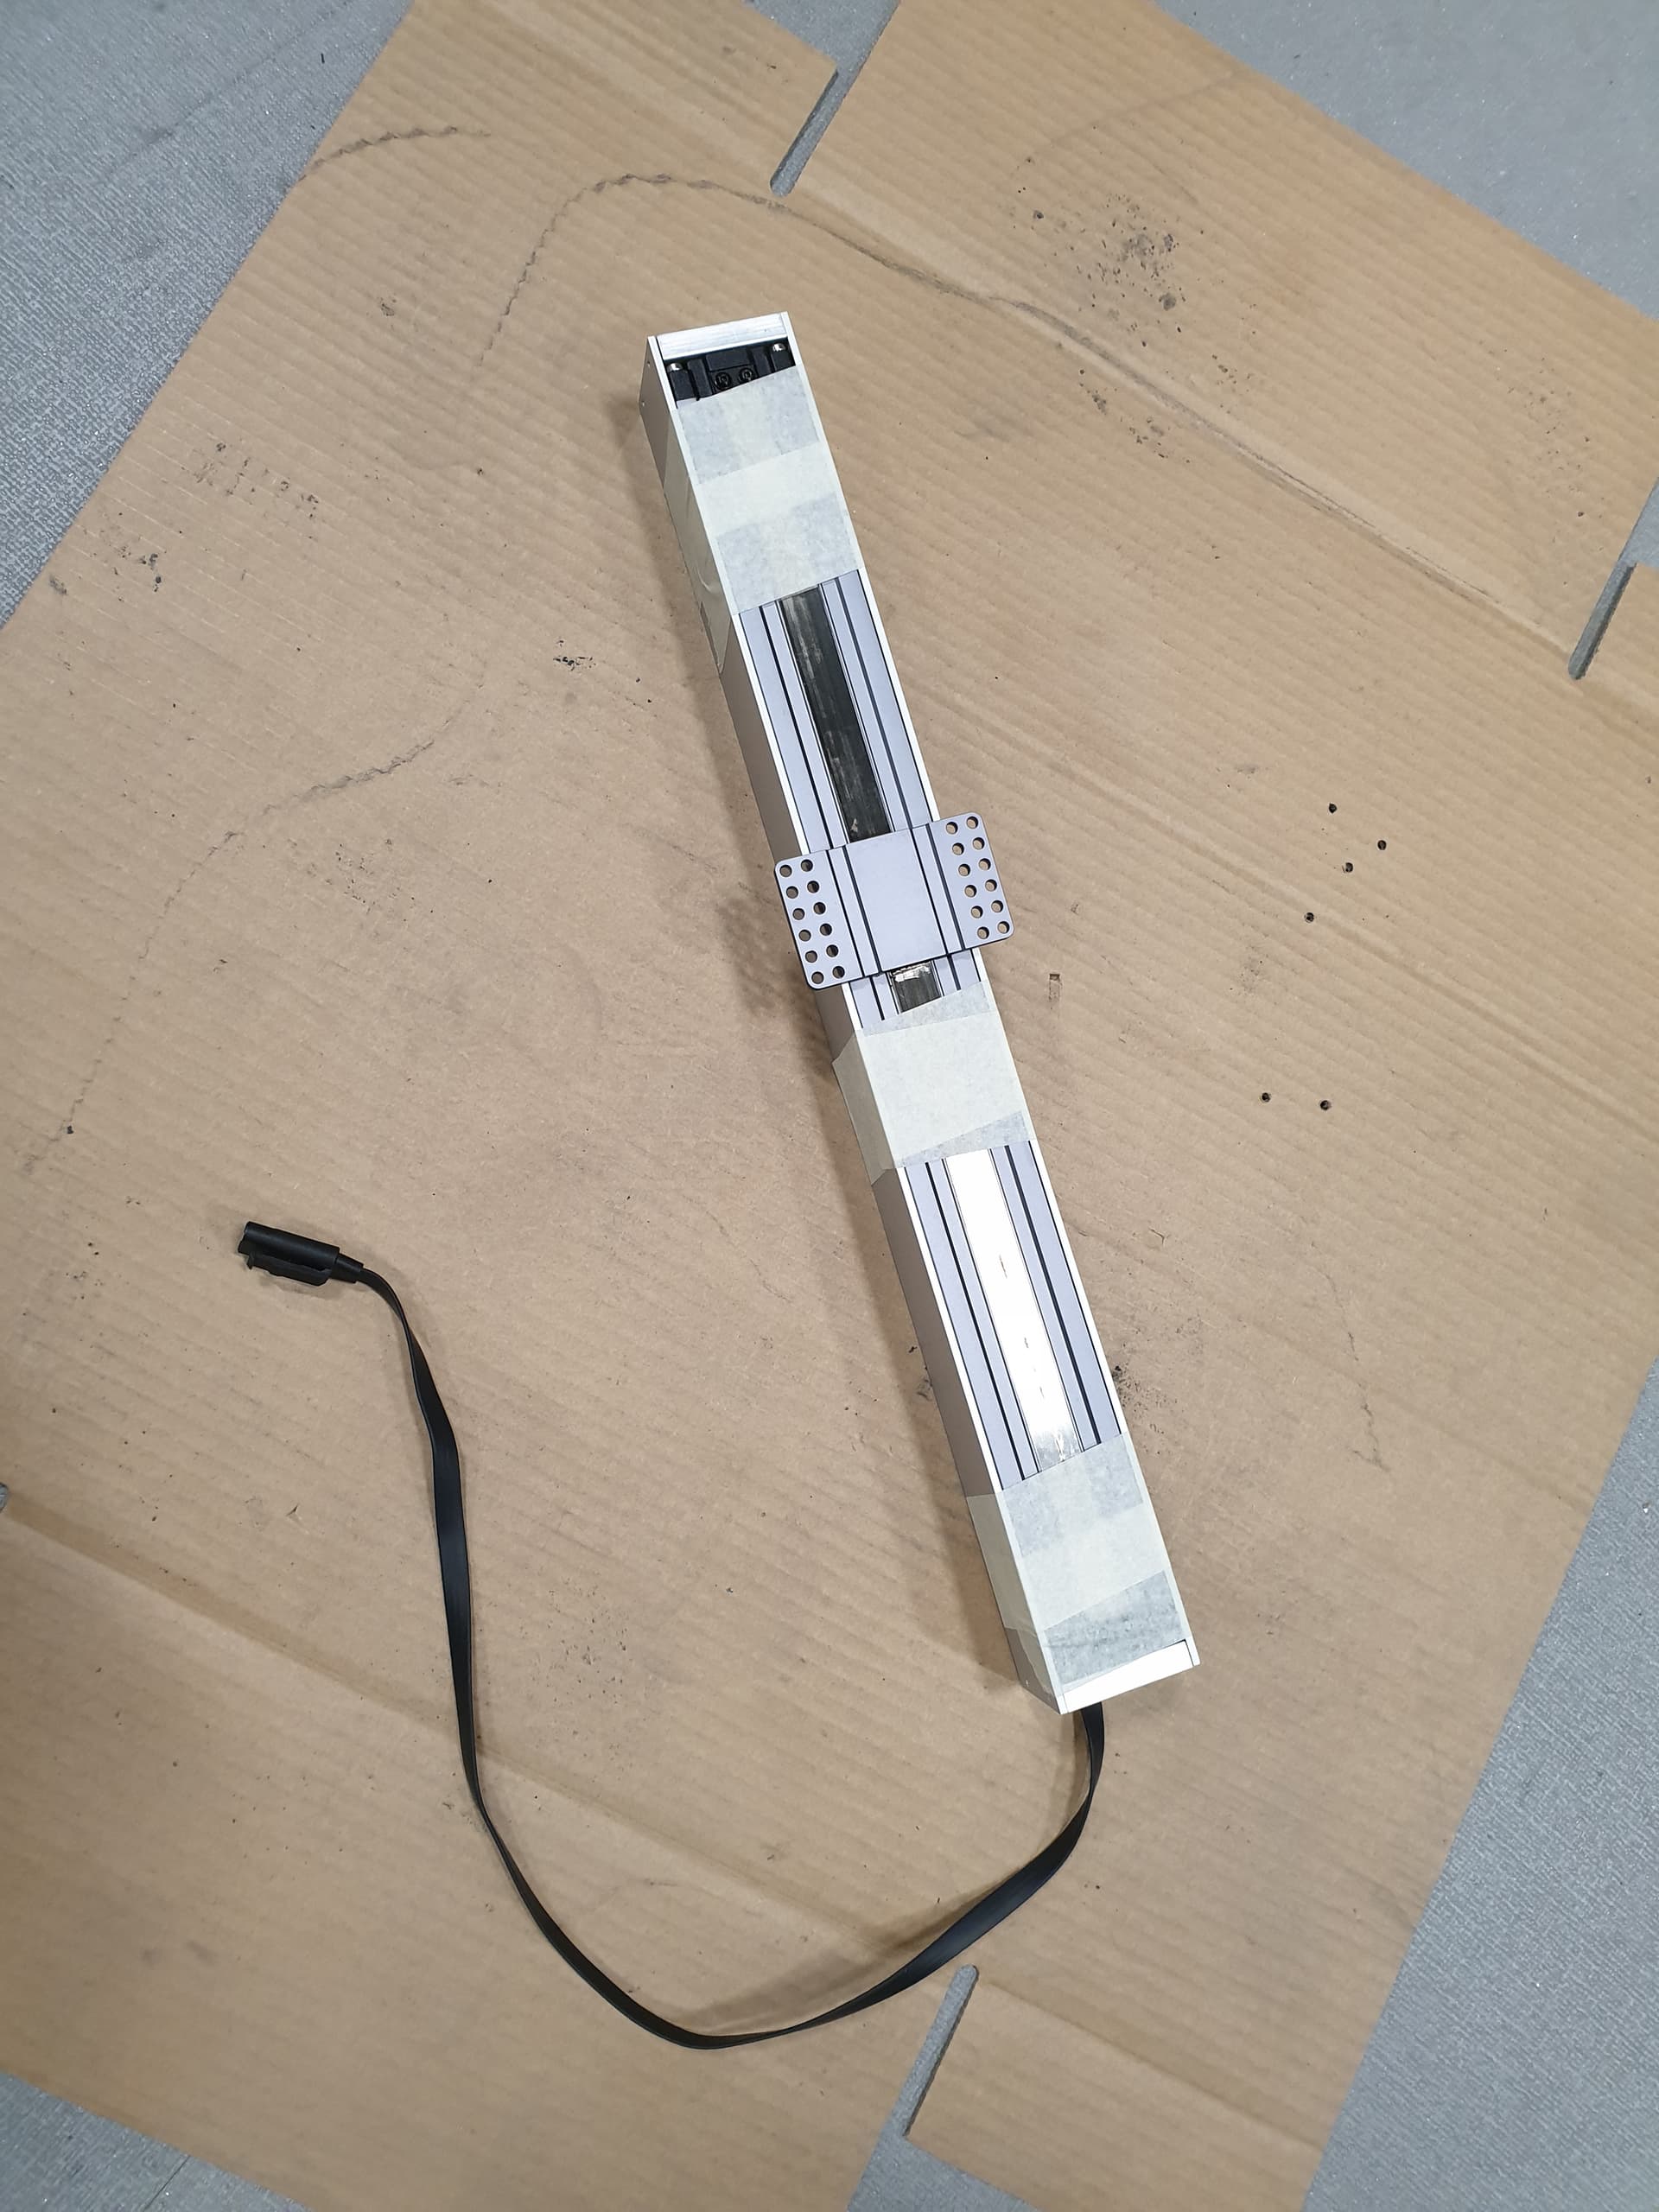
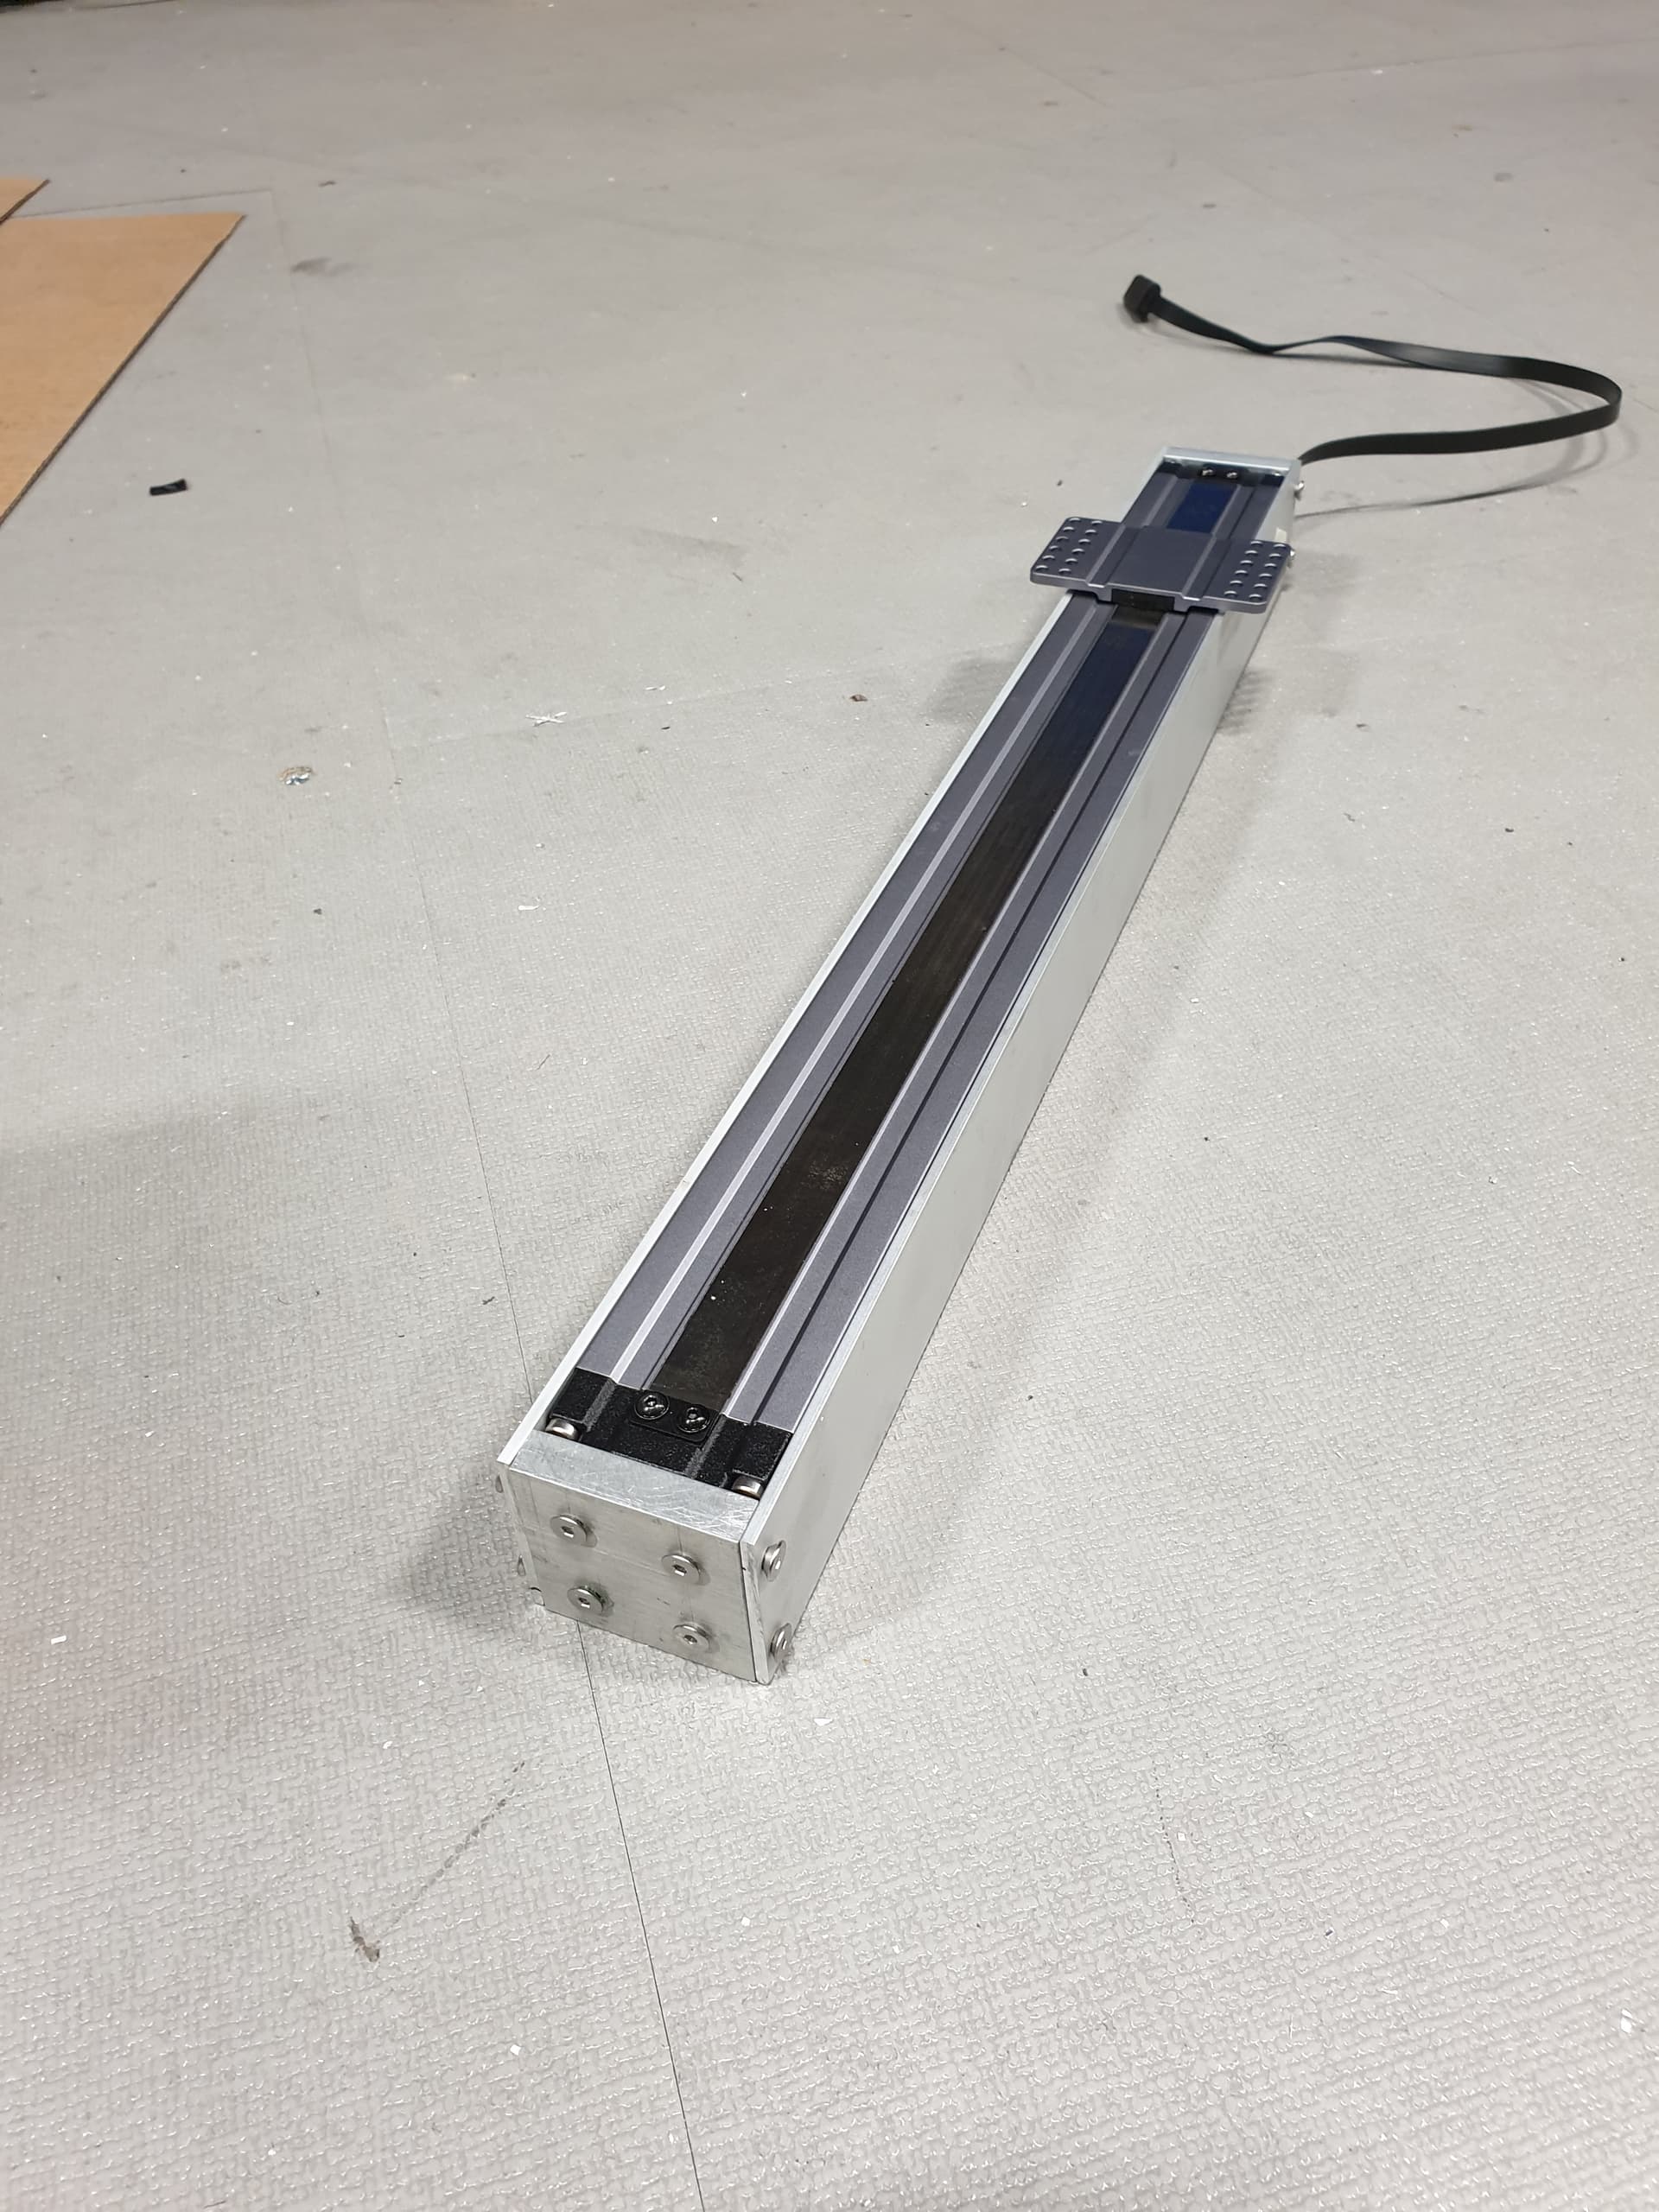
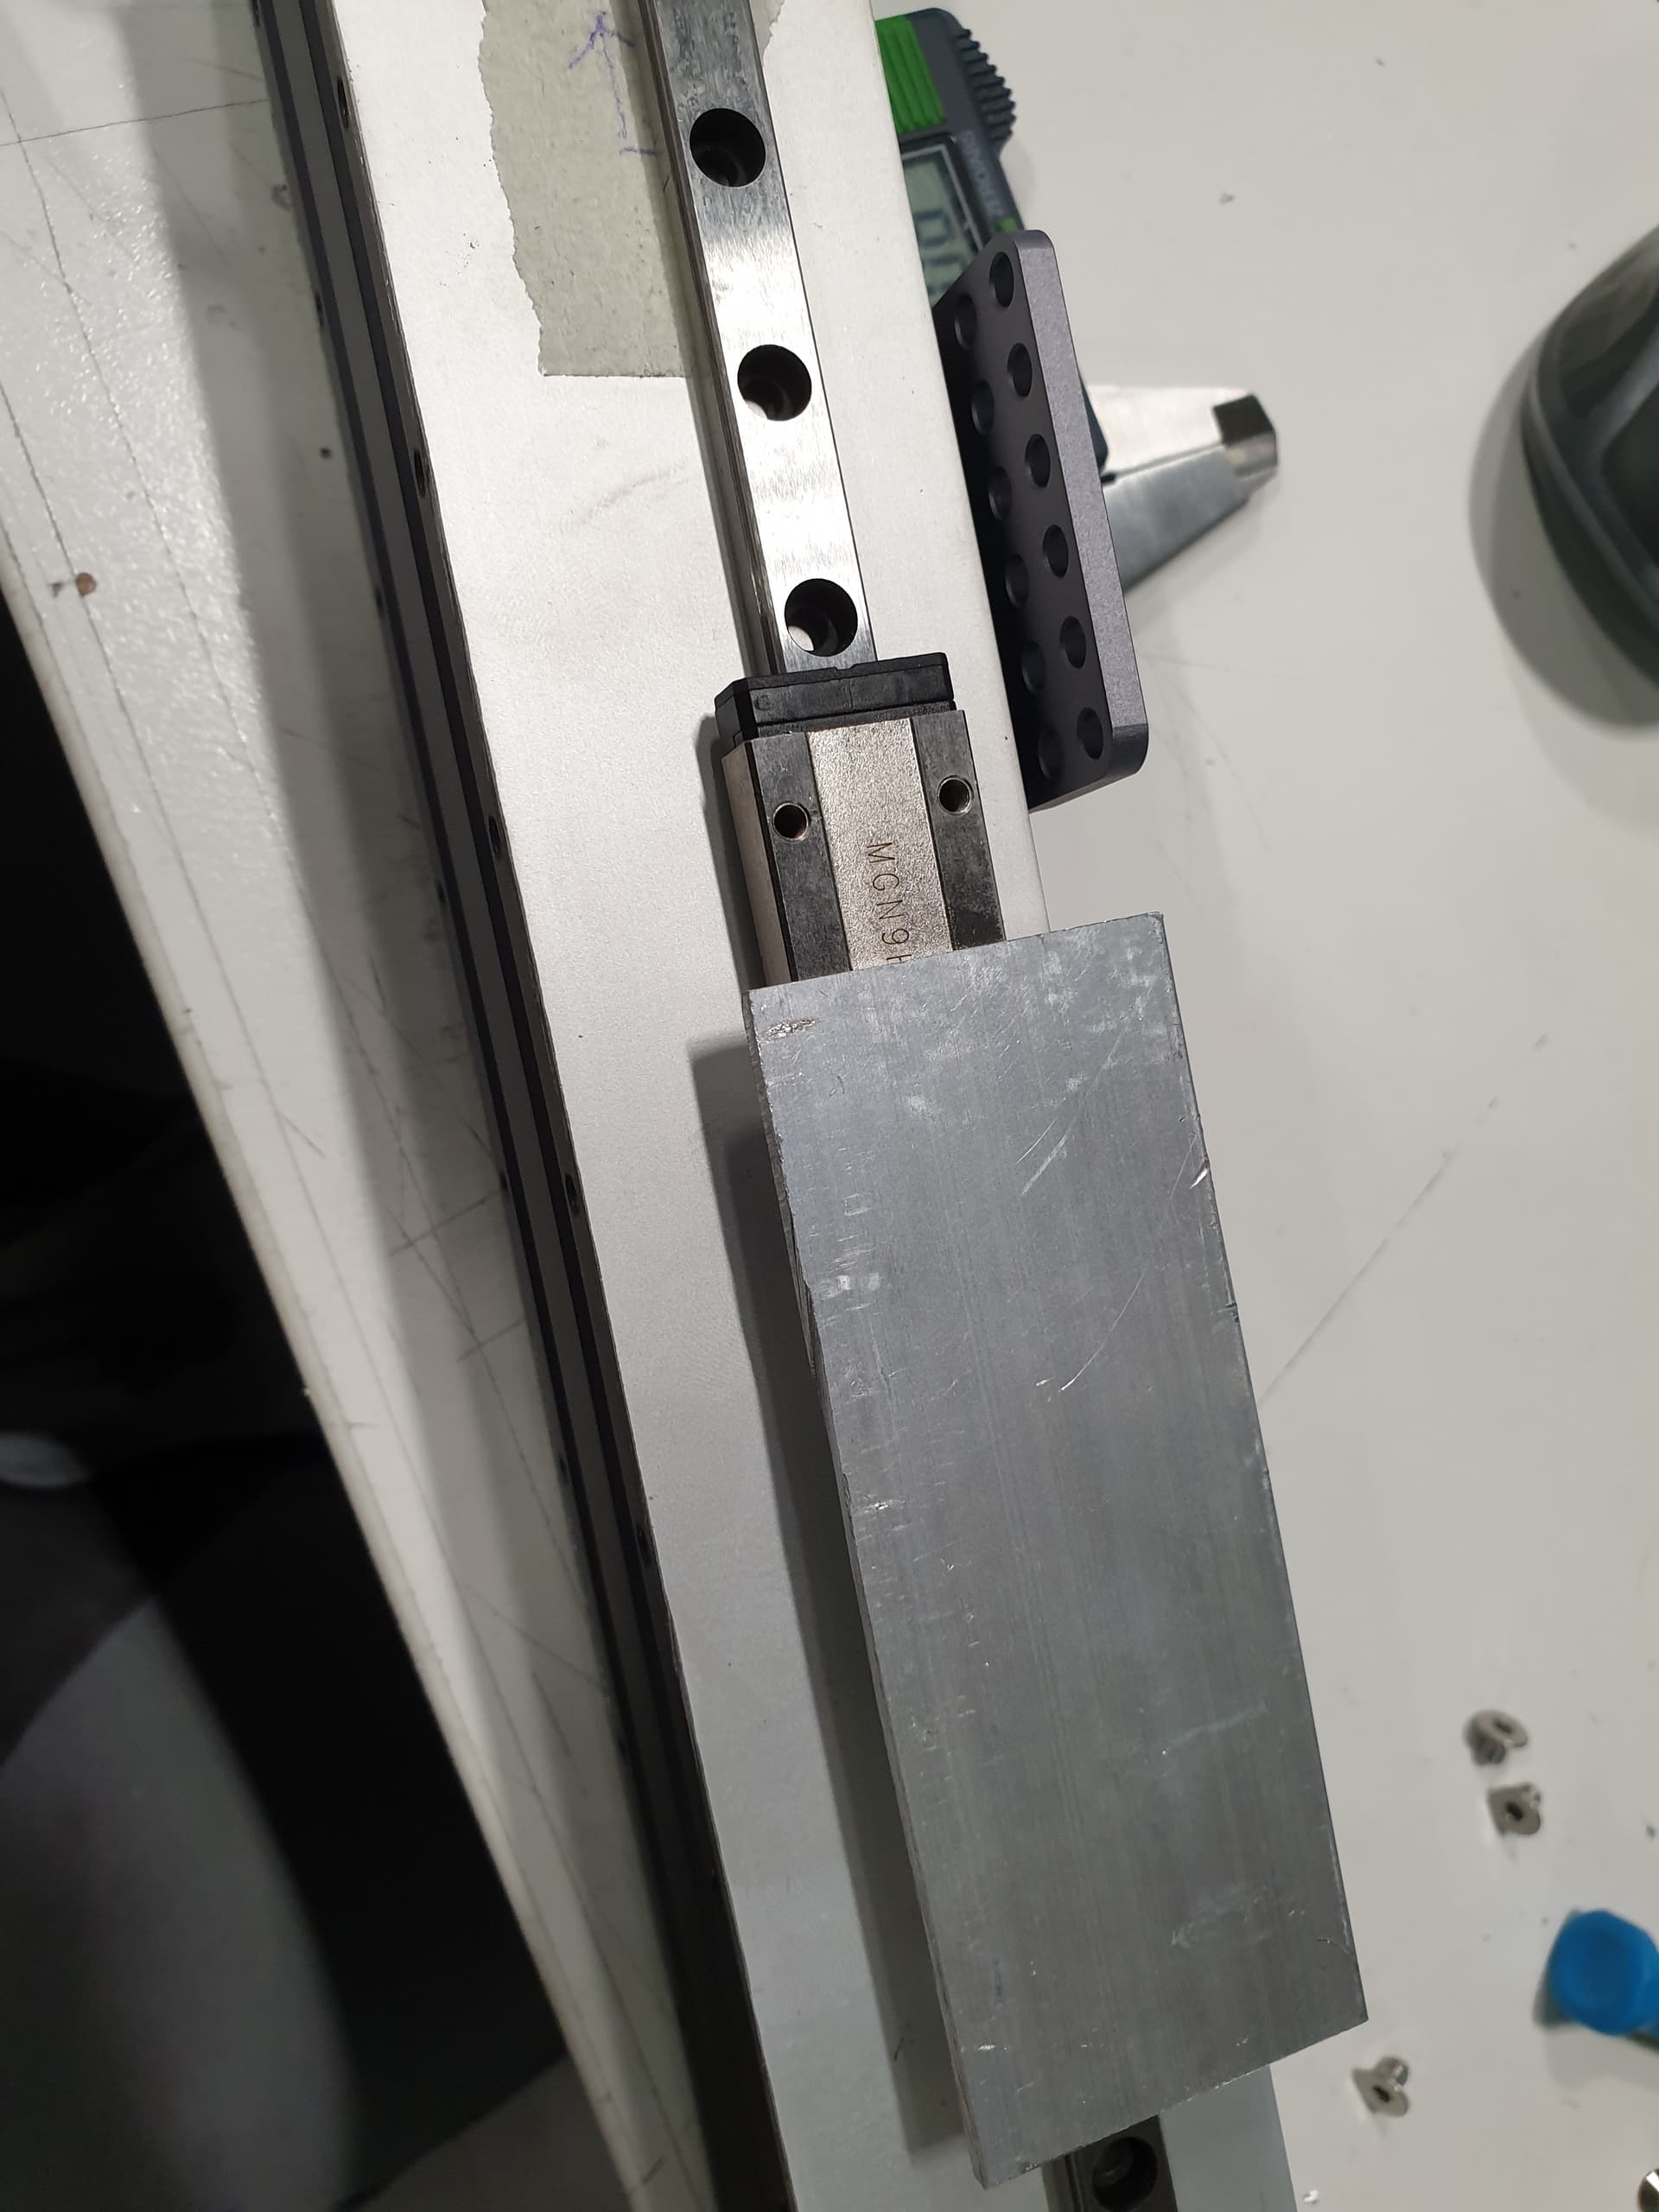
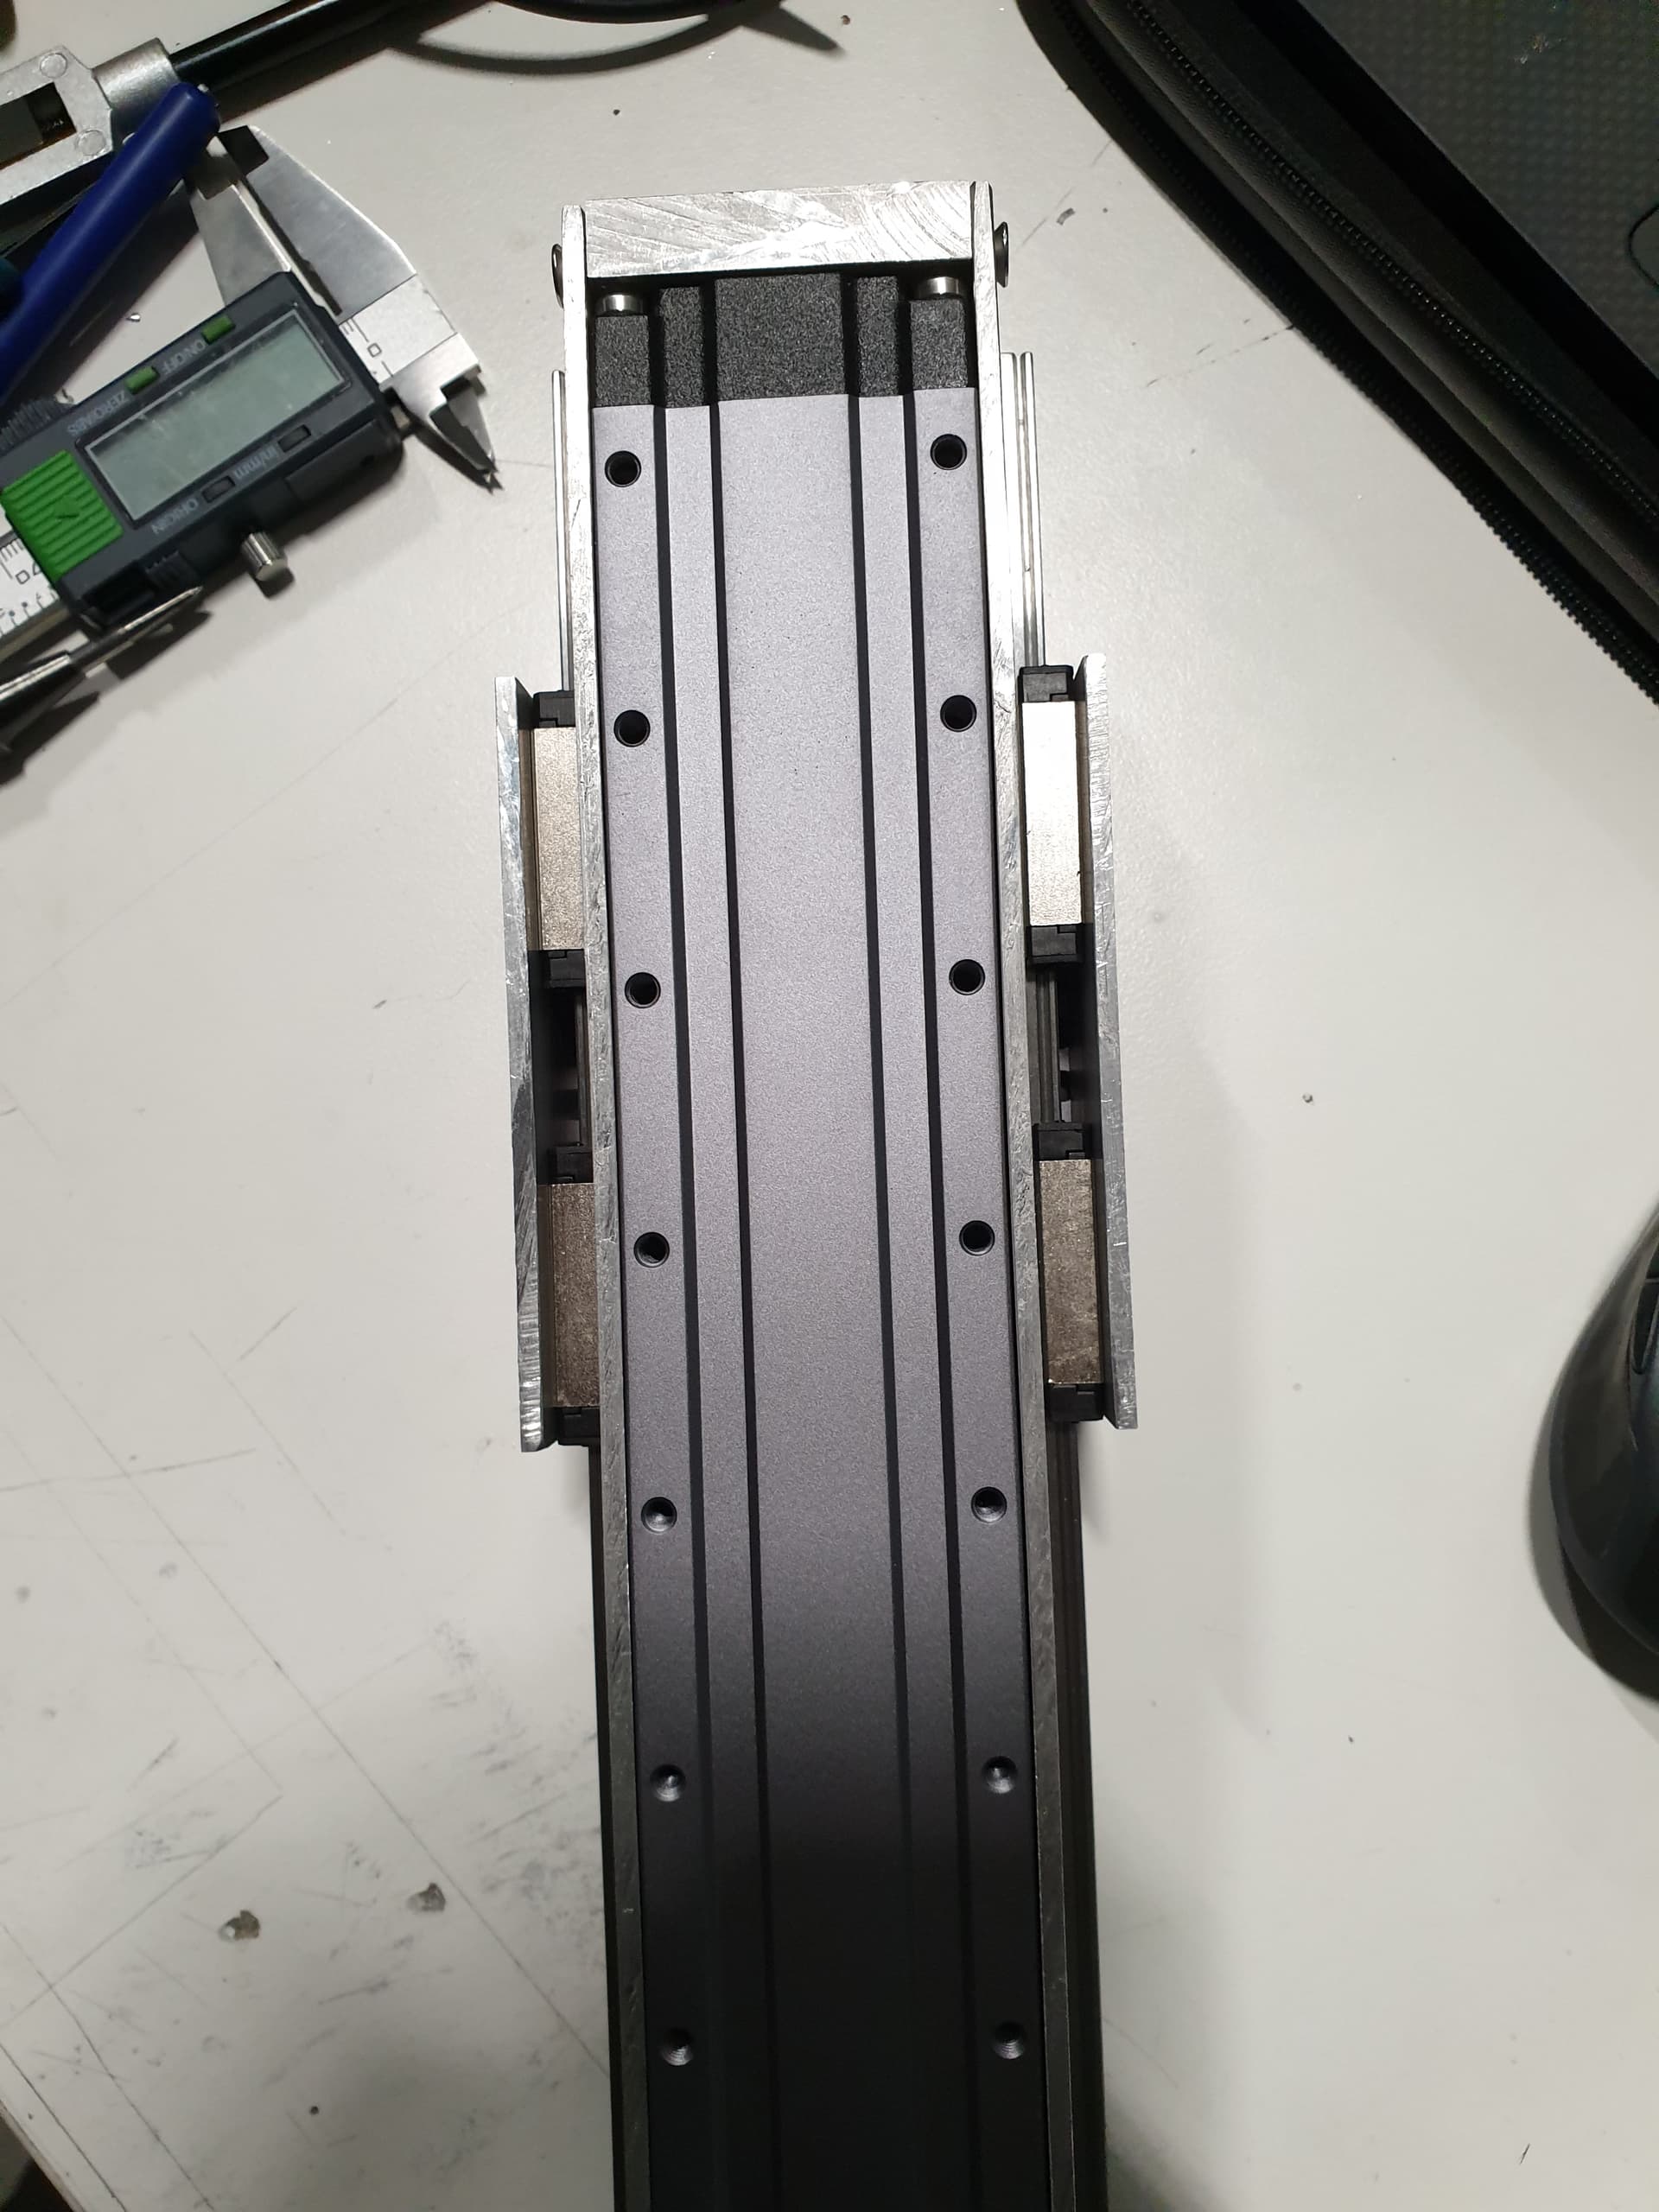
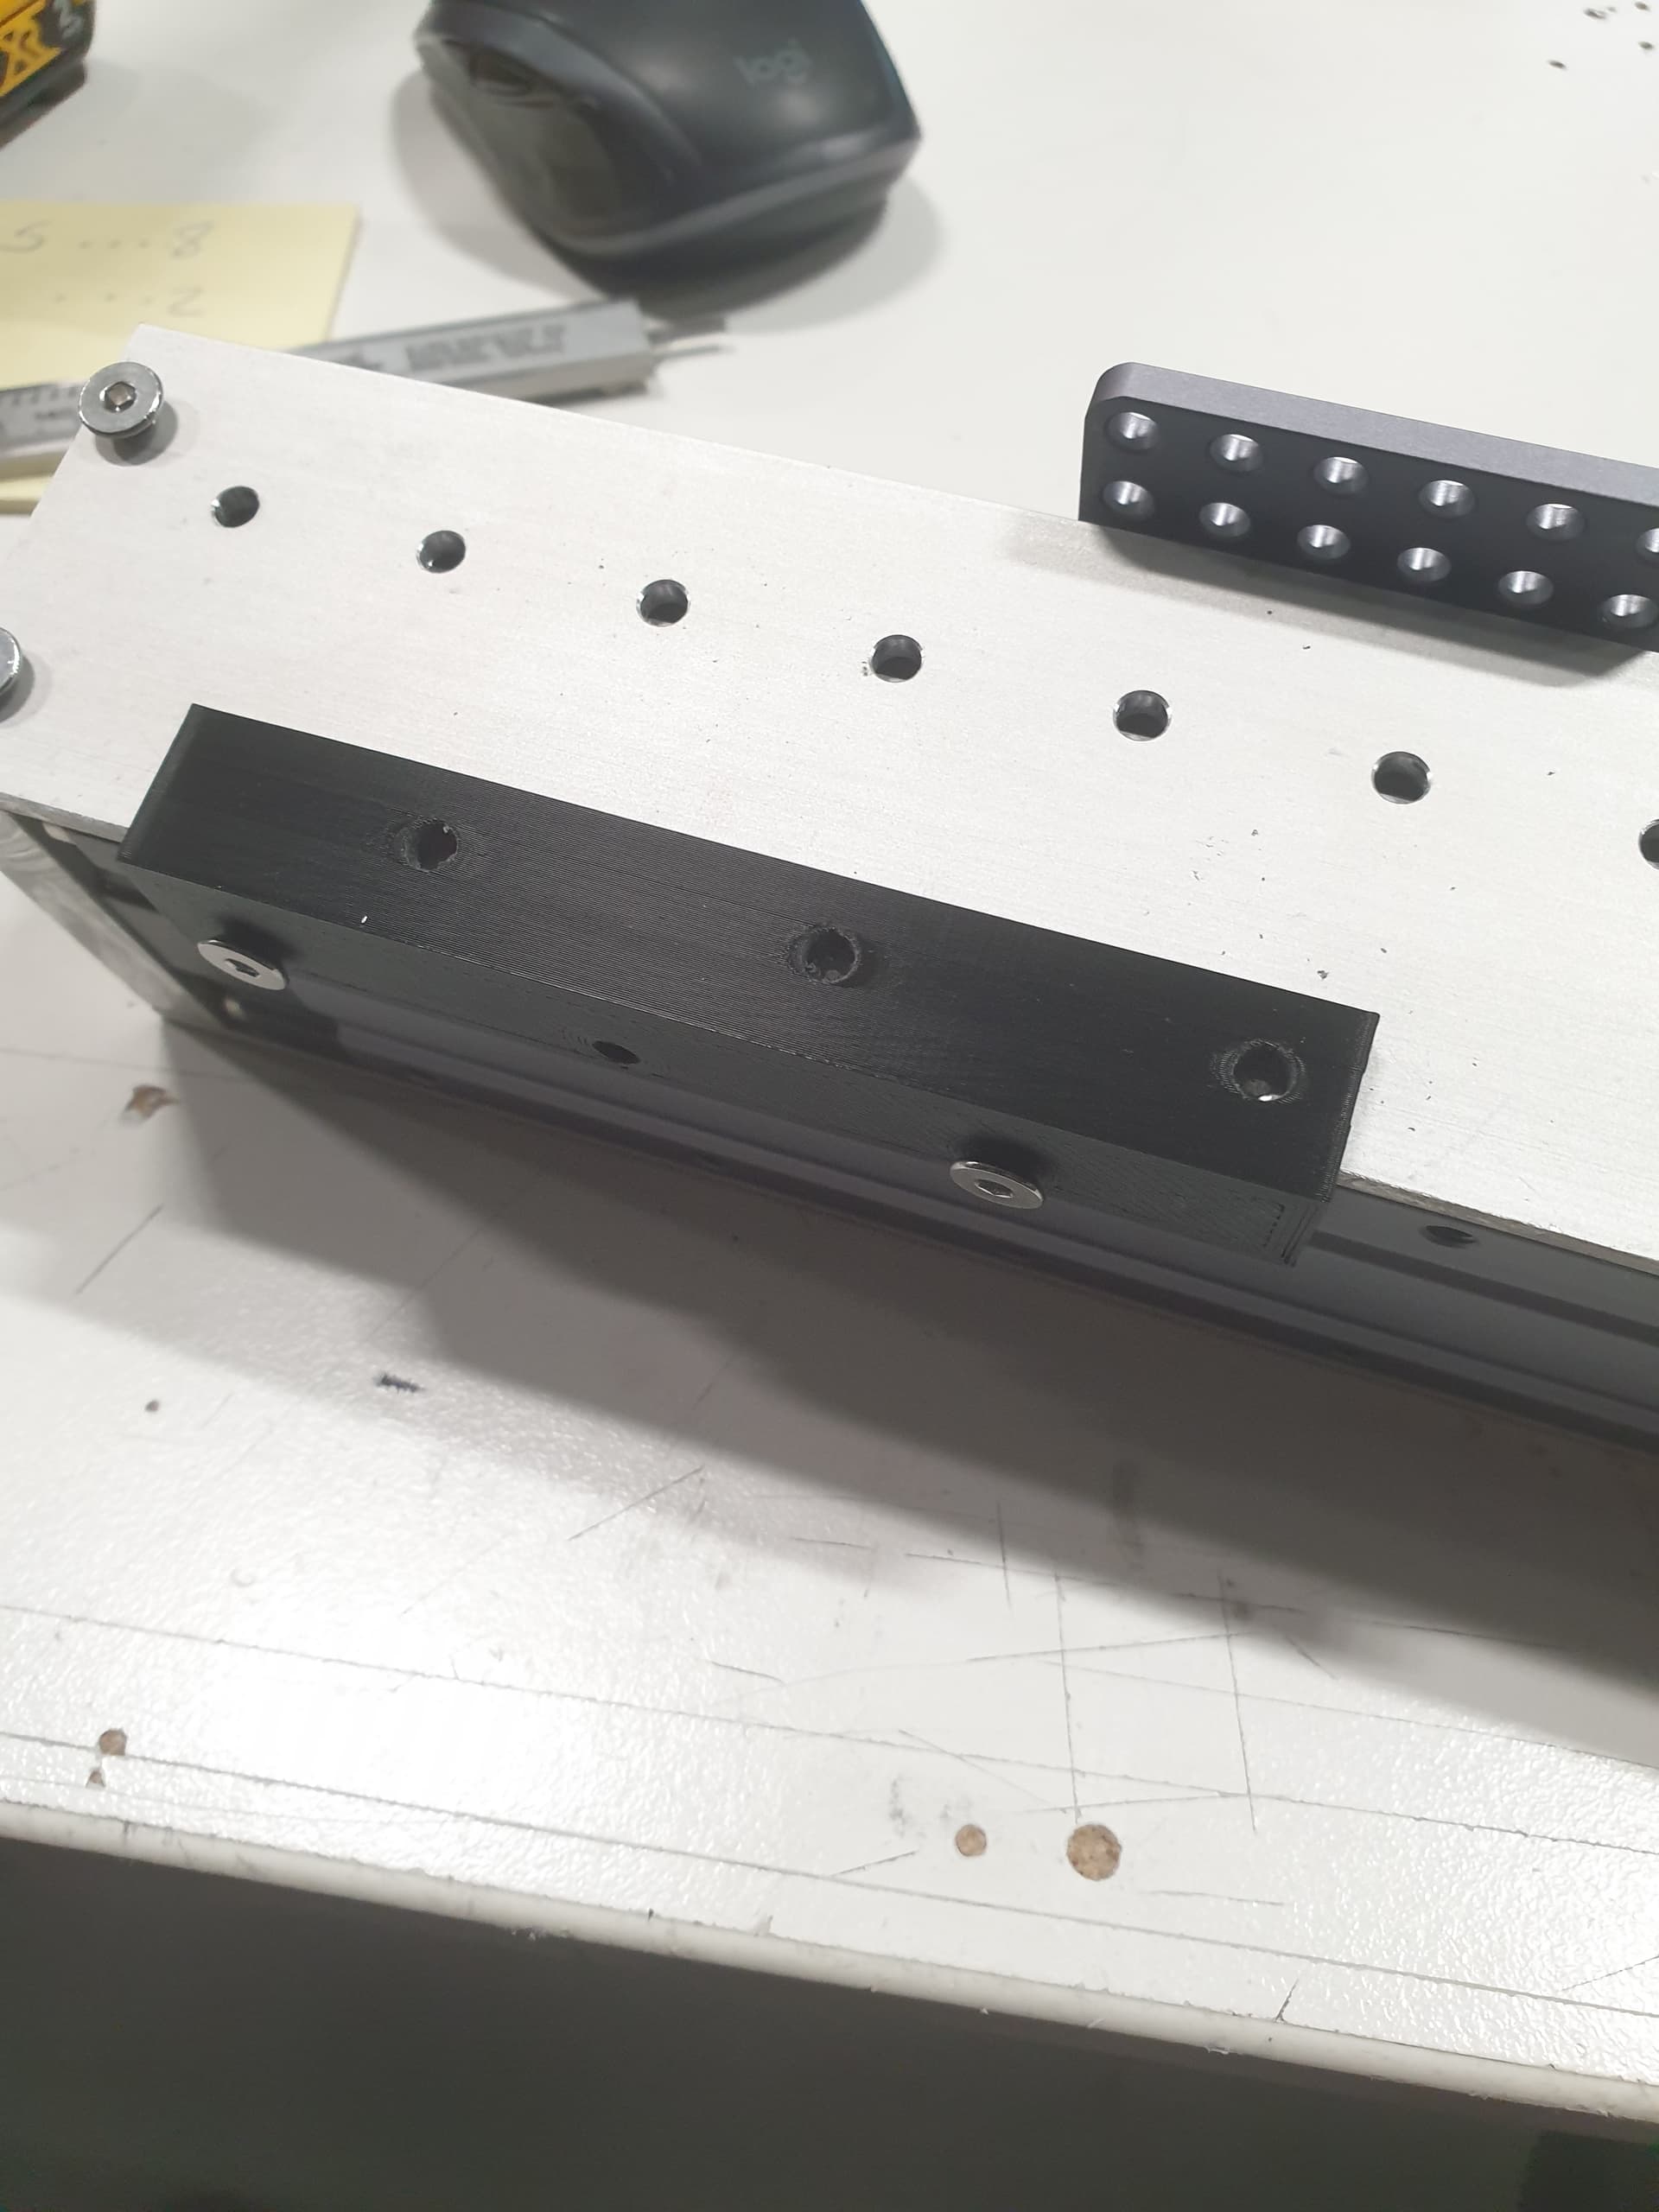
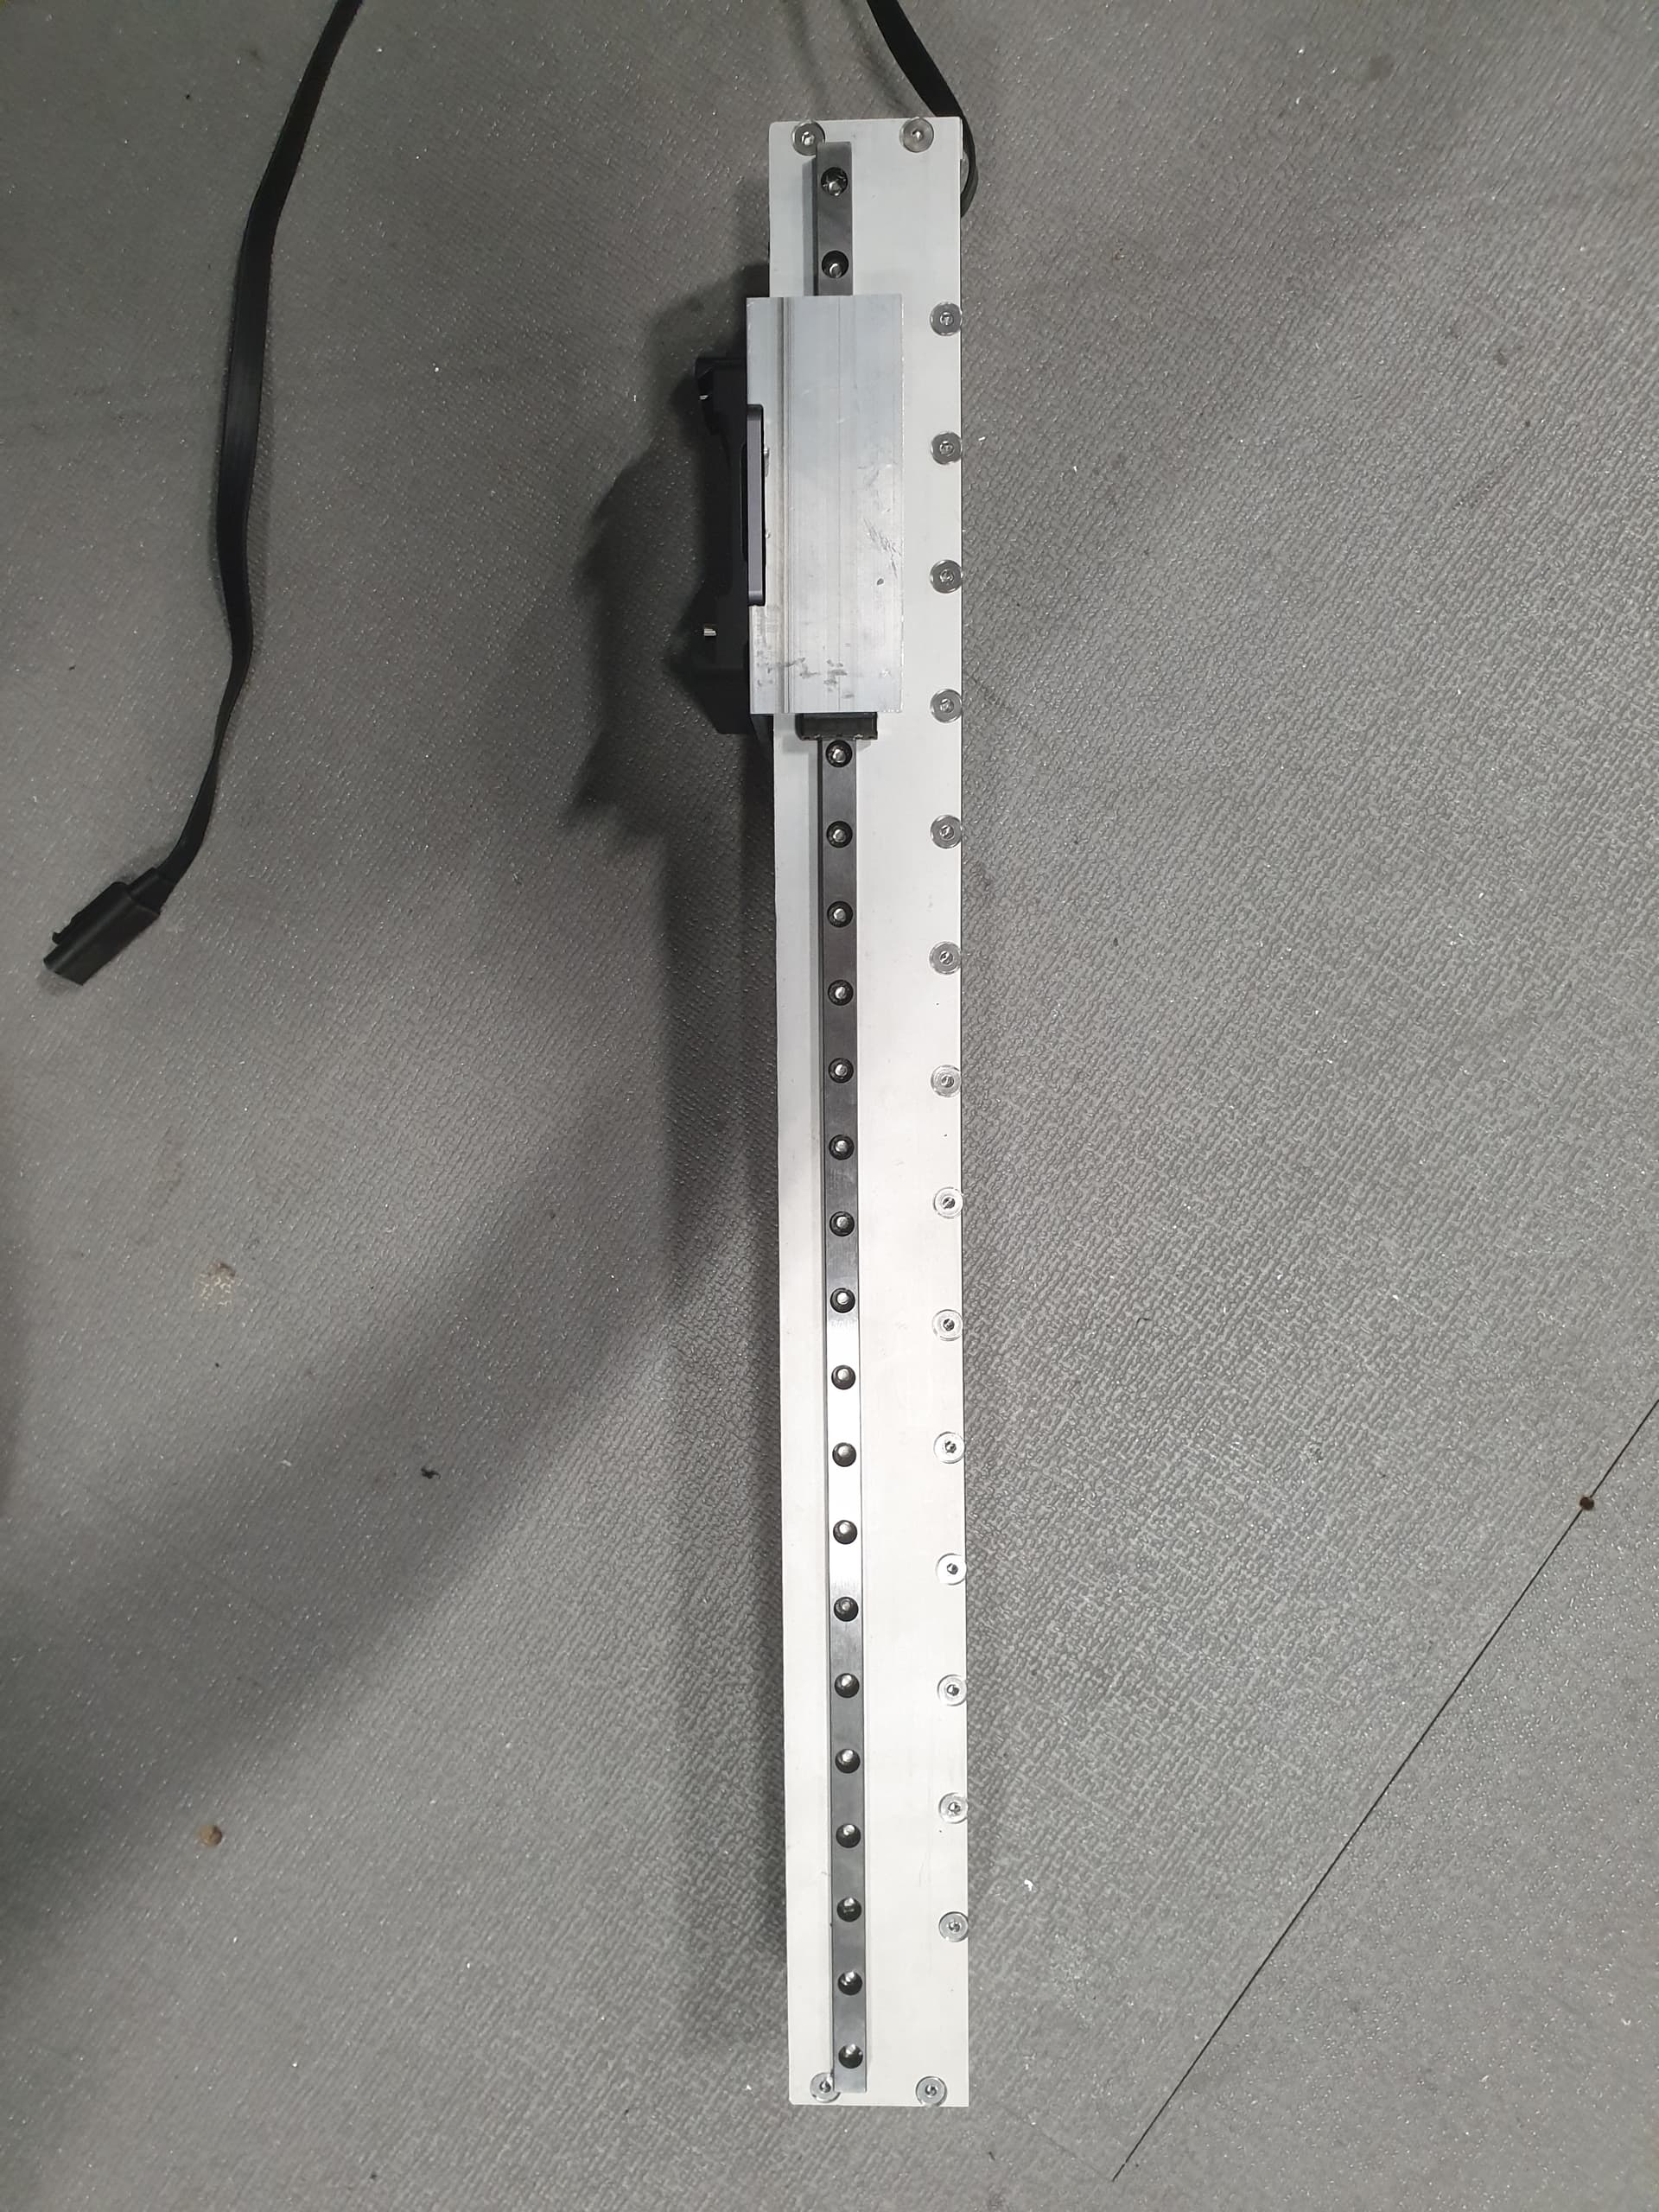
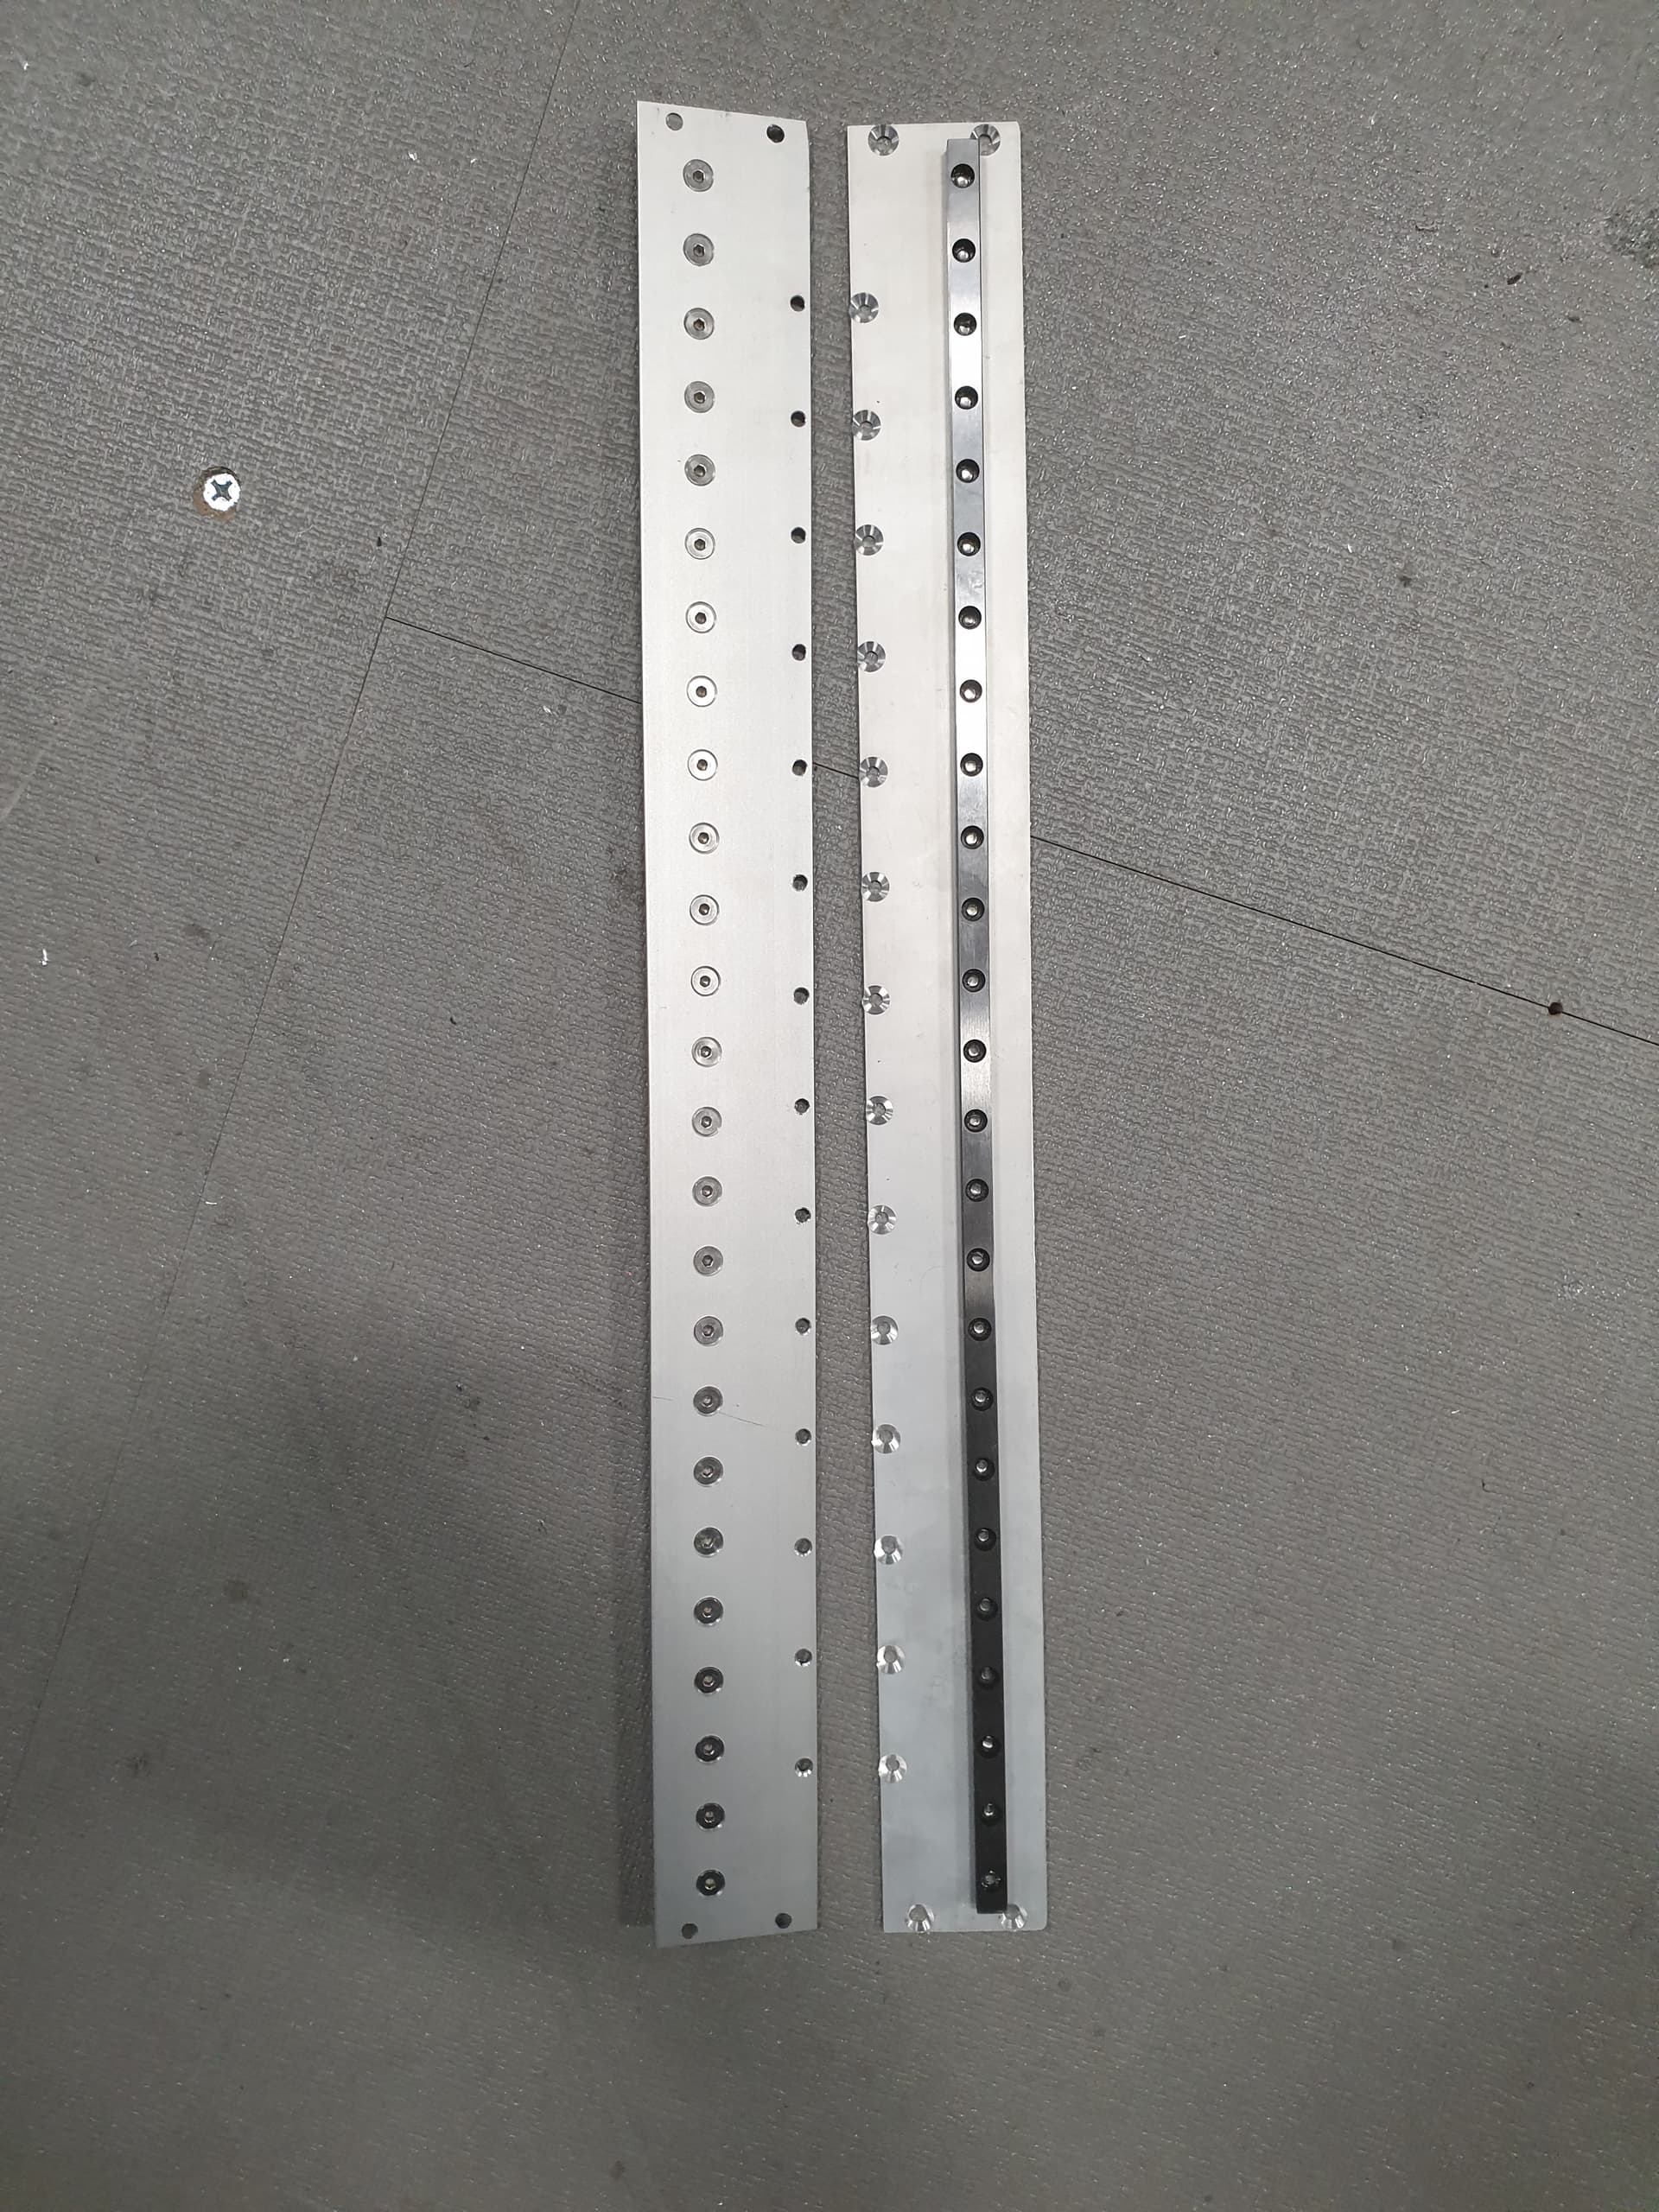
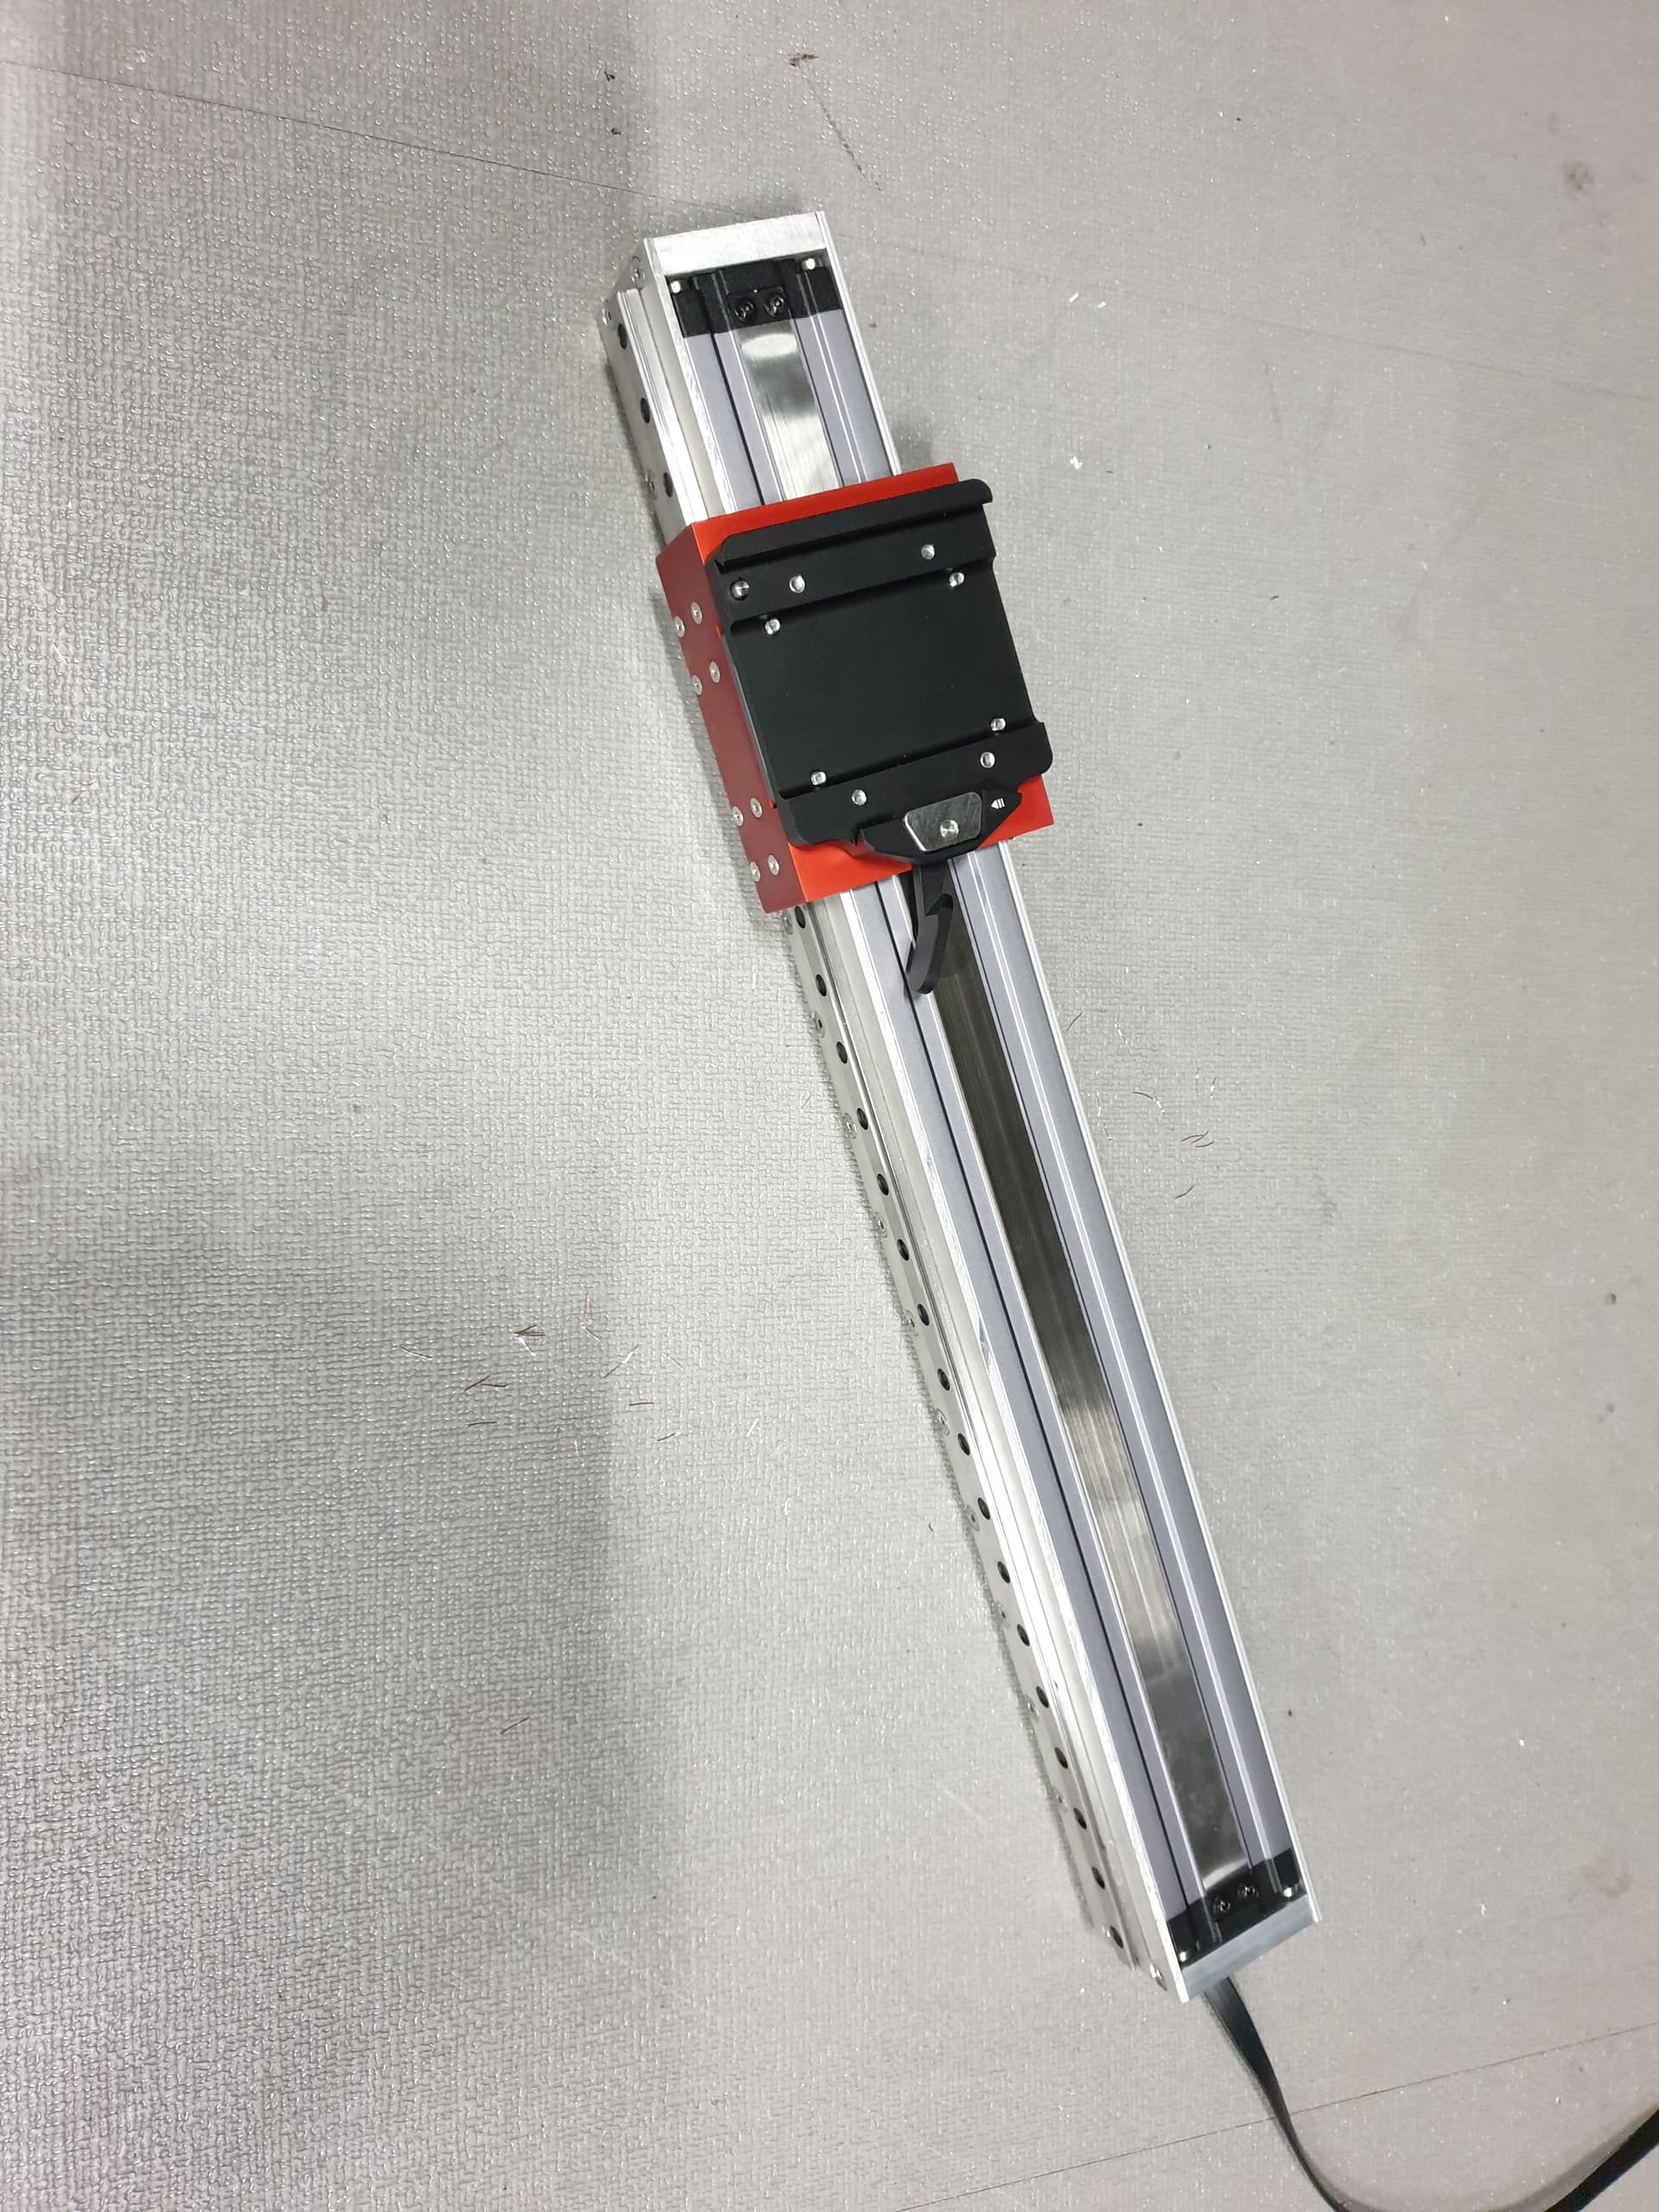
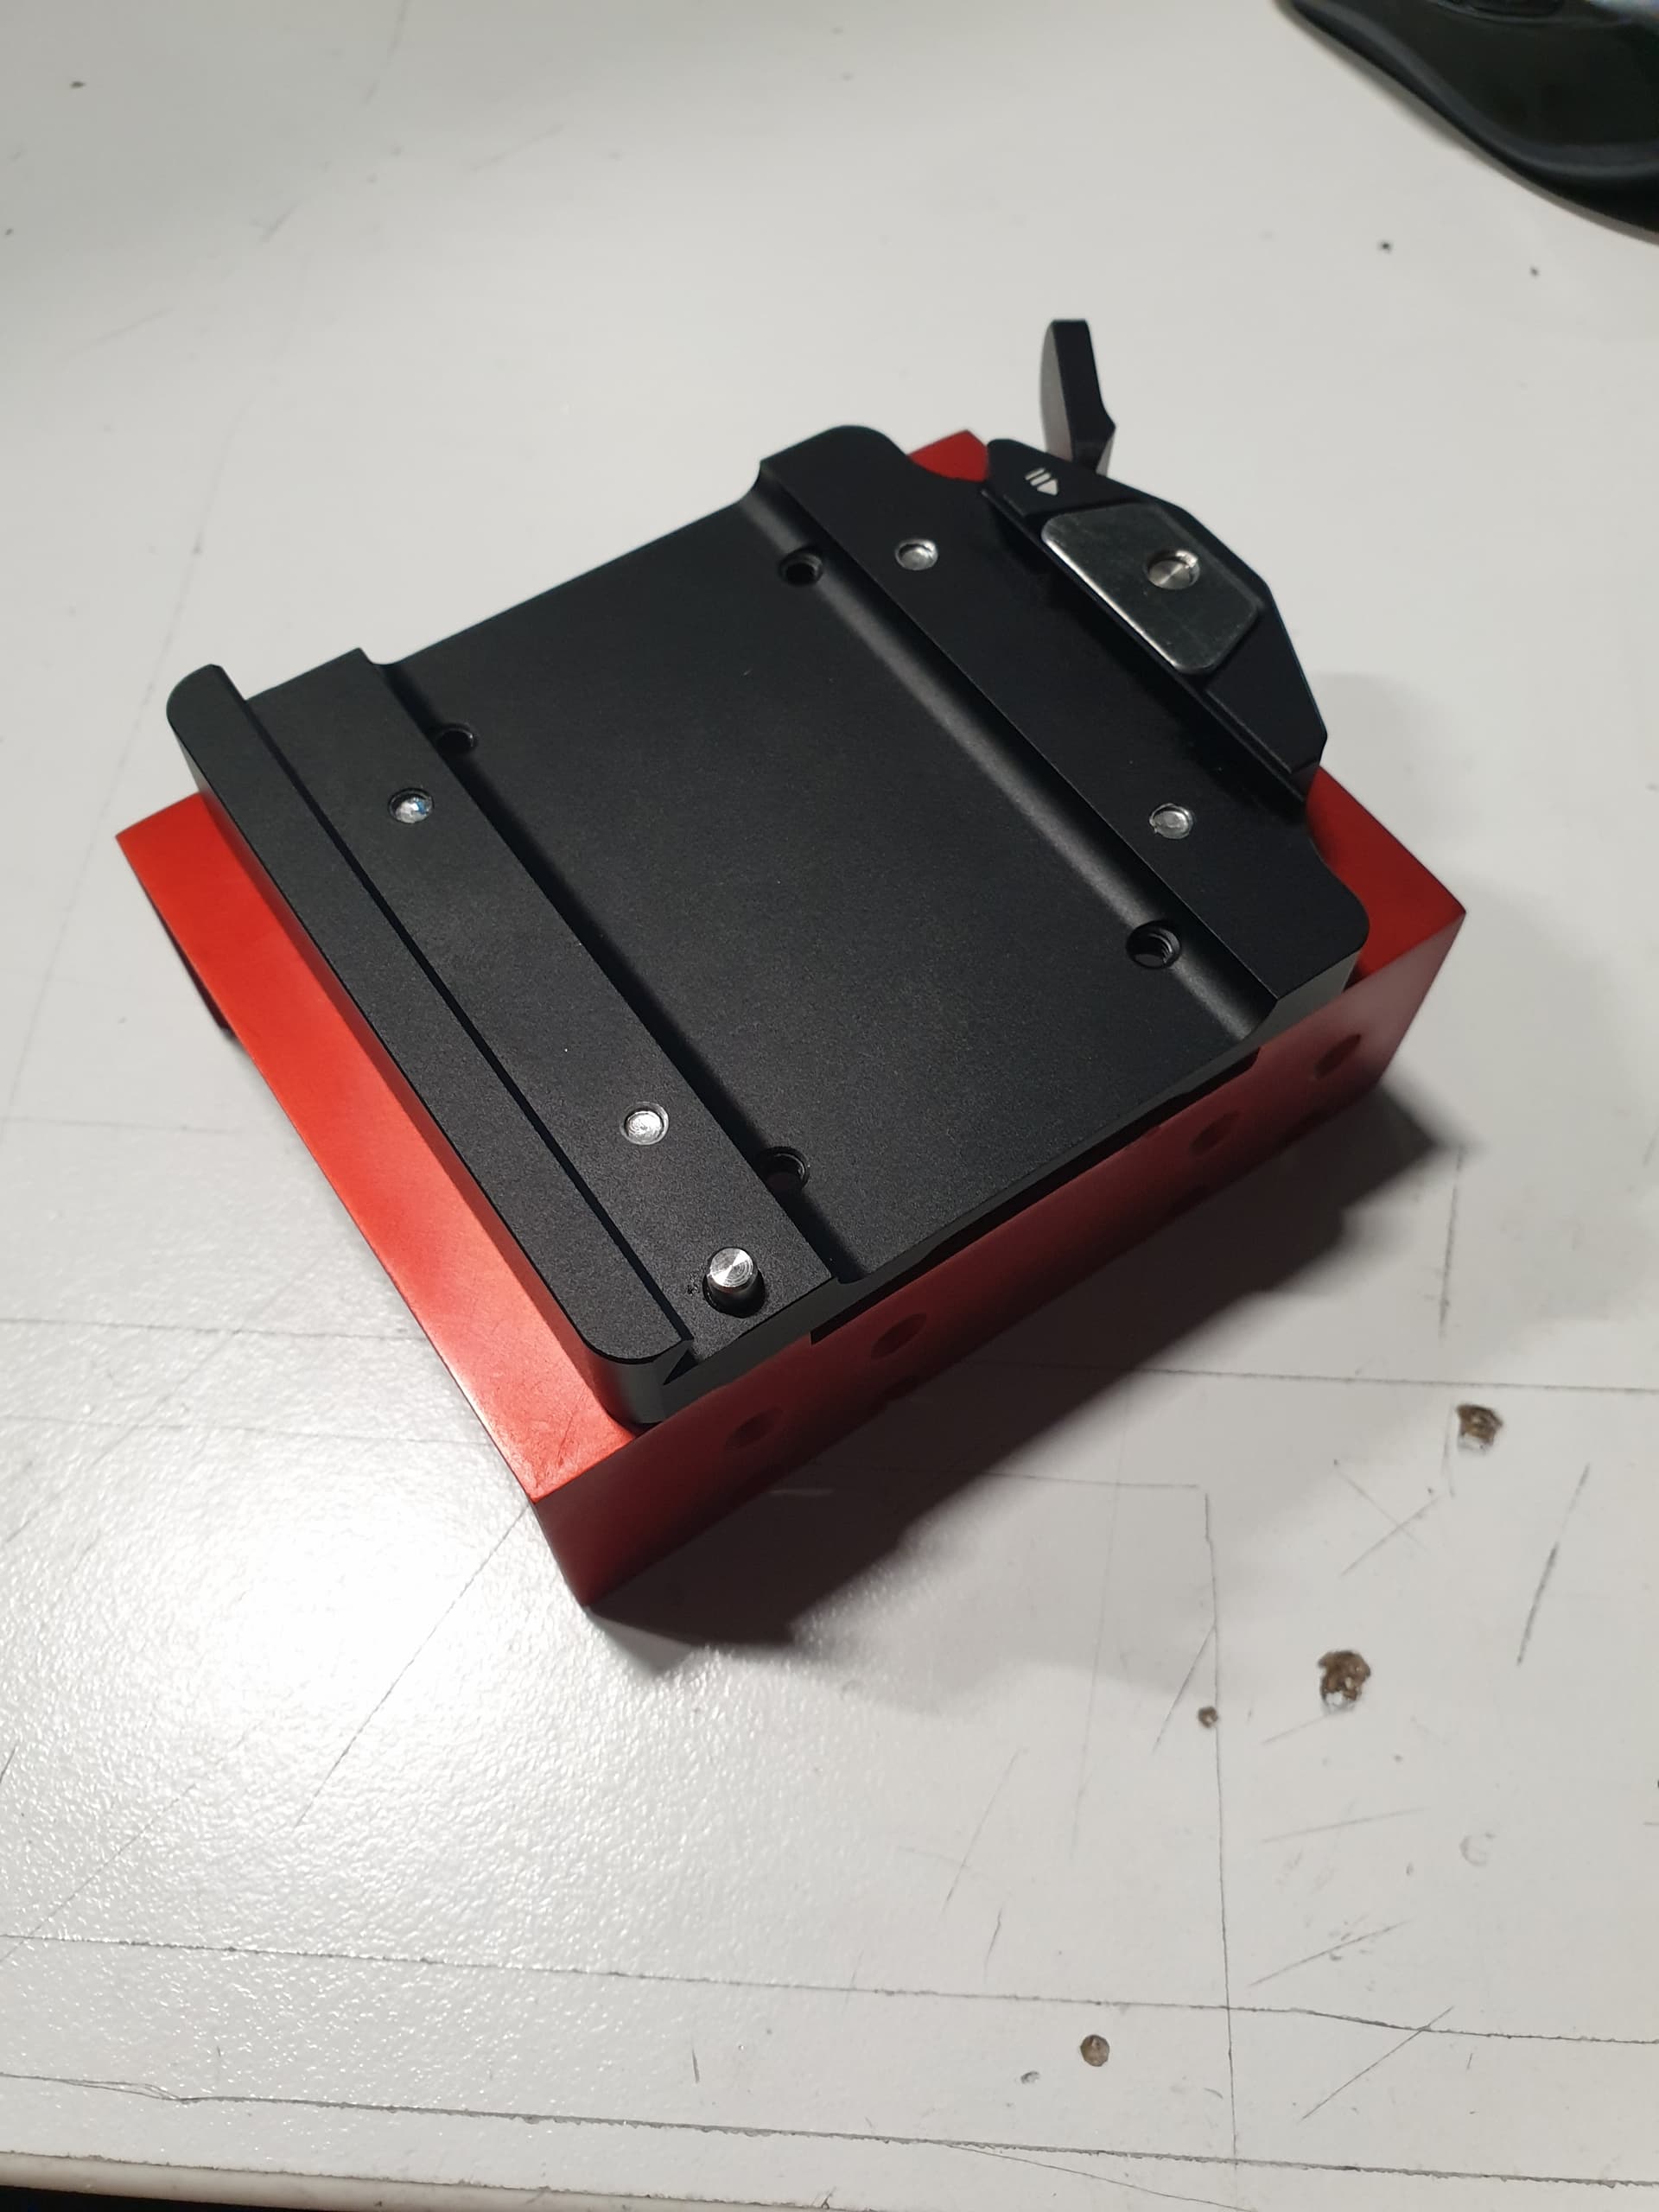
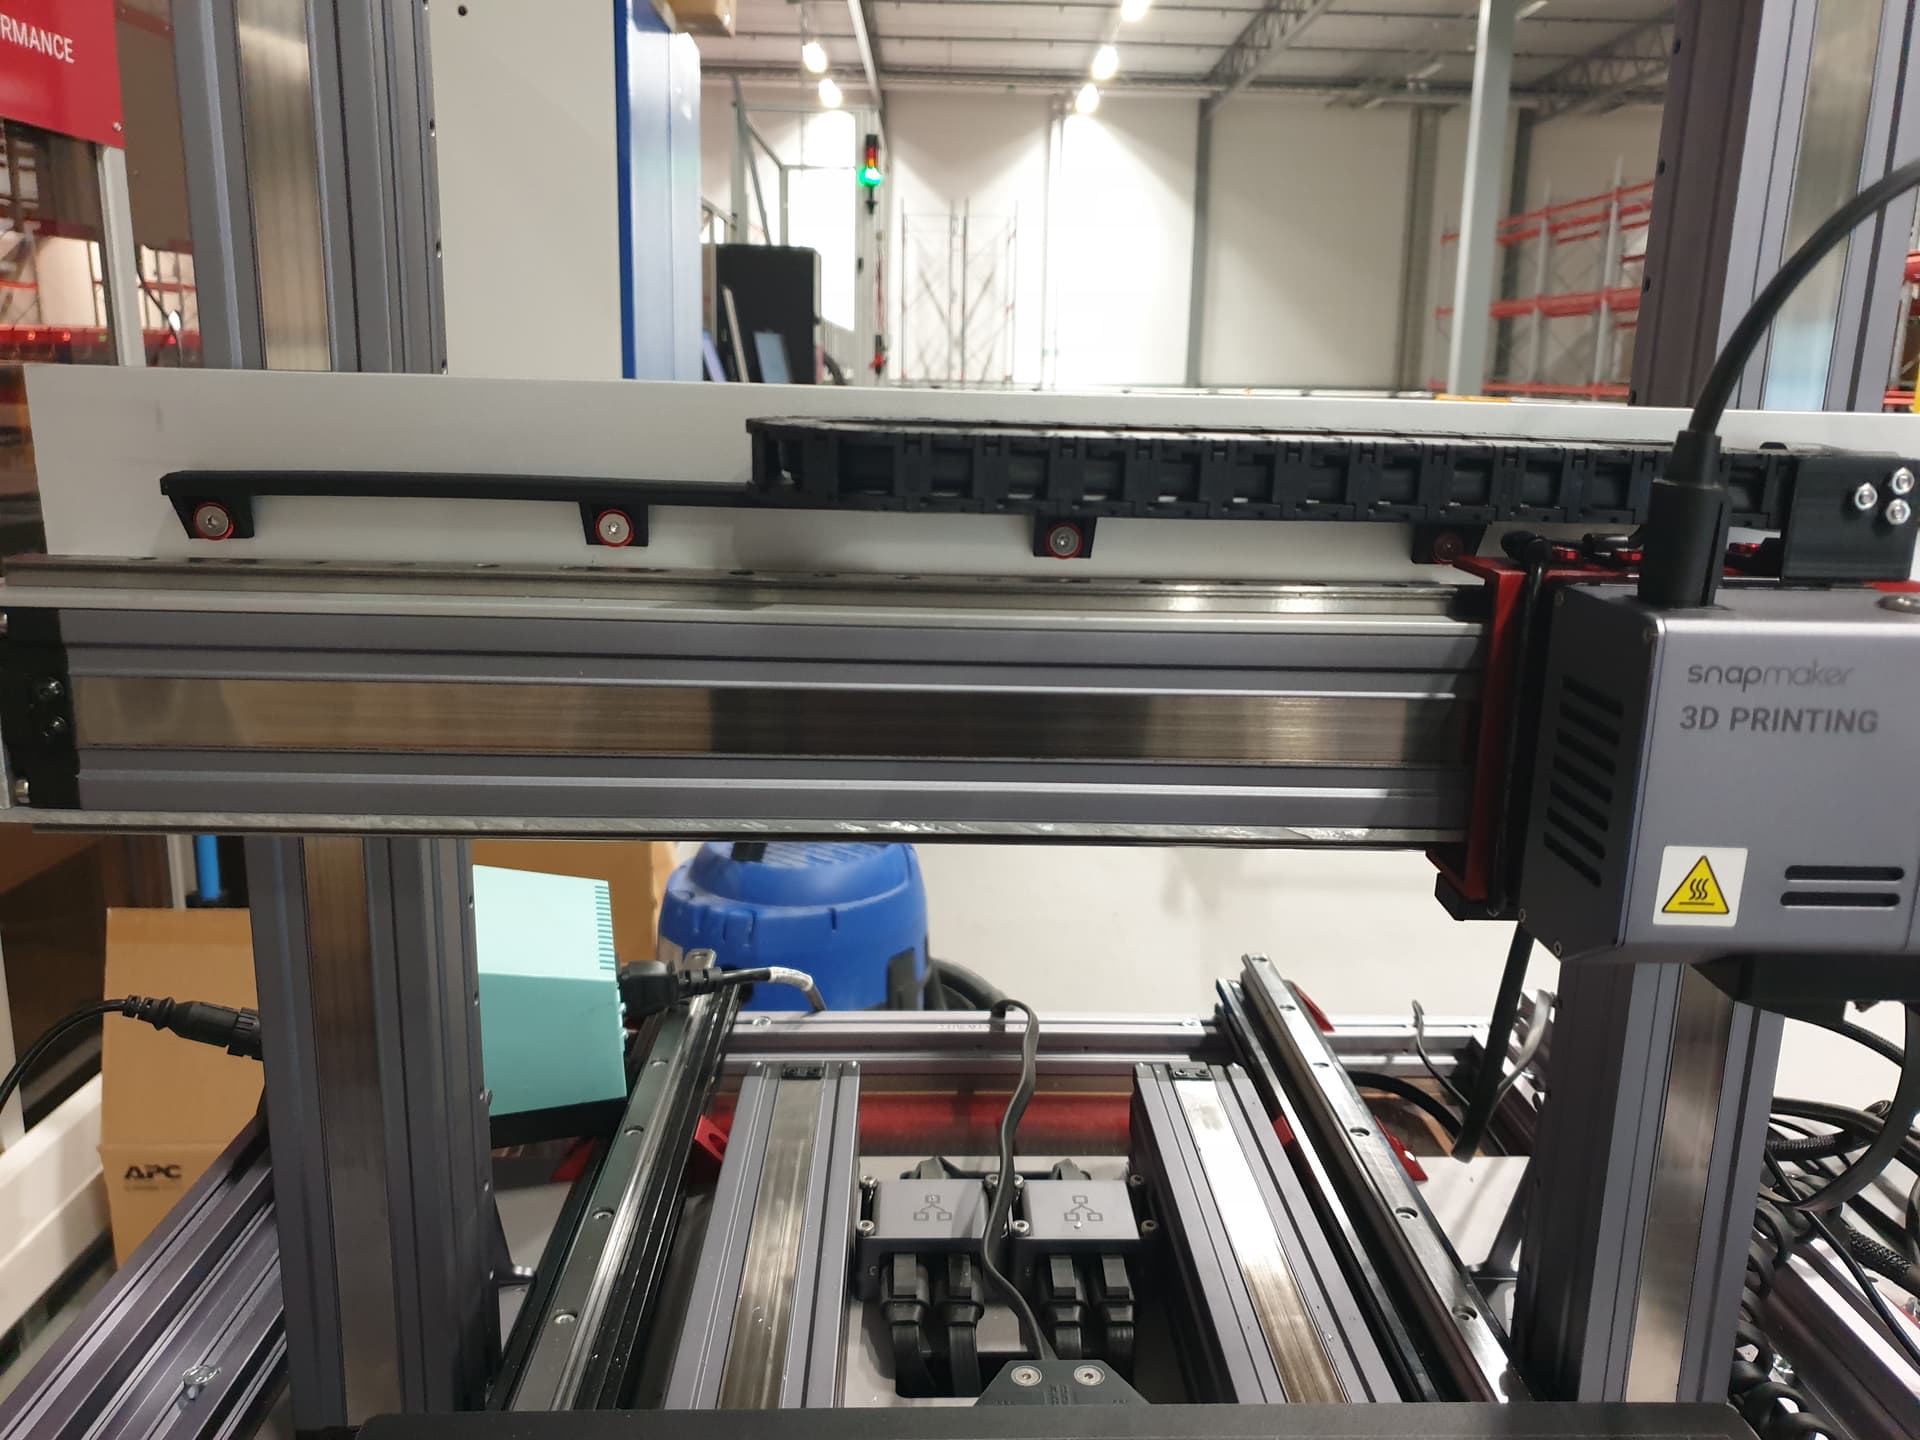
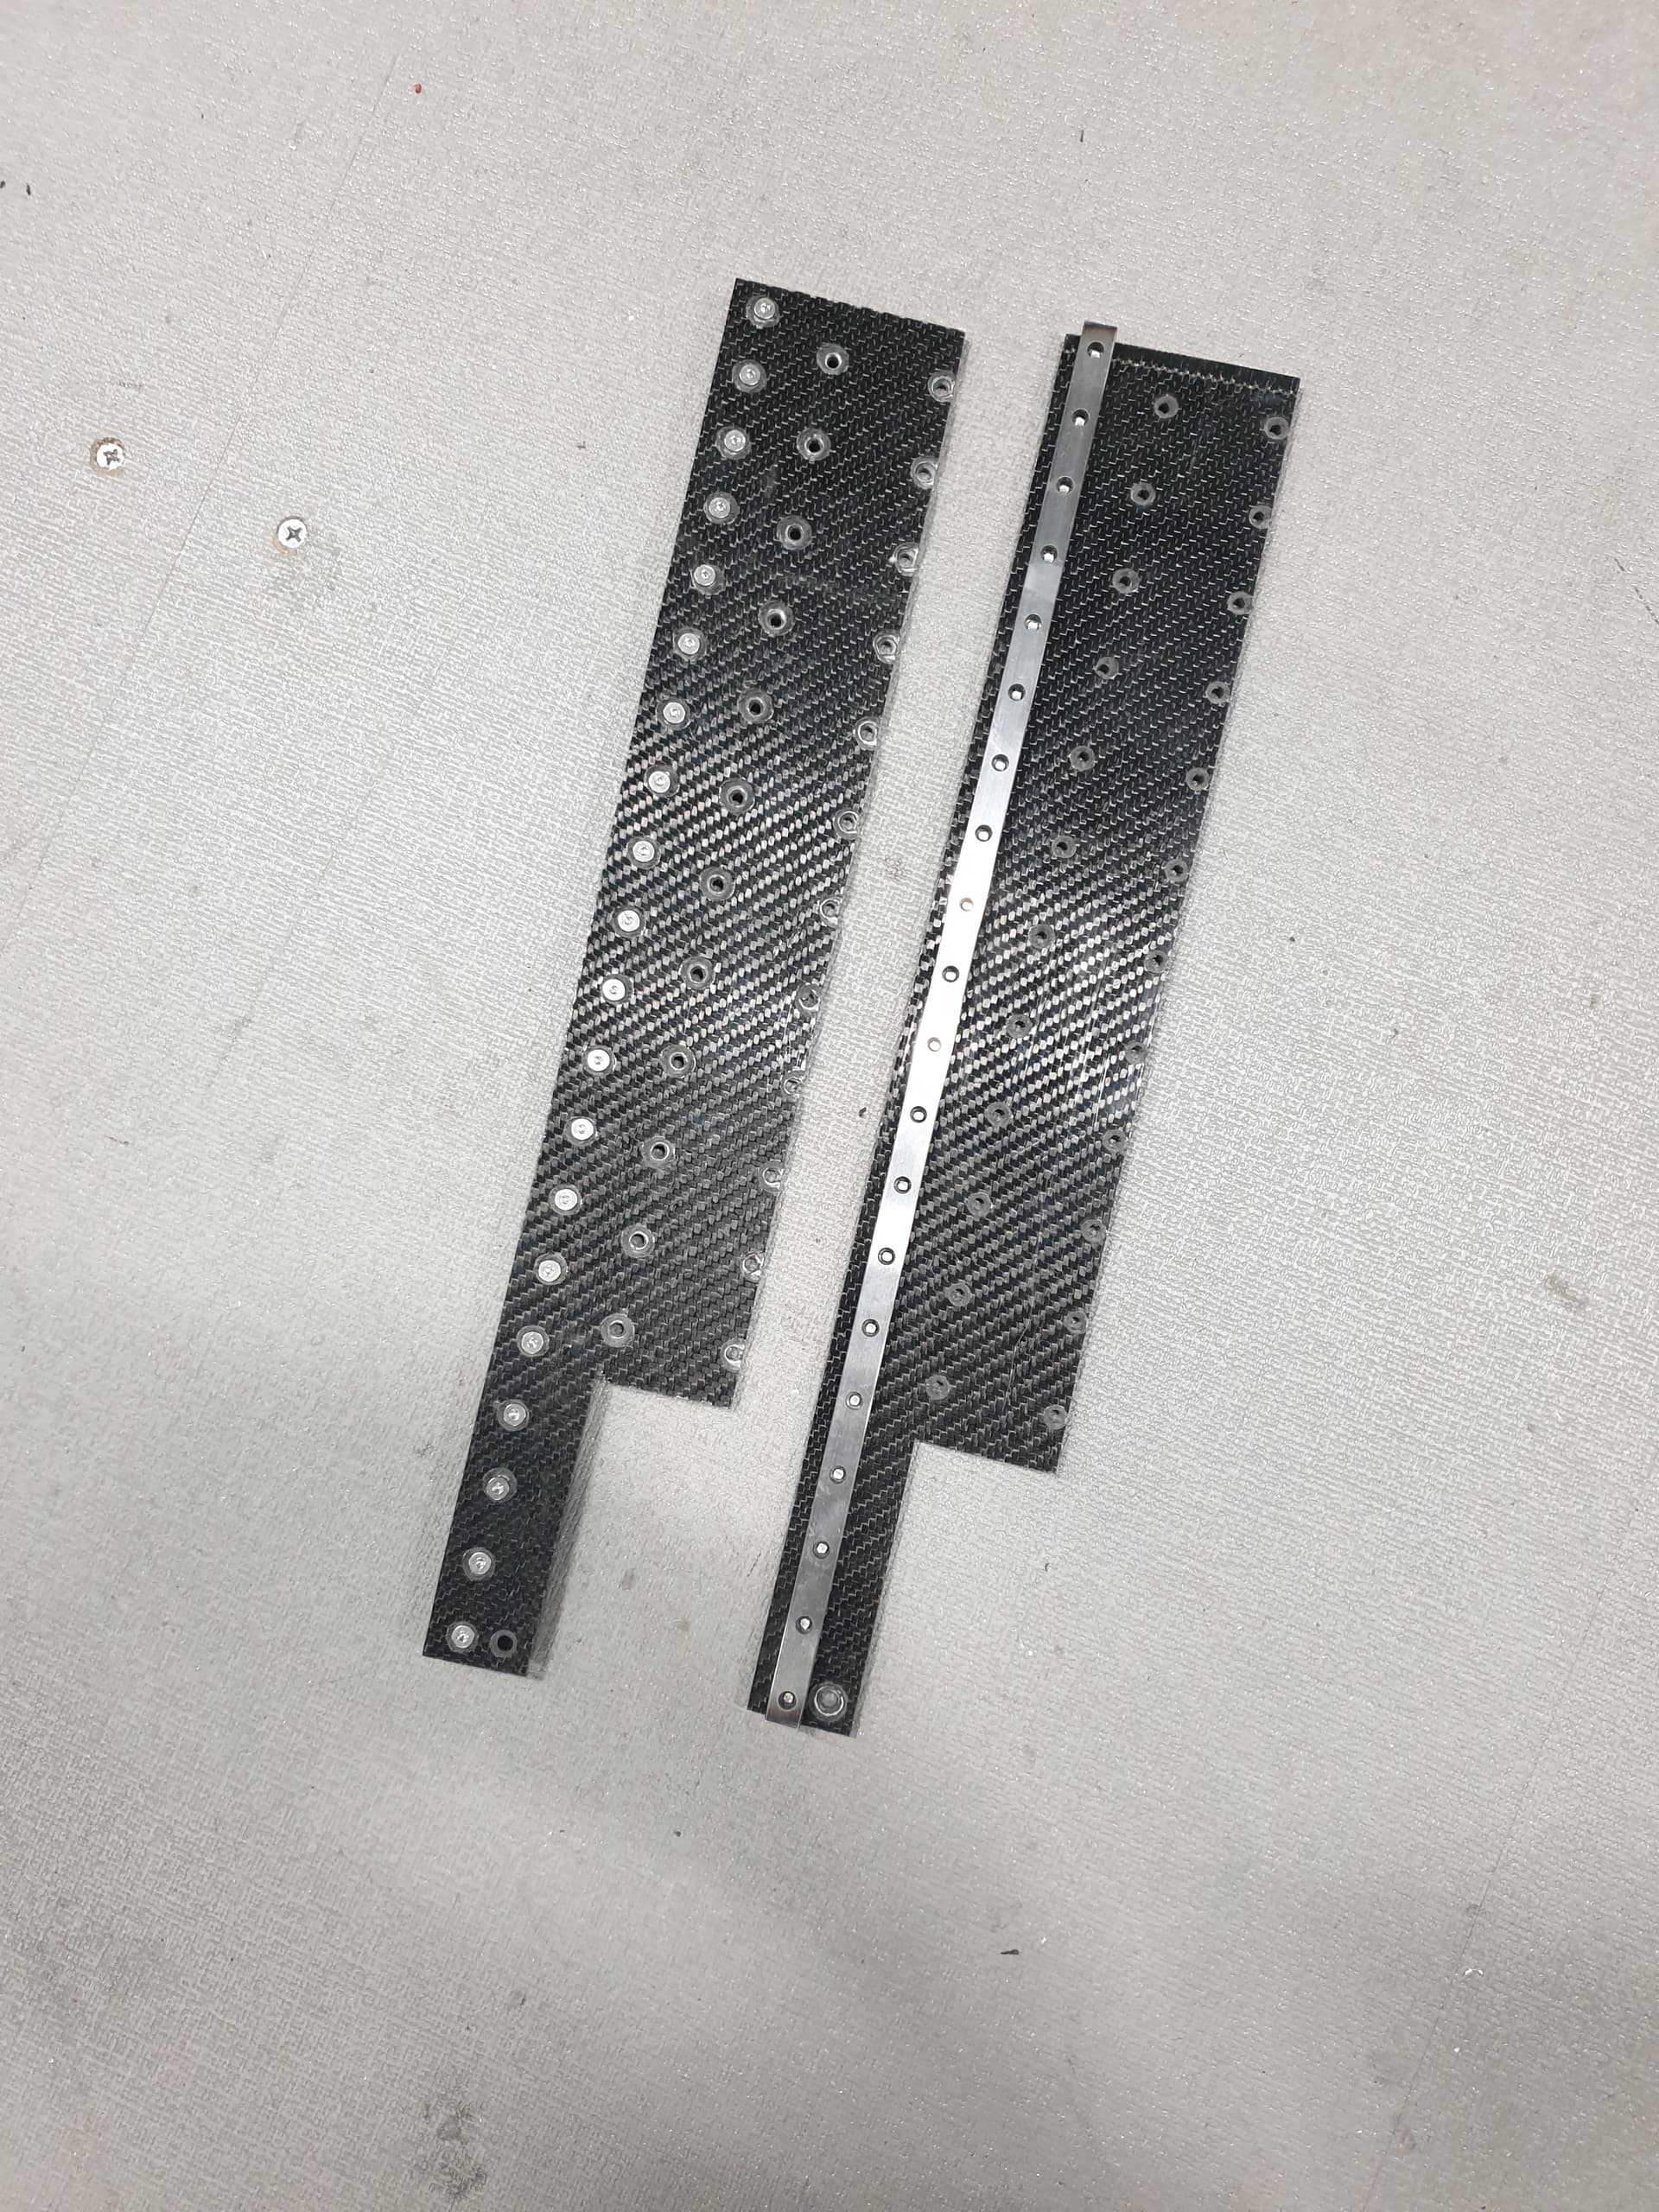
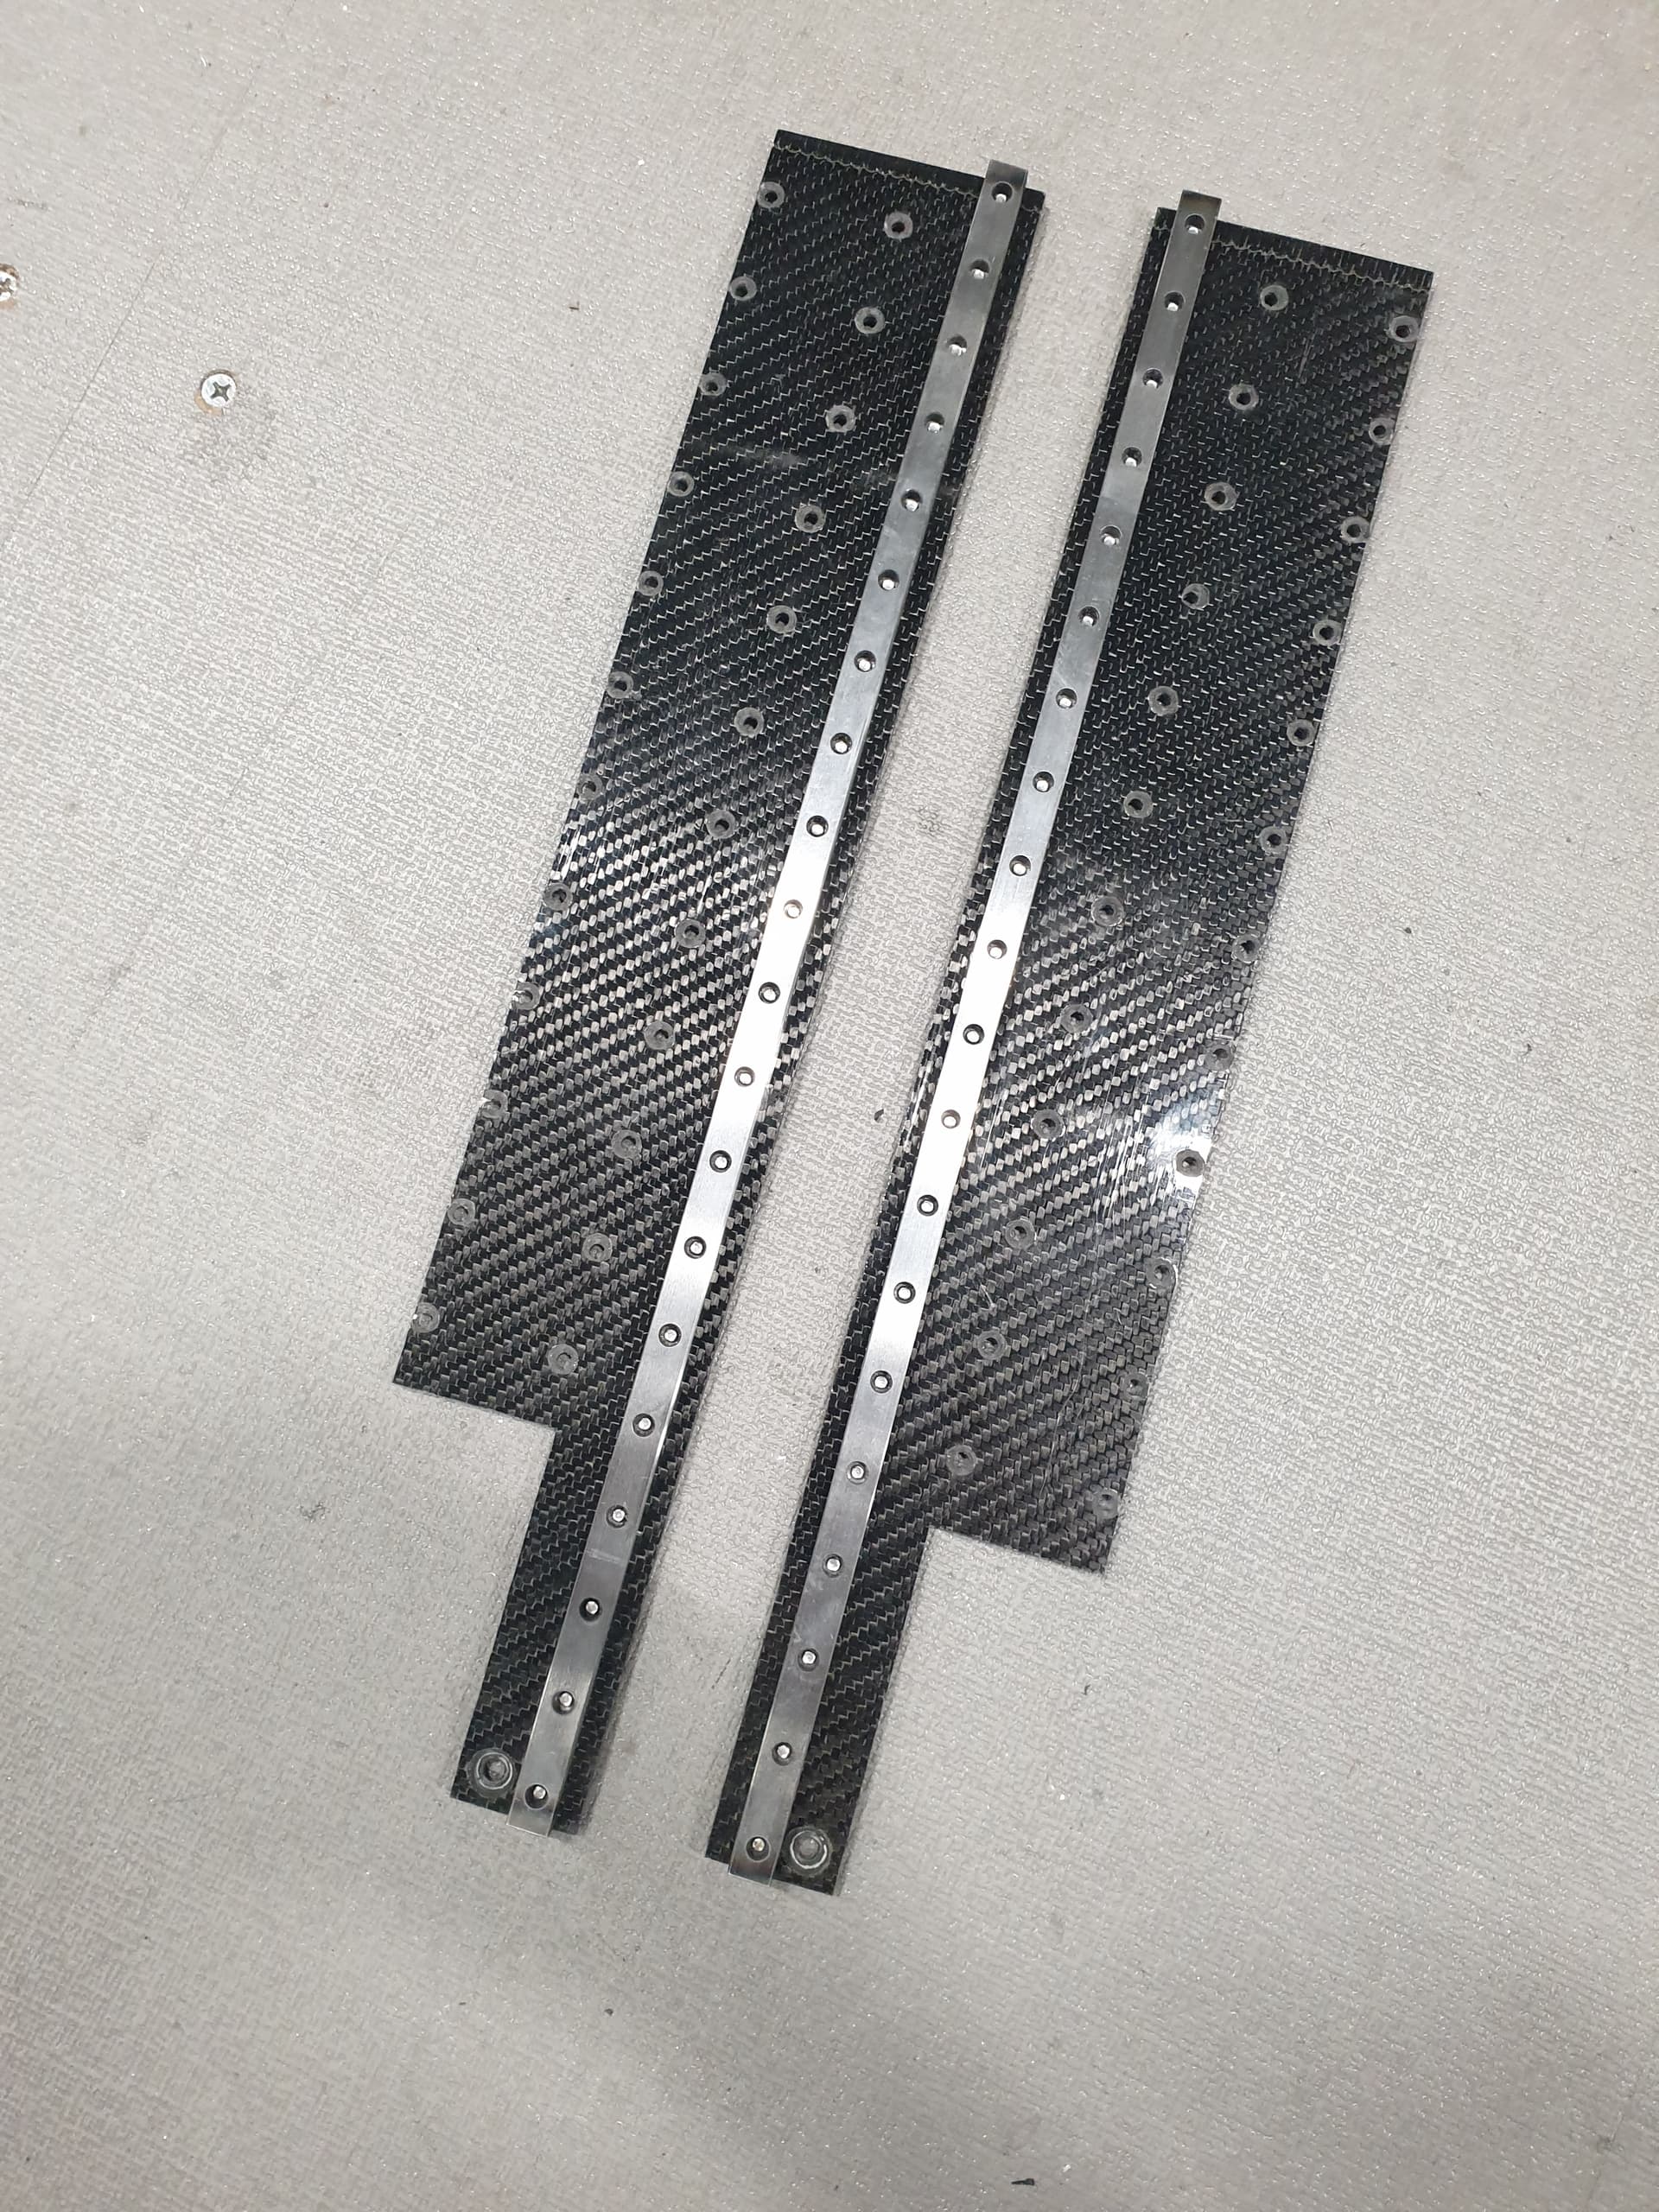
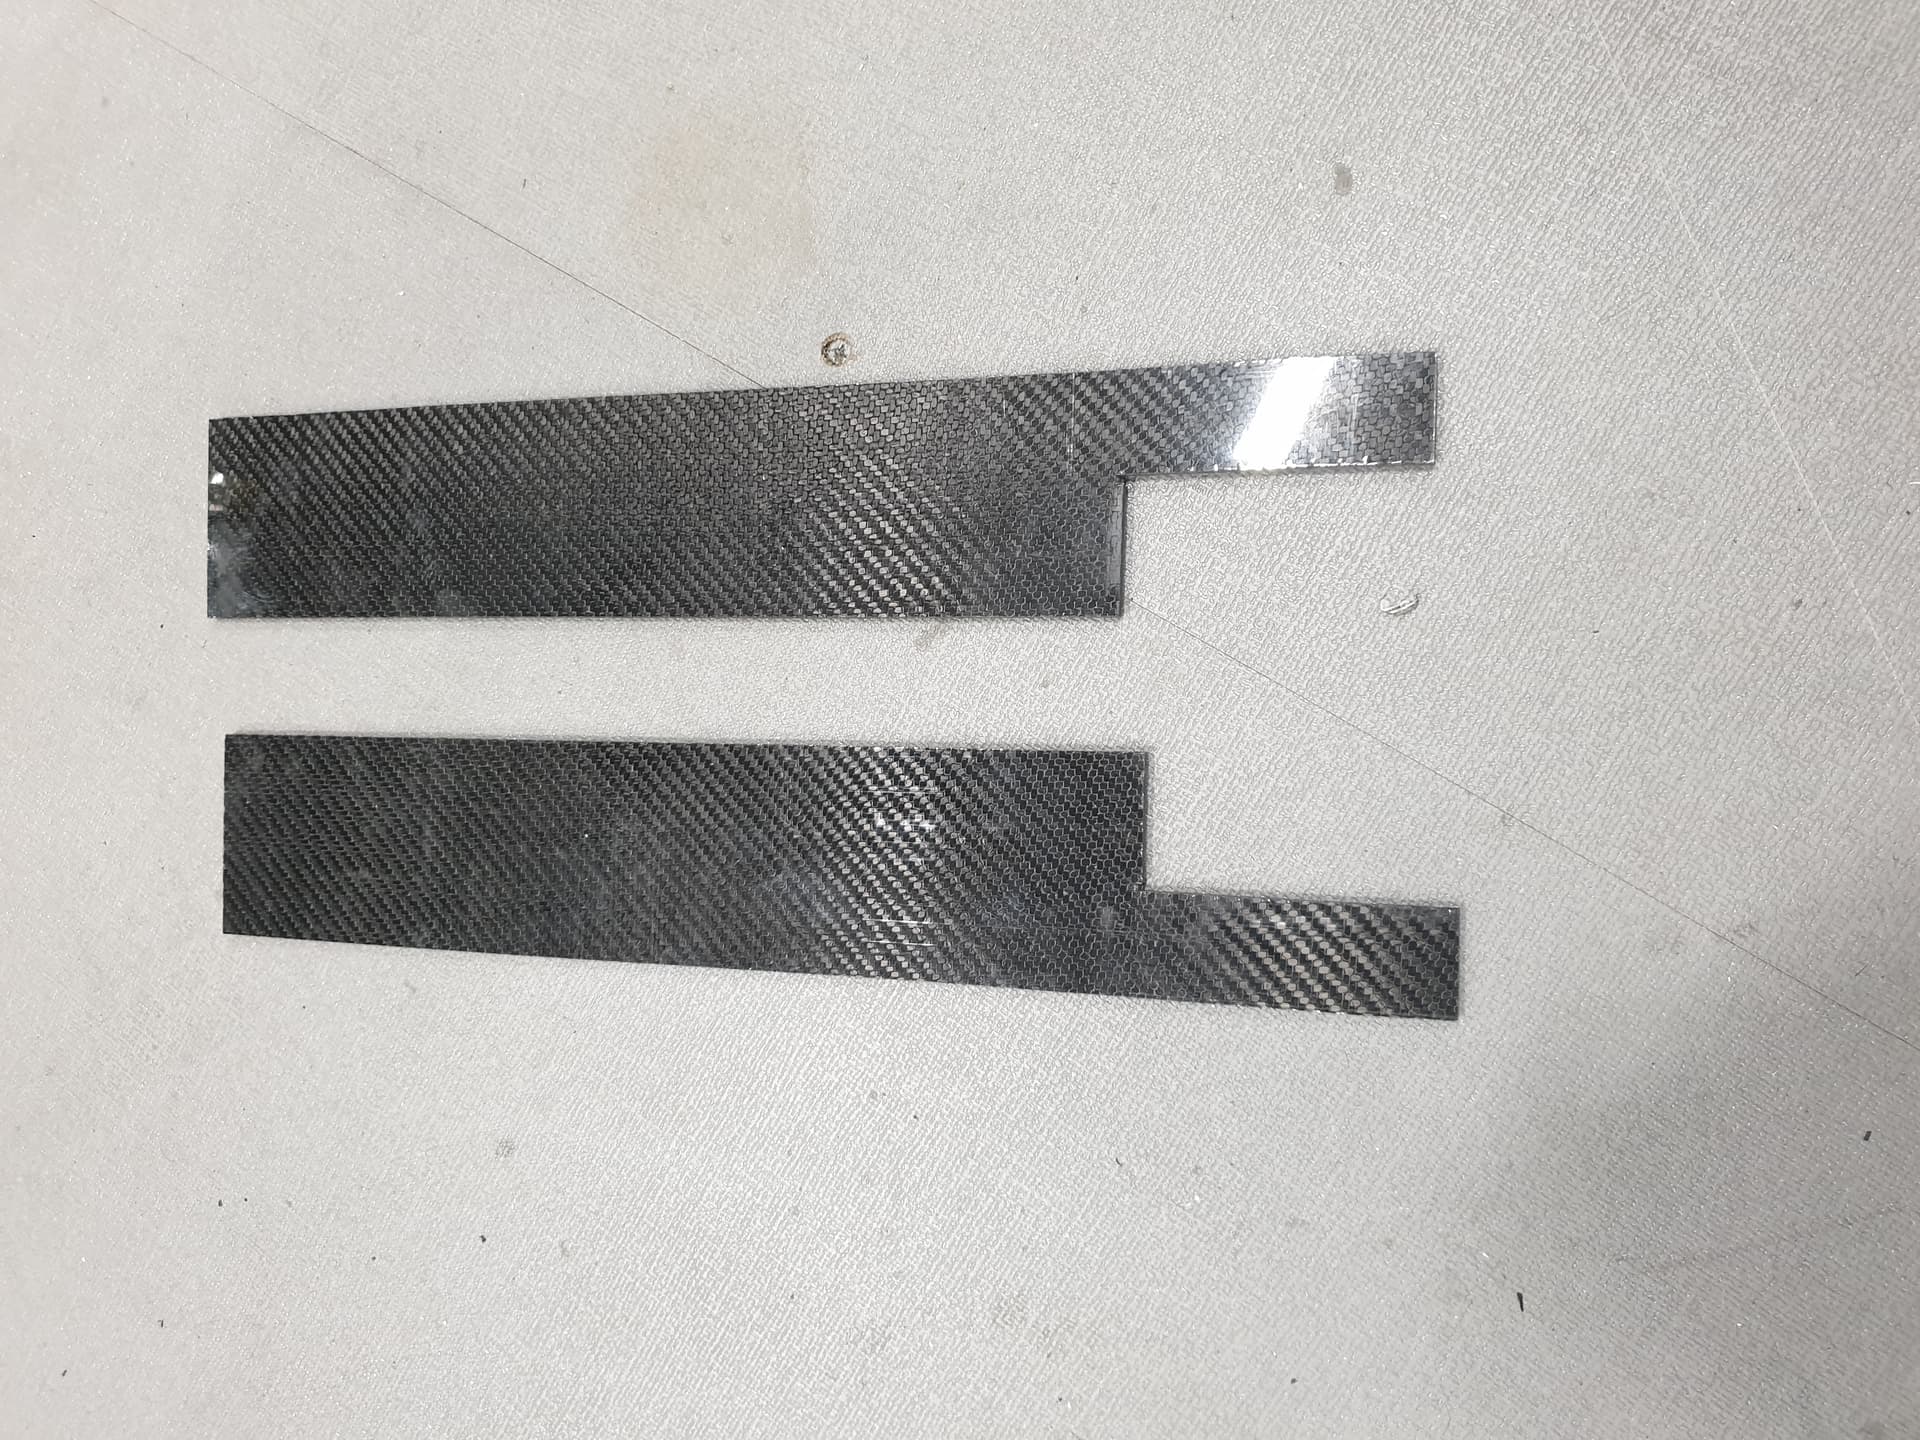
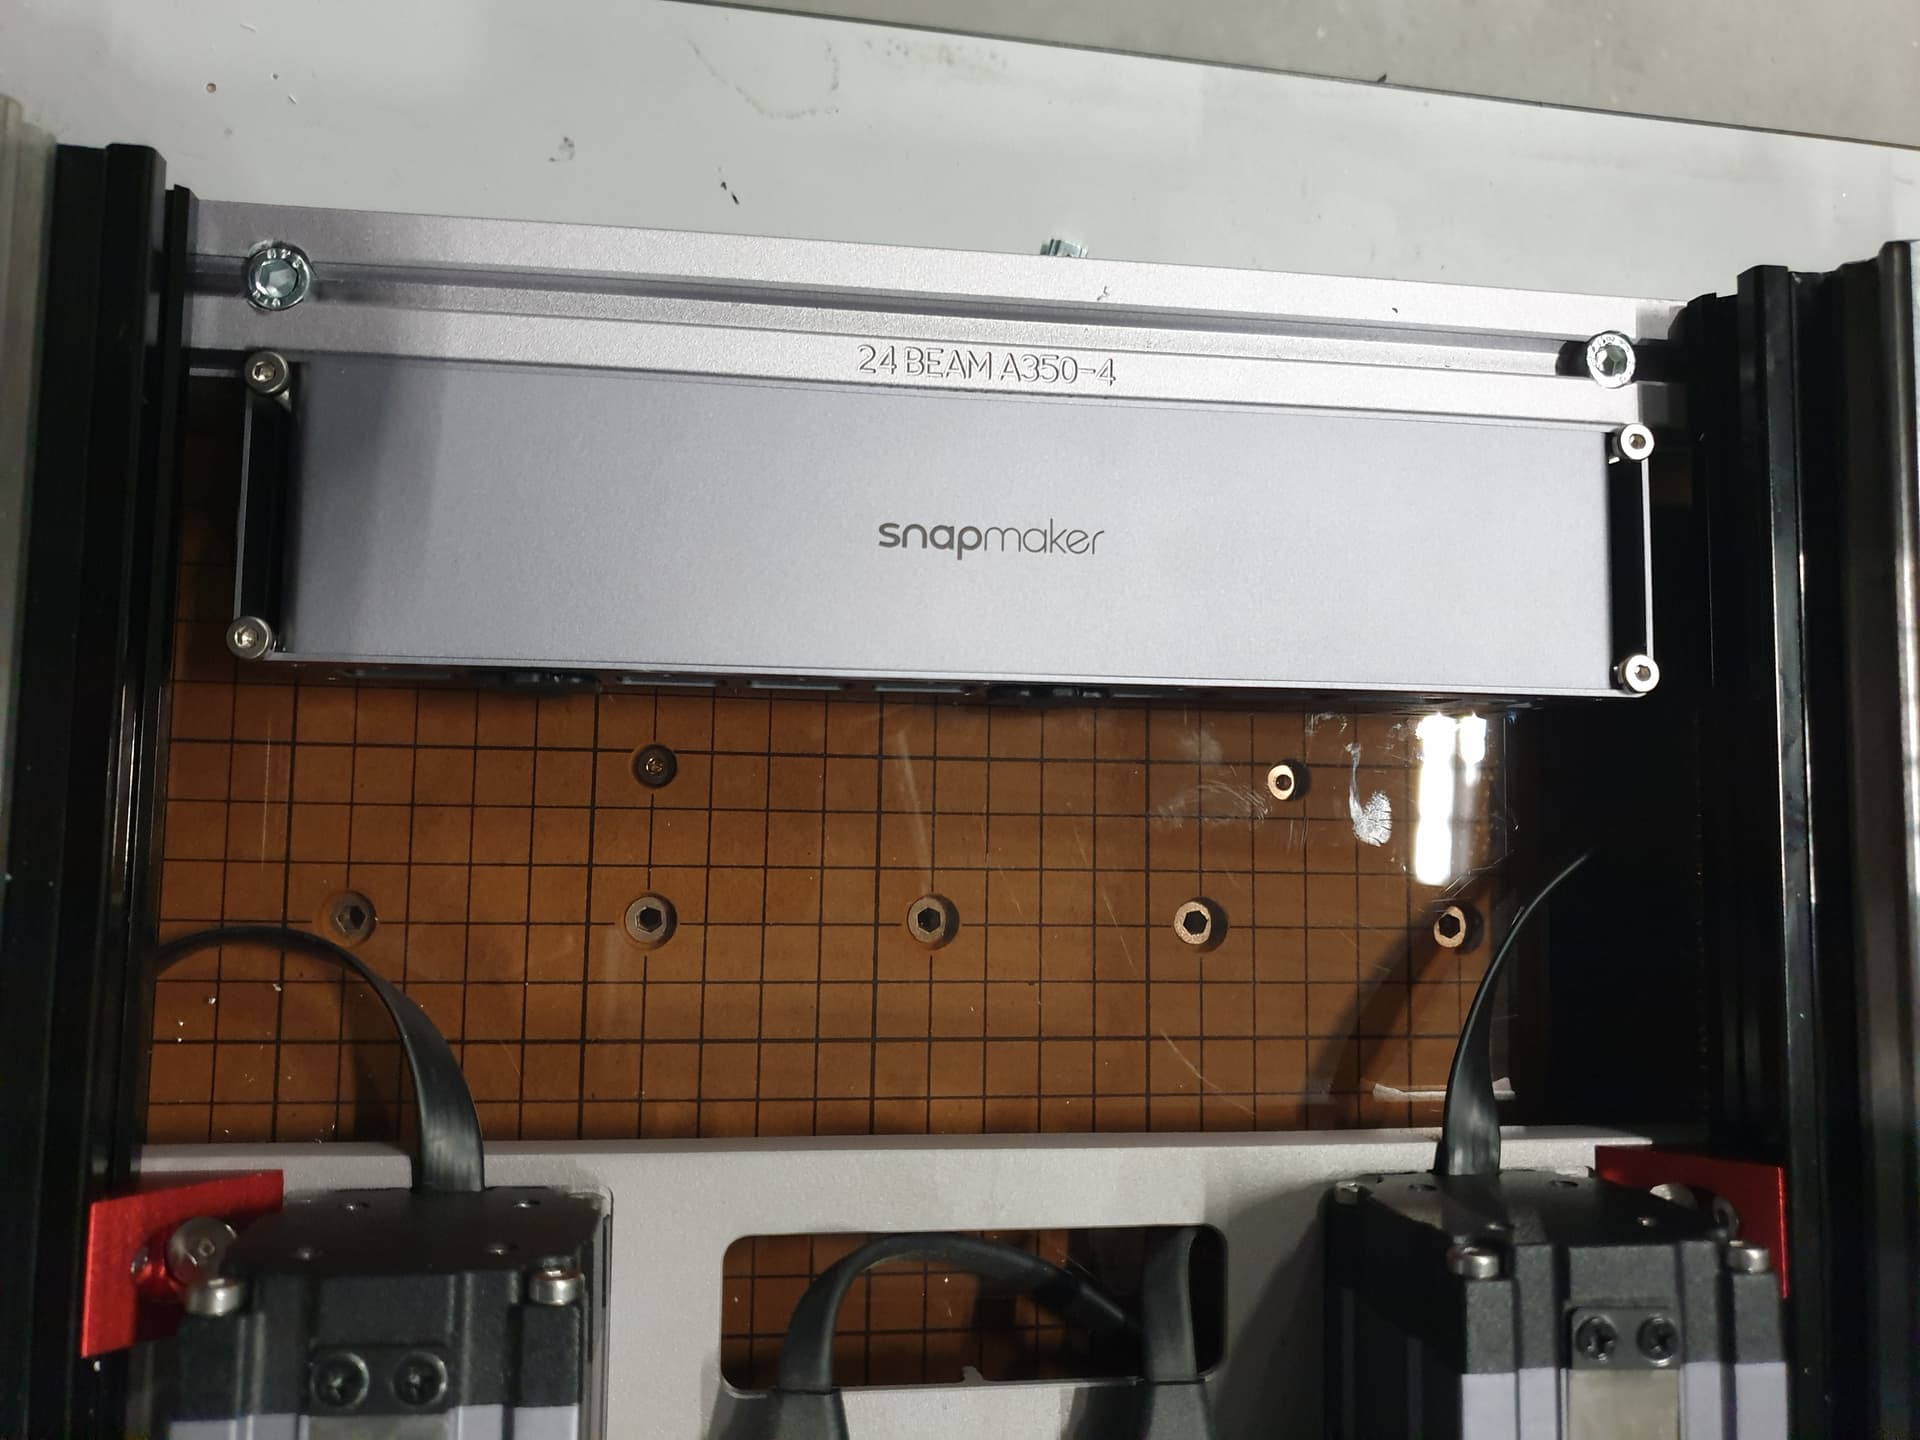
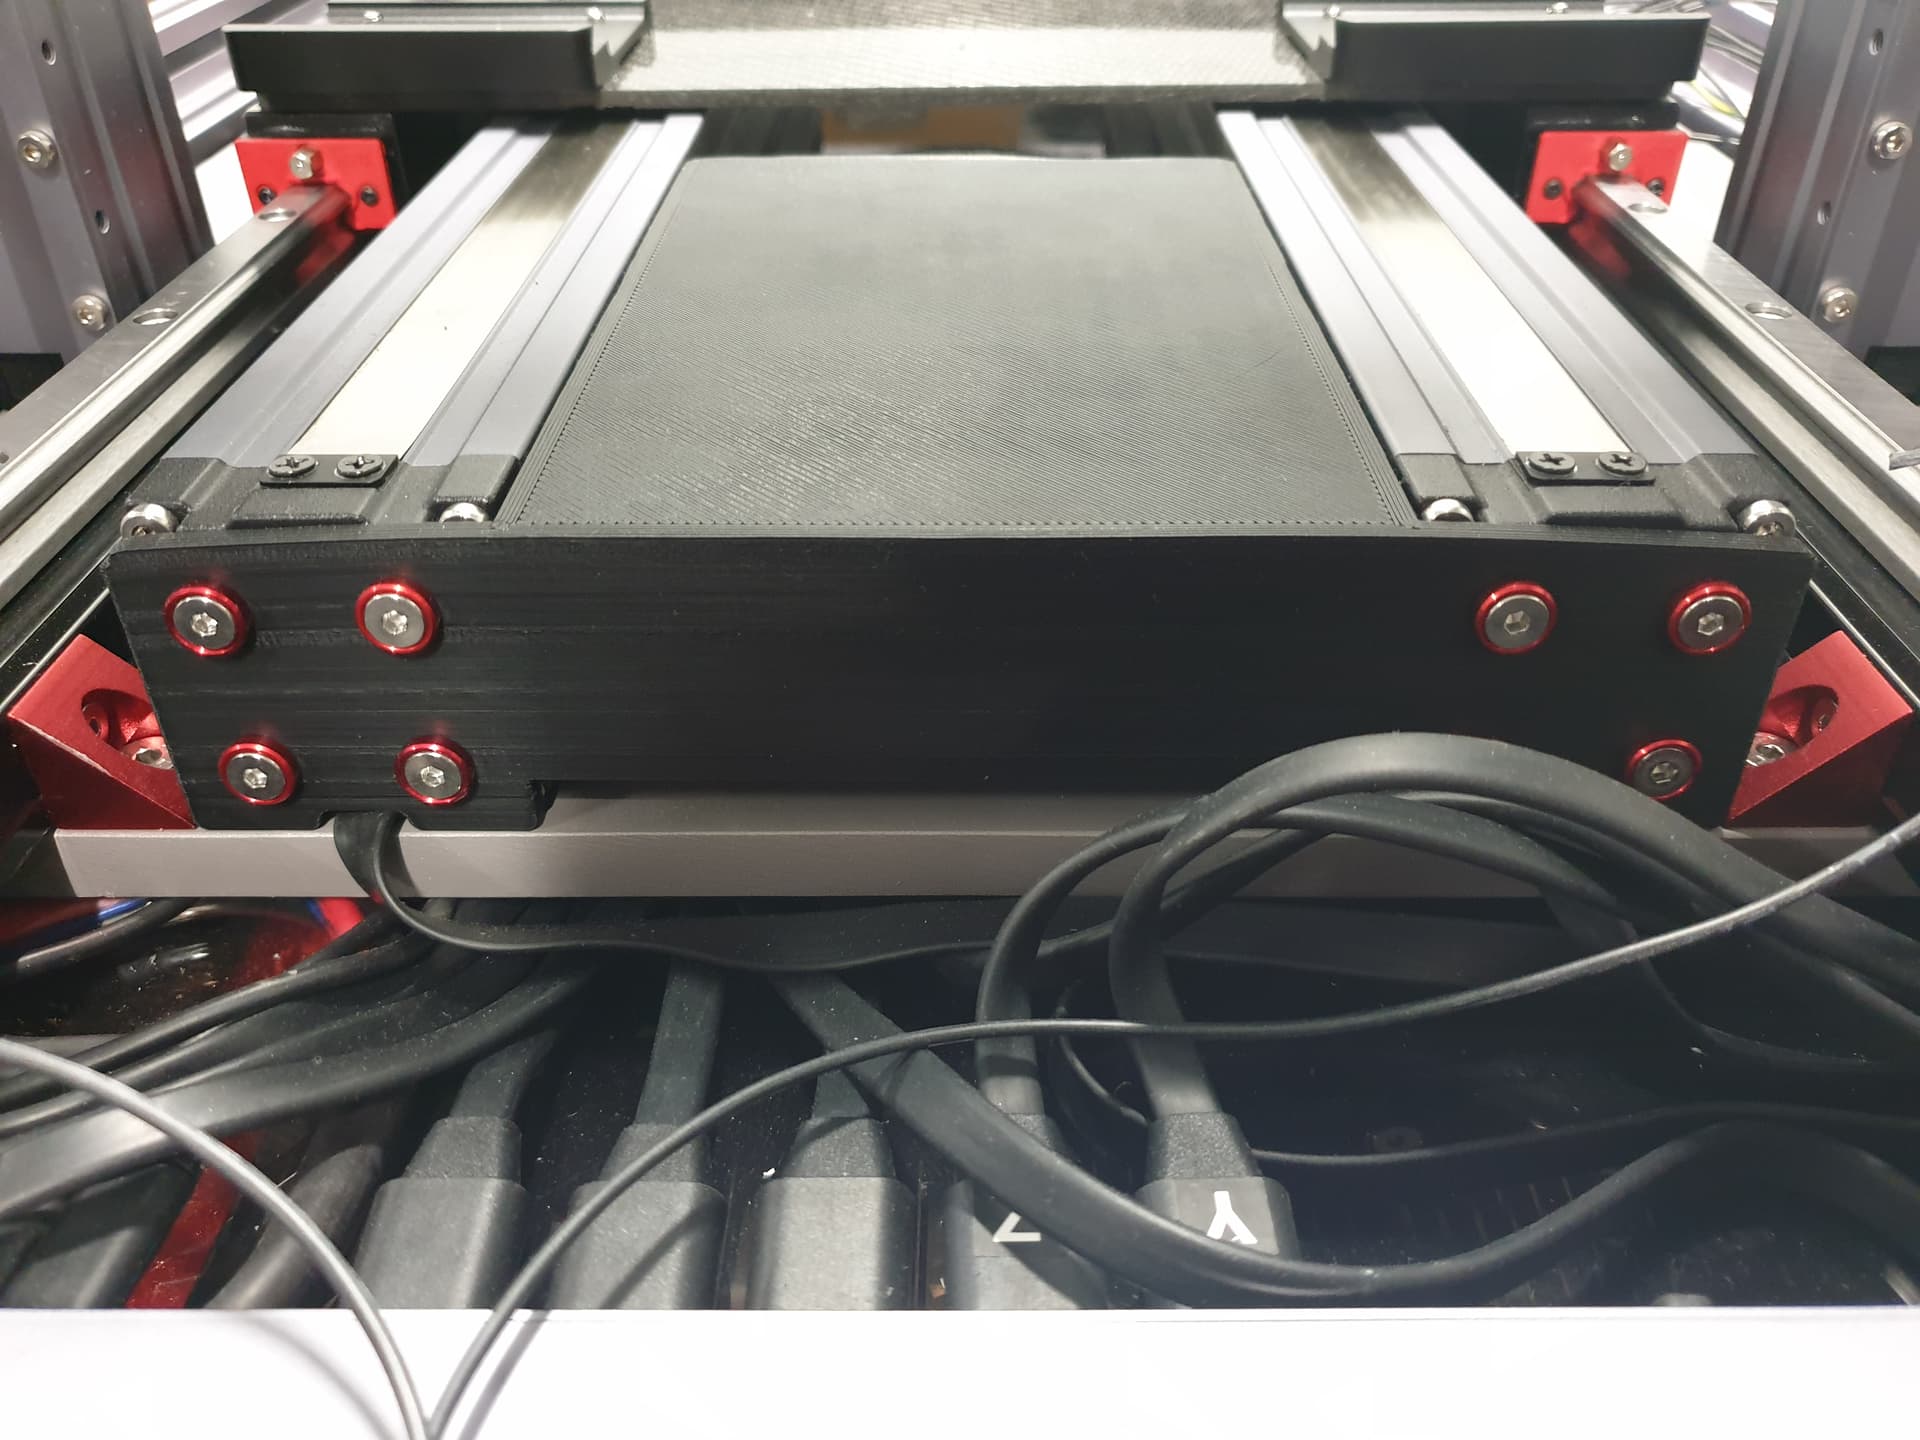
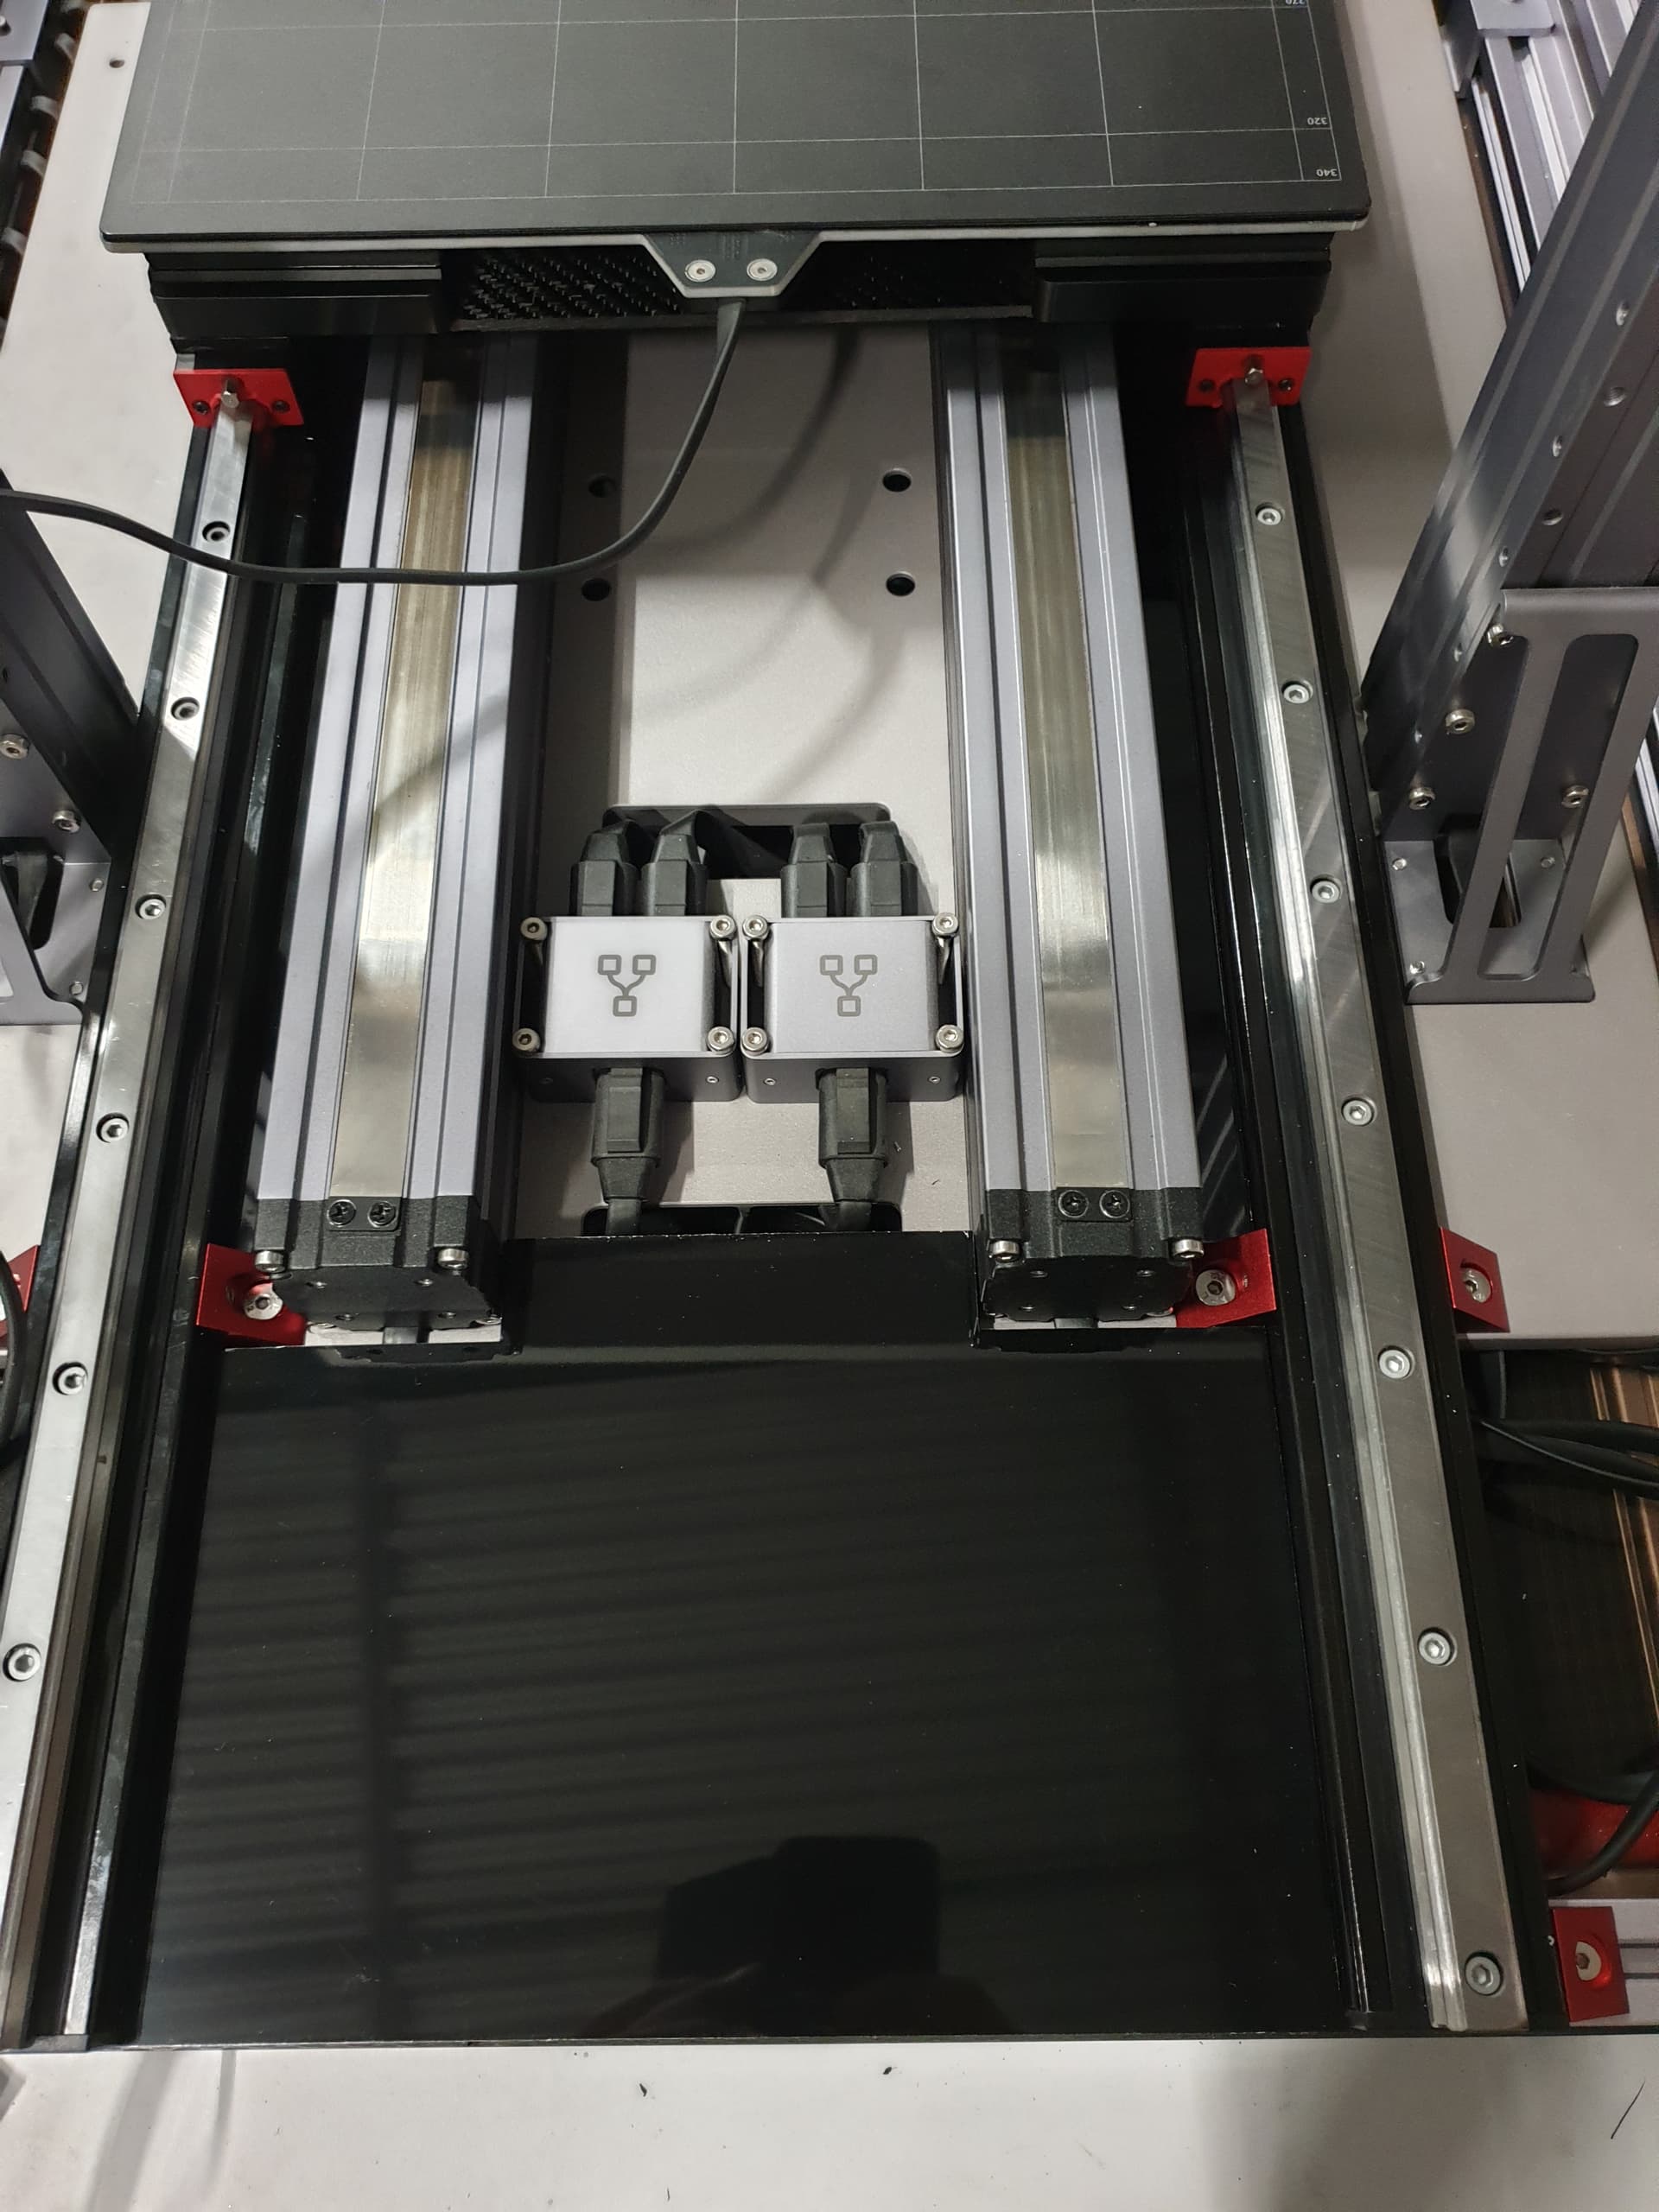
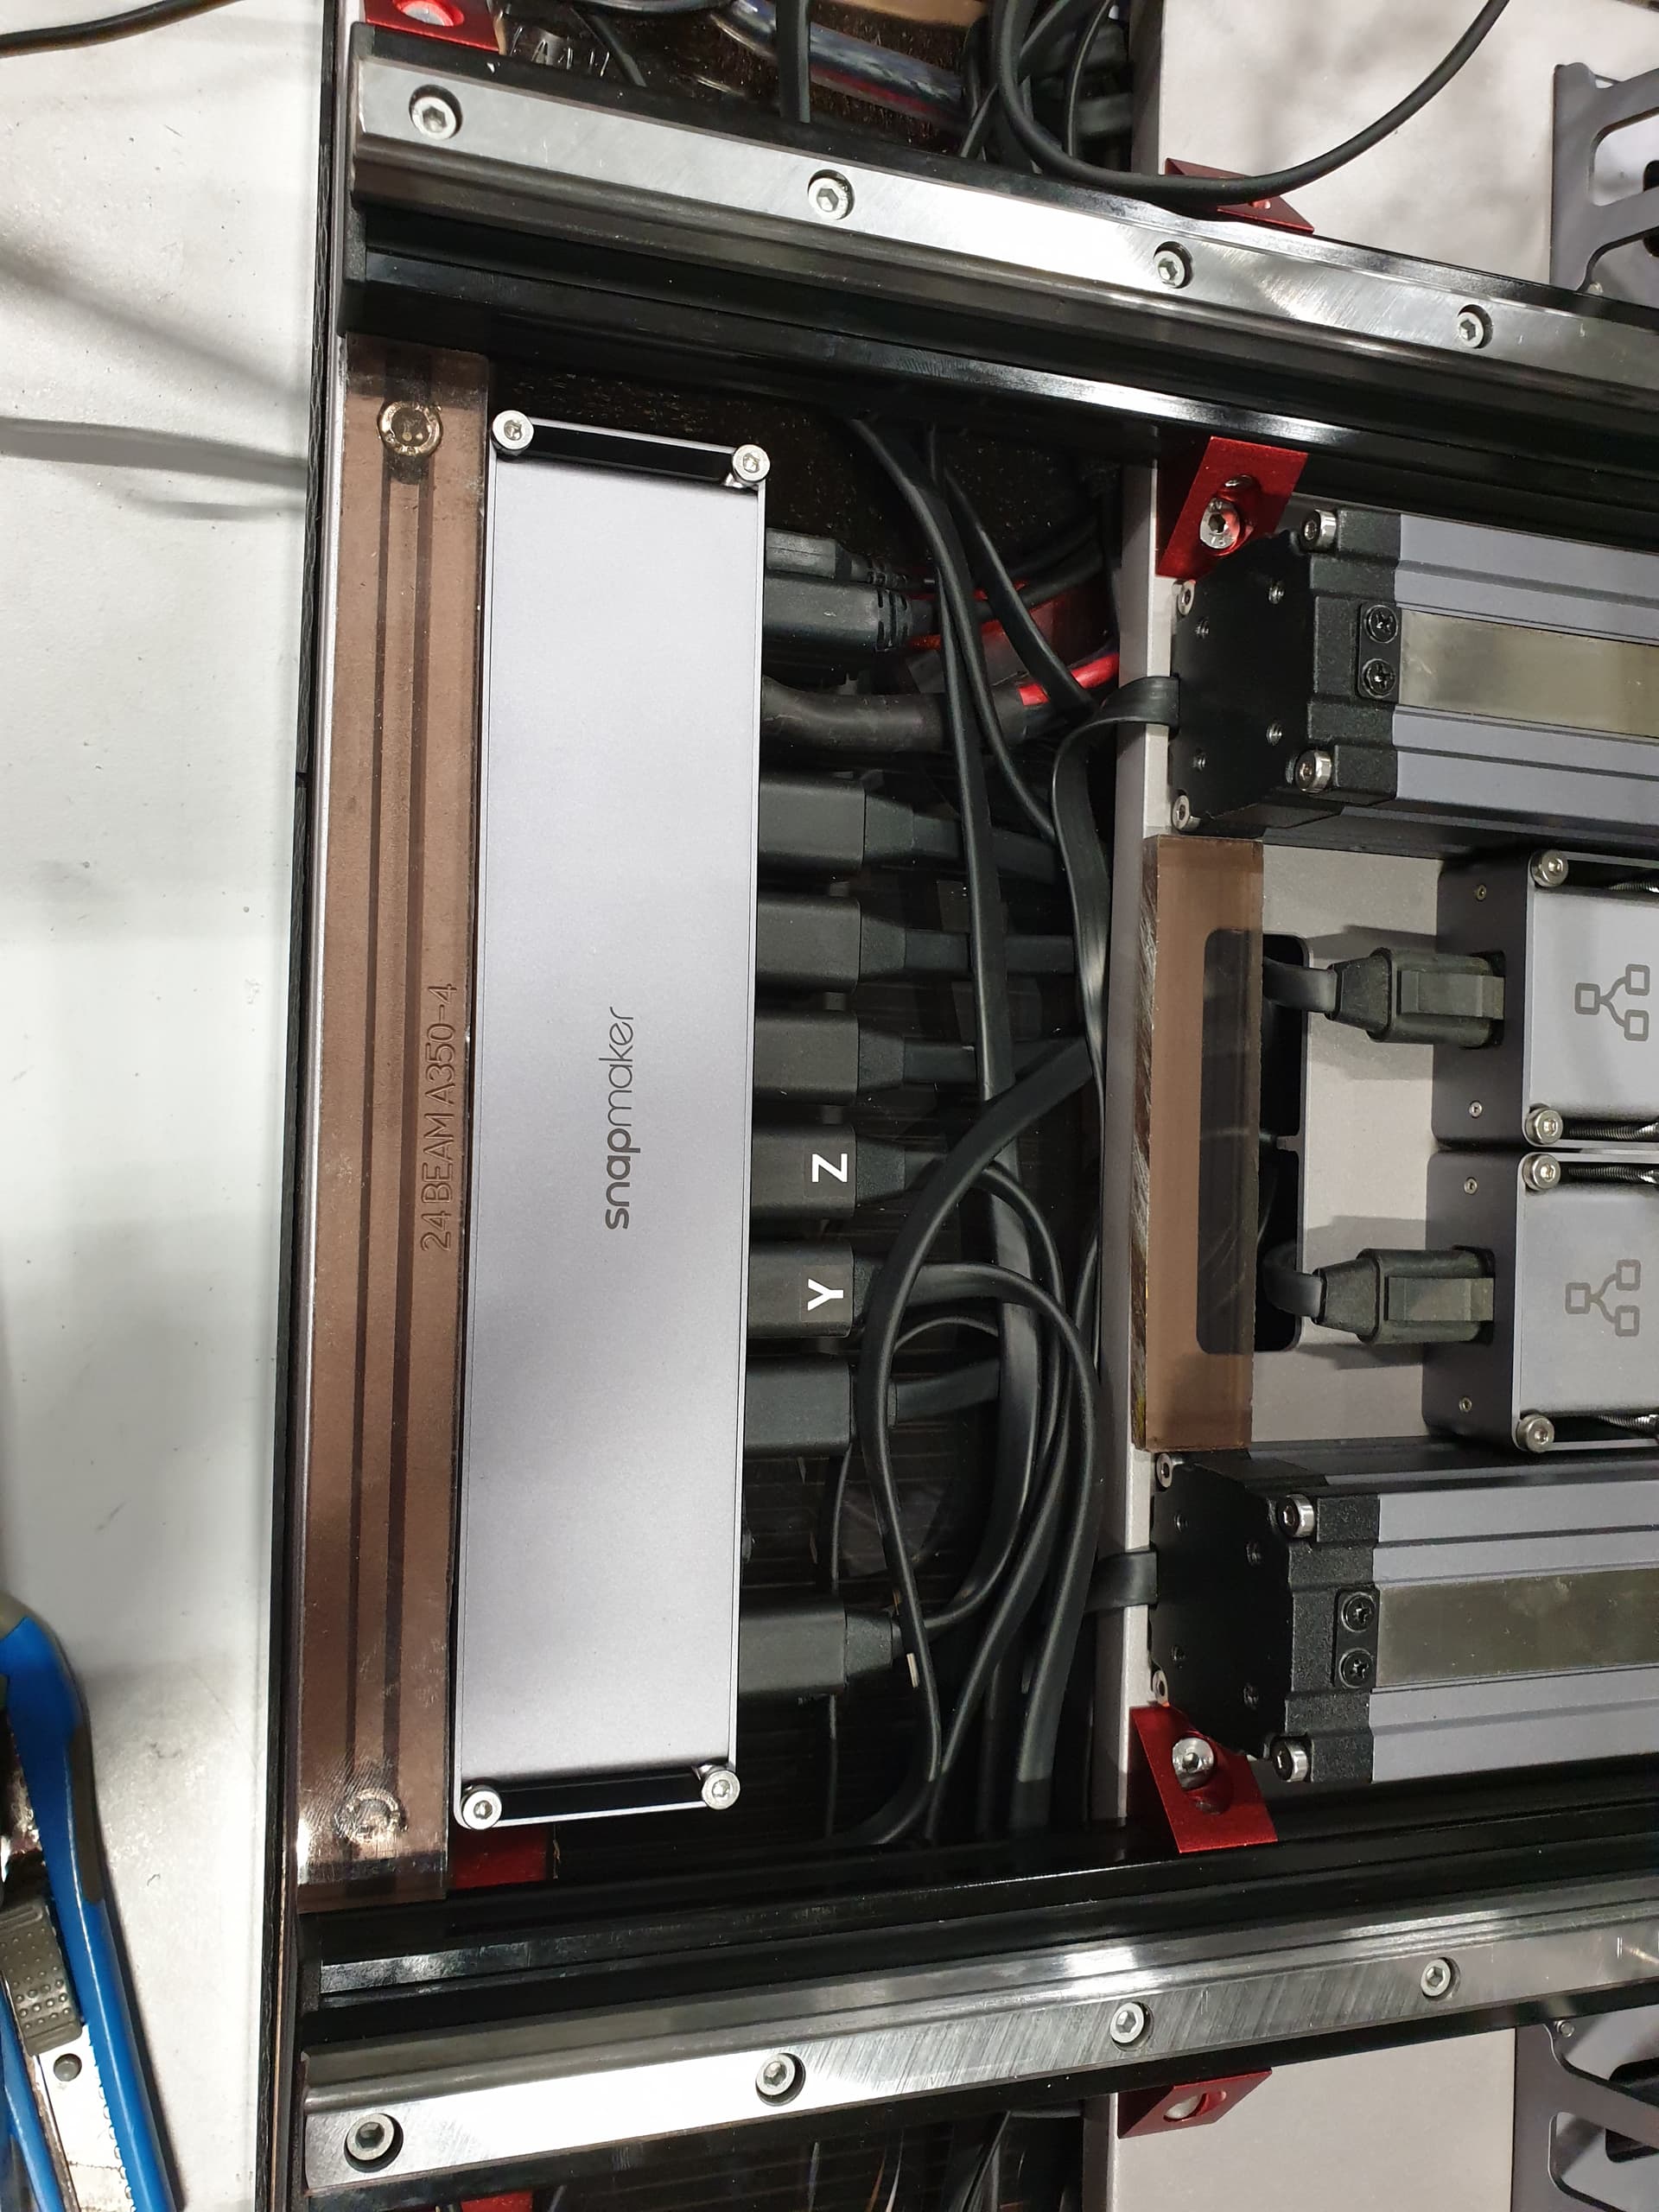
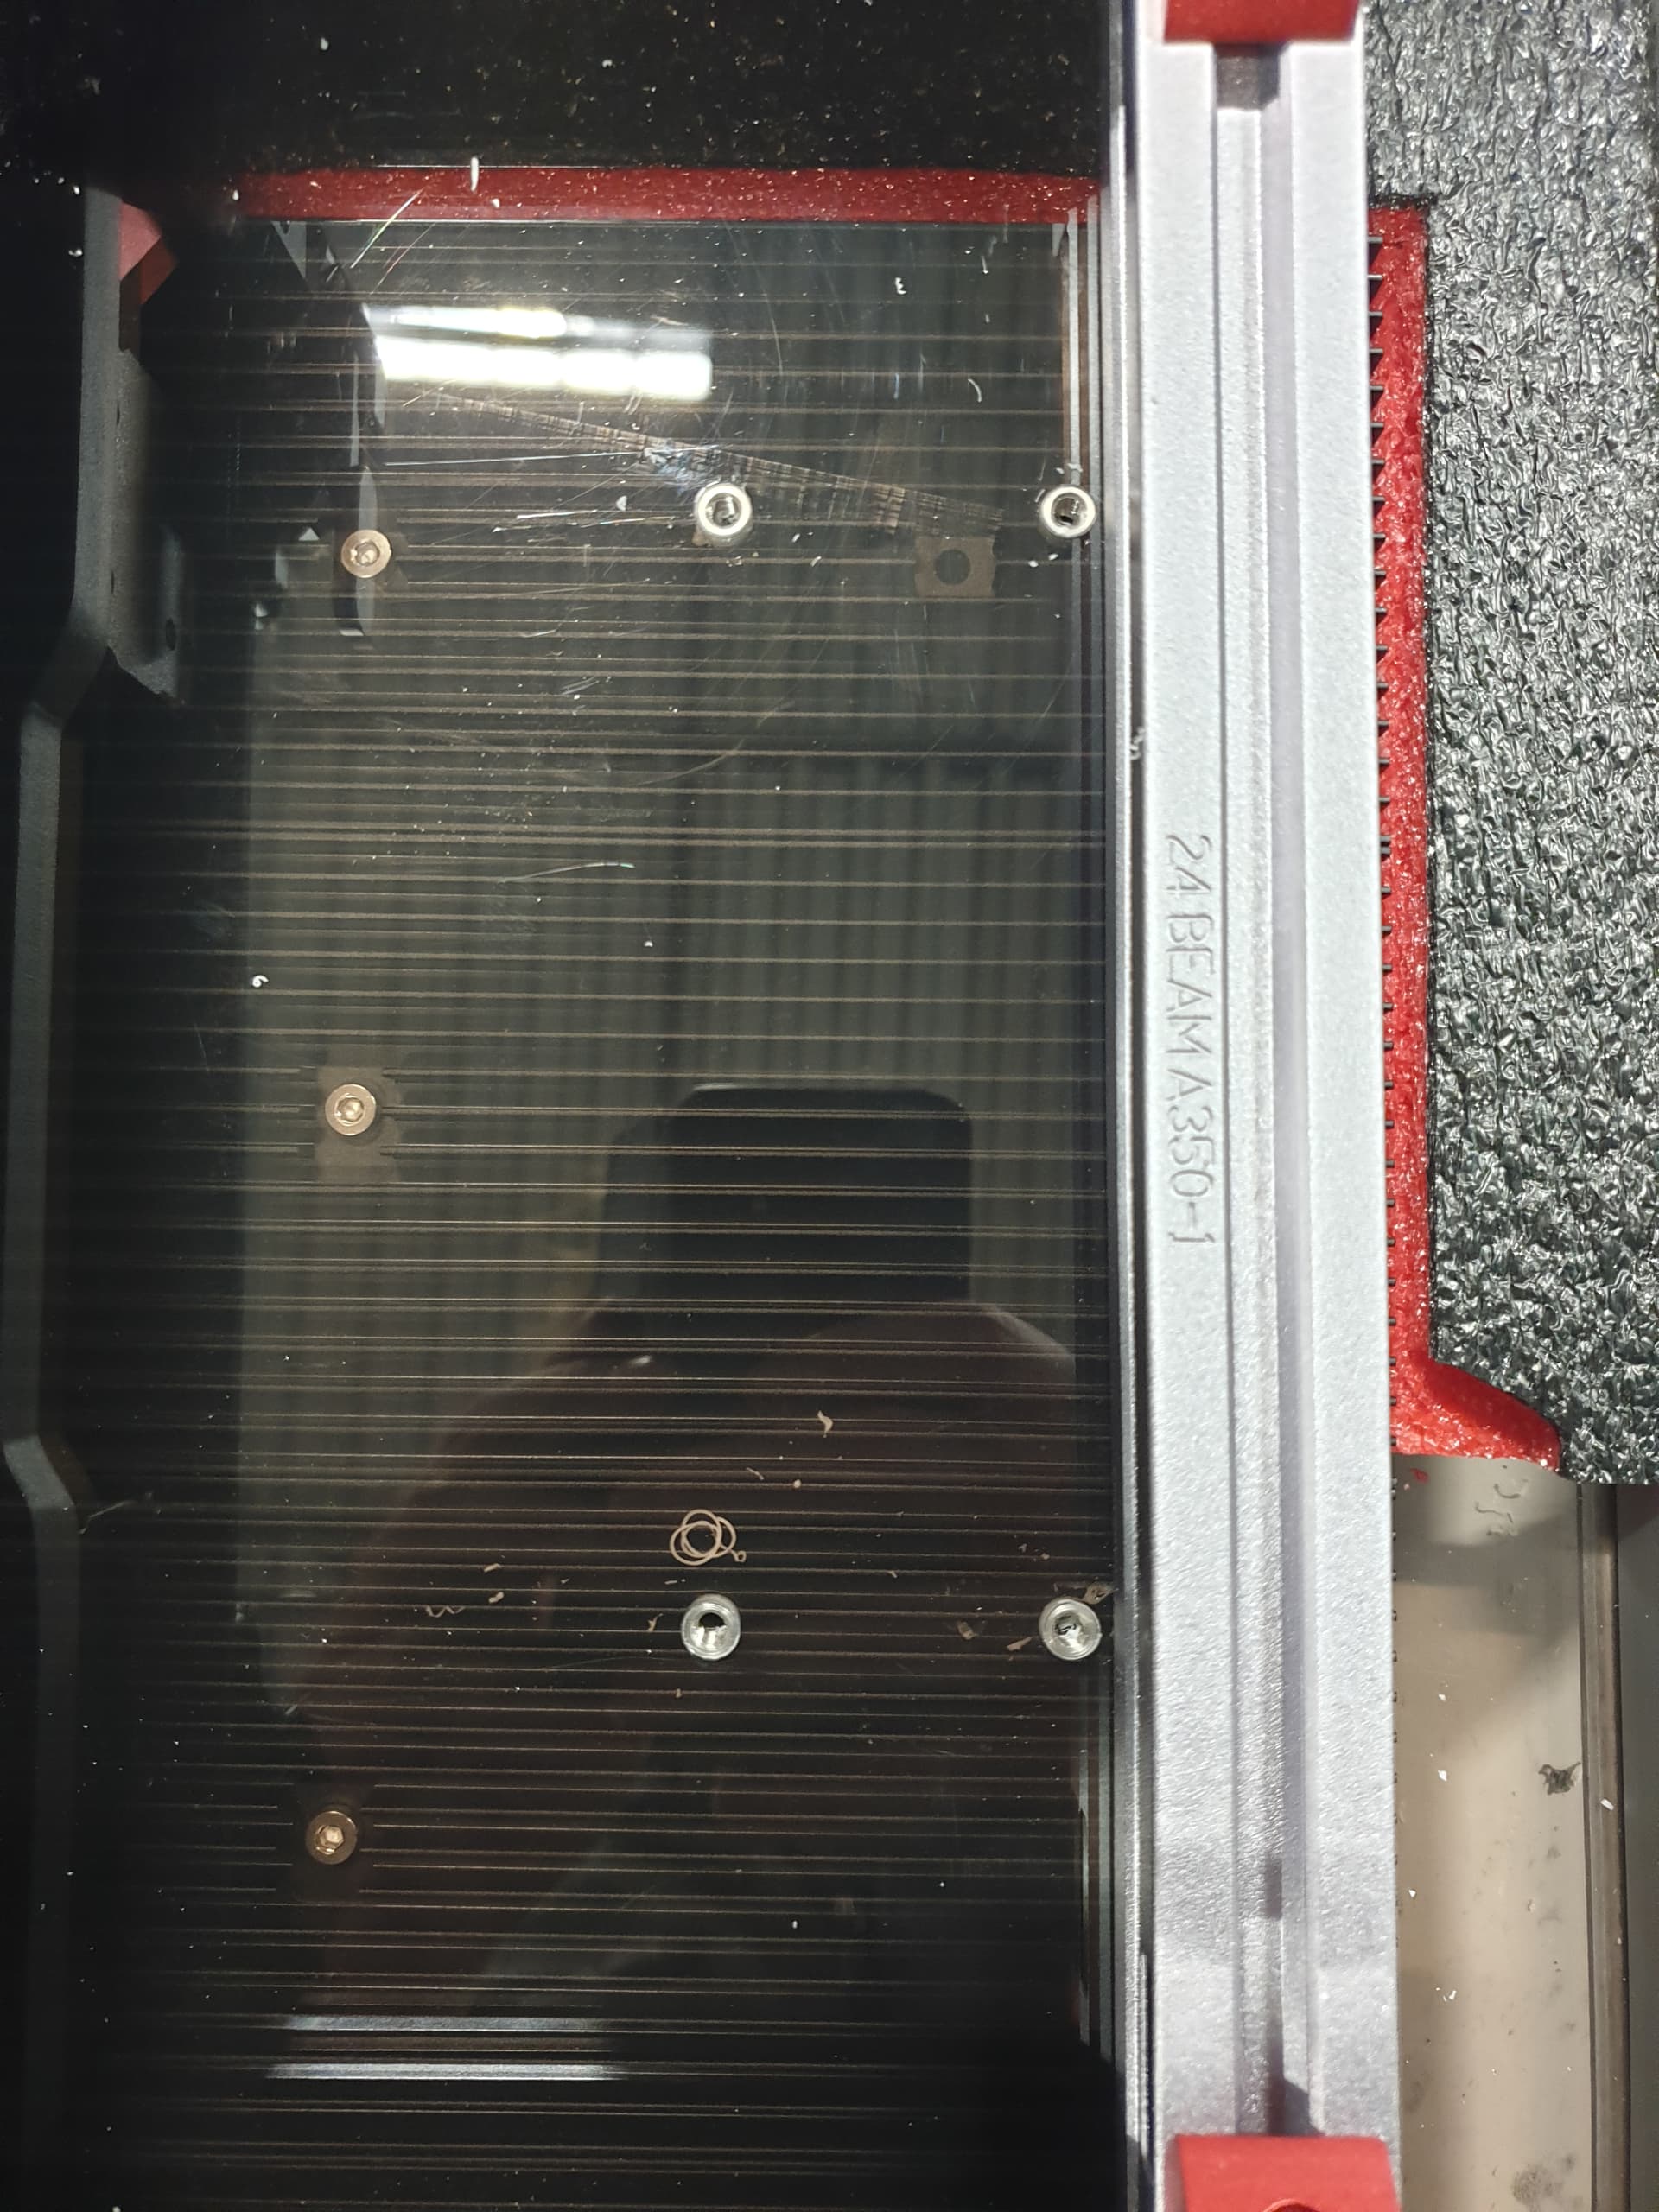
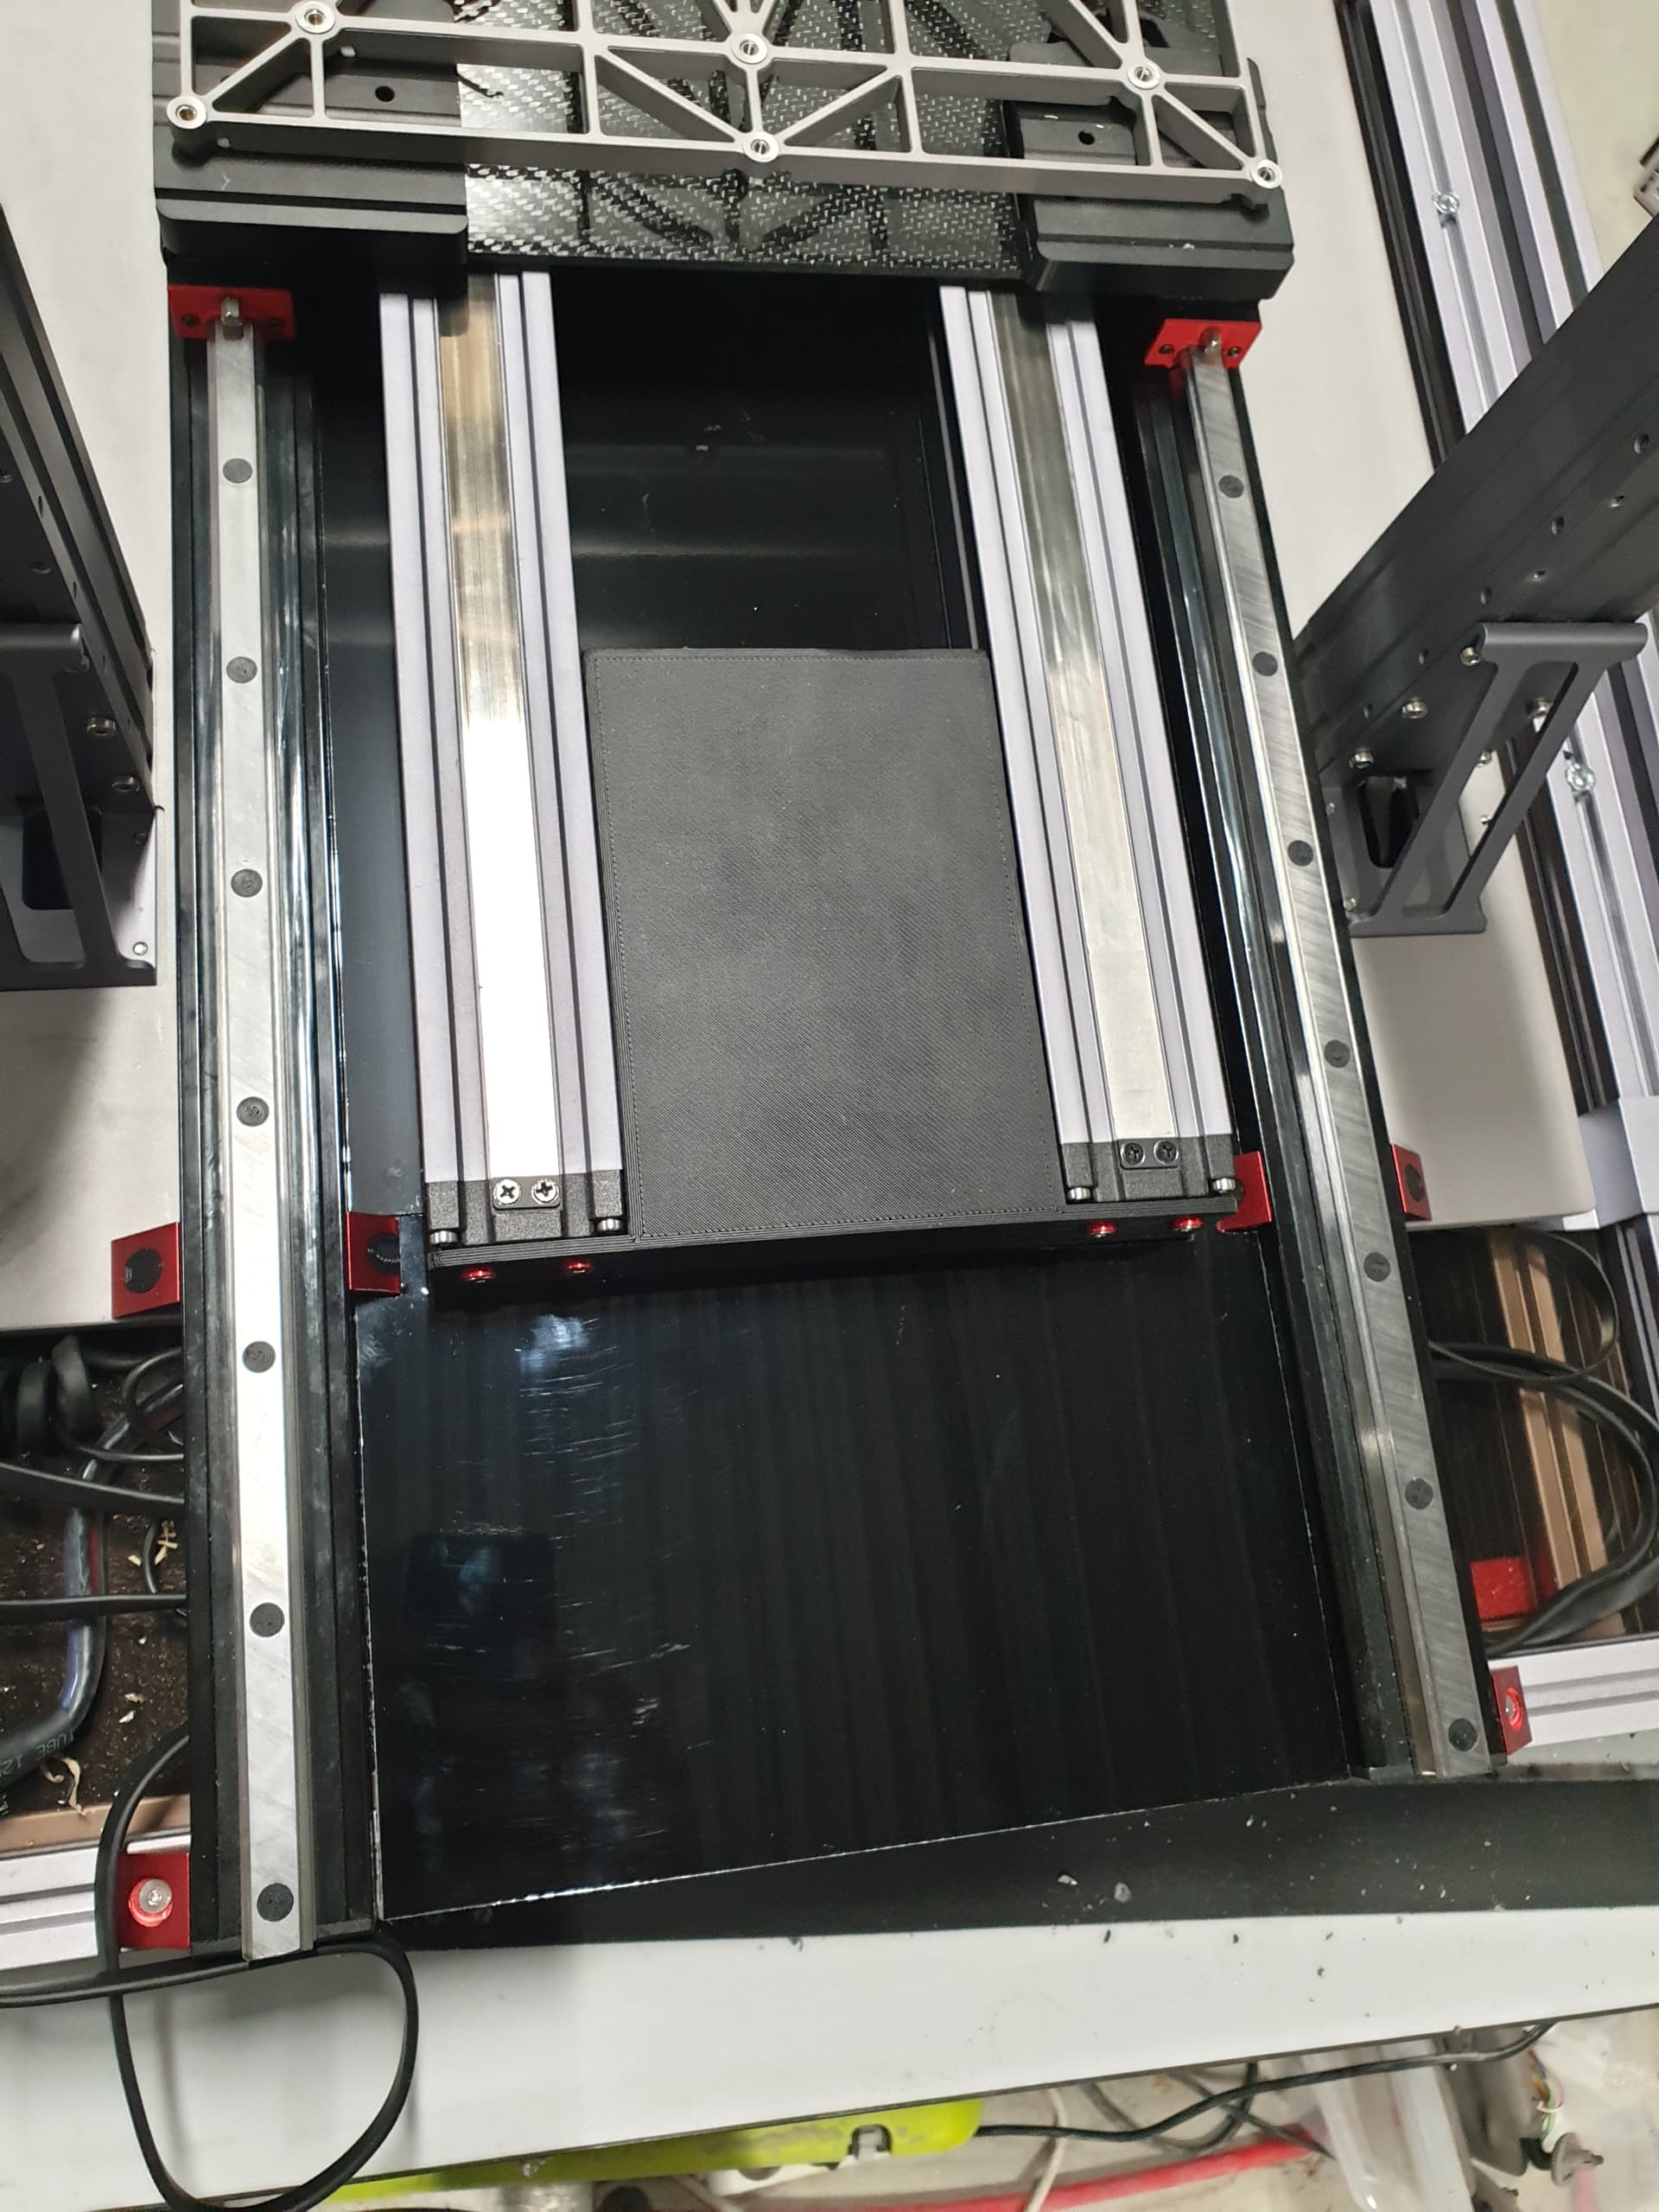
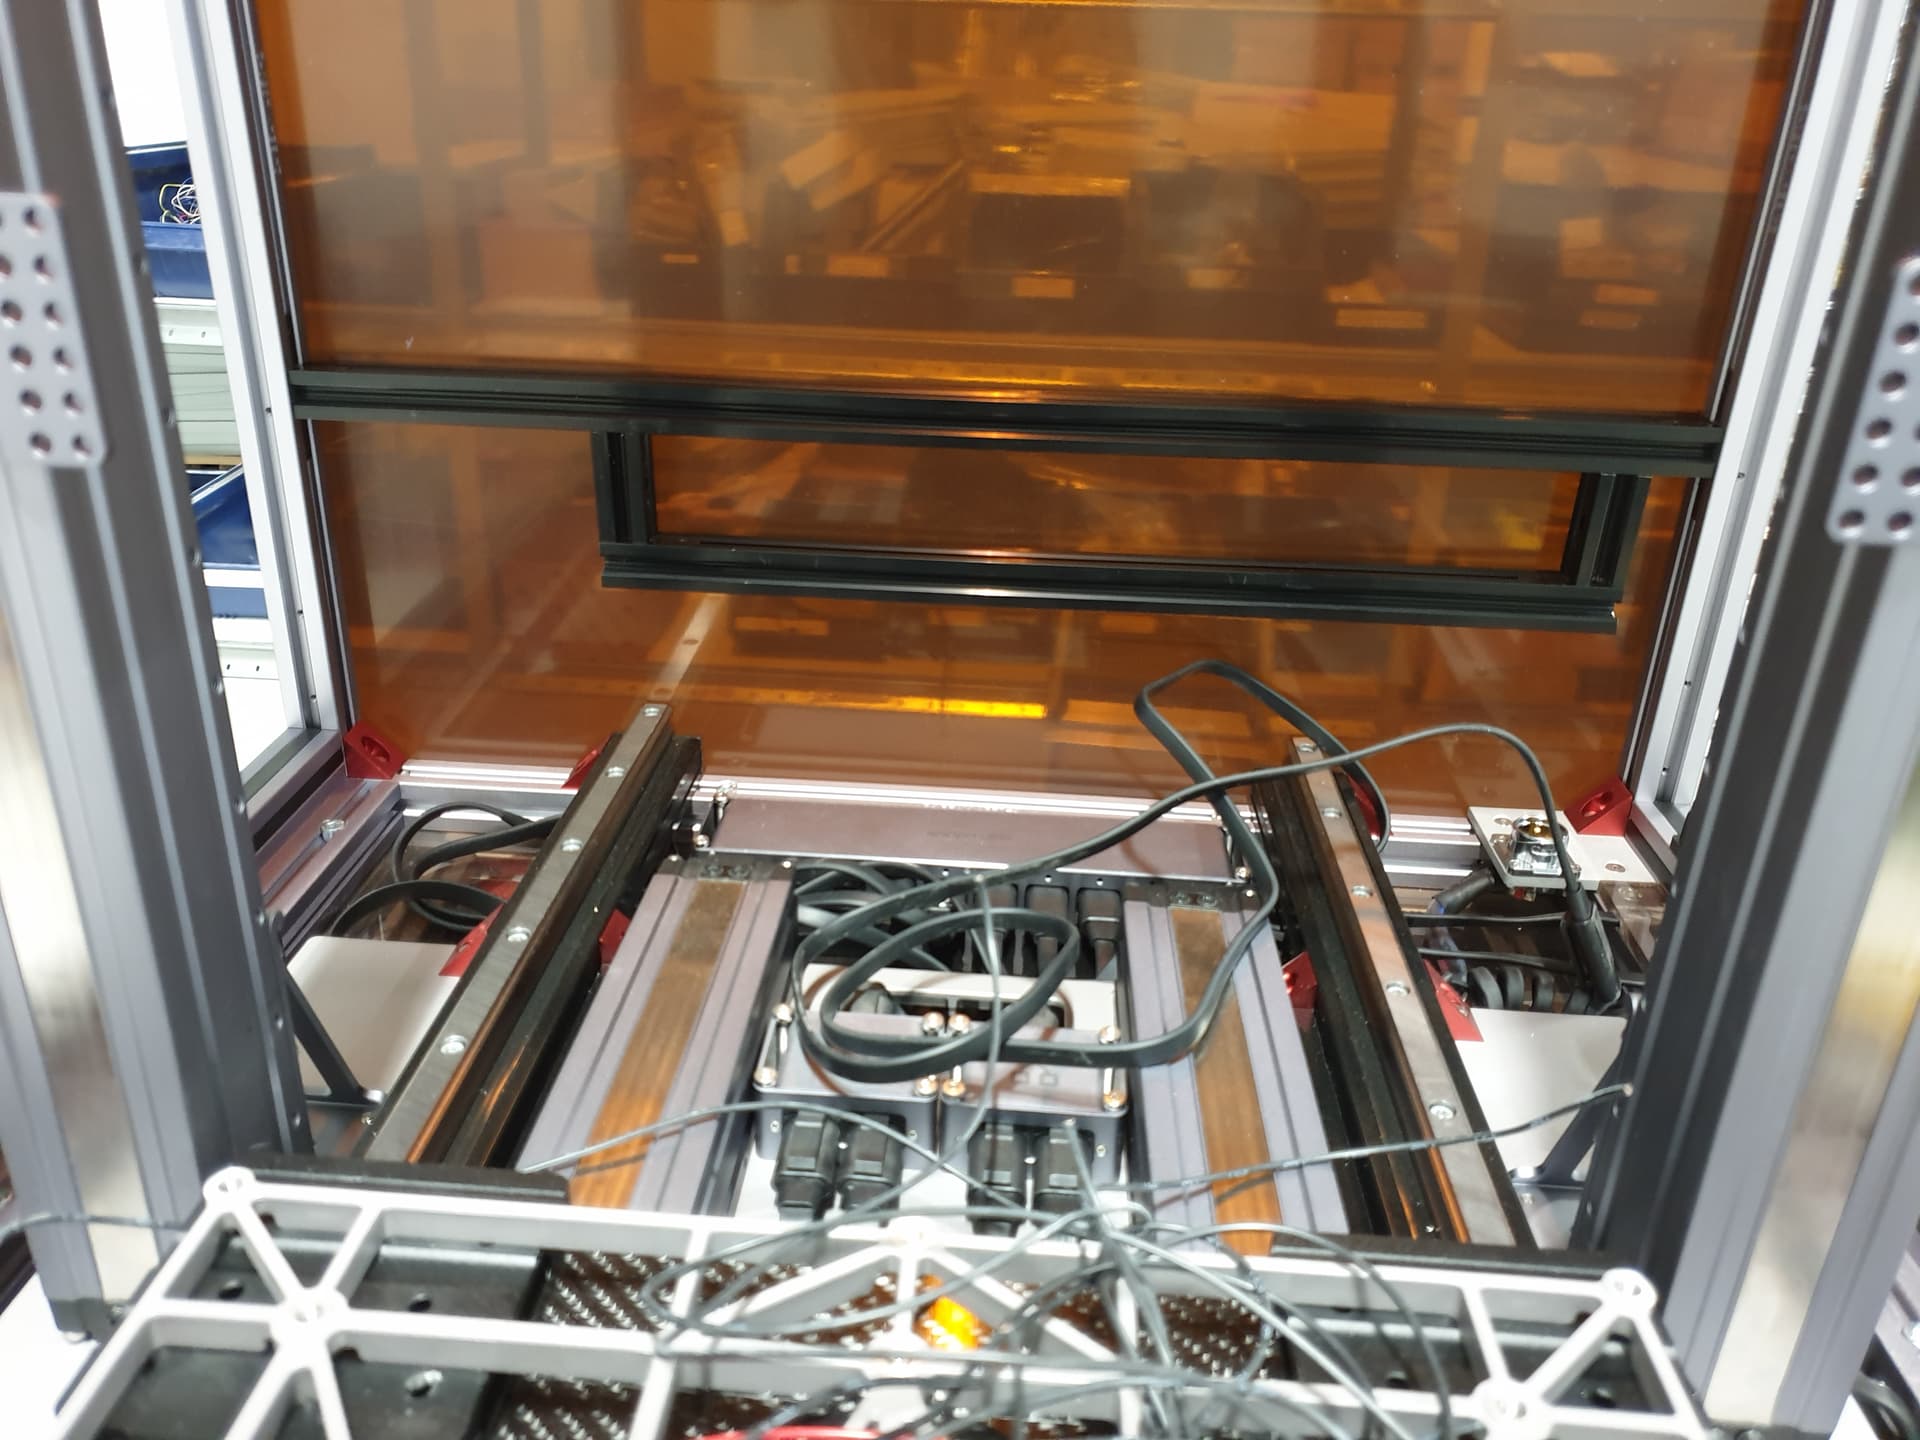
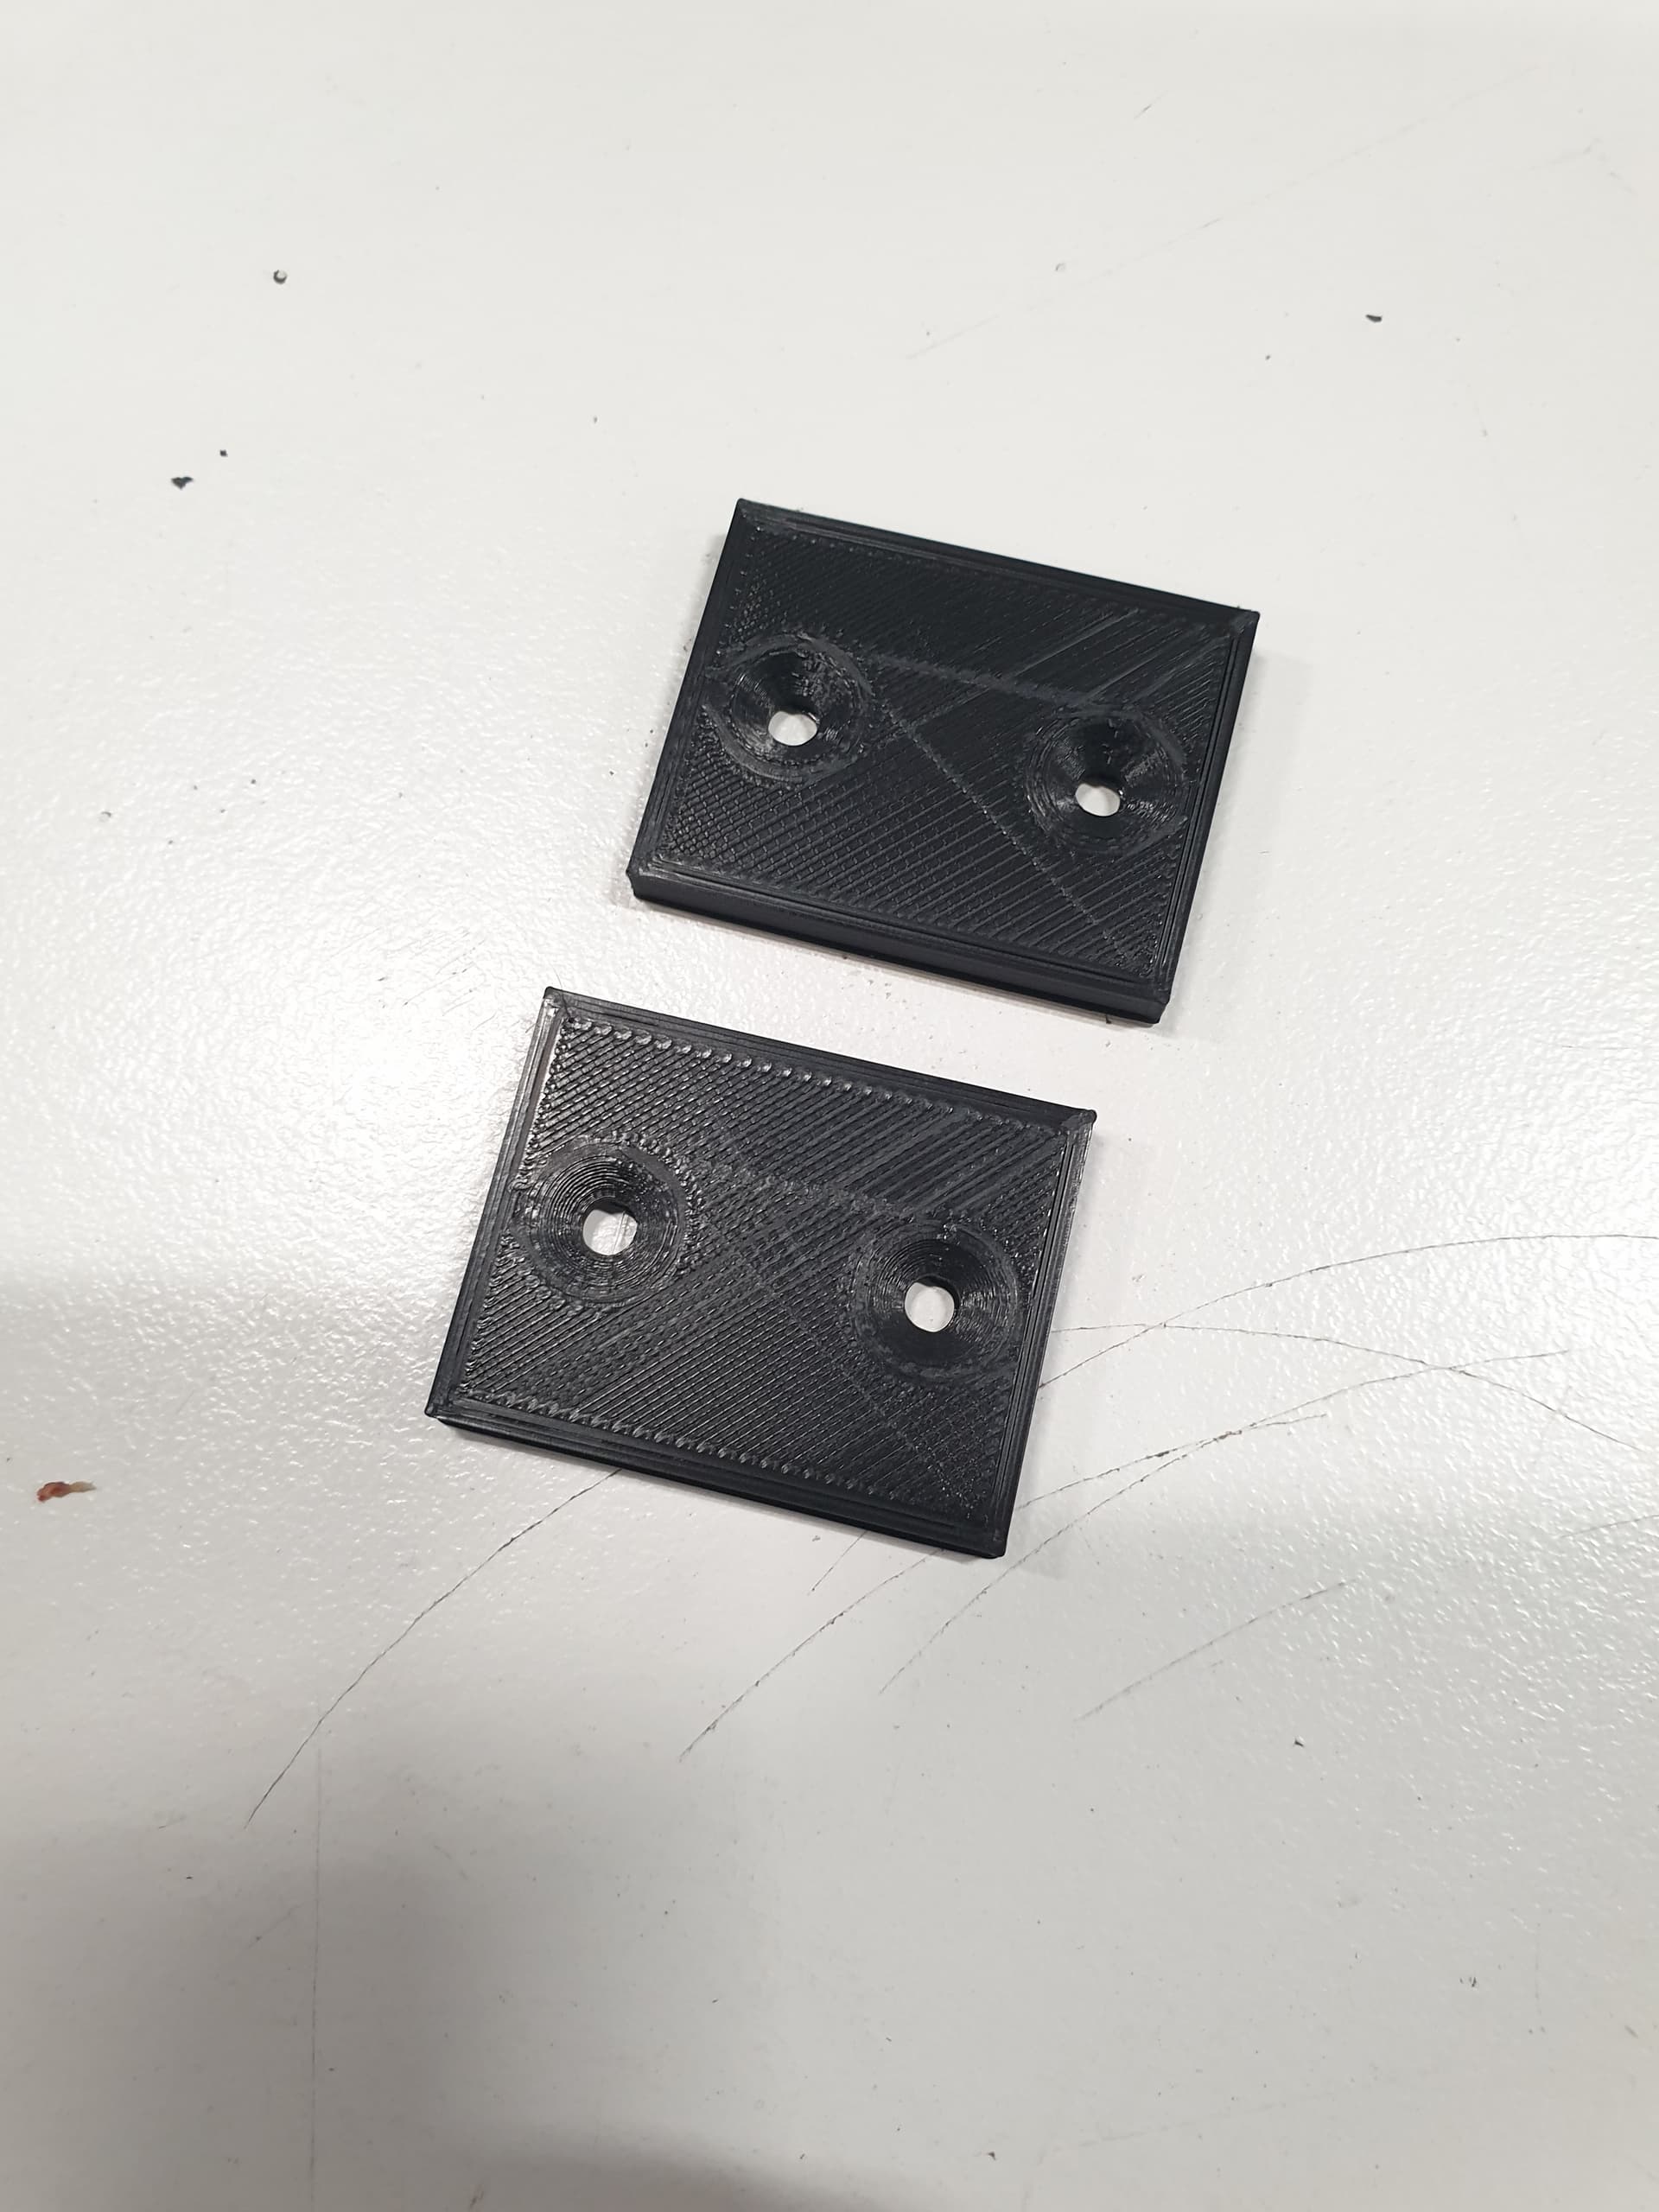
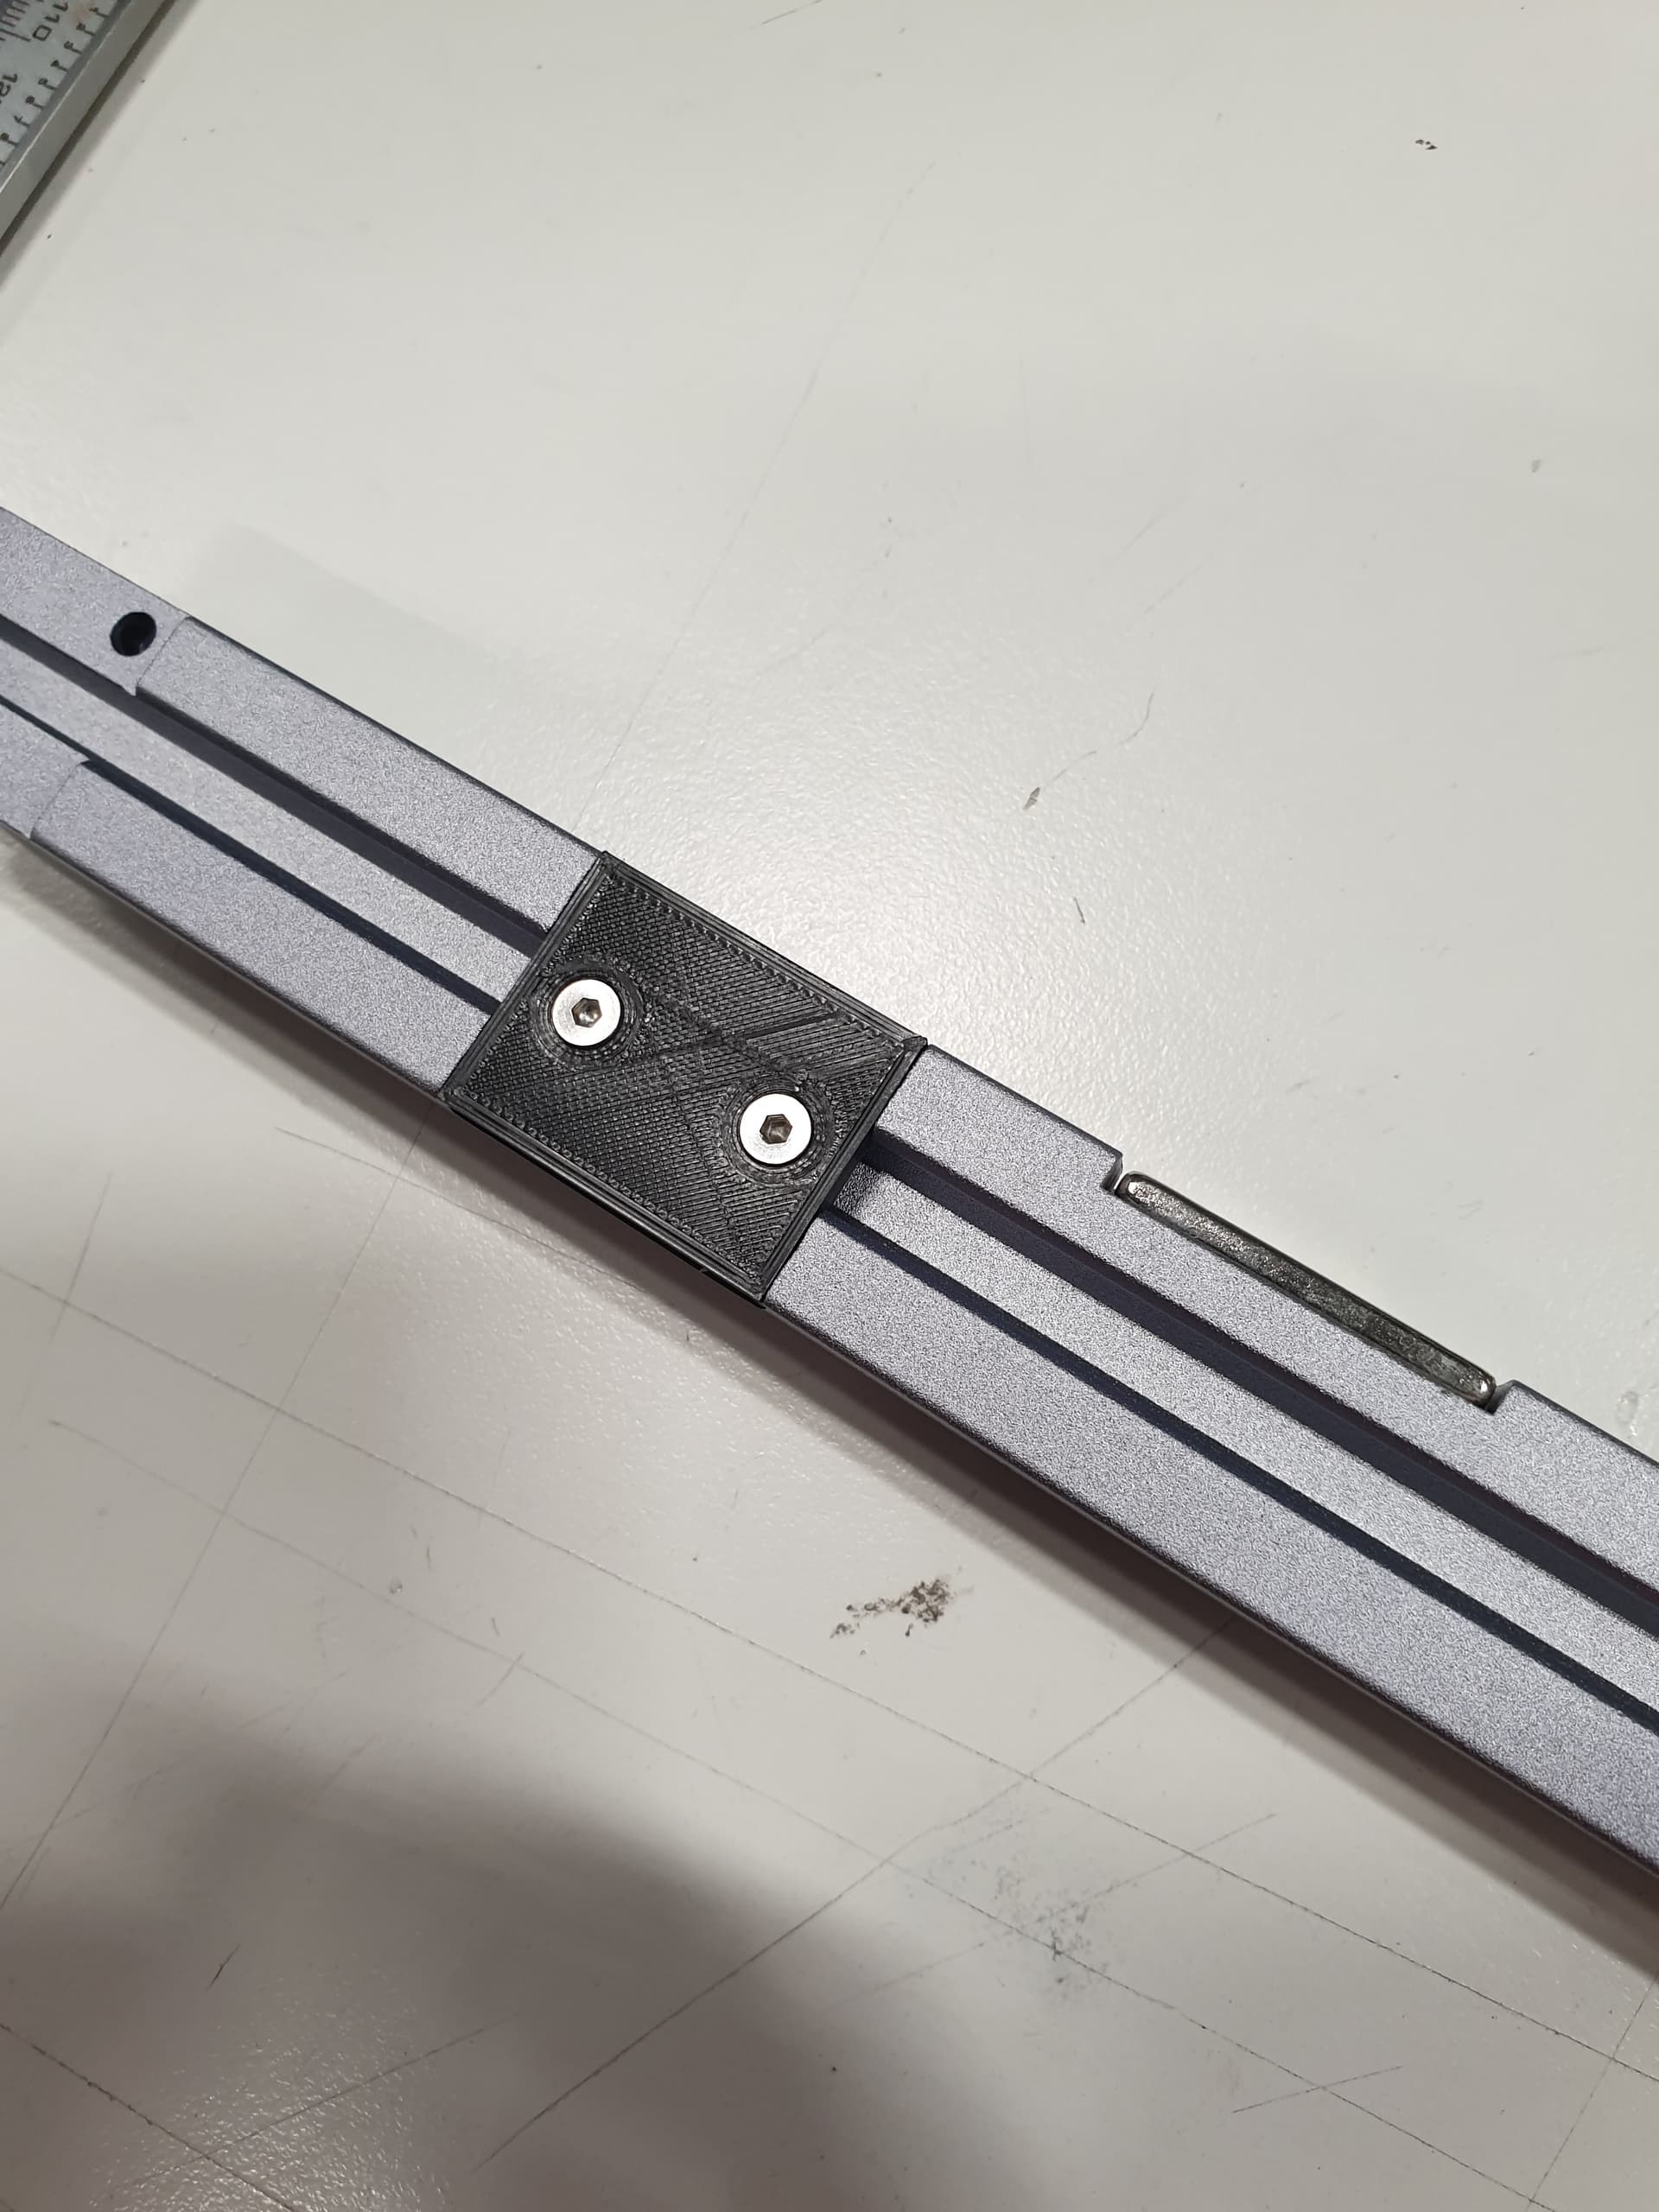
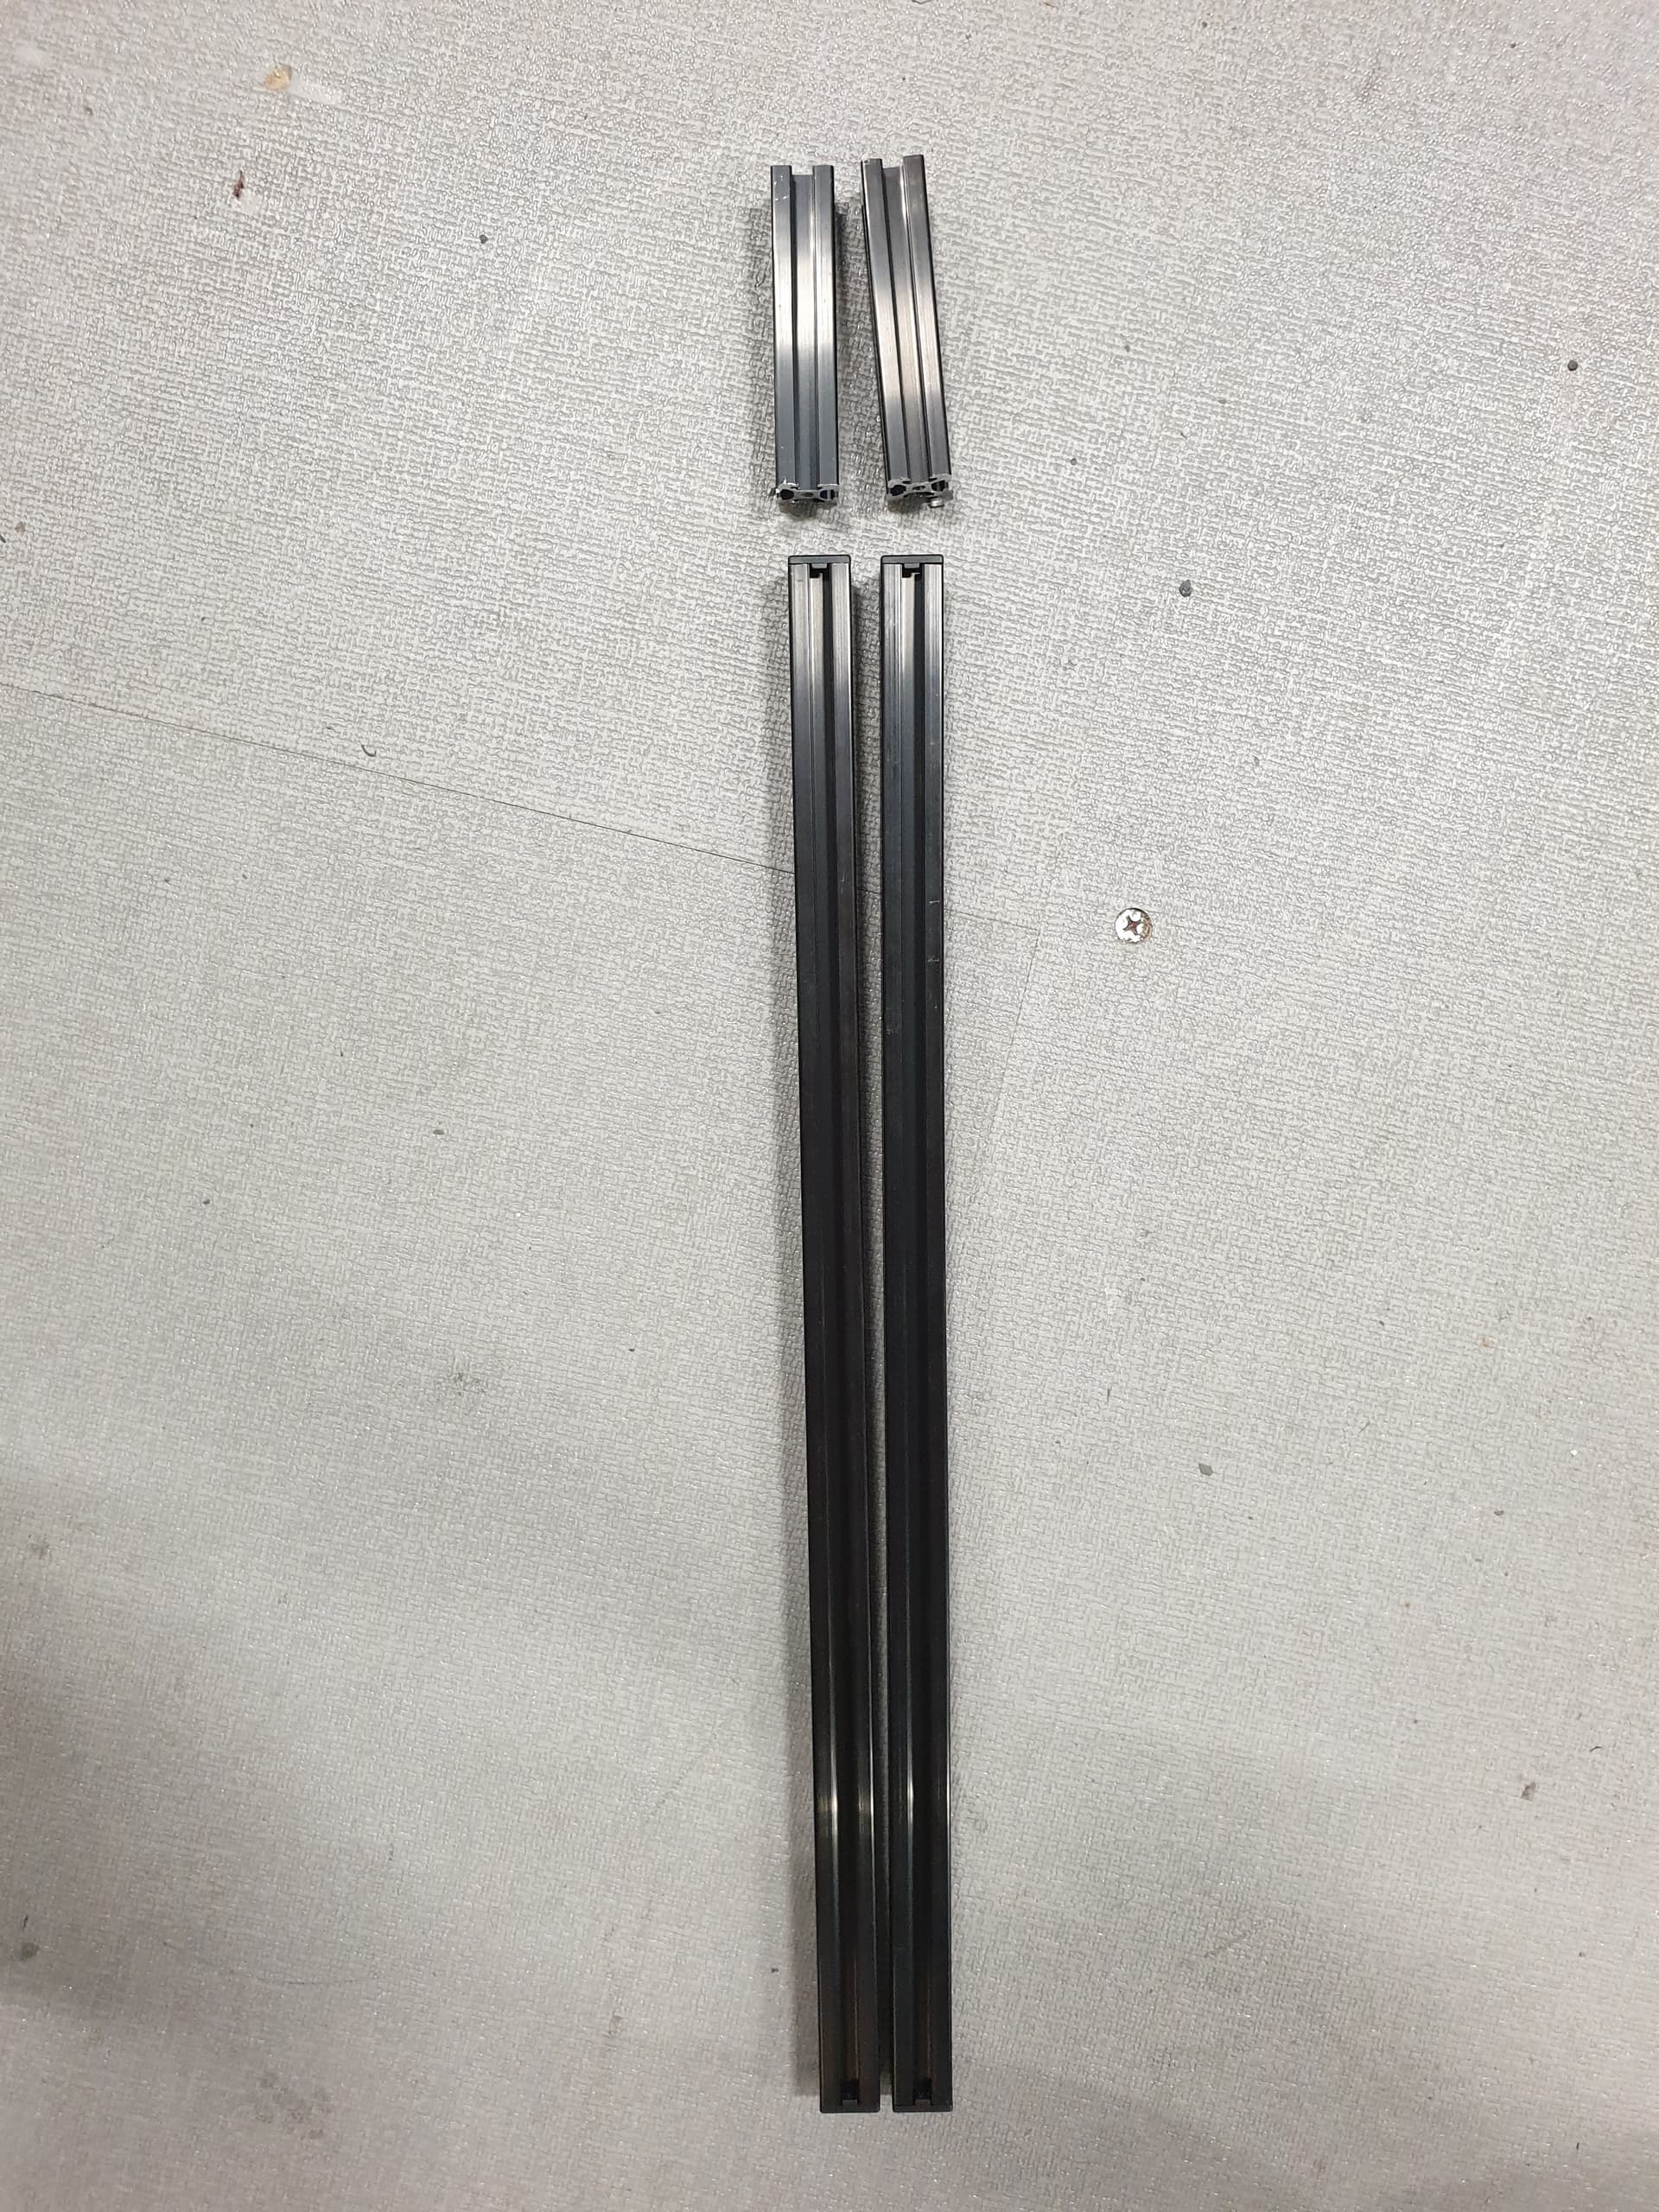
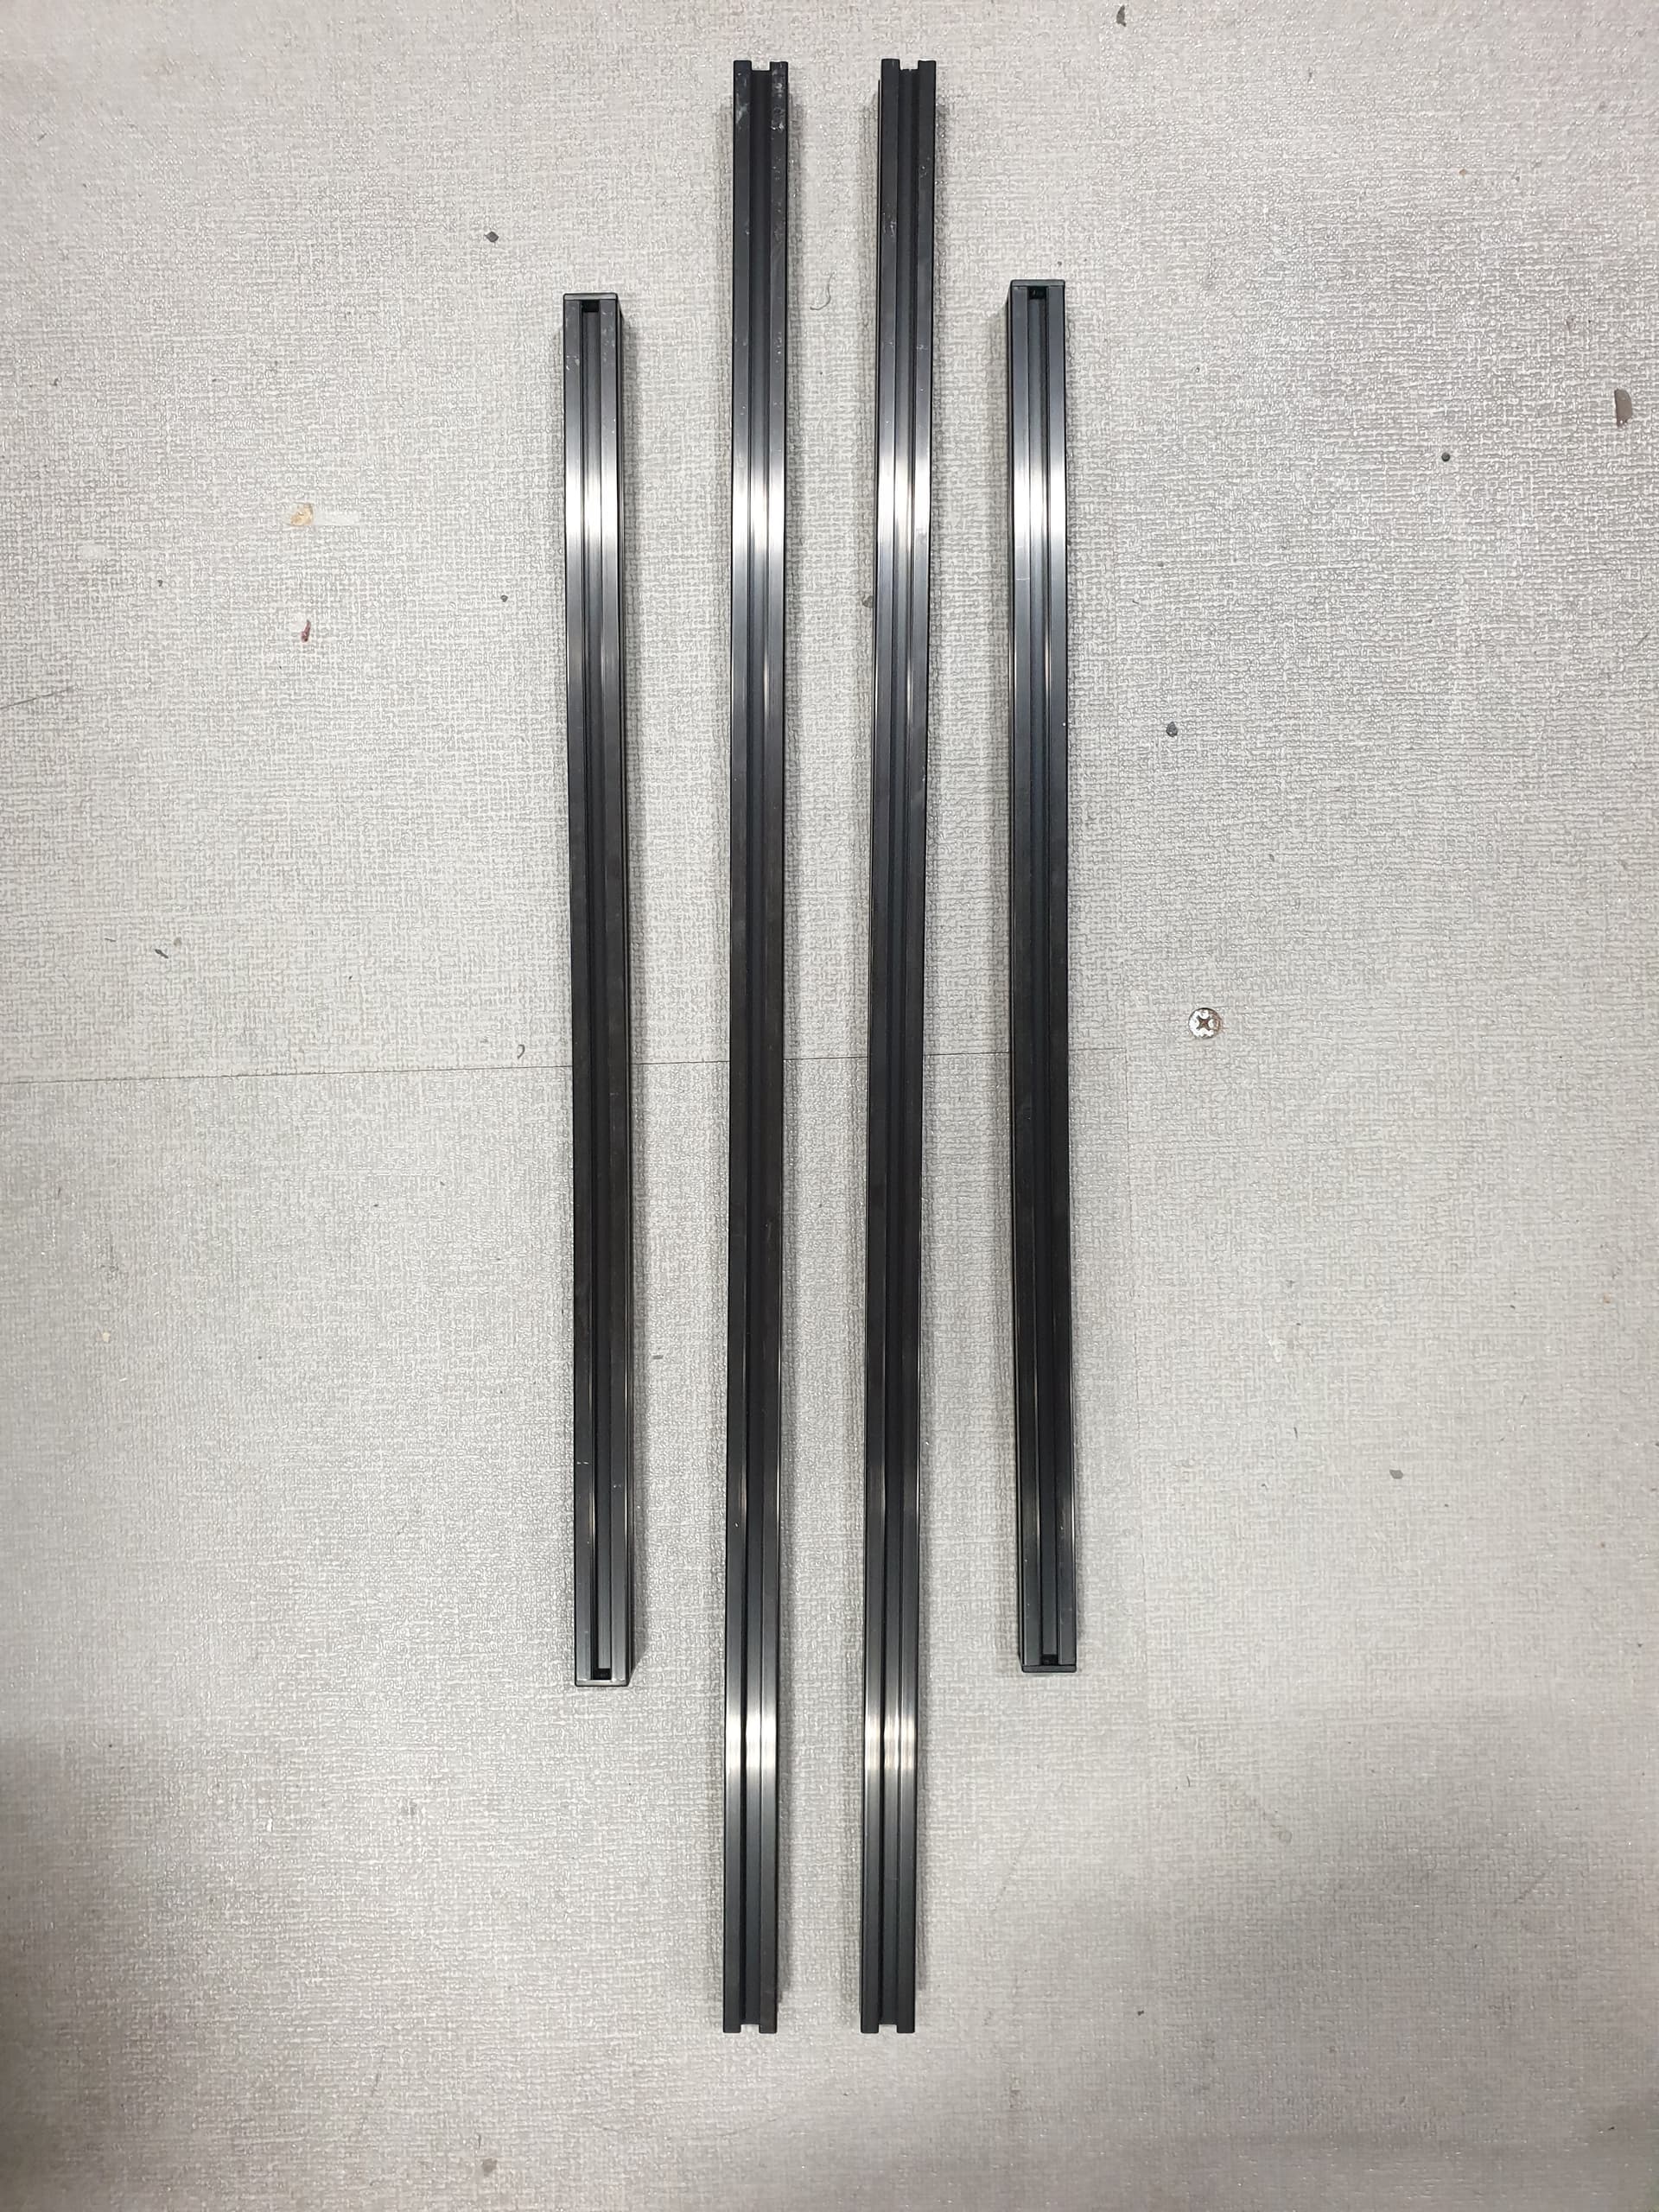
But shortly after that mod I got the dreaded loose linear actuator issue. I took apart the rails to try and improve the stability and destroyed the stainless steel dust covers in the process. luckily support was able to send me new covers and I finally fixed the rails:


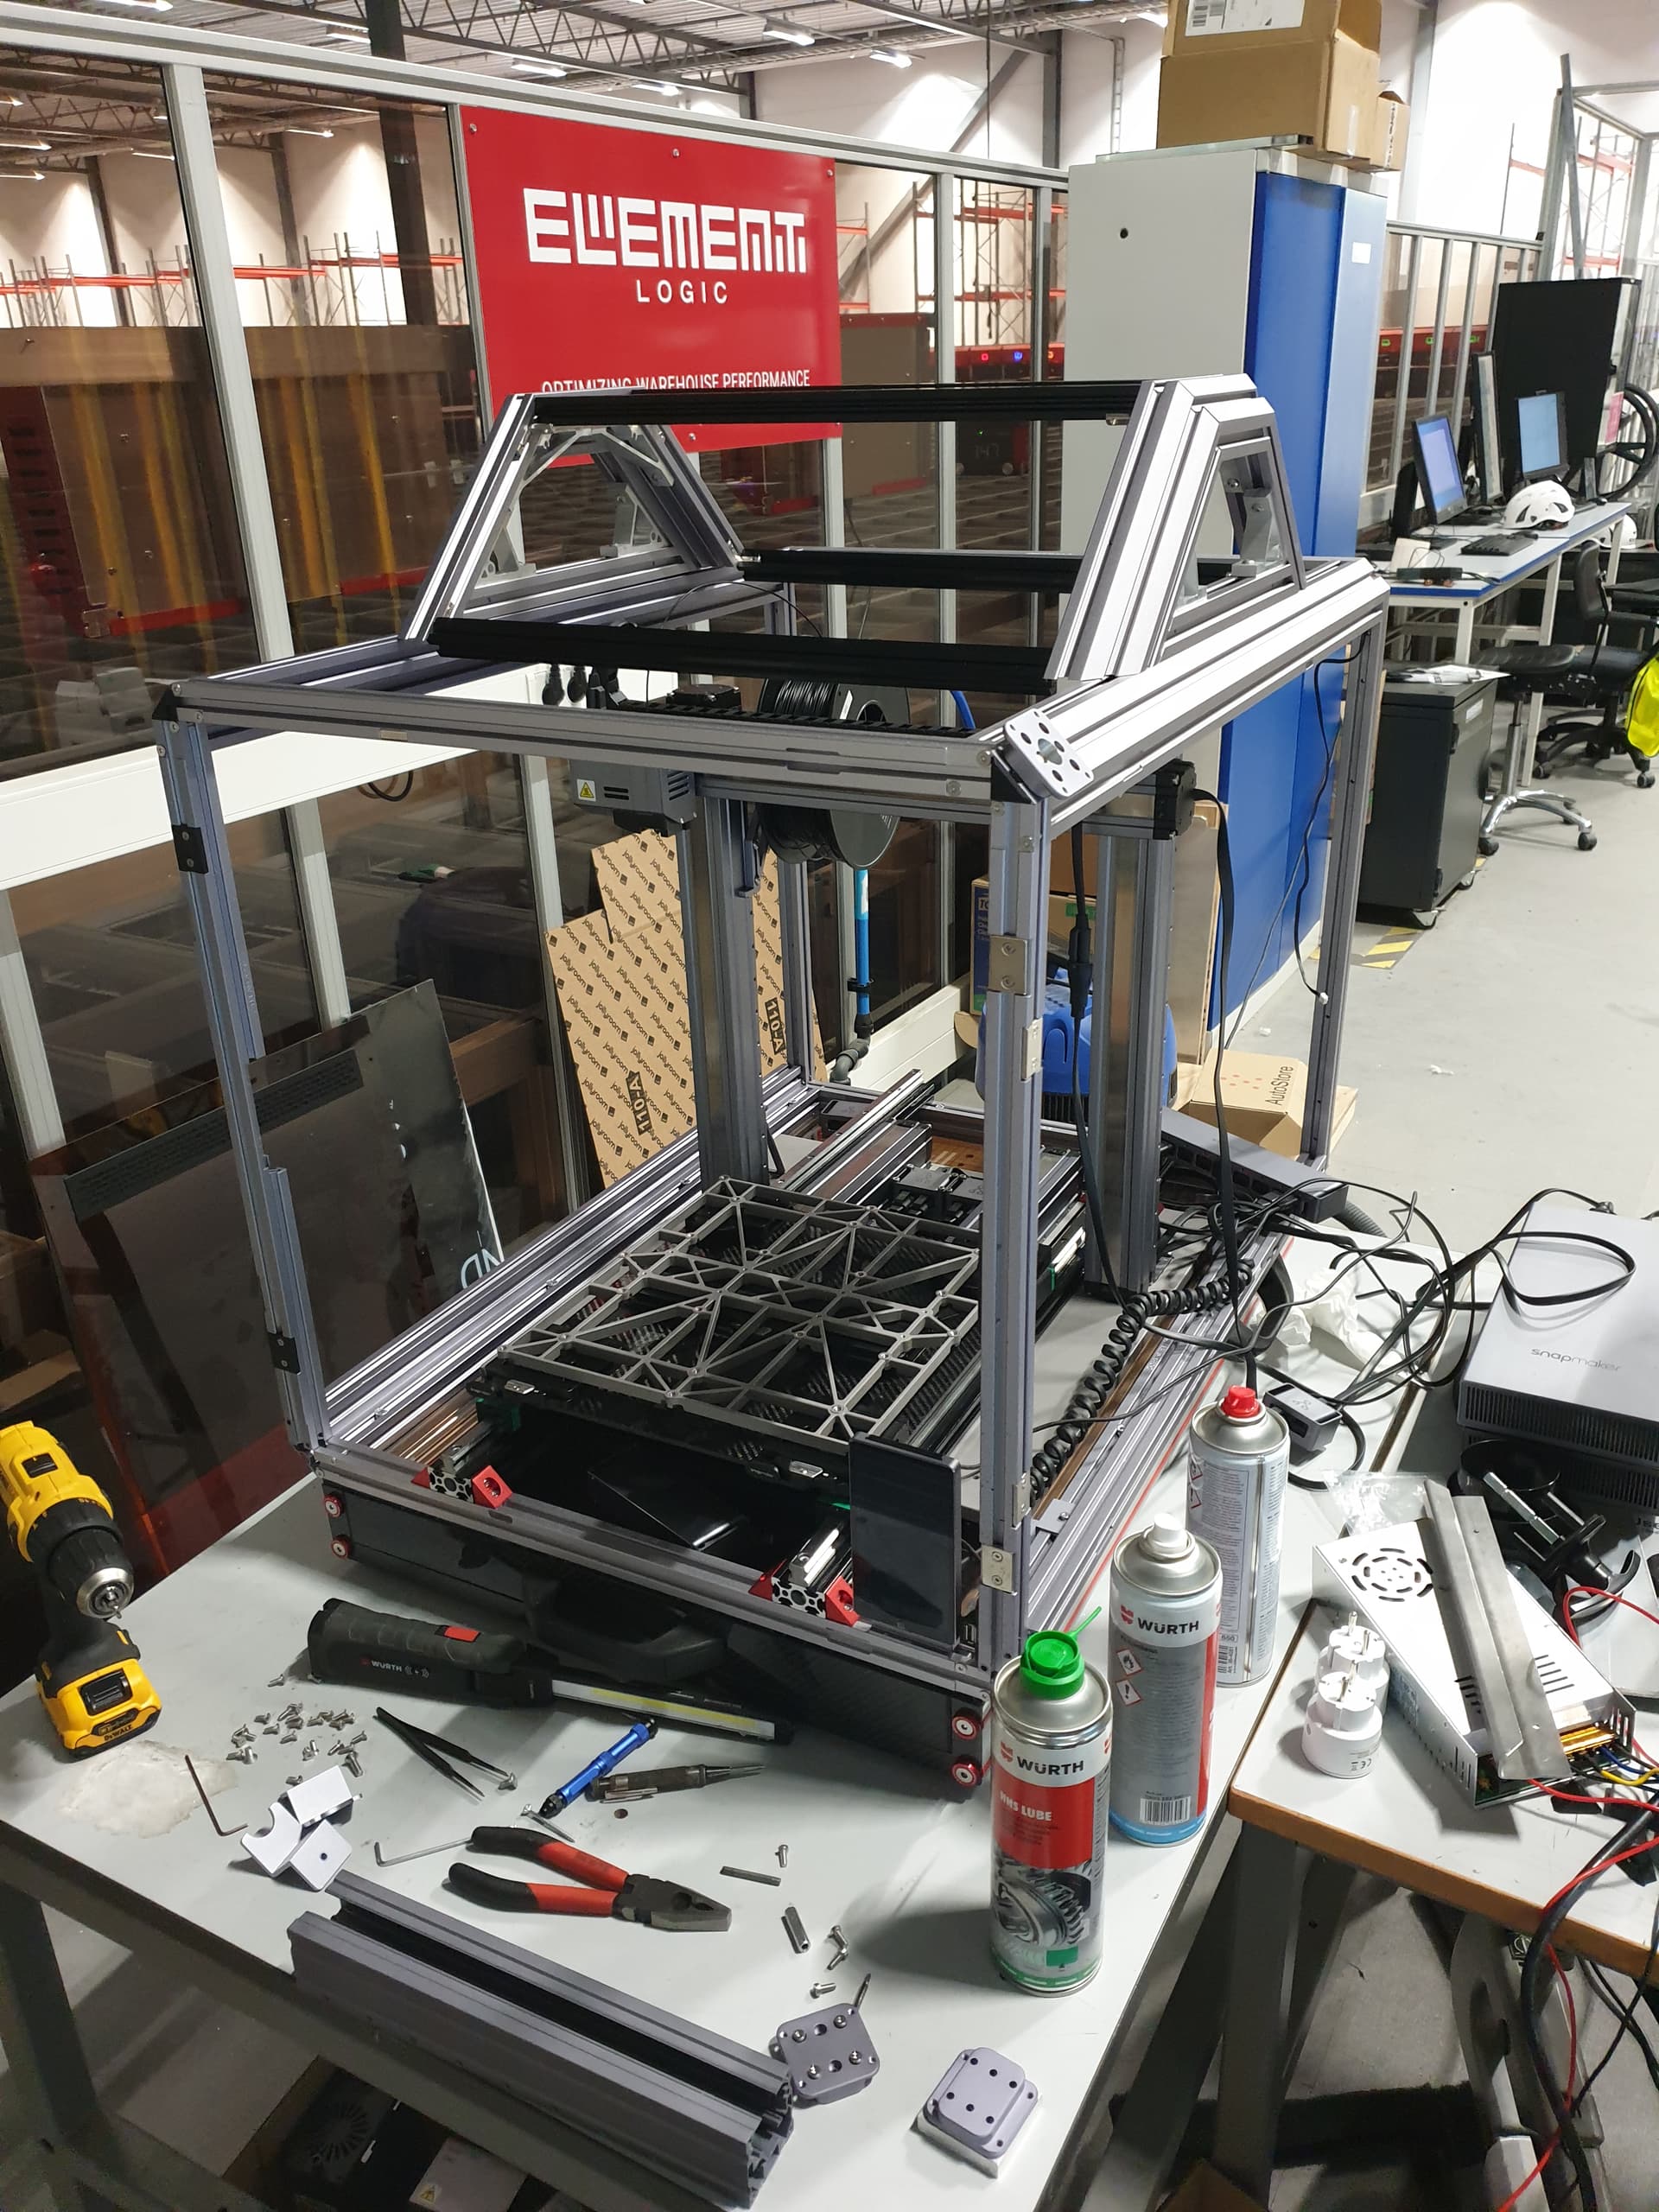
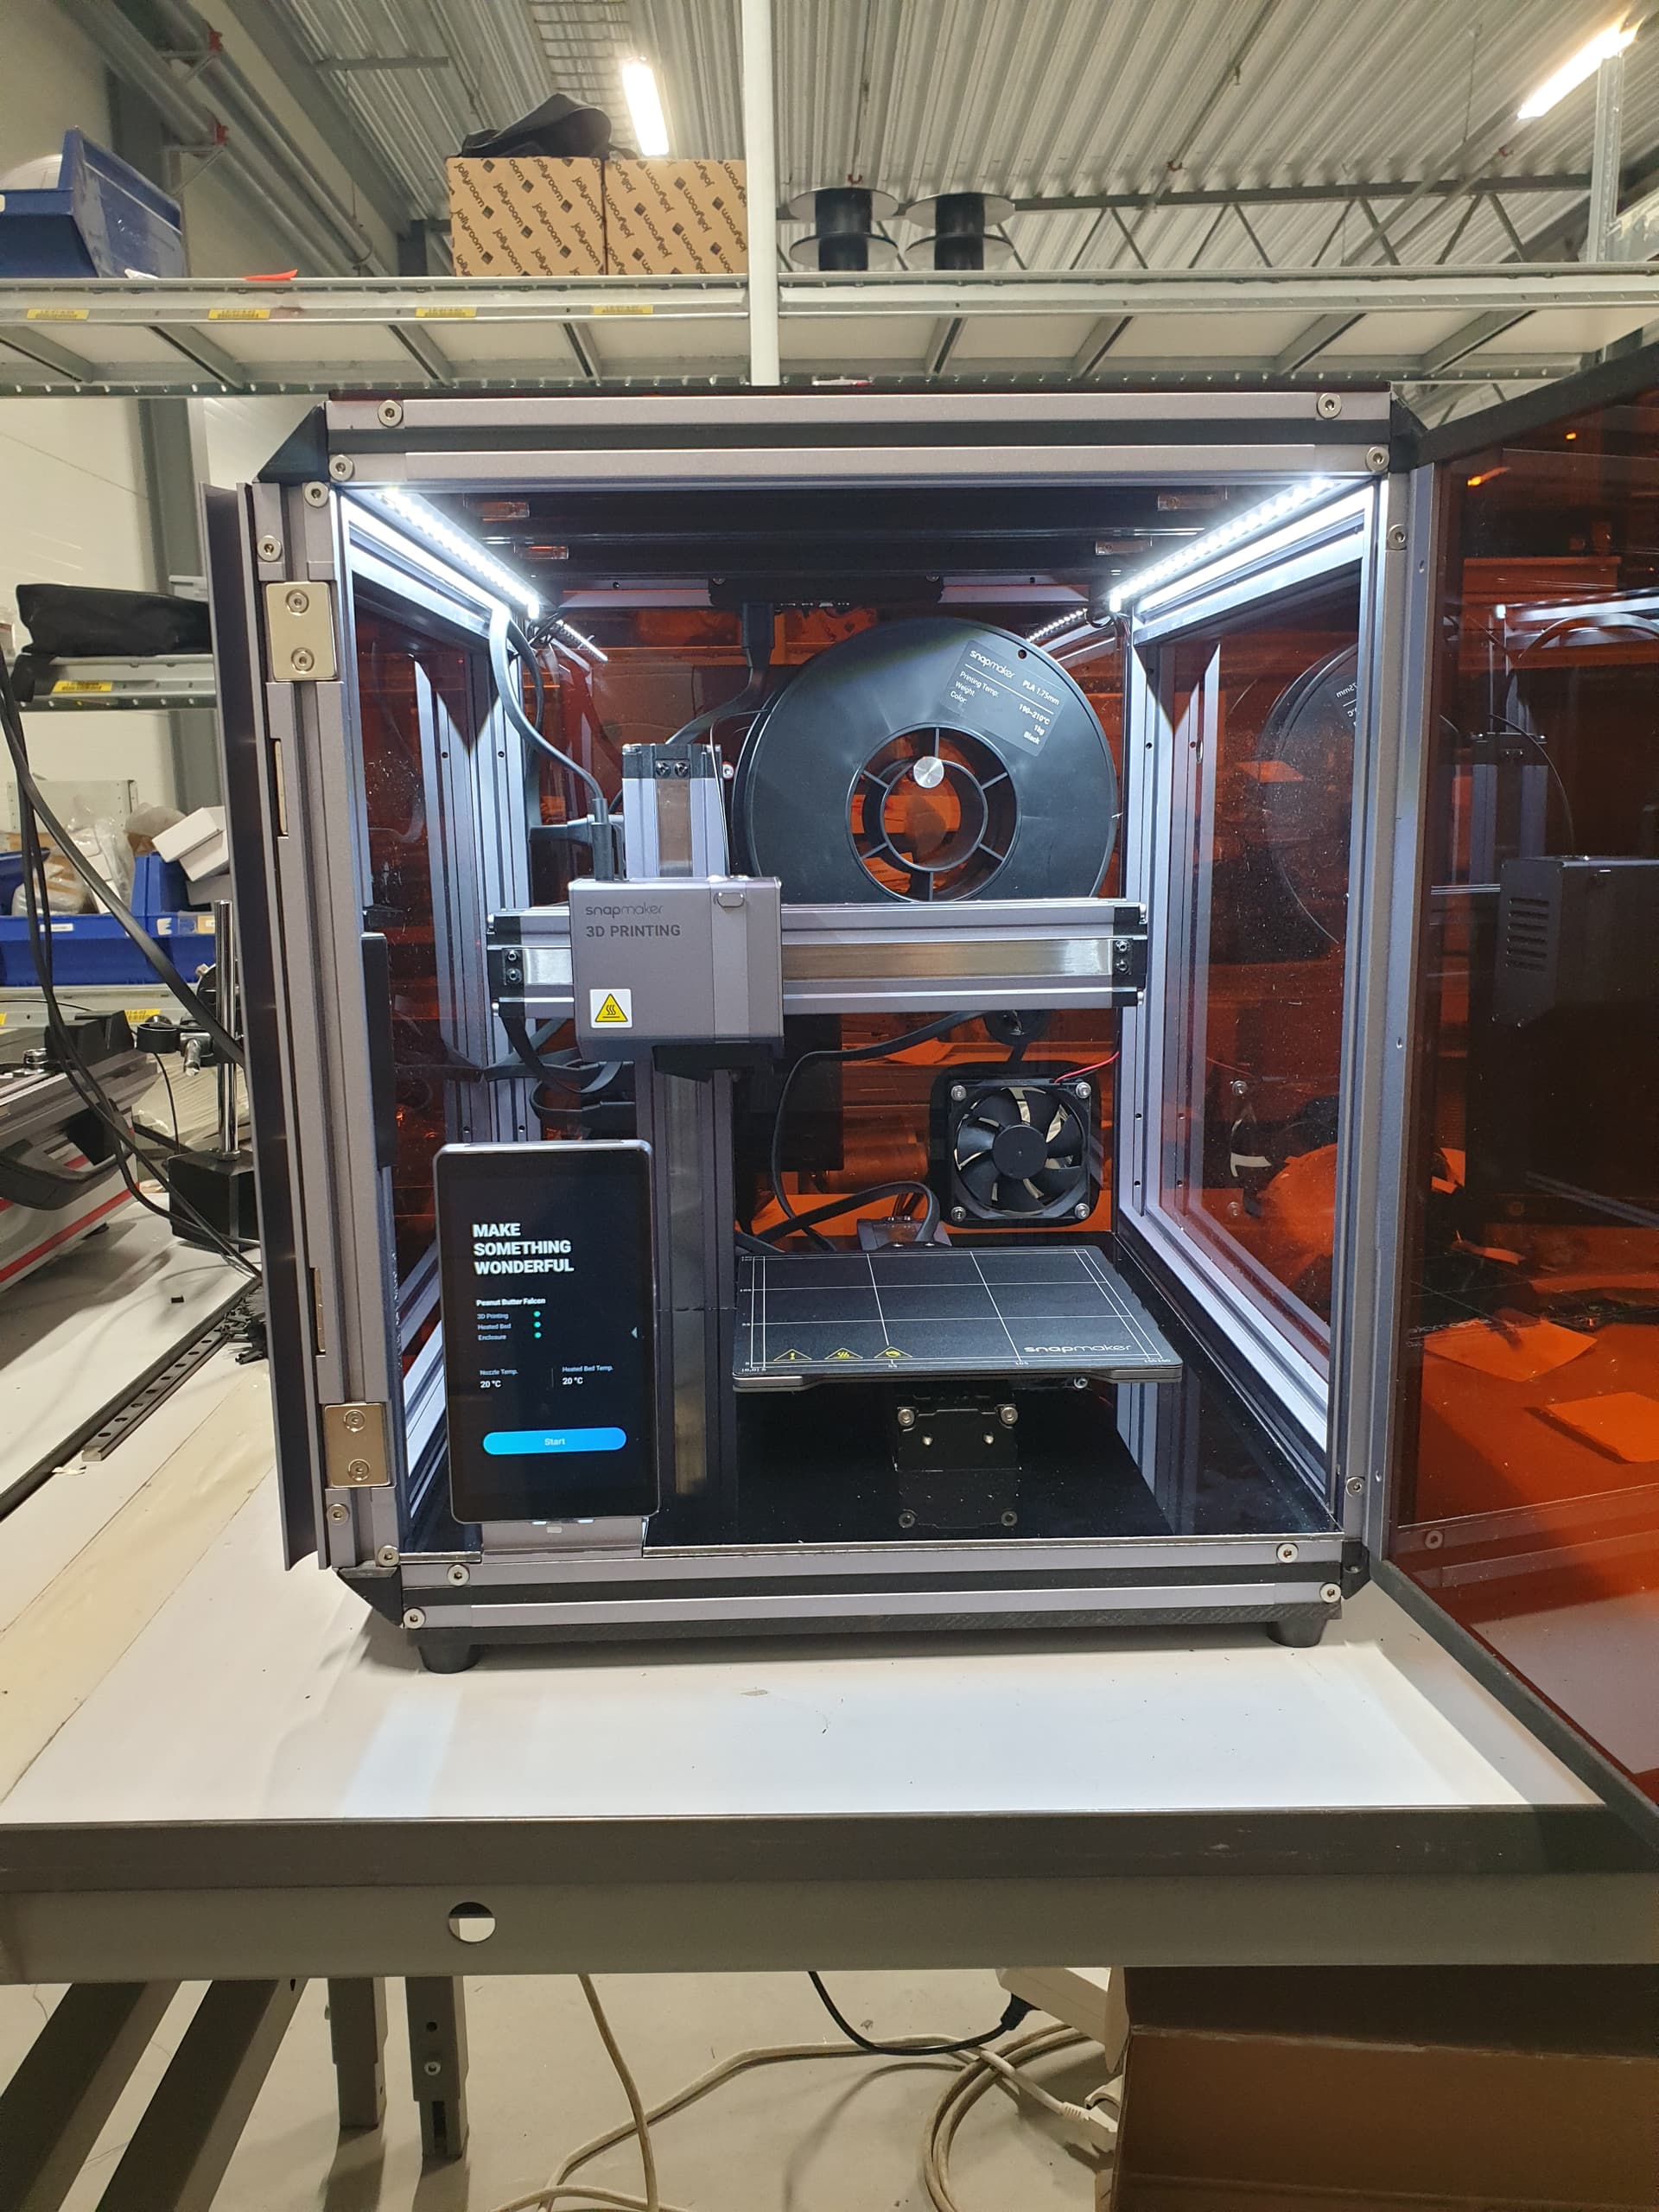
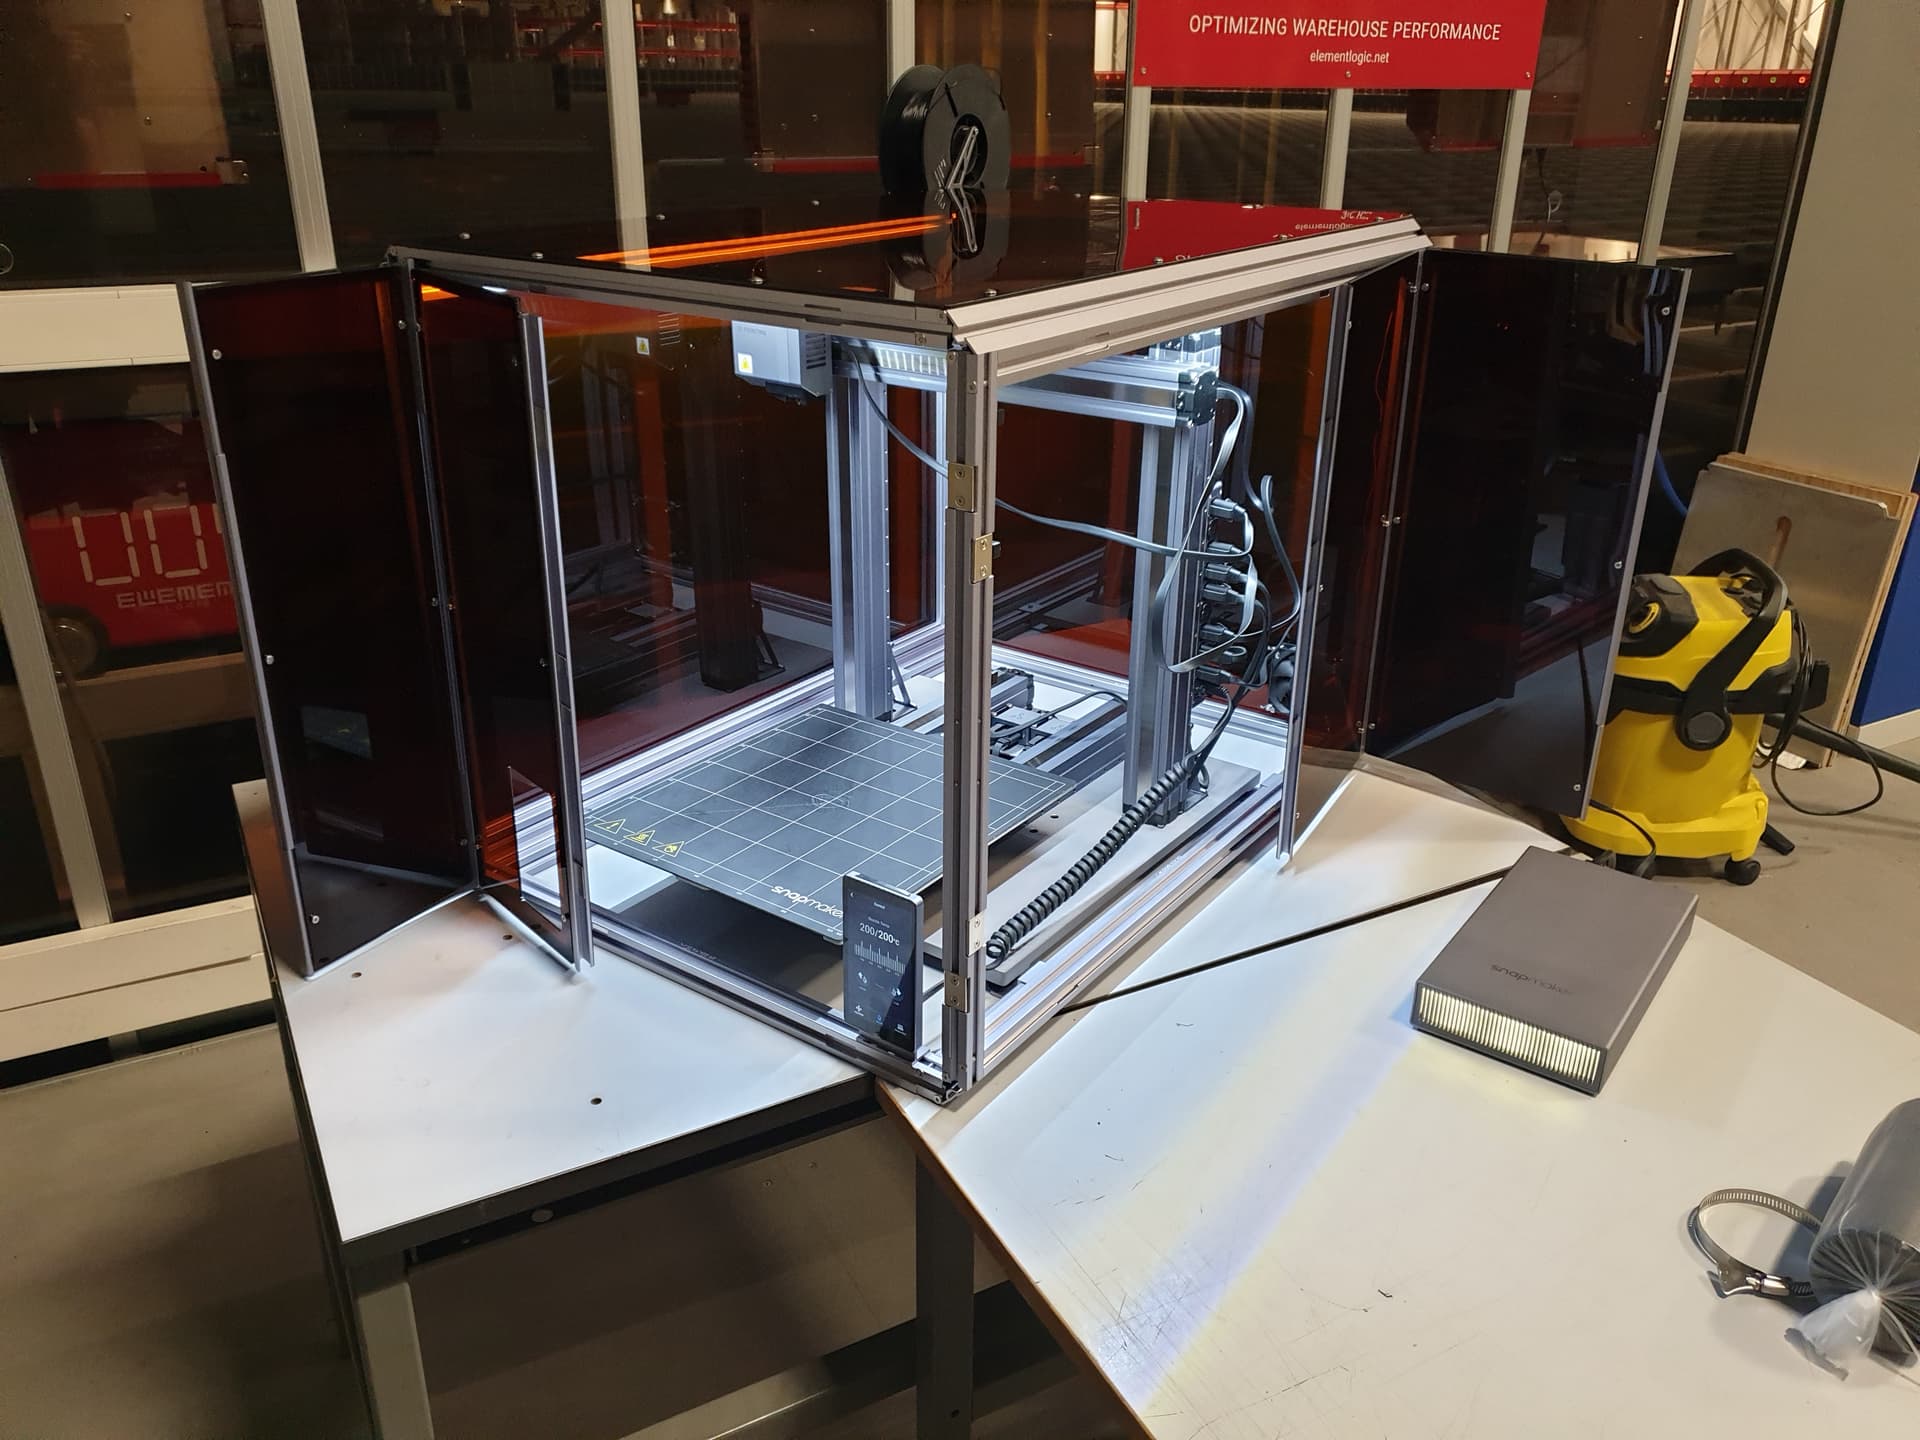
I also got the enclosure which was way bigger than I had expected, the A350 suddenly become a lot more complicated when moving:


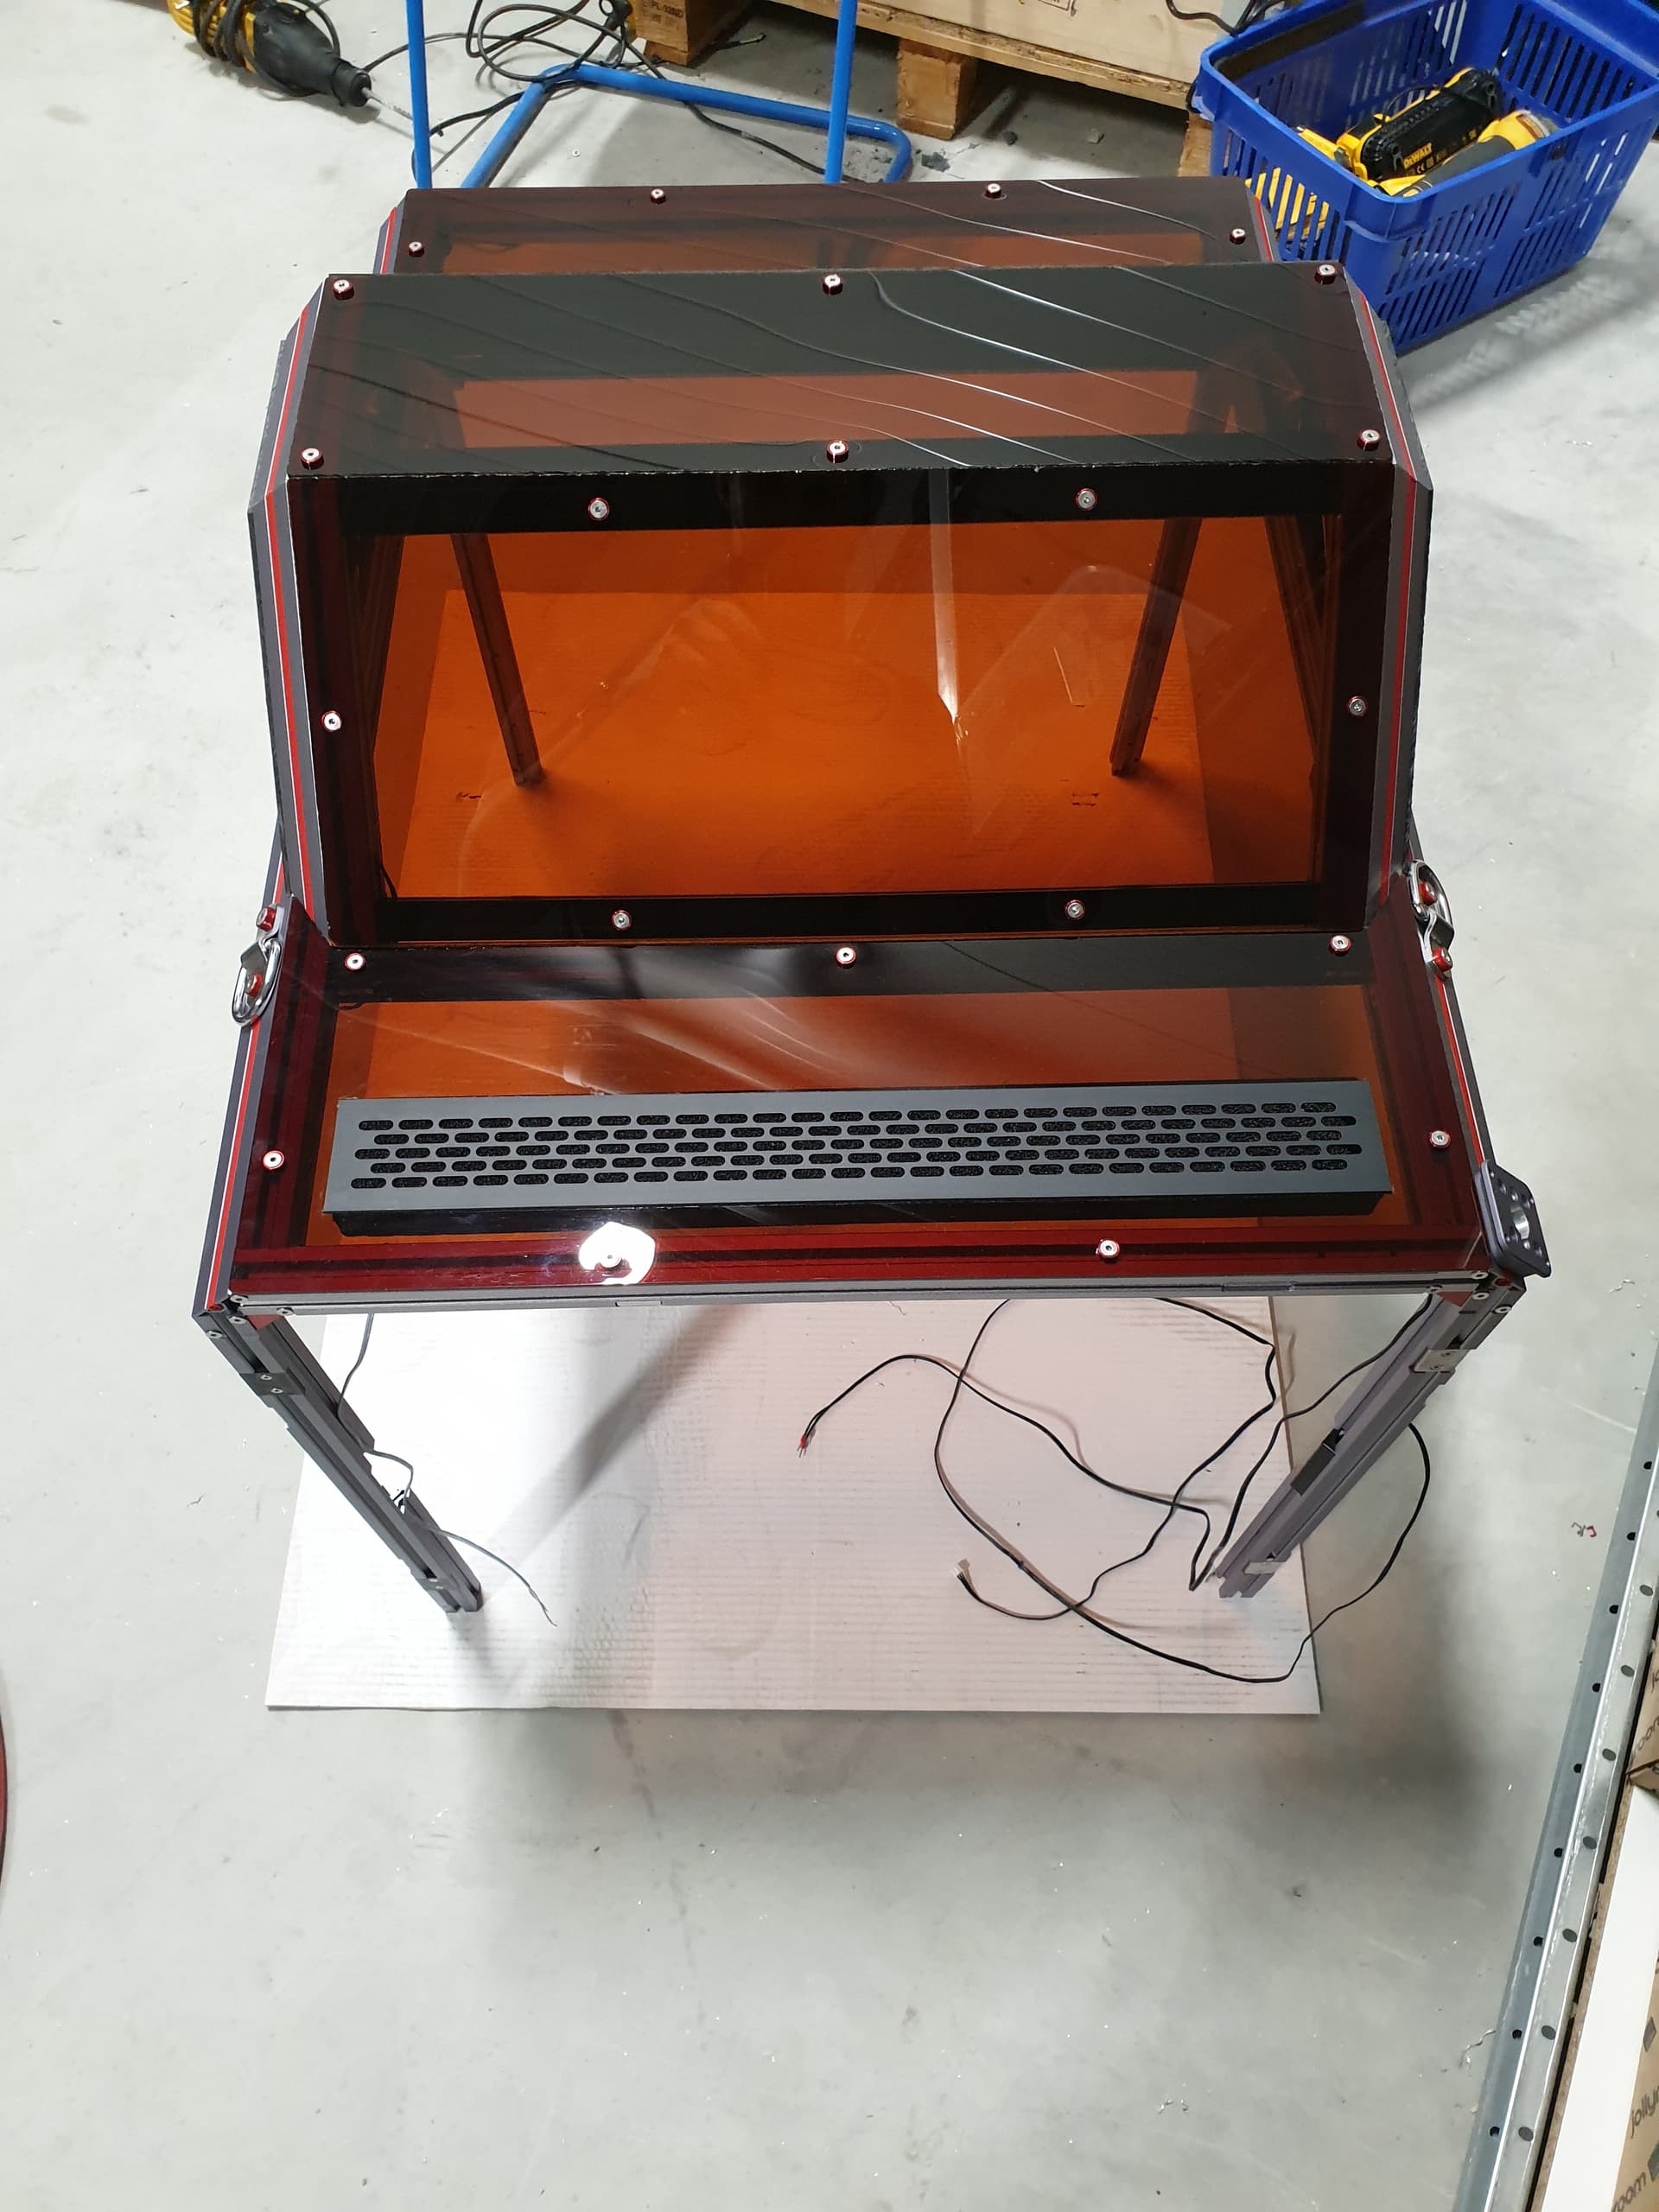
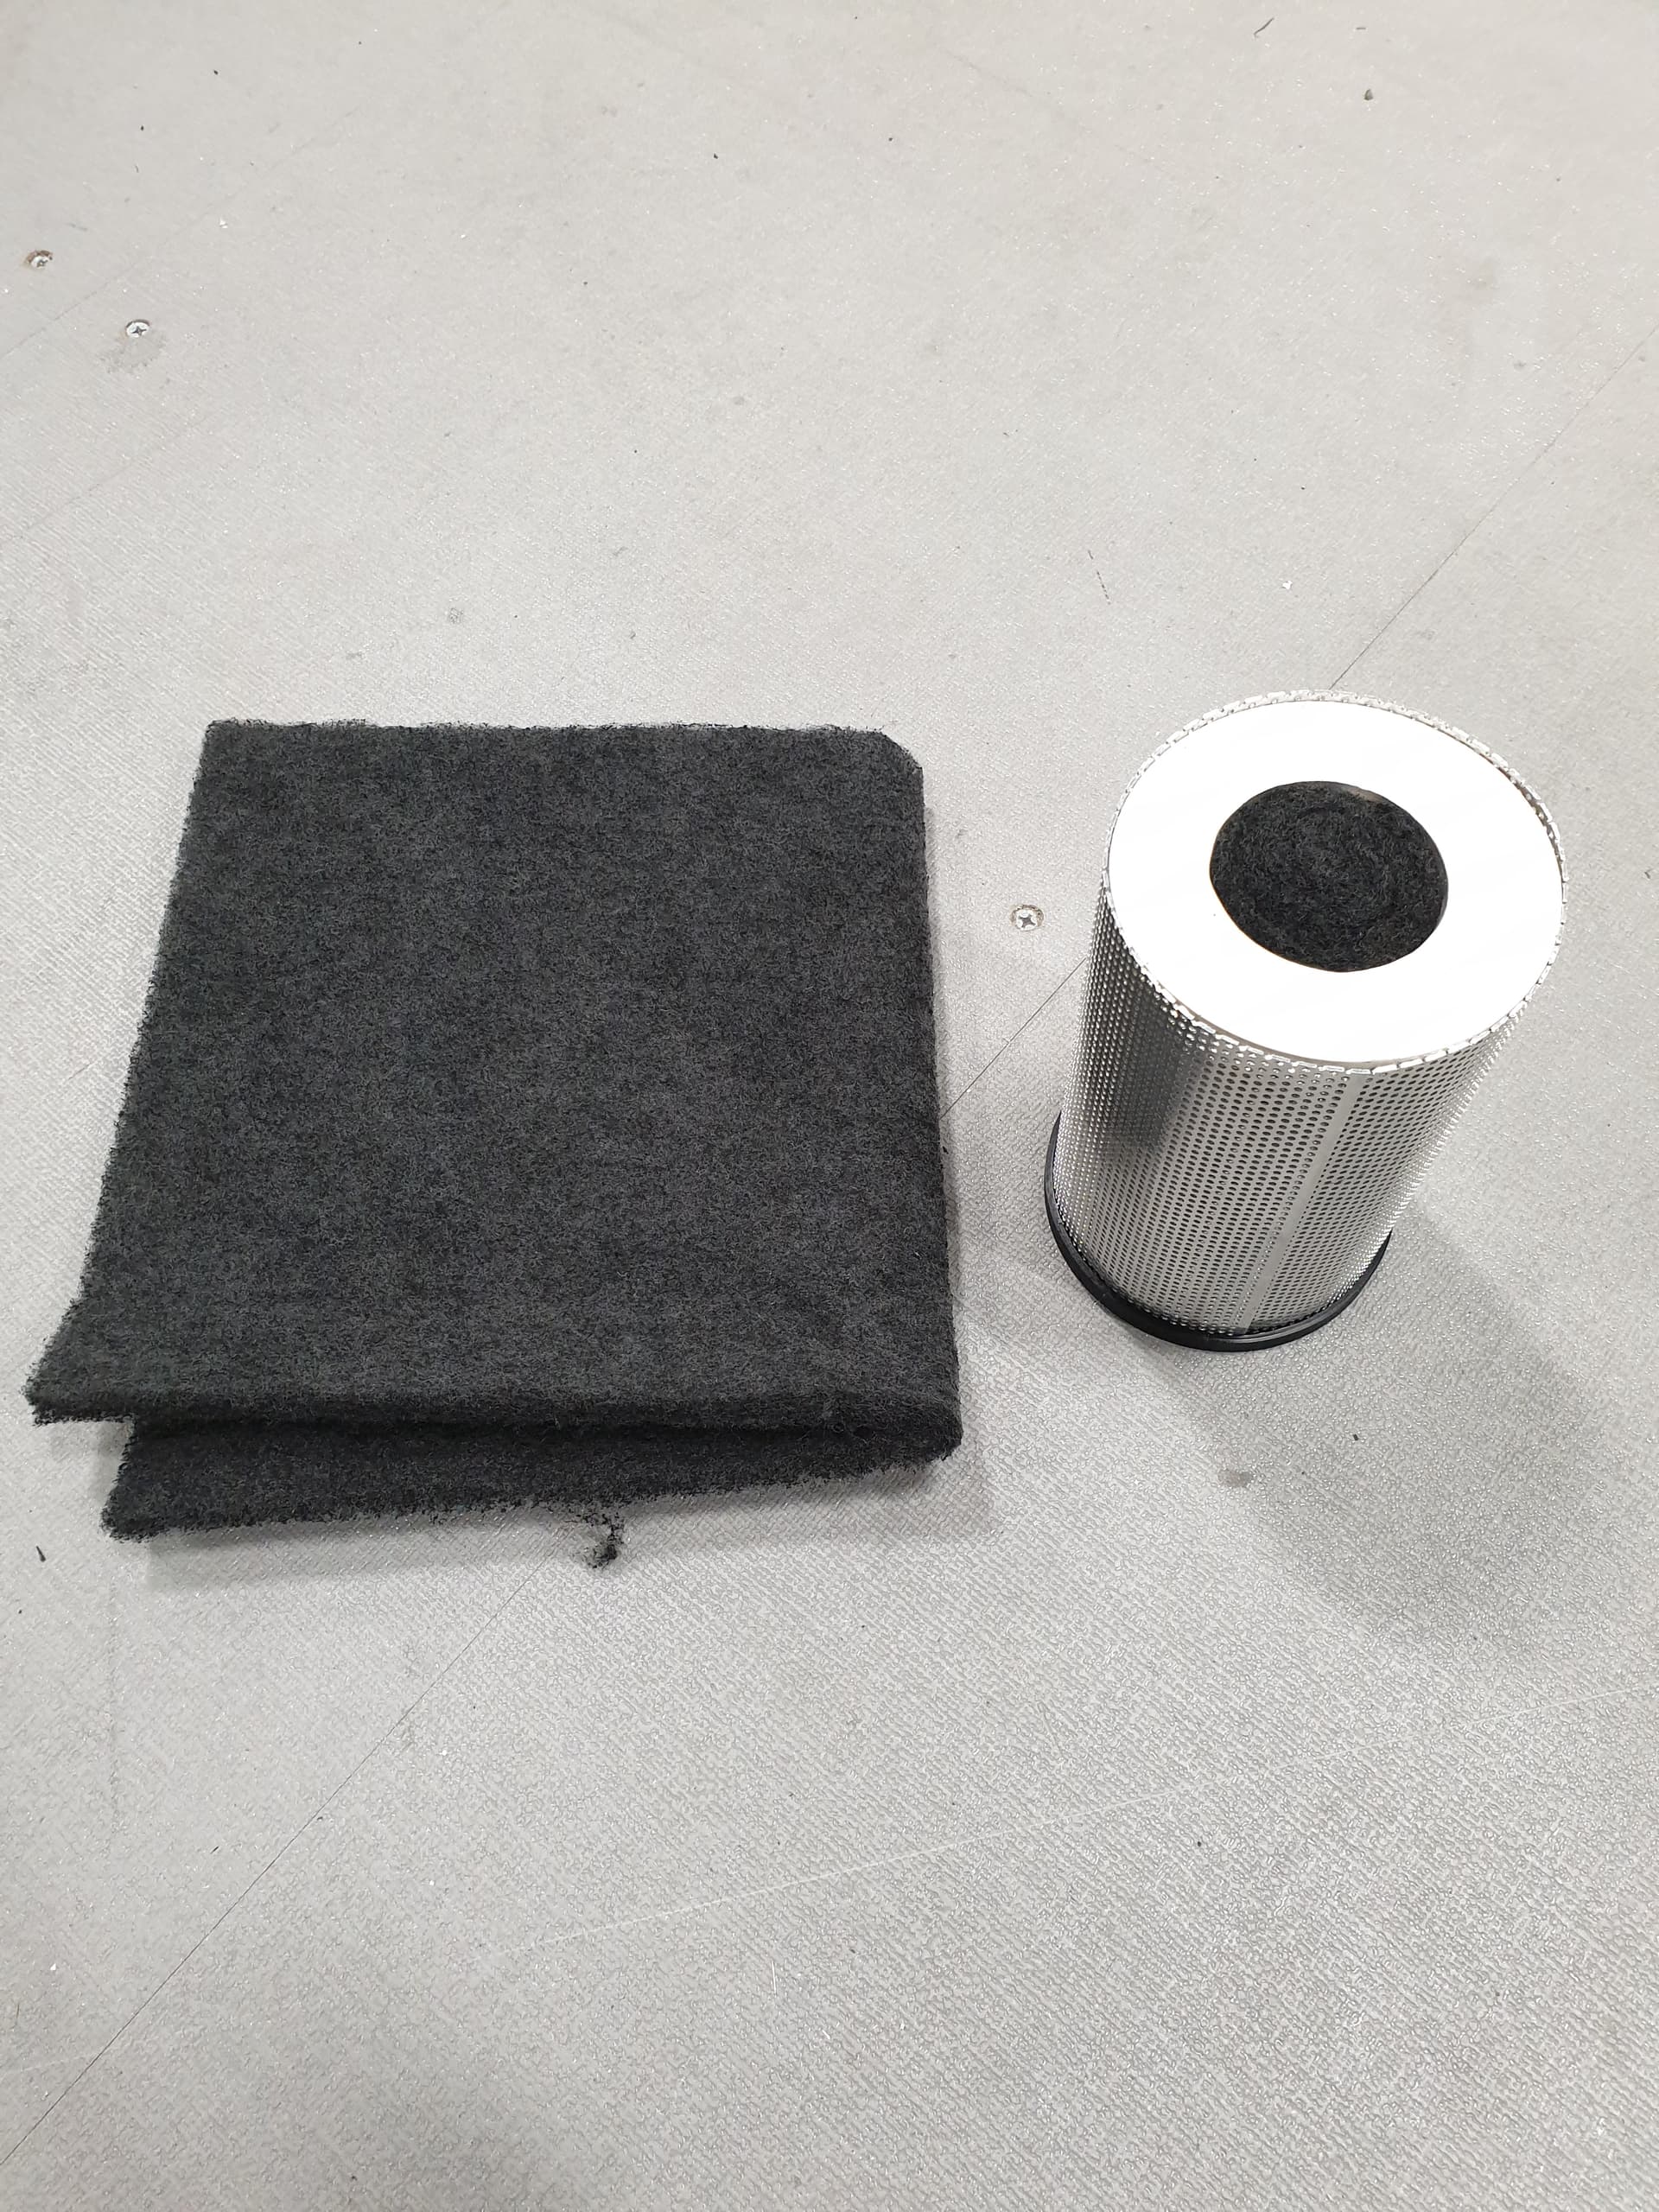
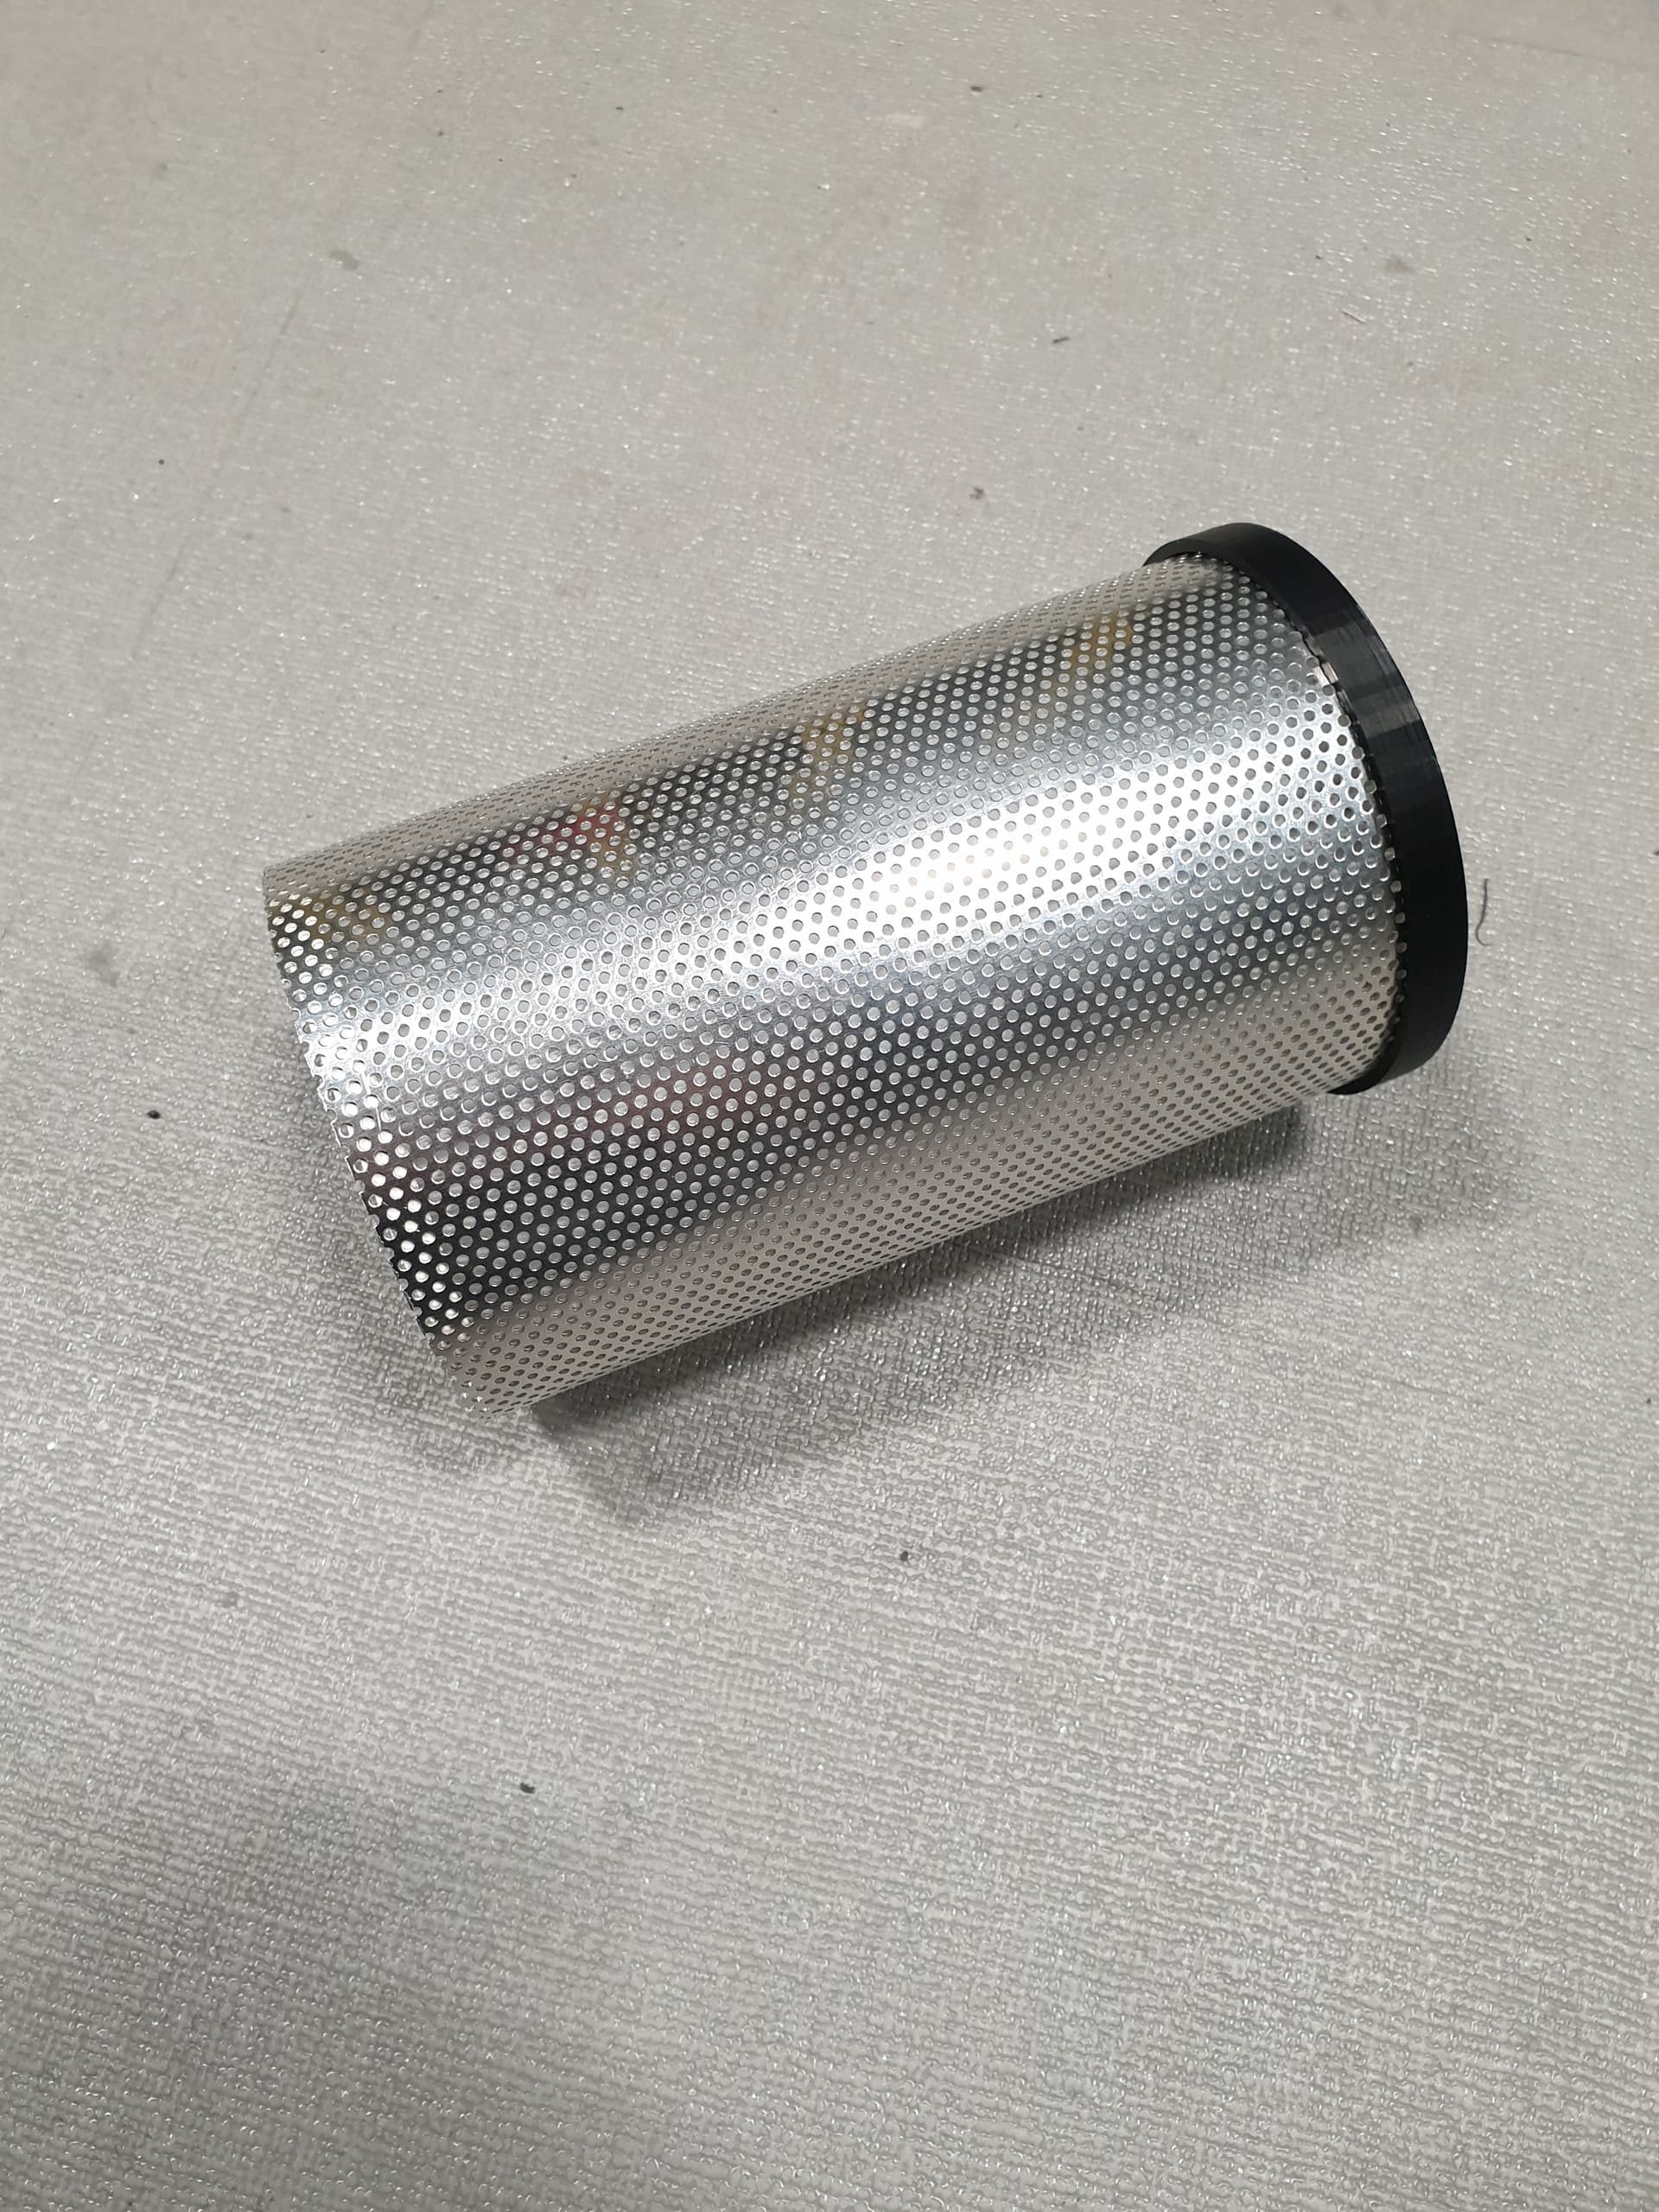
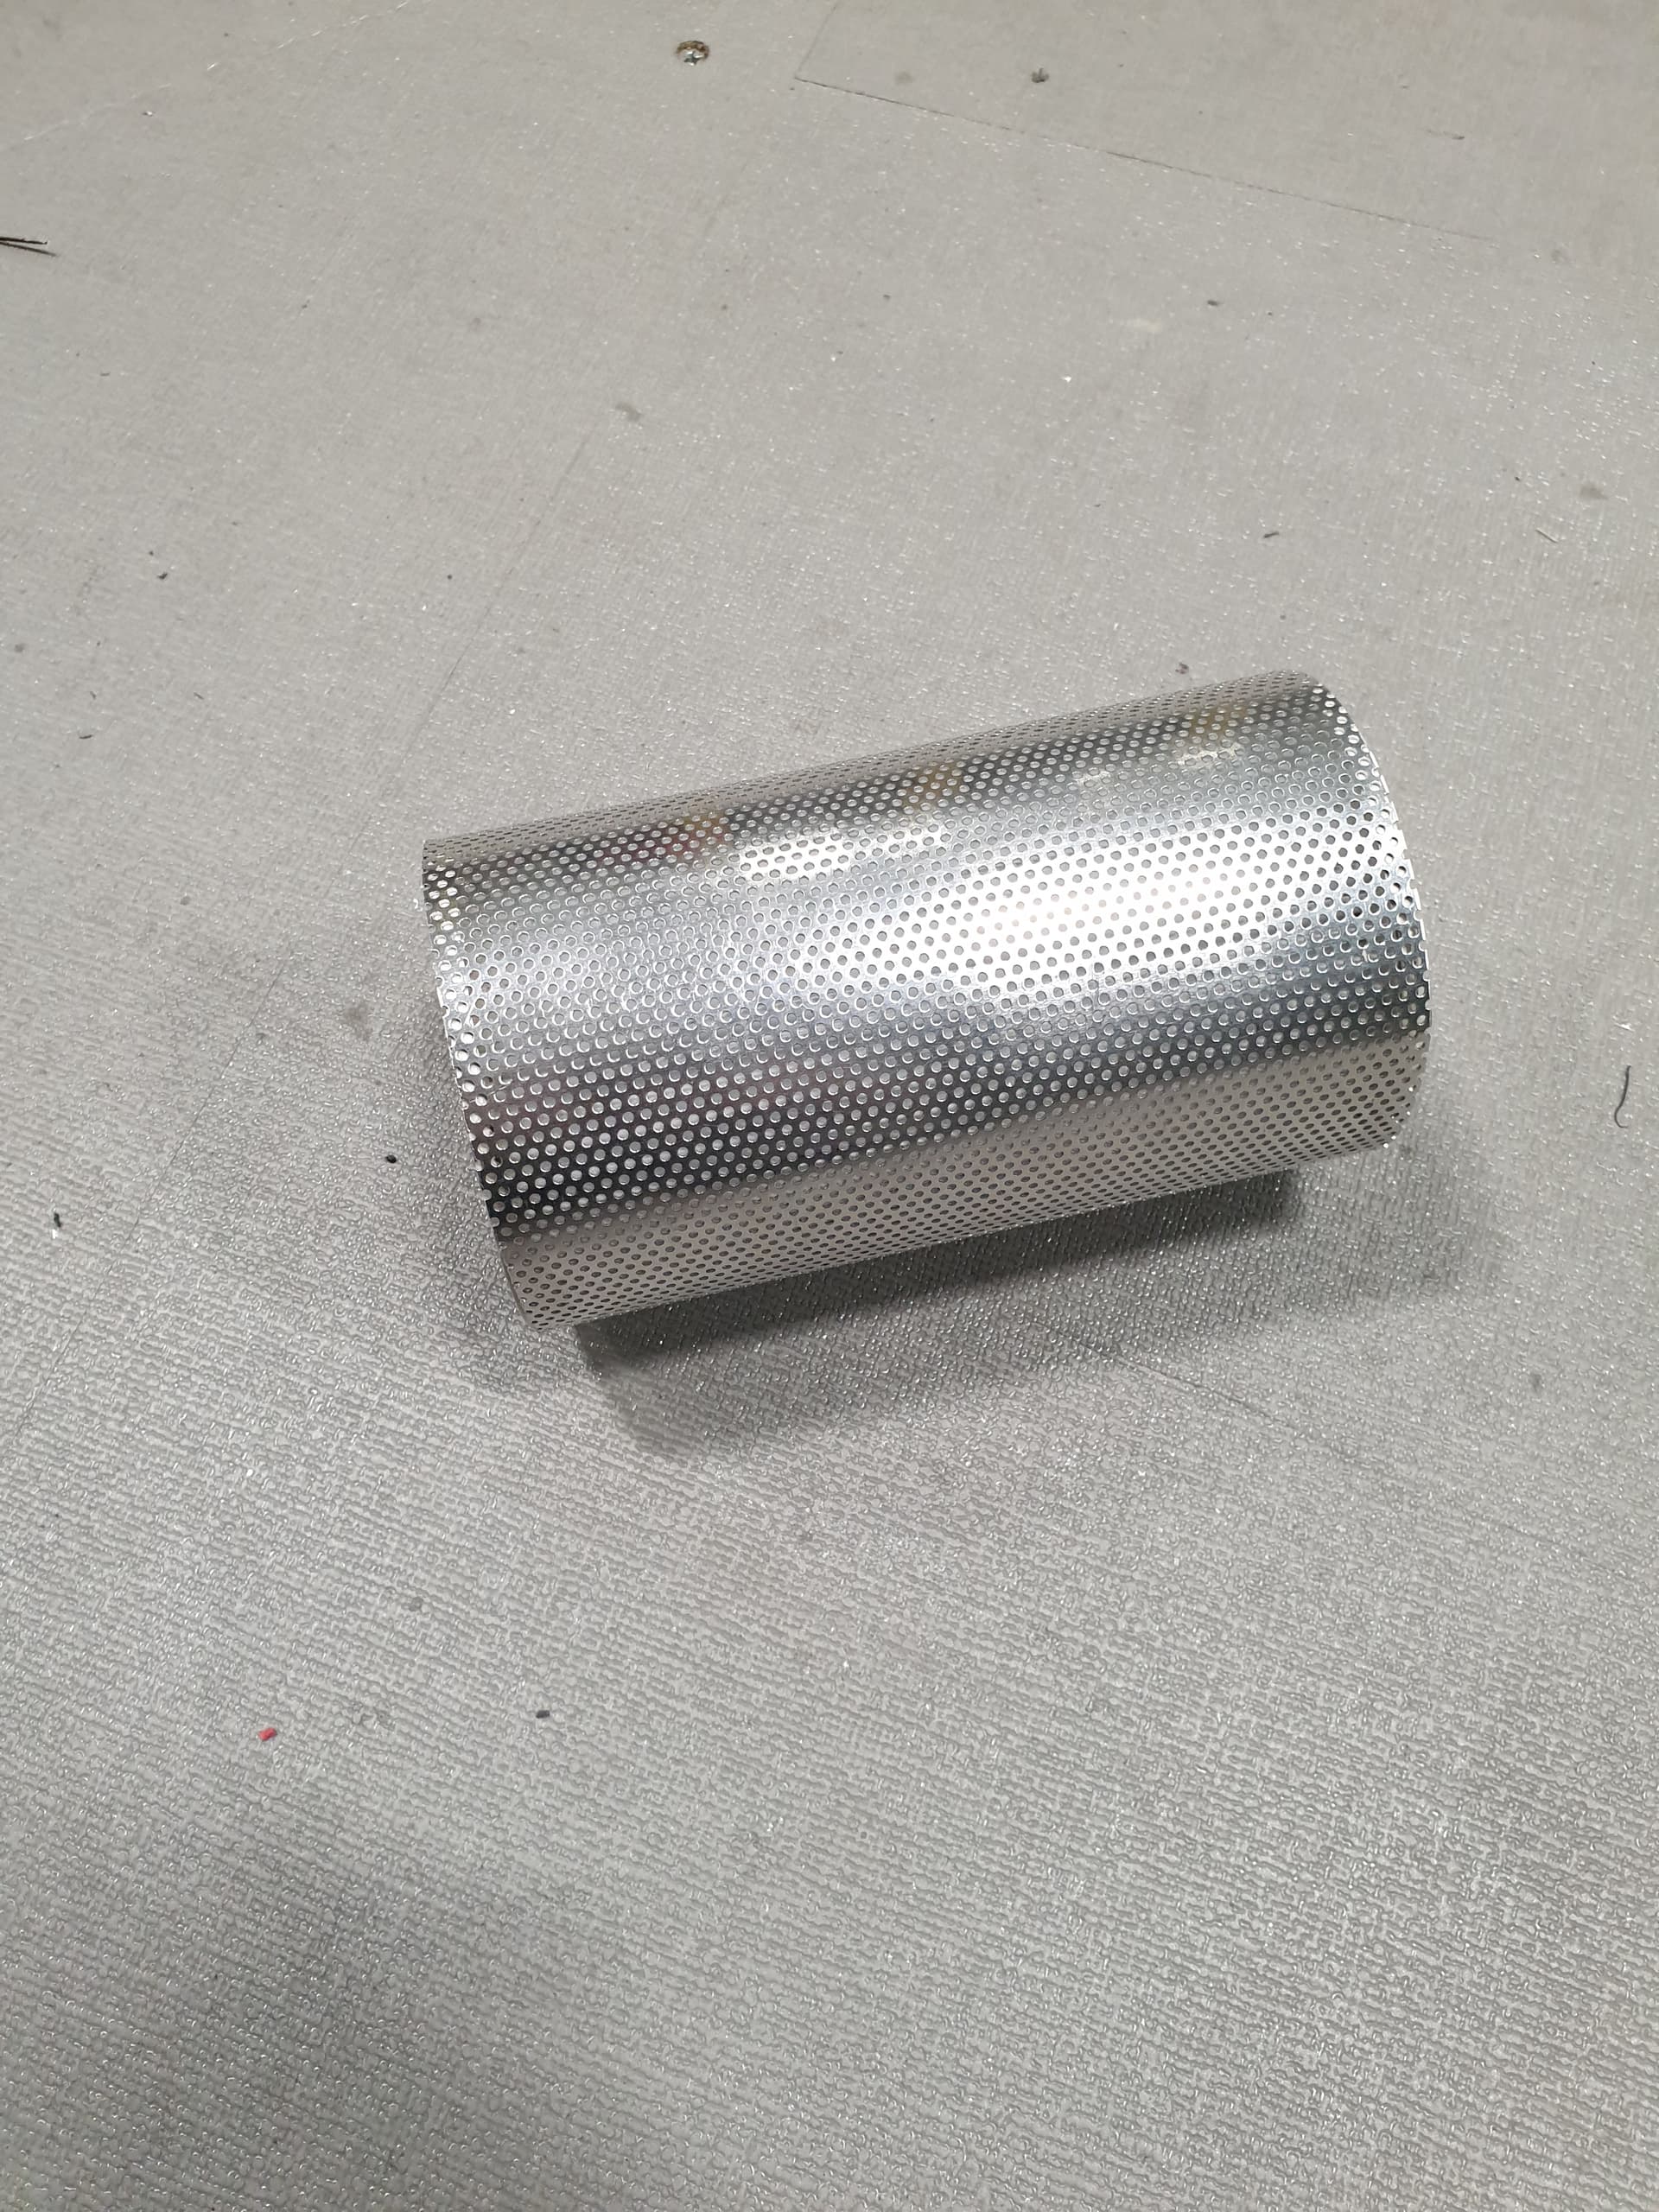
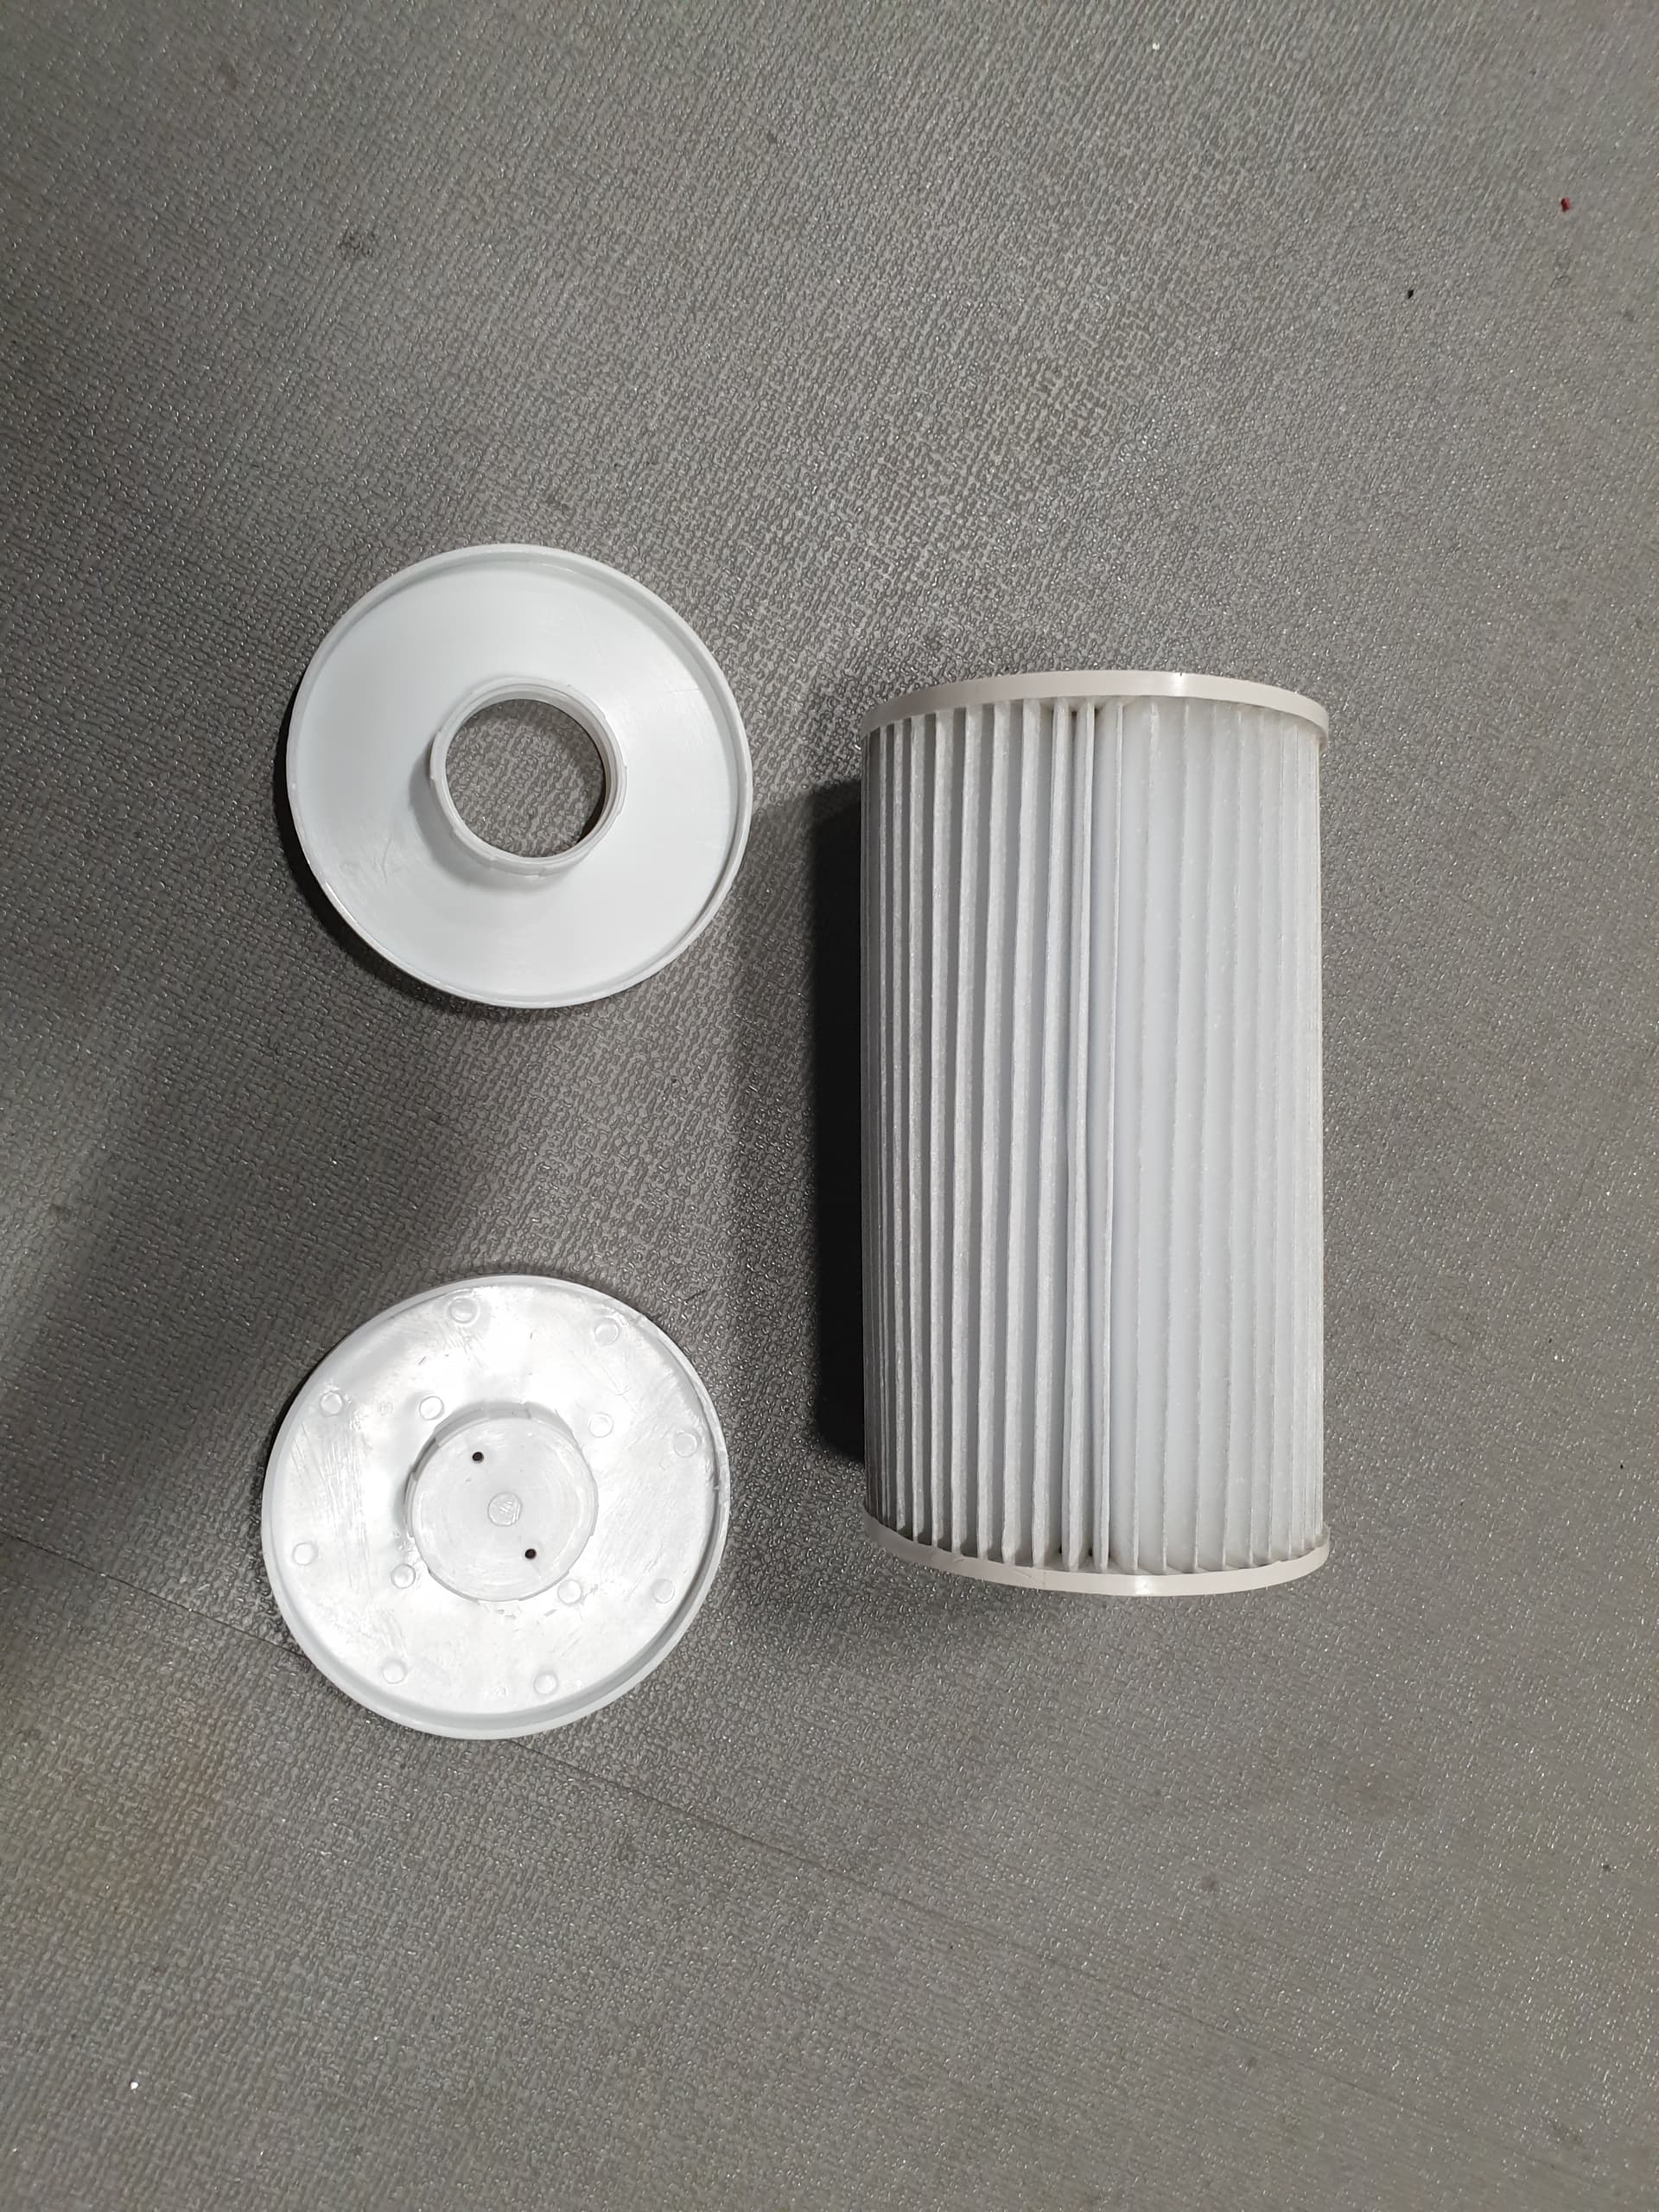
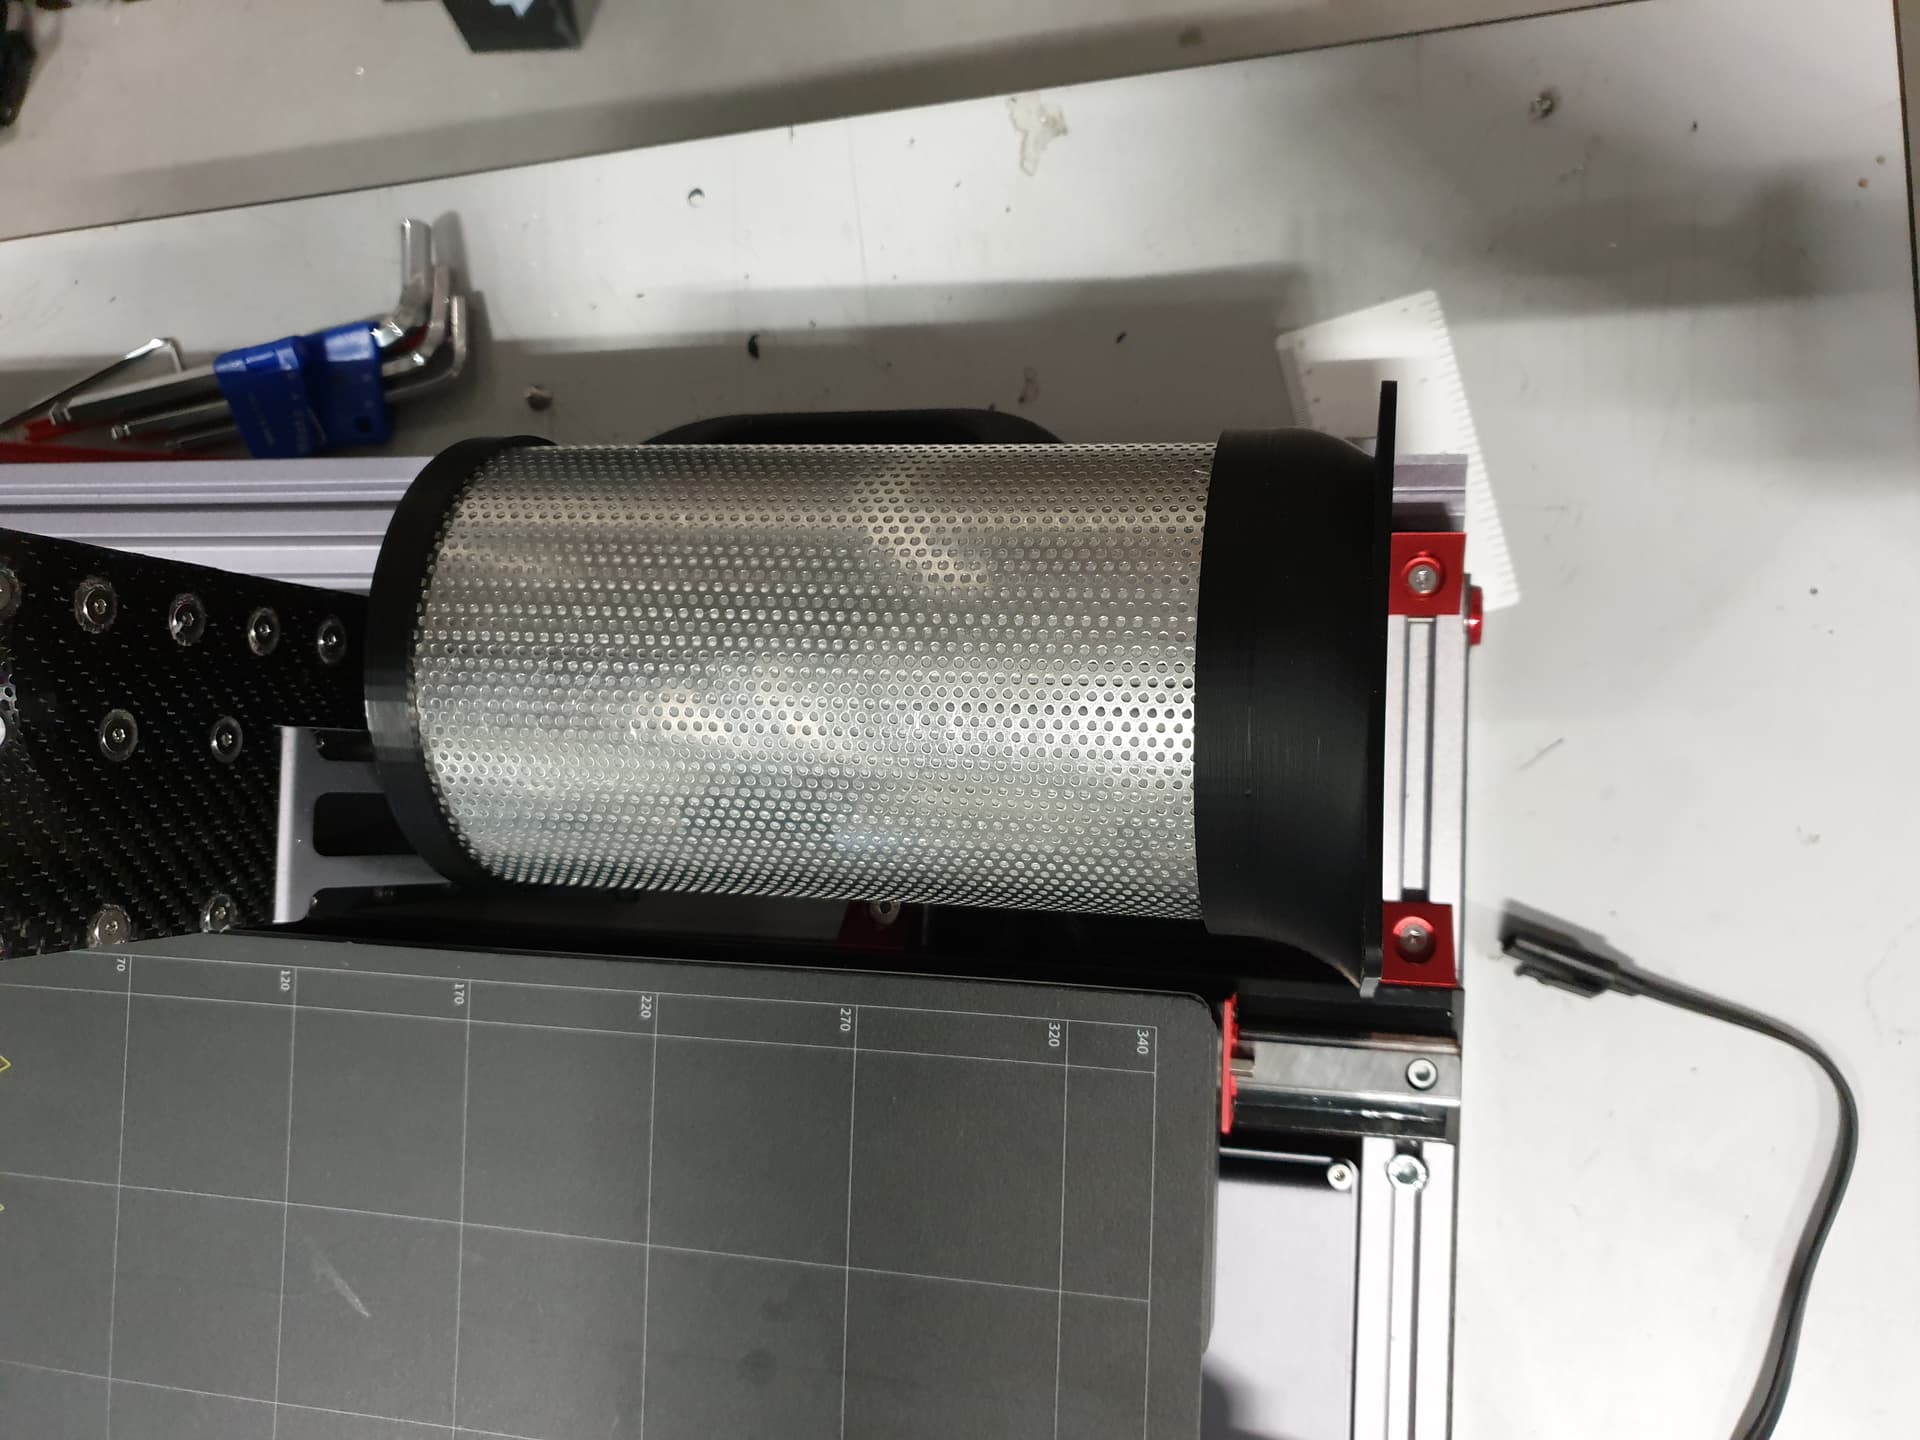
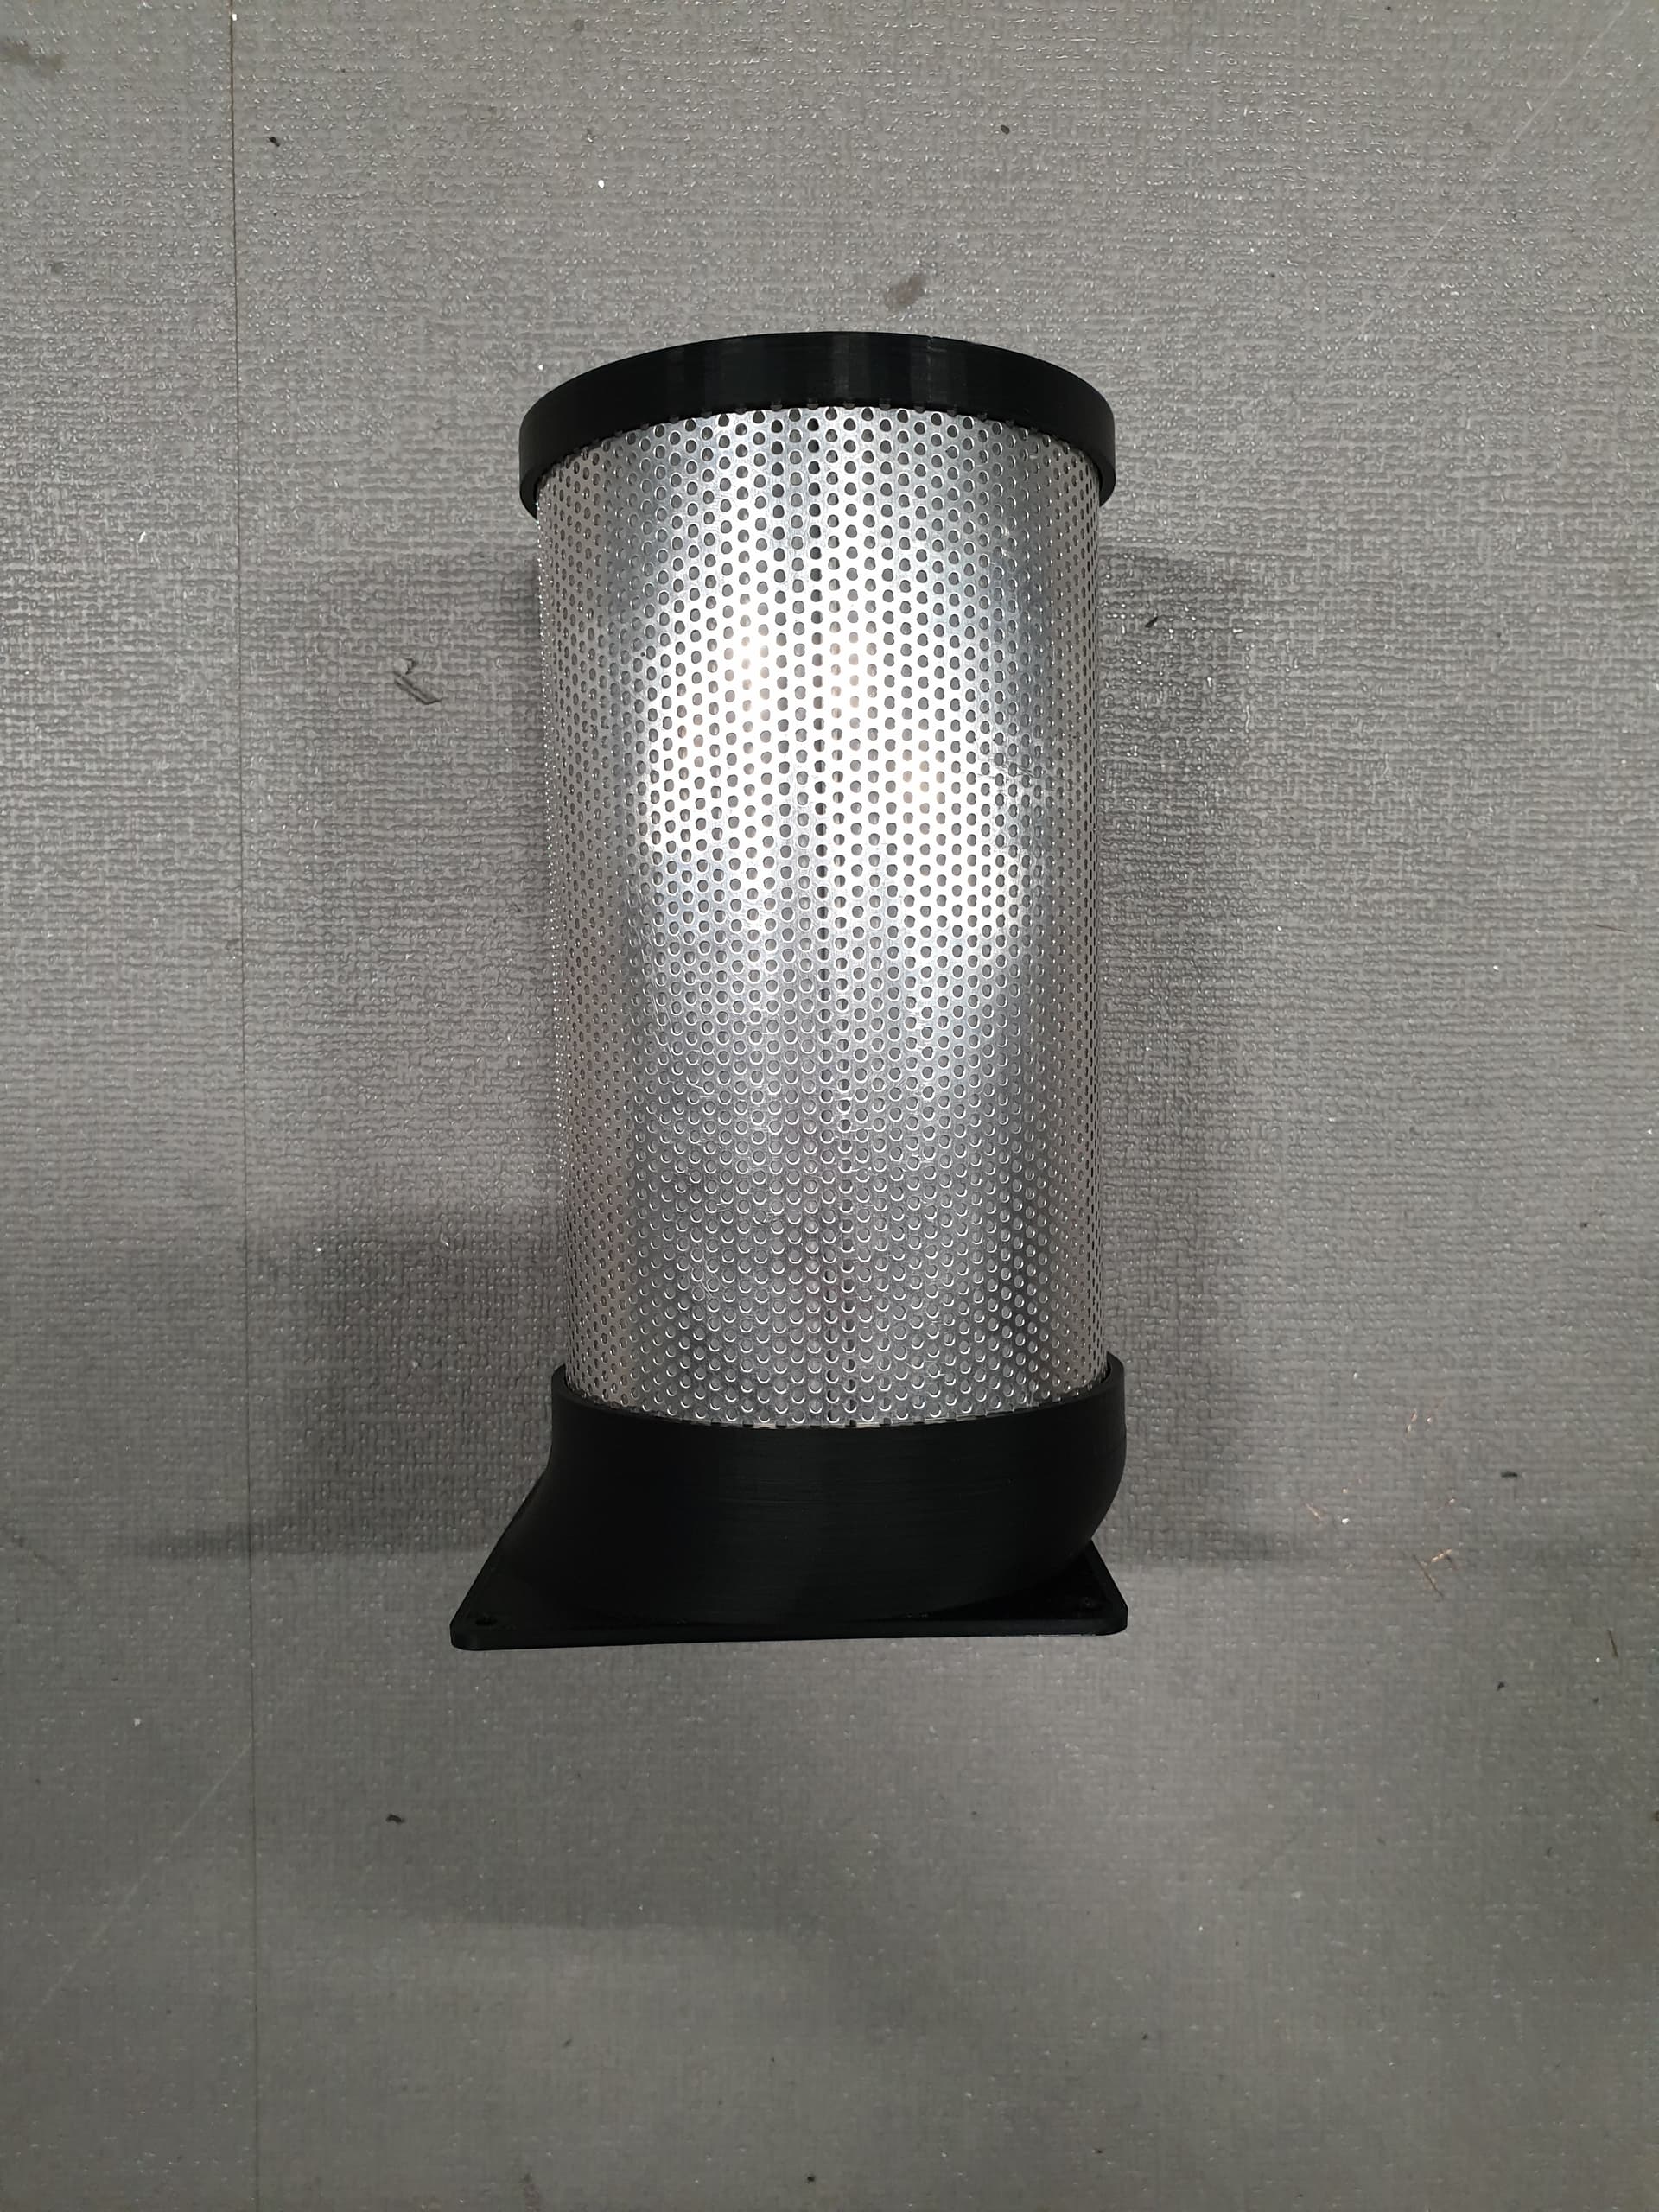
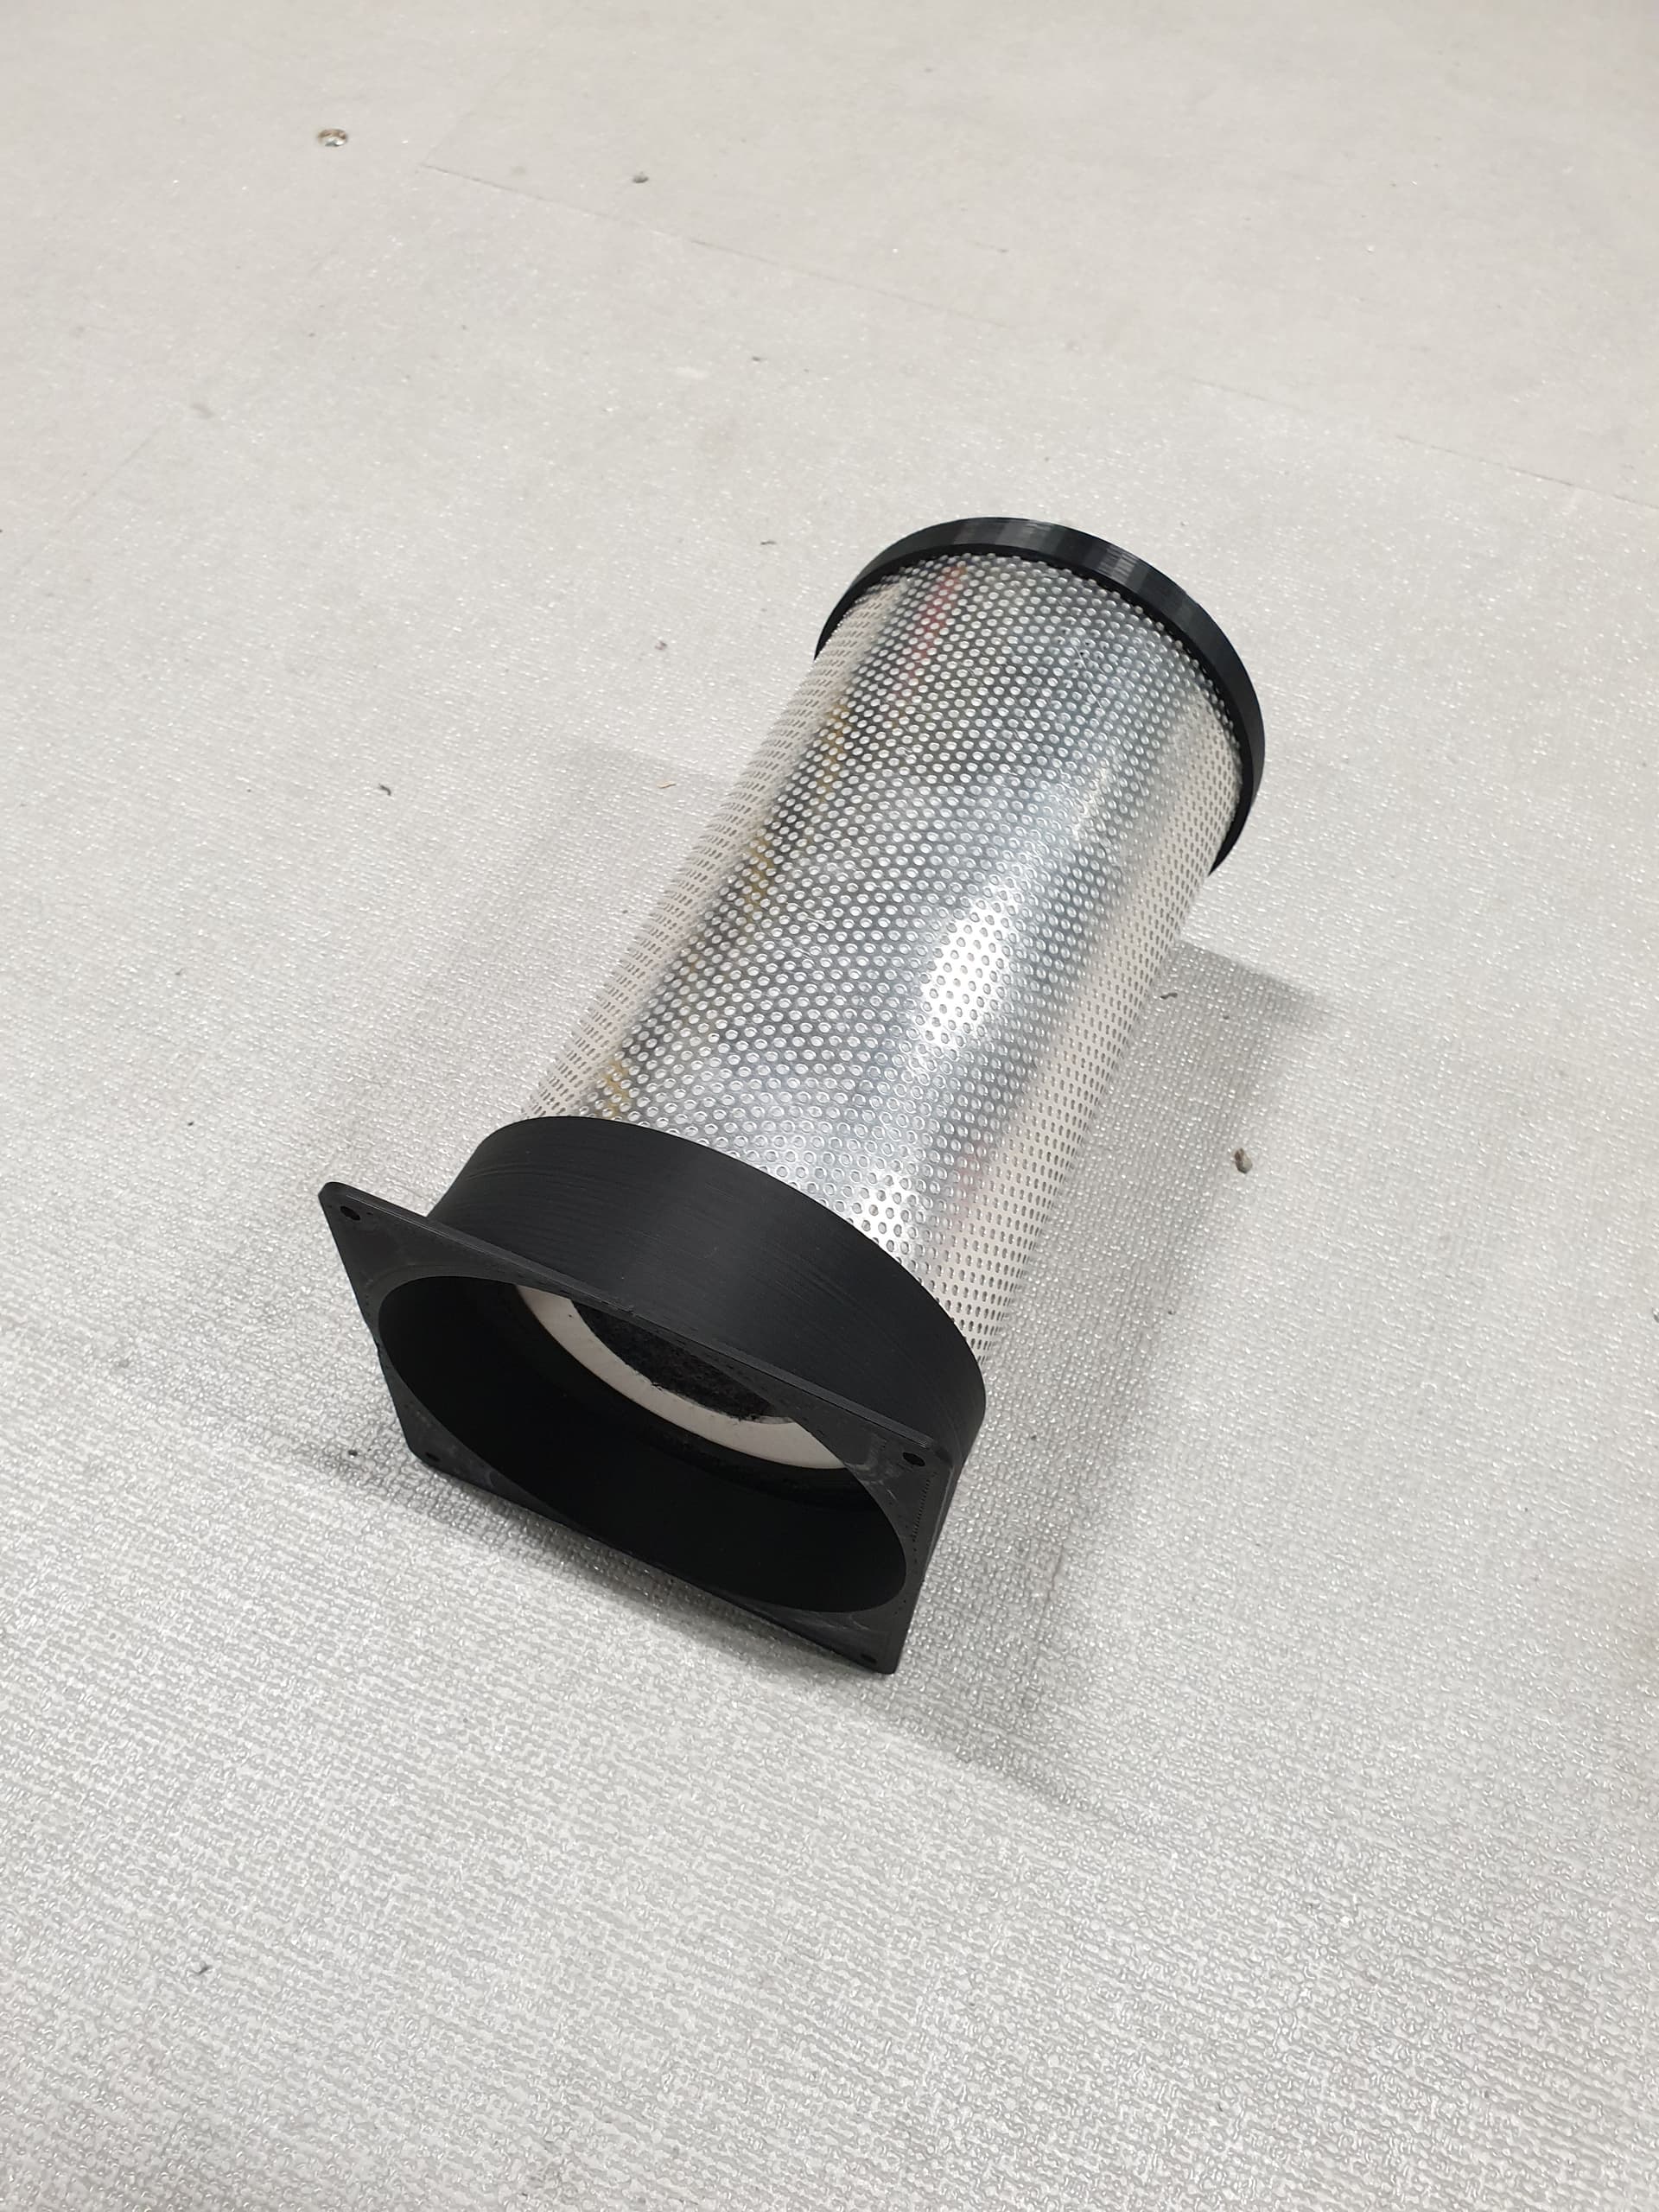
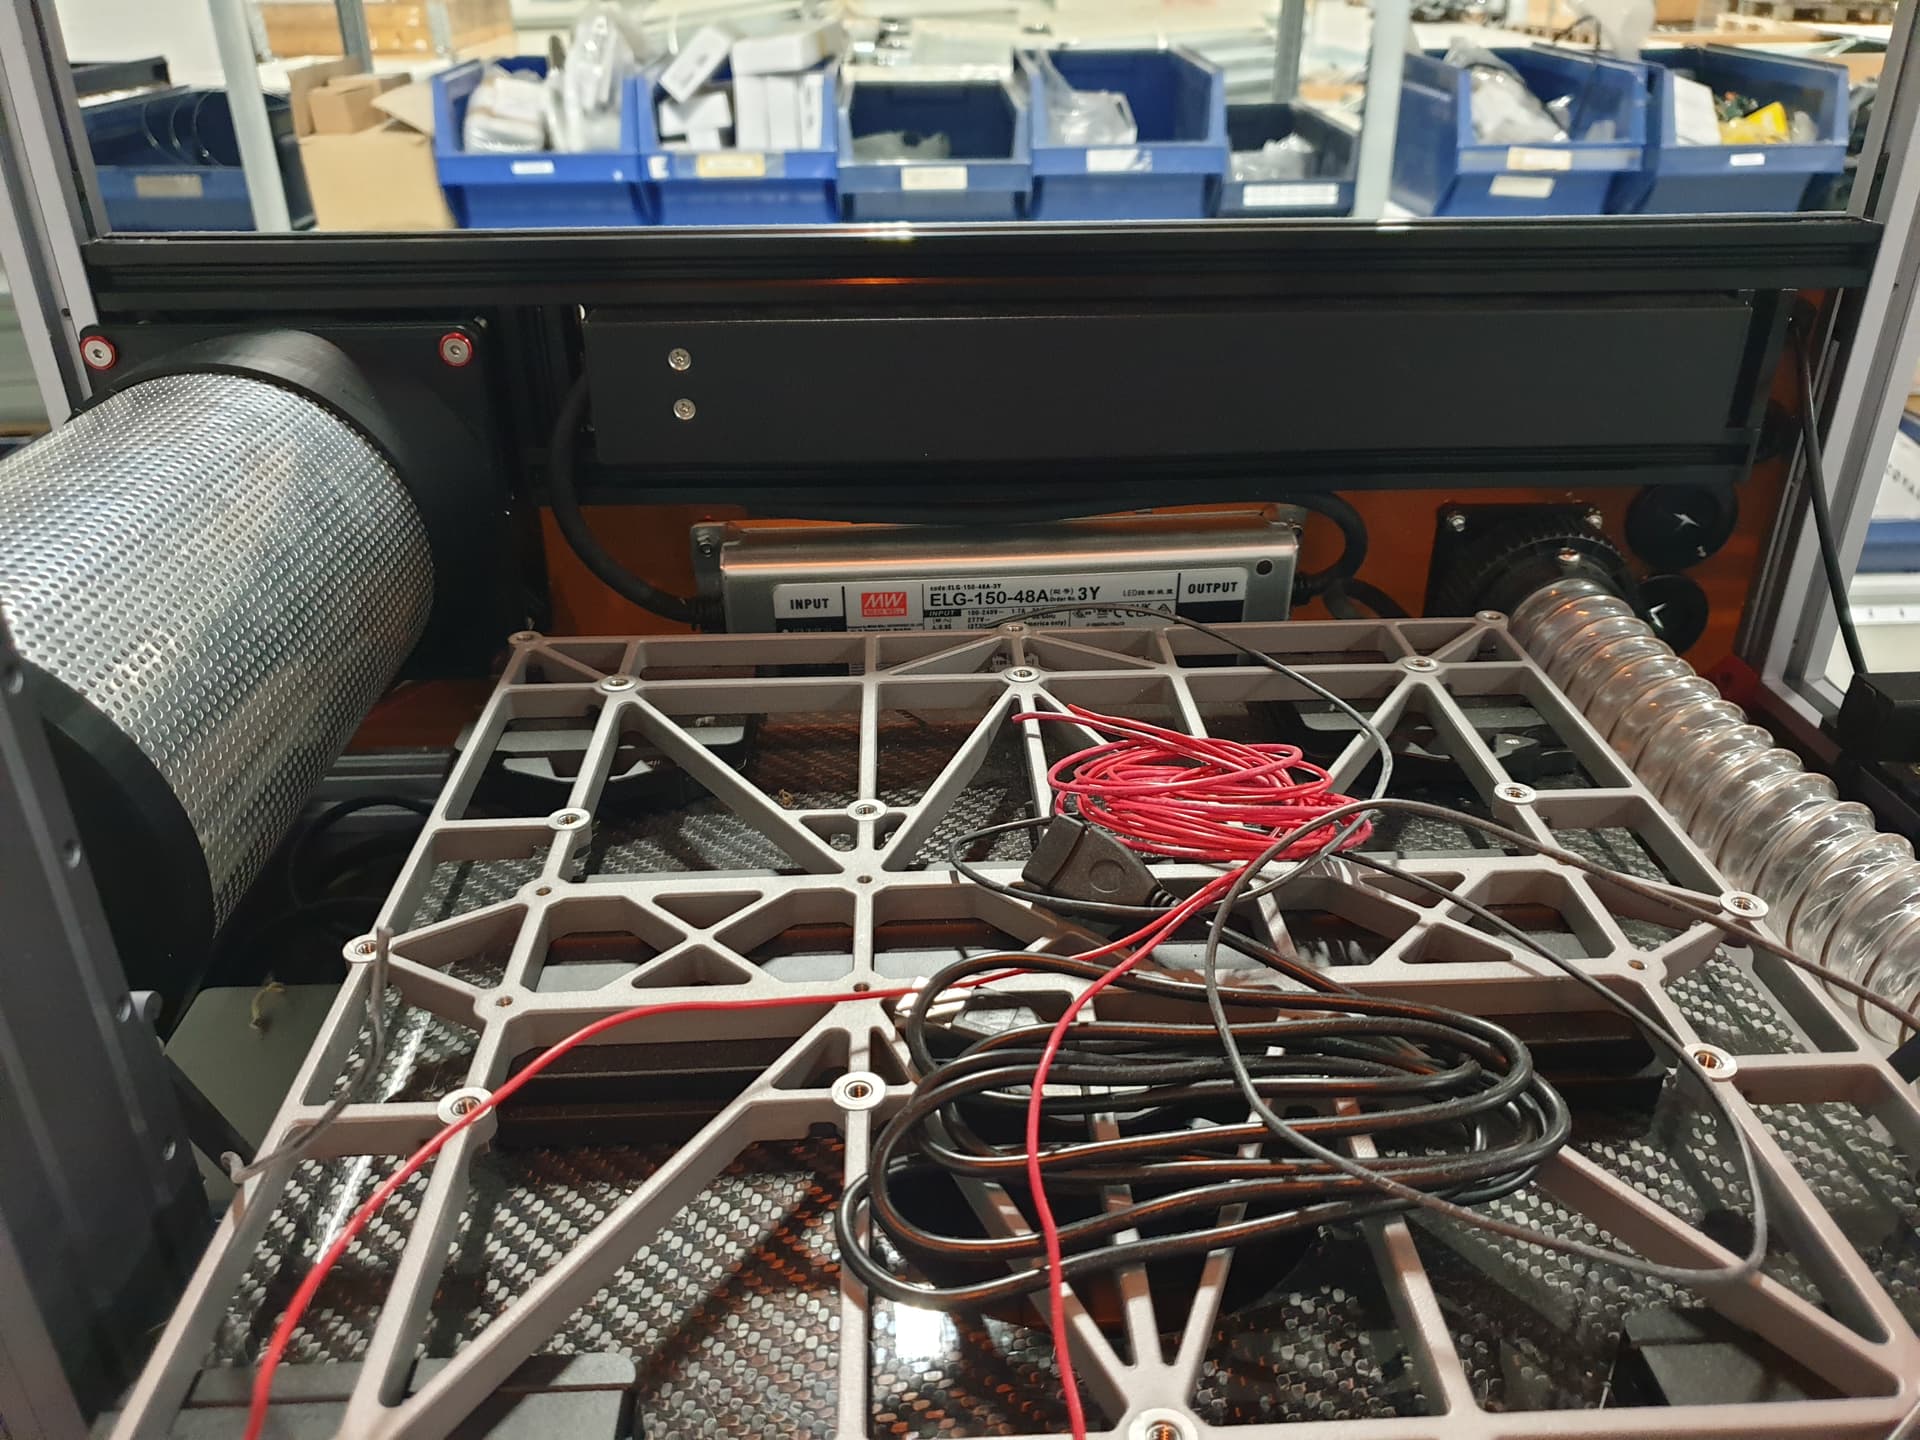
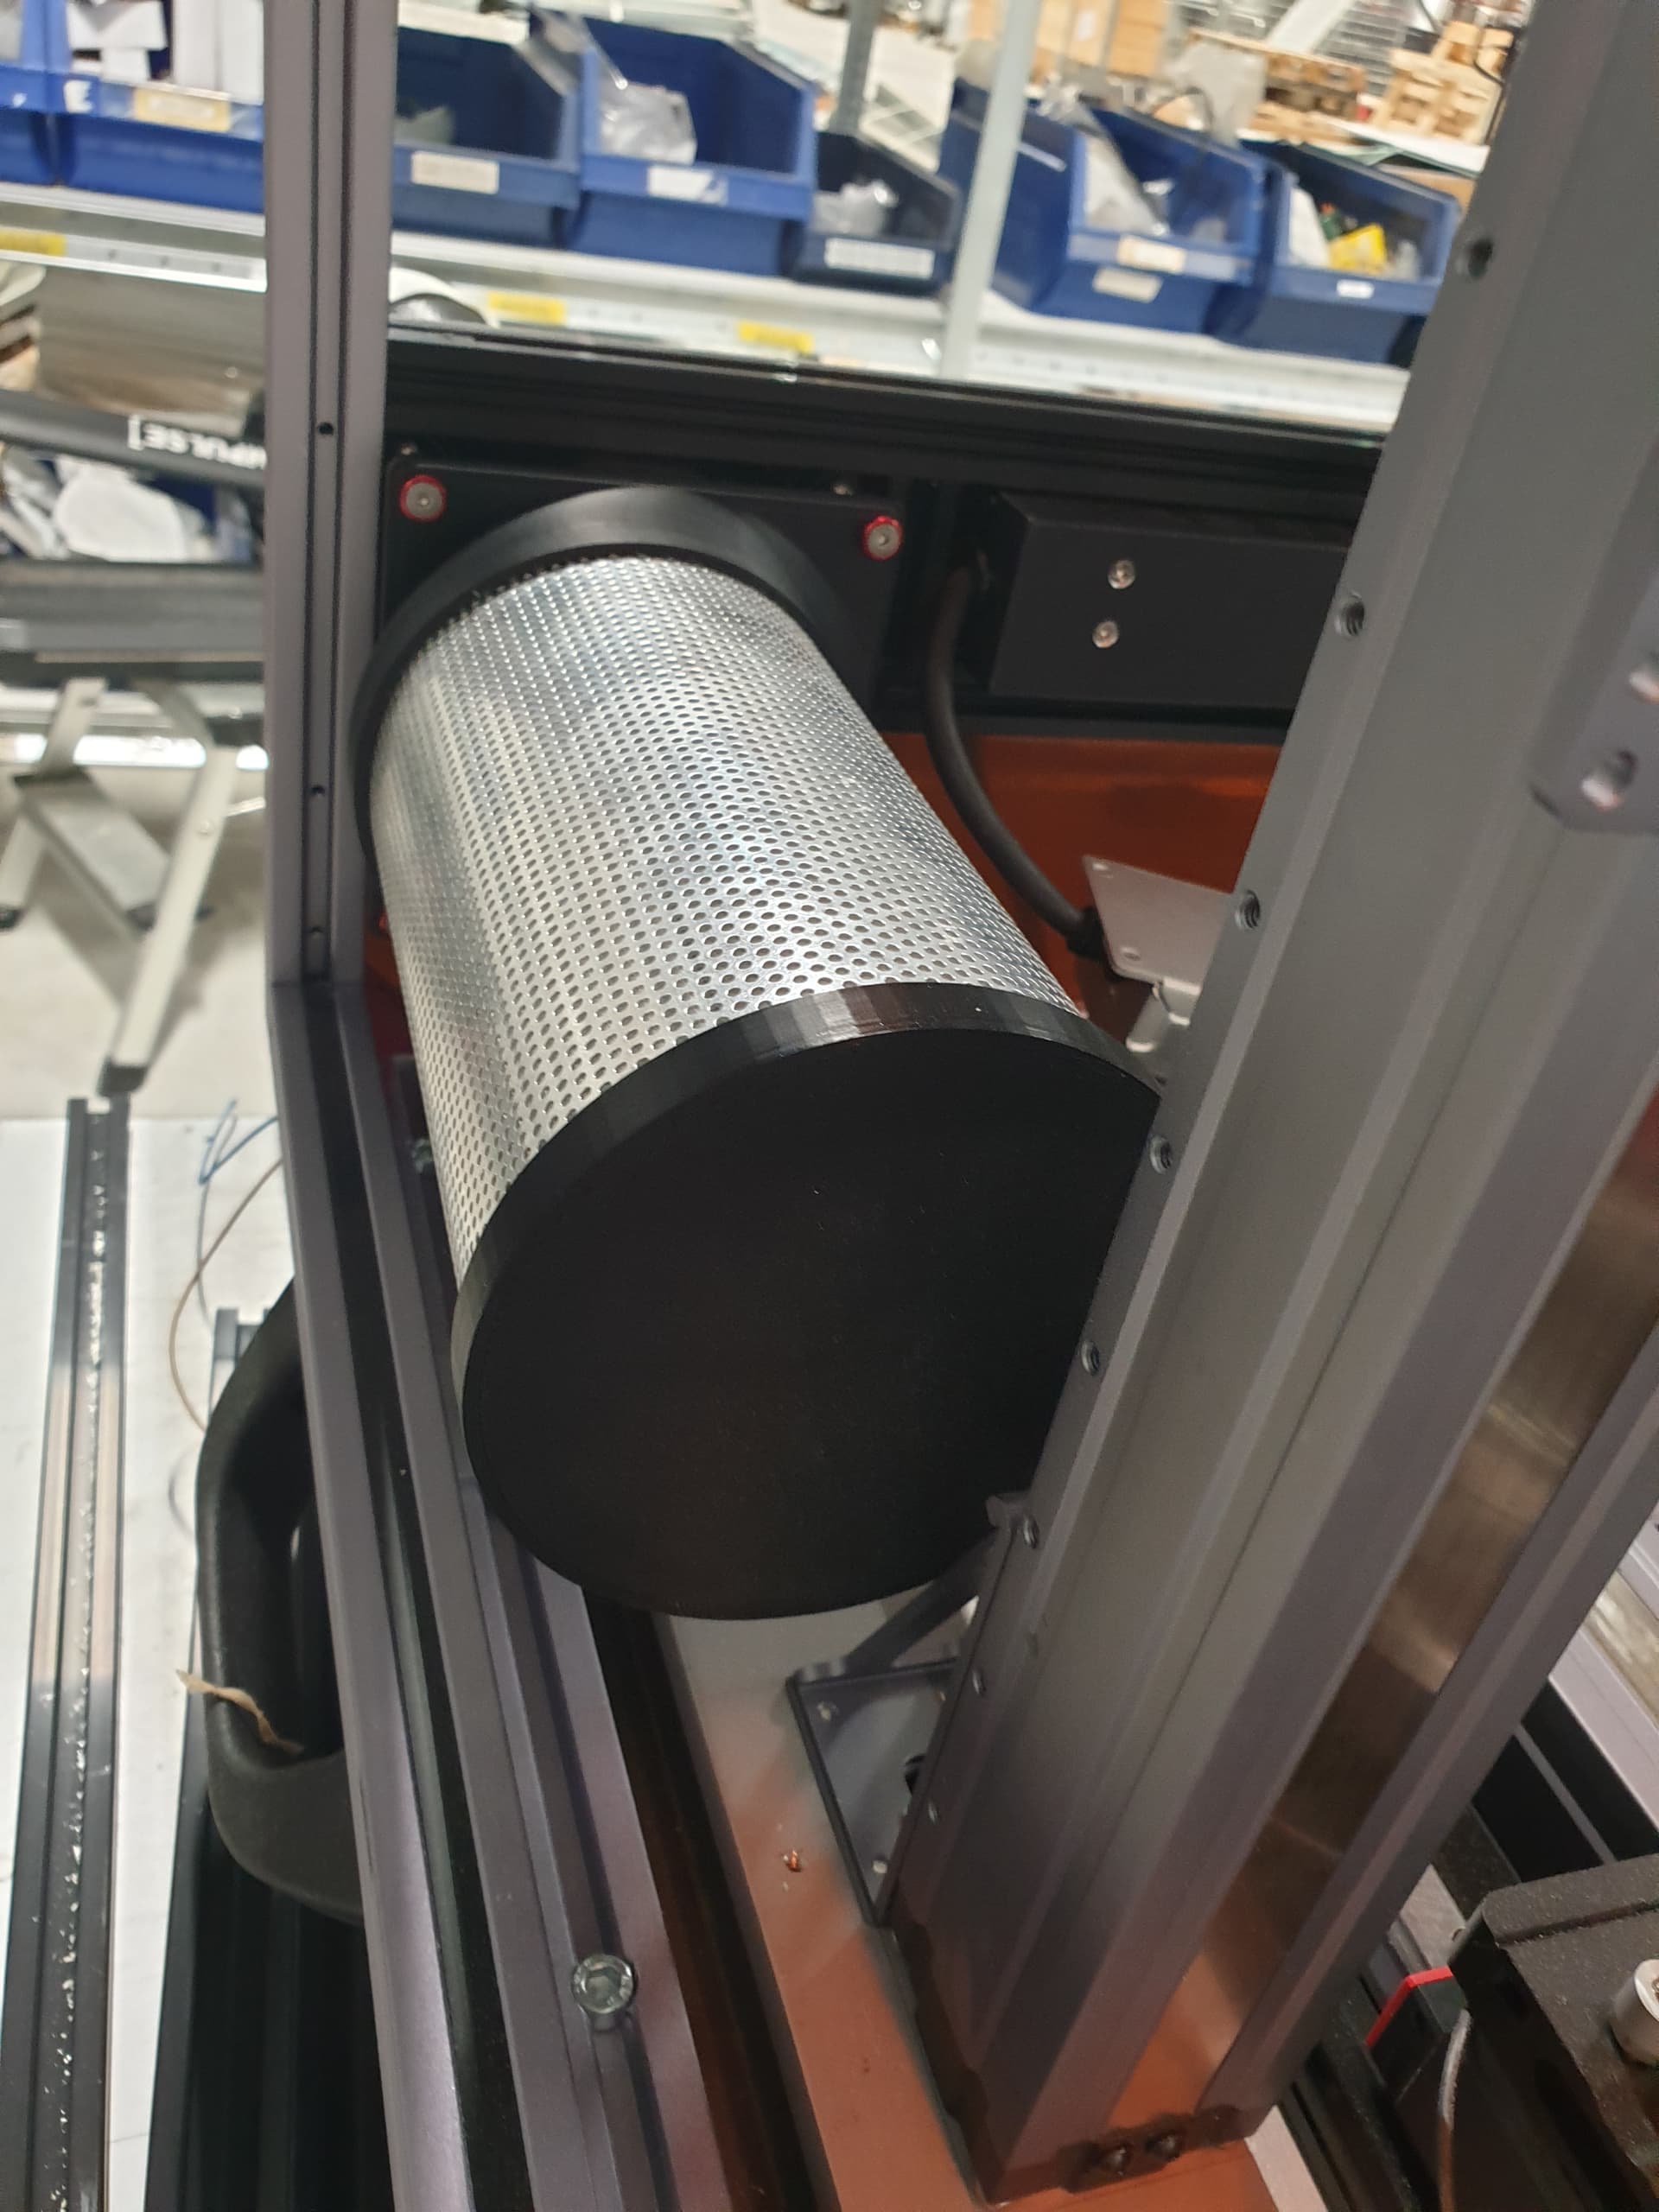
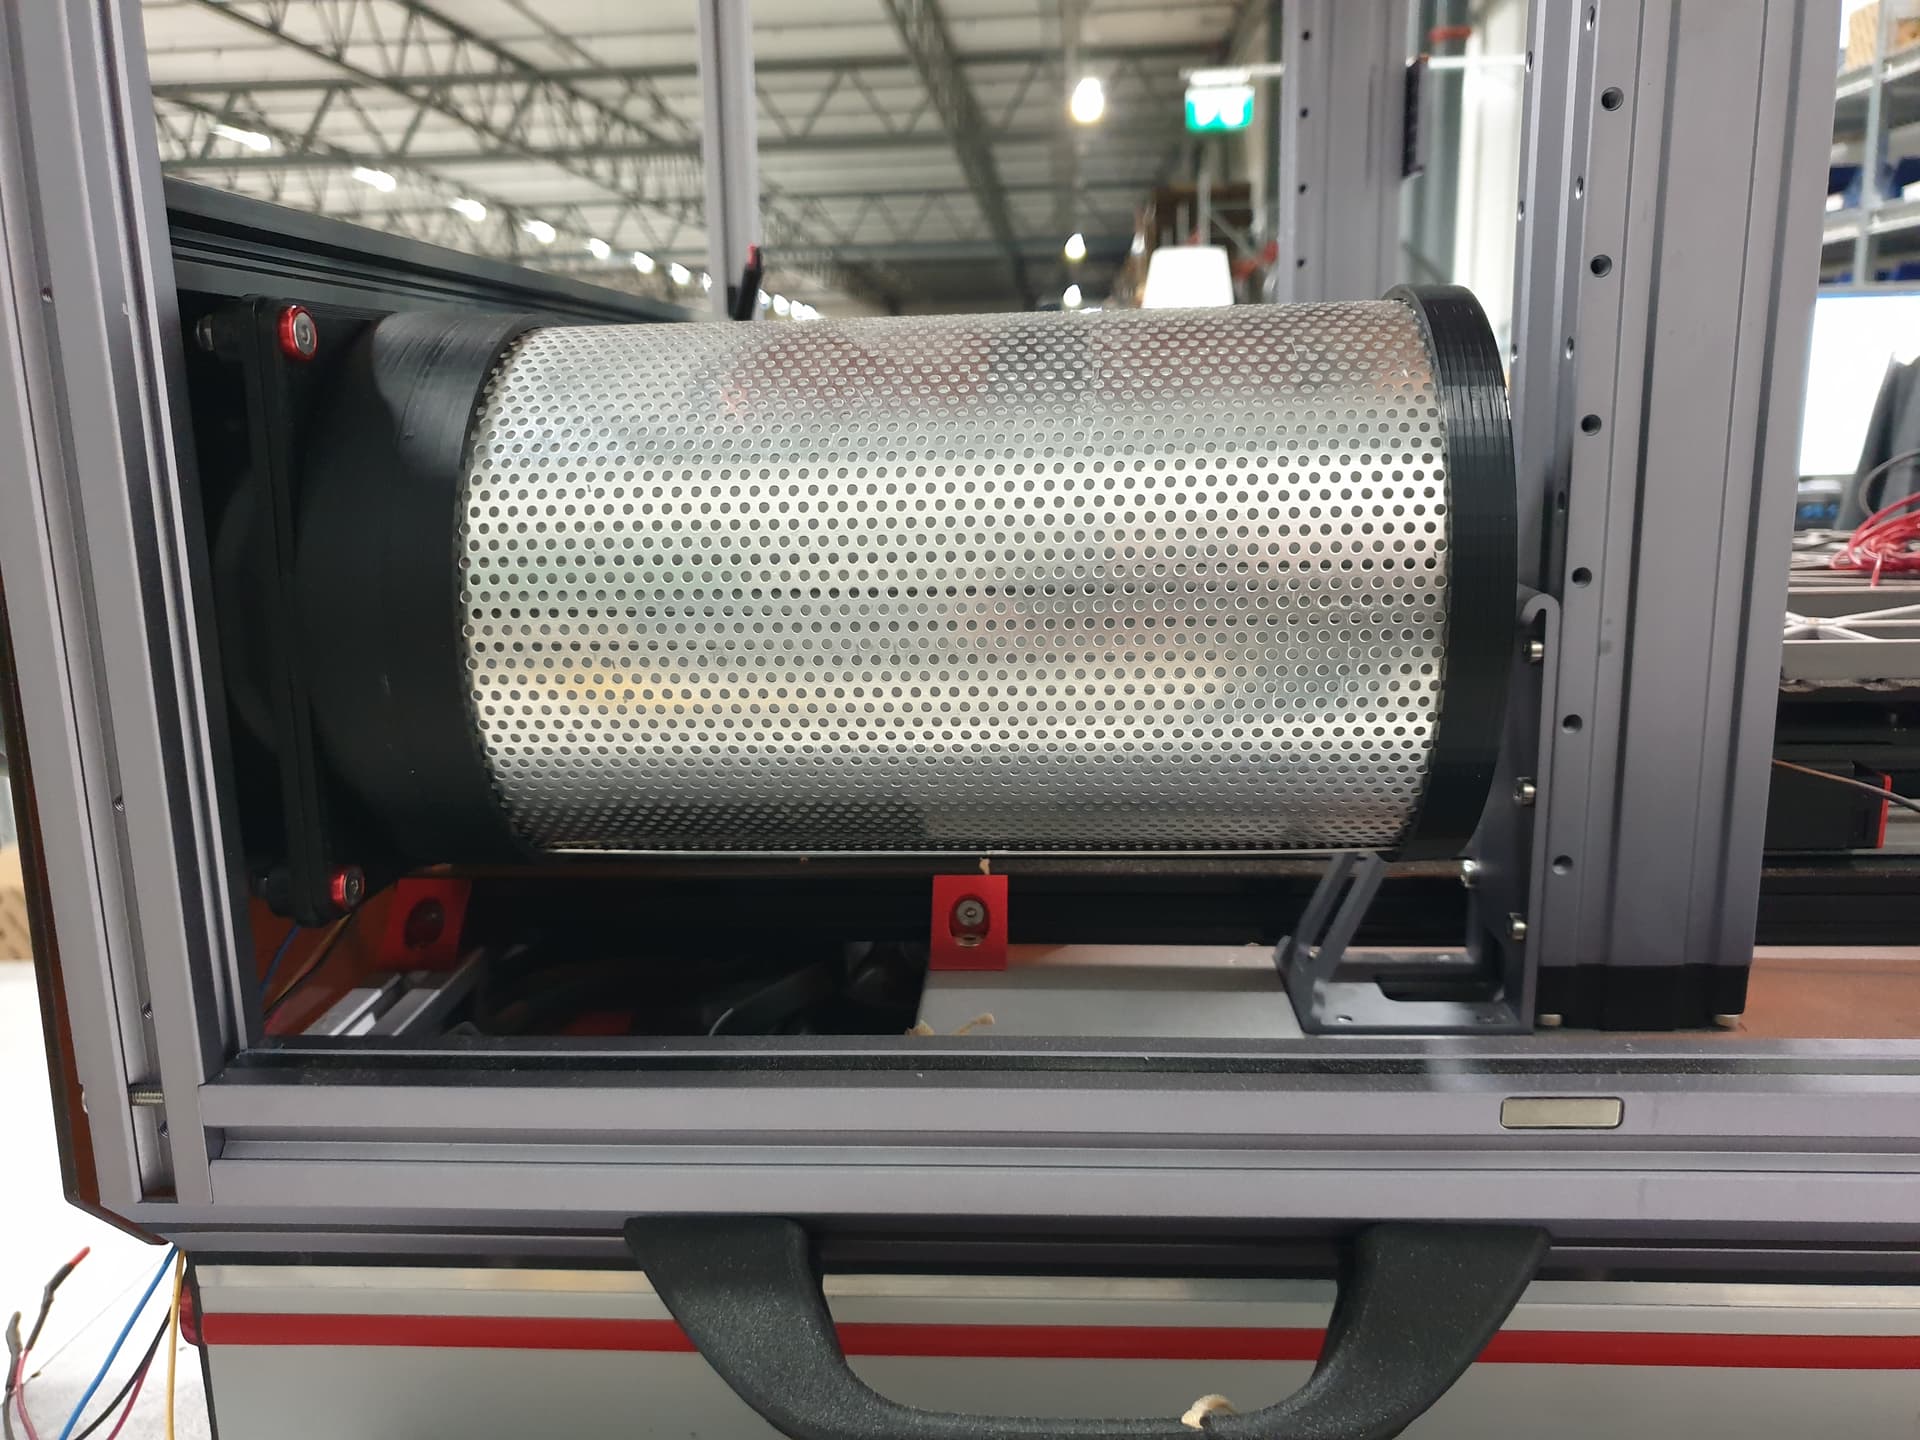
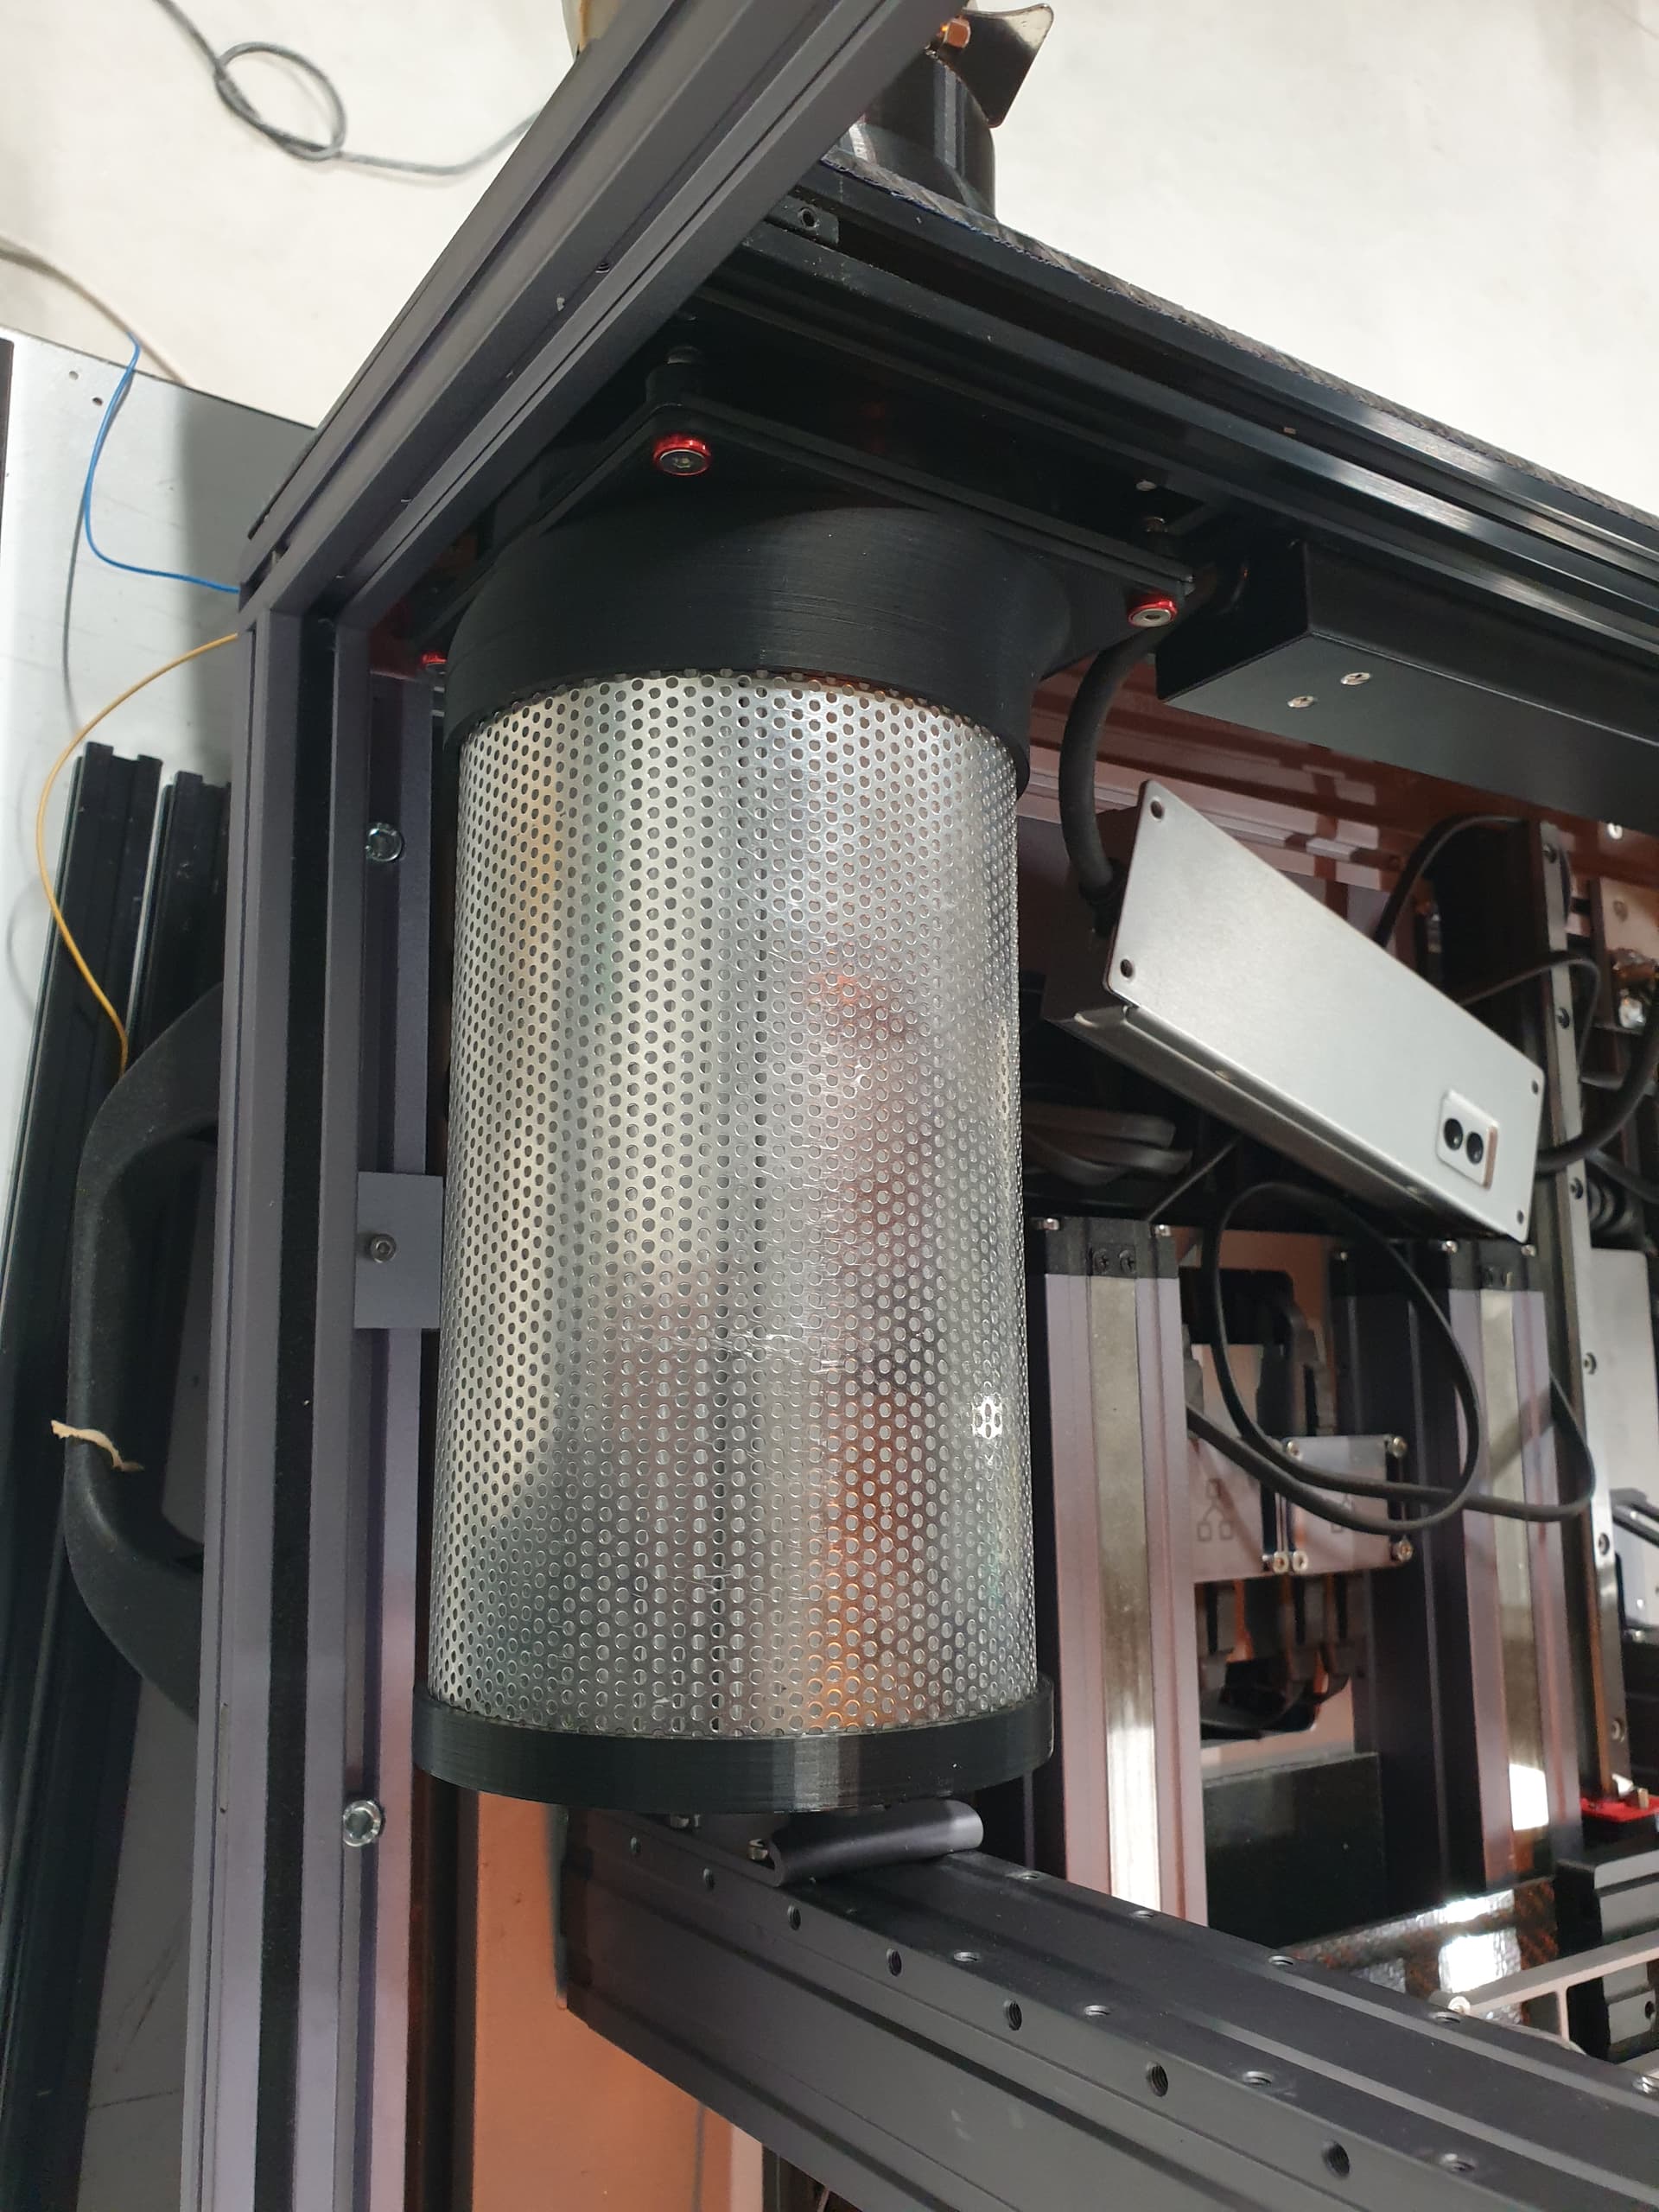
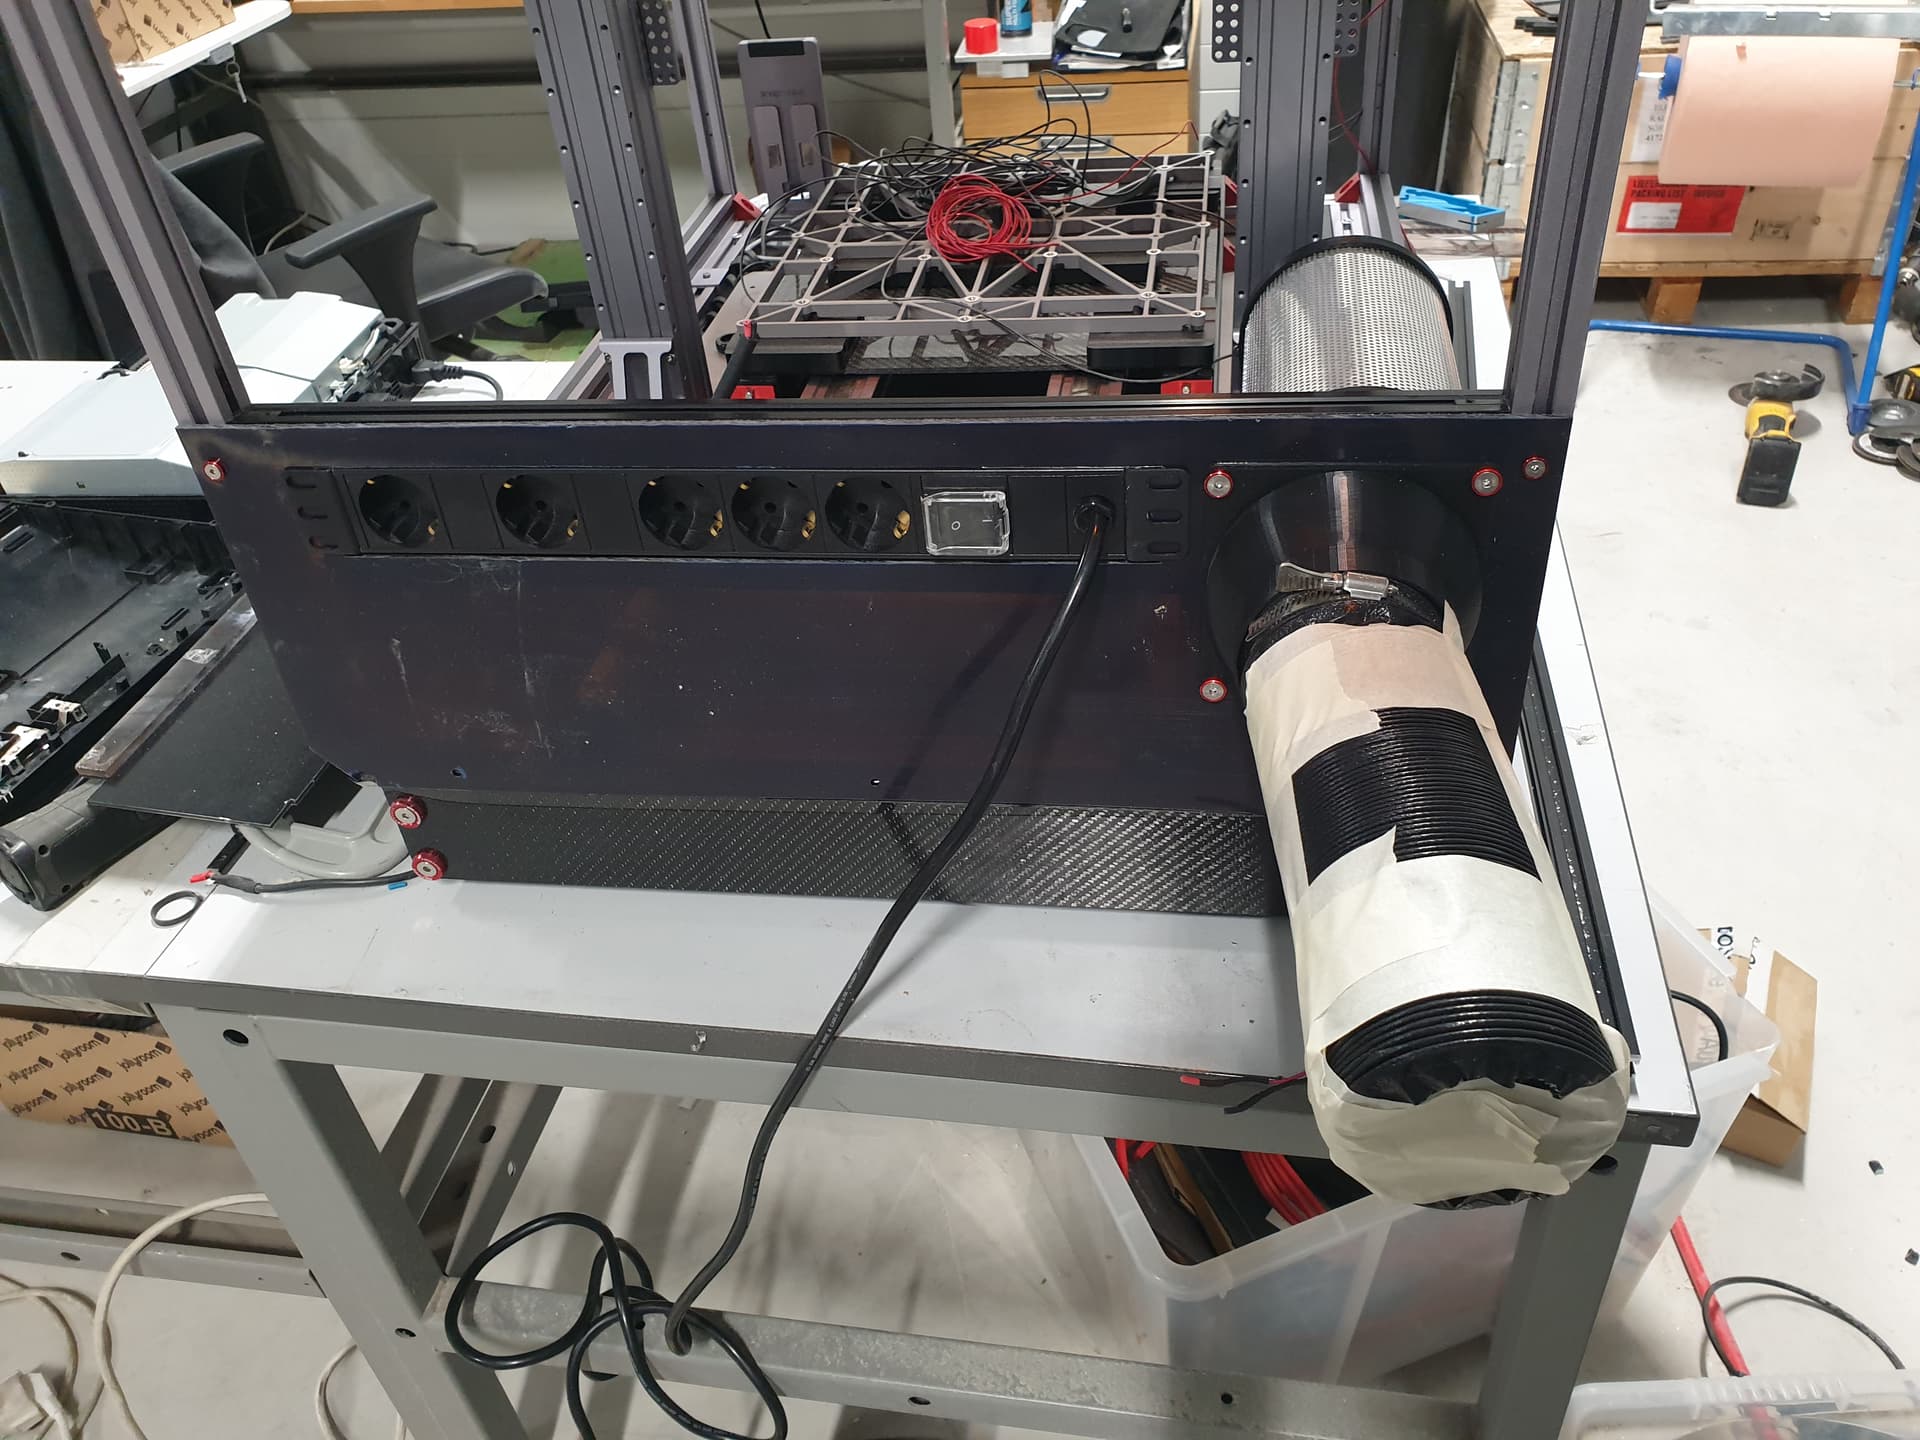
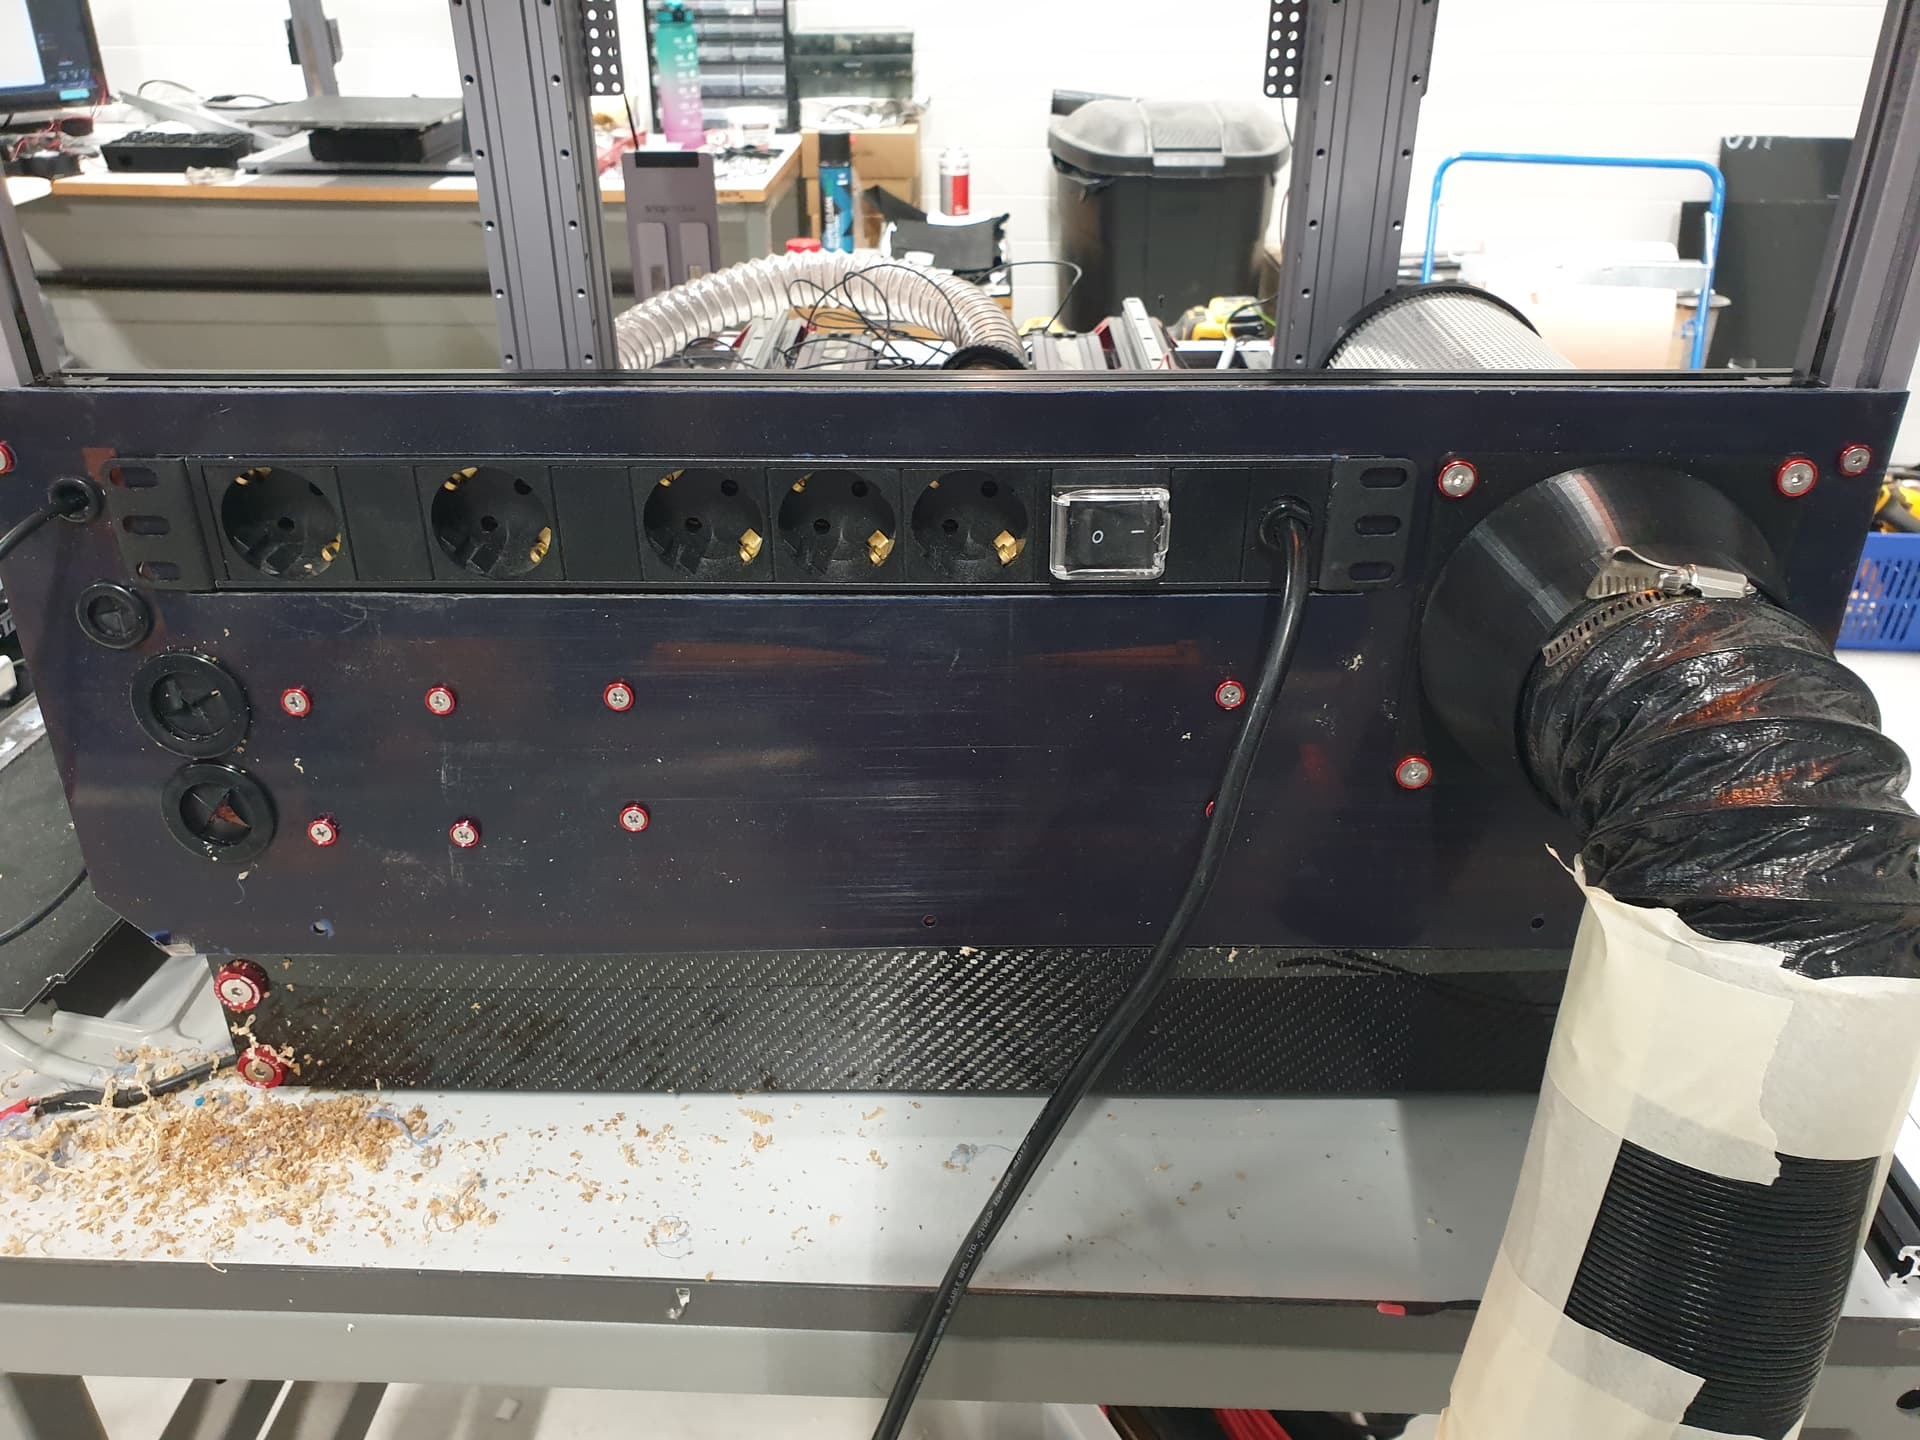
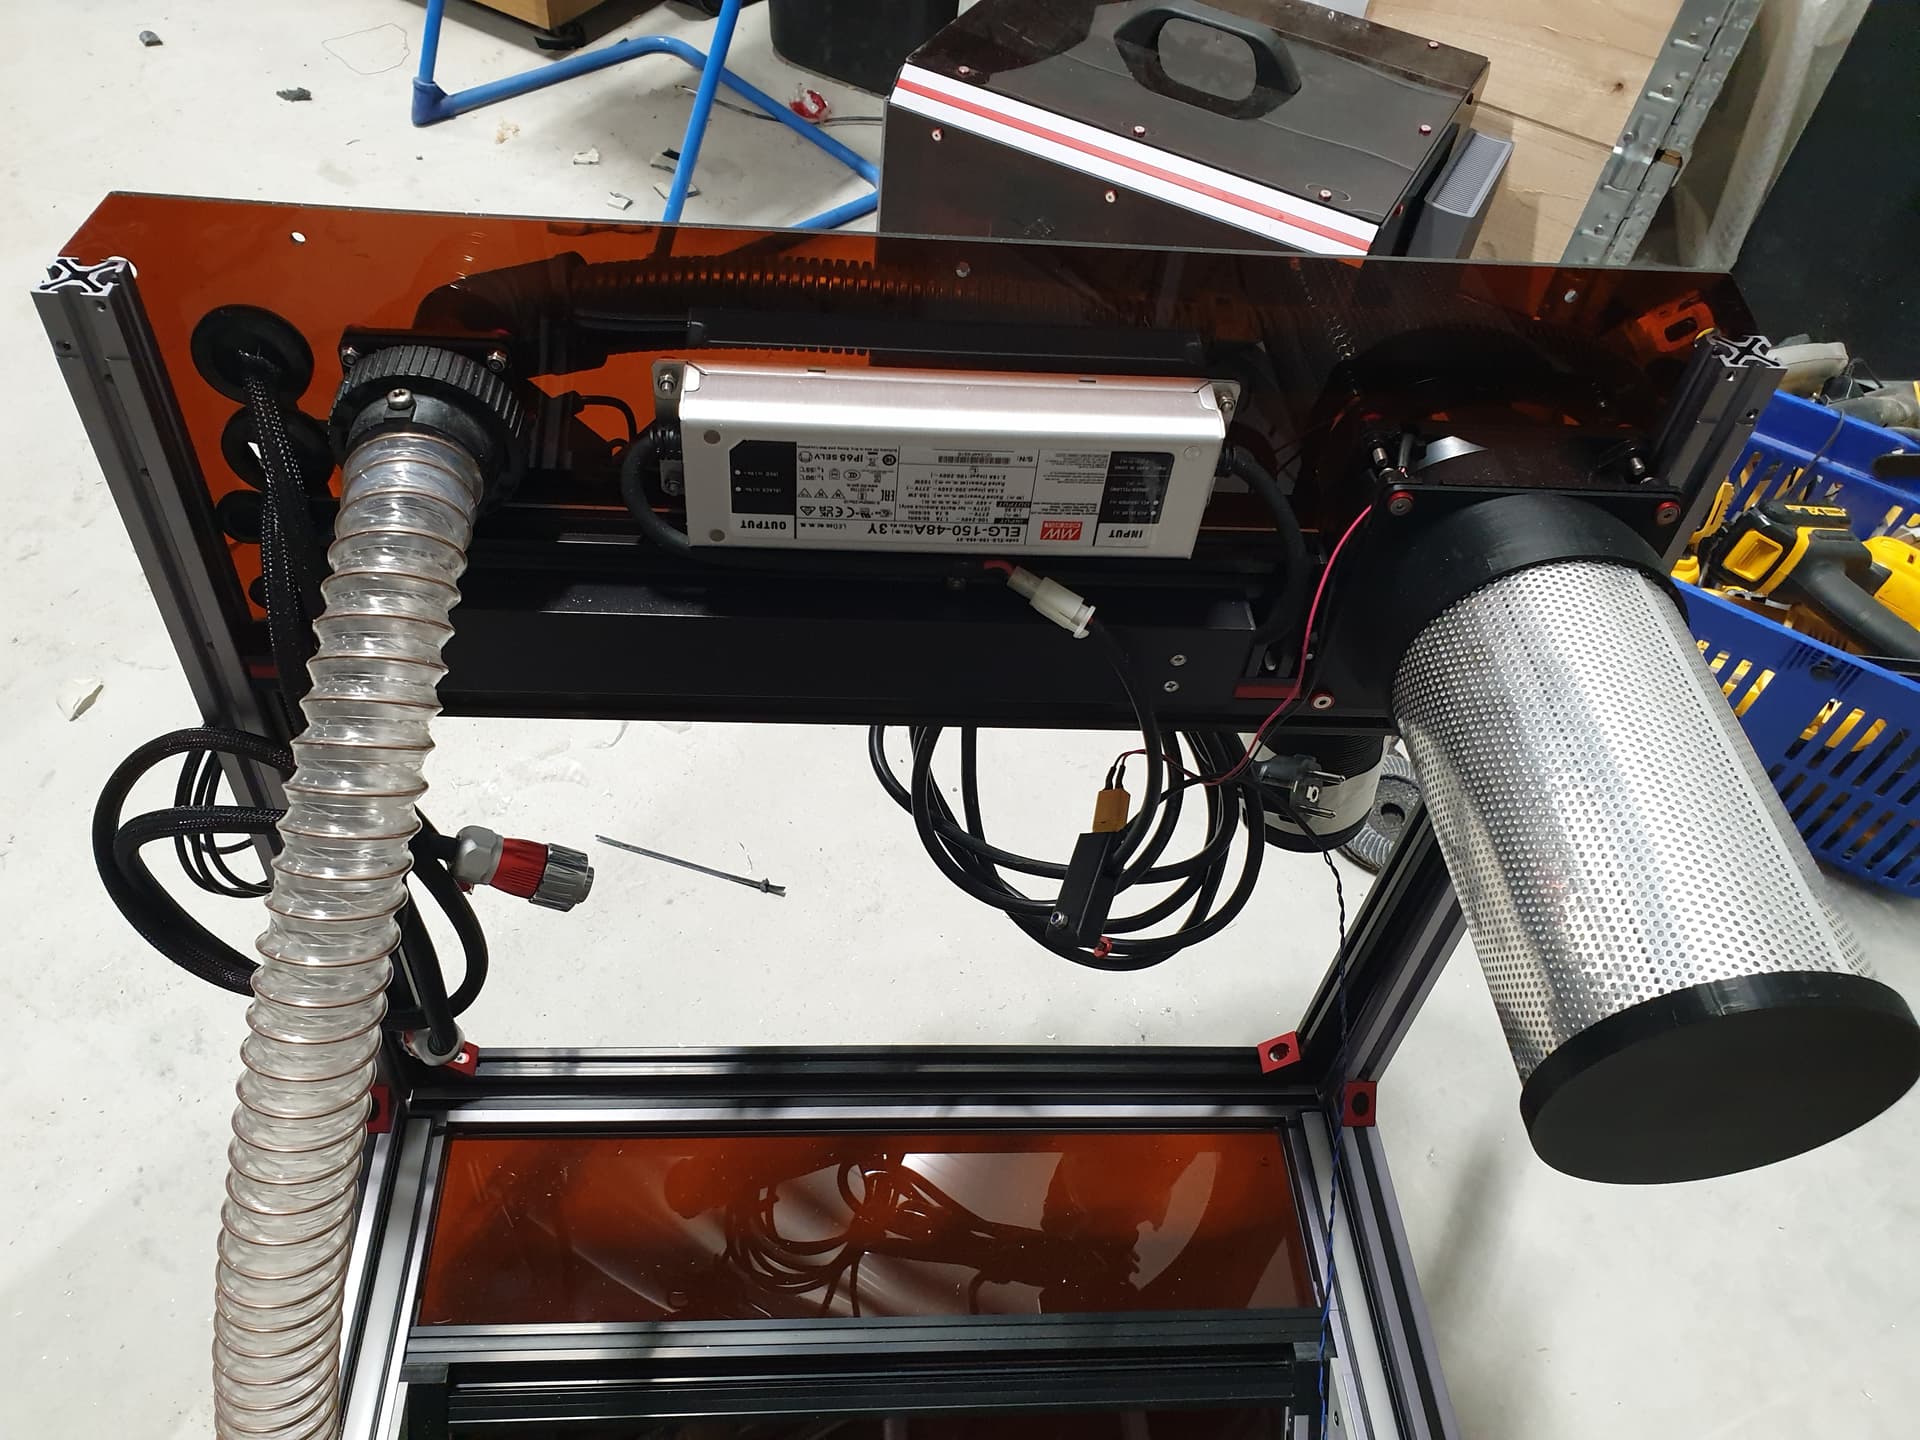
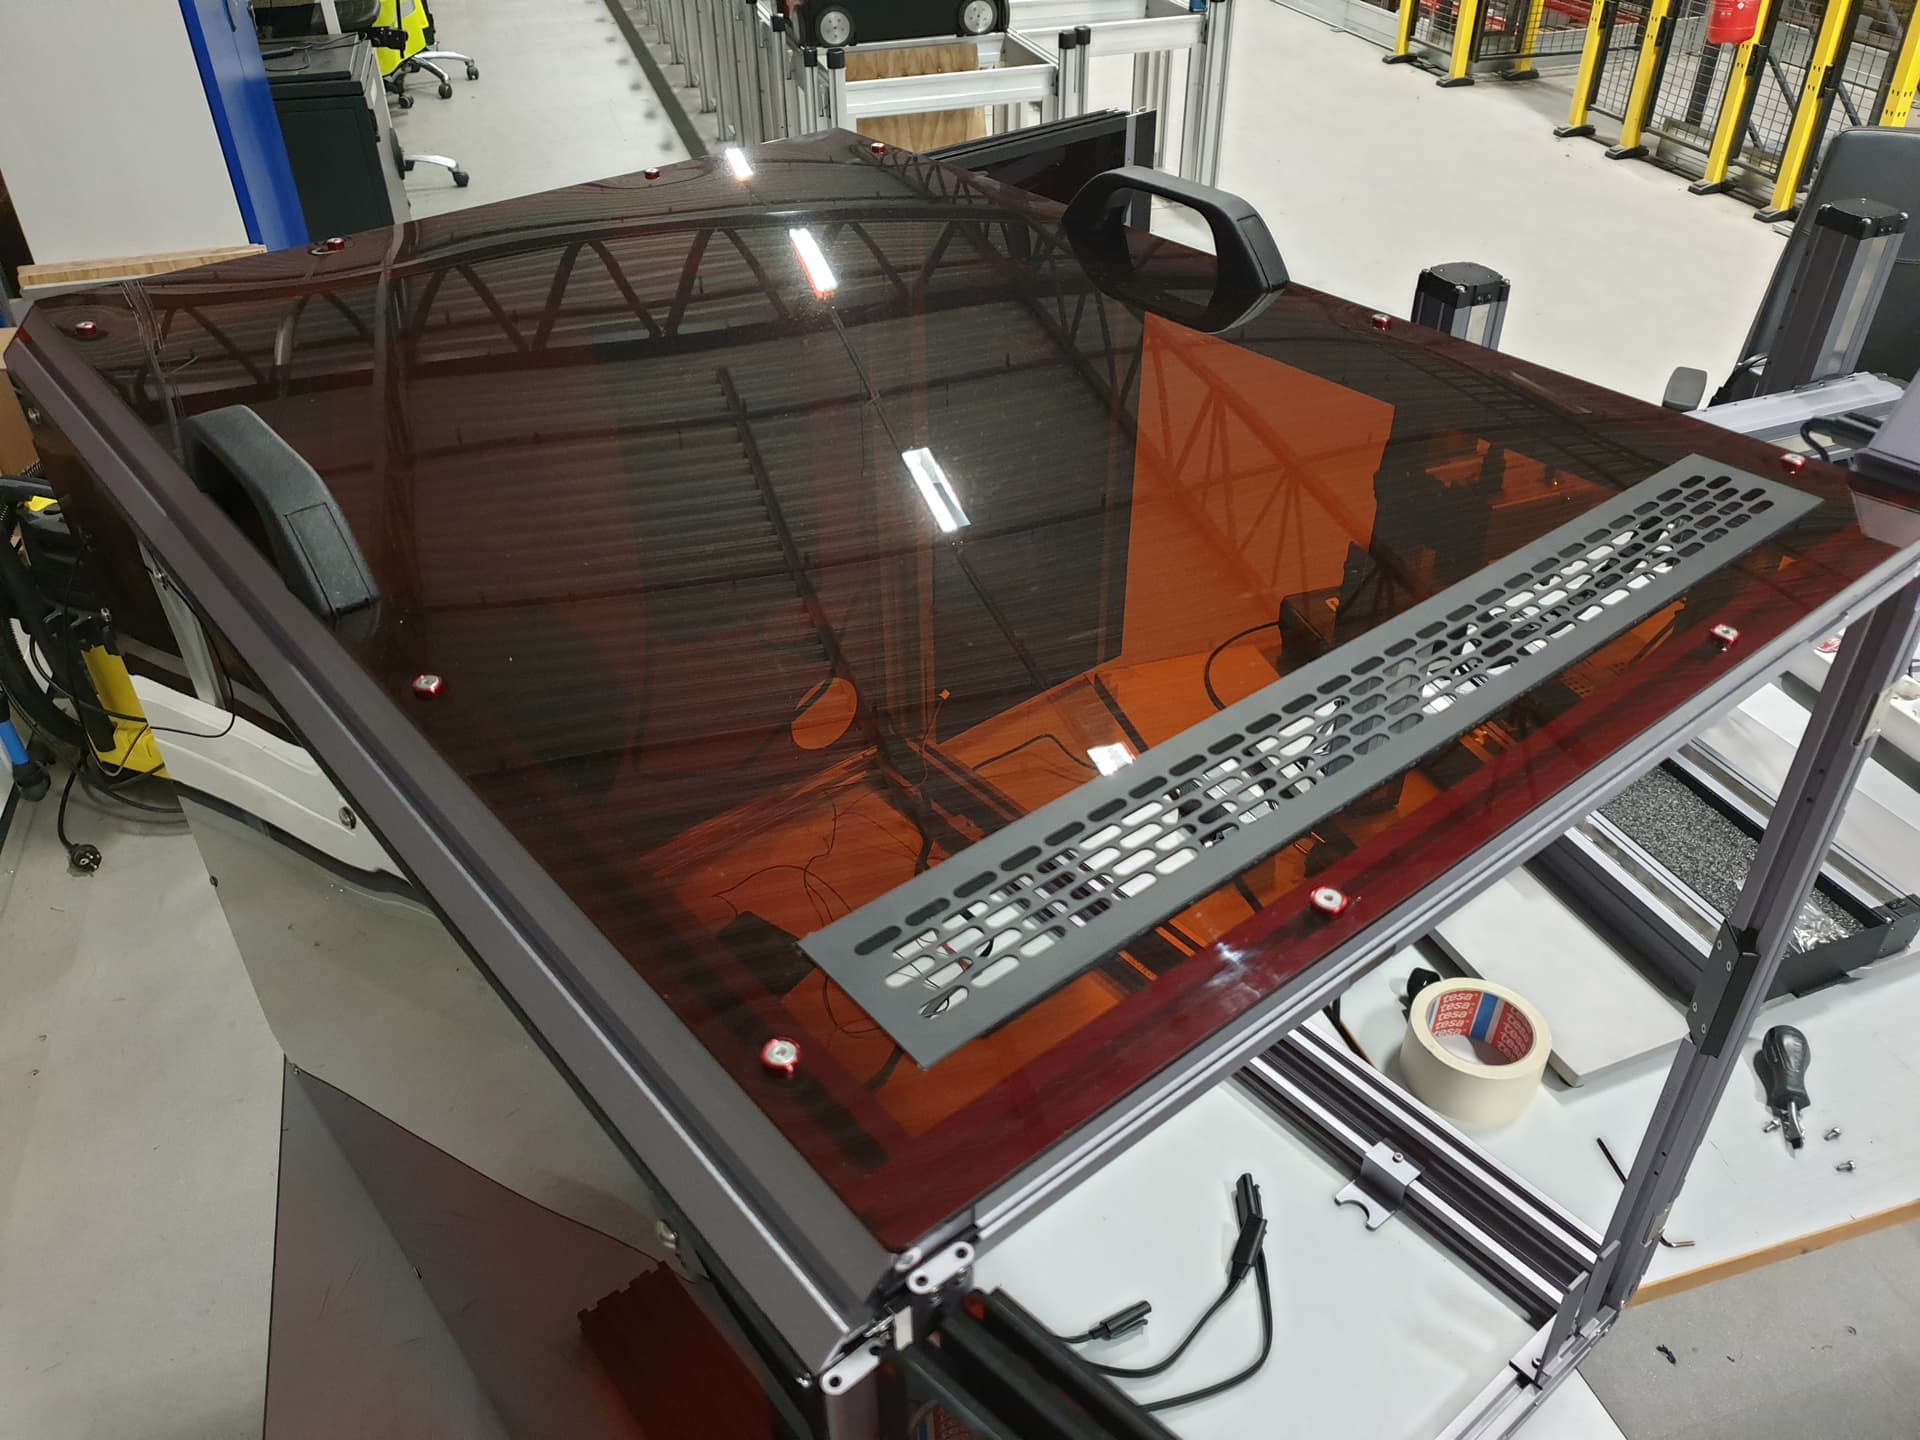
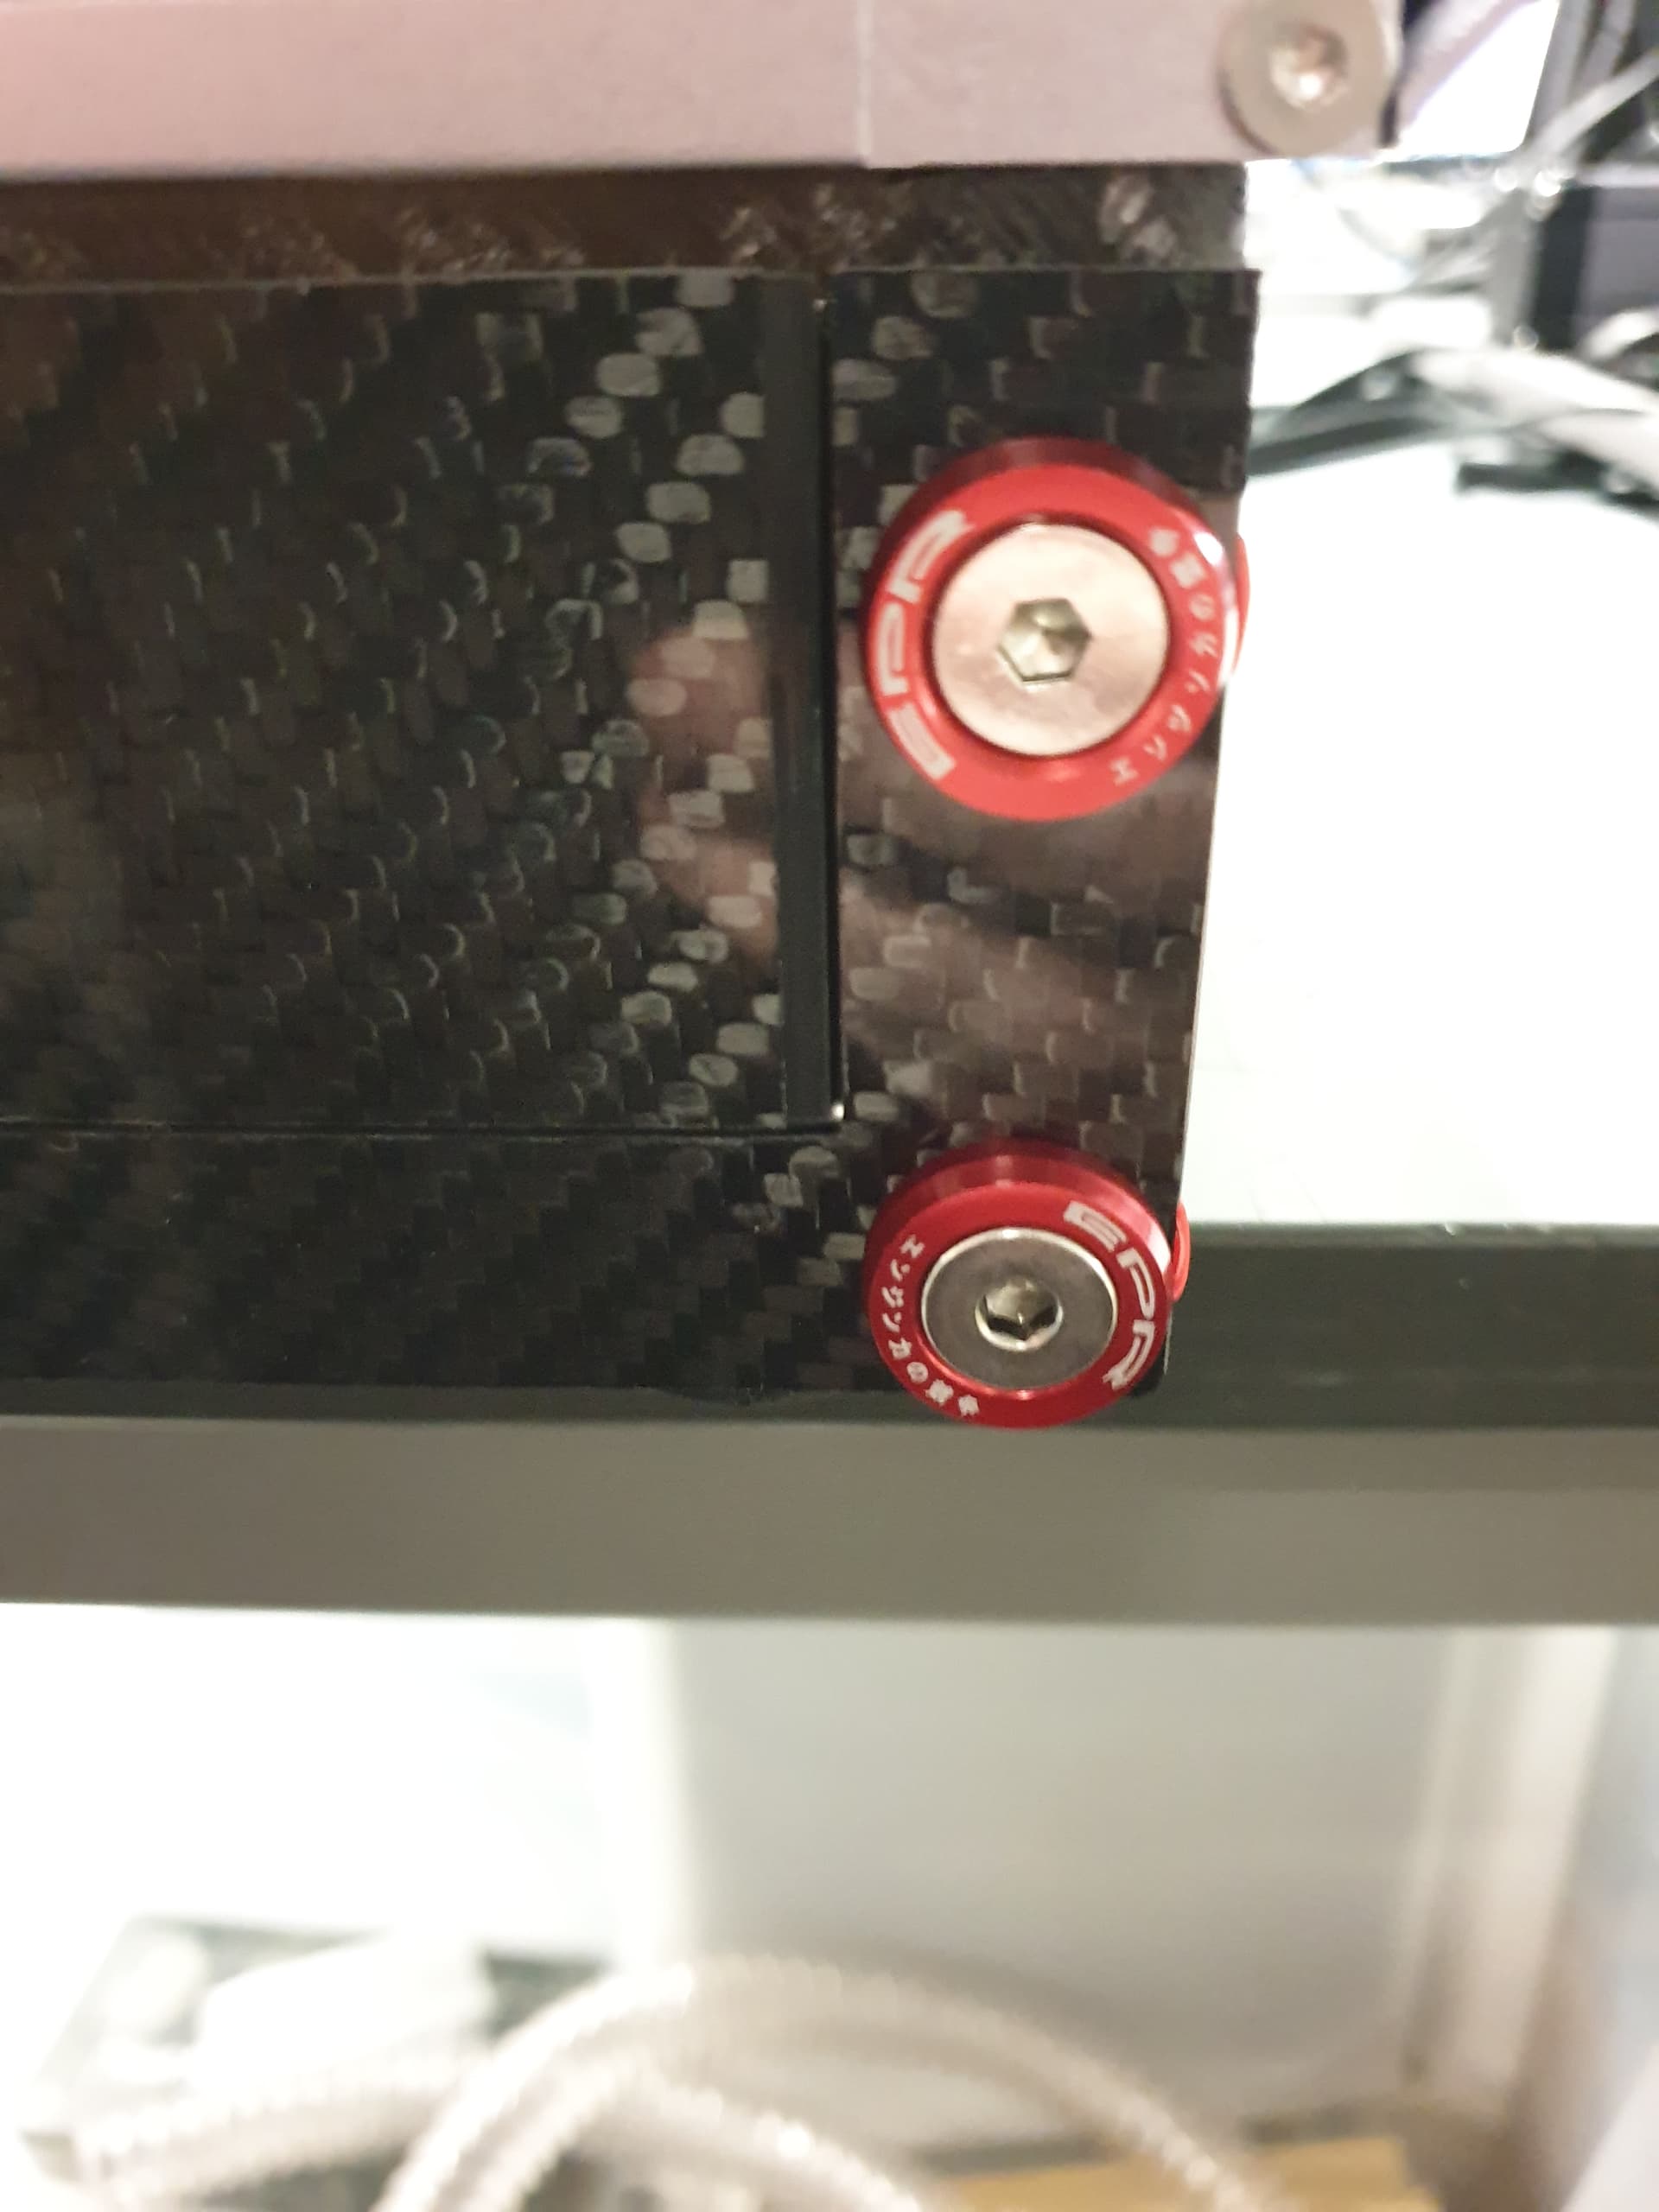
But I realised that the exhaust system for the enclosure didn’t have anywhere to take in air so i decided to put a filtered vent on the top at the front so air is drawn in and then blown out the back. I also added some details to the screws and some handles on the top to make the whole thing easier to move:


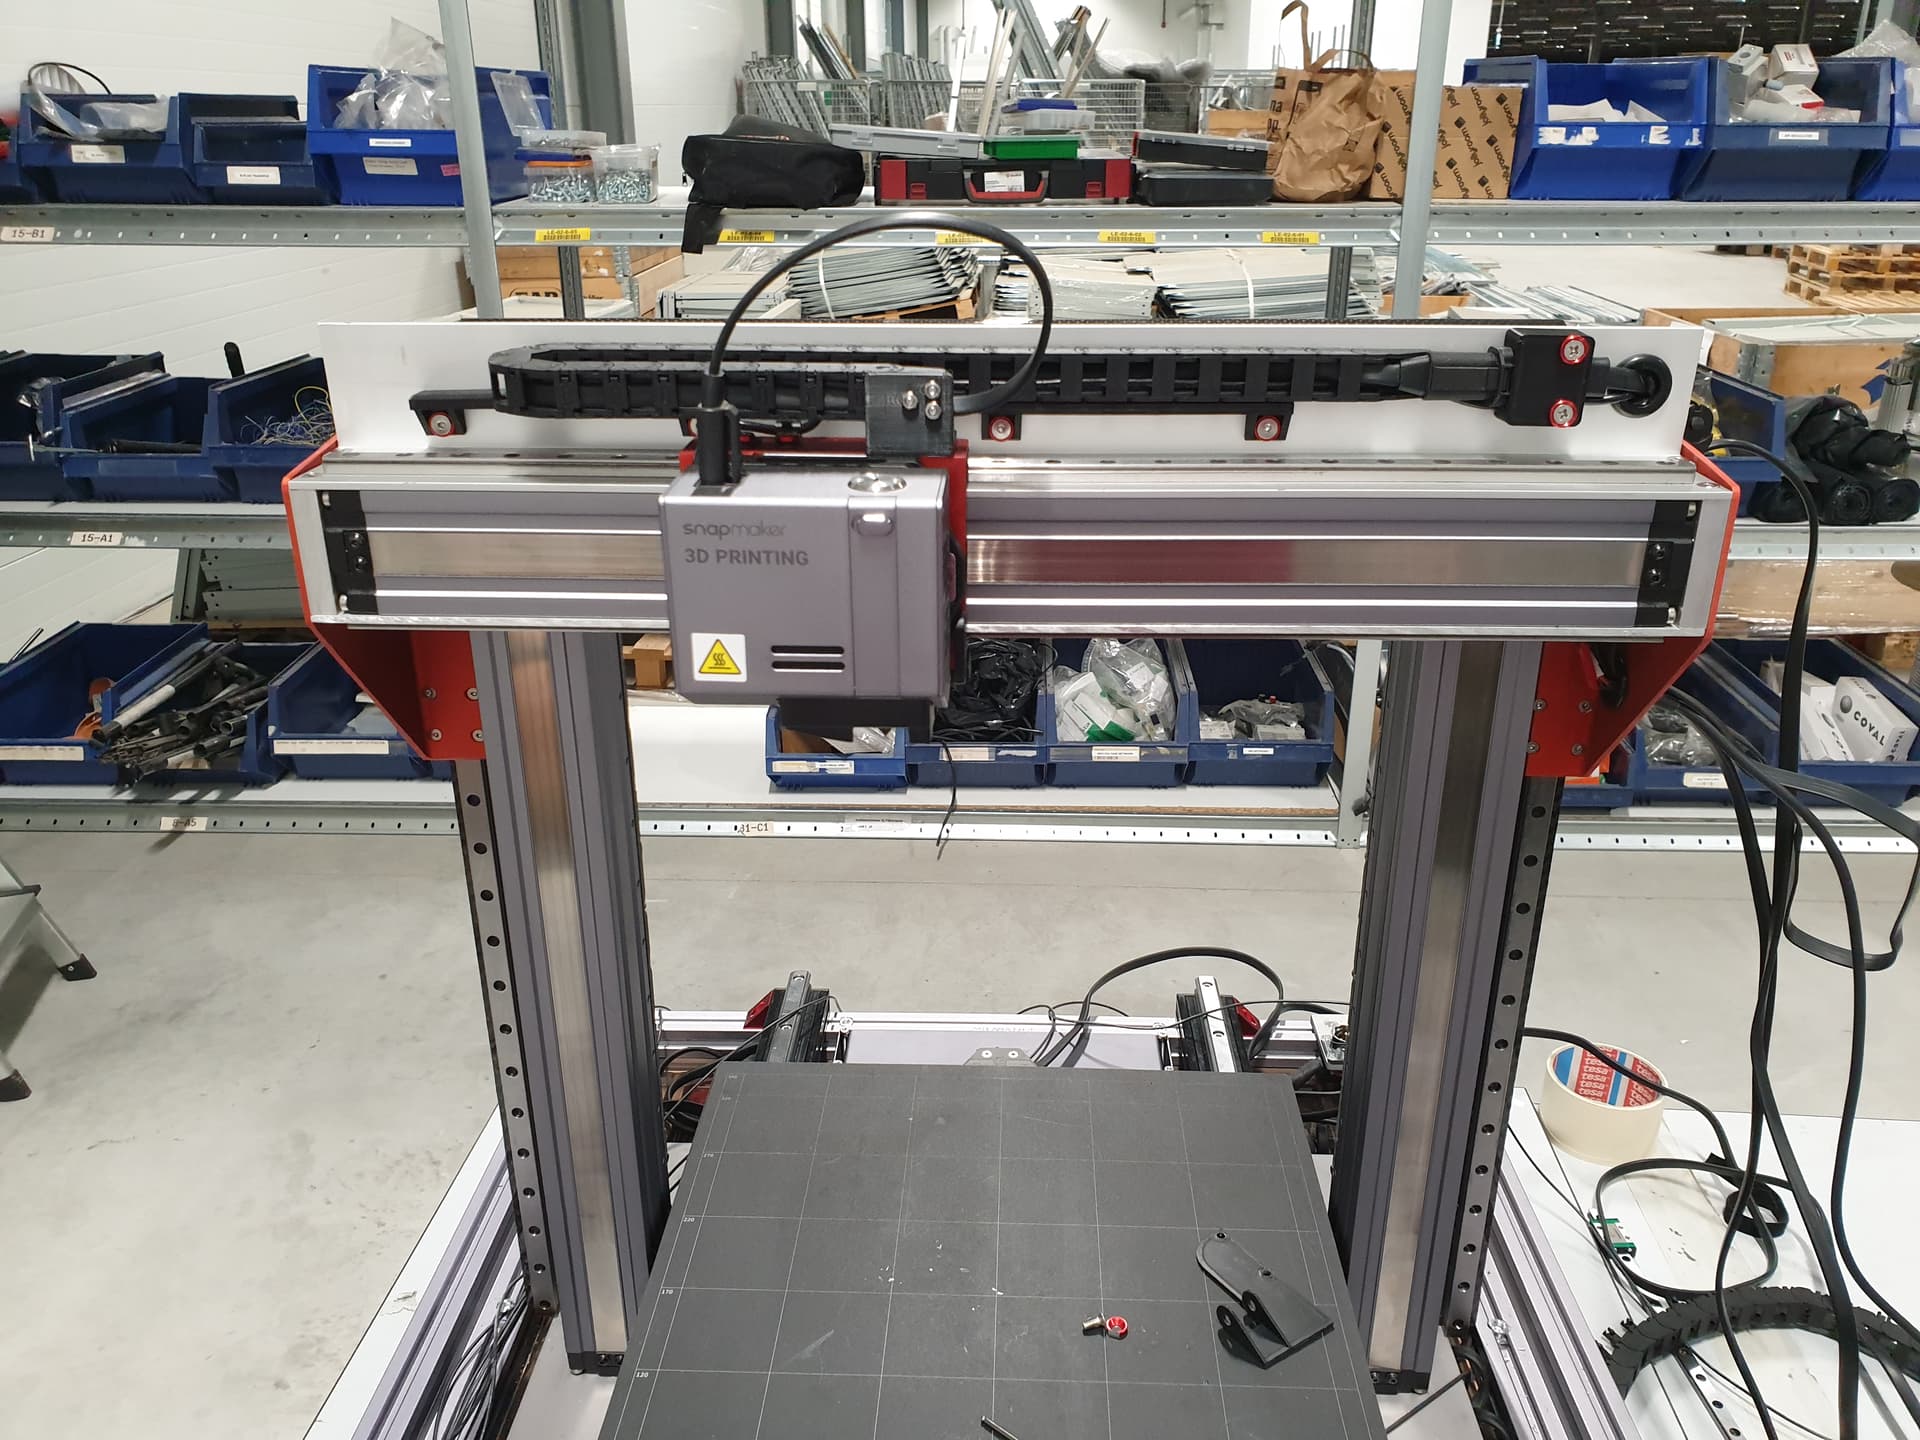
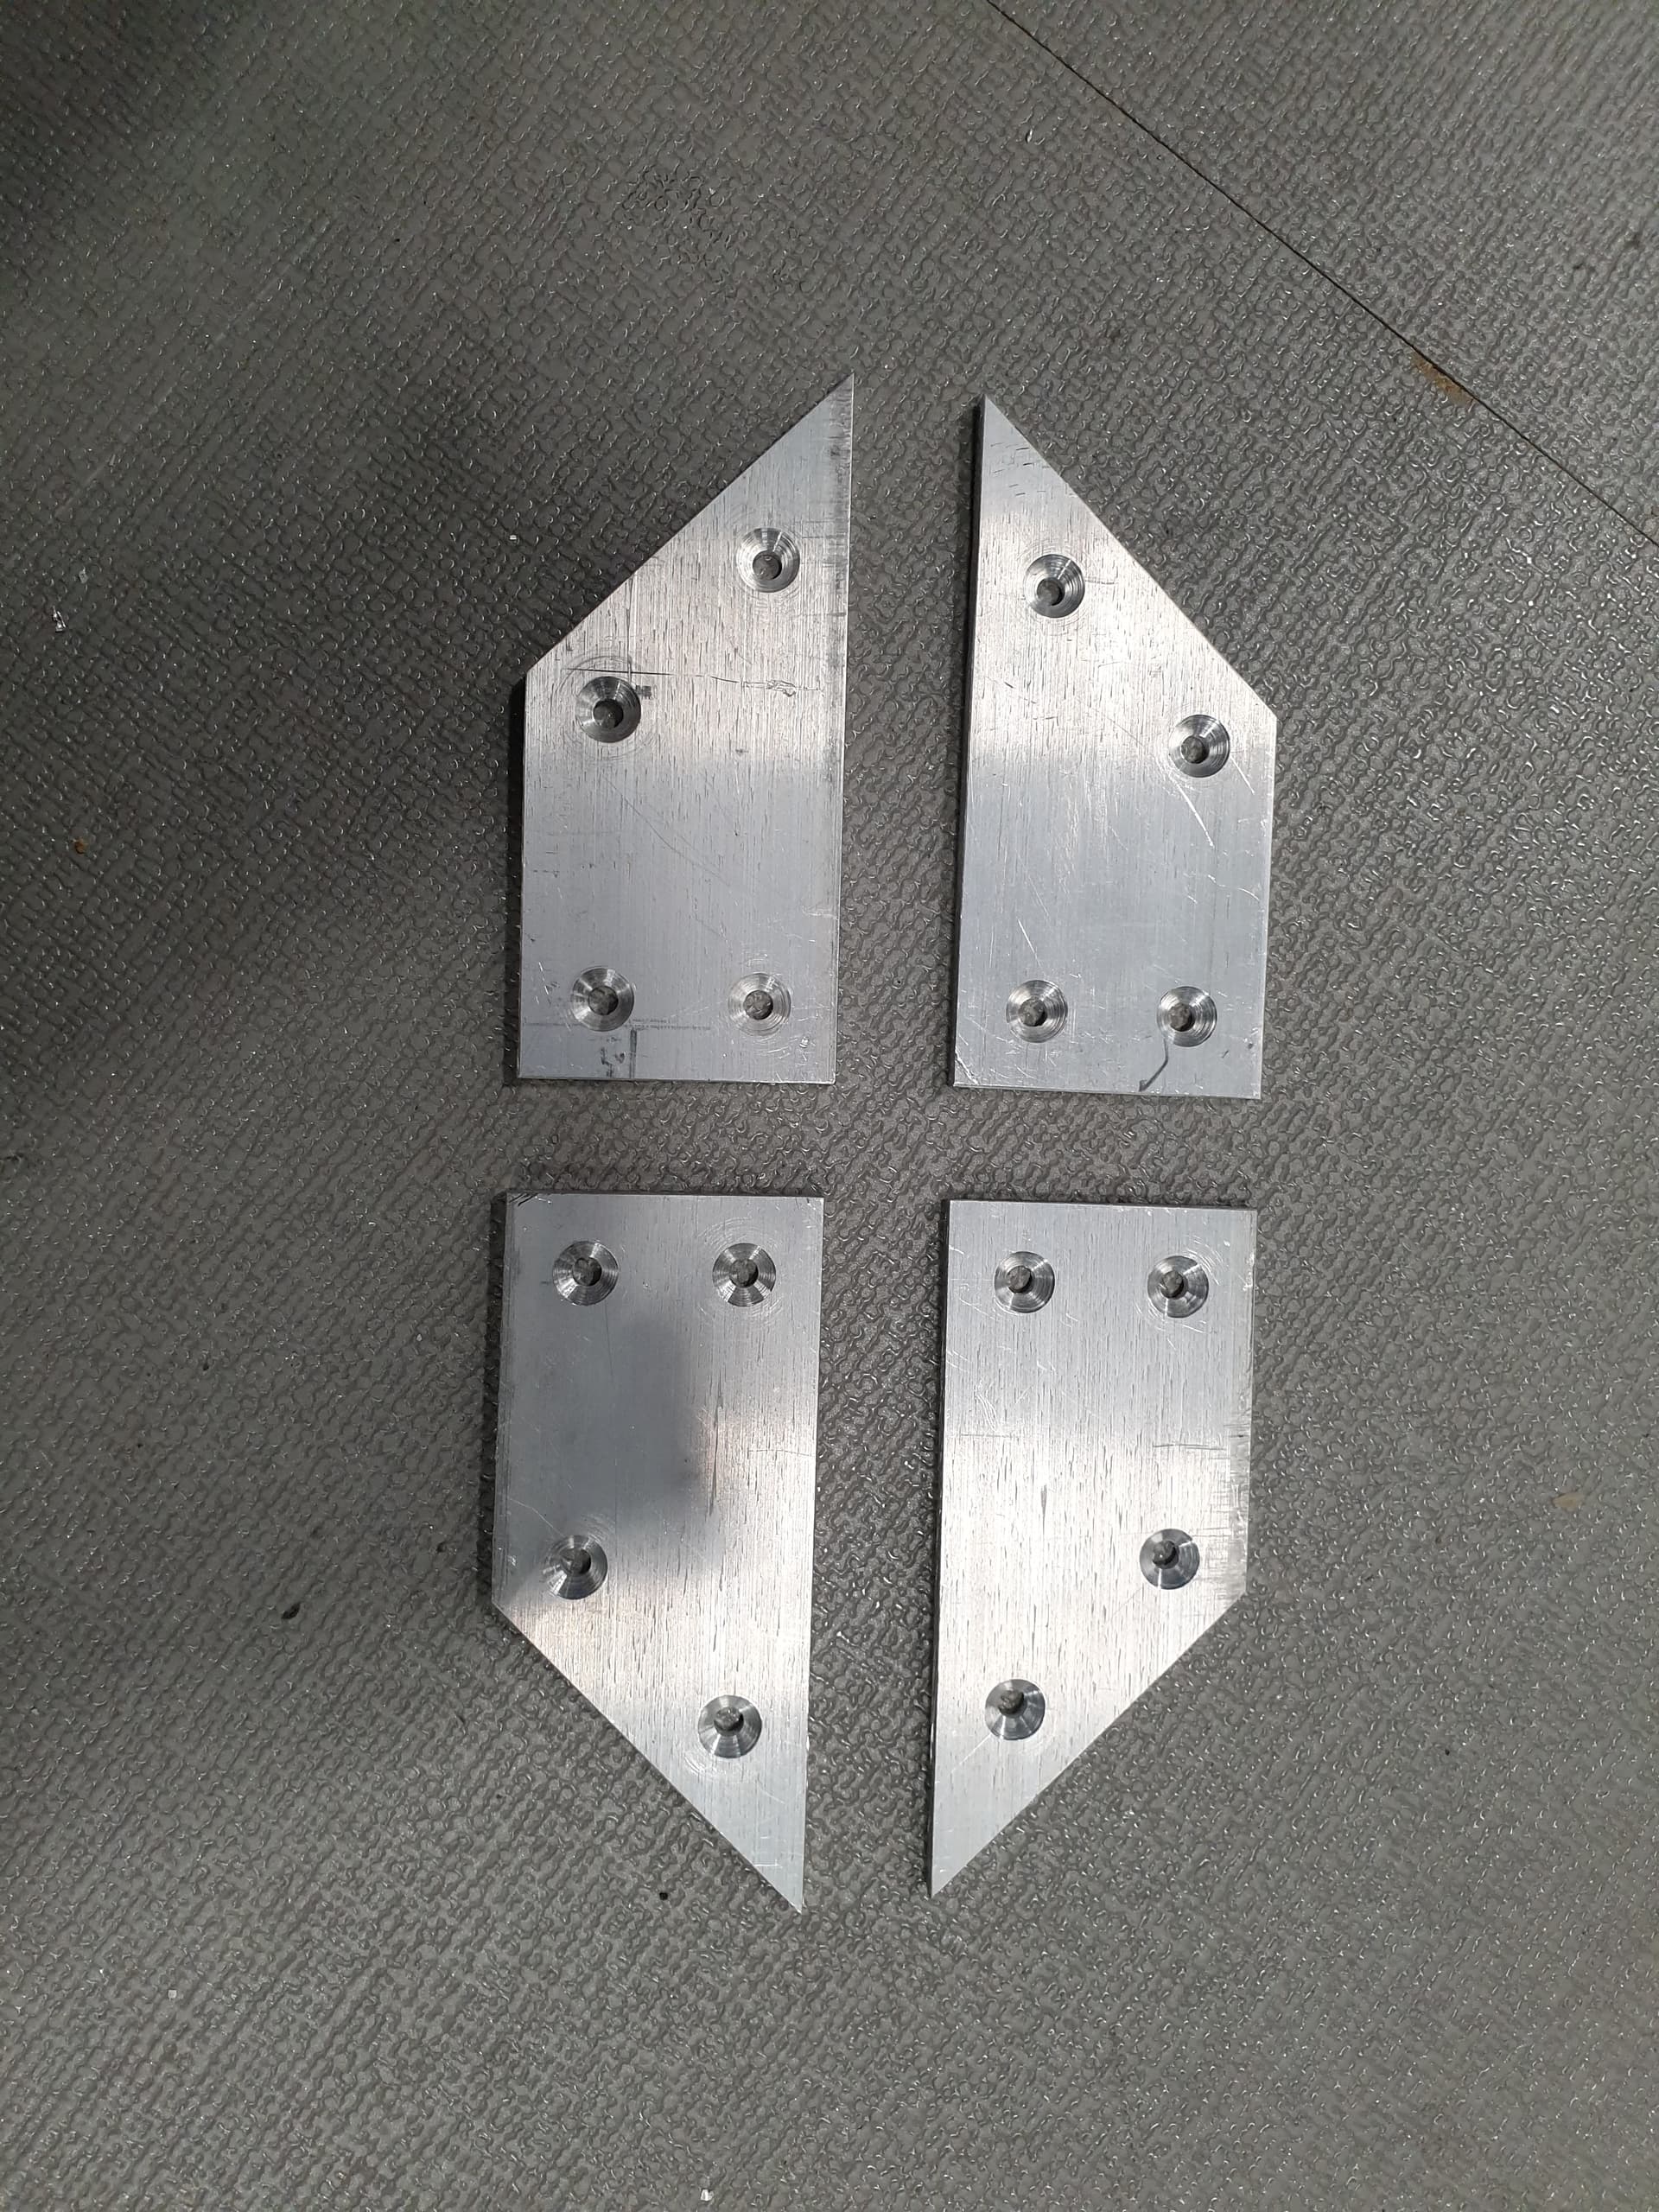
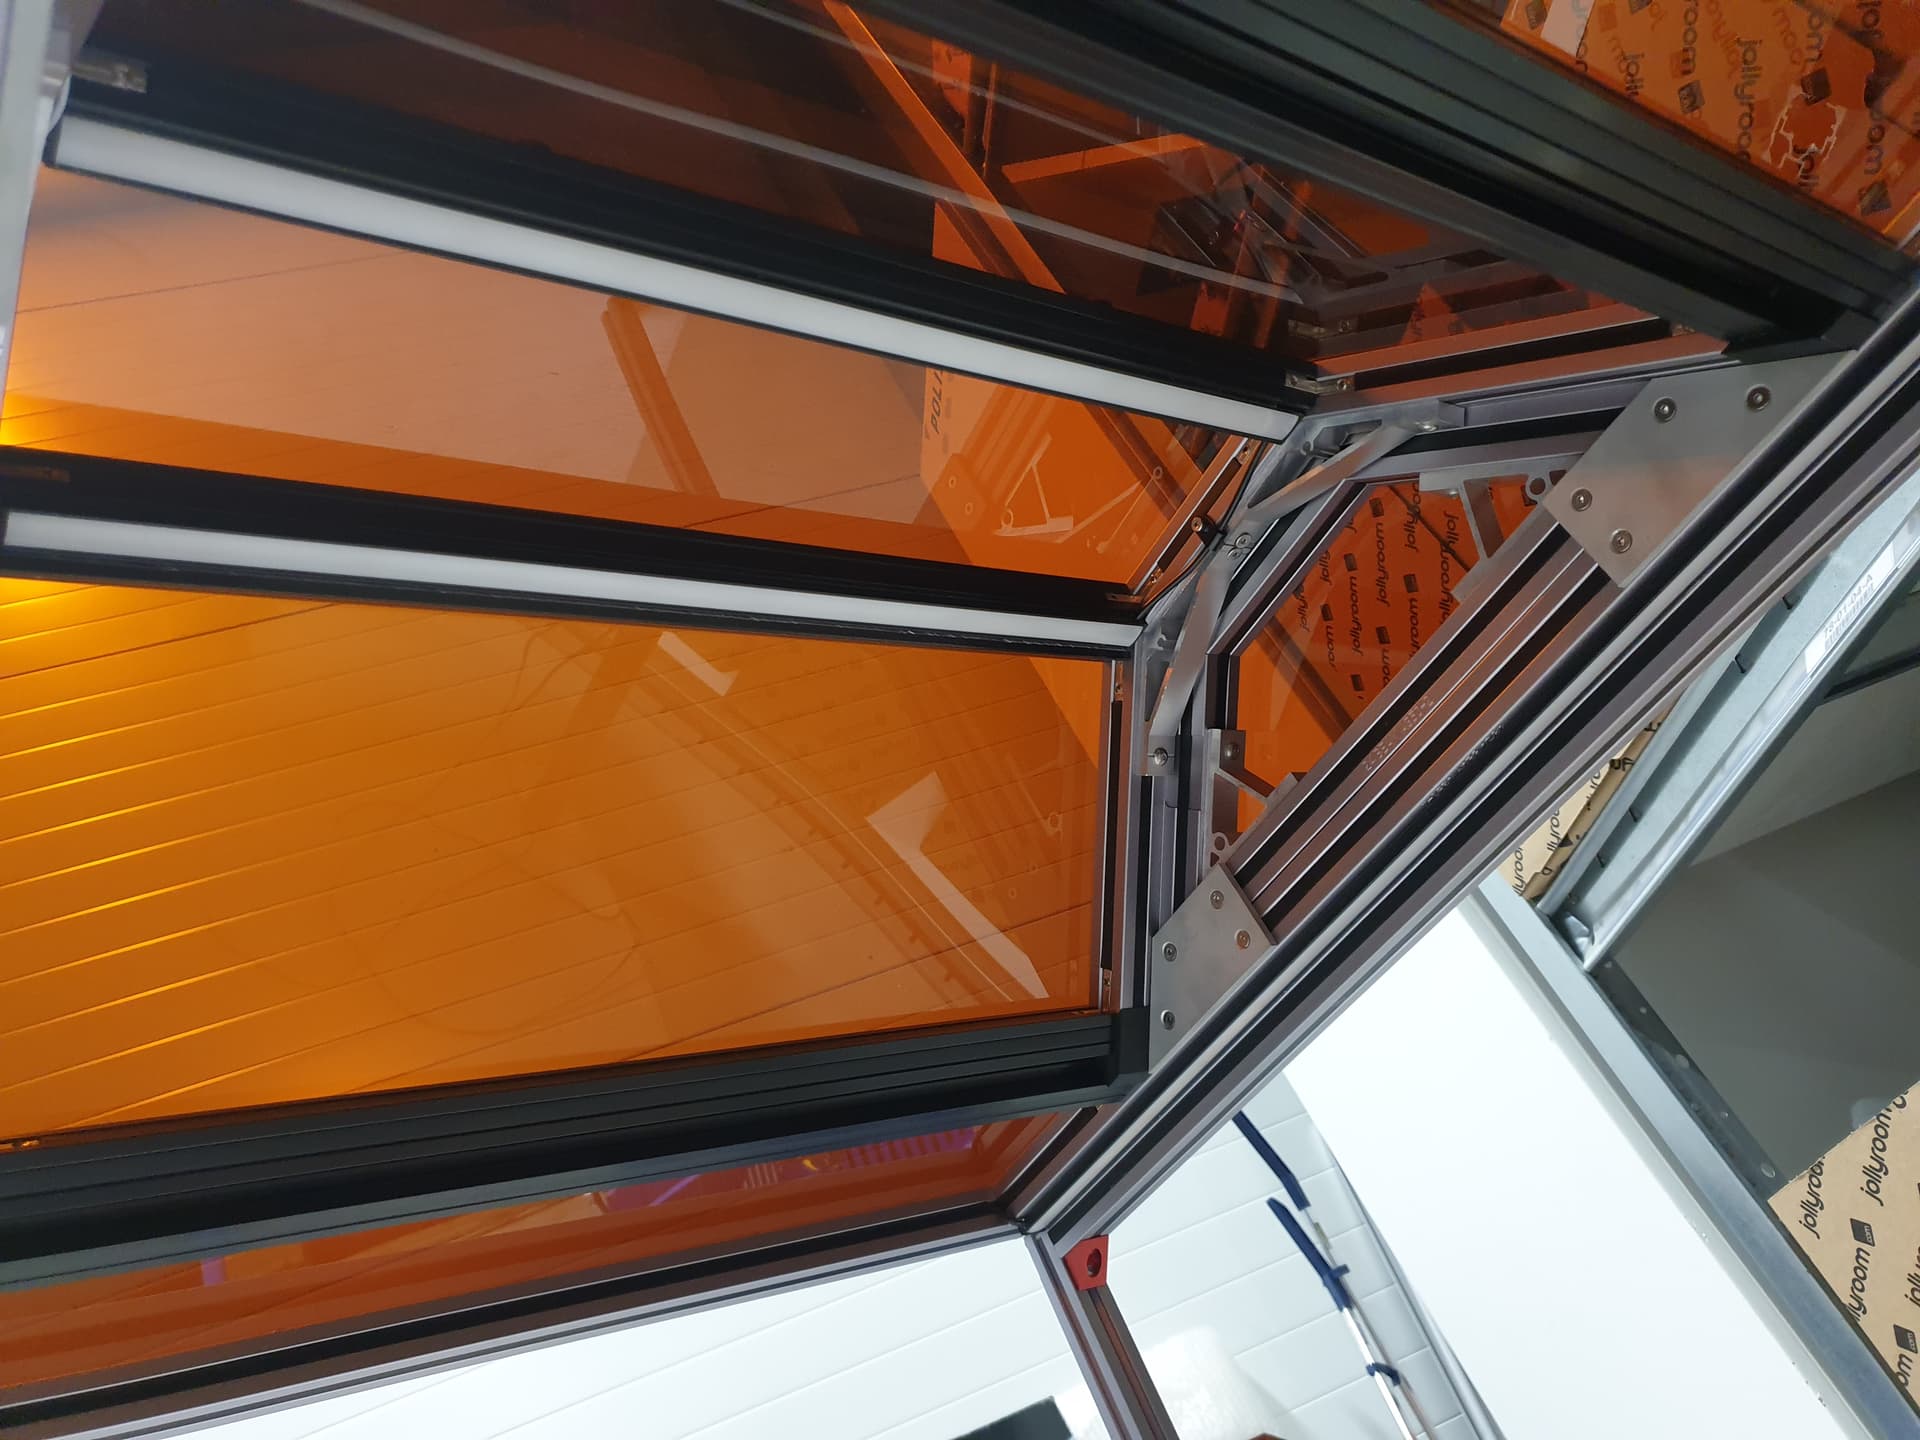
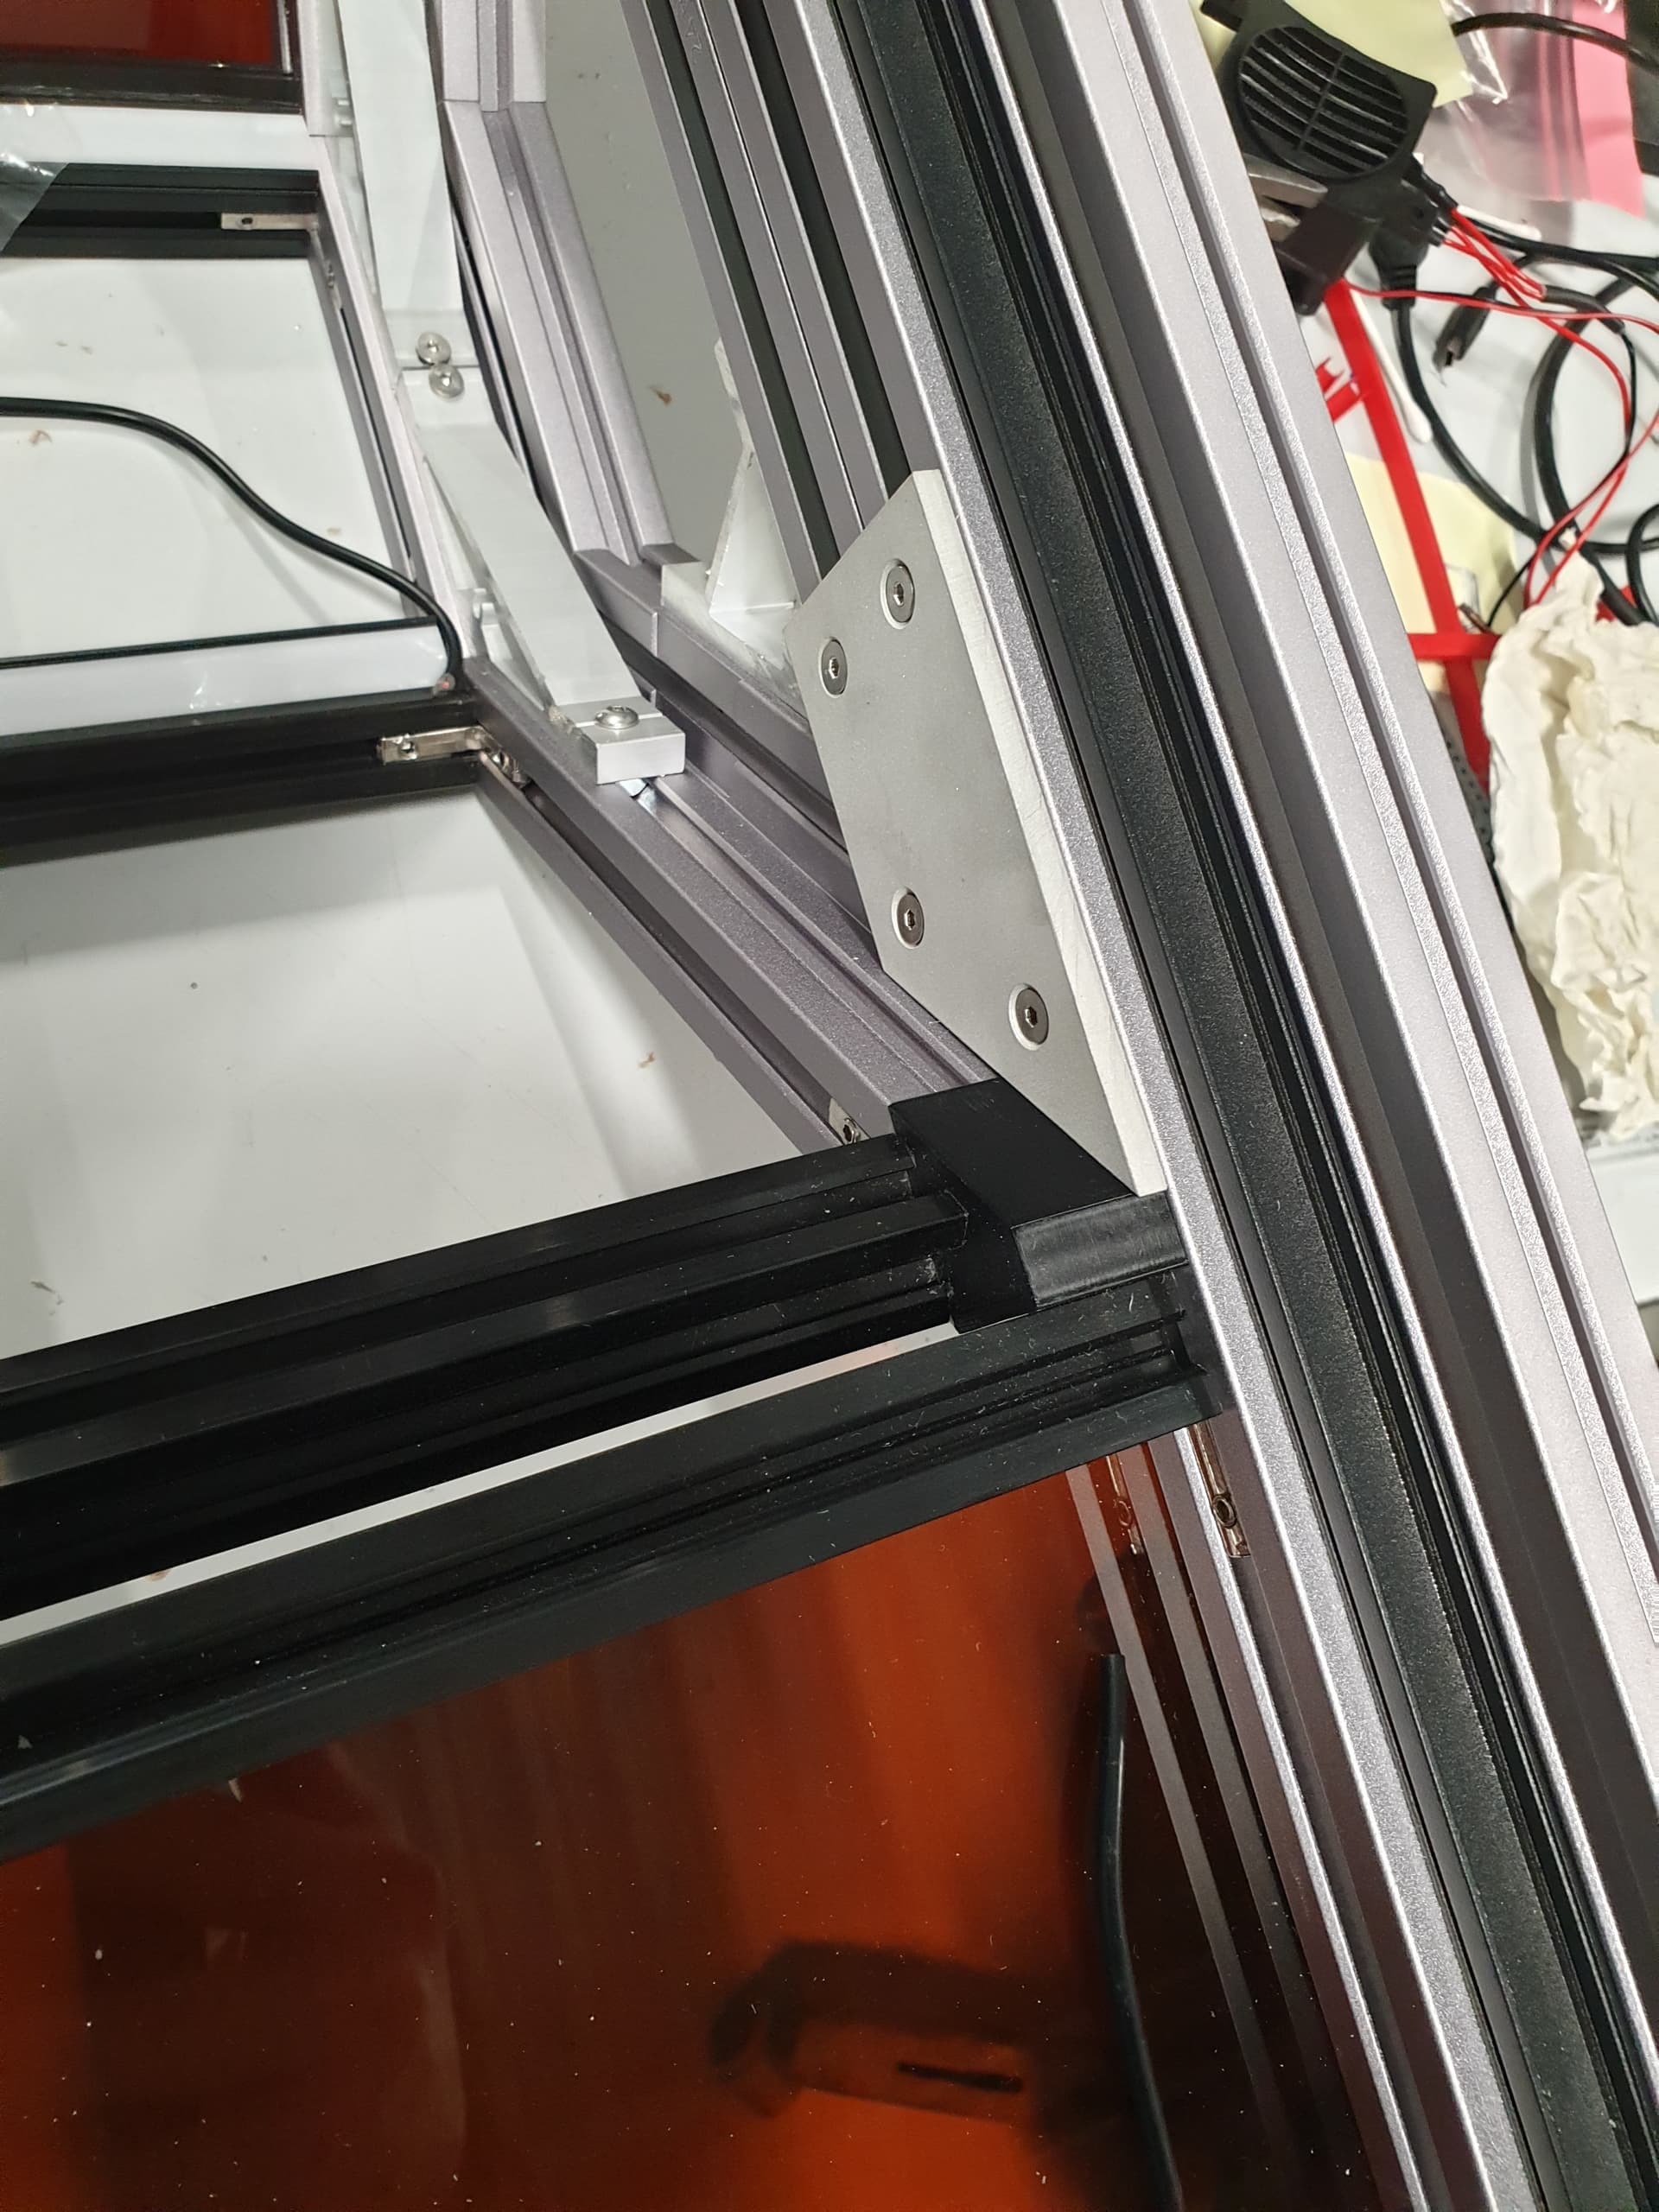
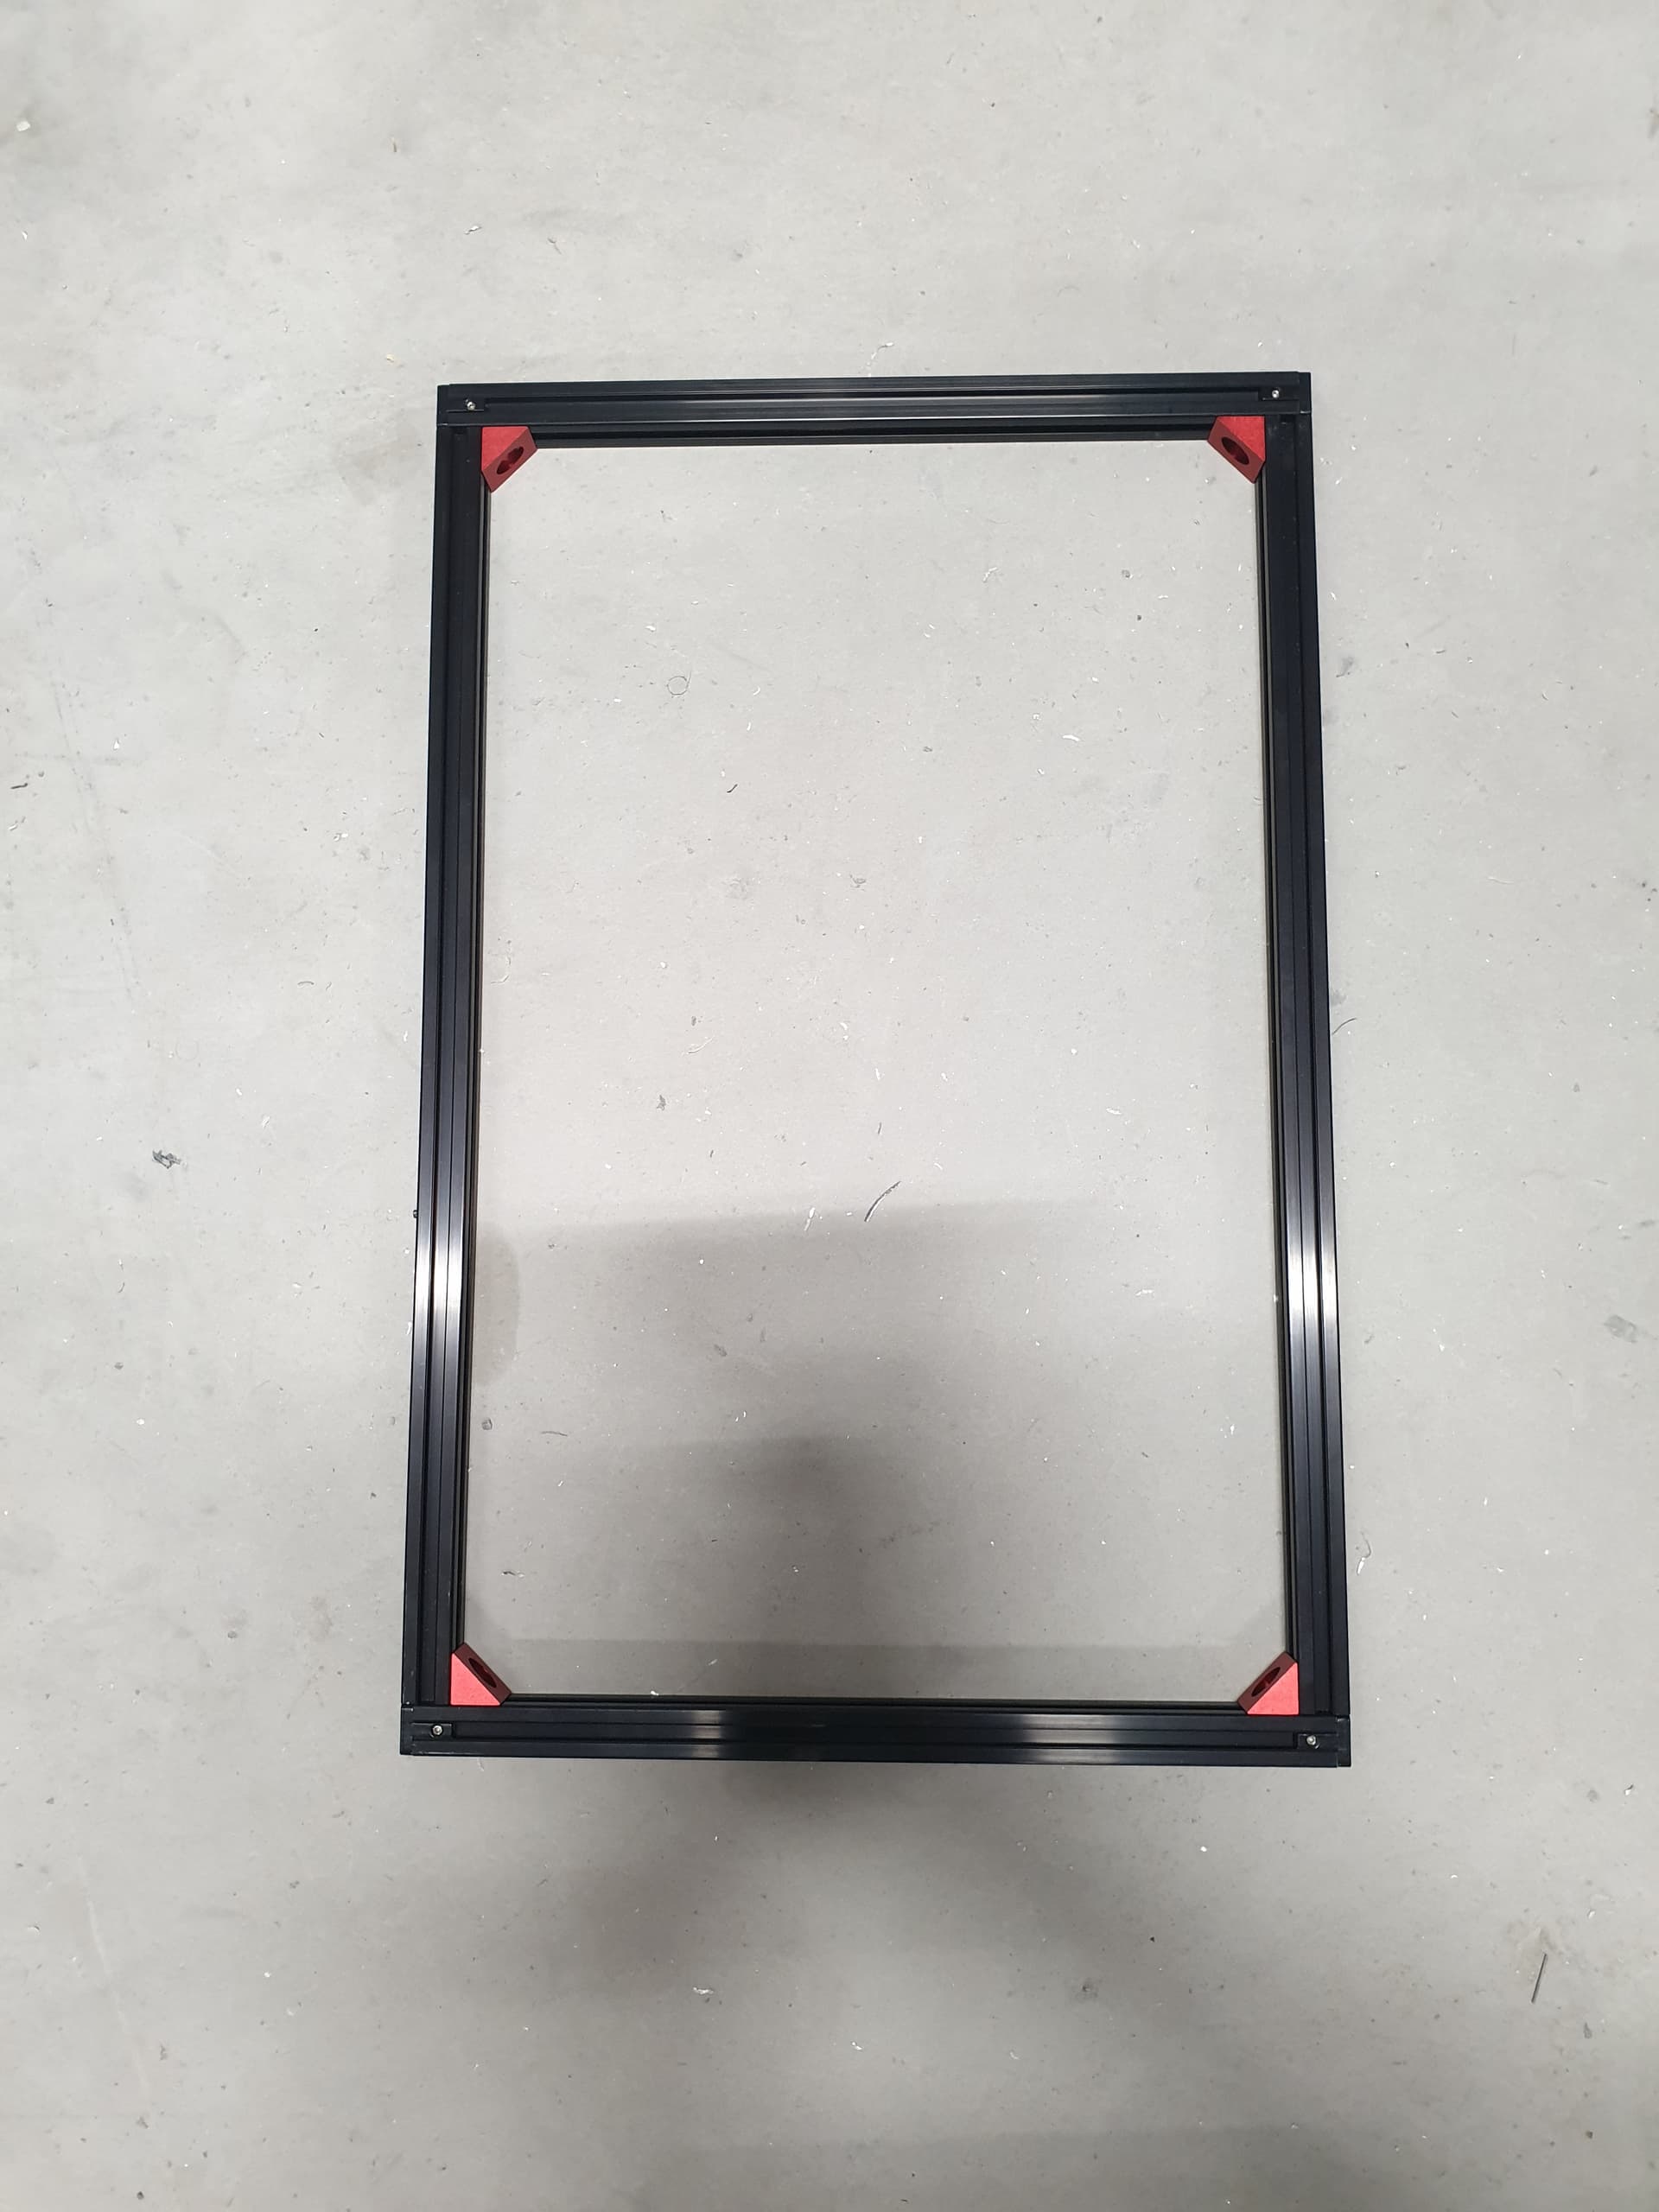
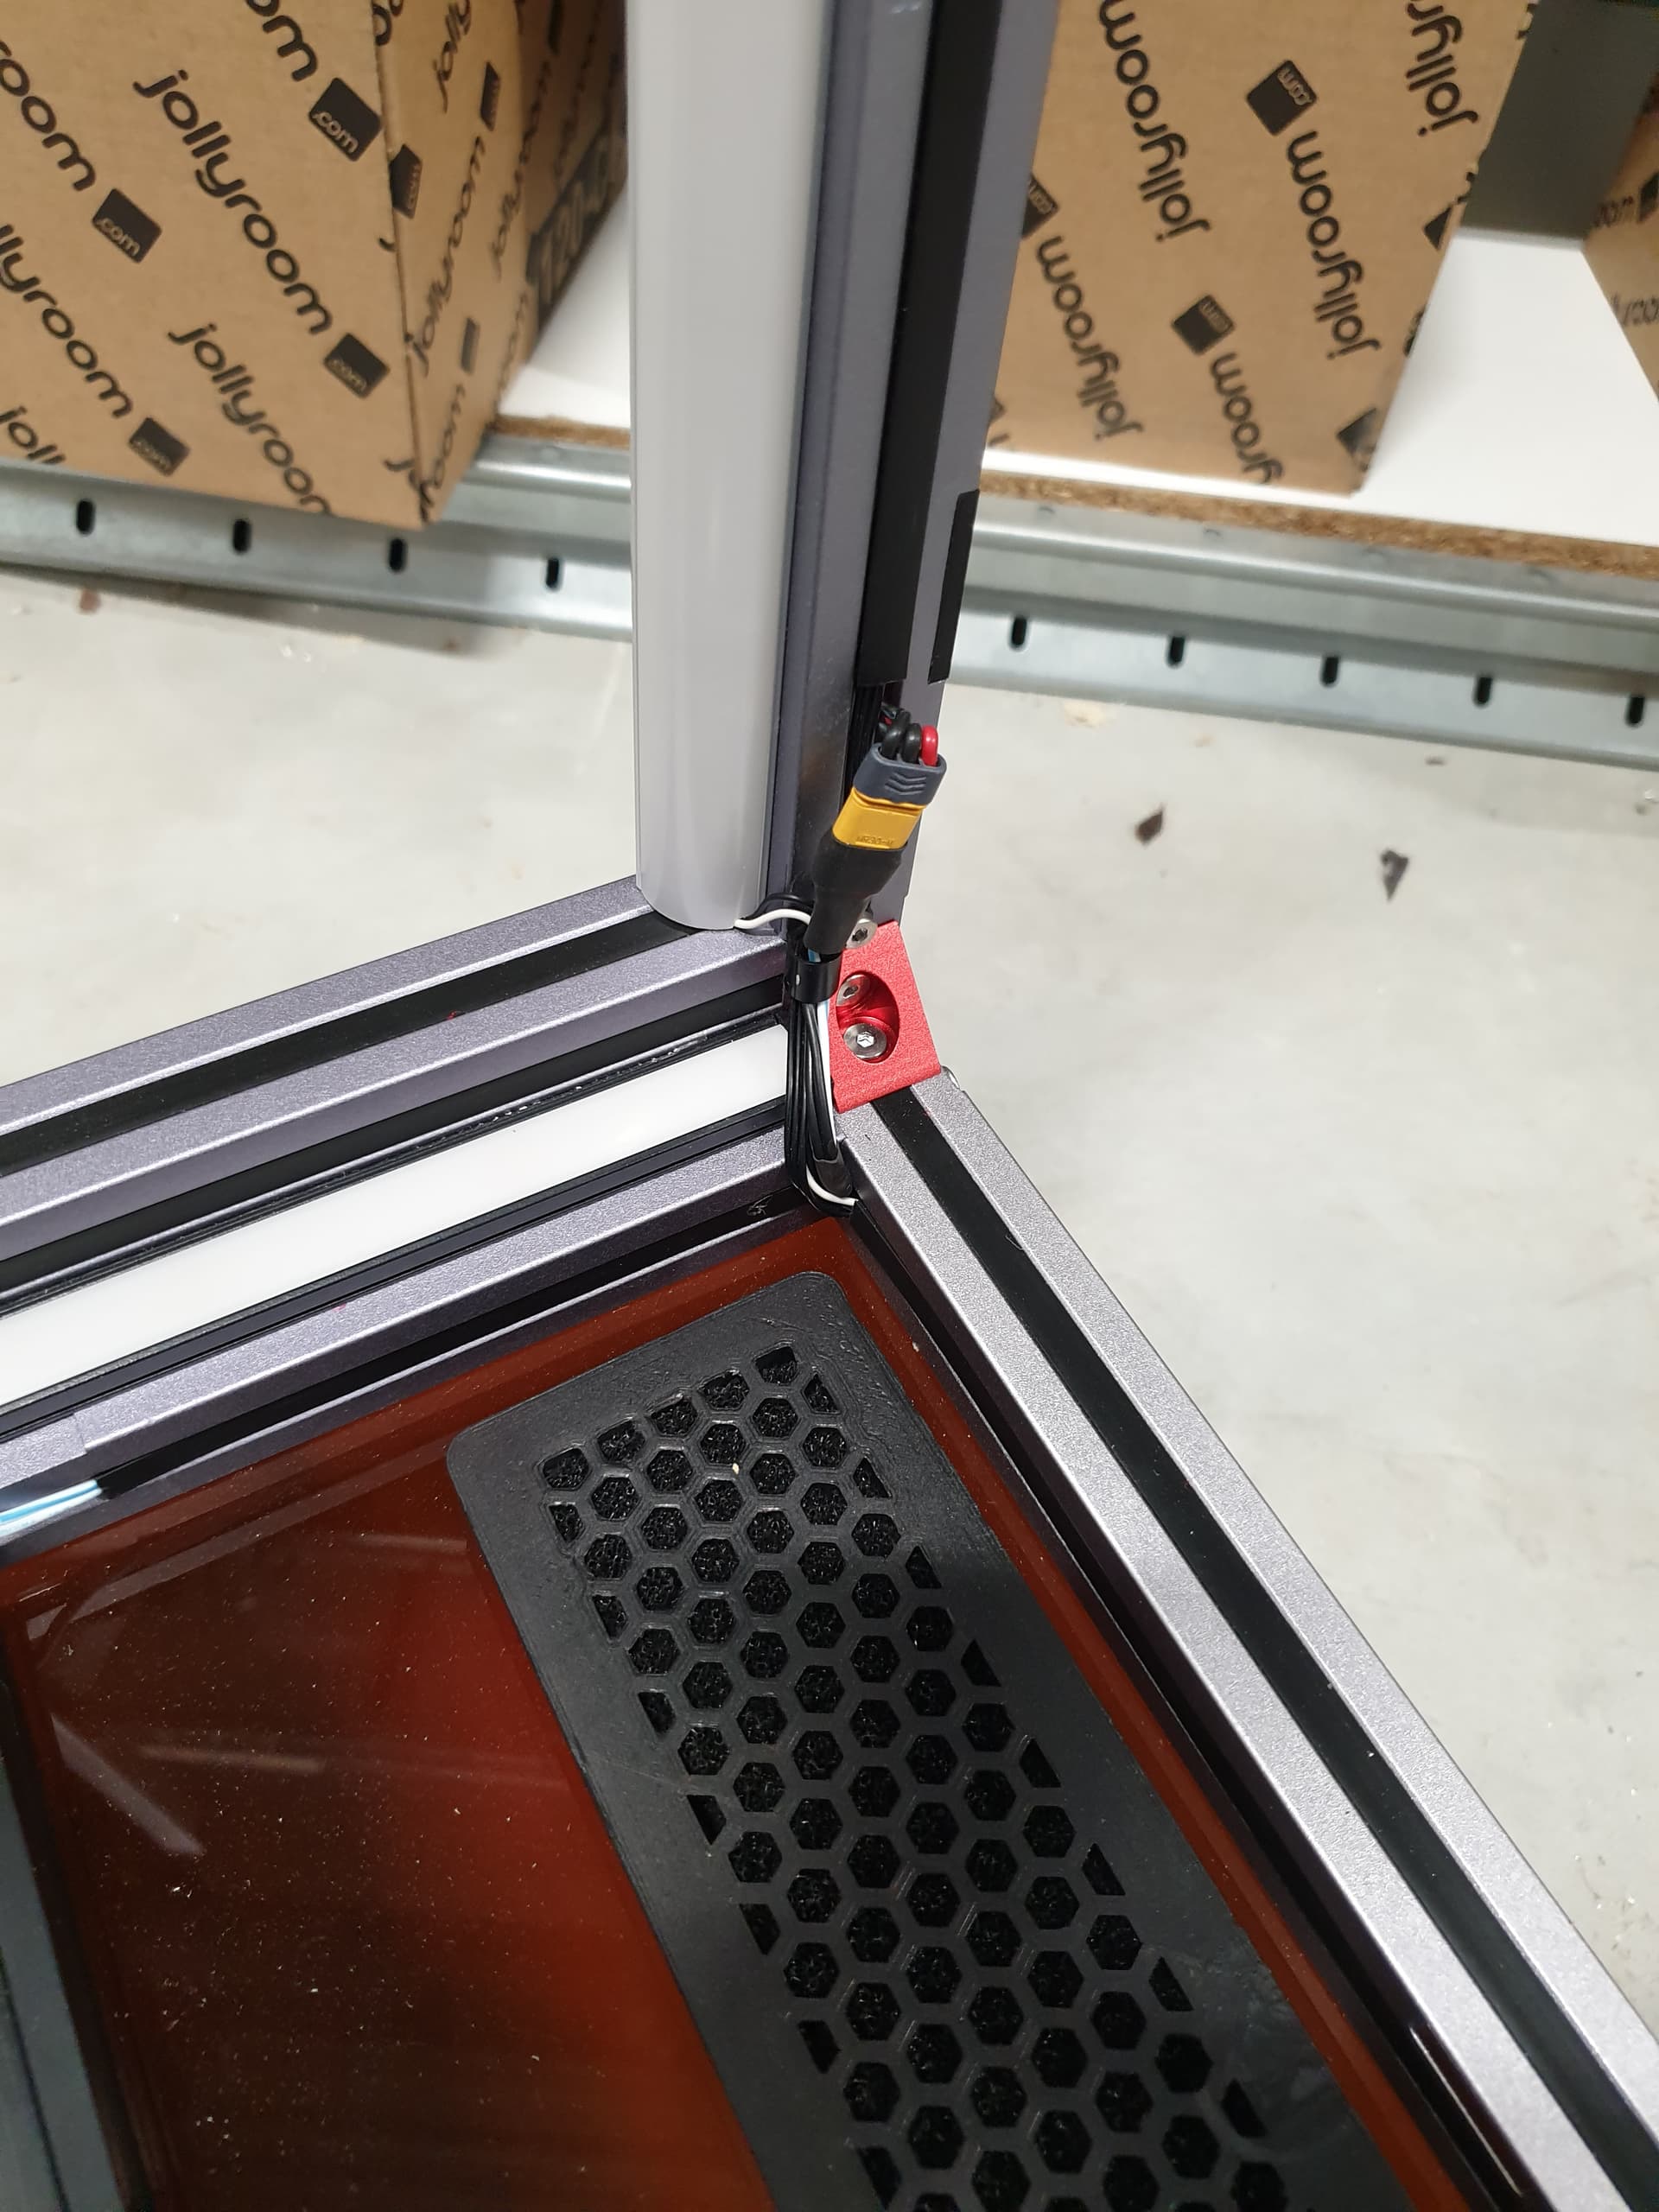
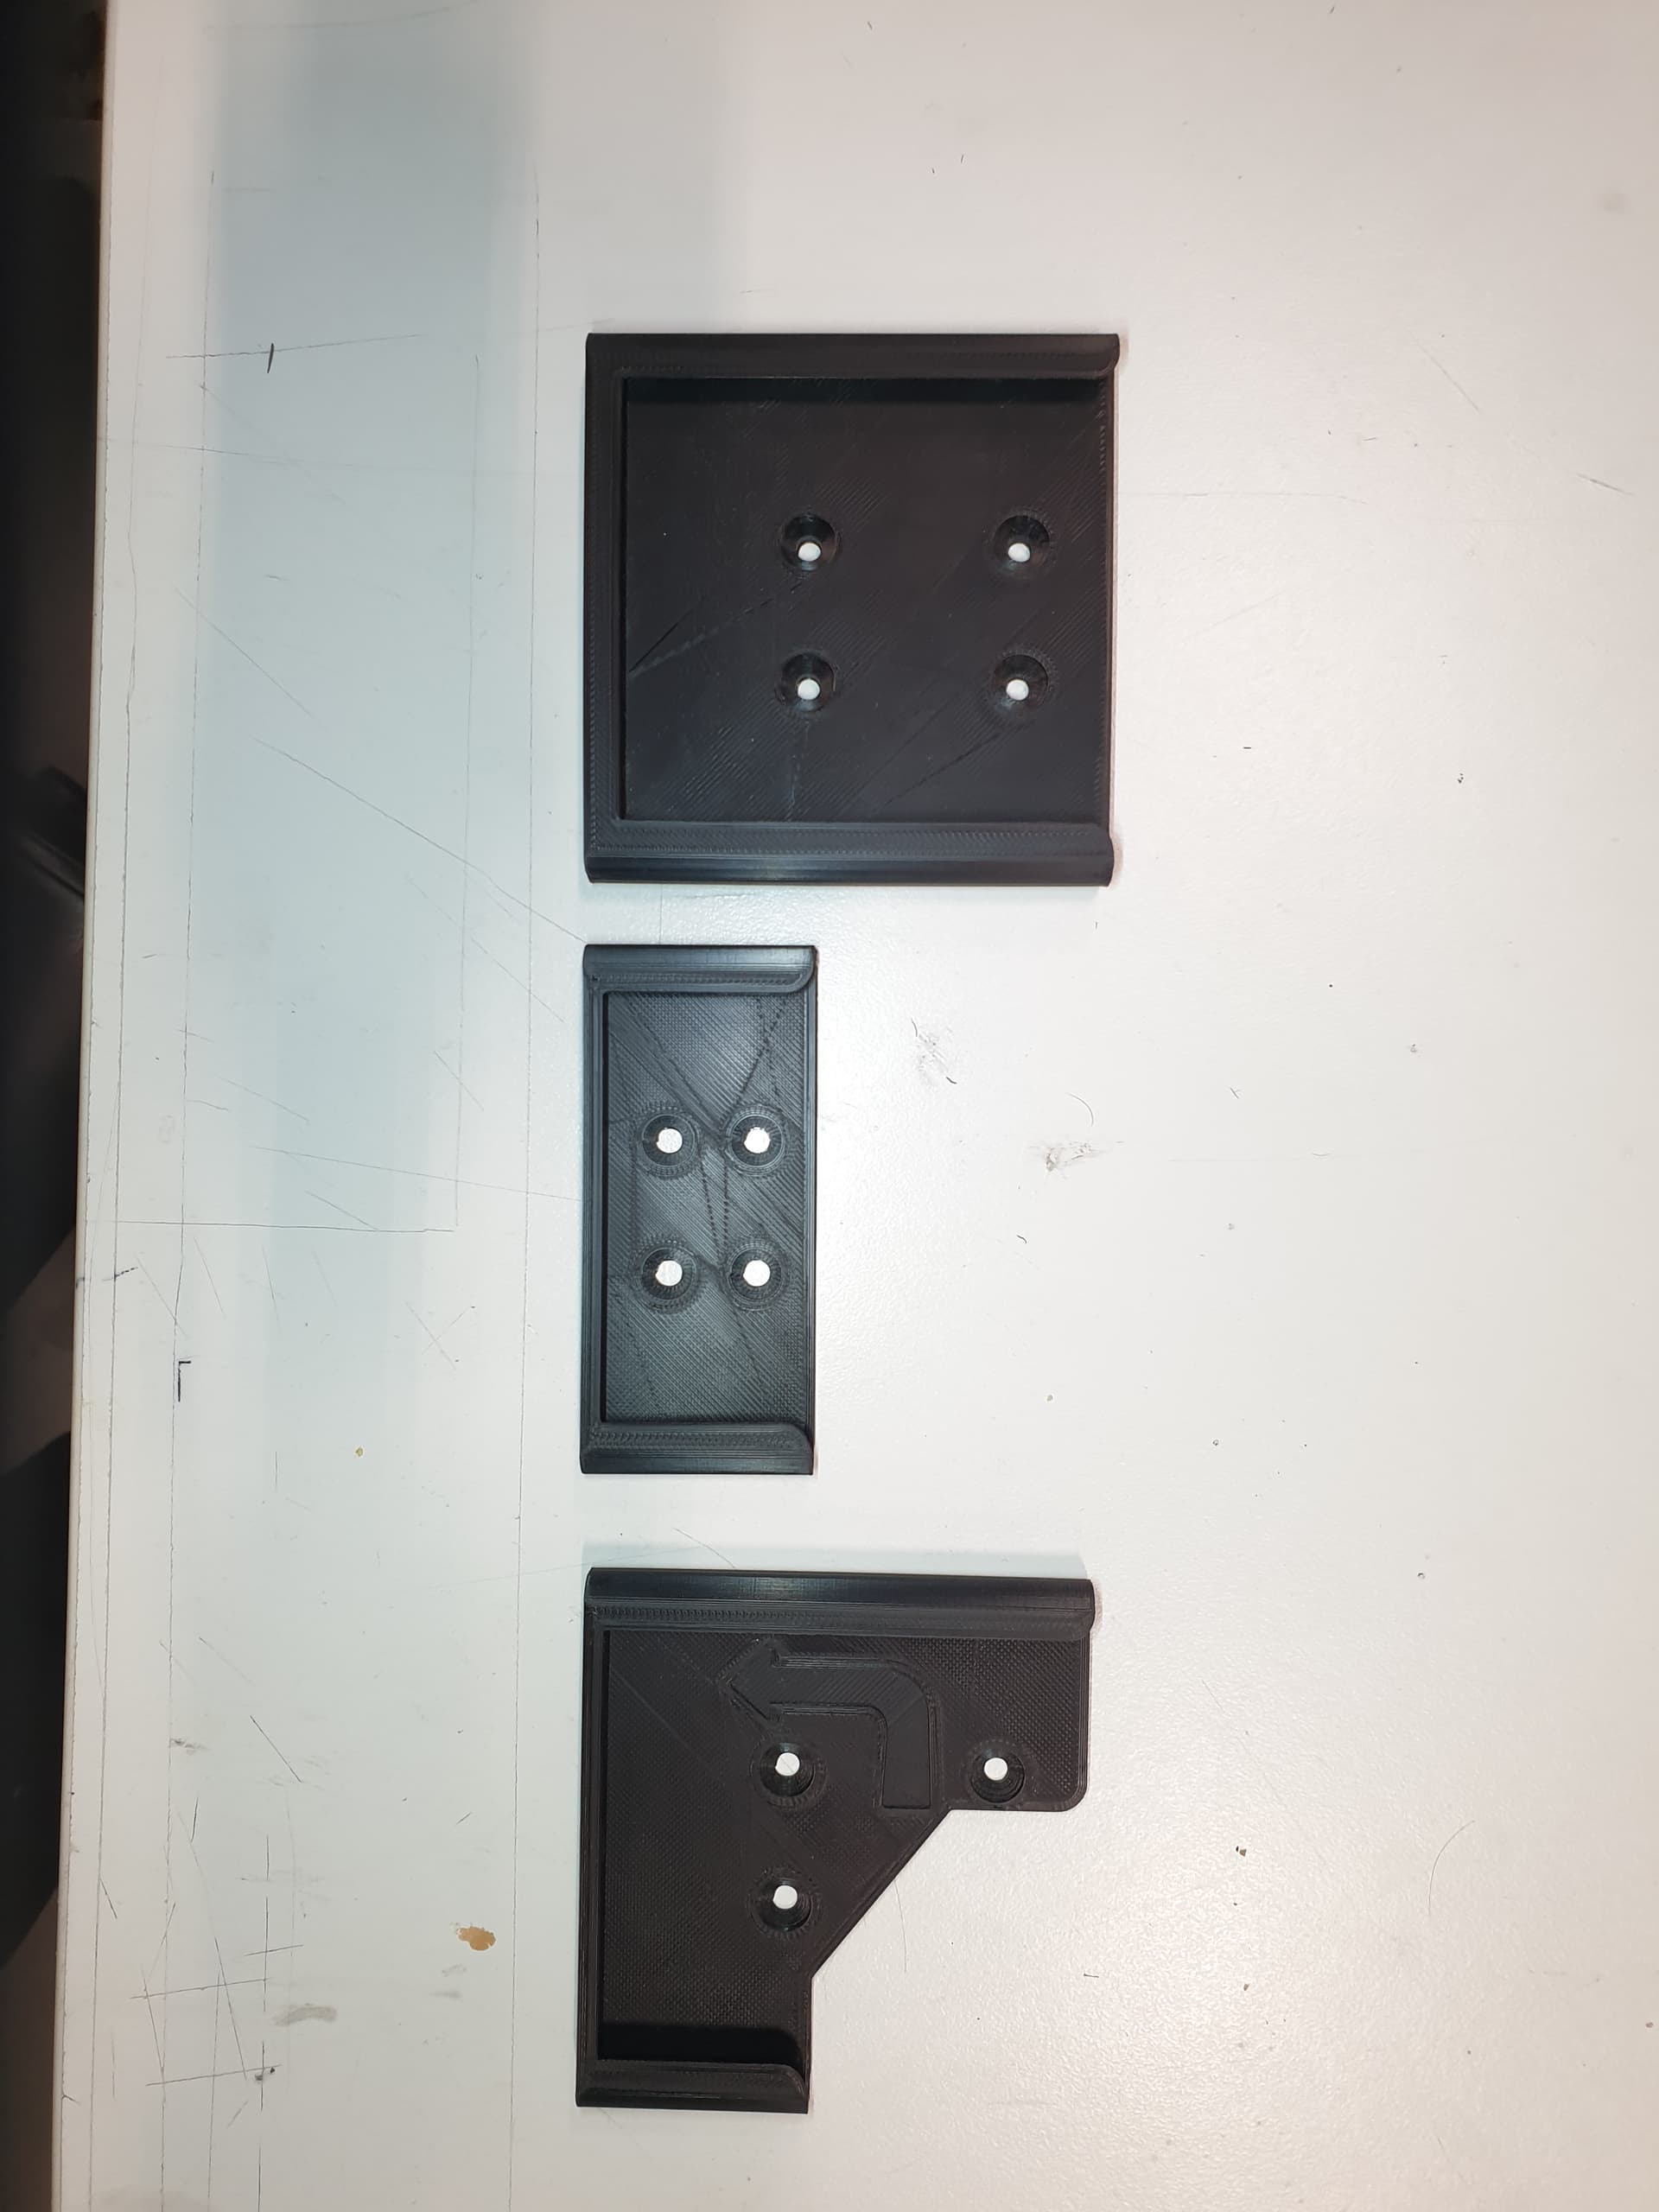
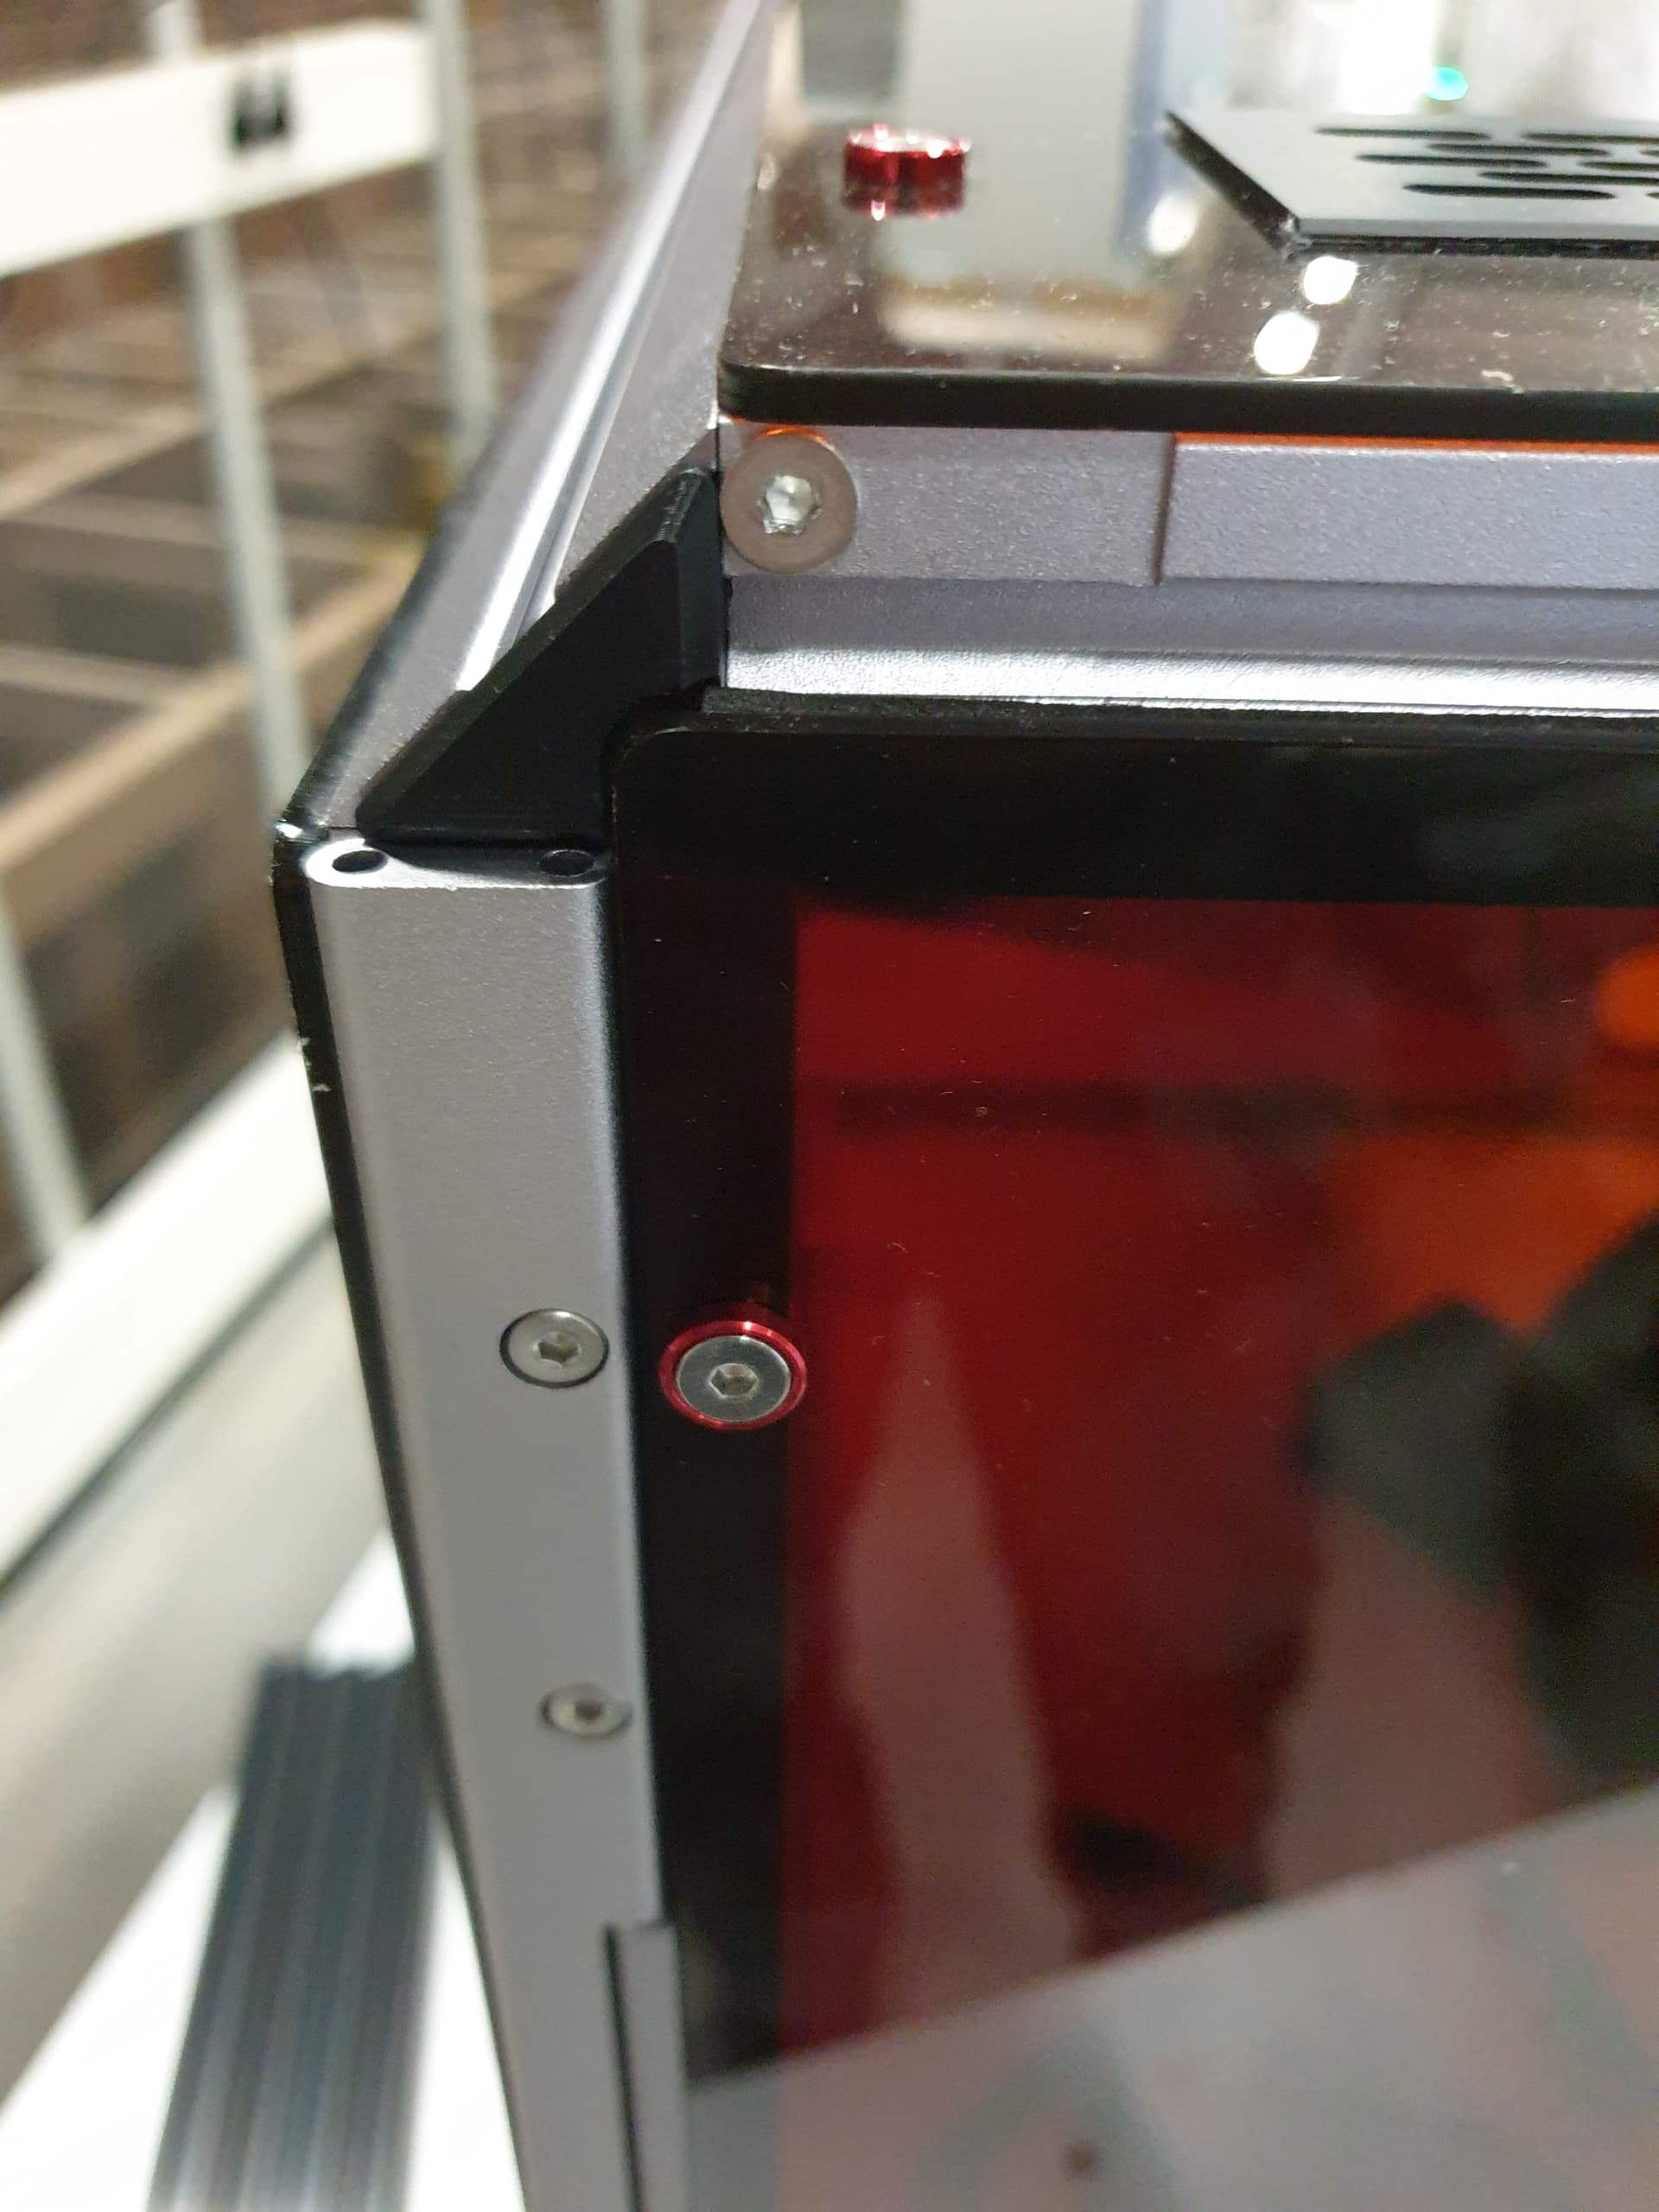
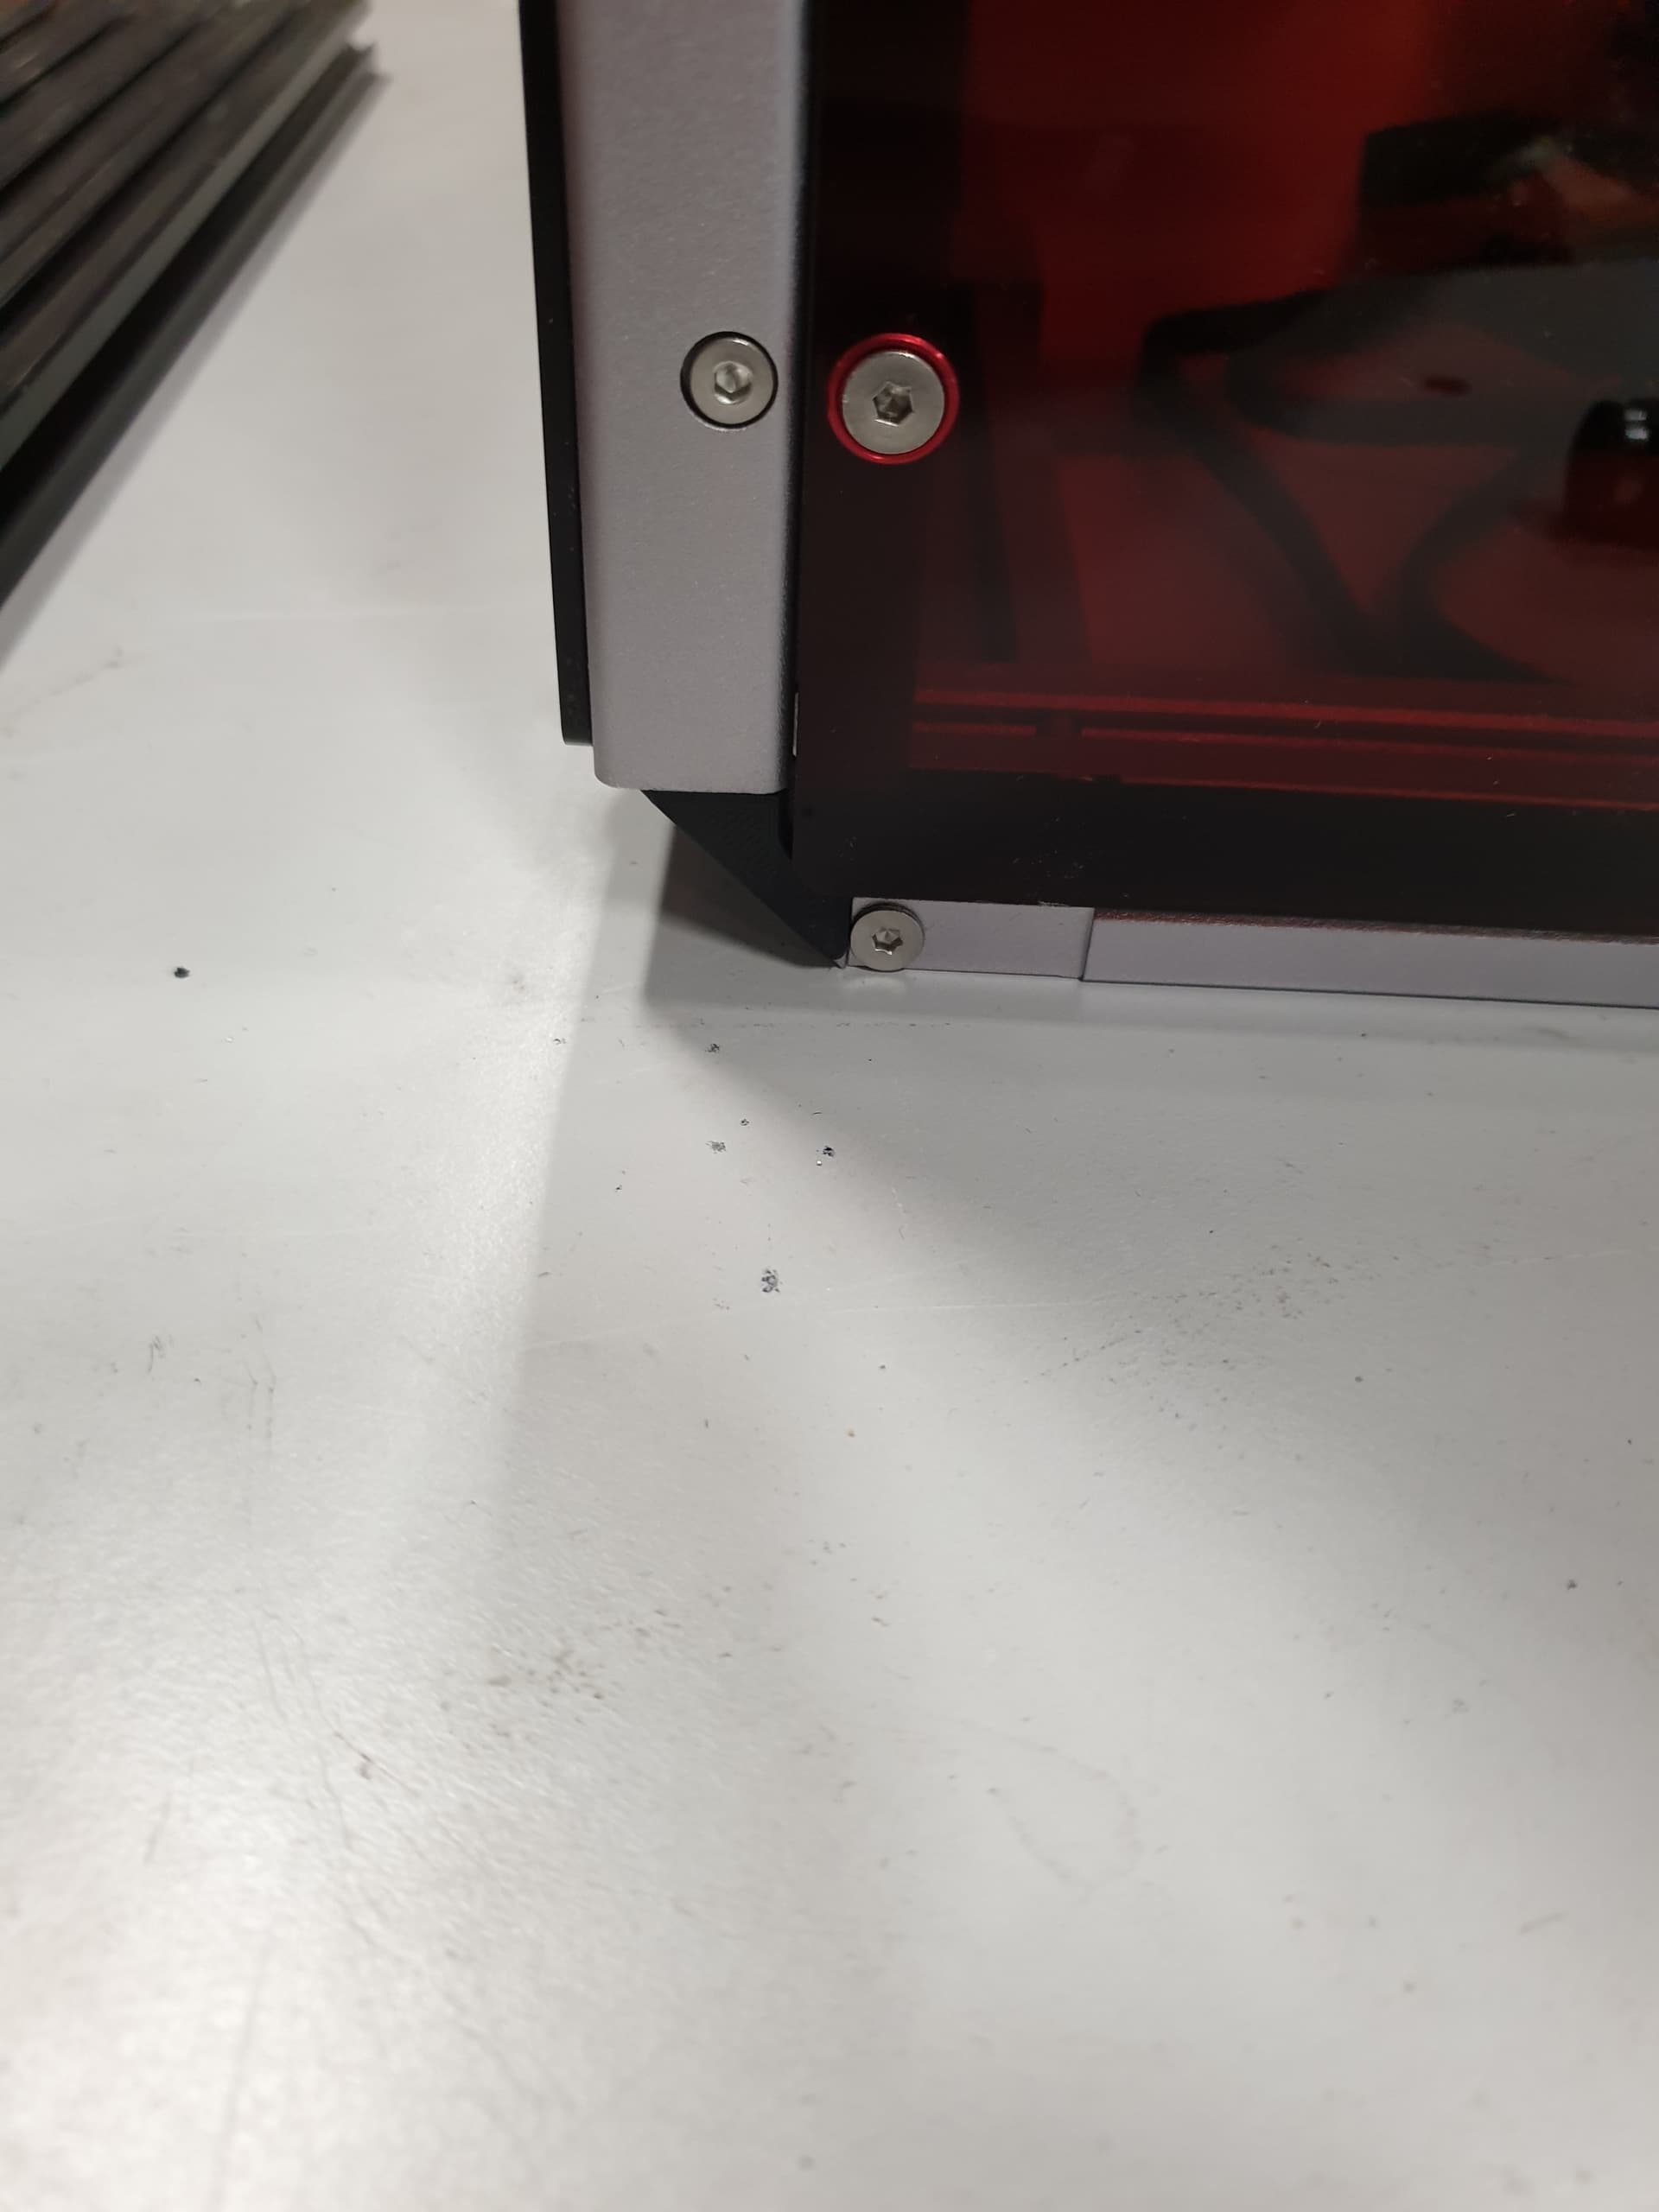
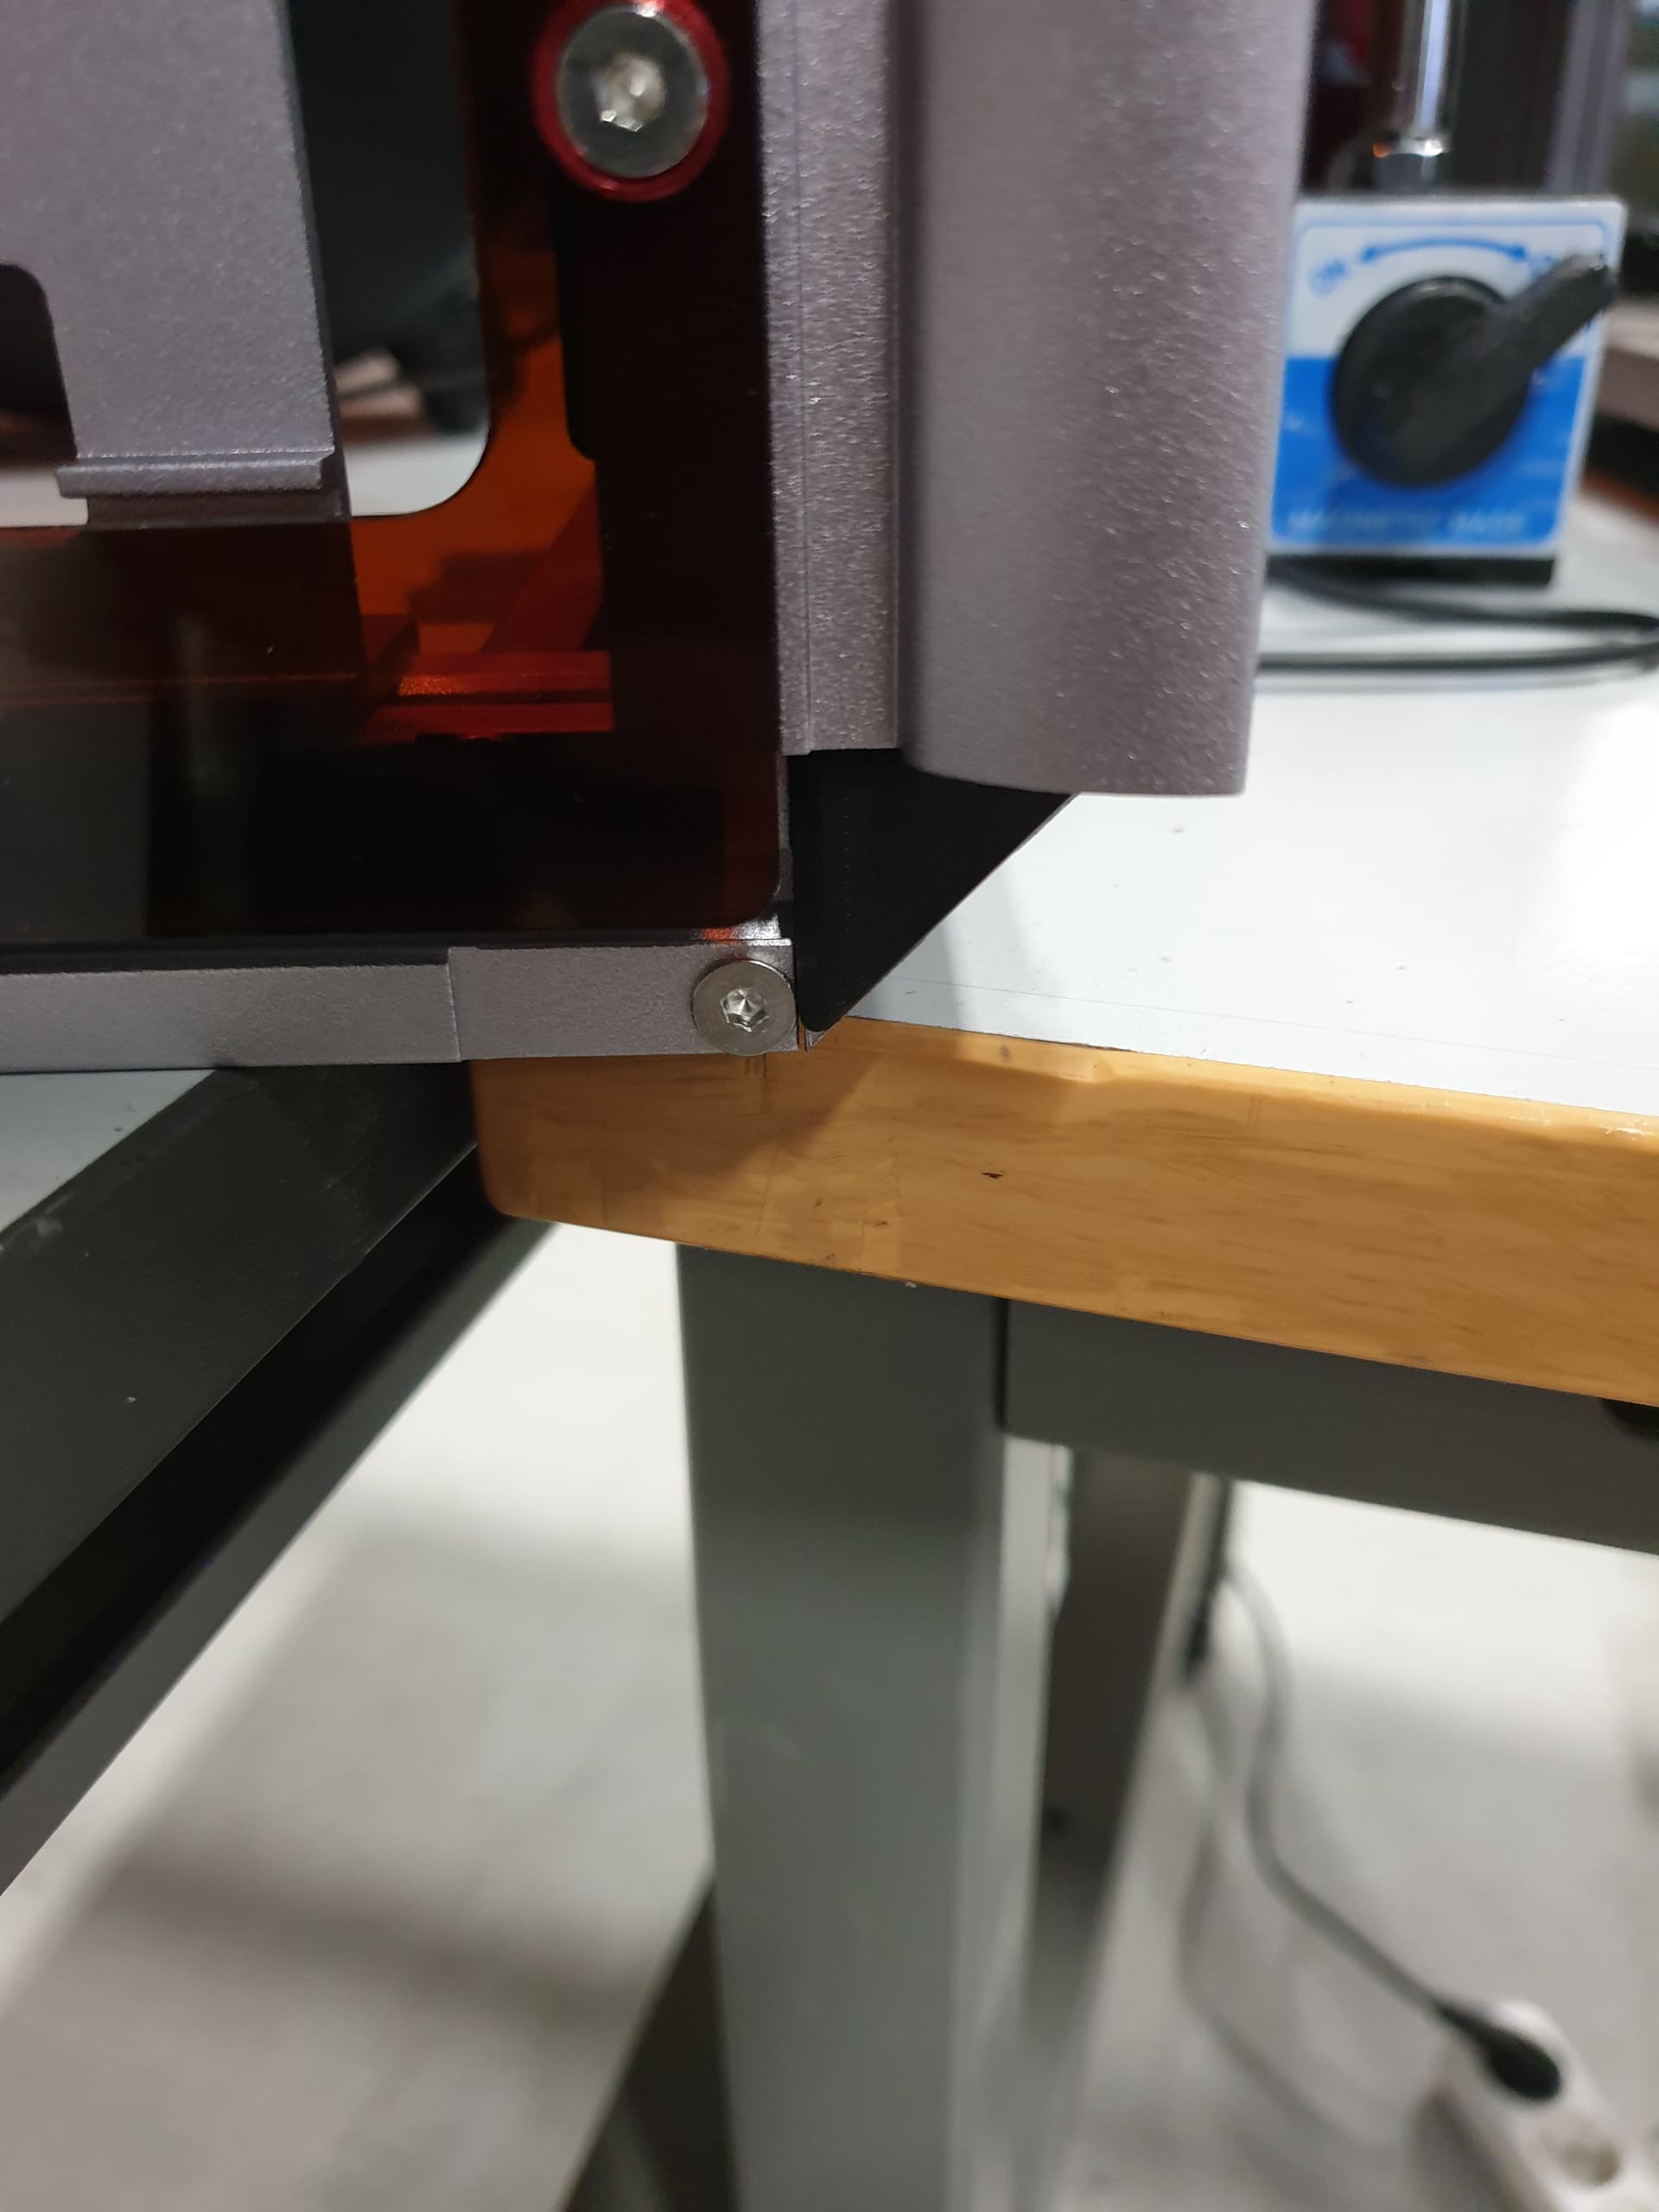
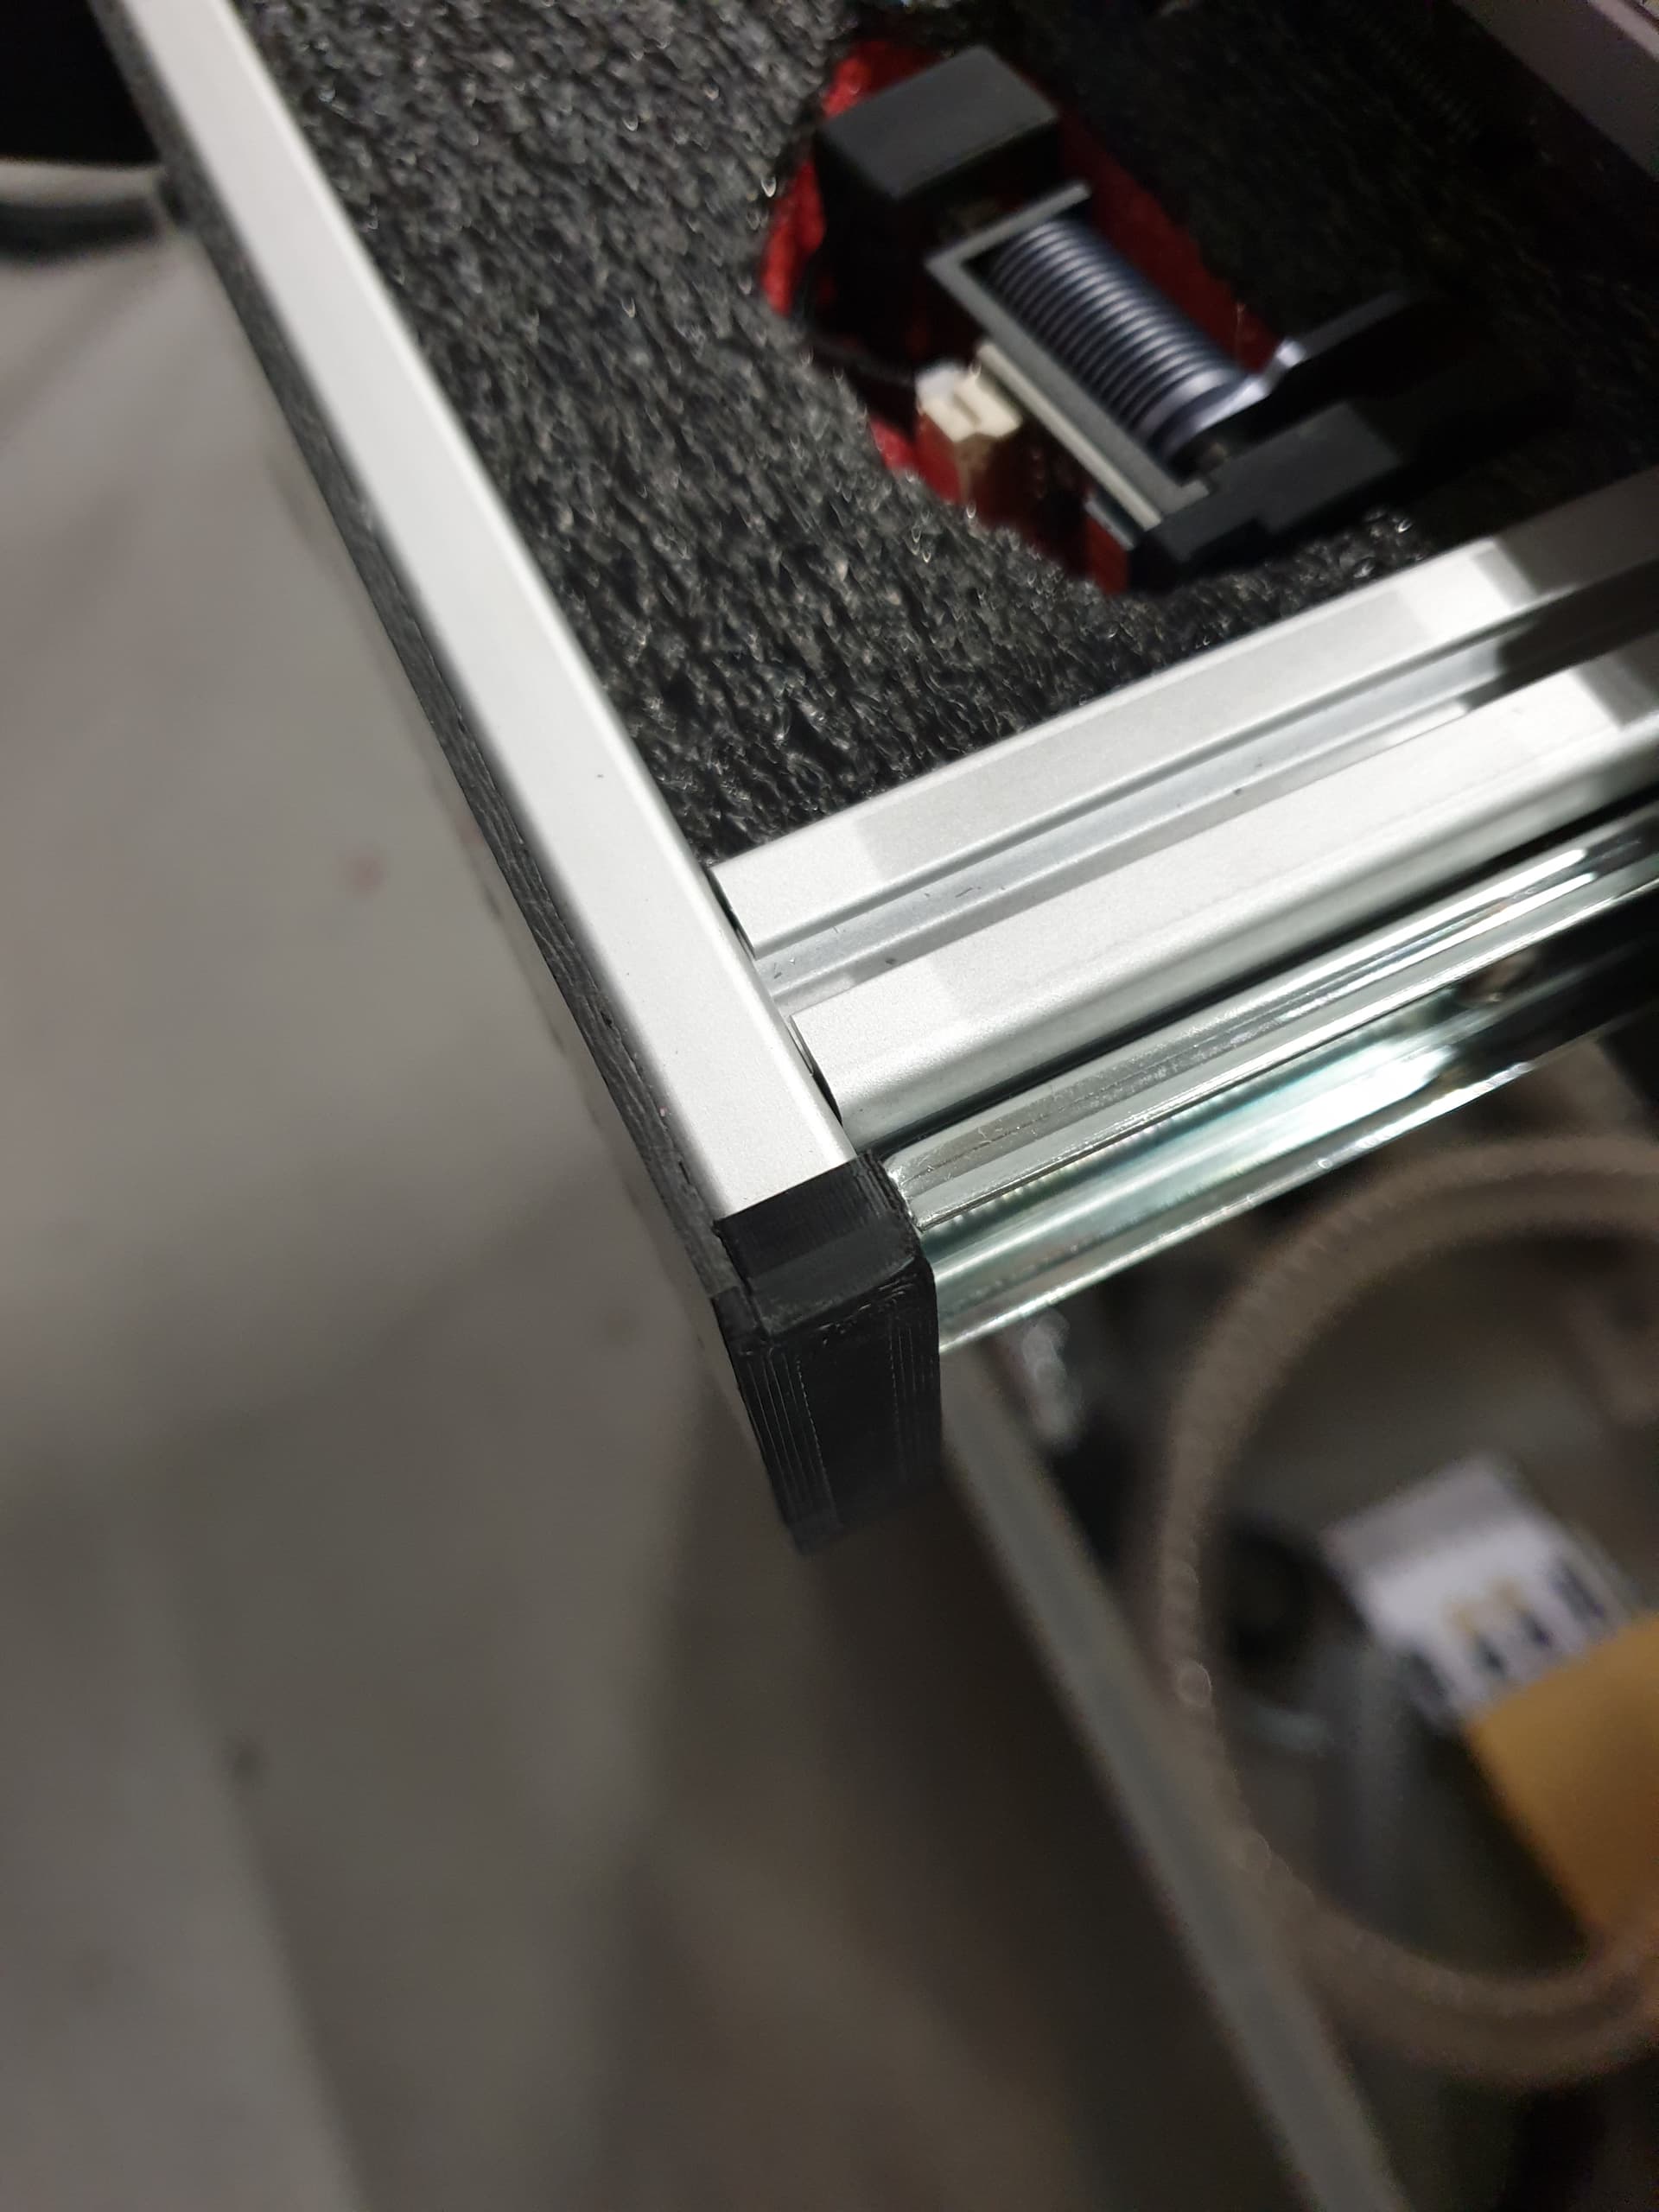
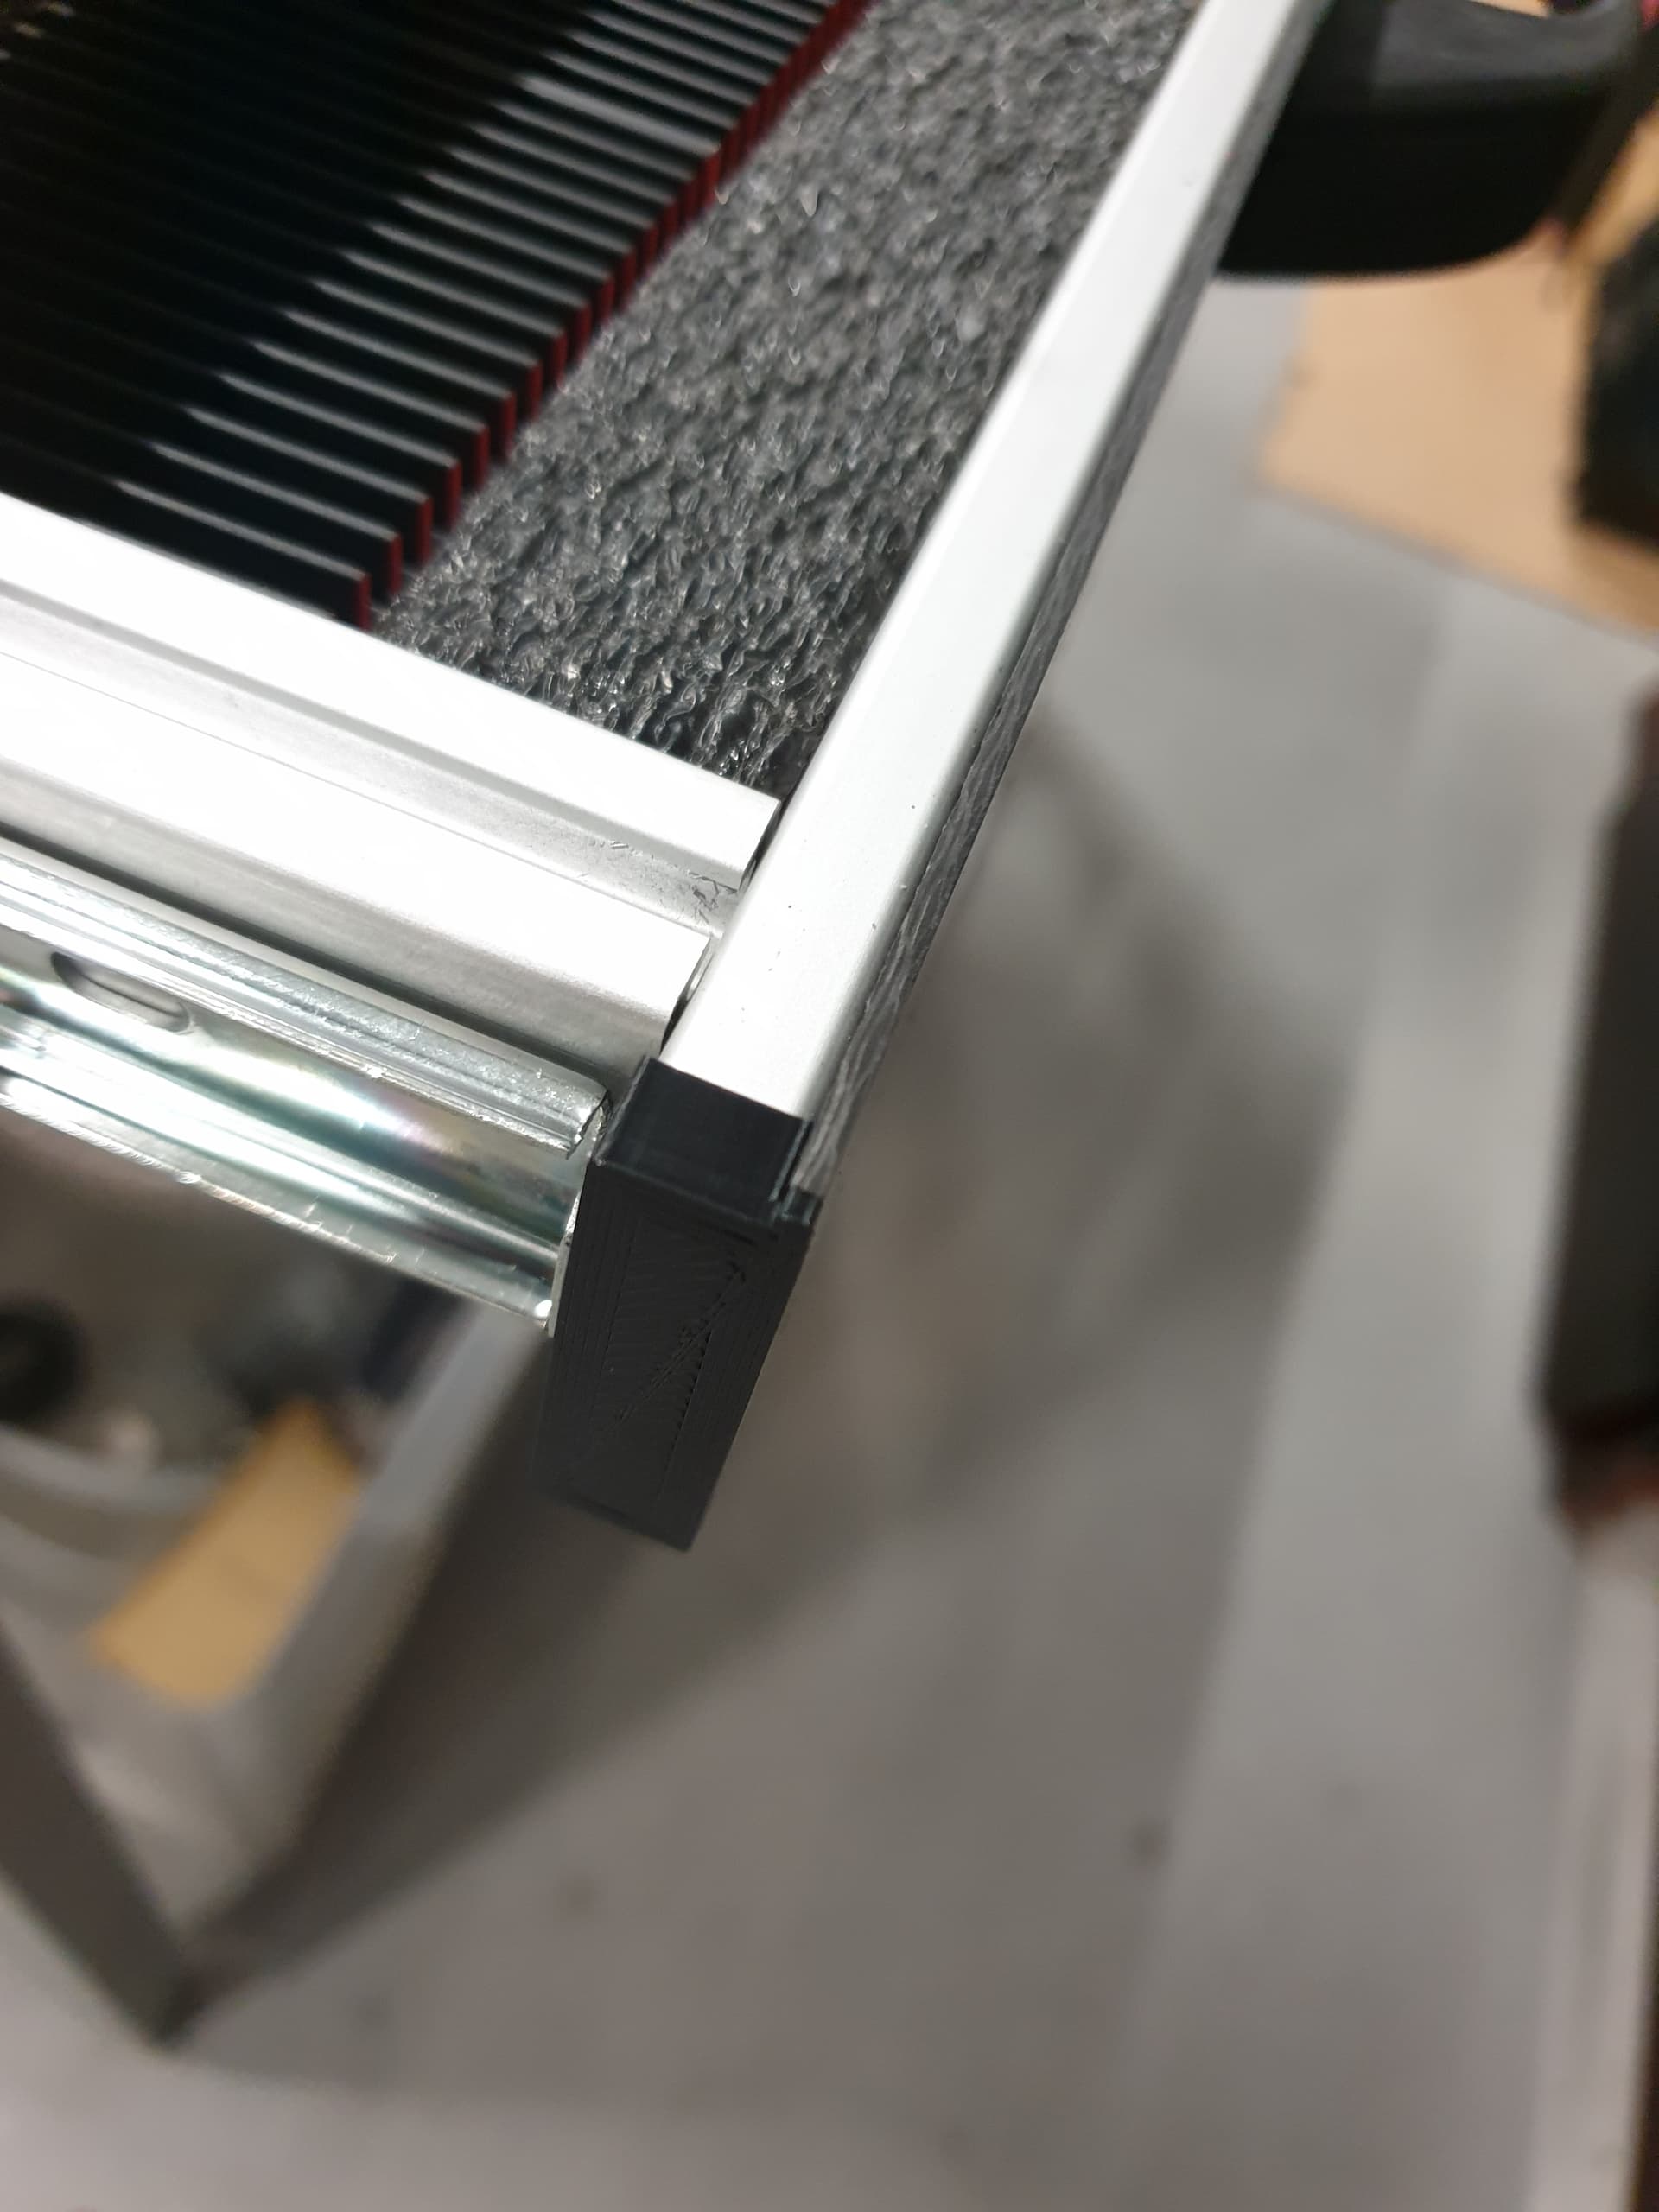
I found some very clever person had made some covers for the corners so i printed those off and added them as well:


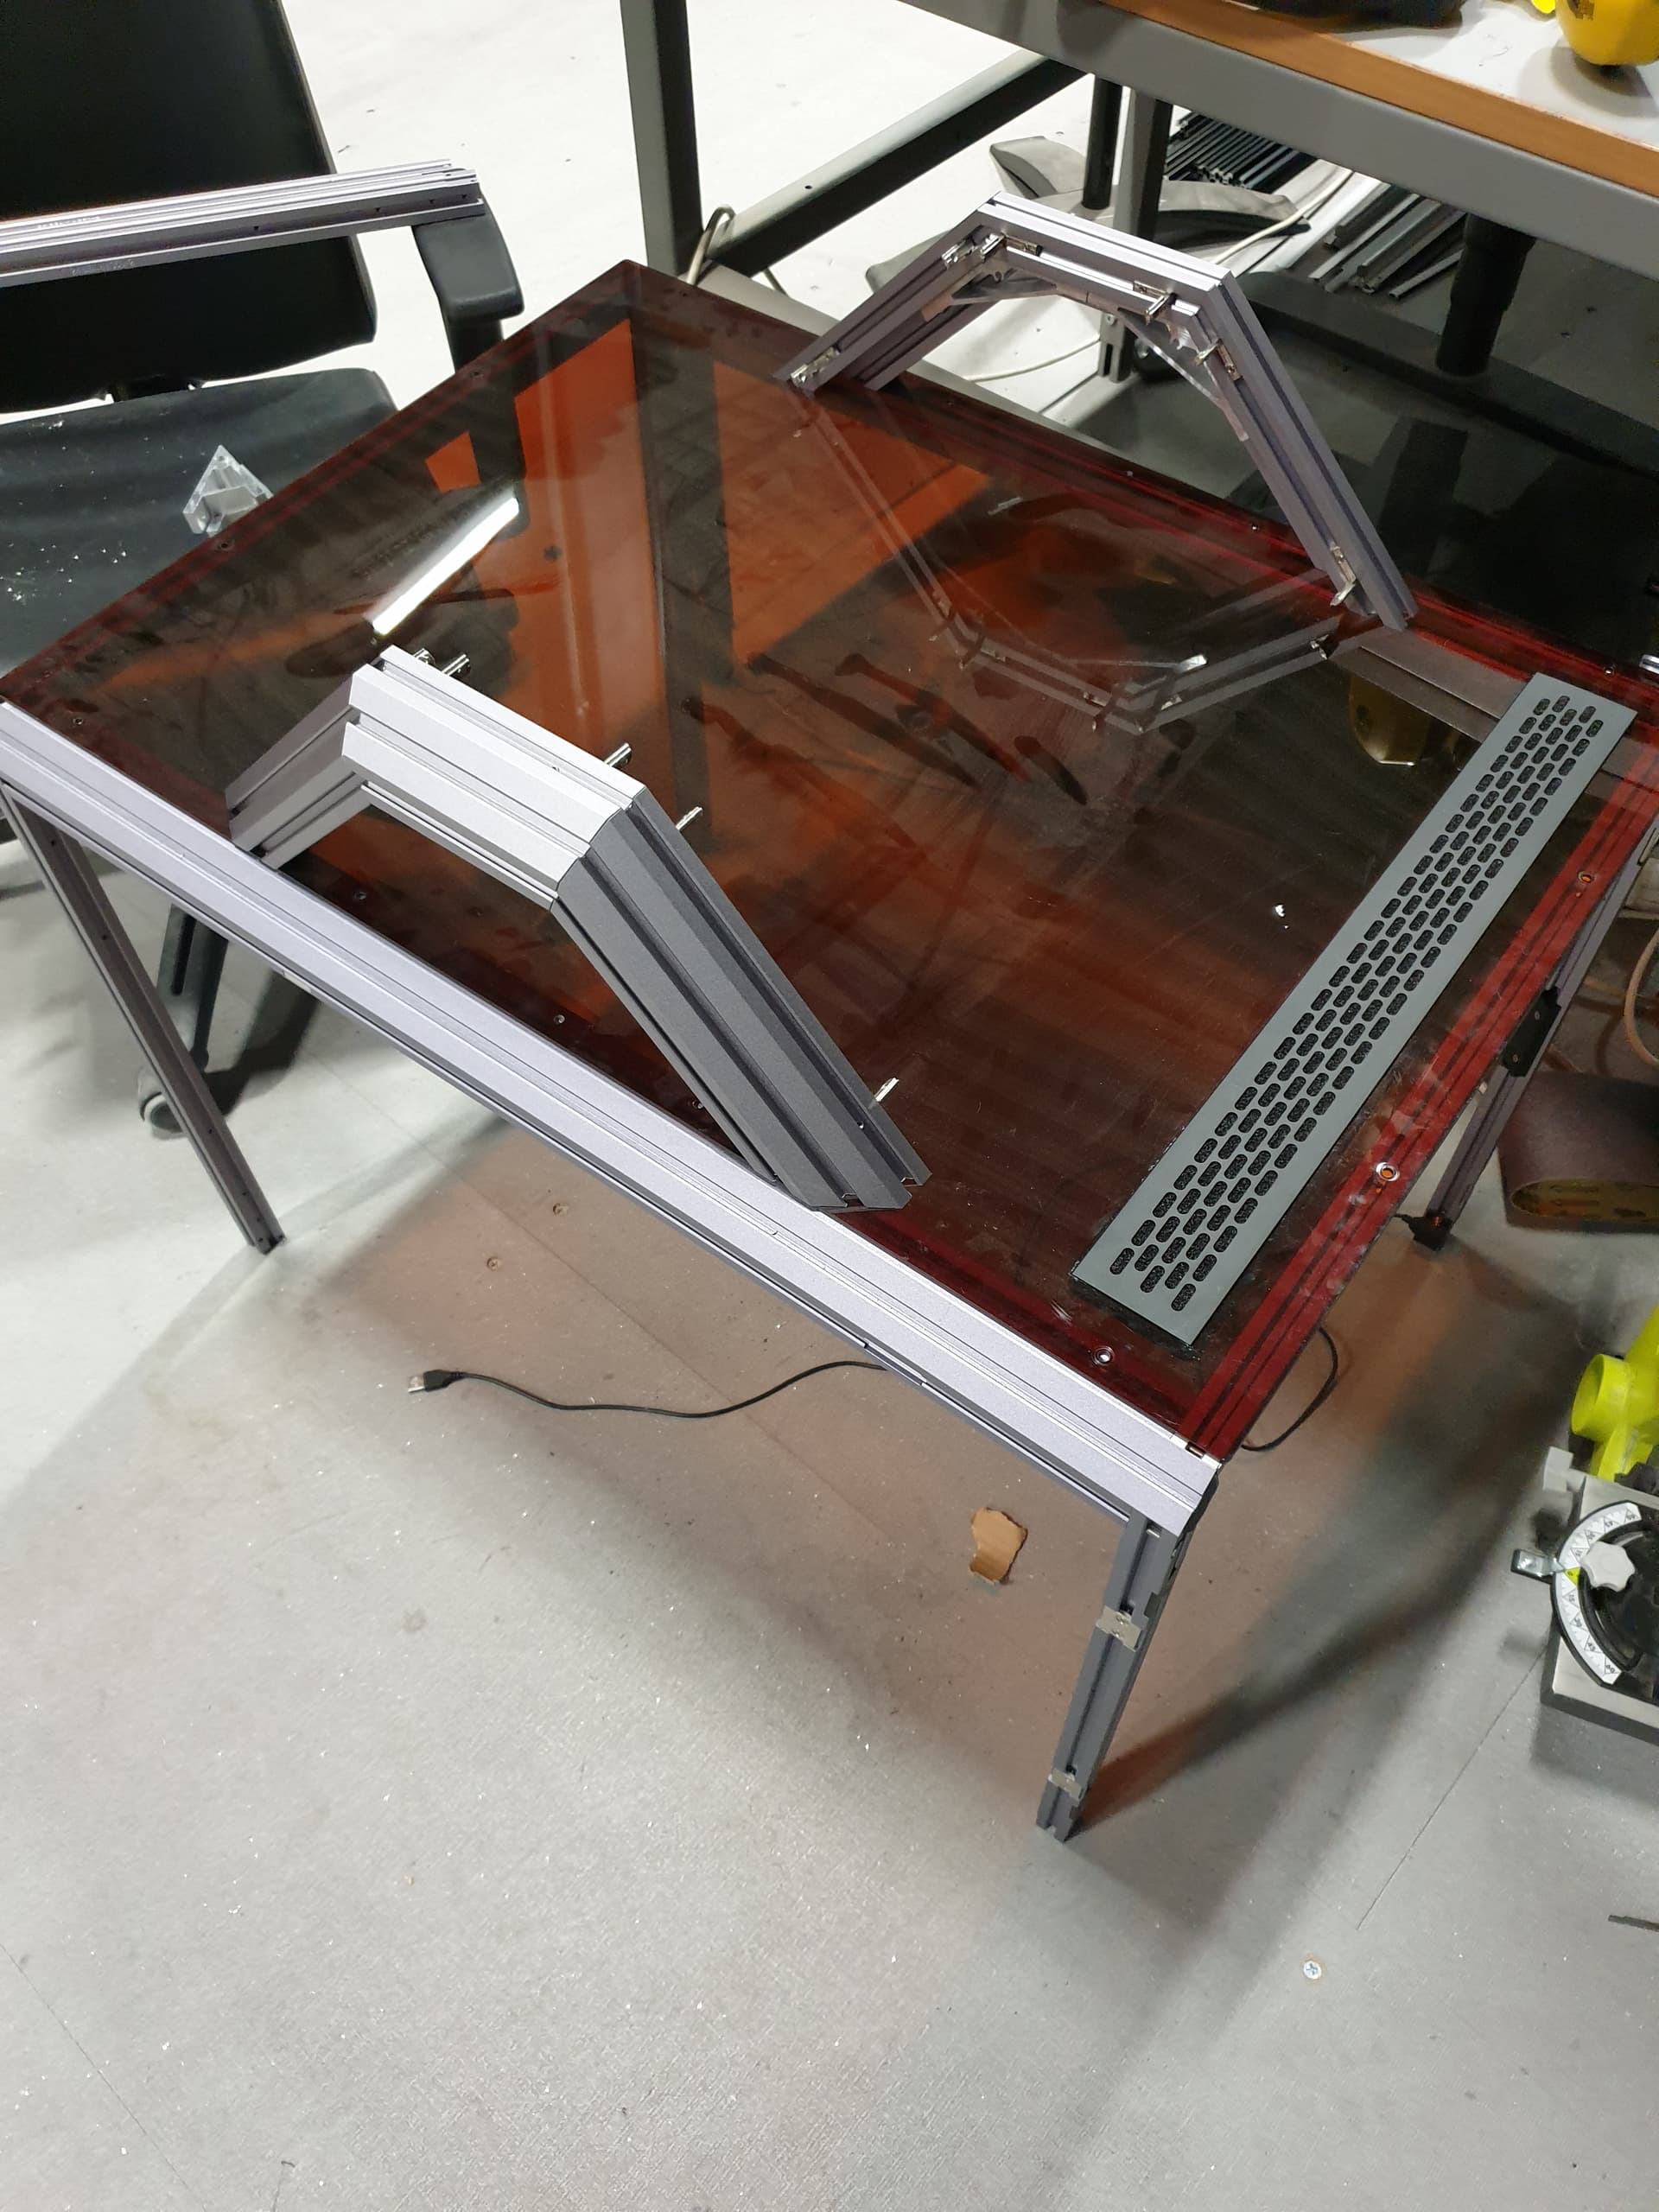
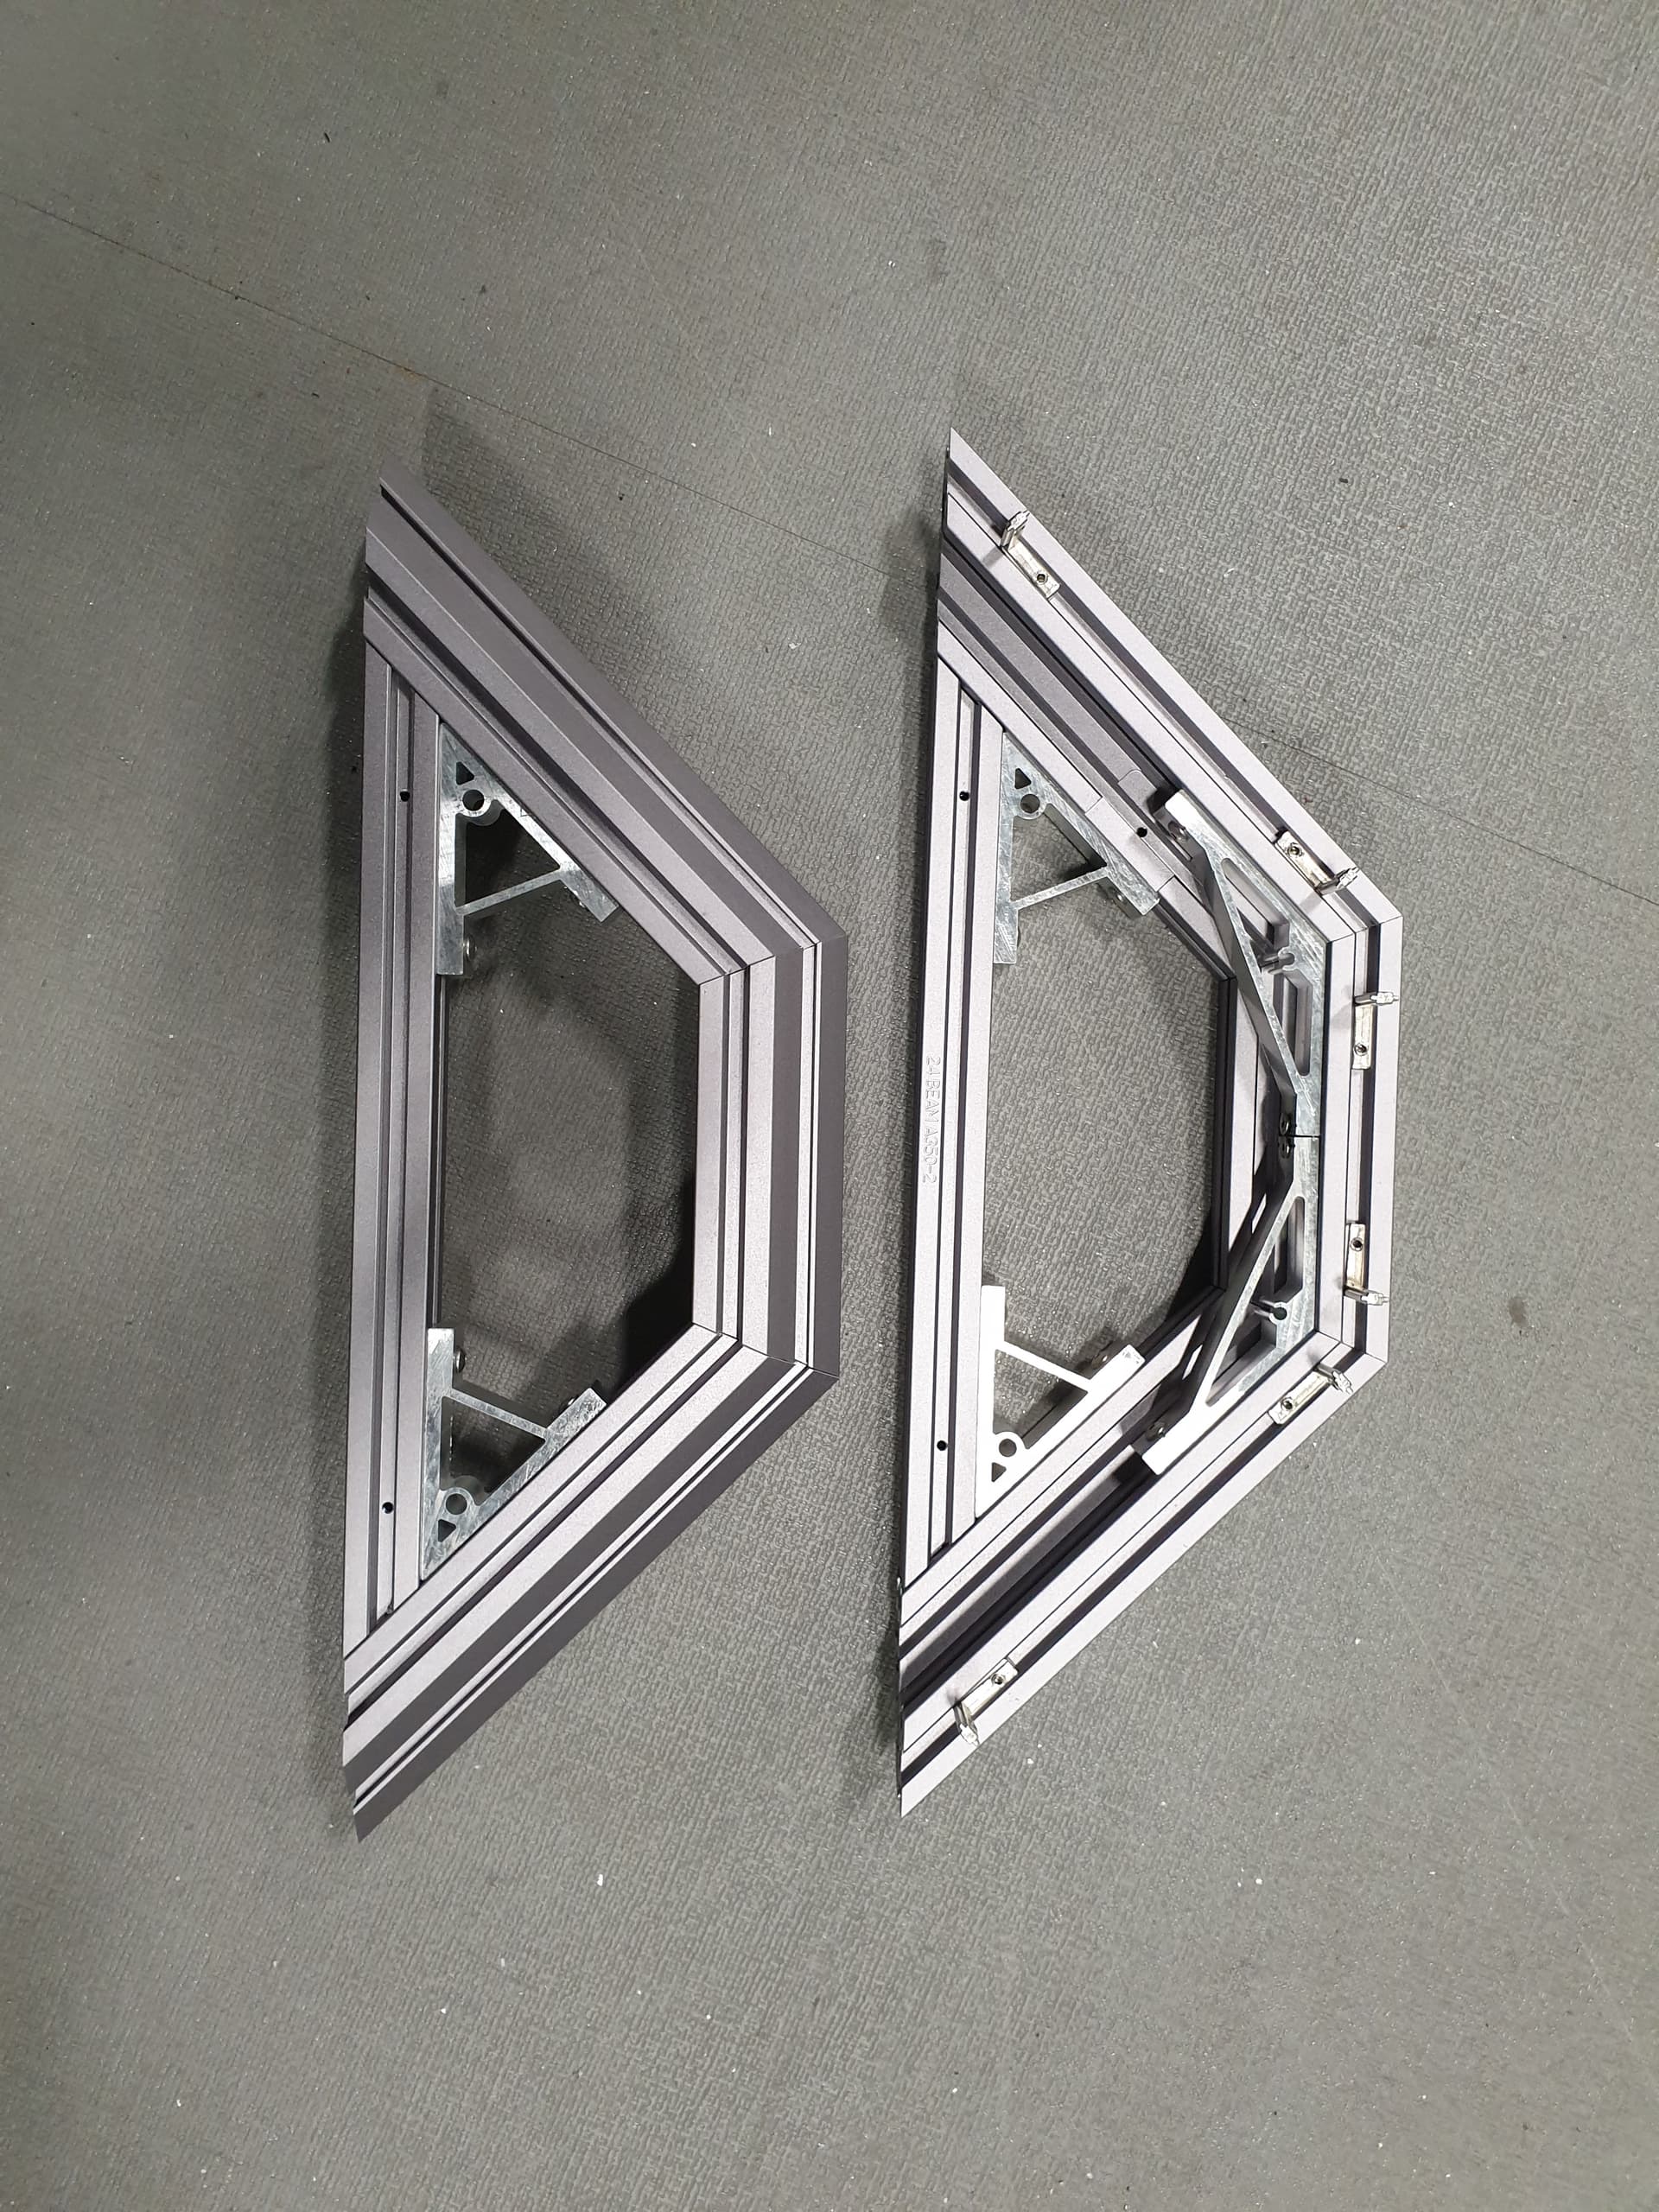
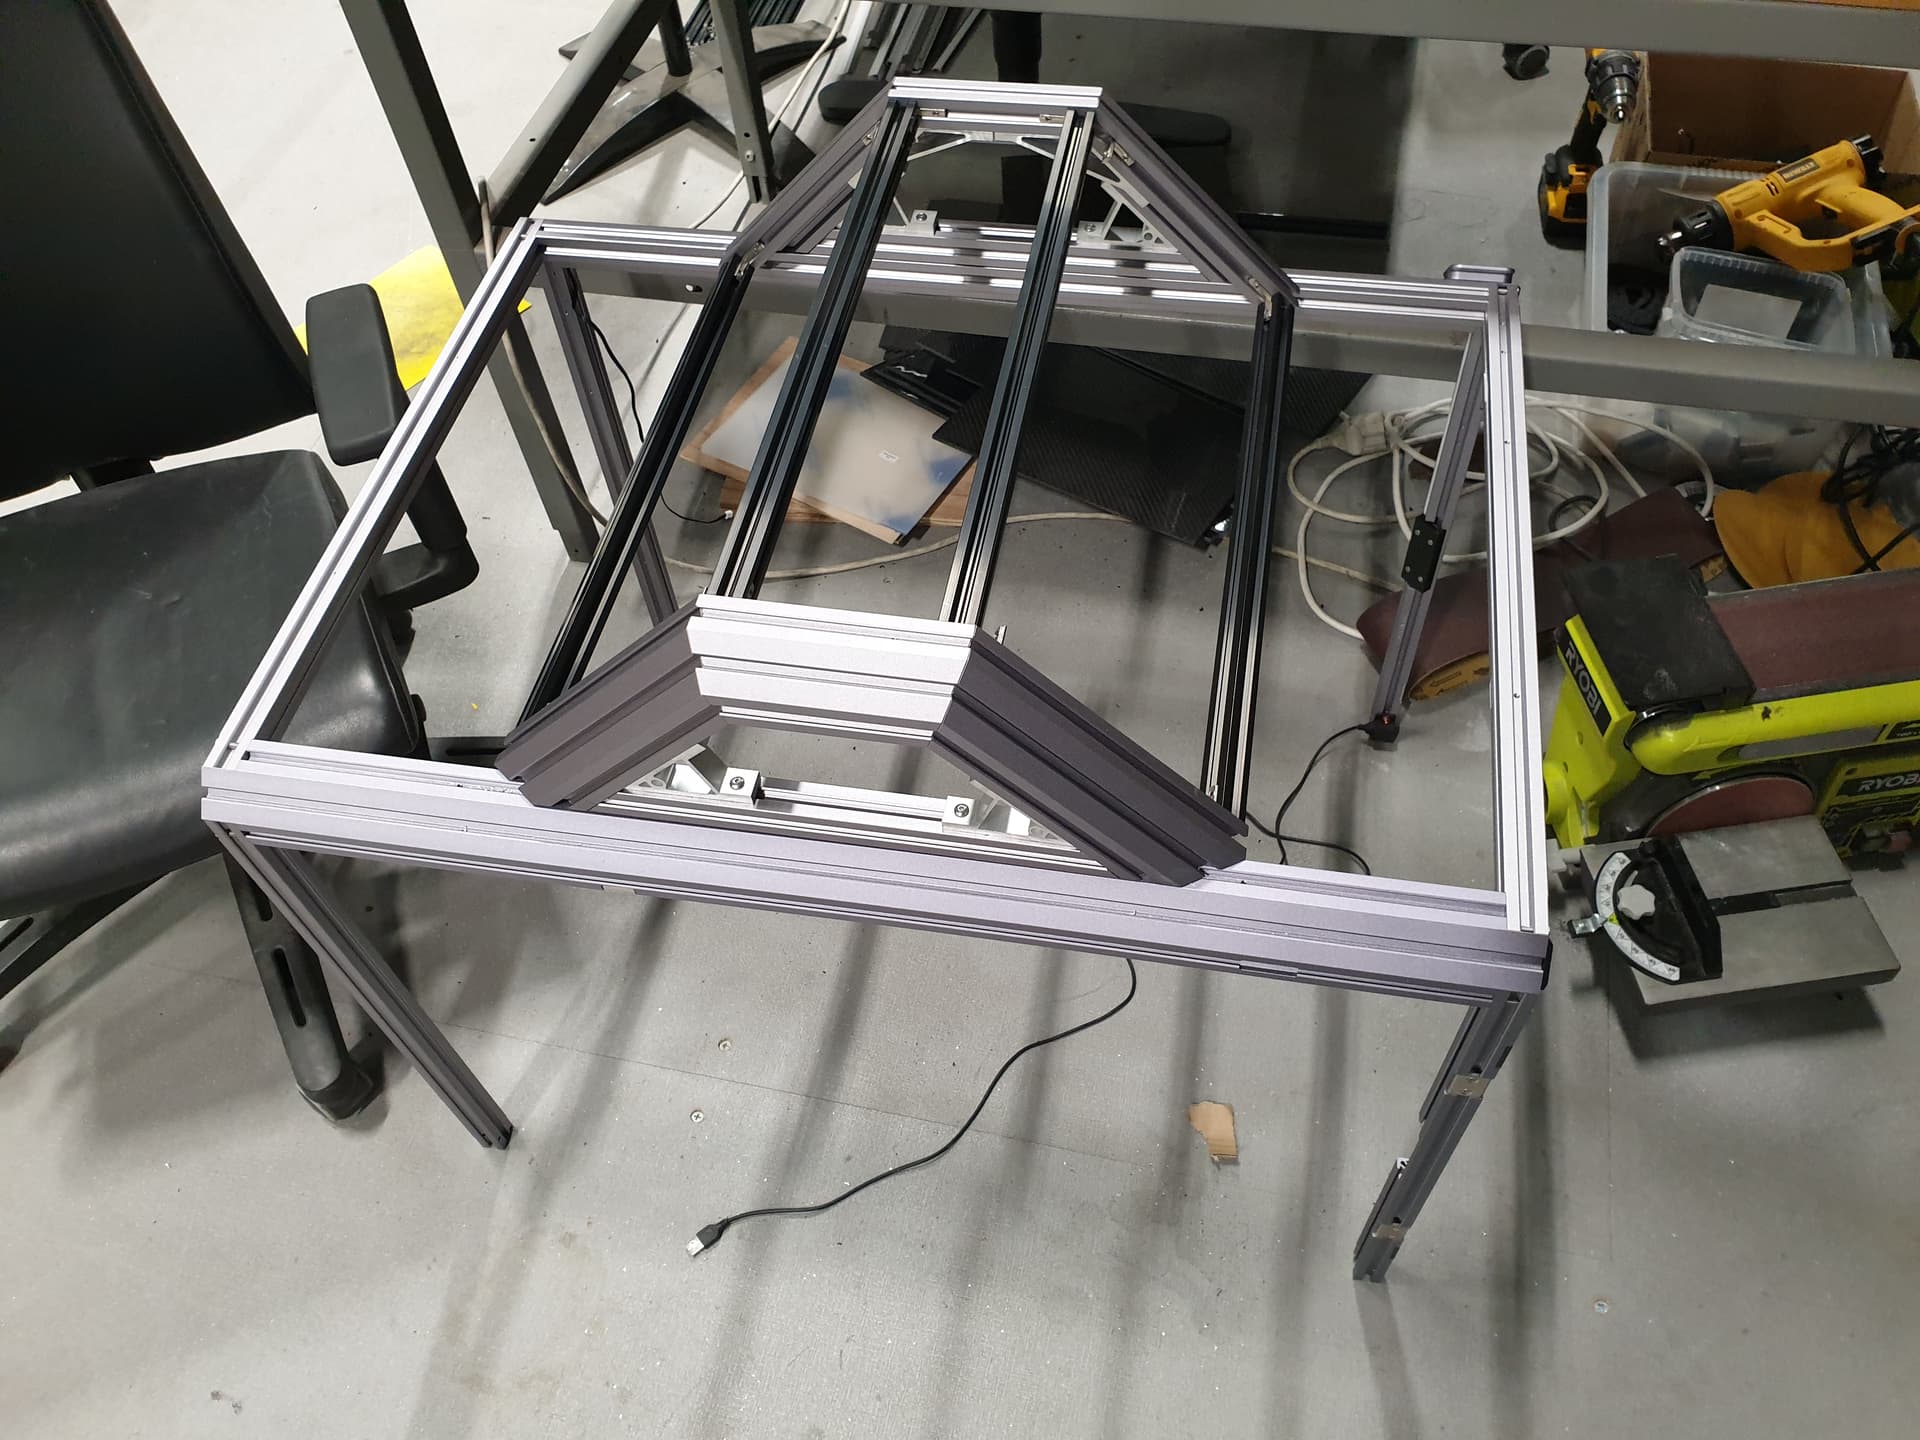
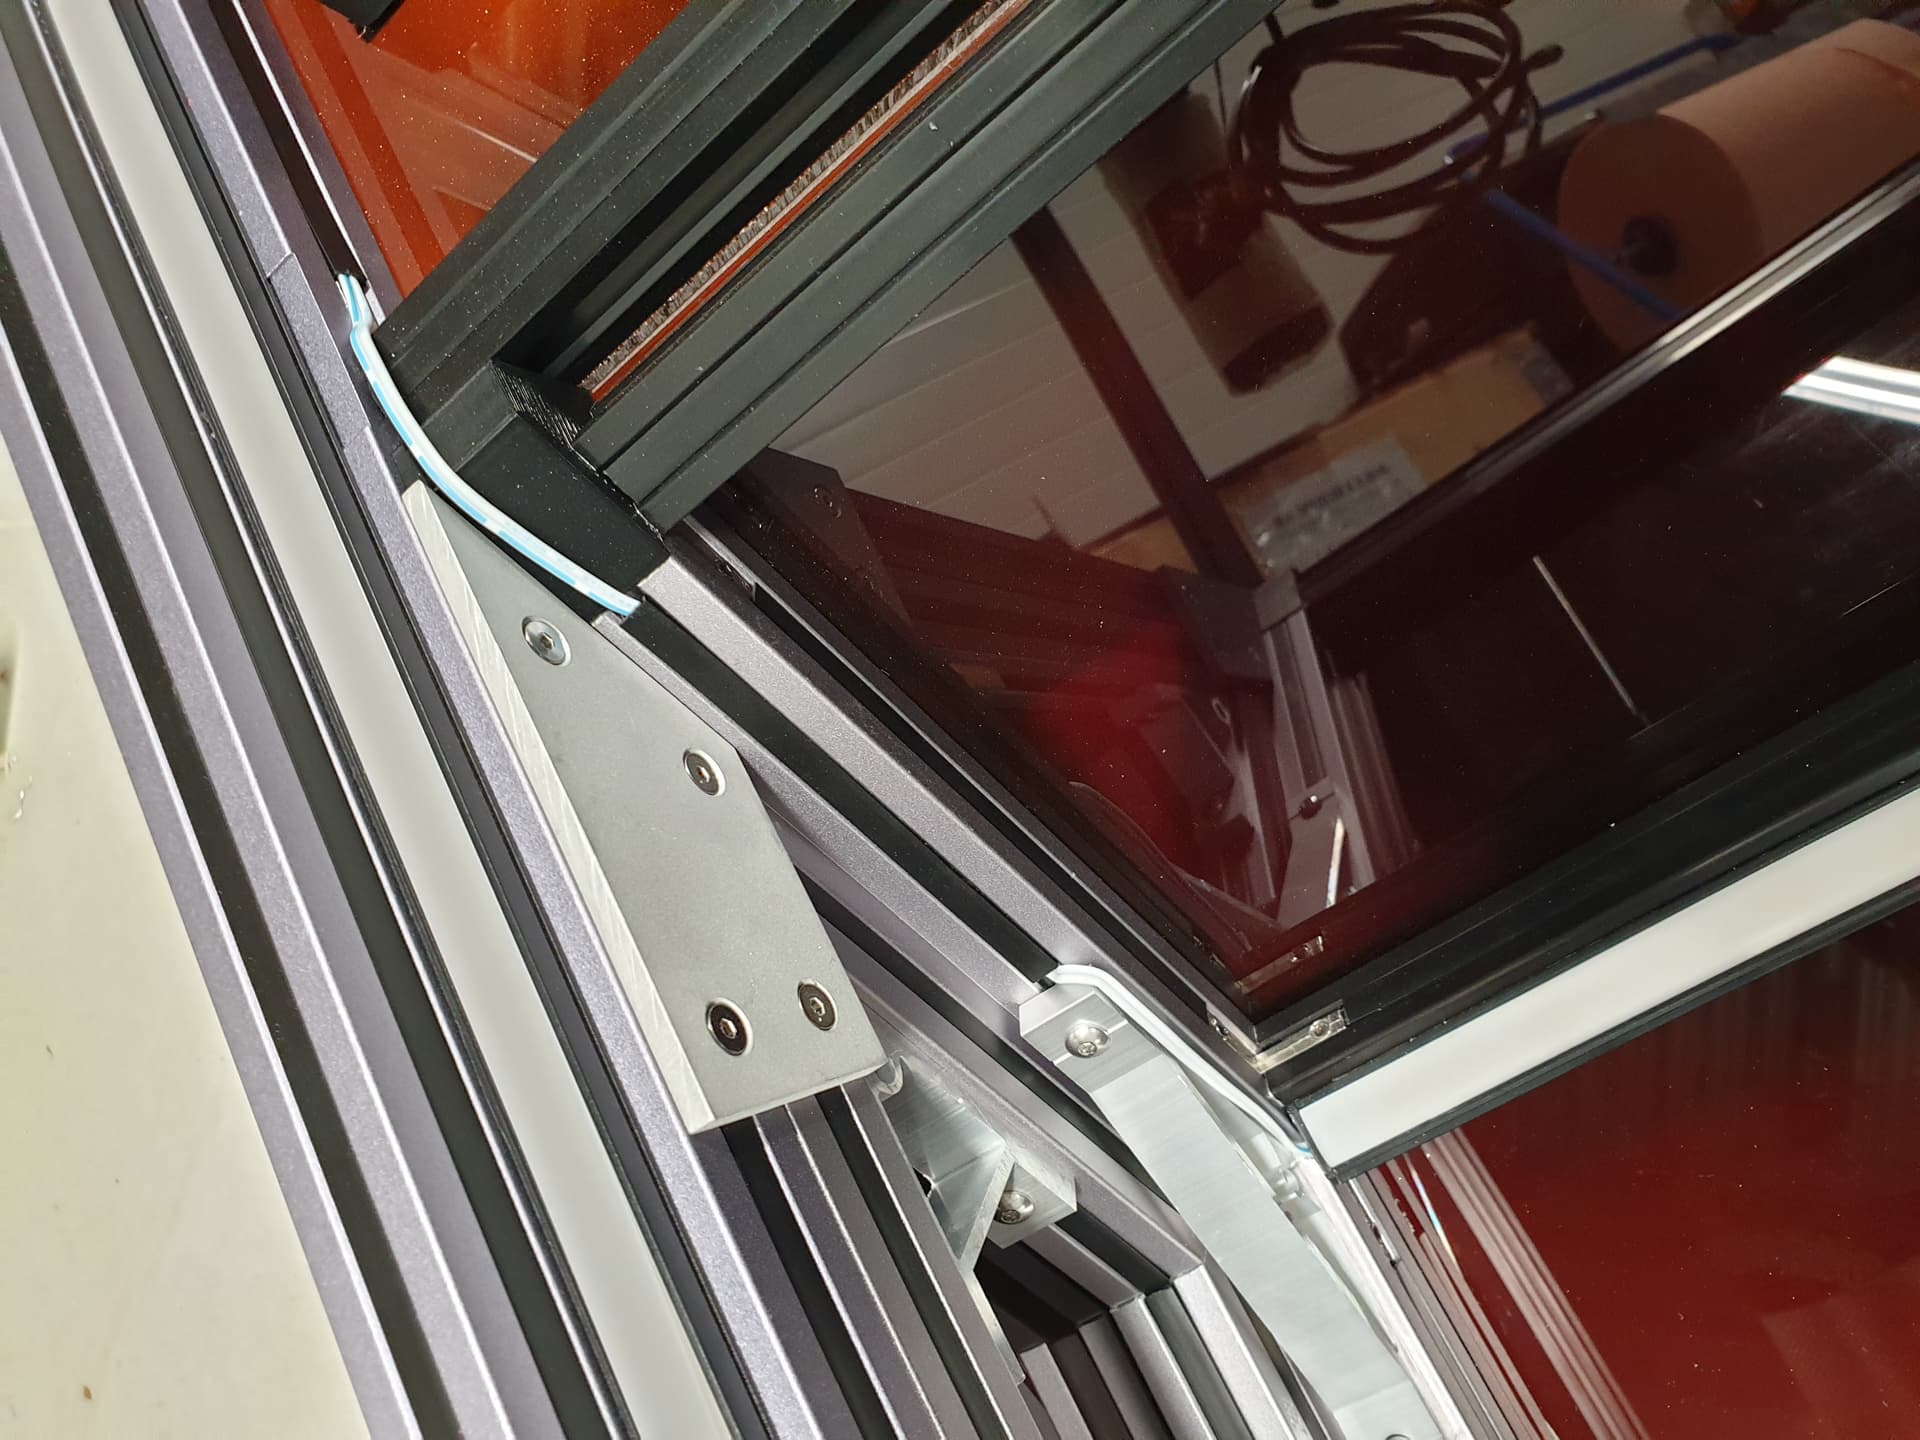
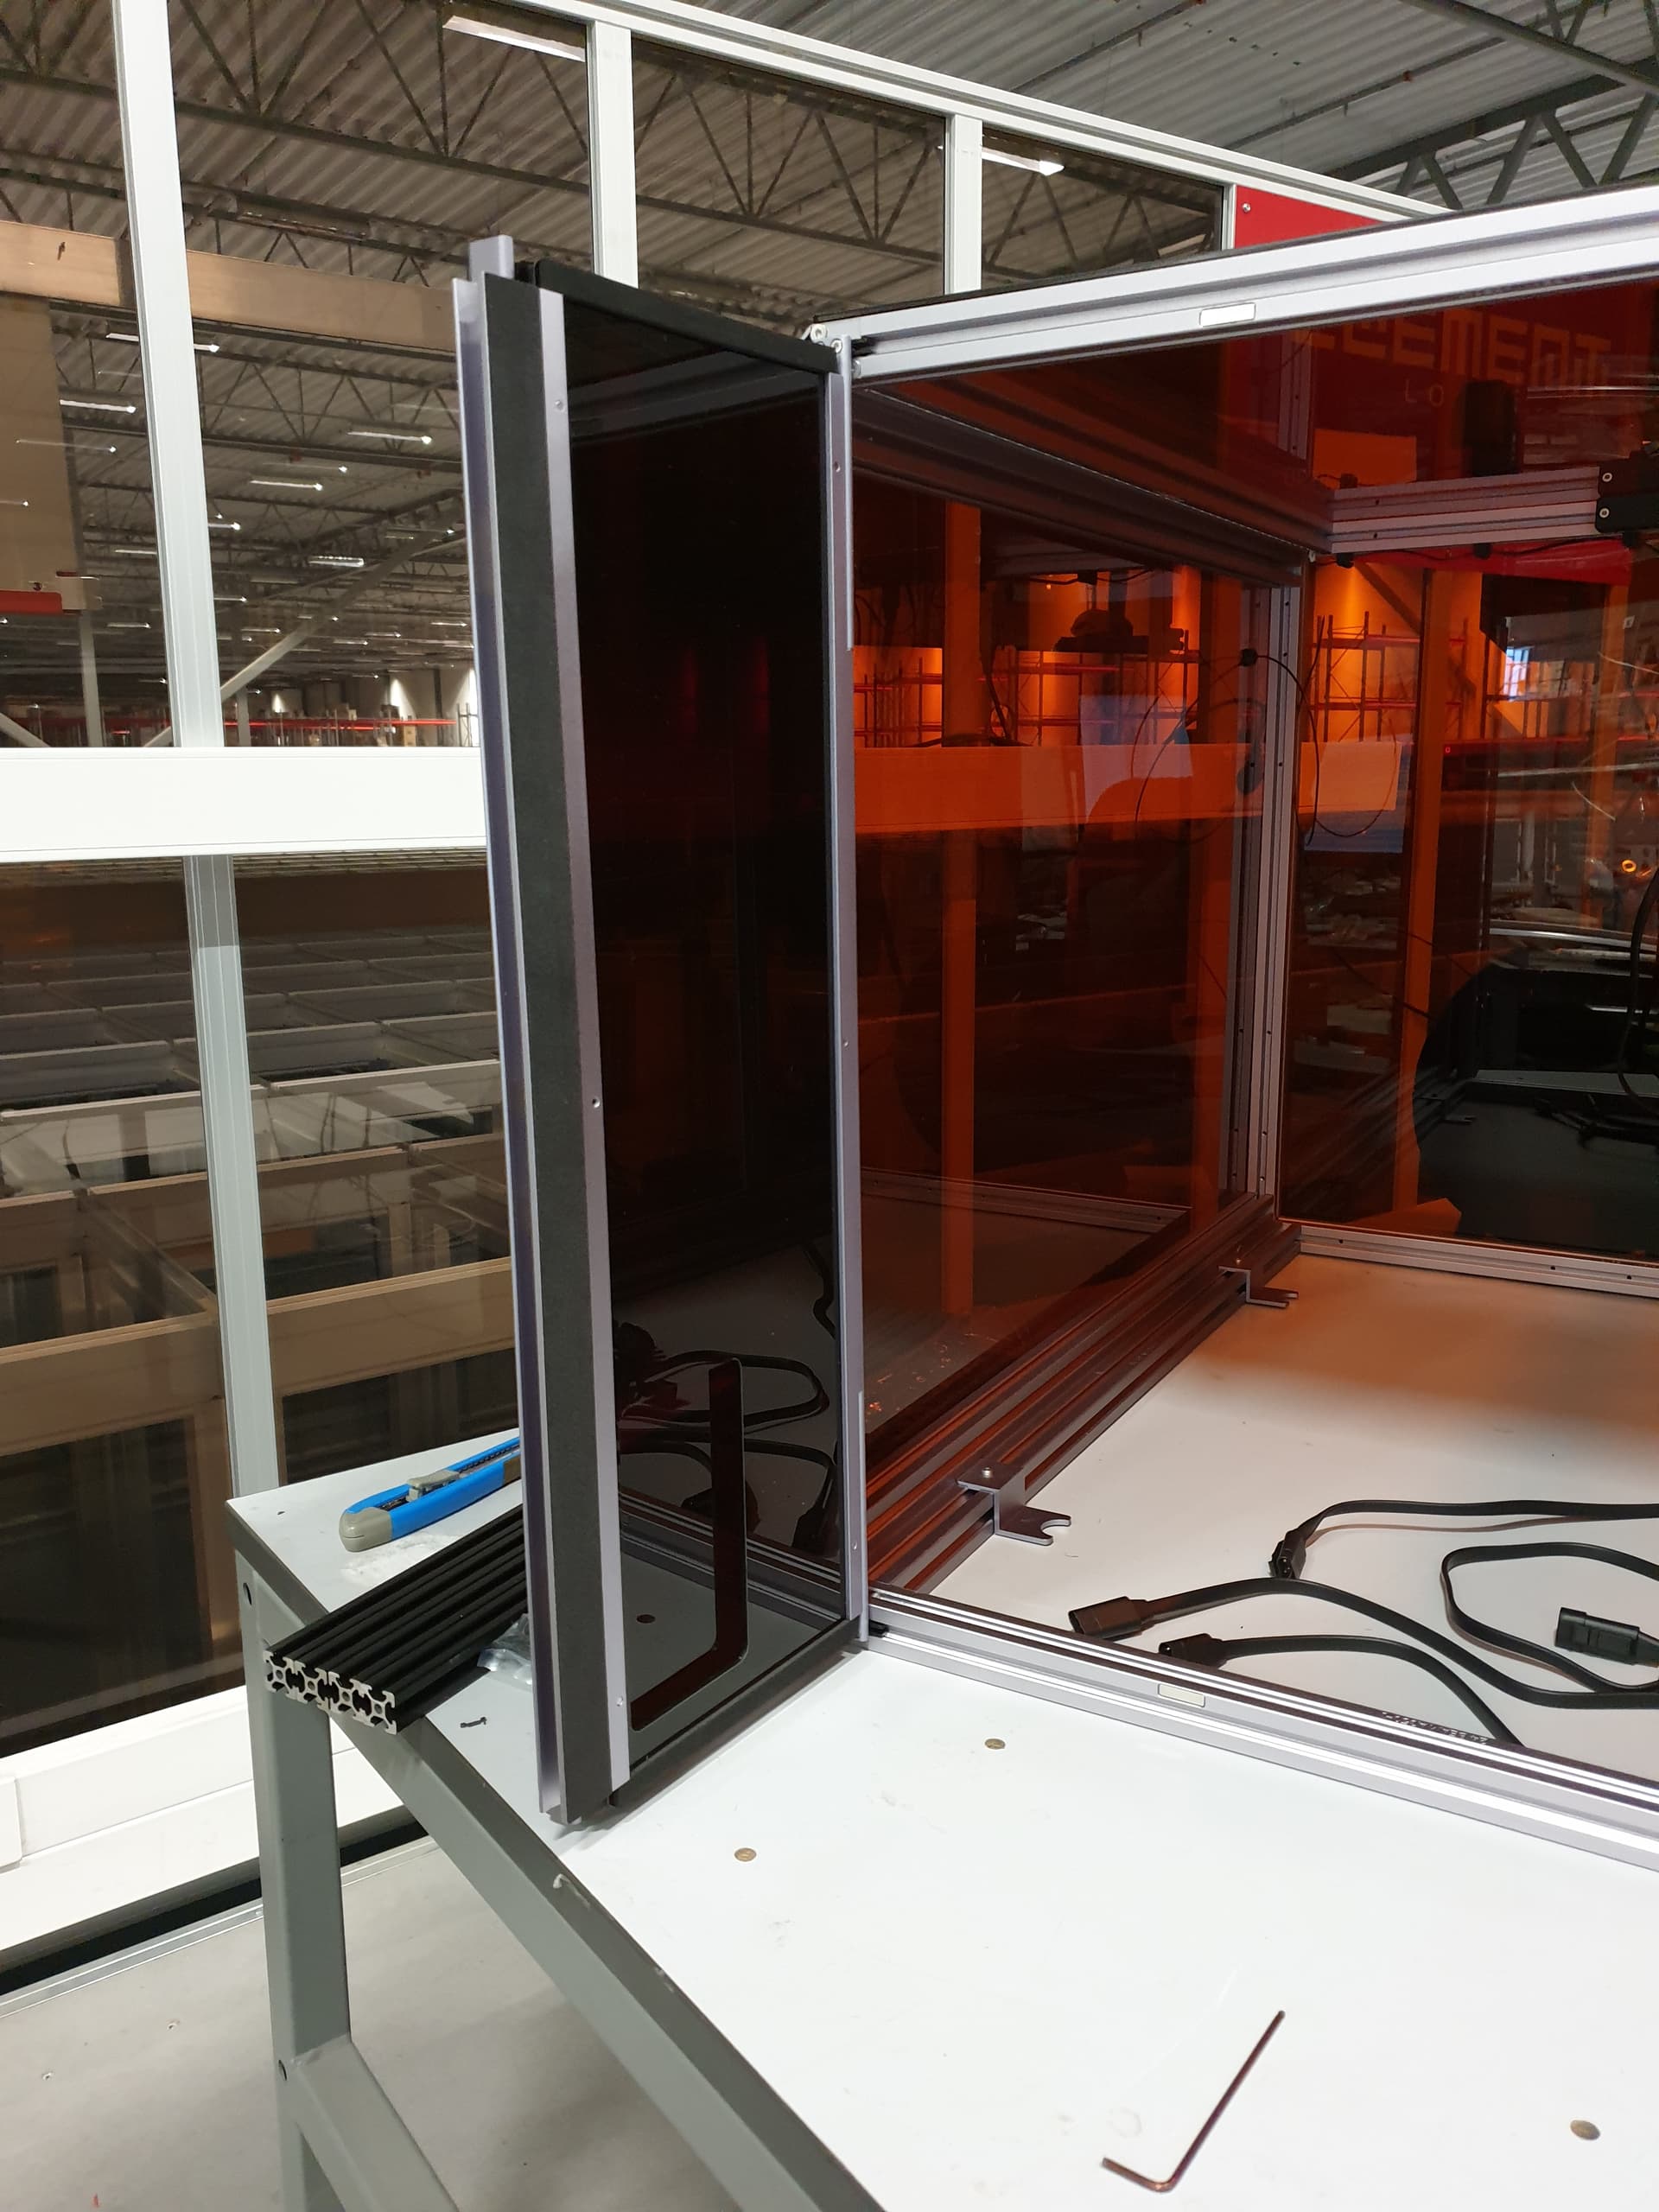
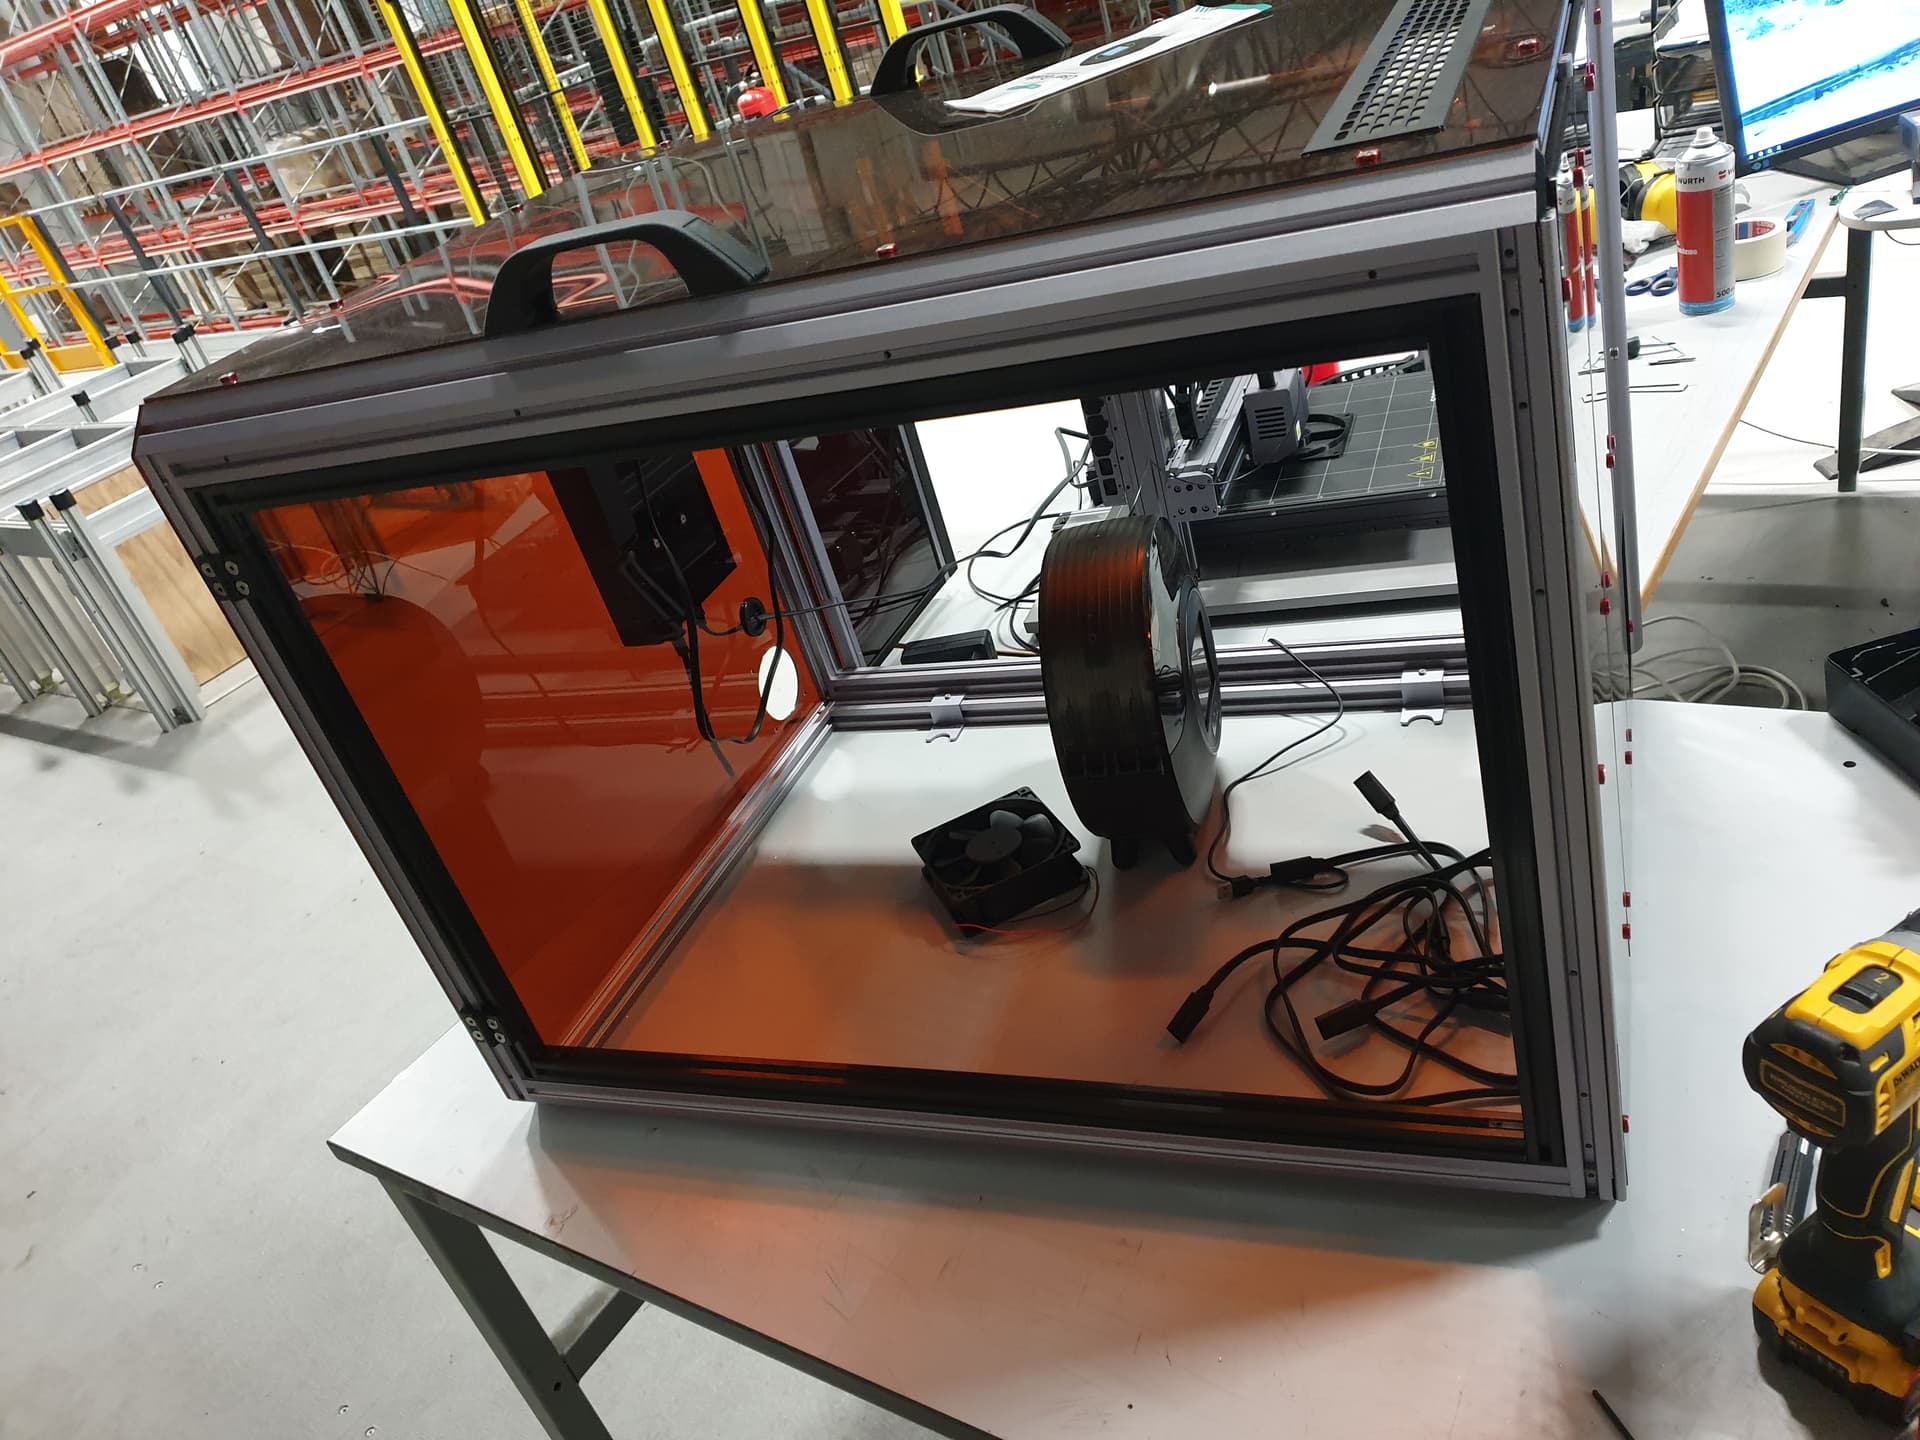
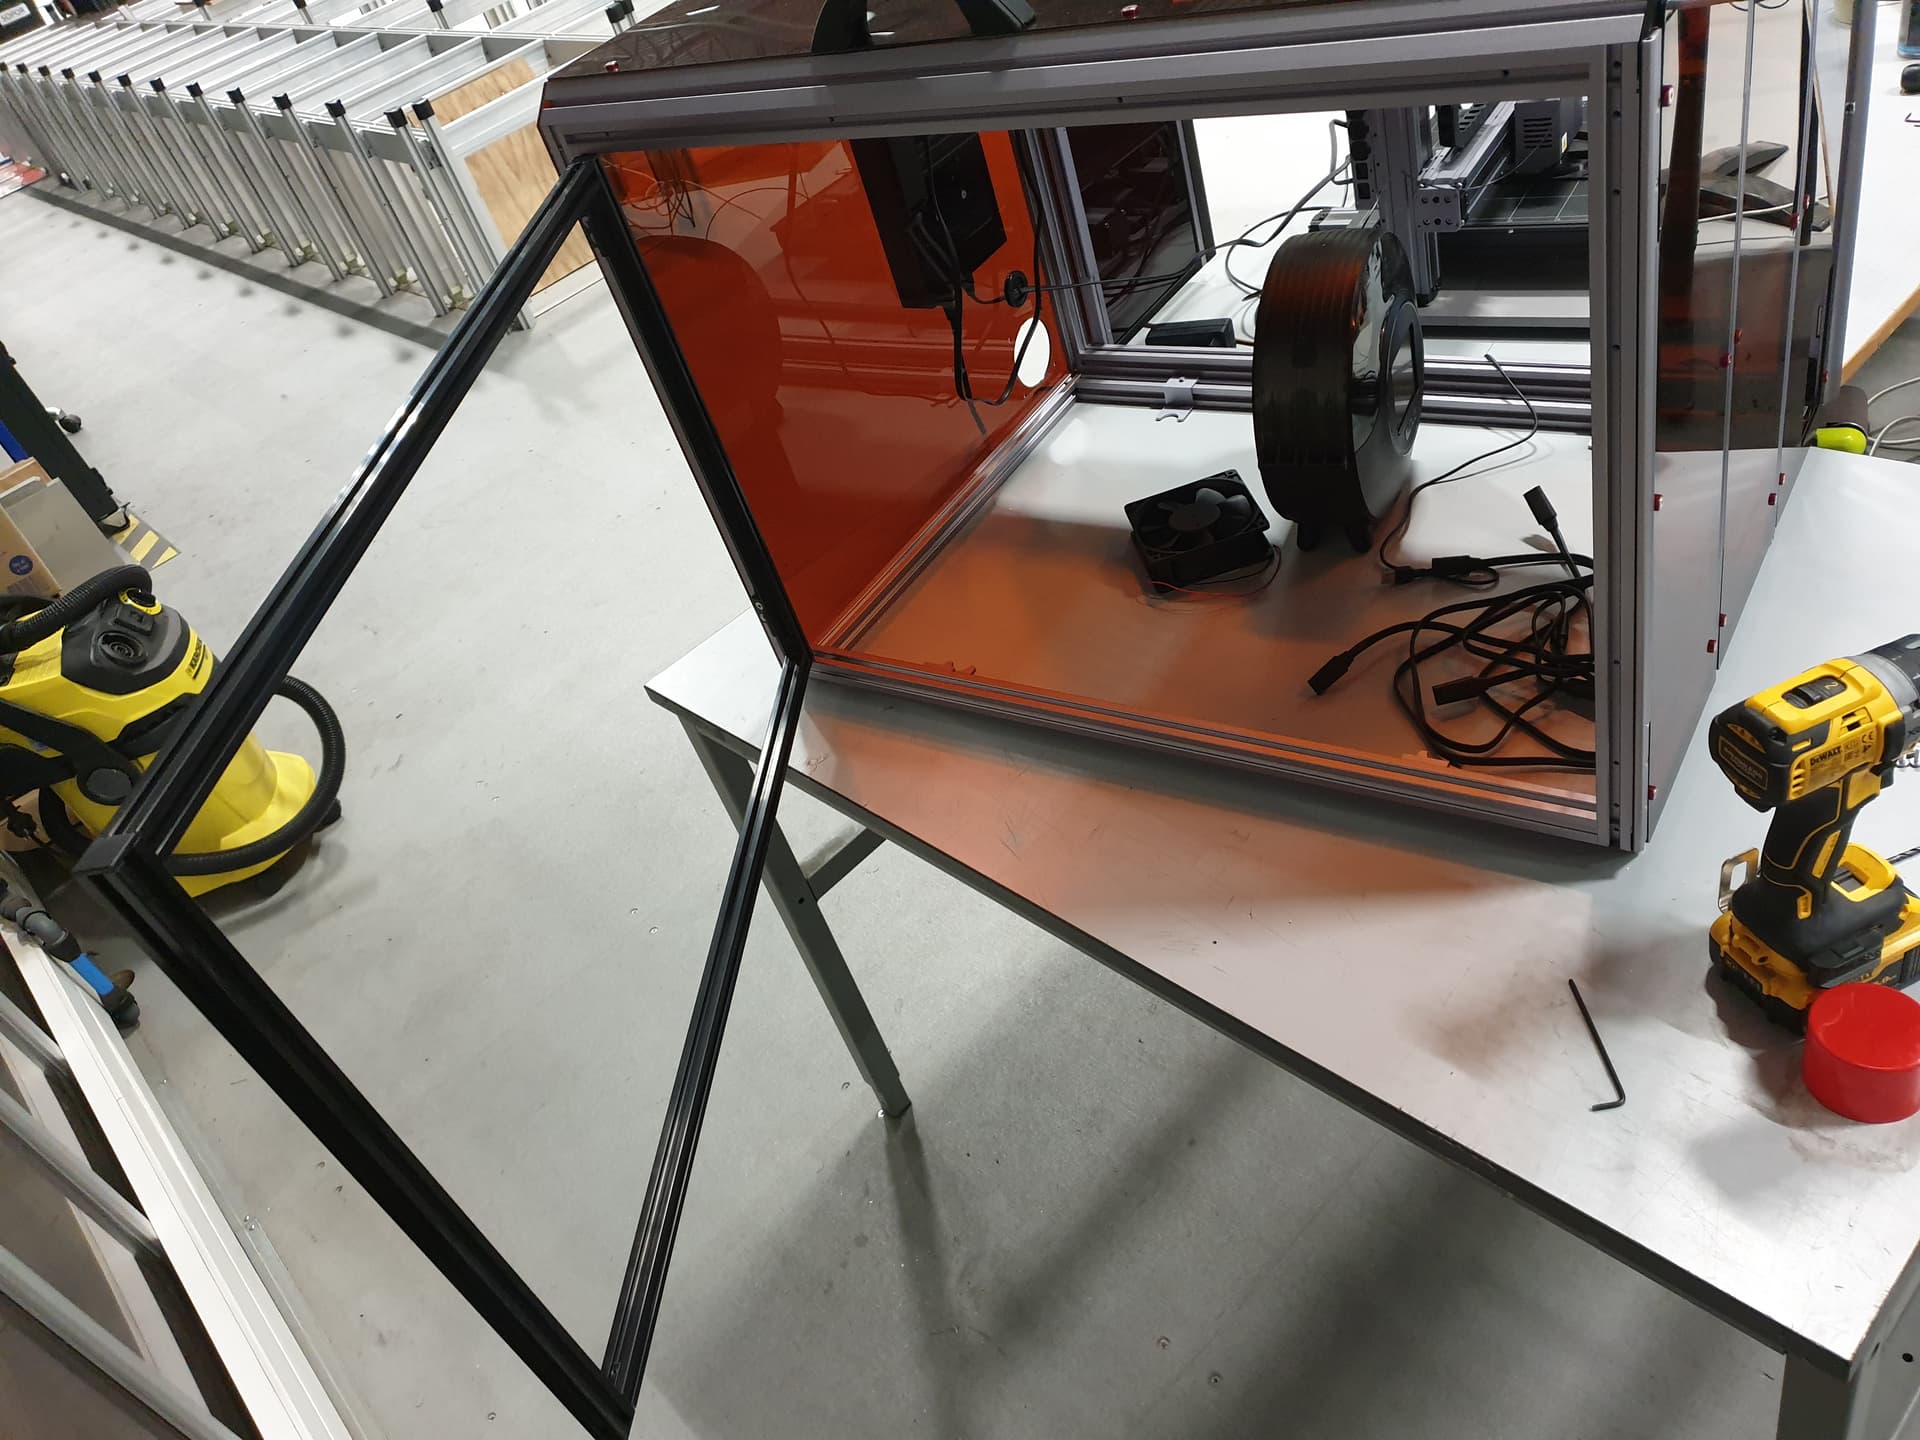
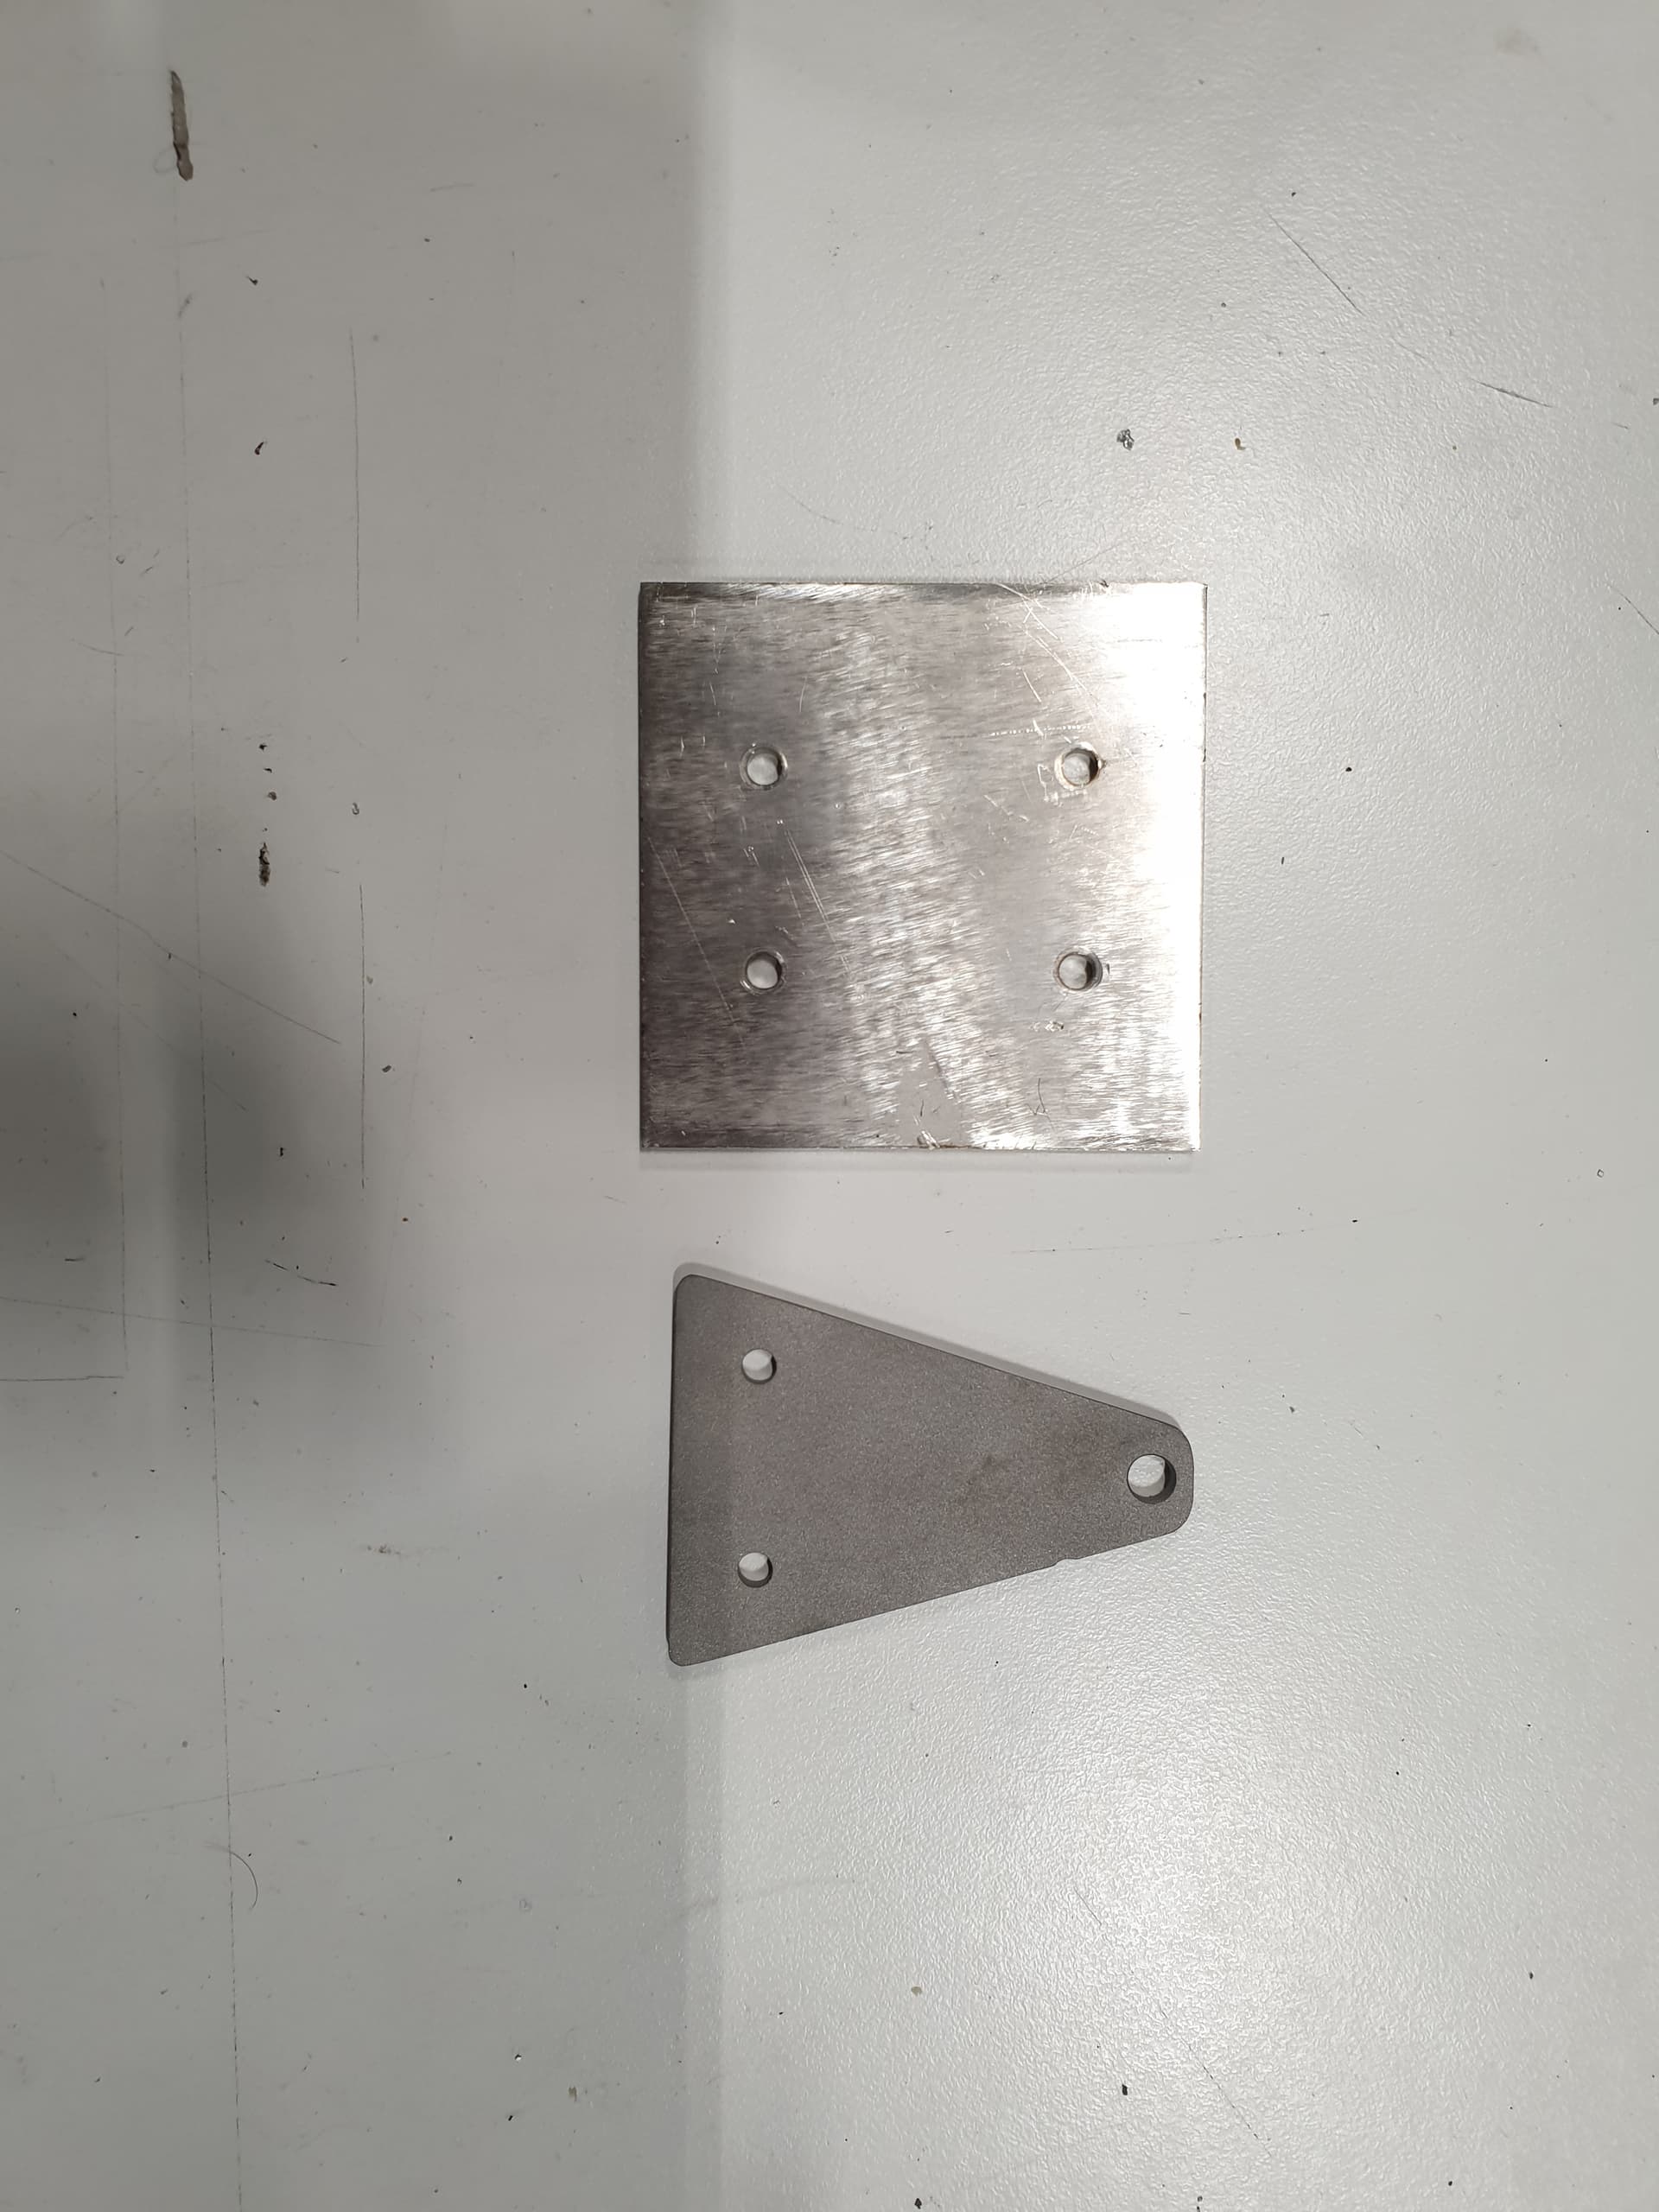
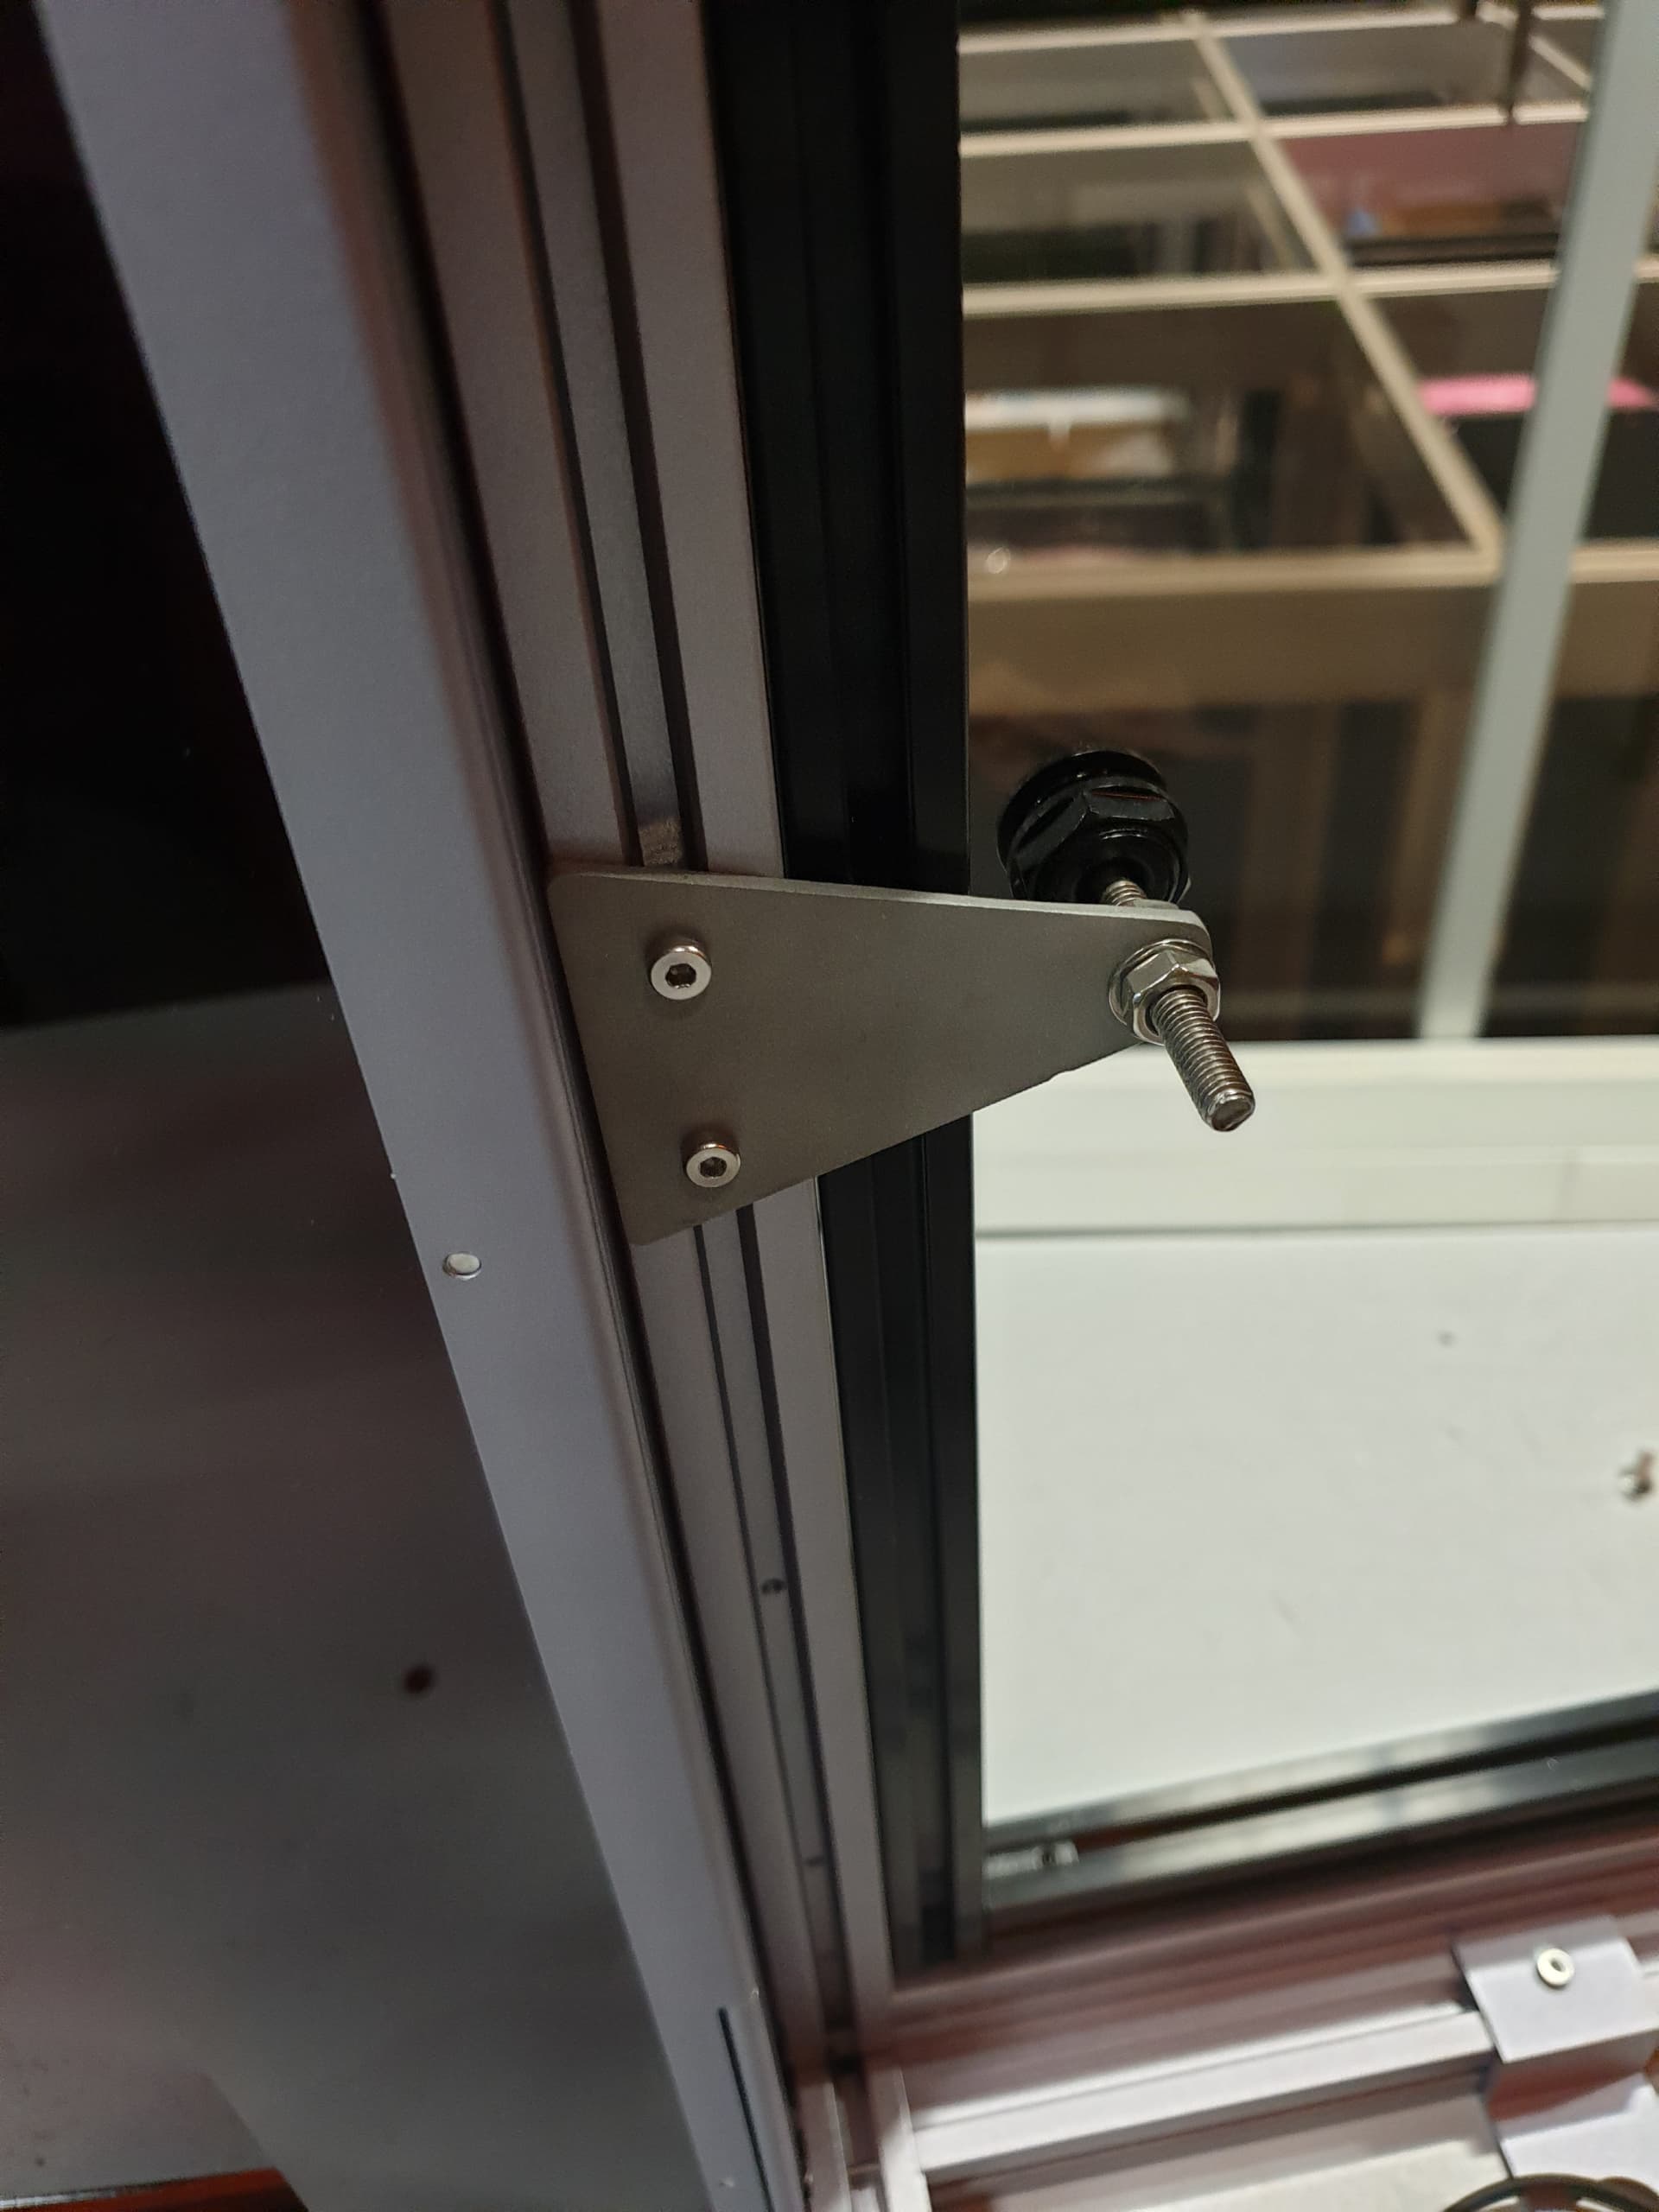
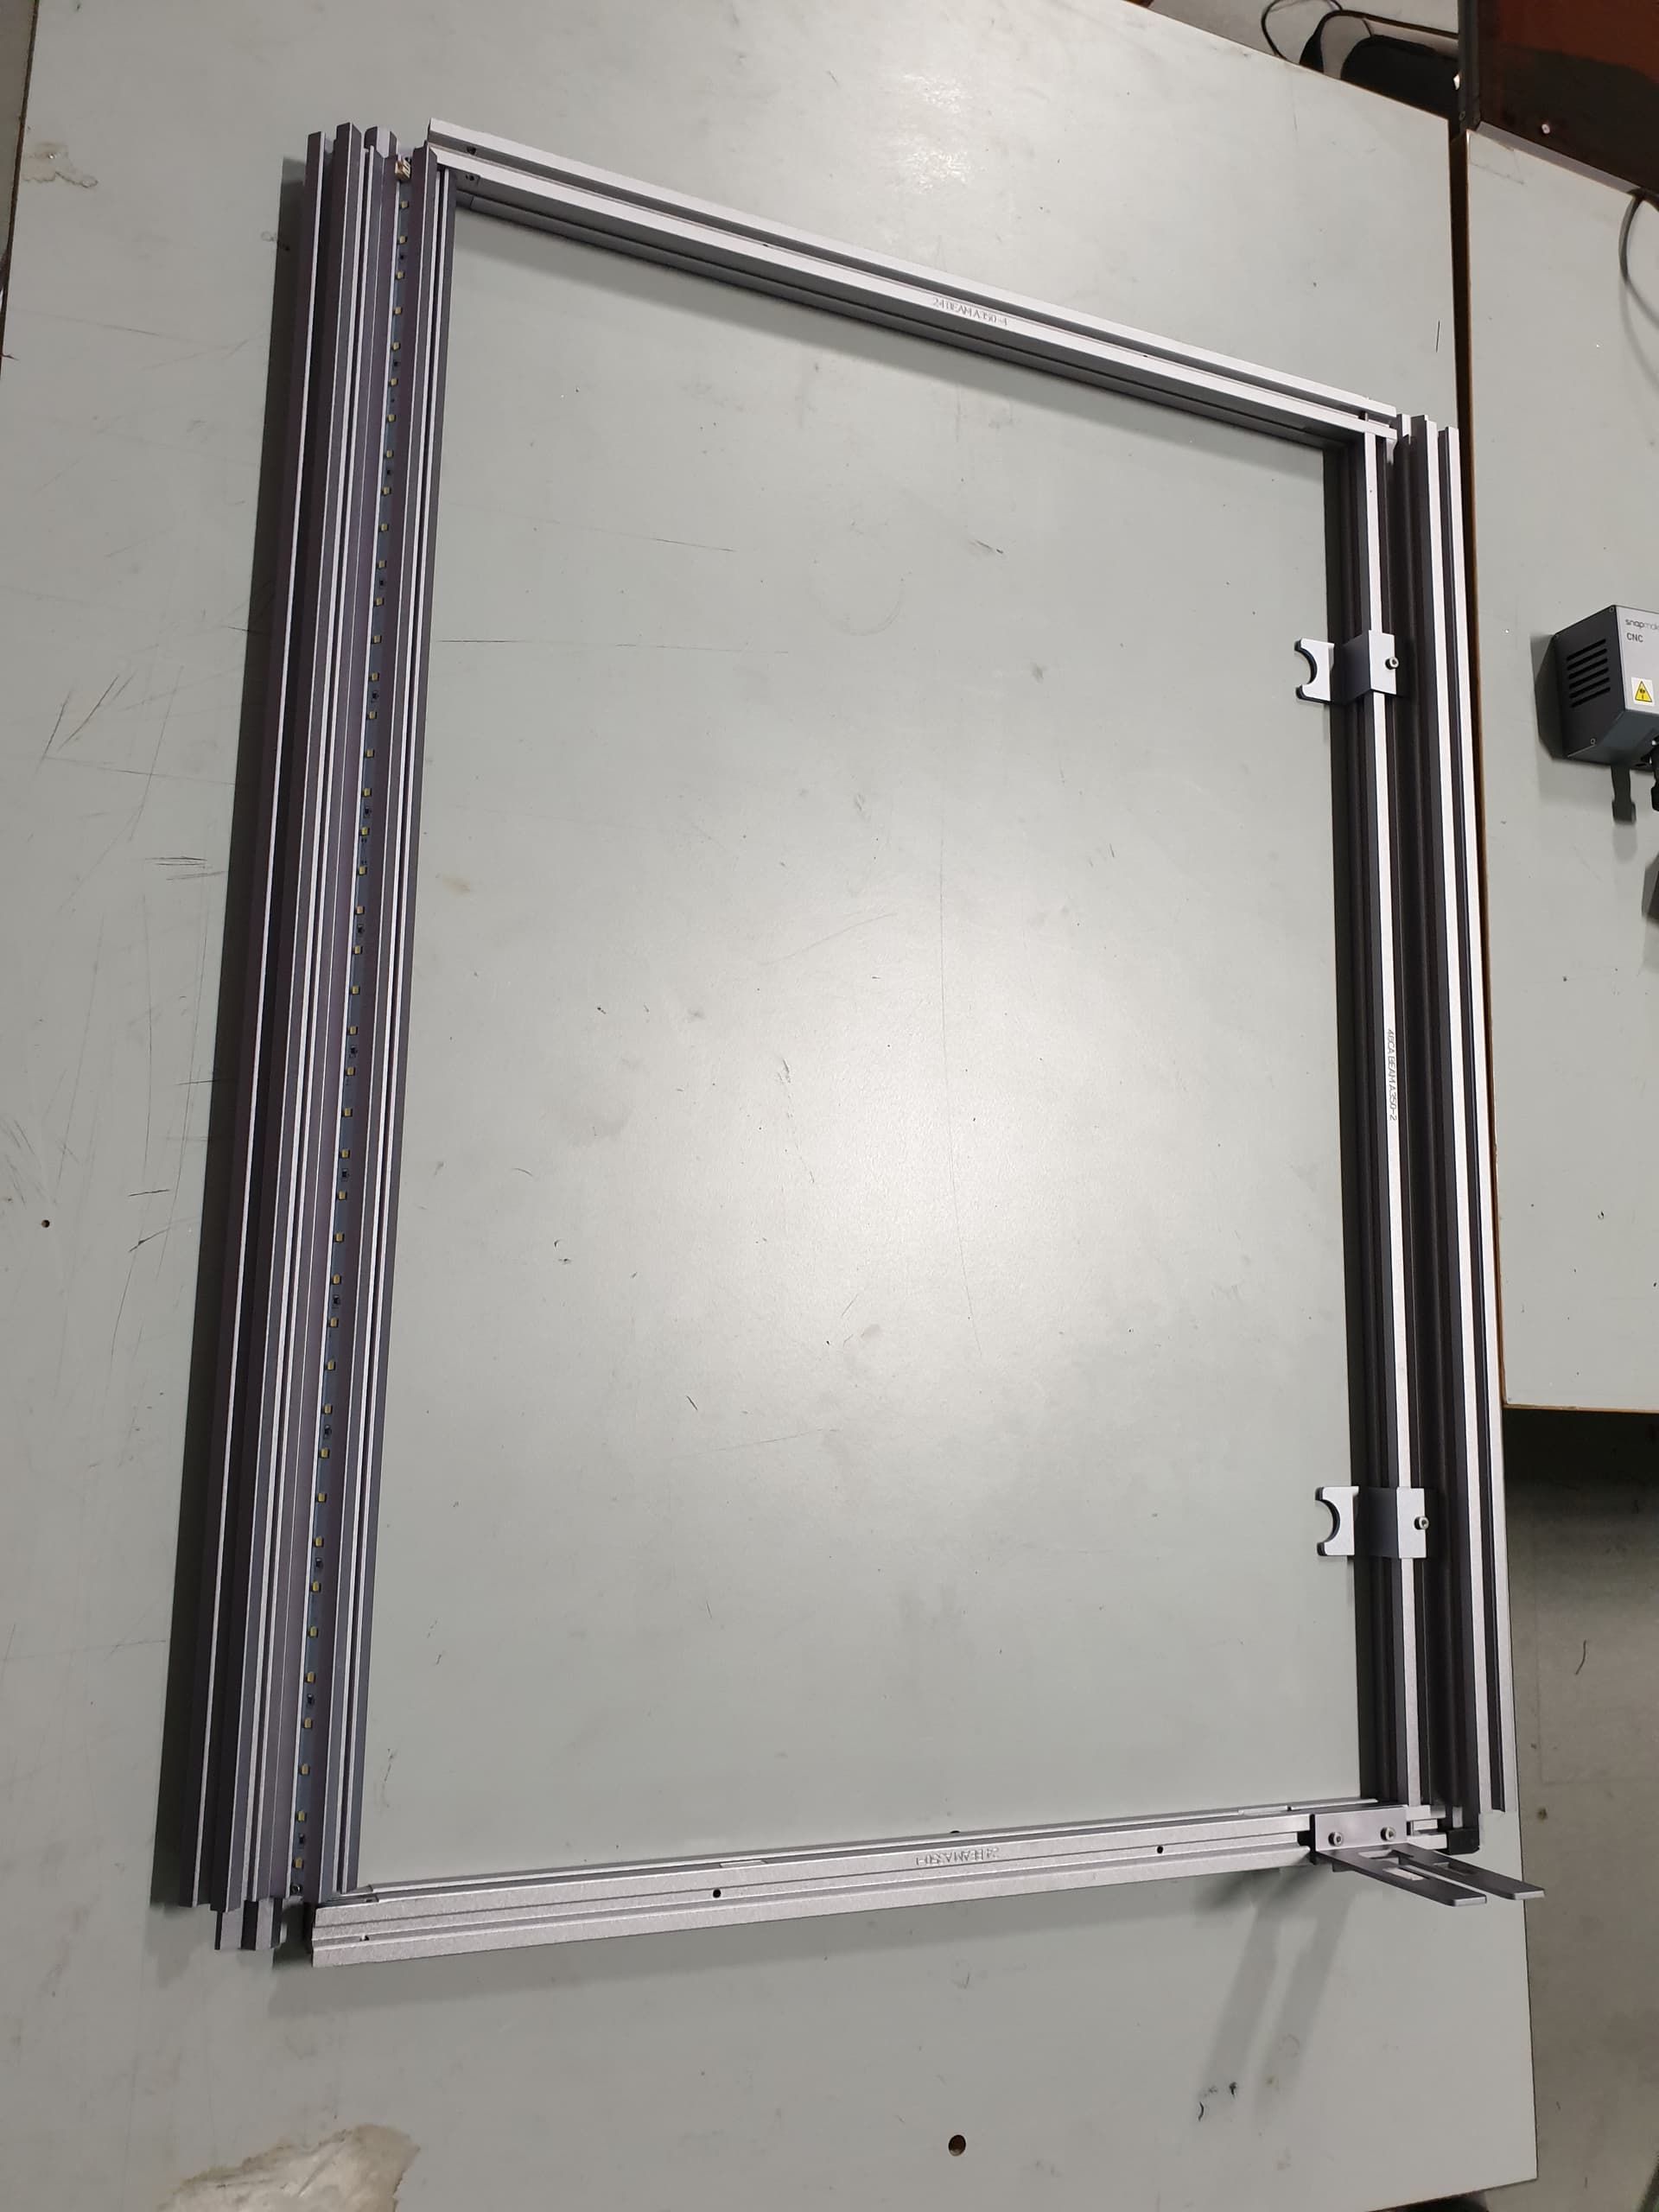
Next I wanted to be able to gain access to the other side of the machine so I started work on a door:


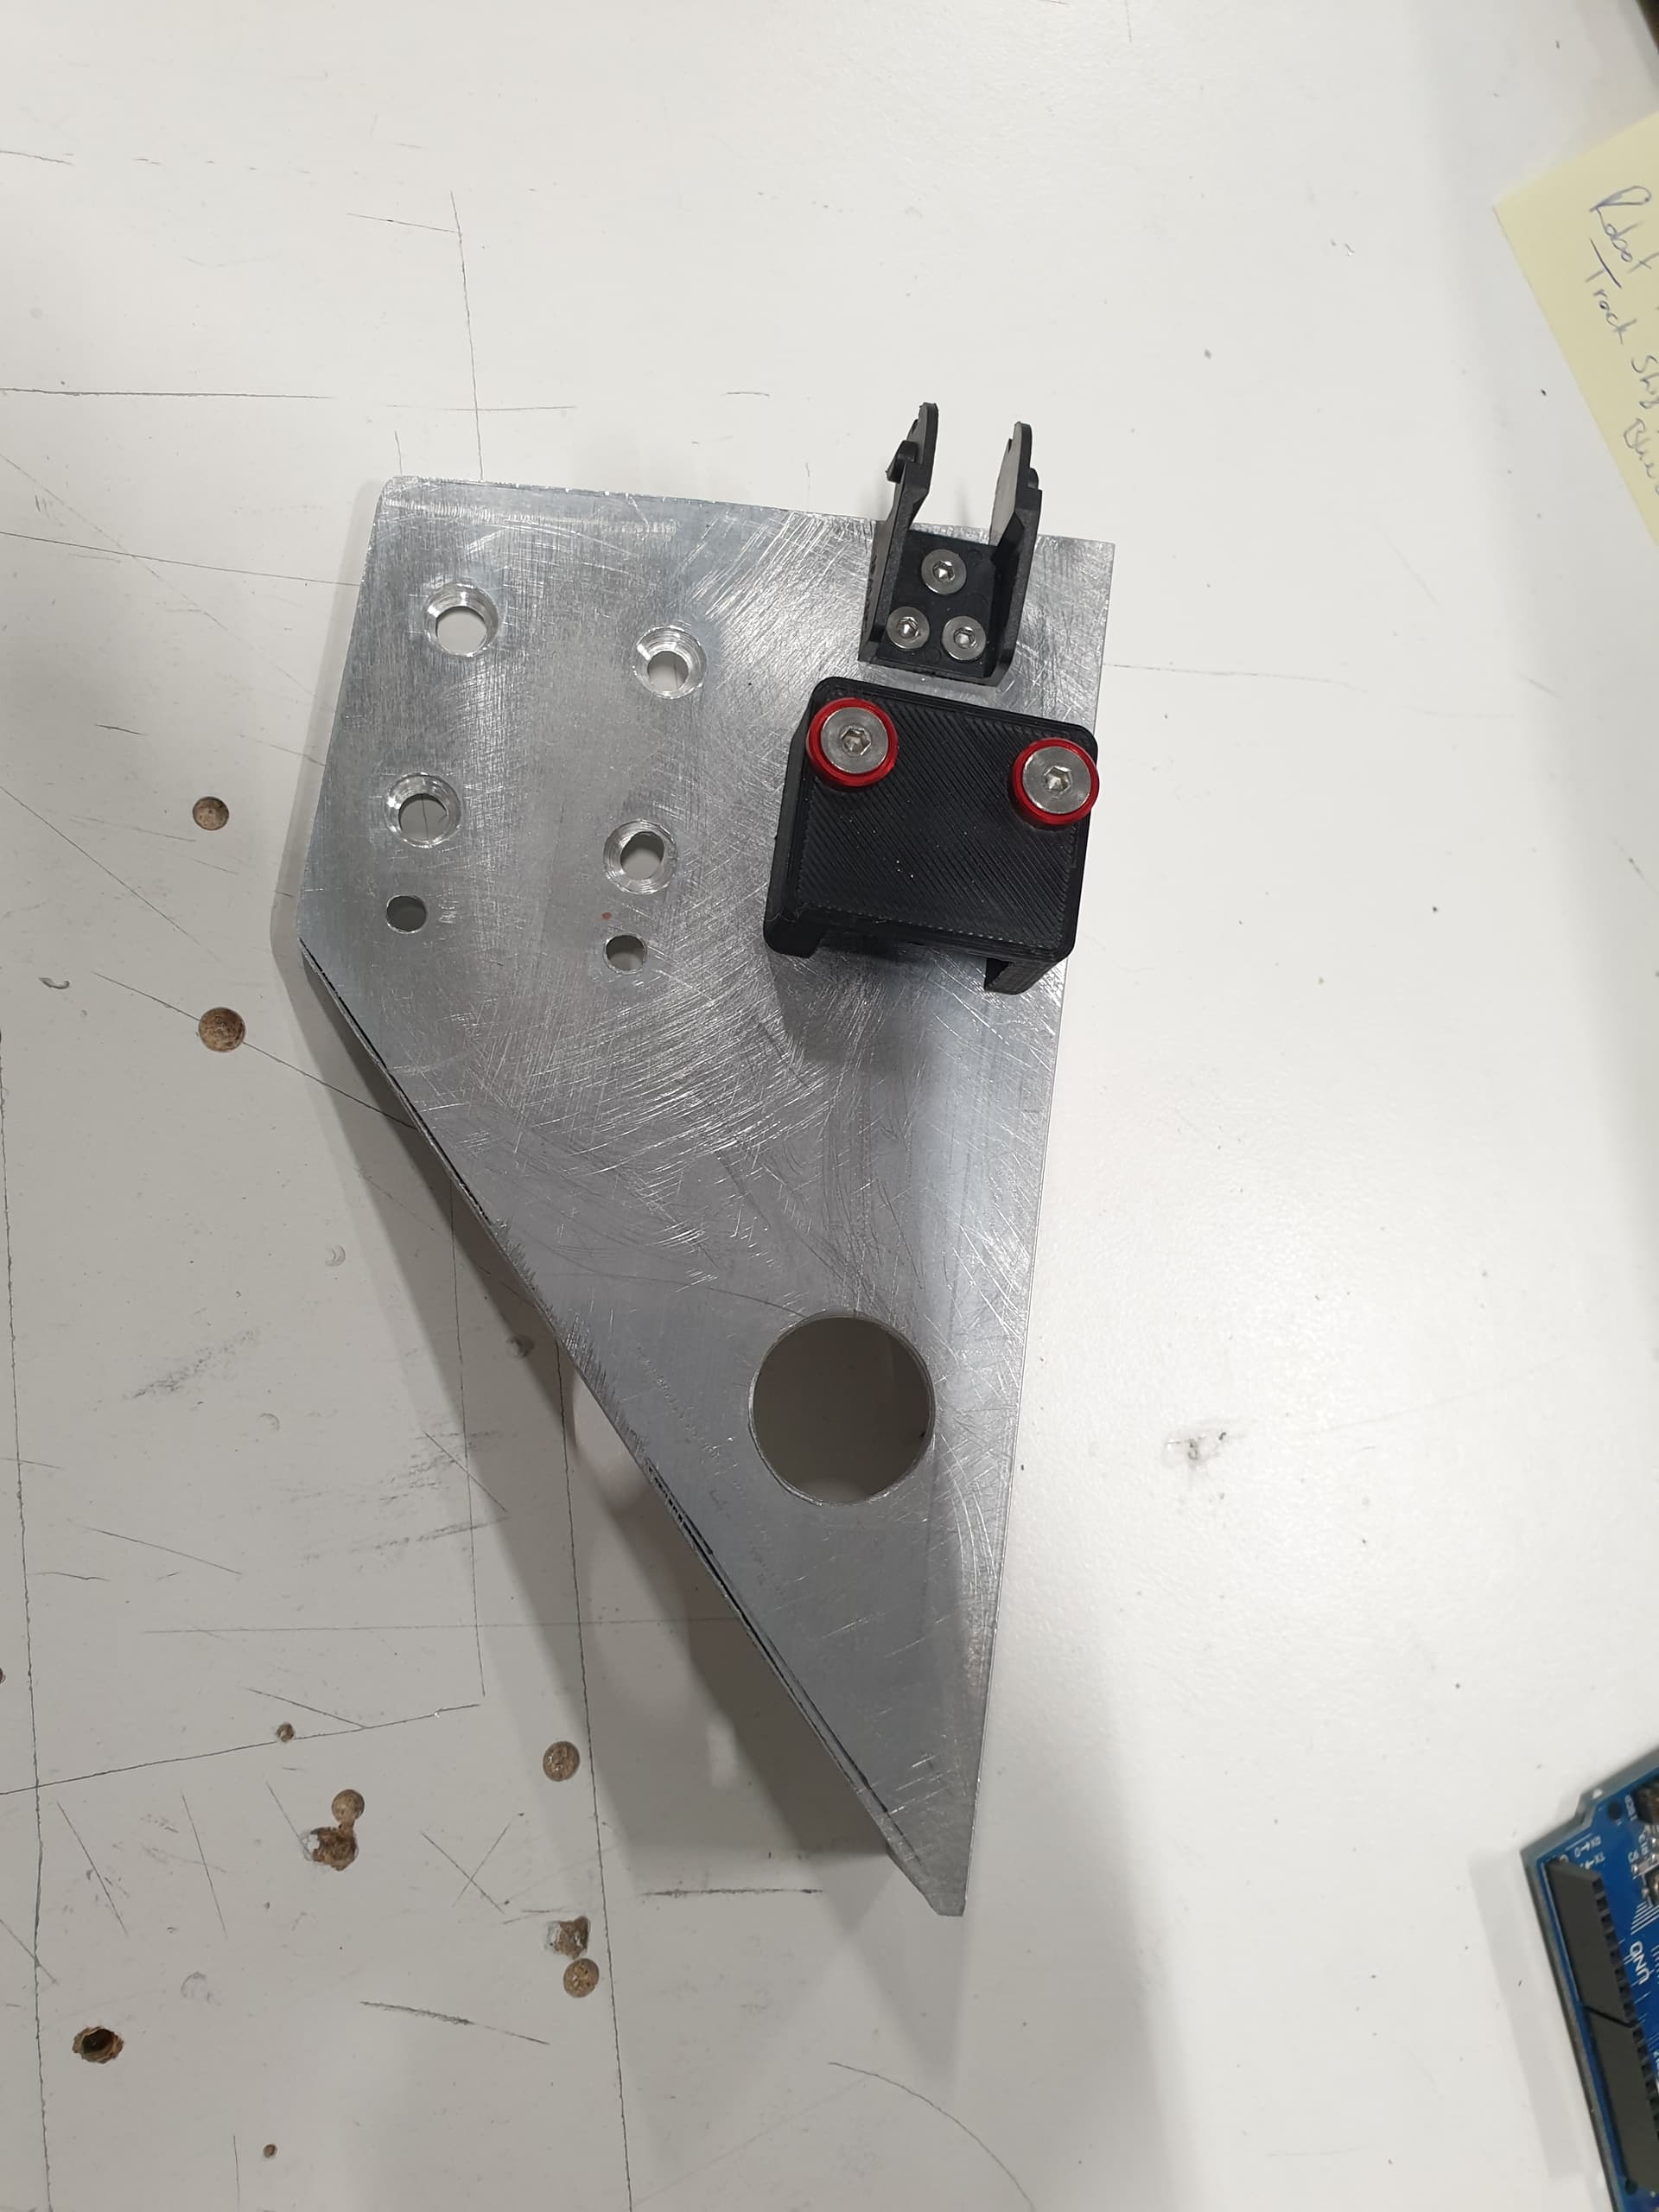
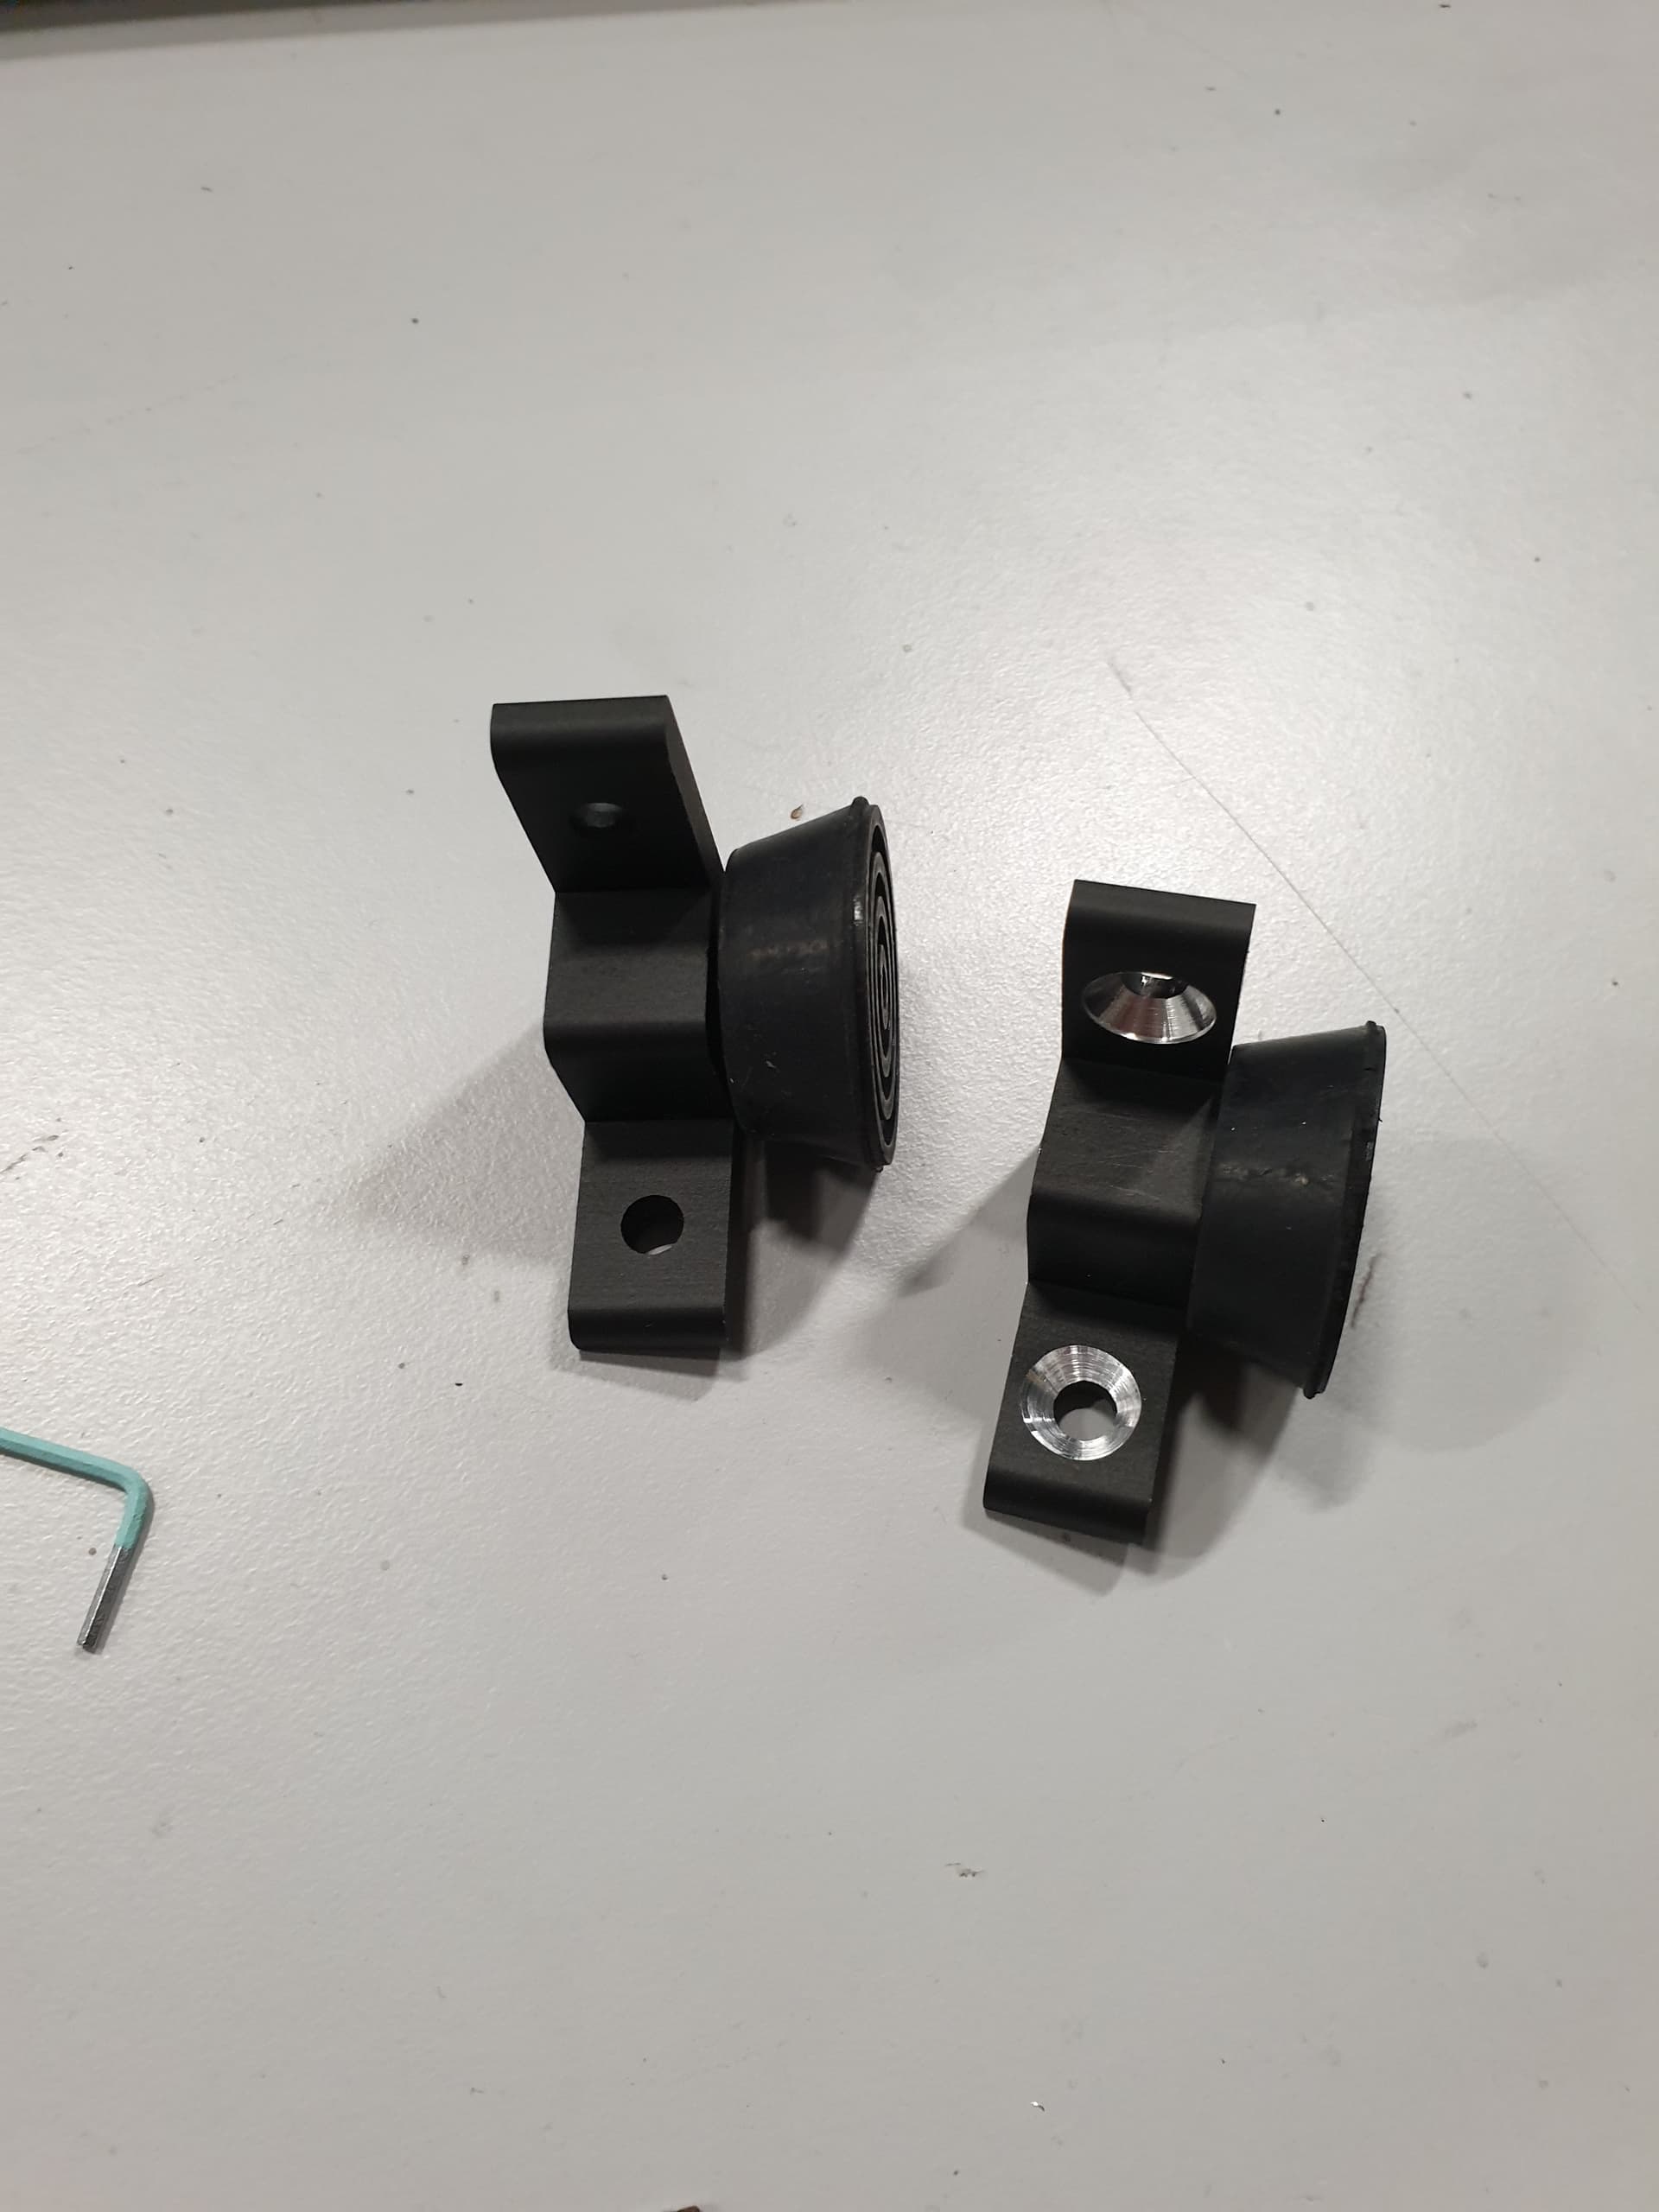
The door needs a locking mechanism so I made that as well:


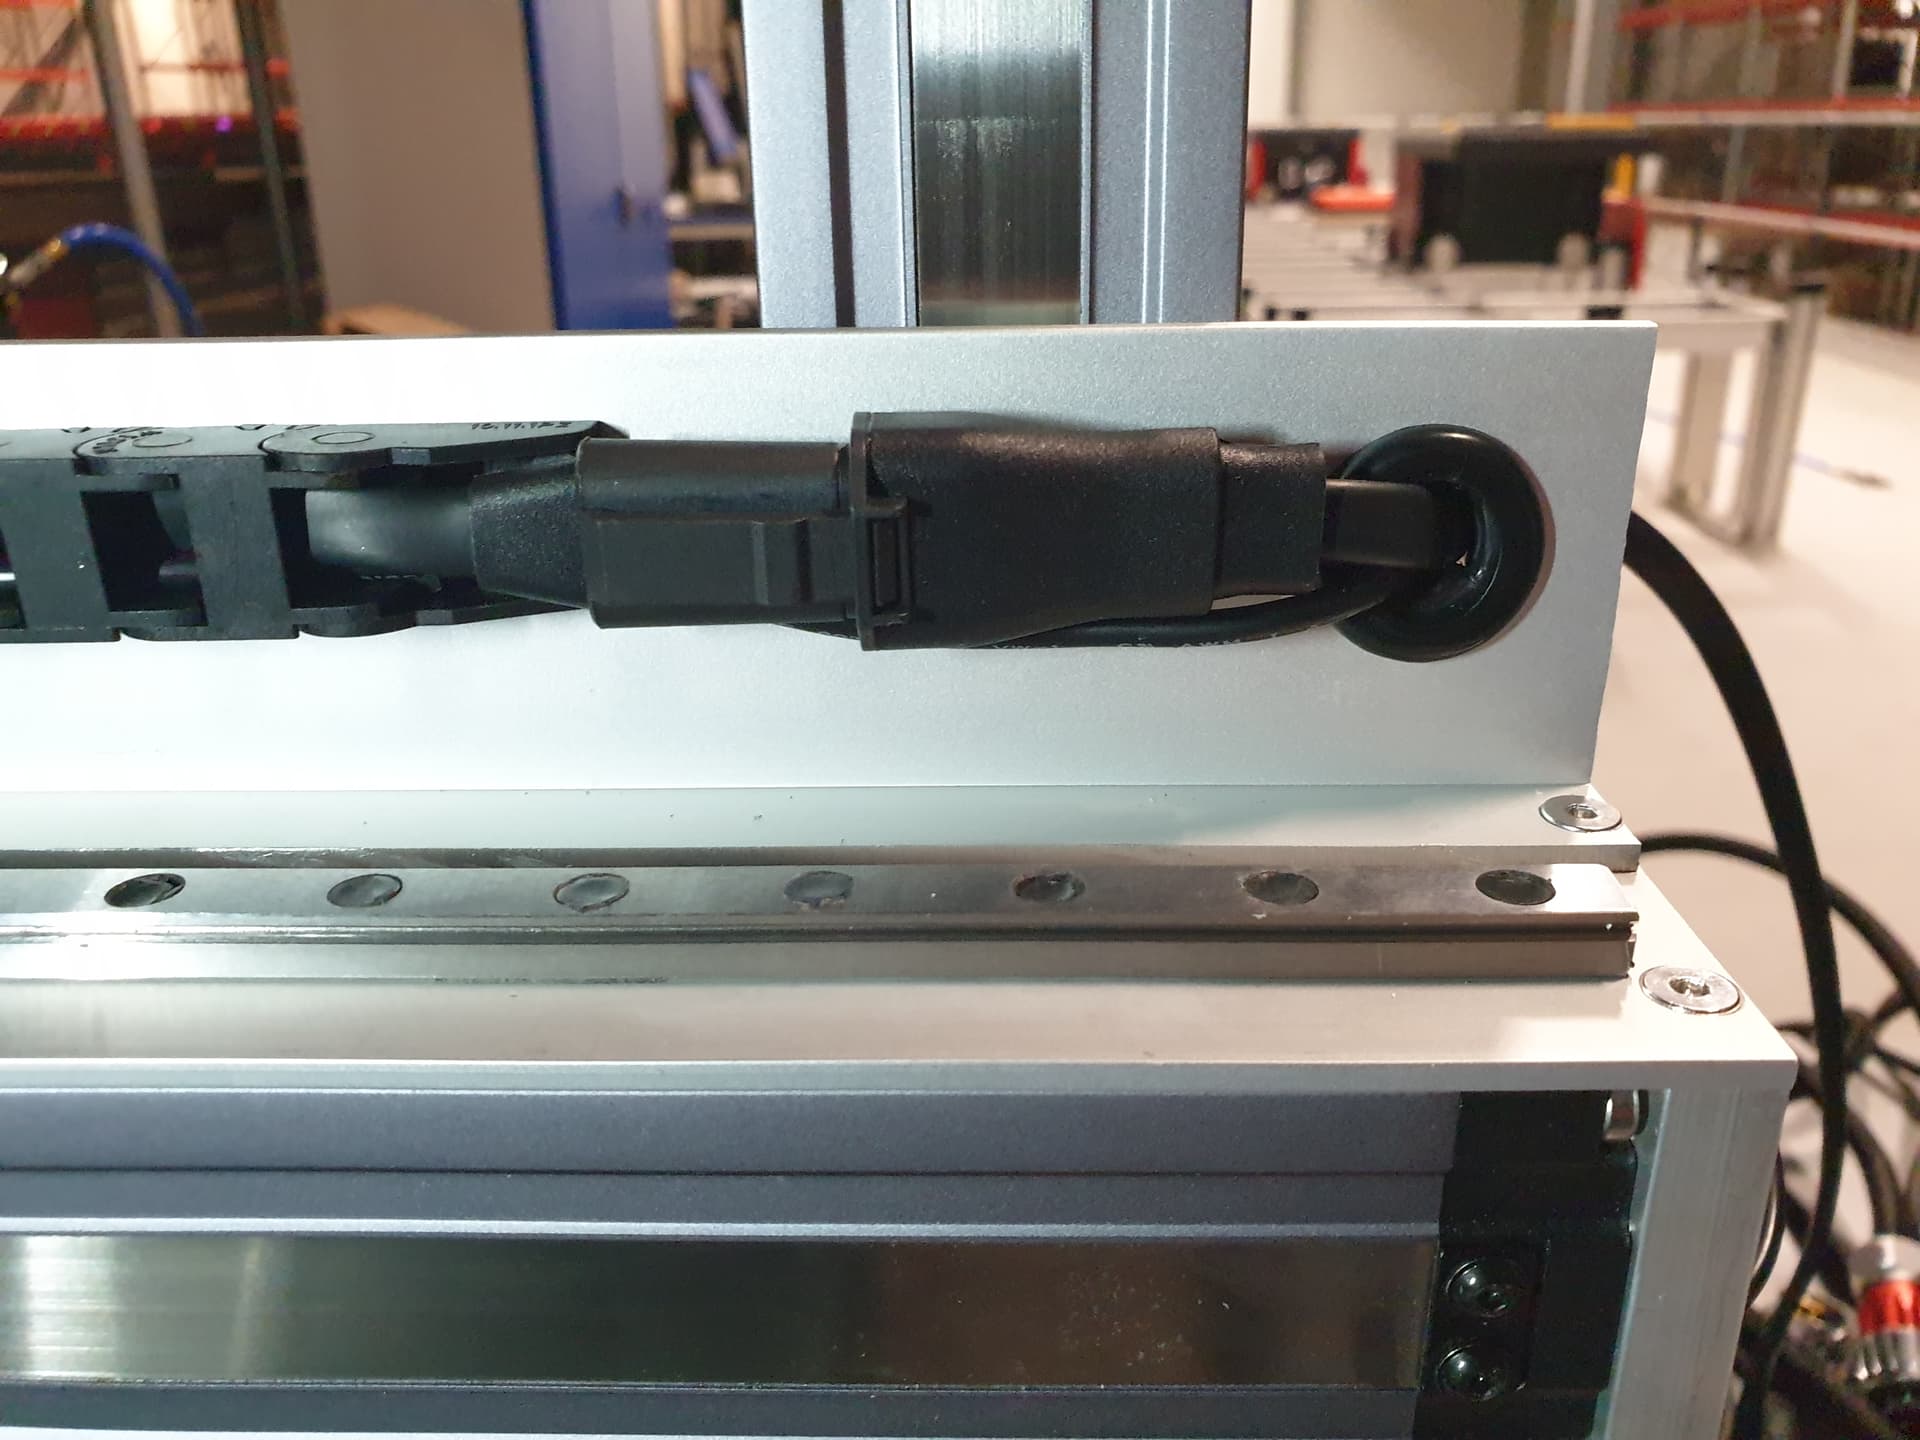
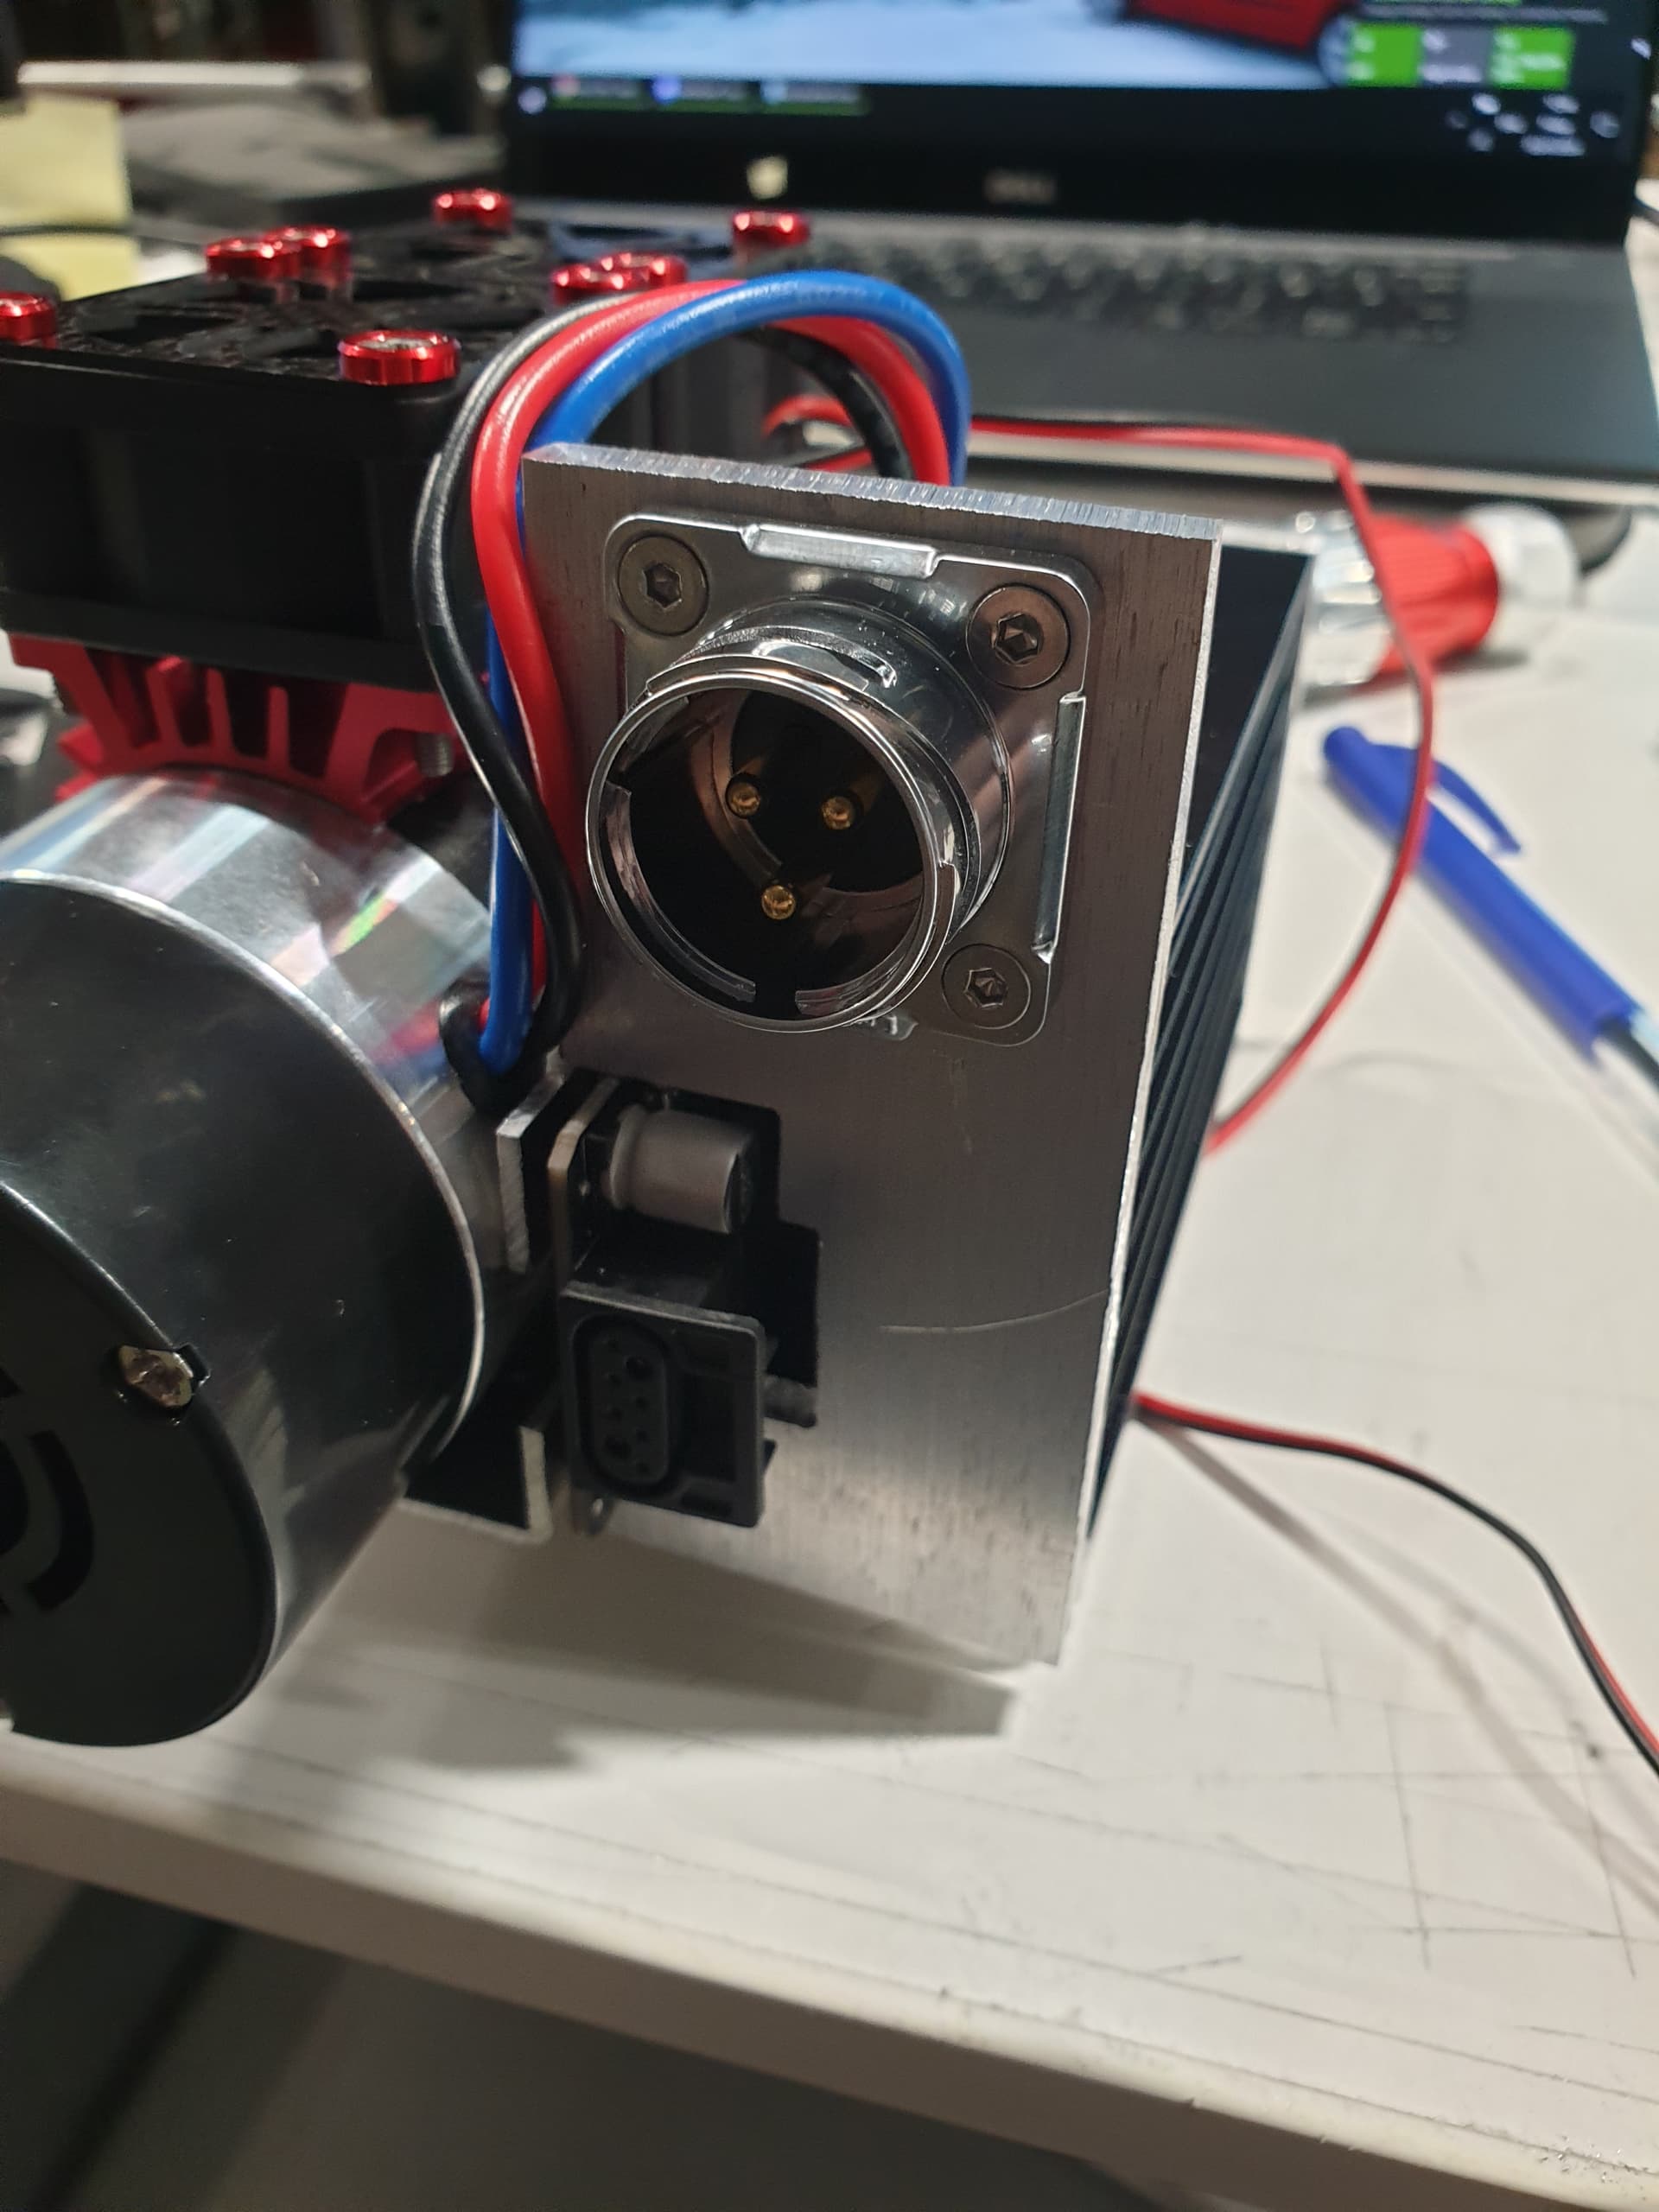
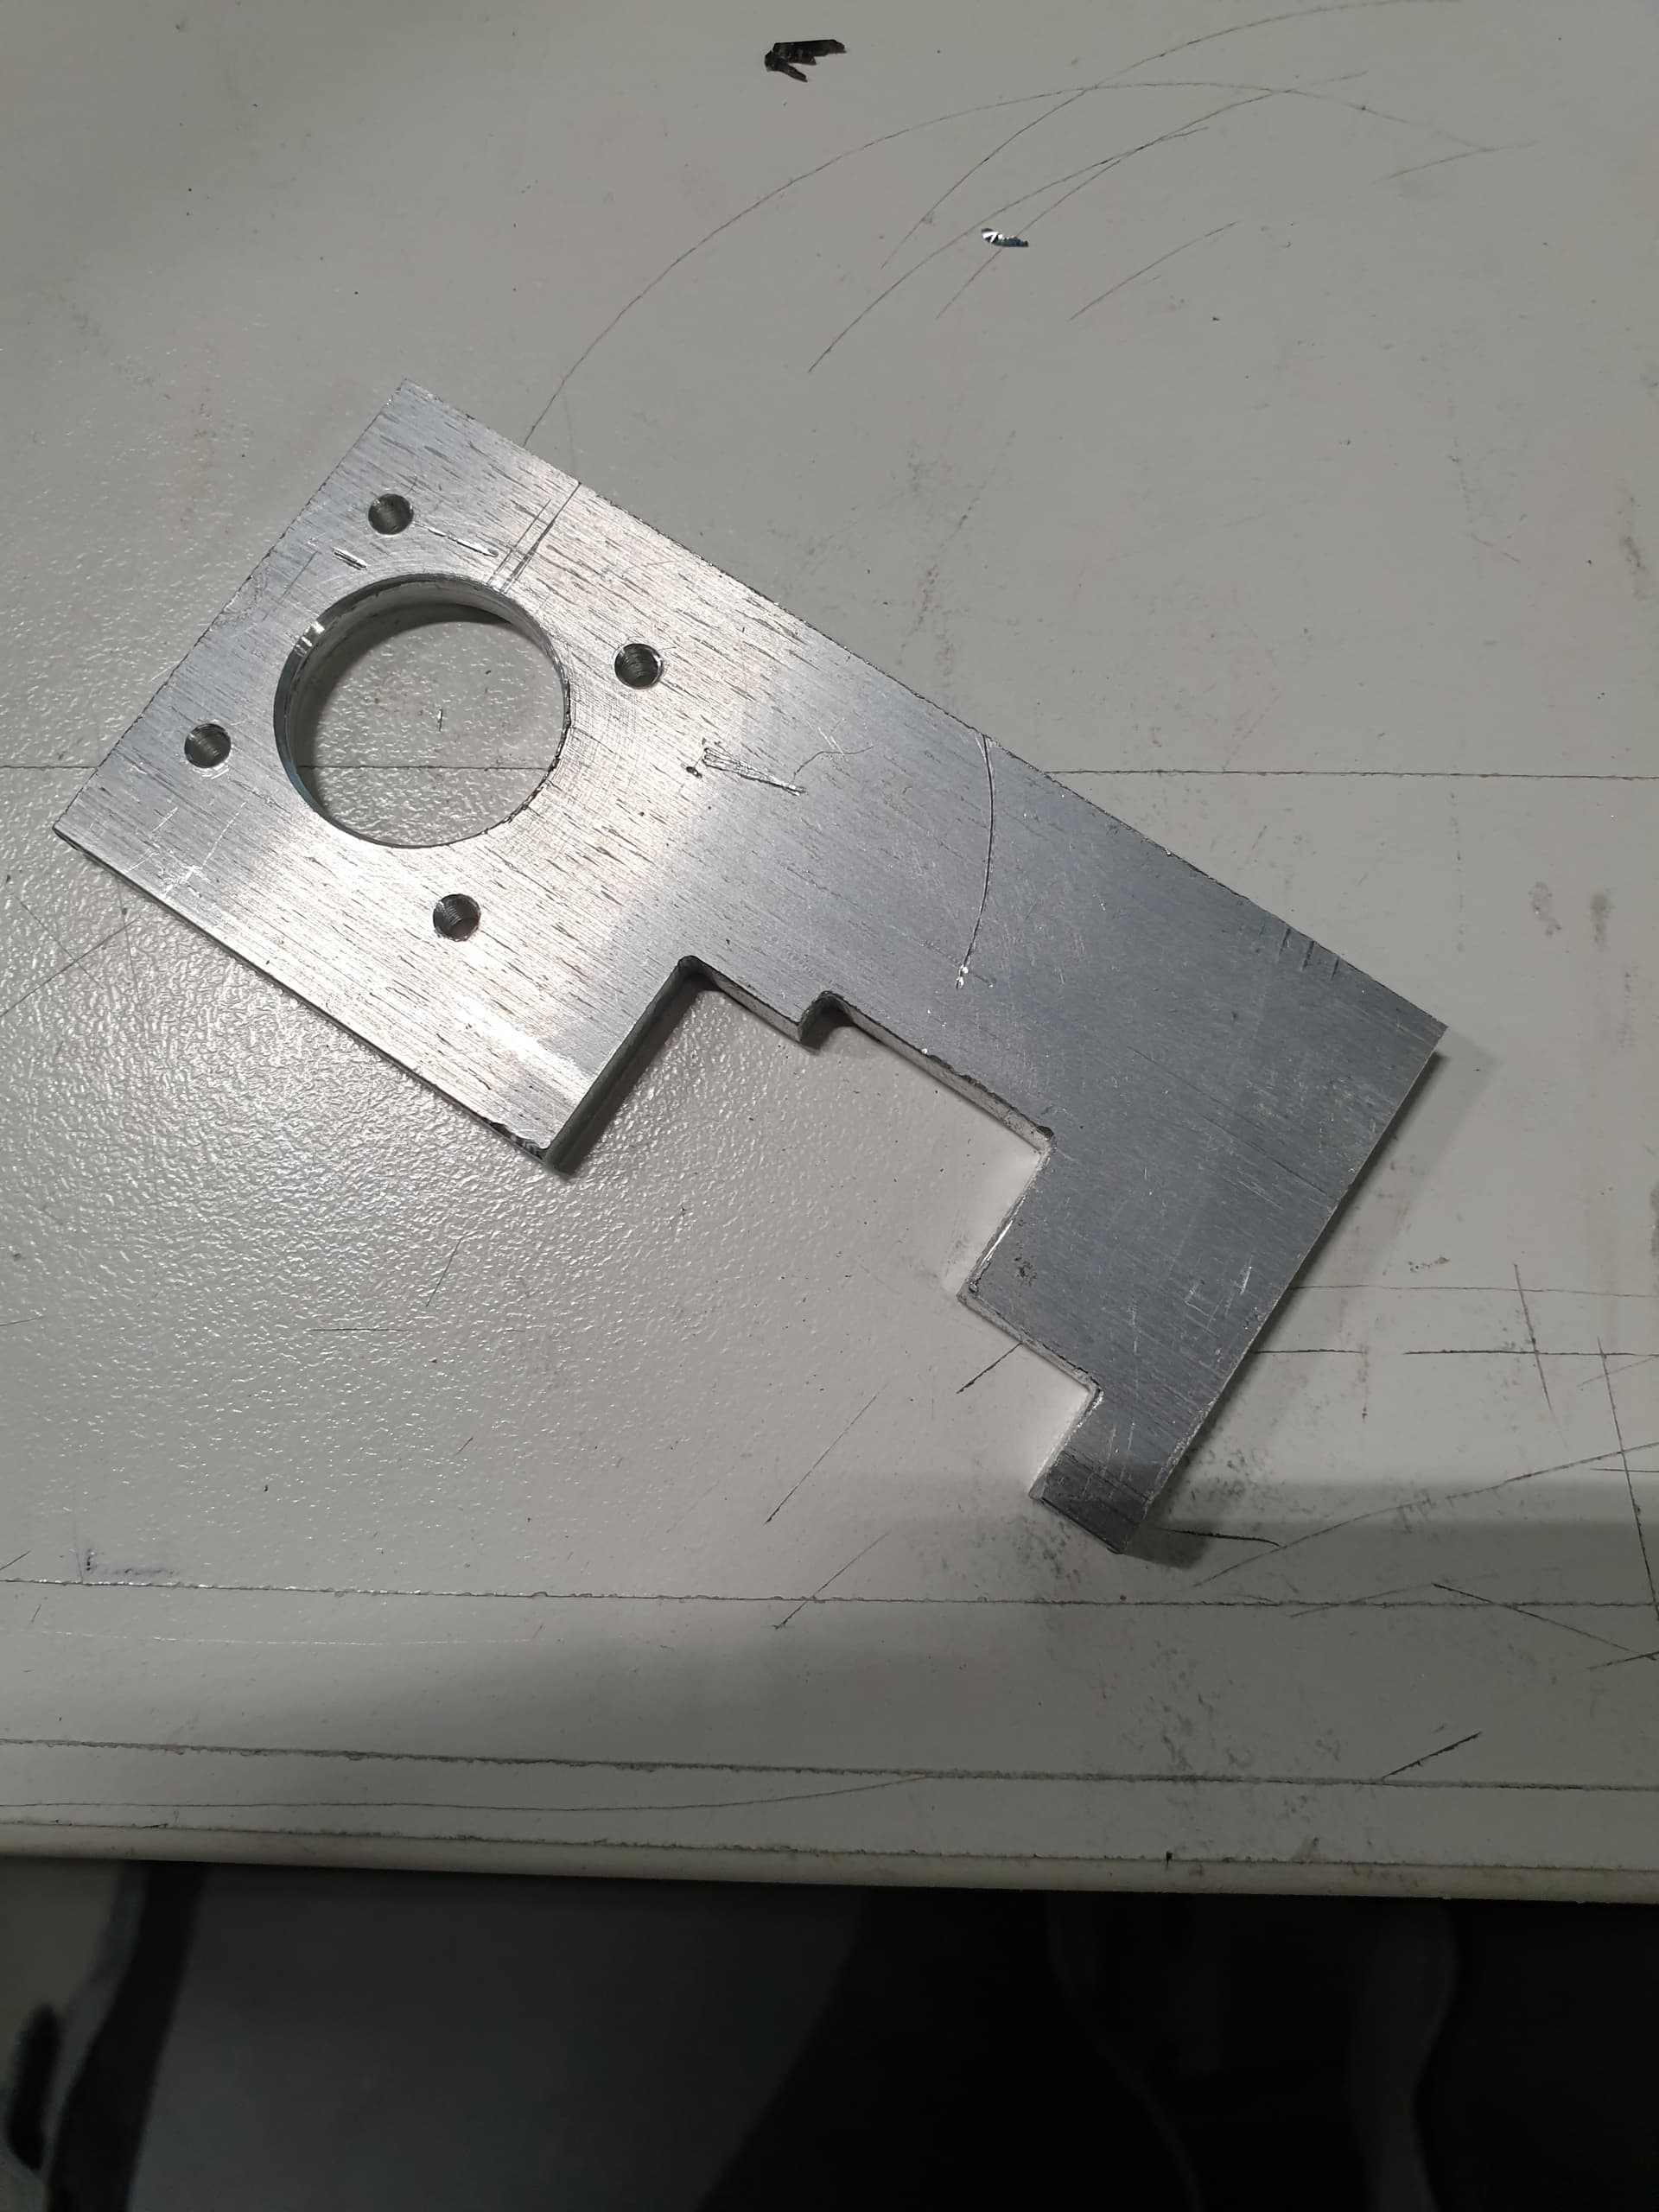
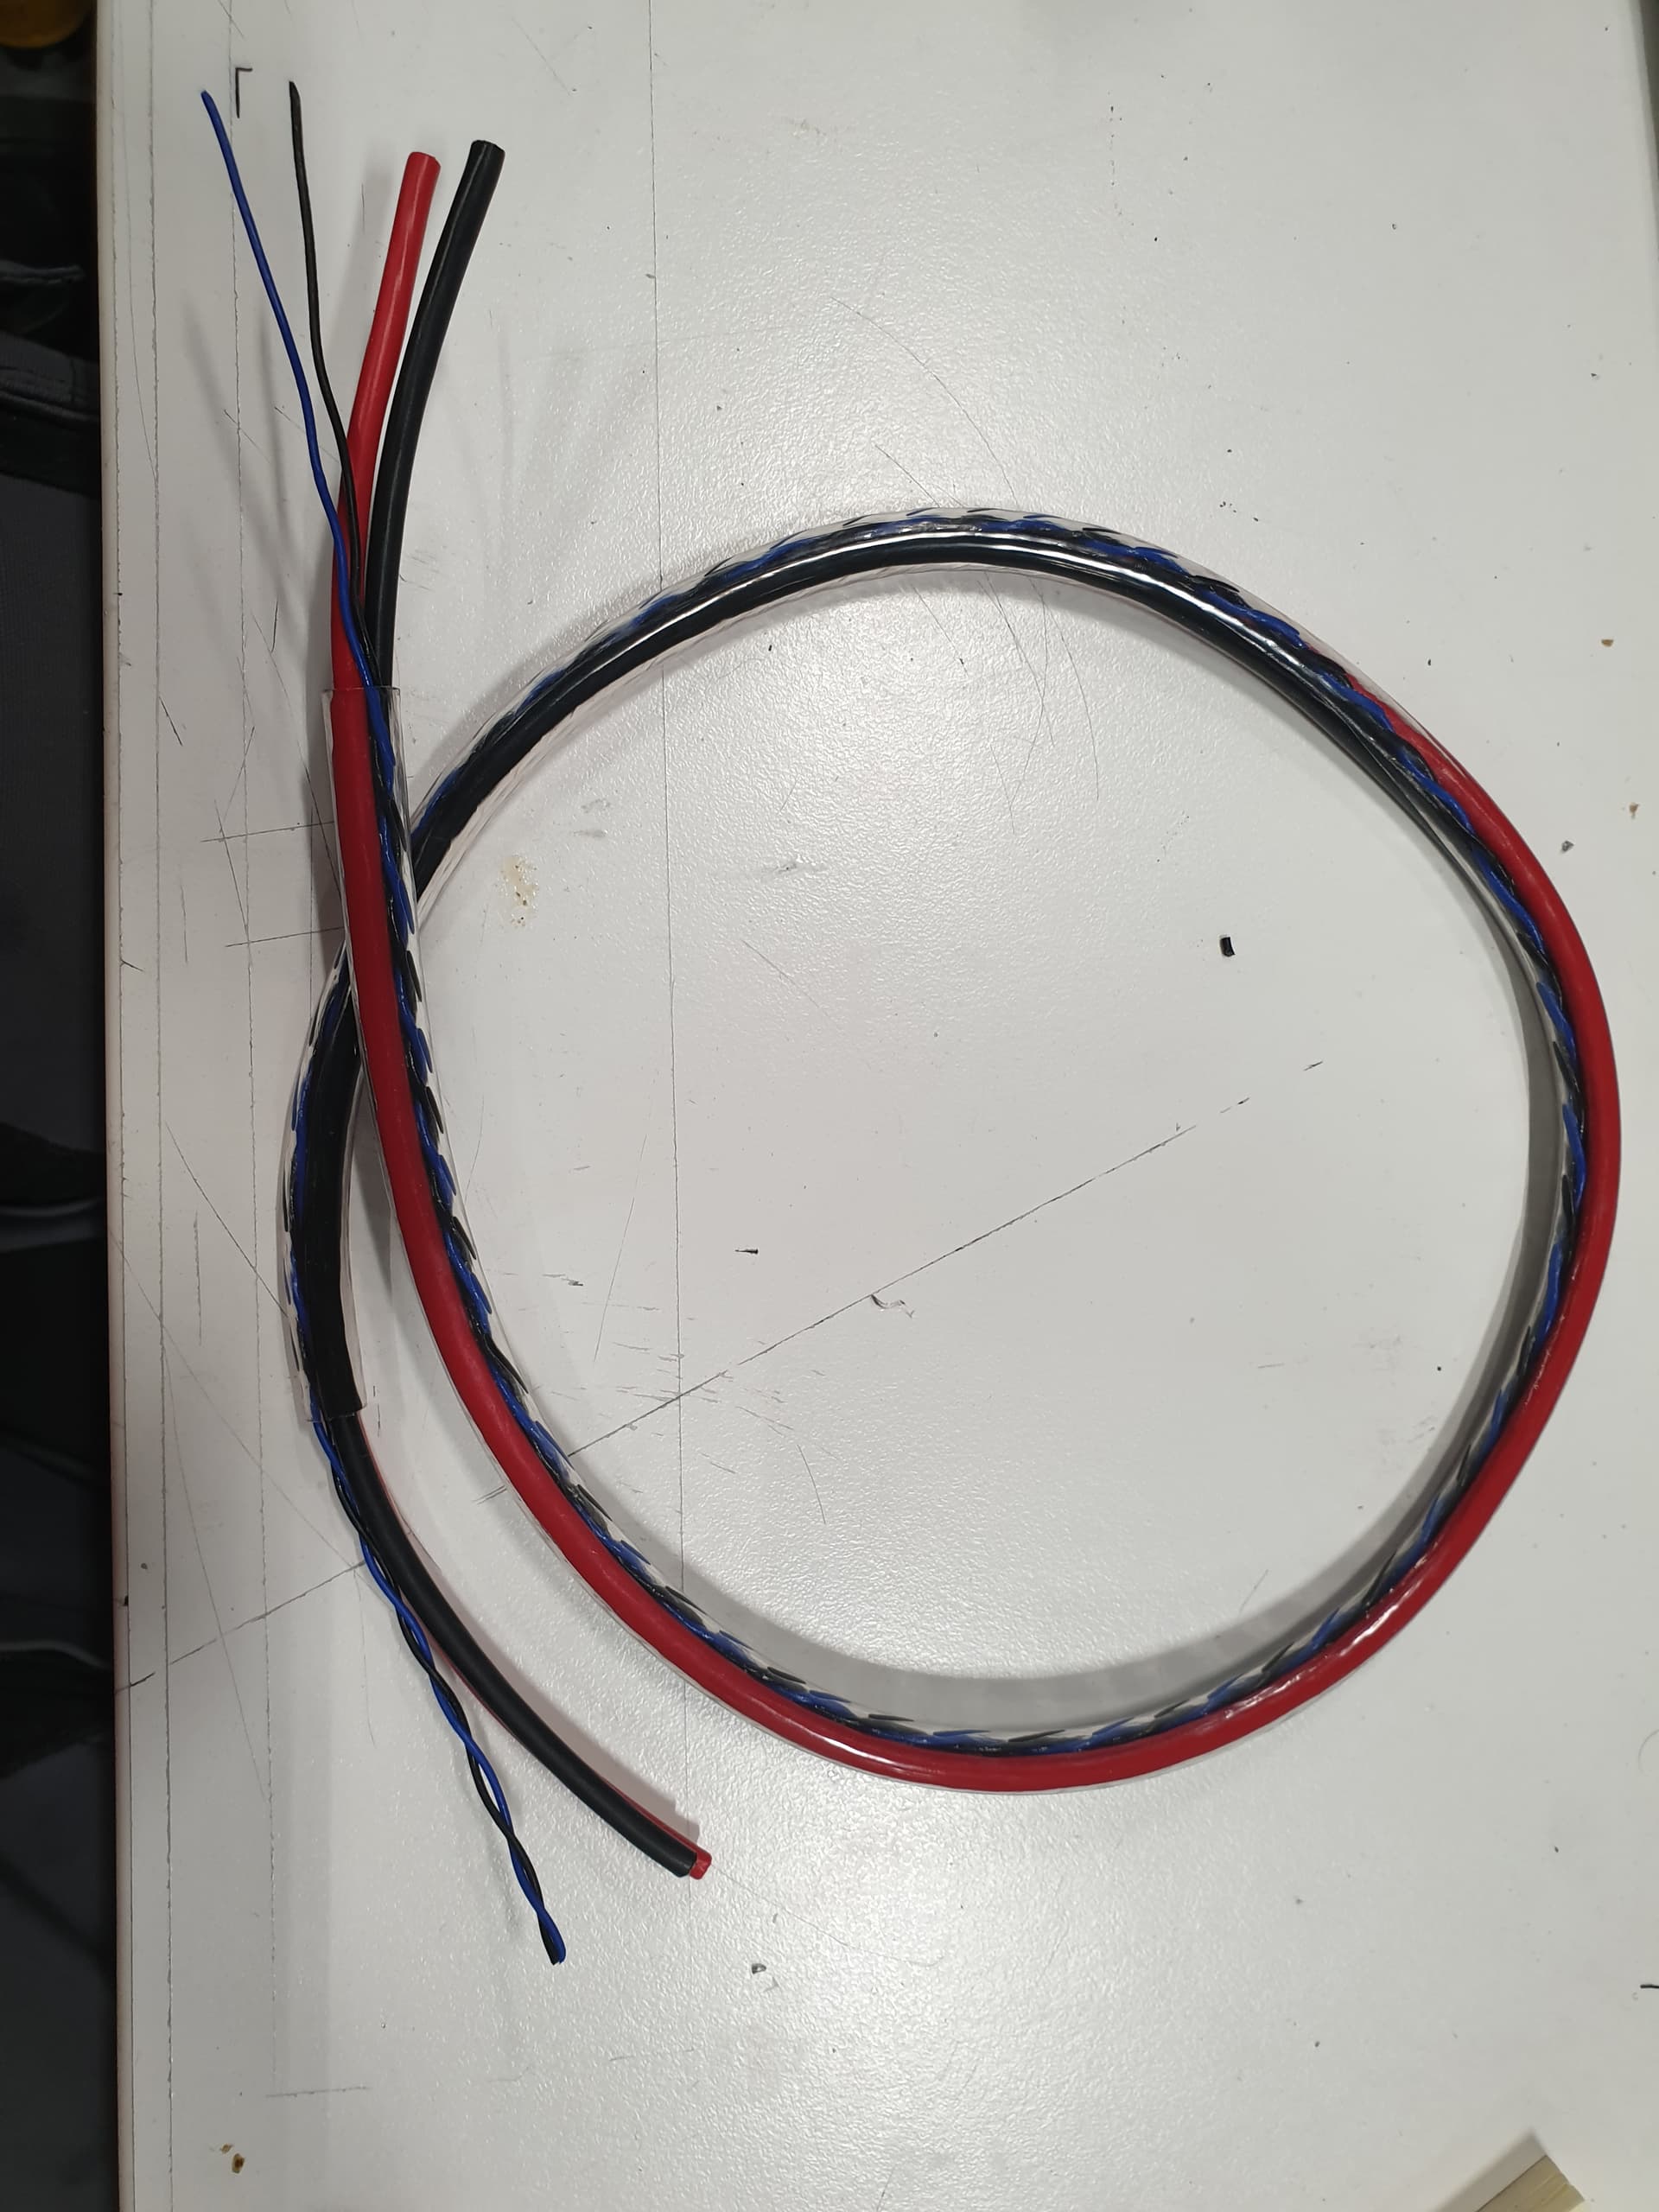
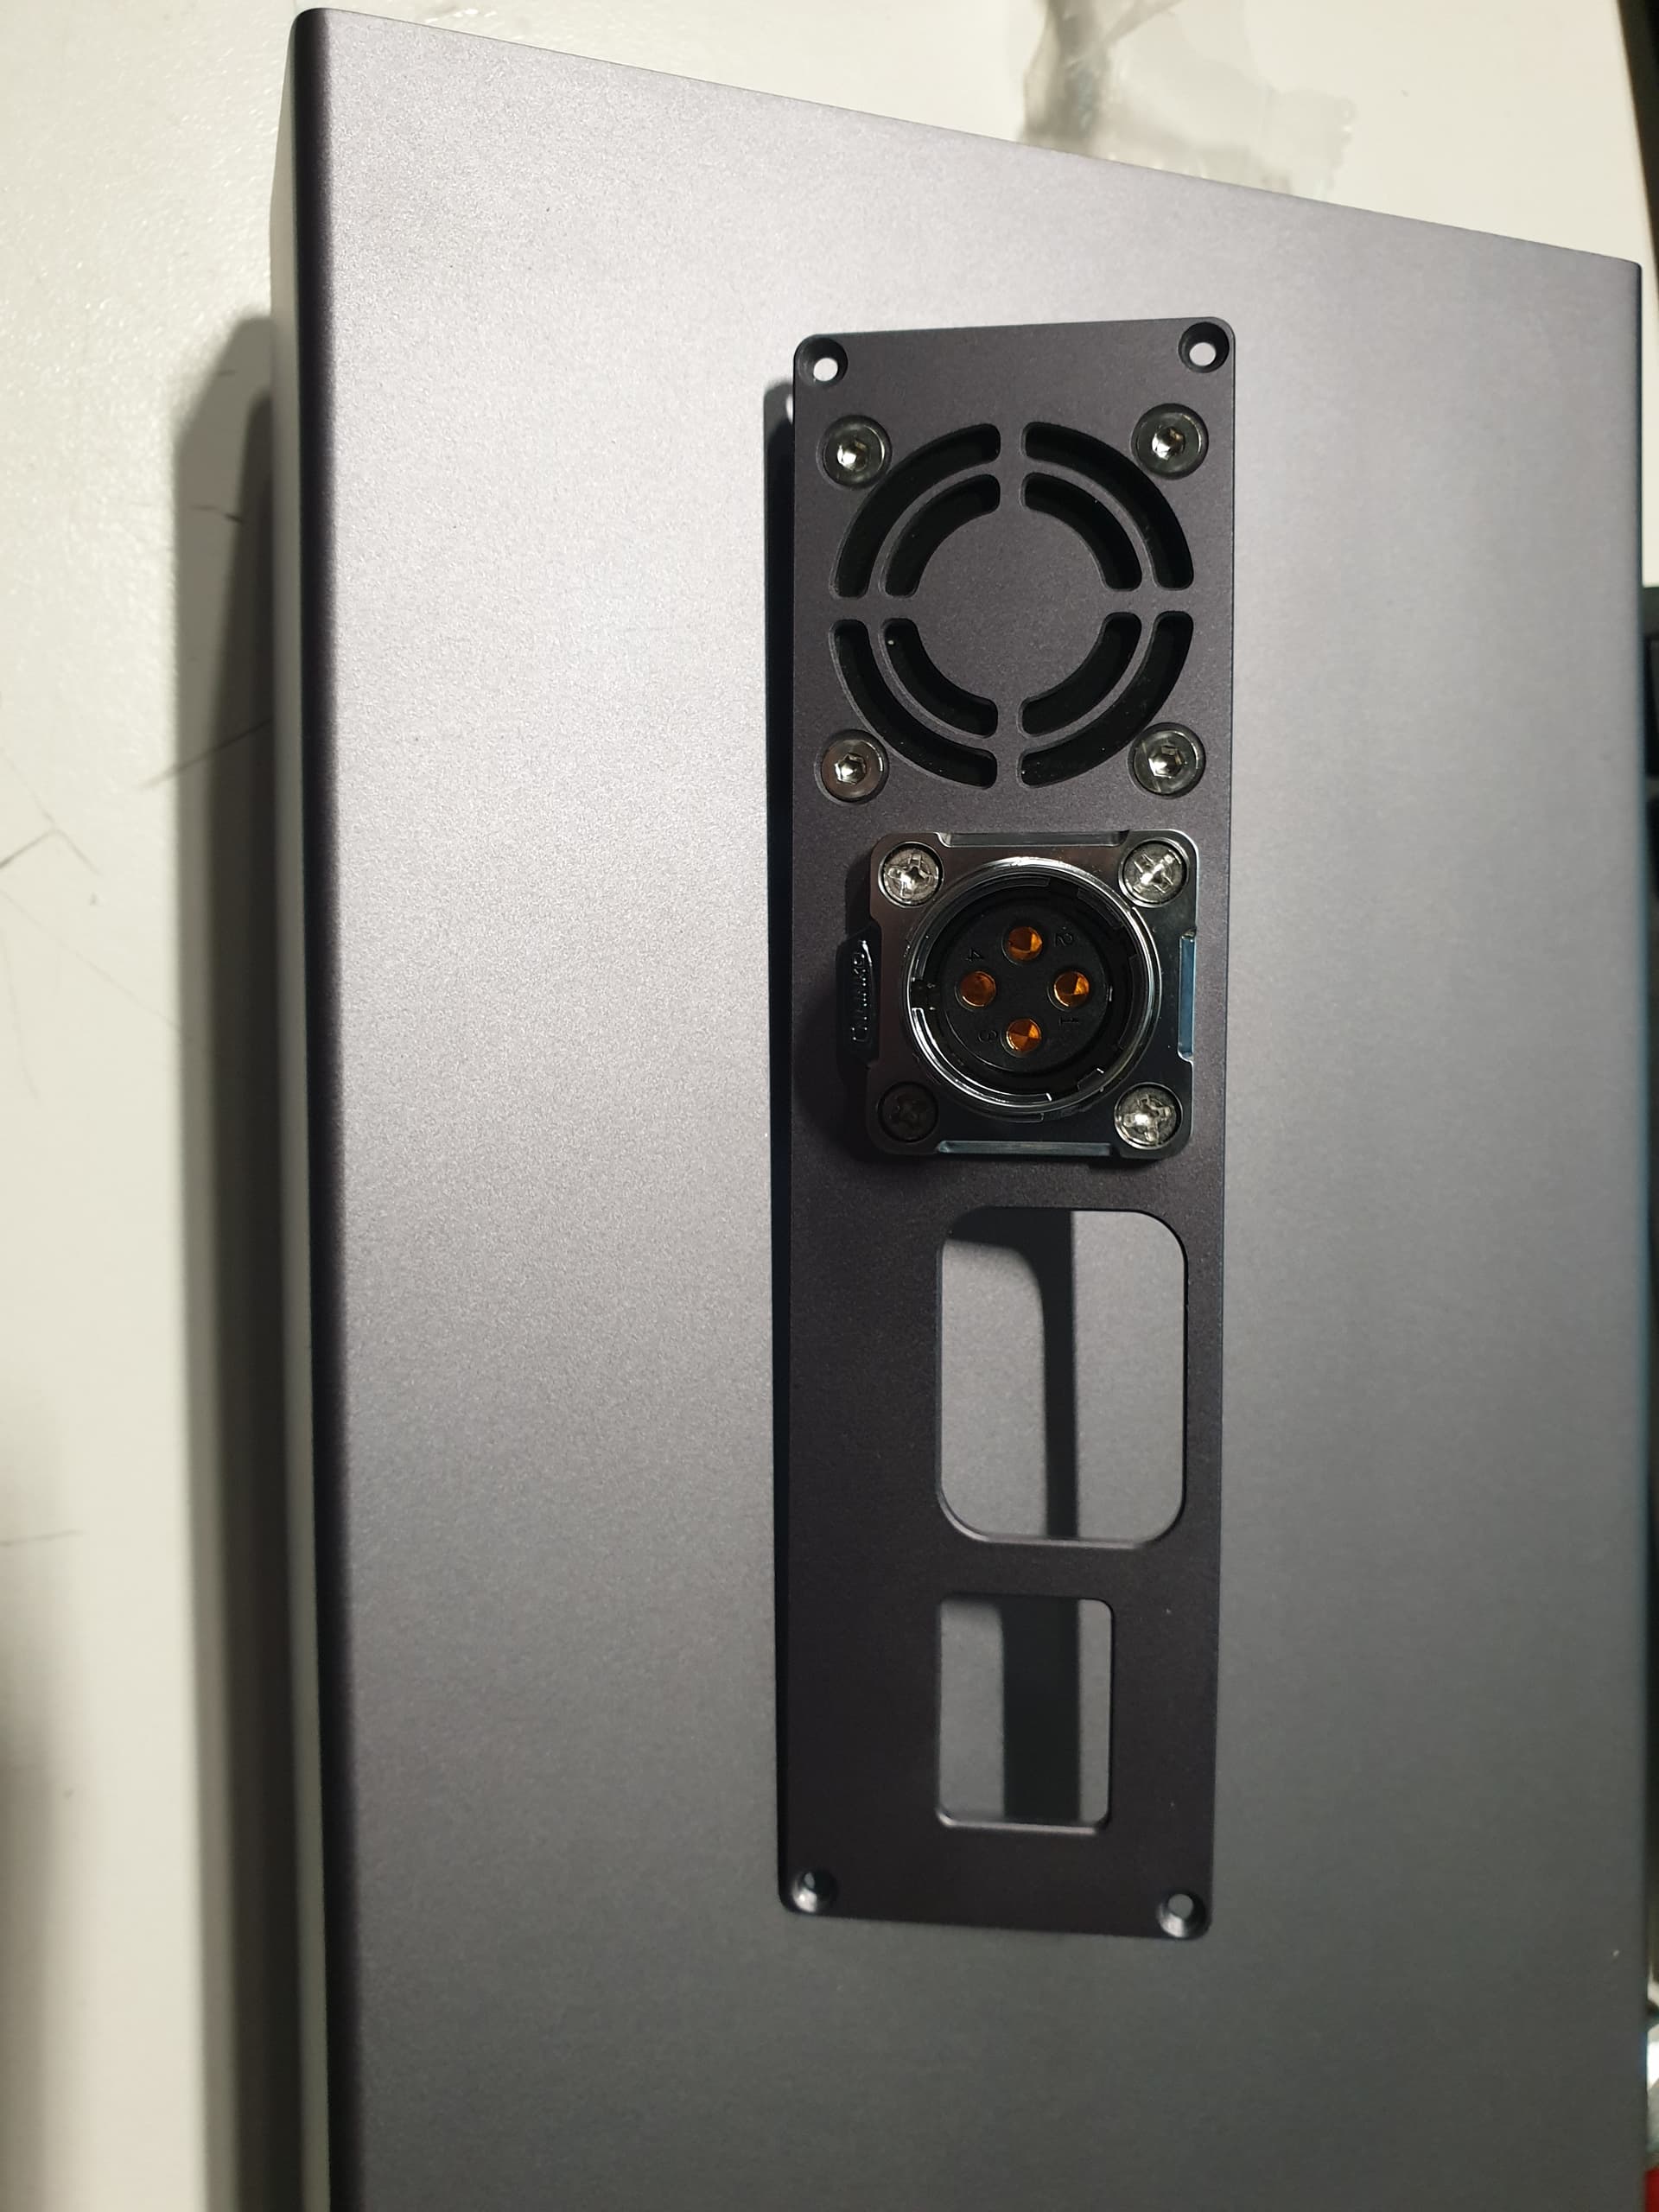
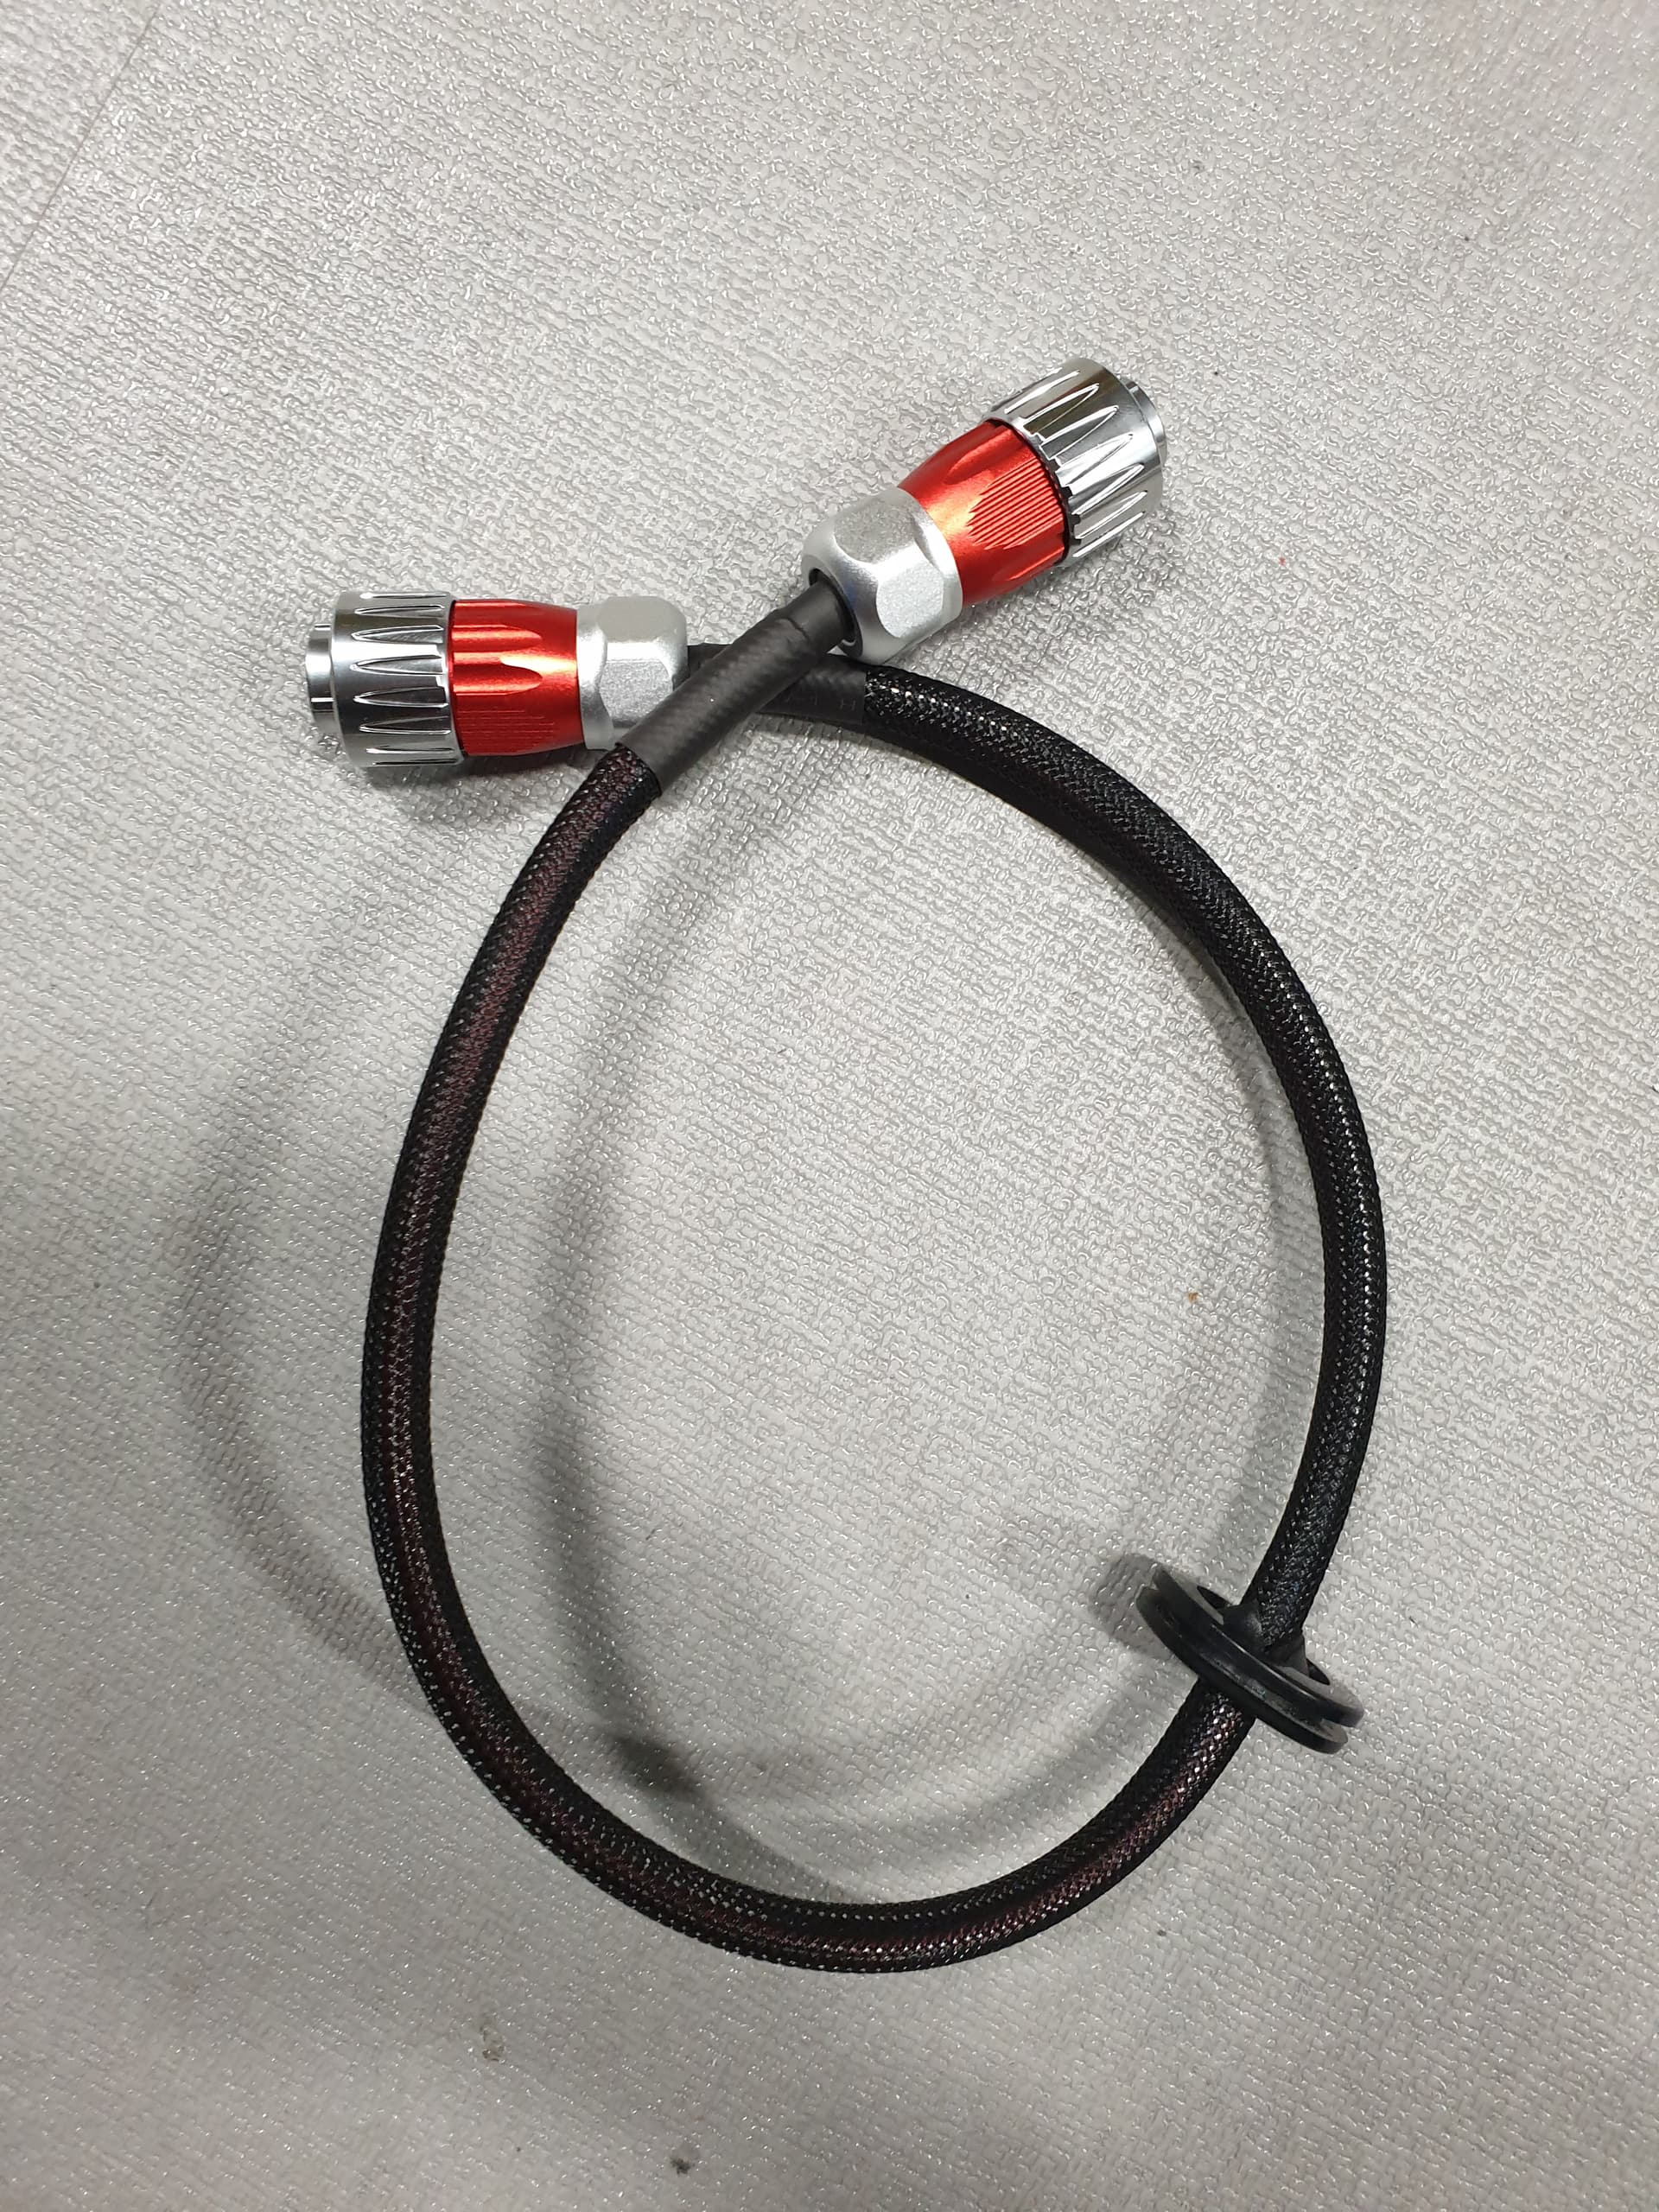
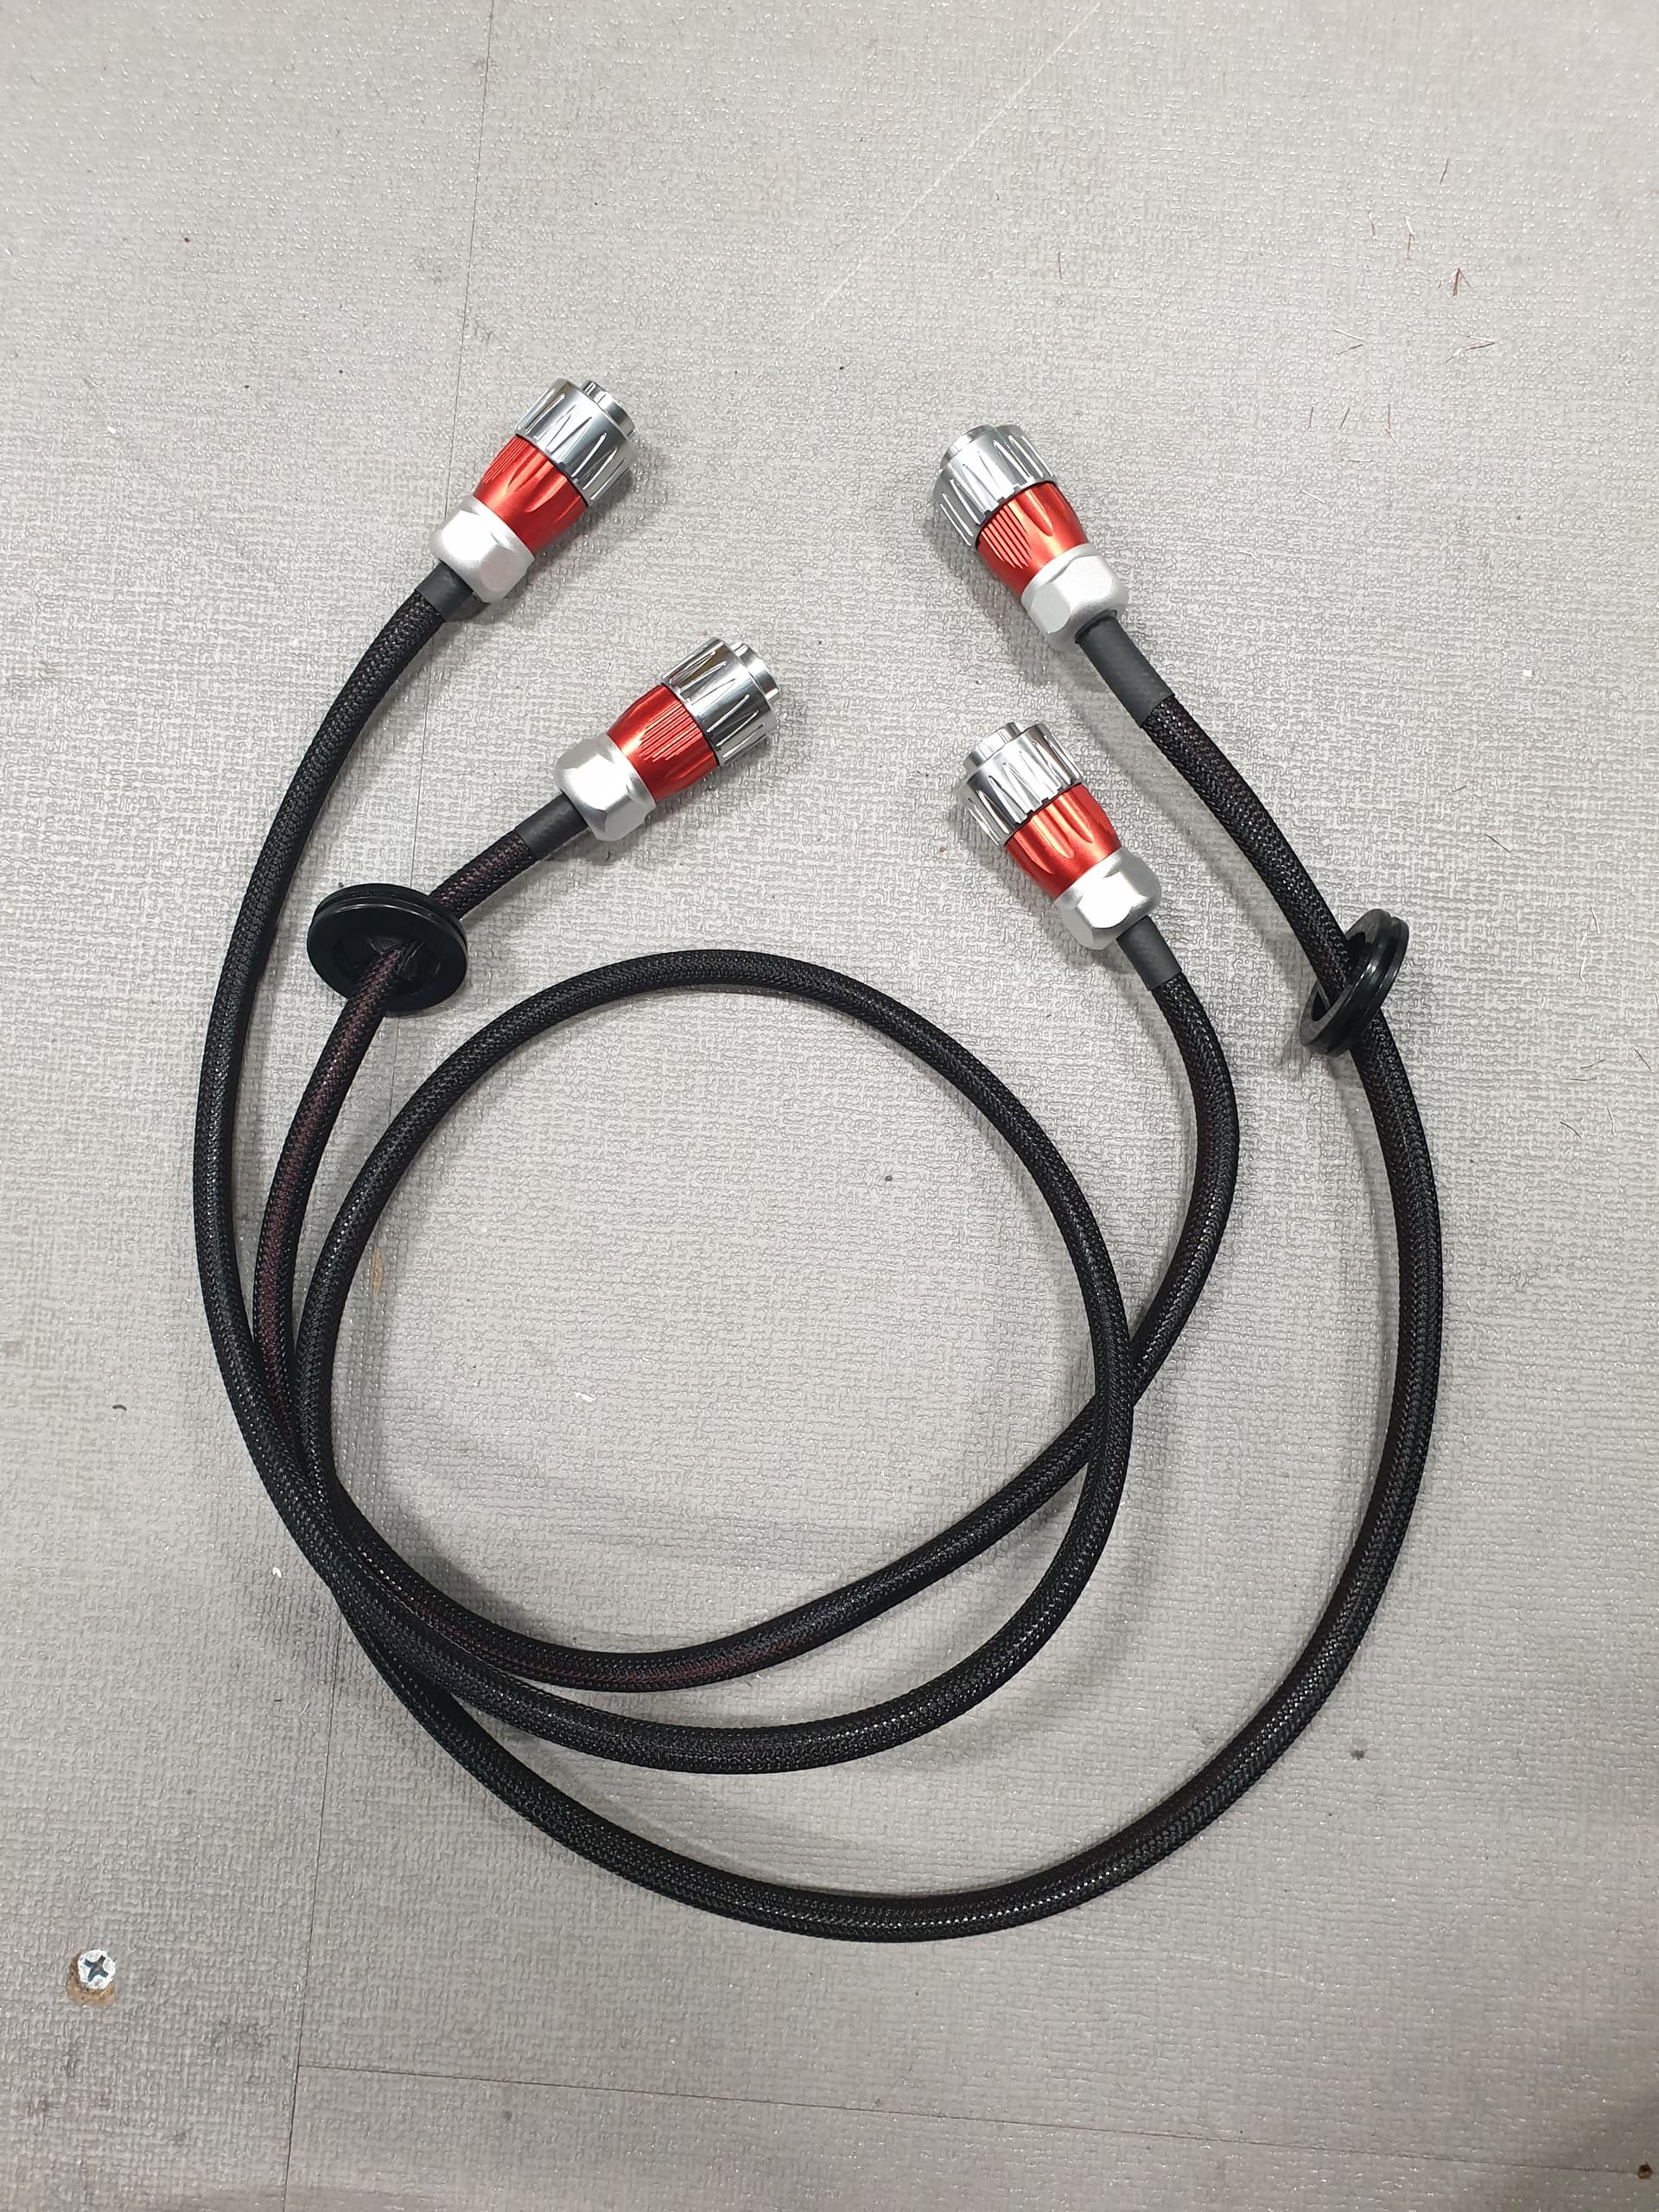
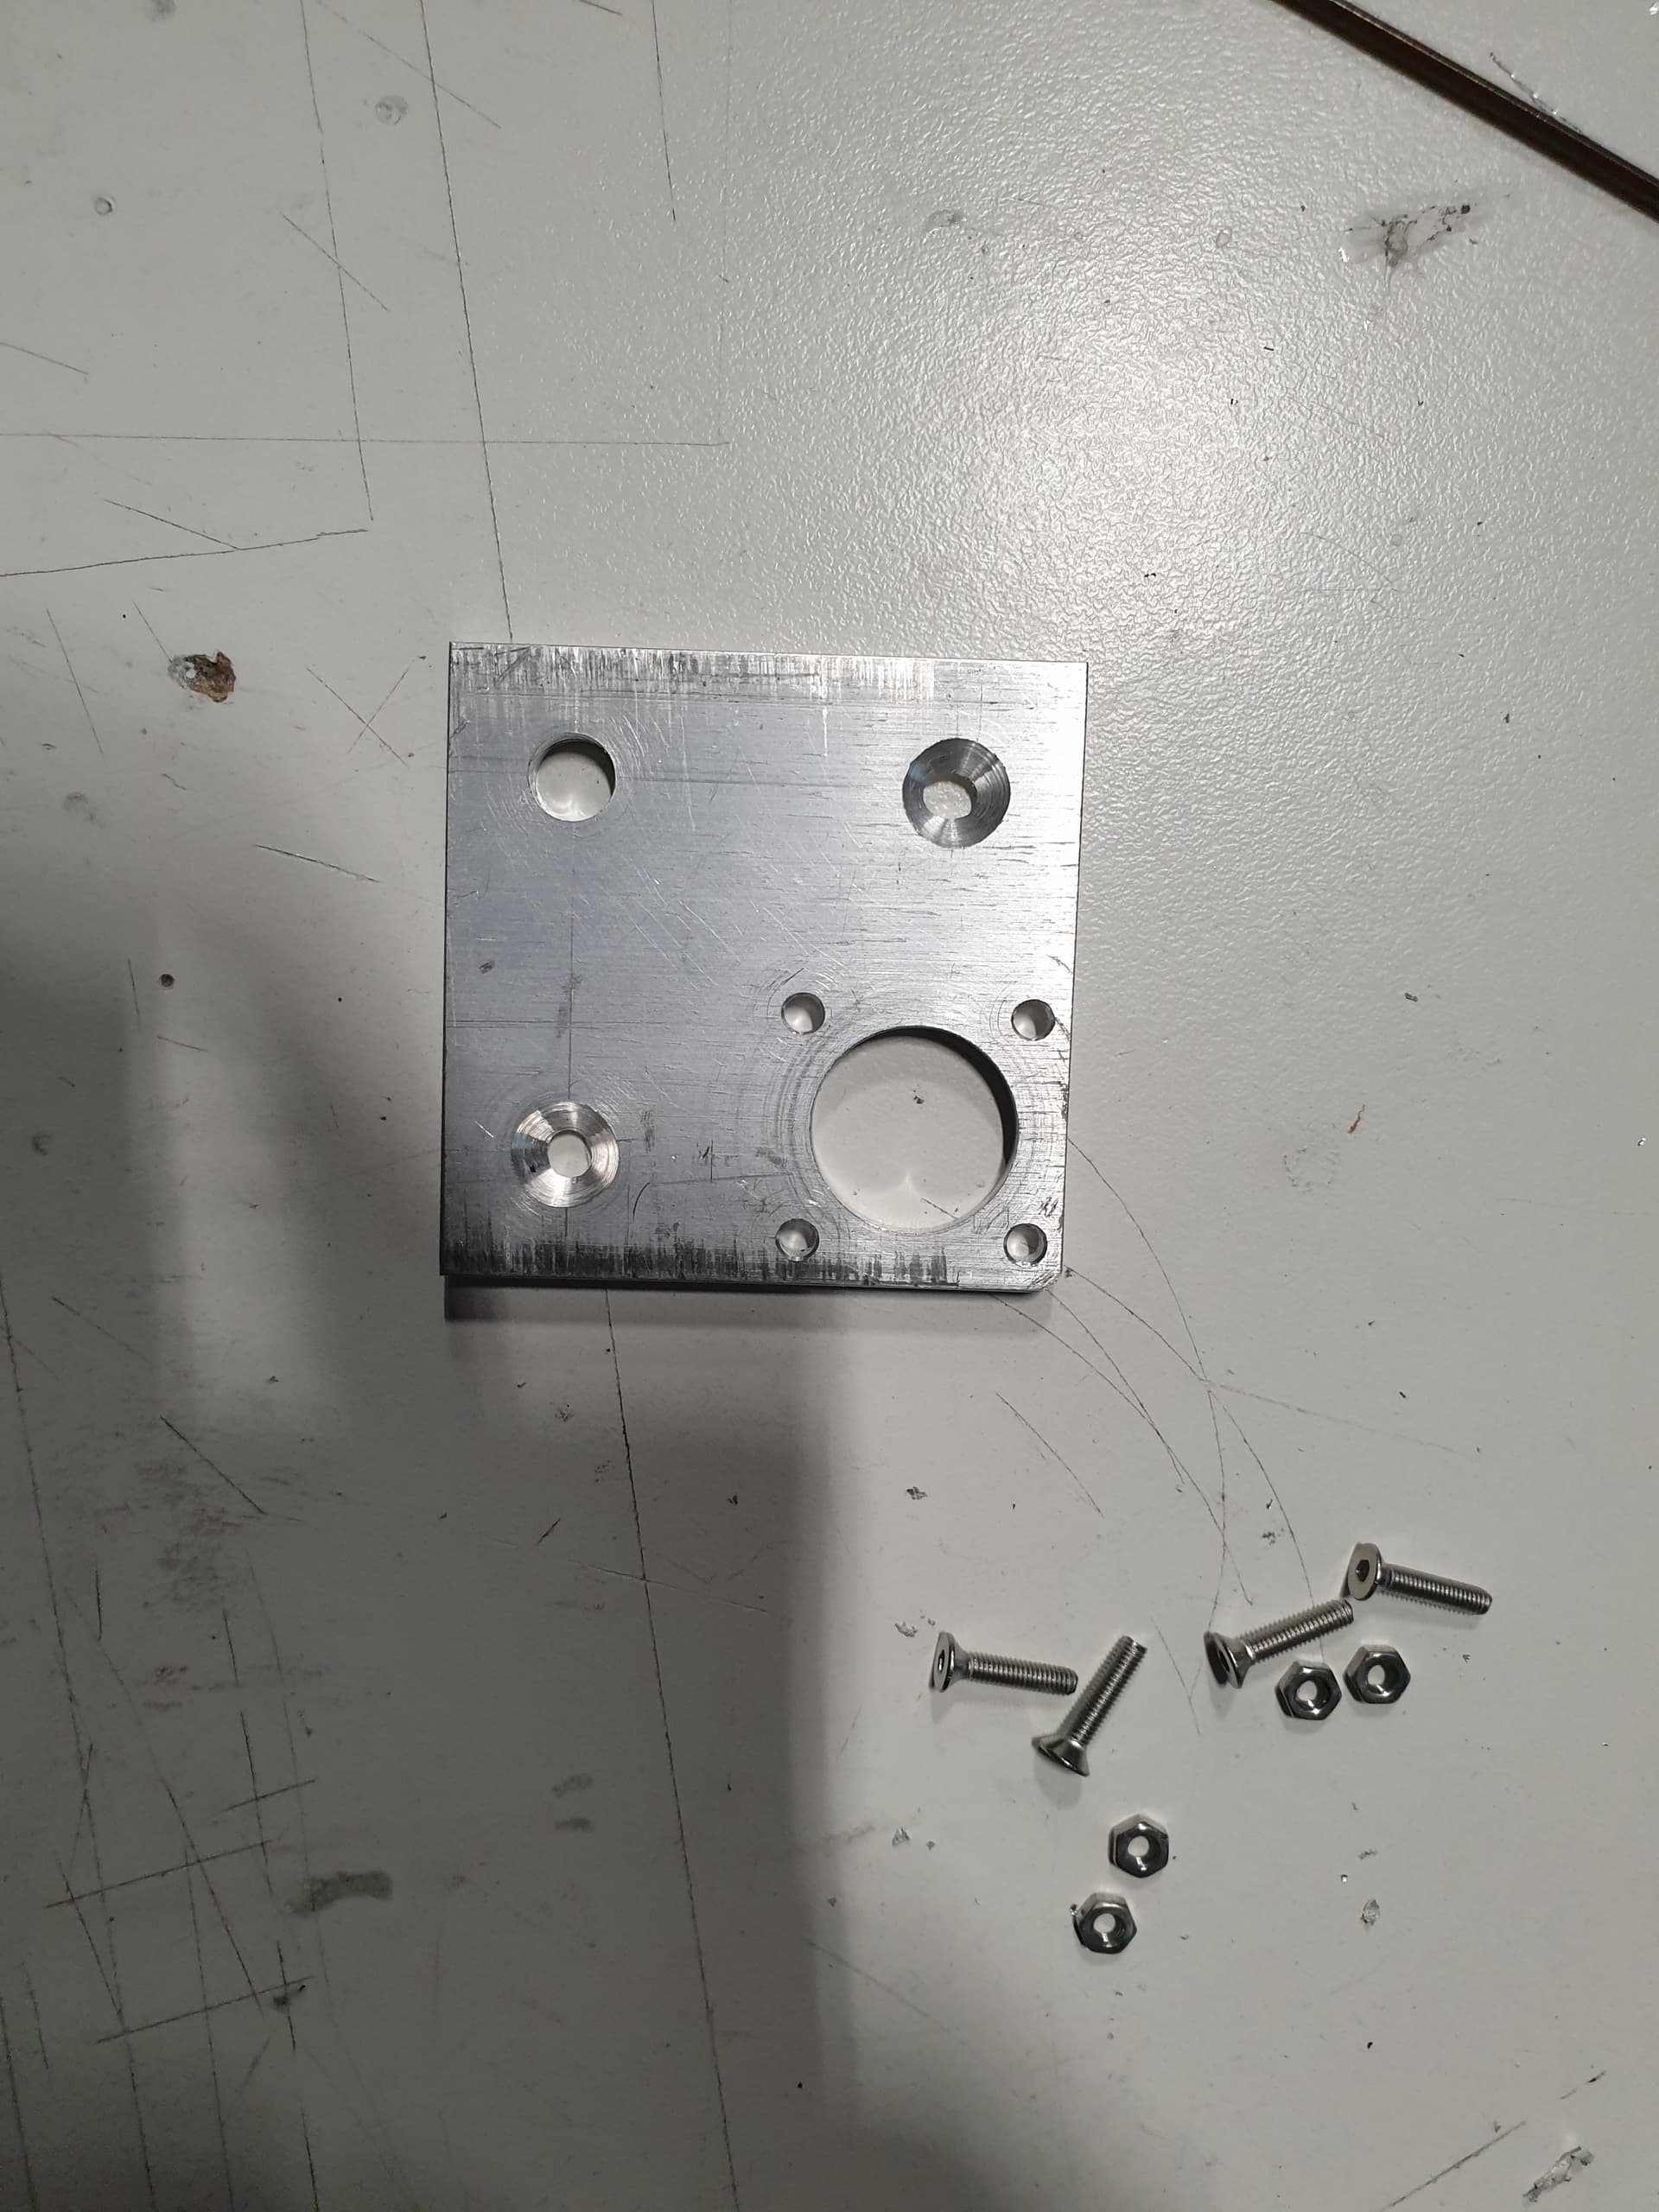
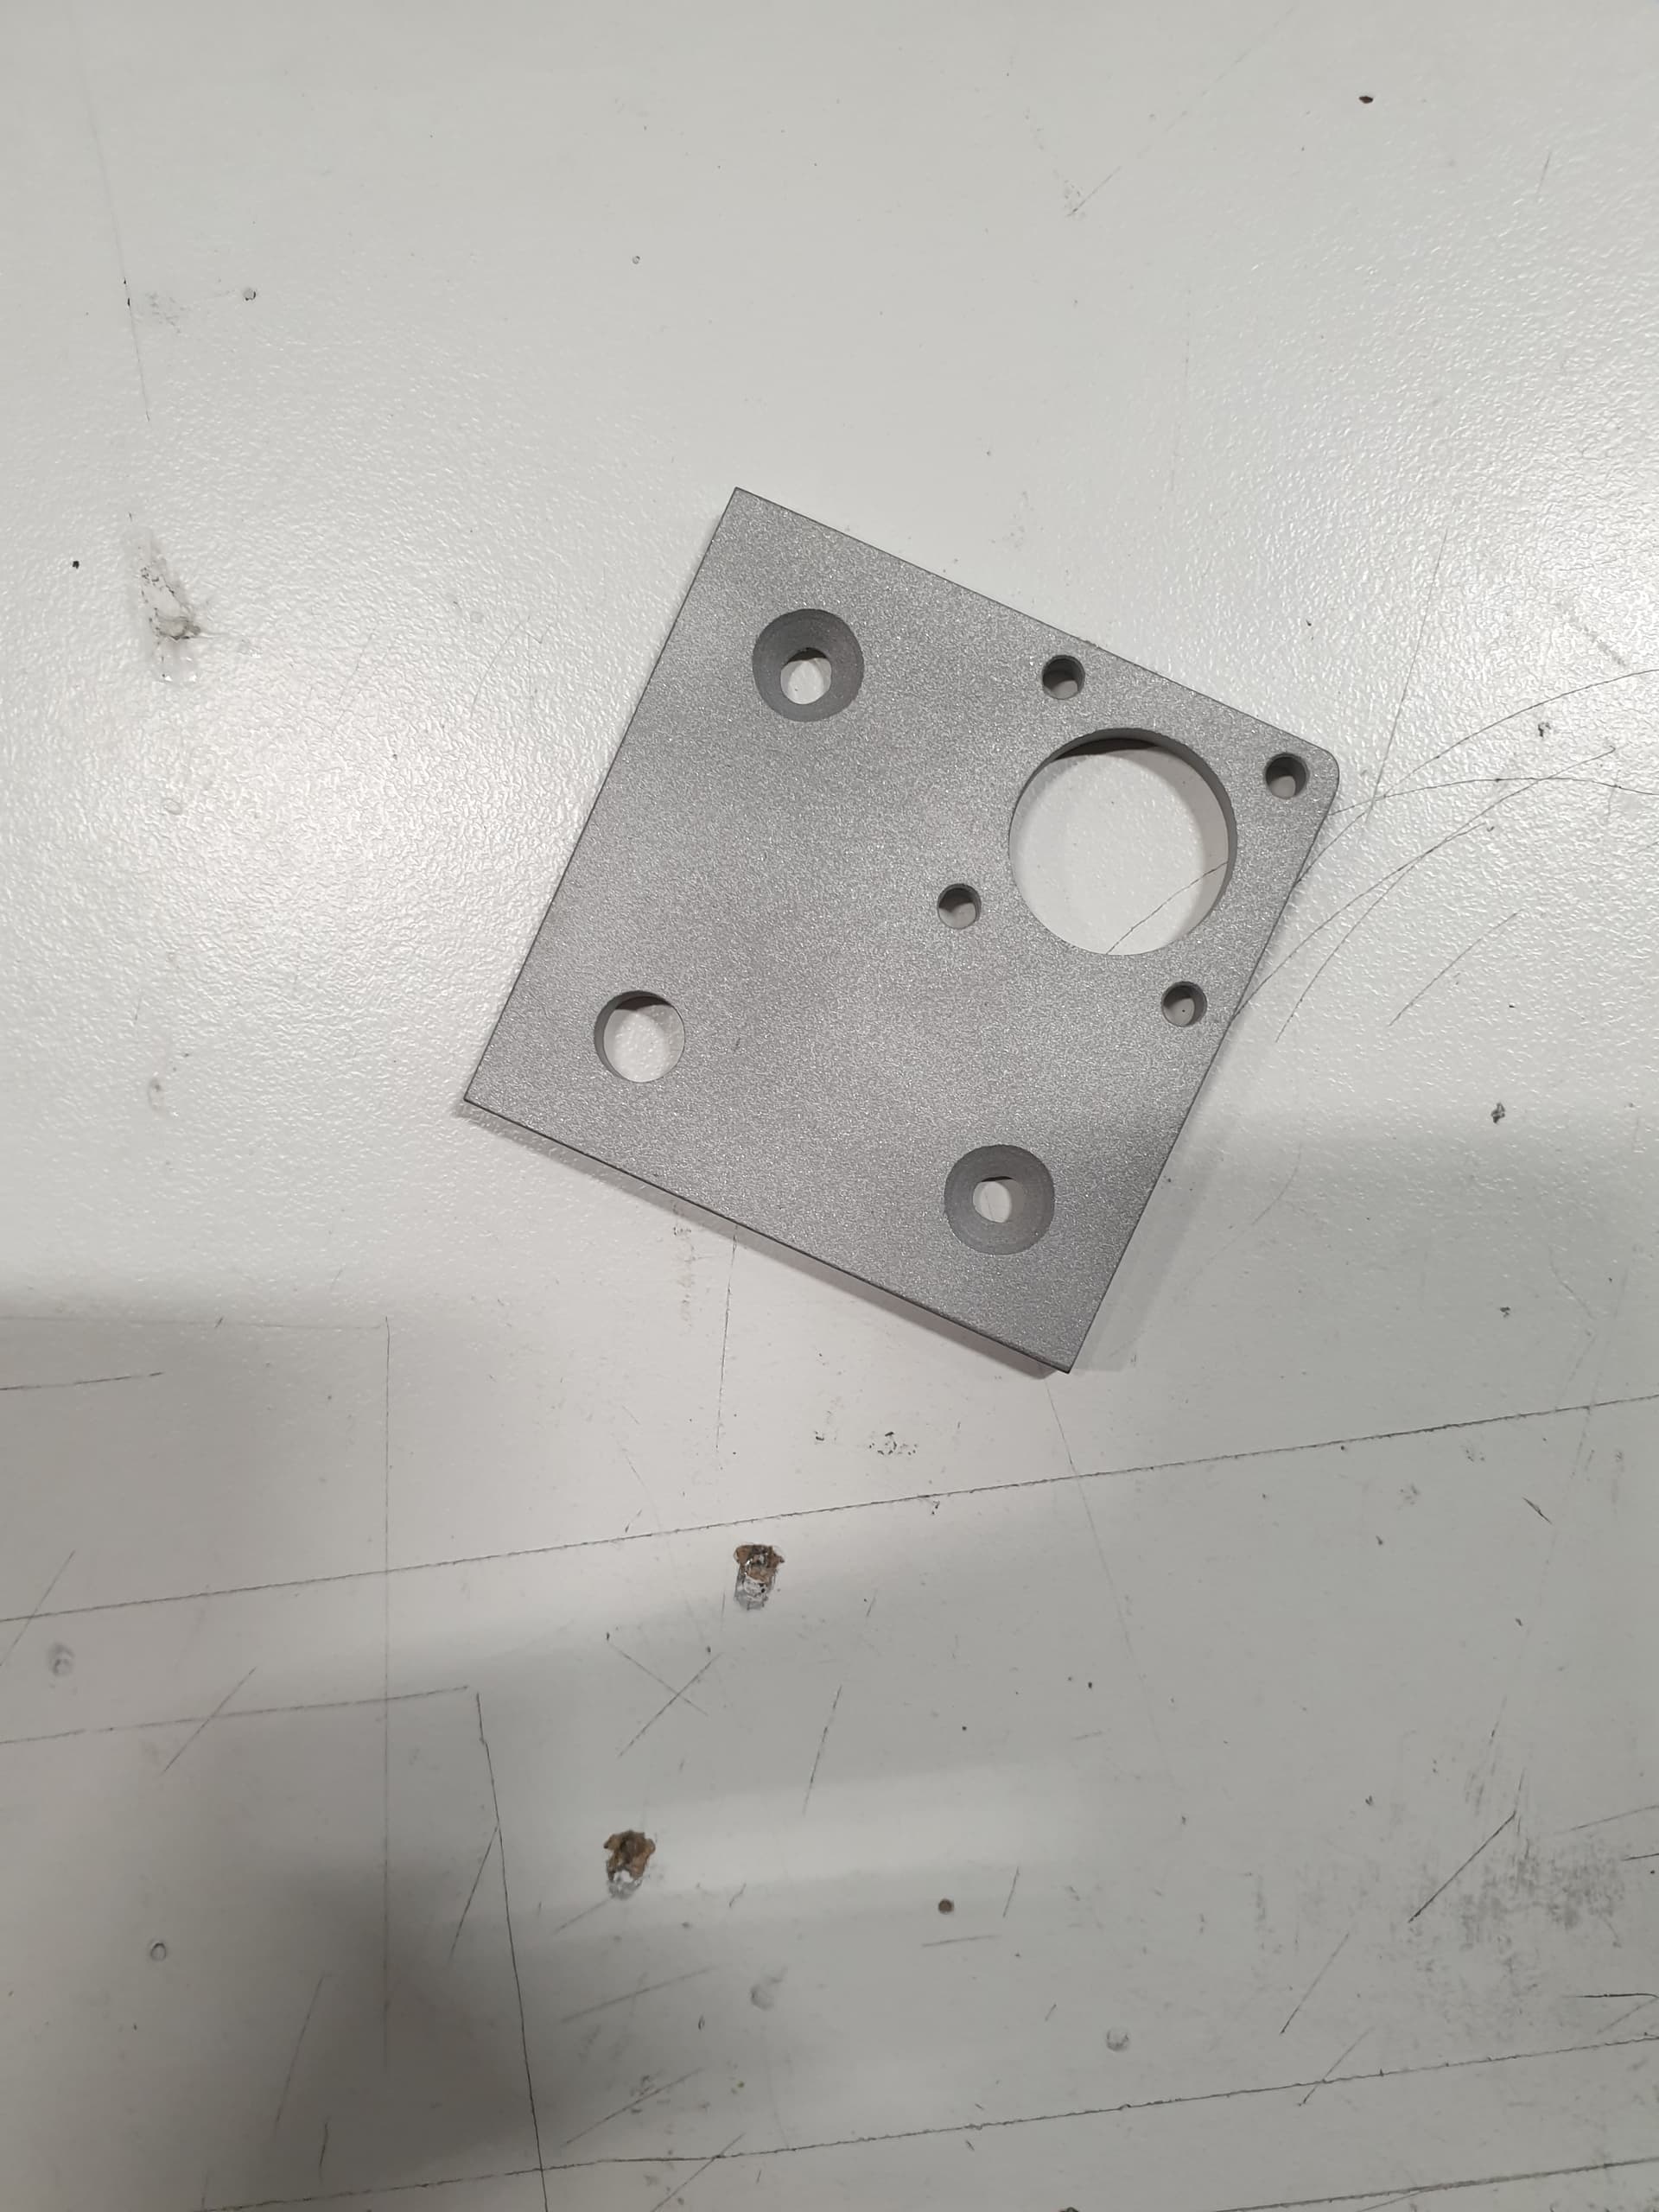
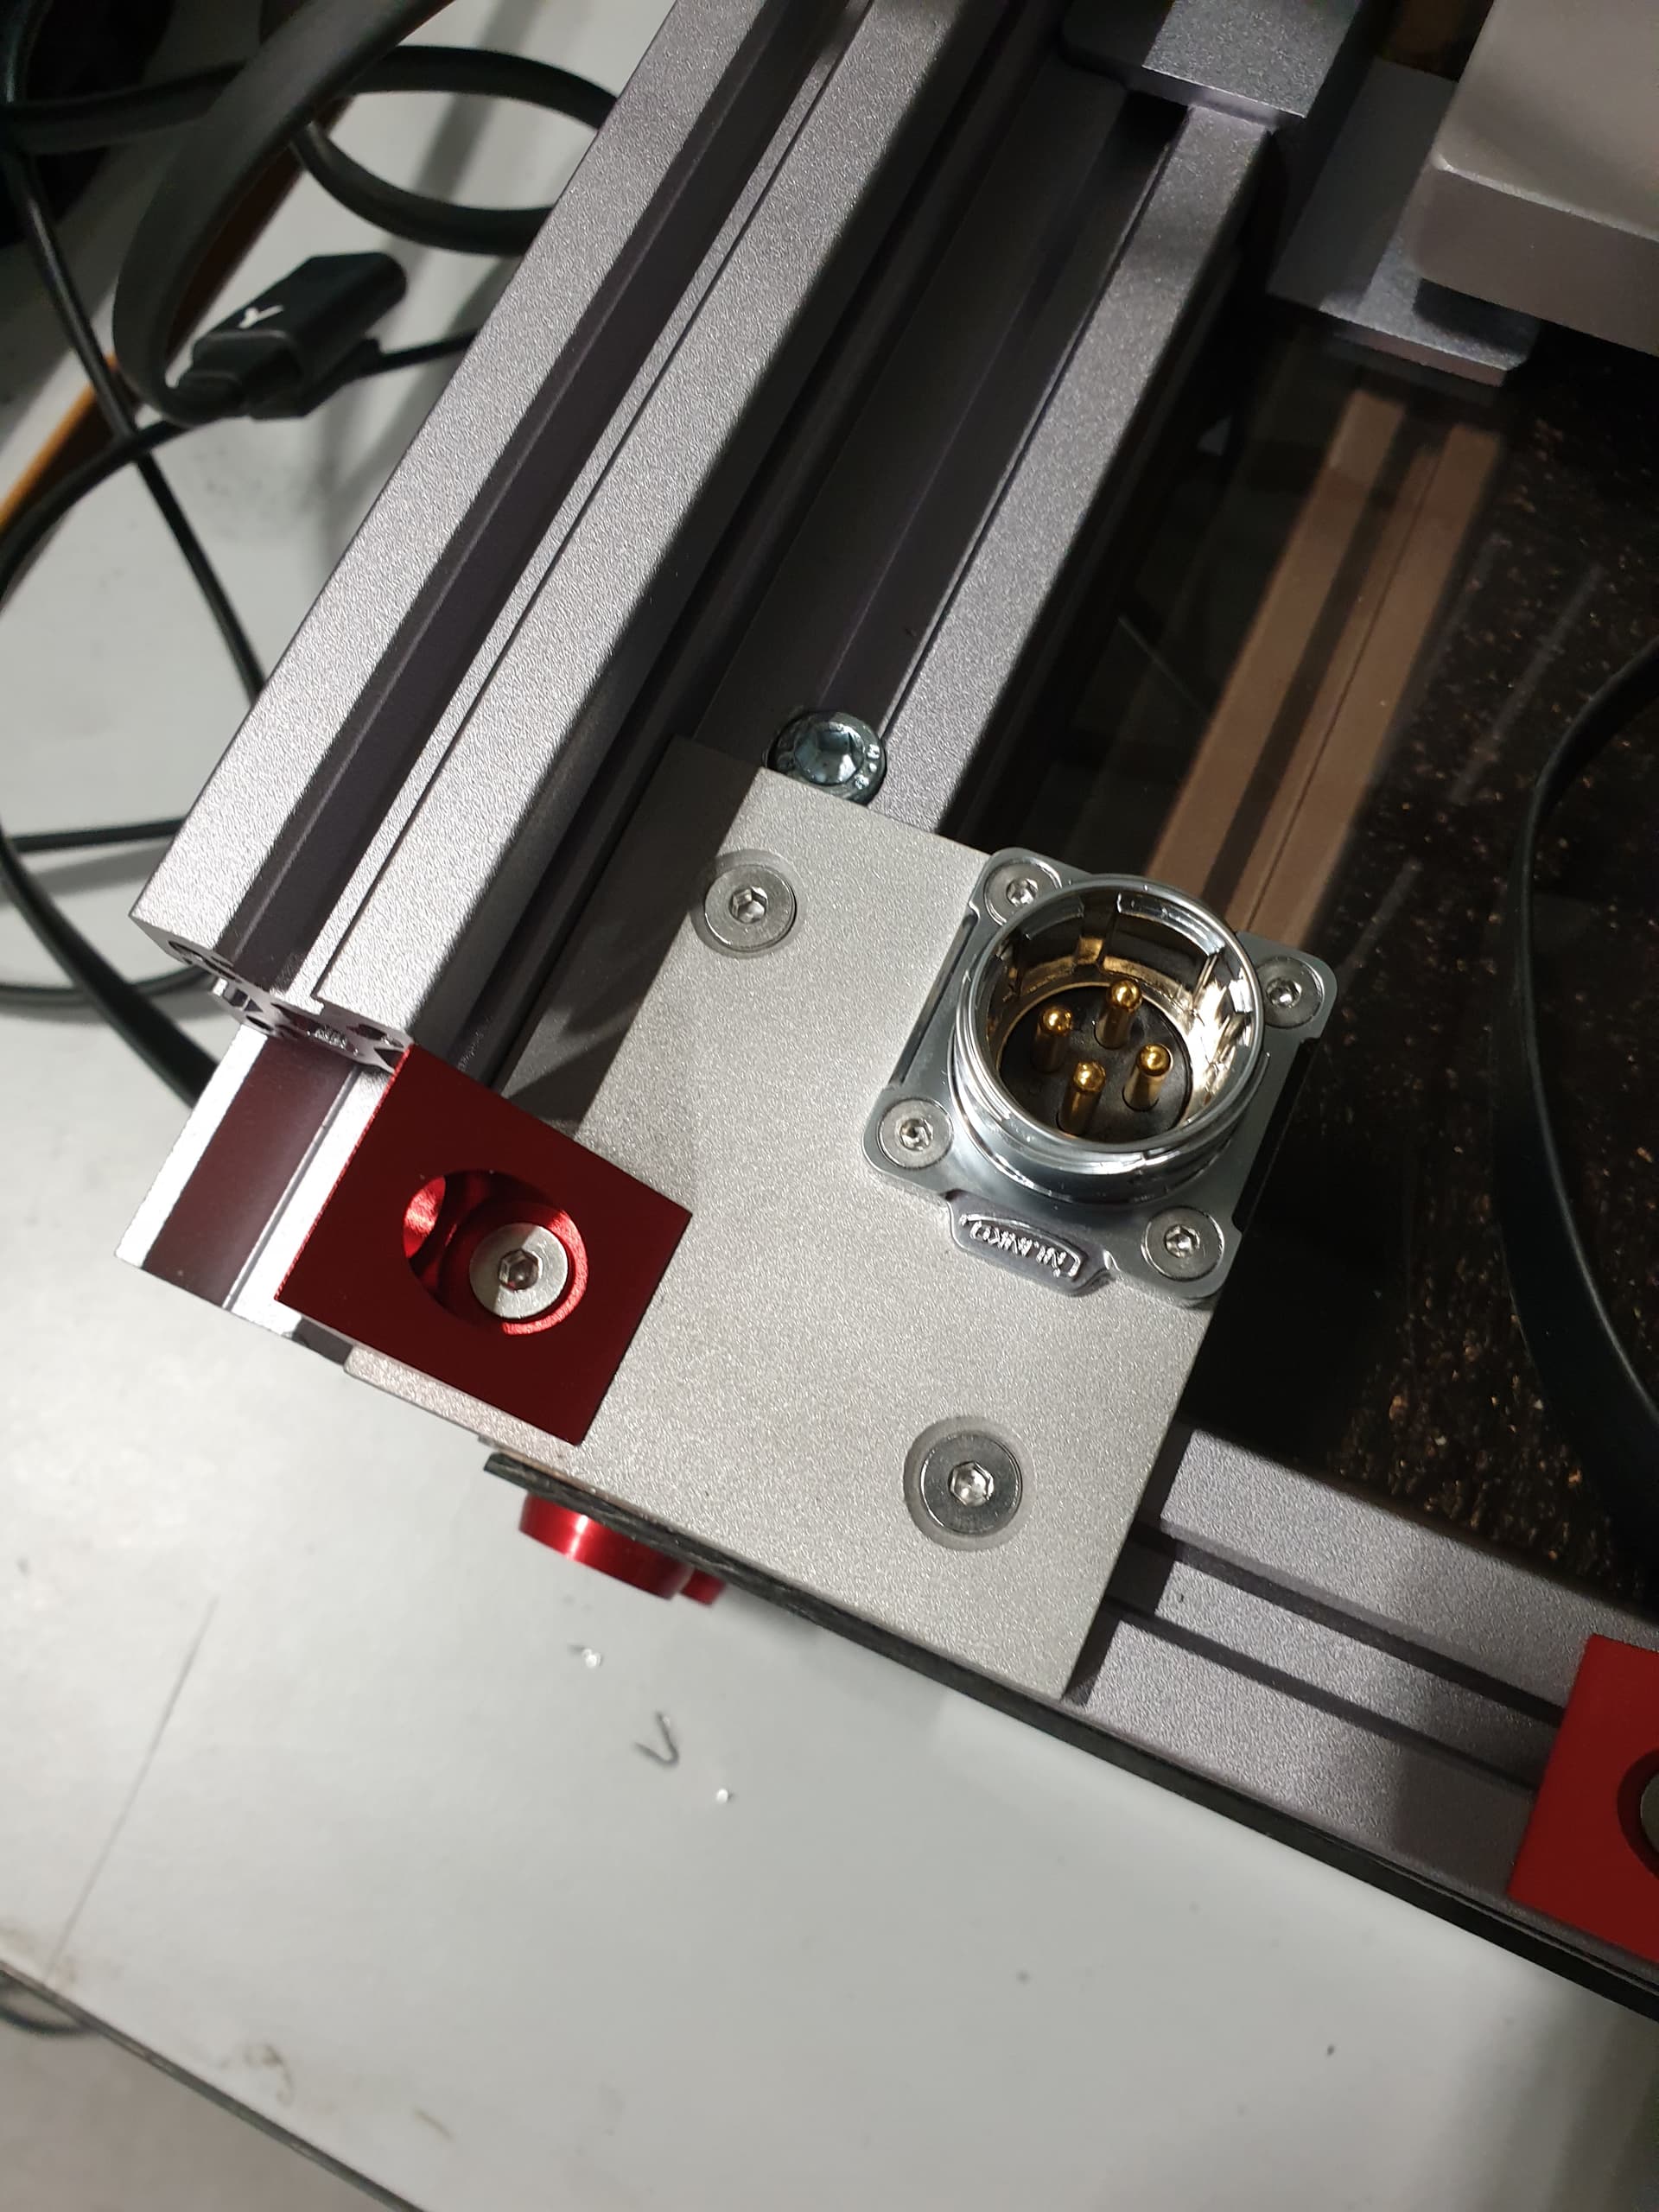
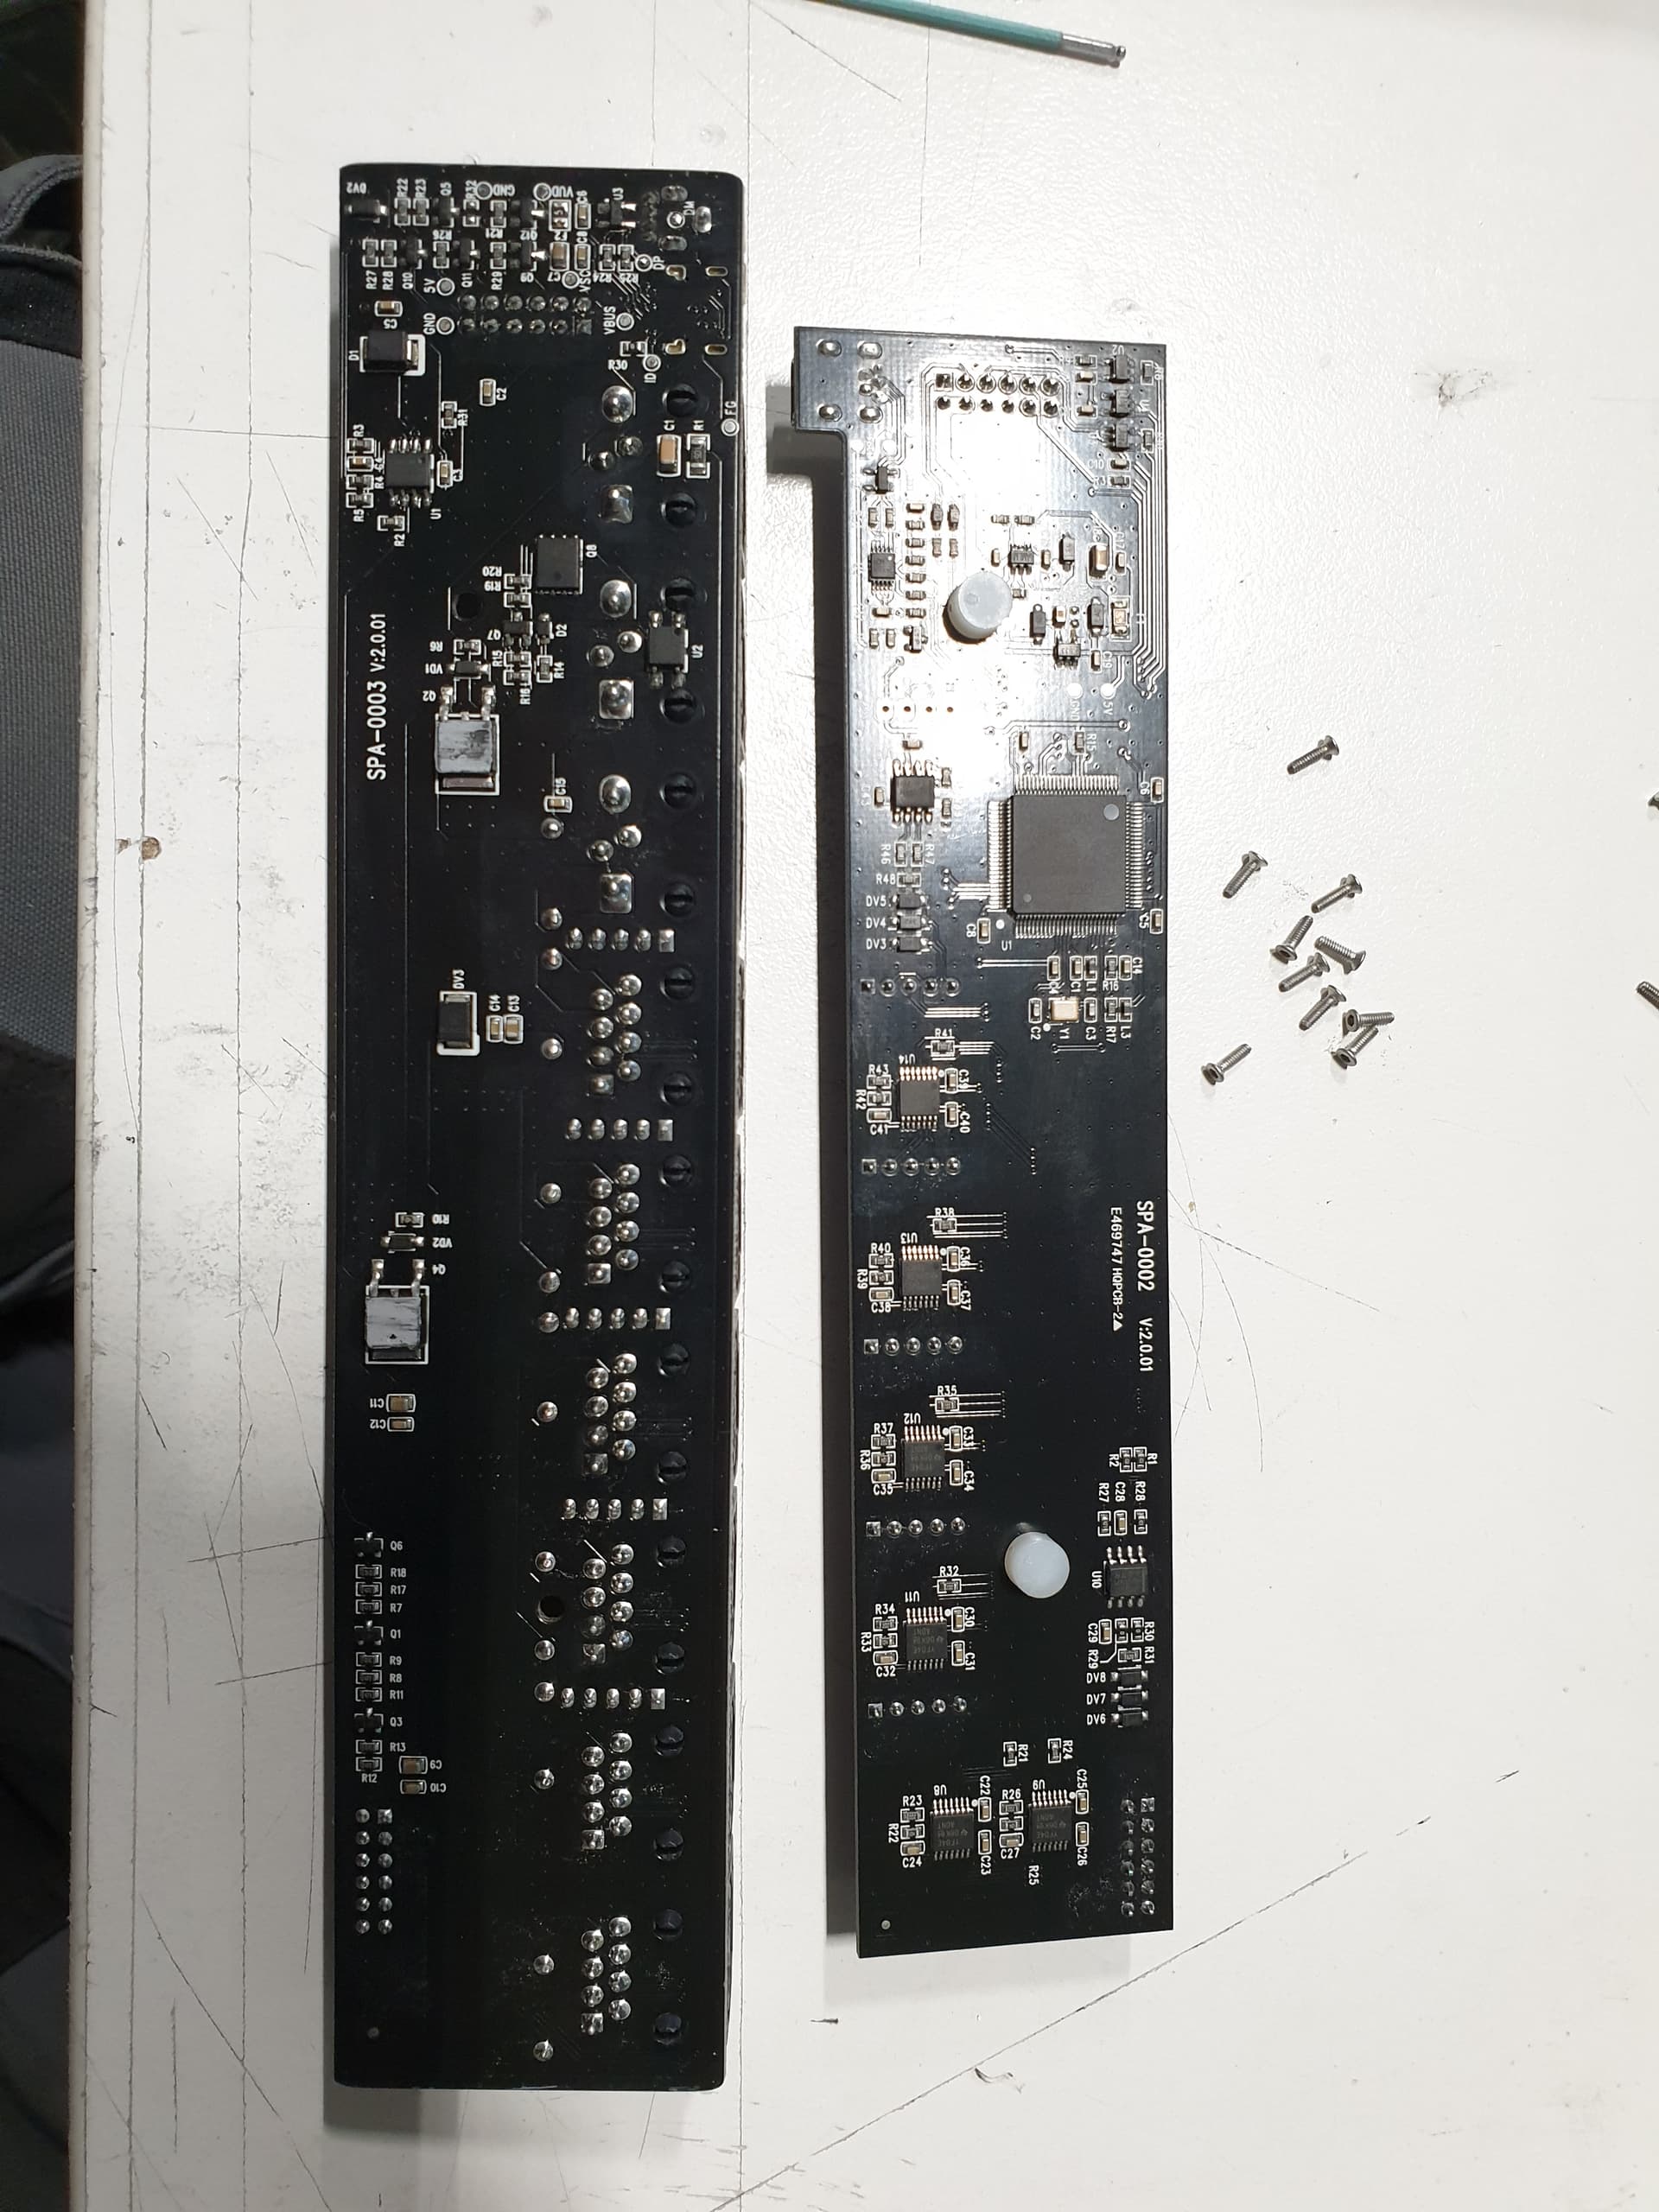
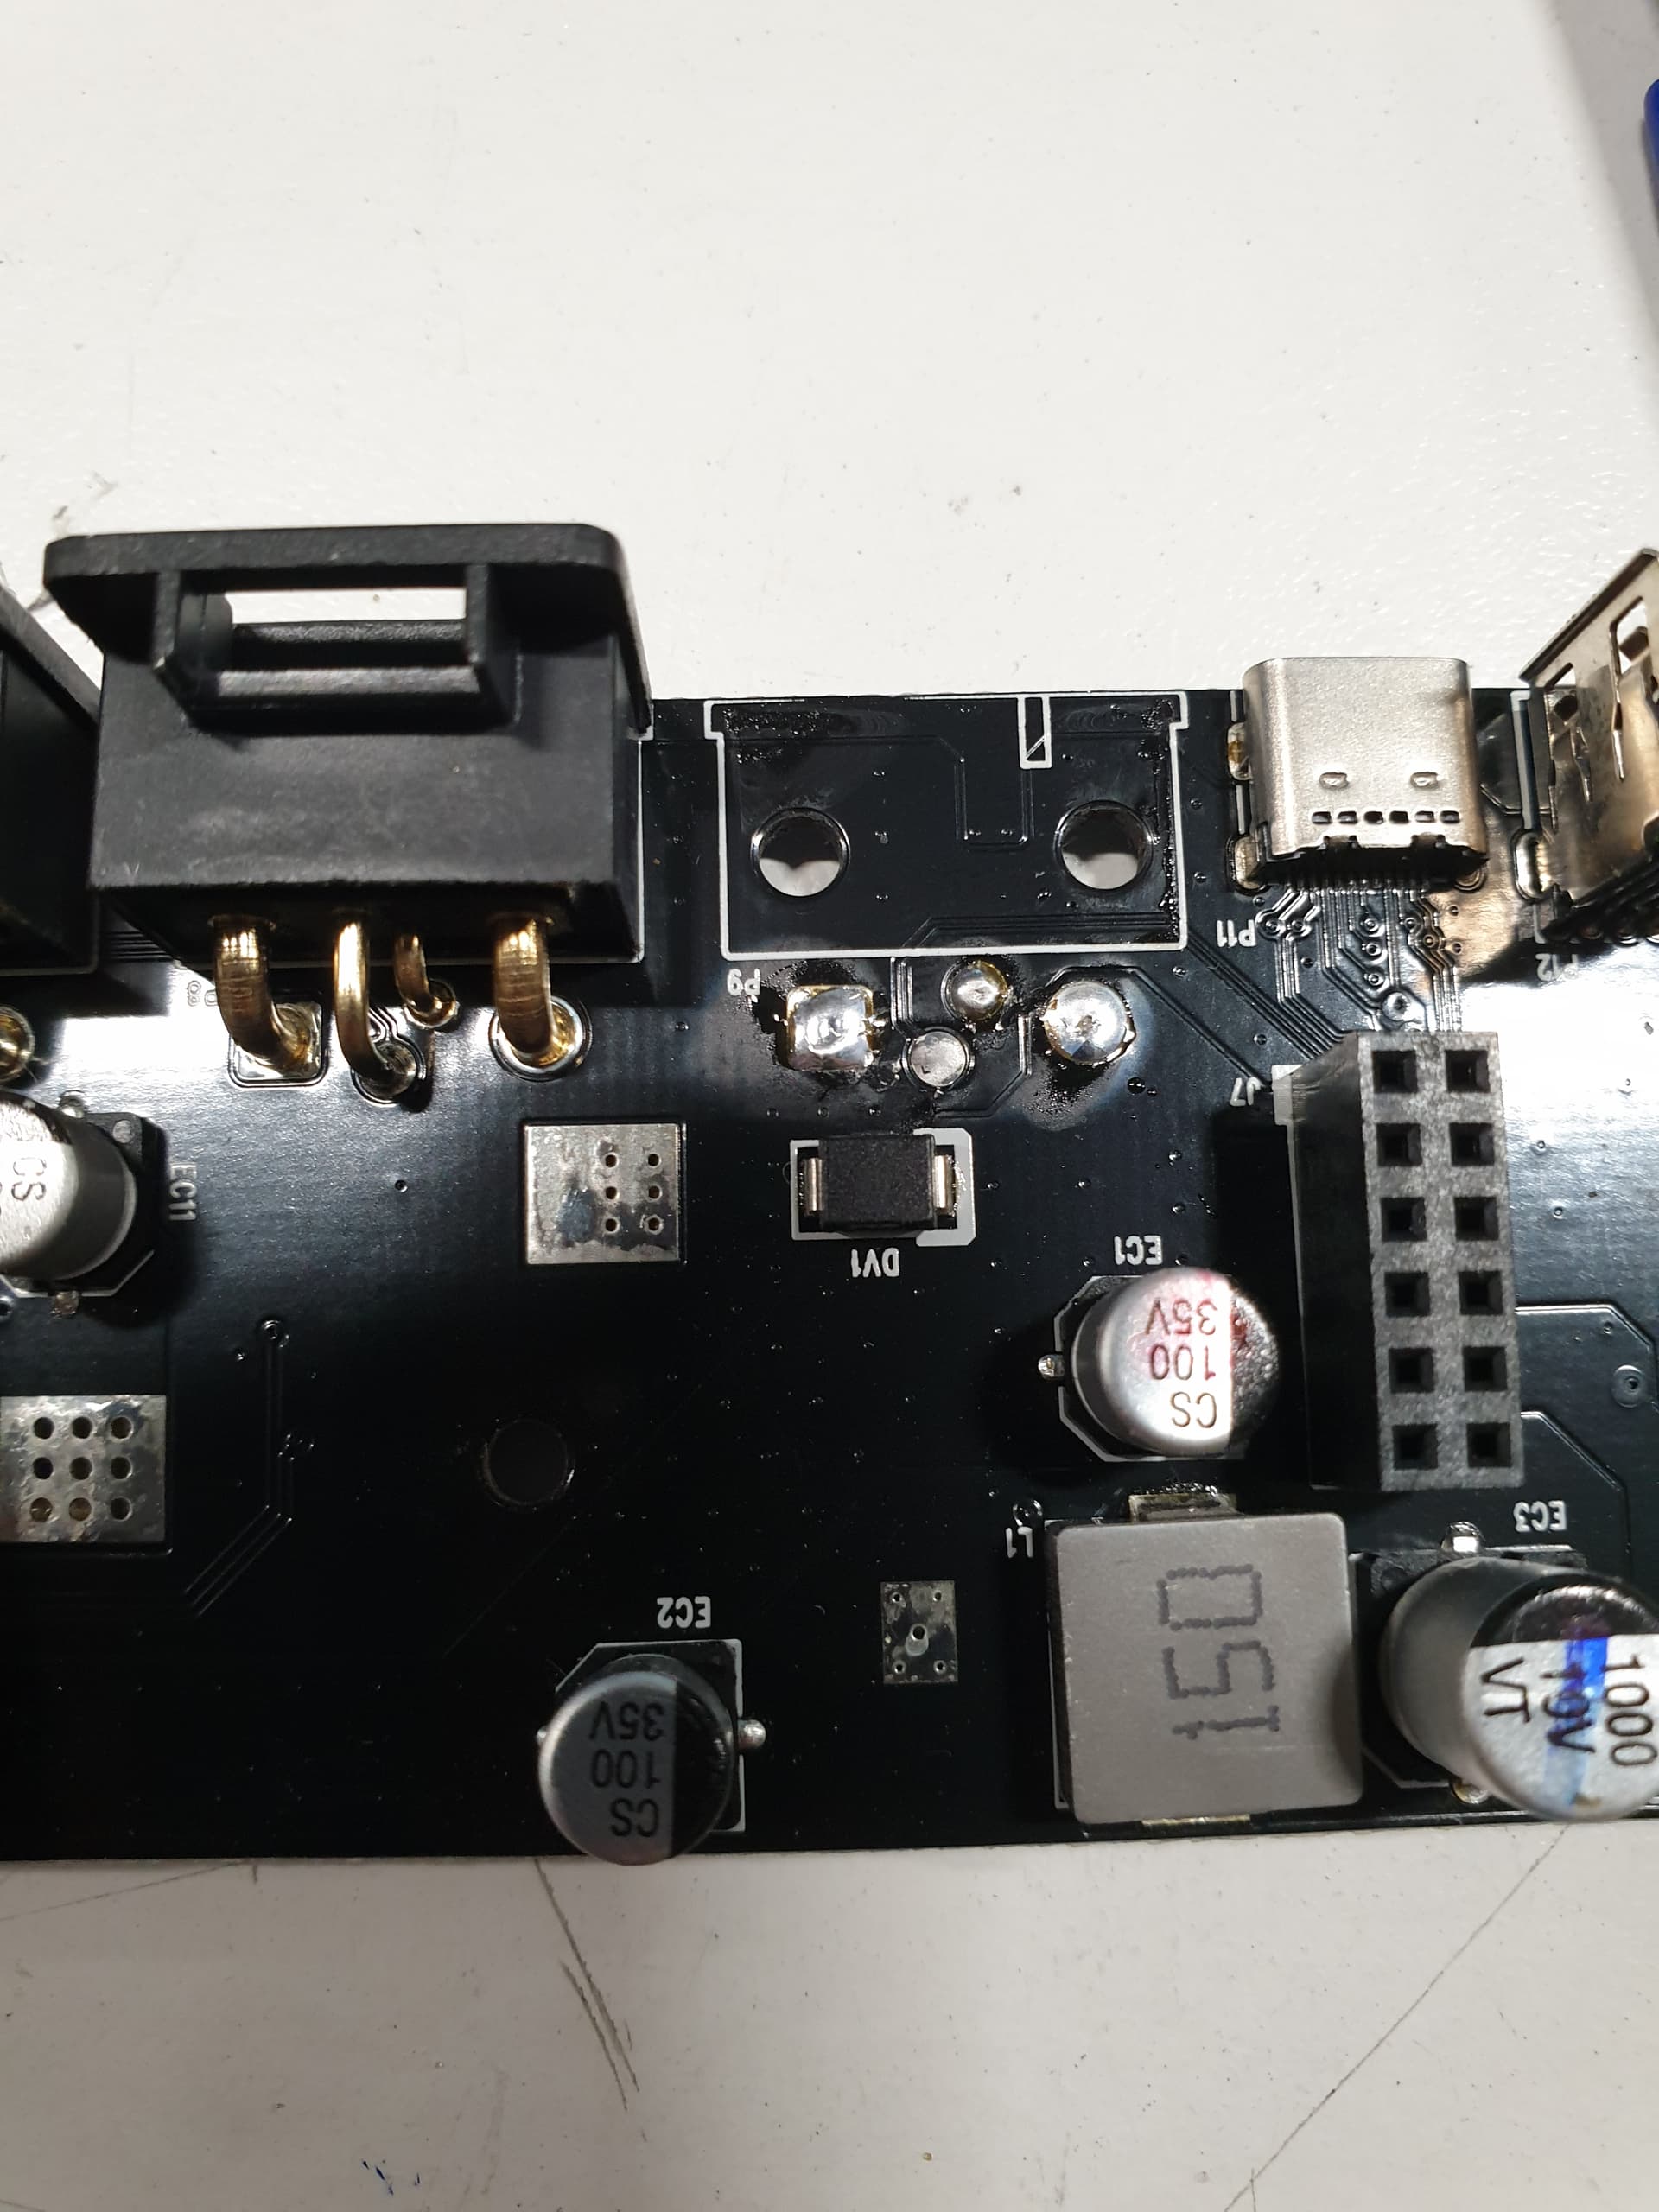
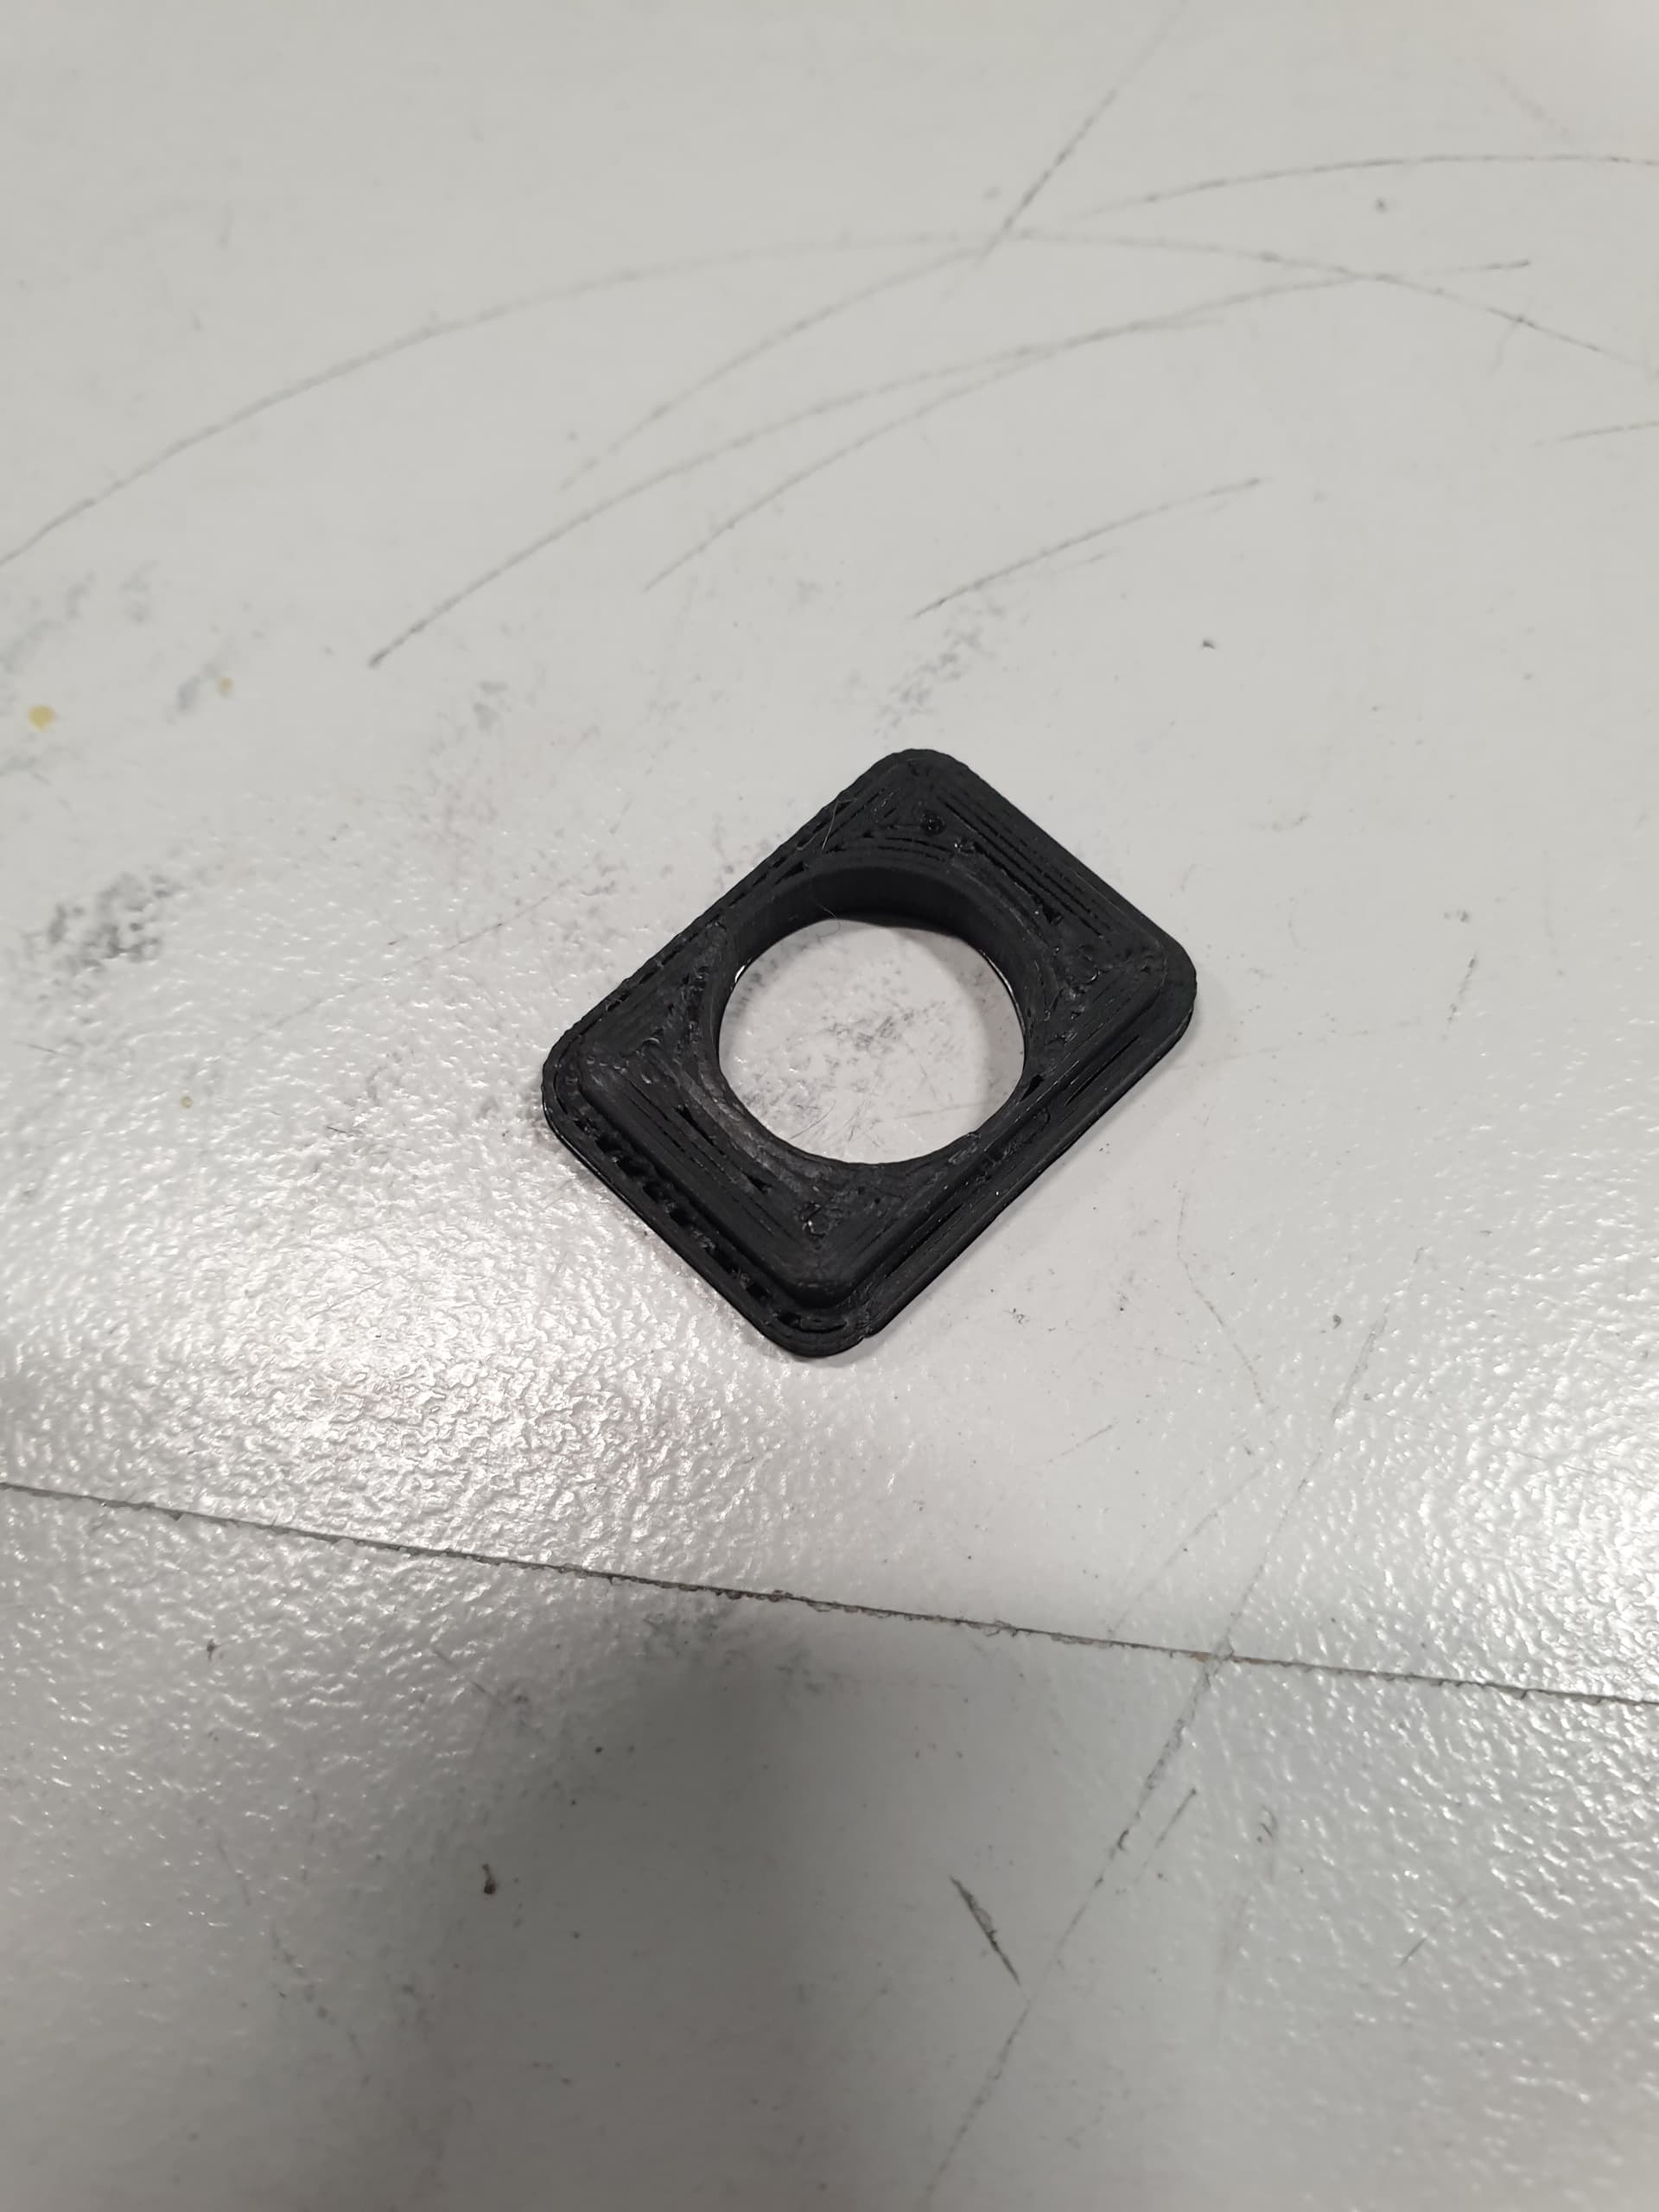
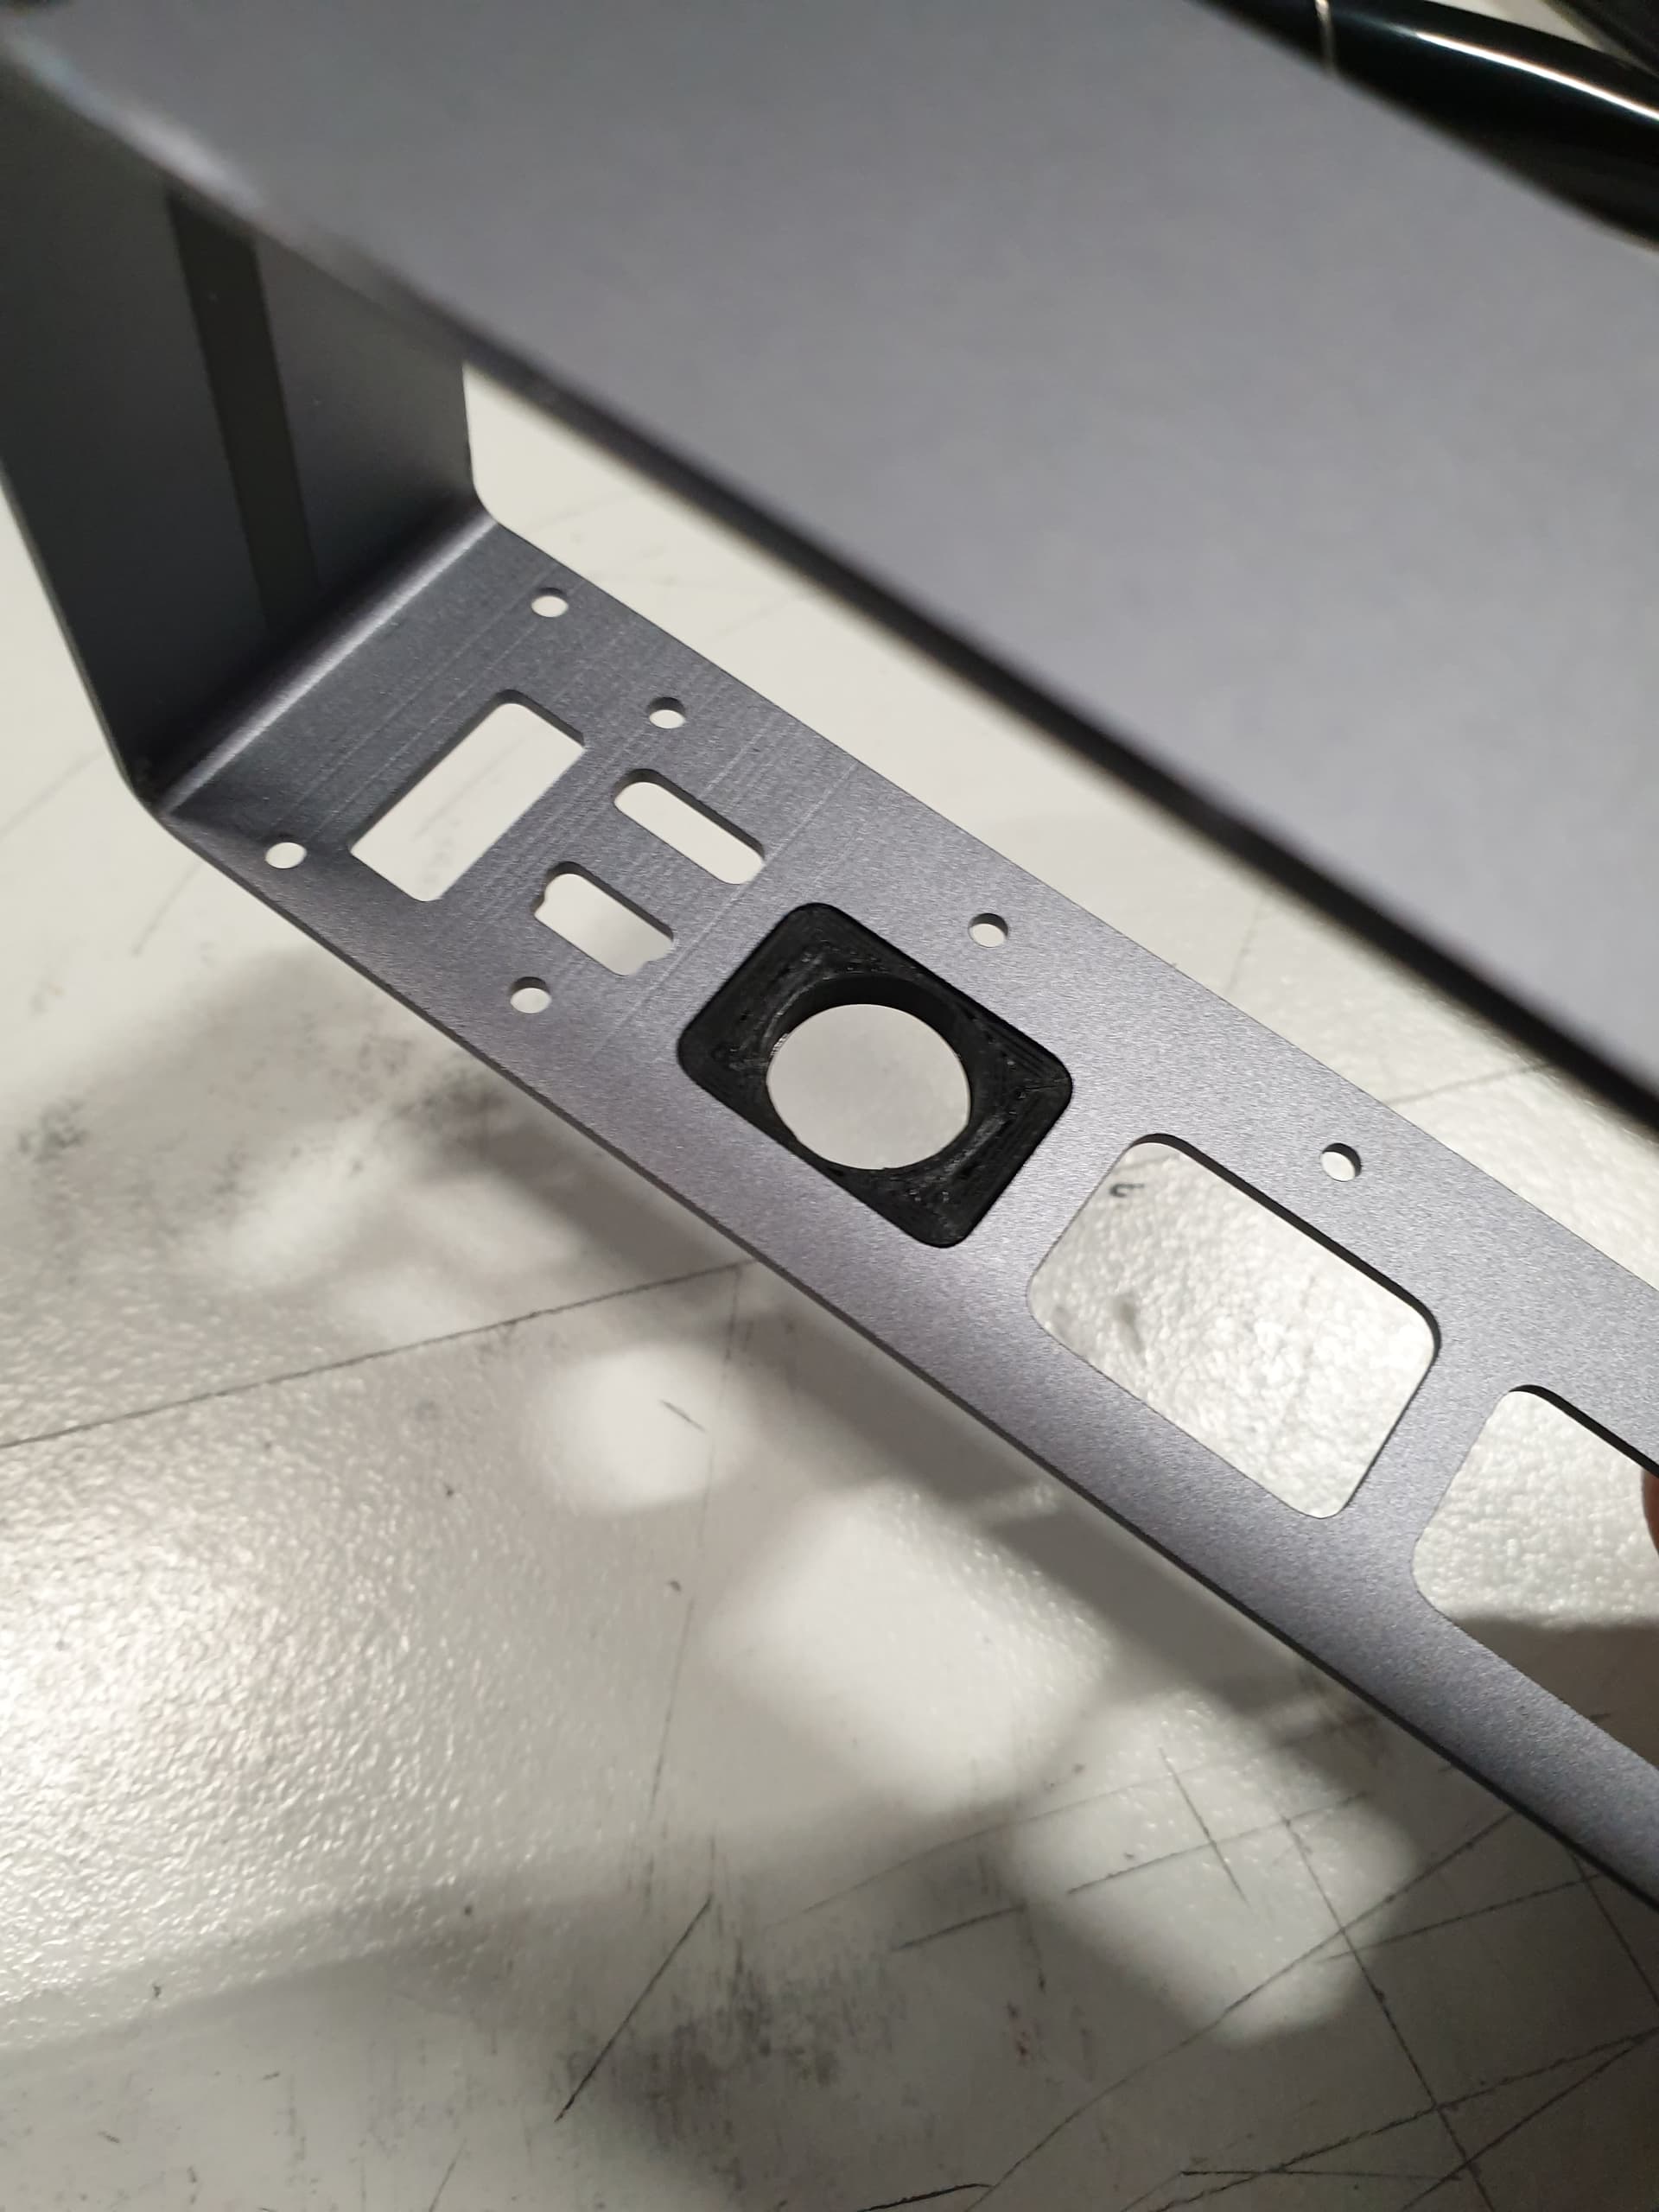
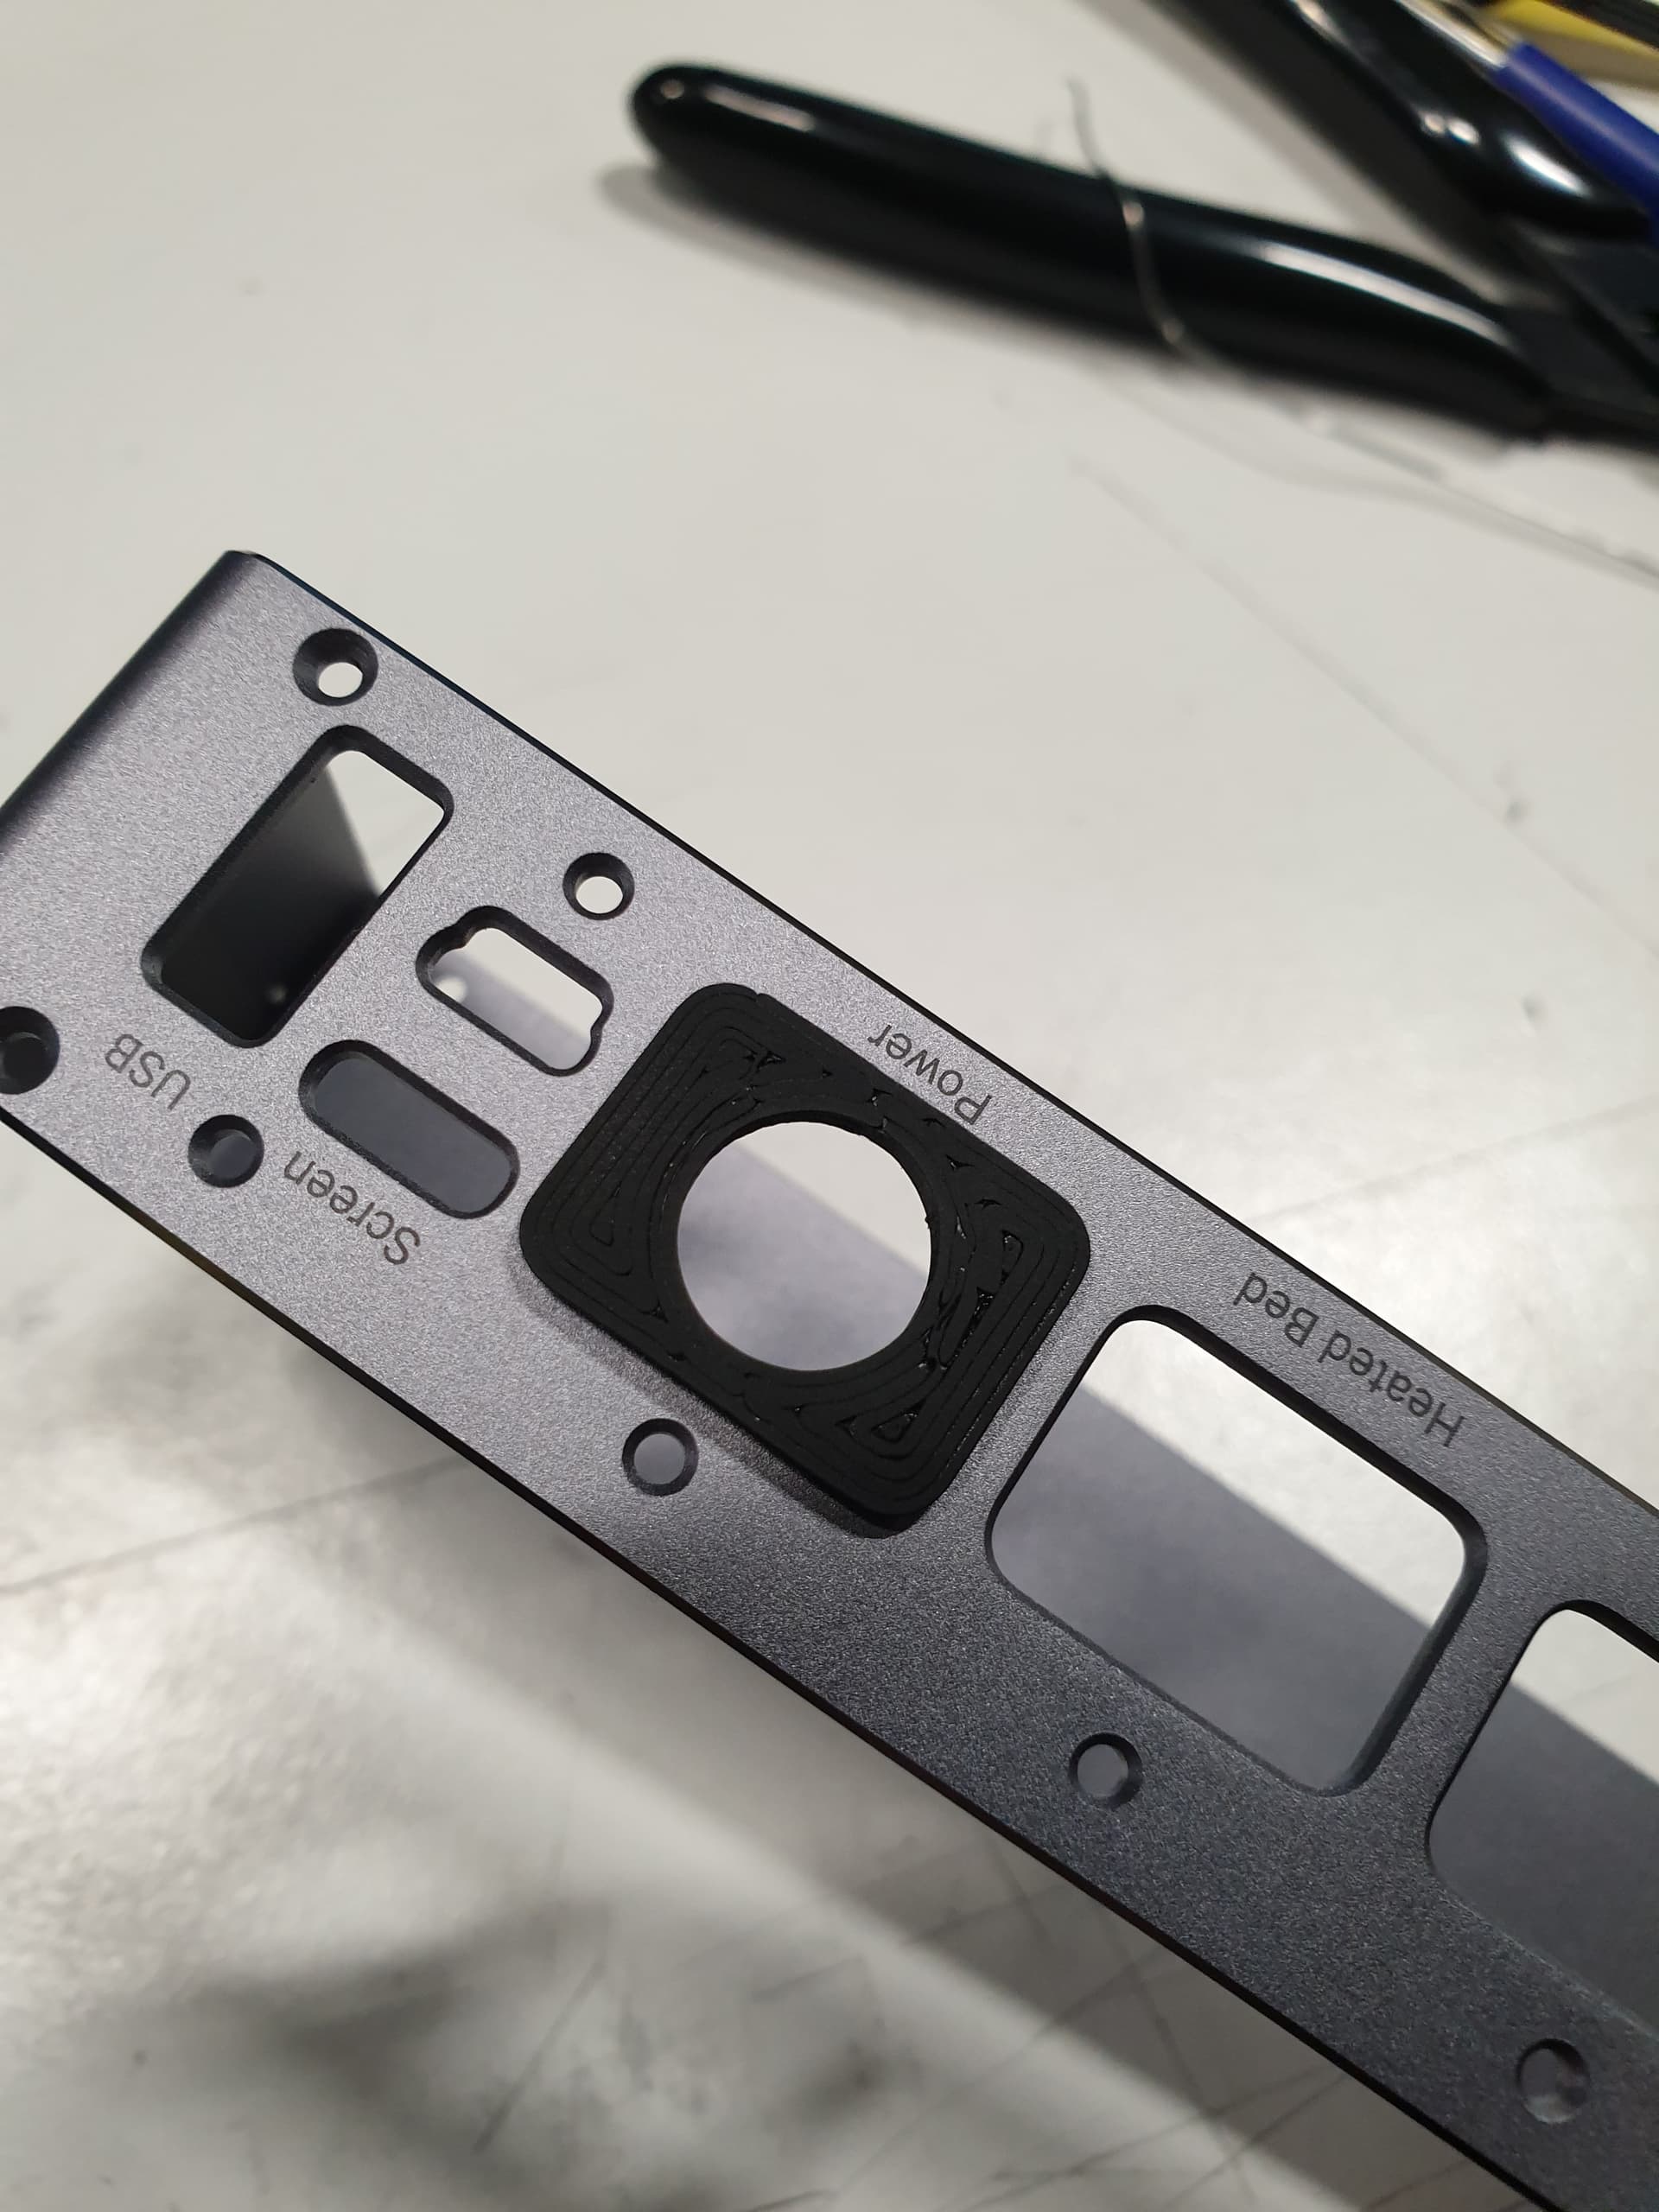
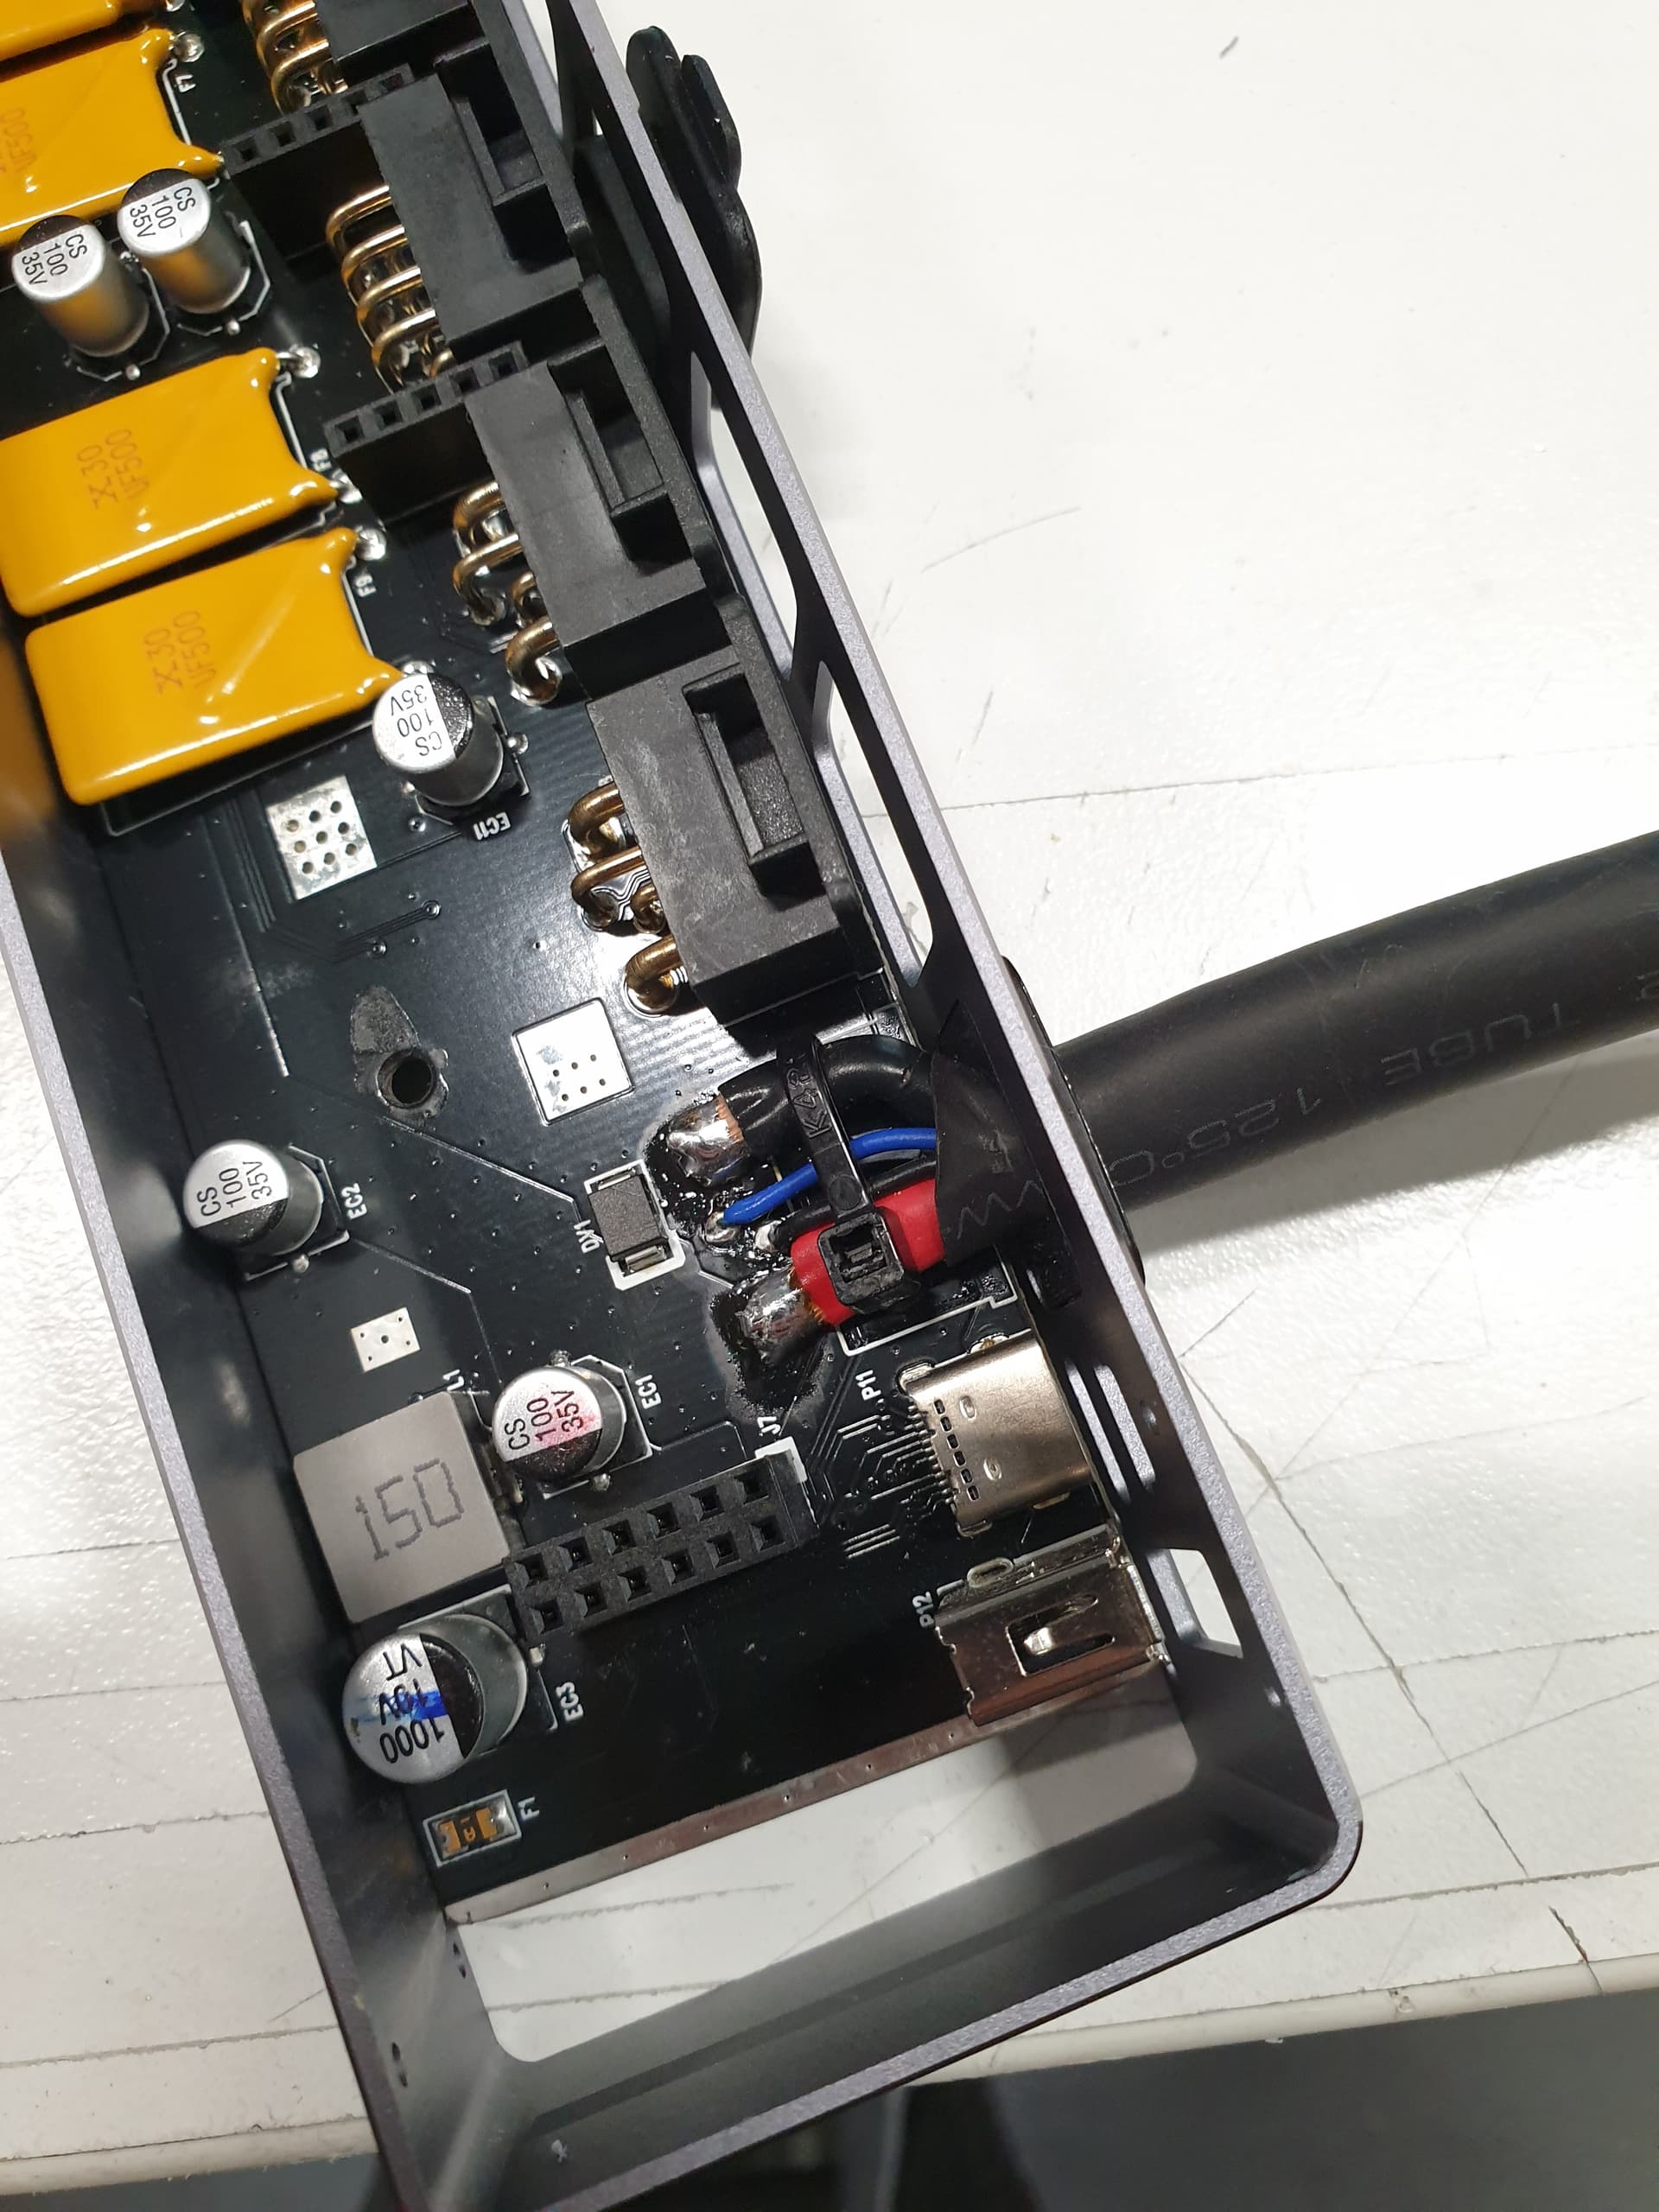
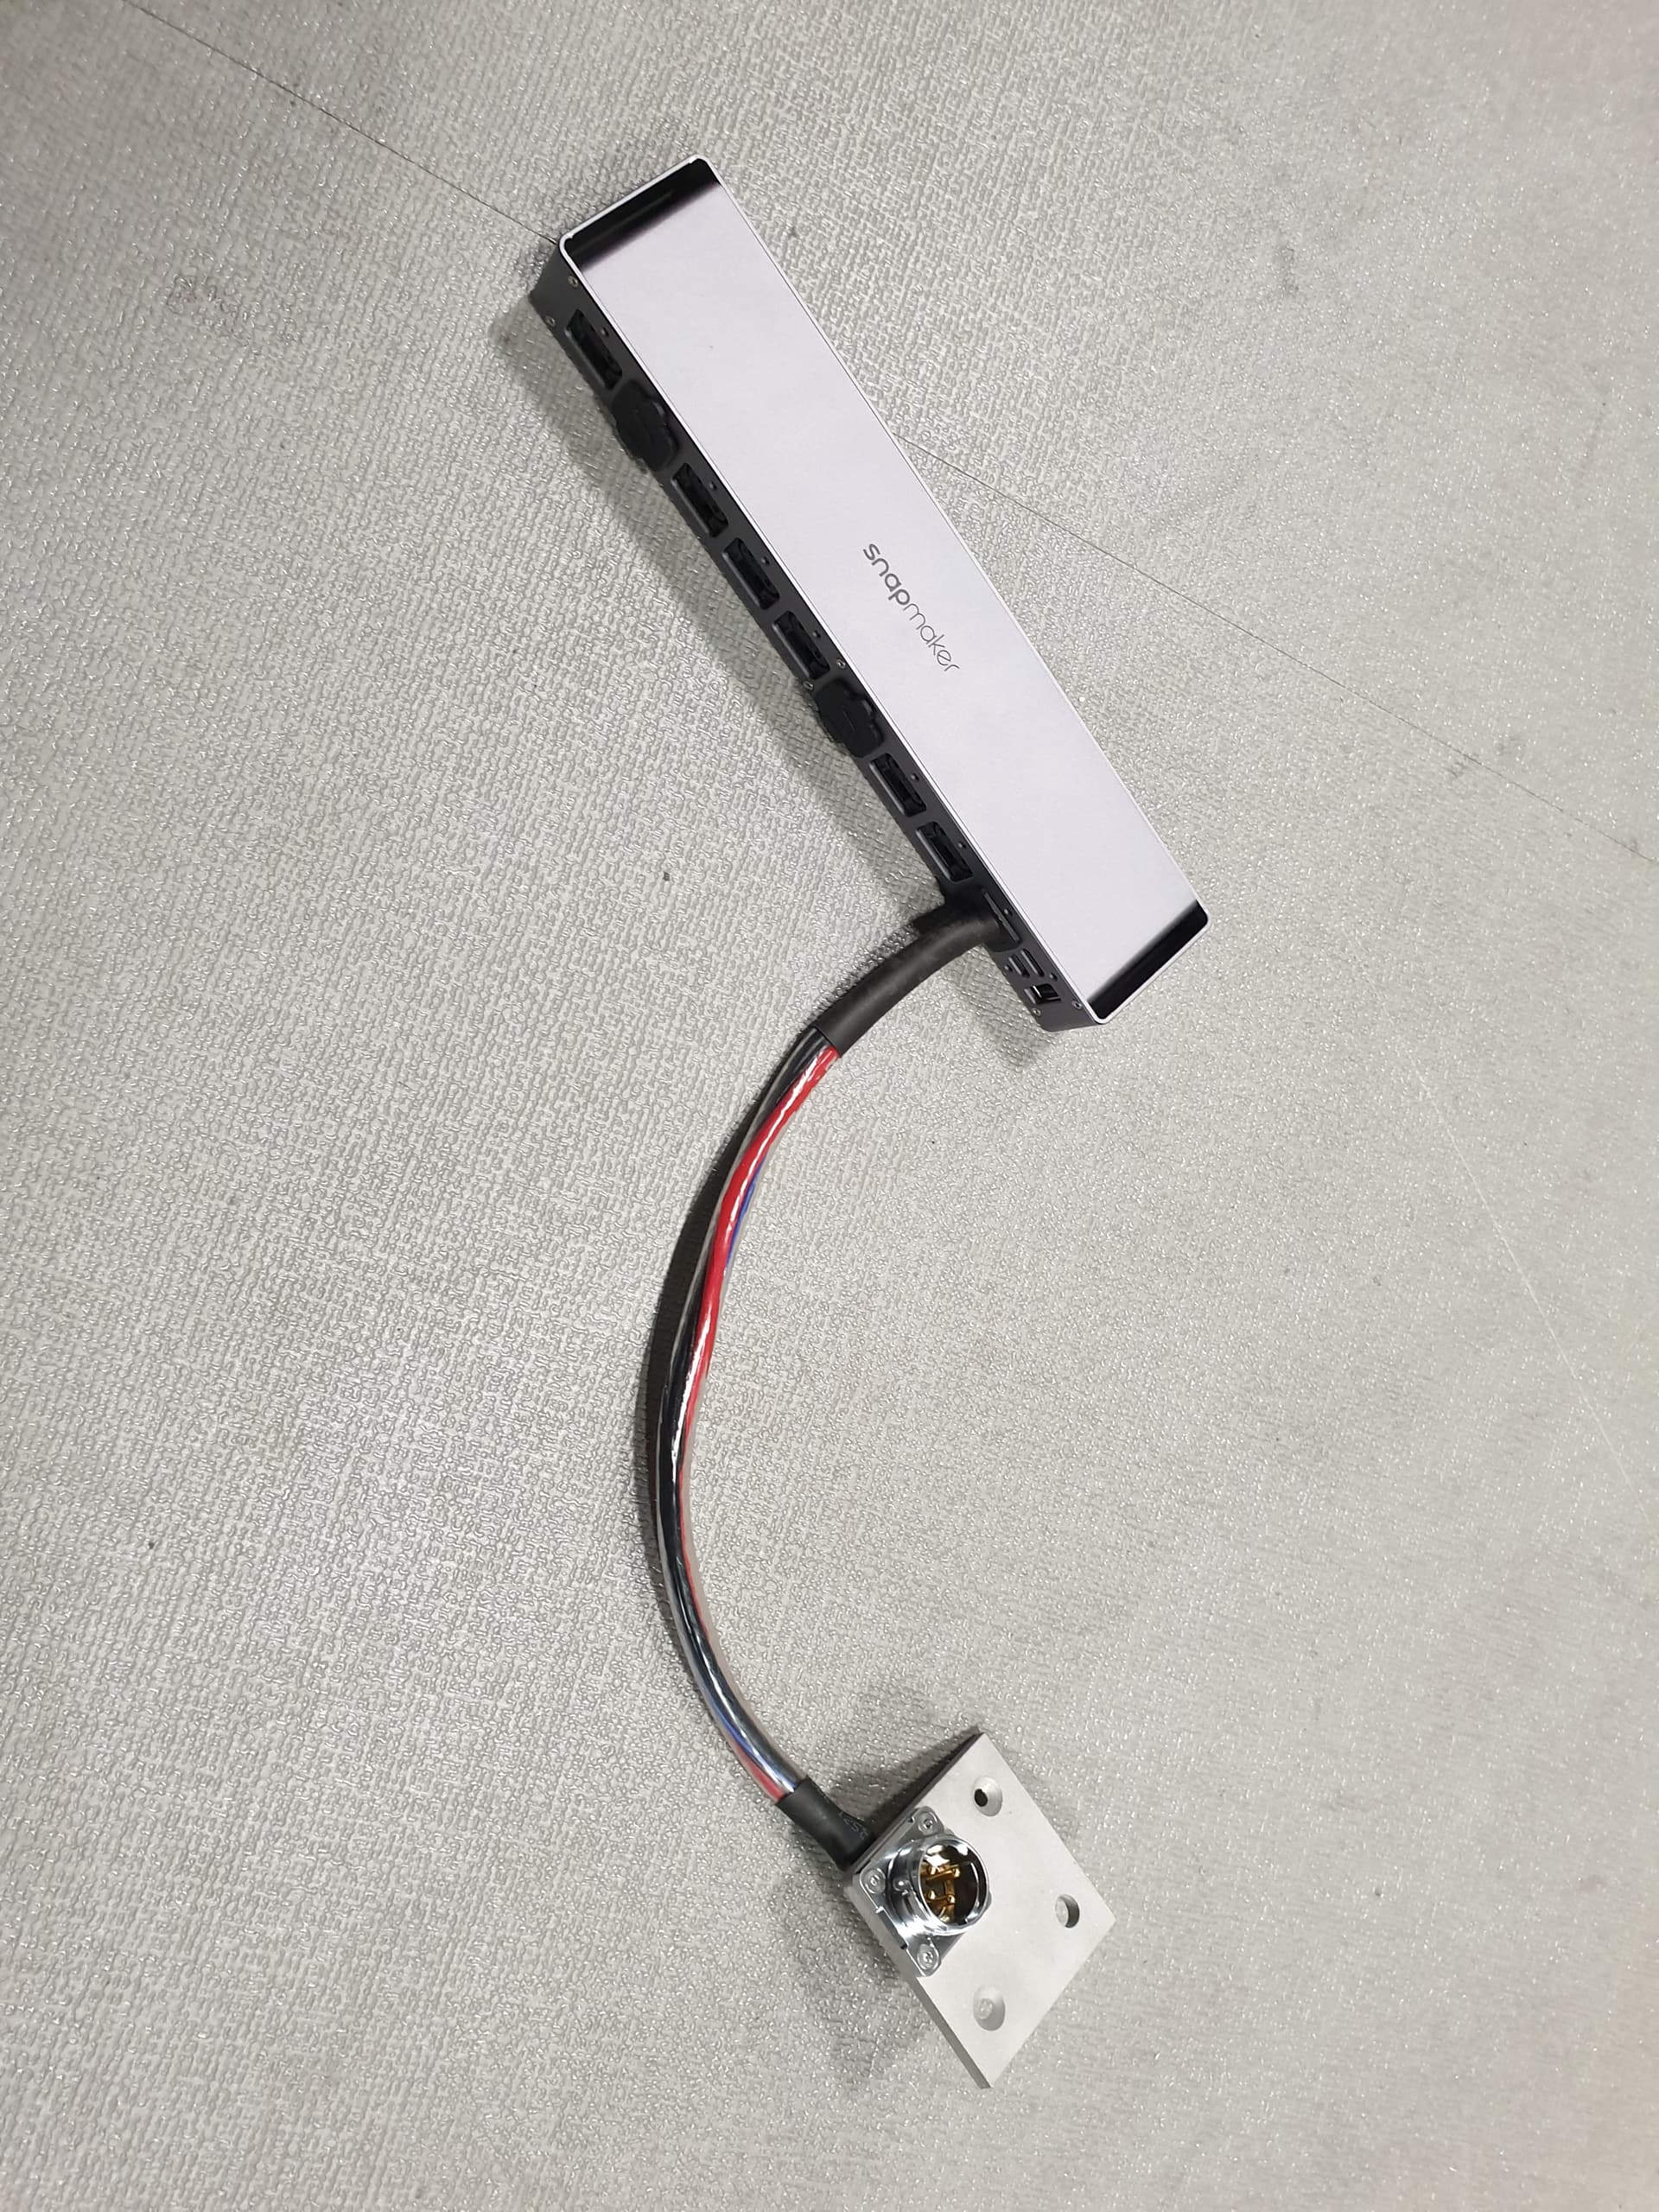
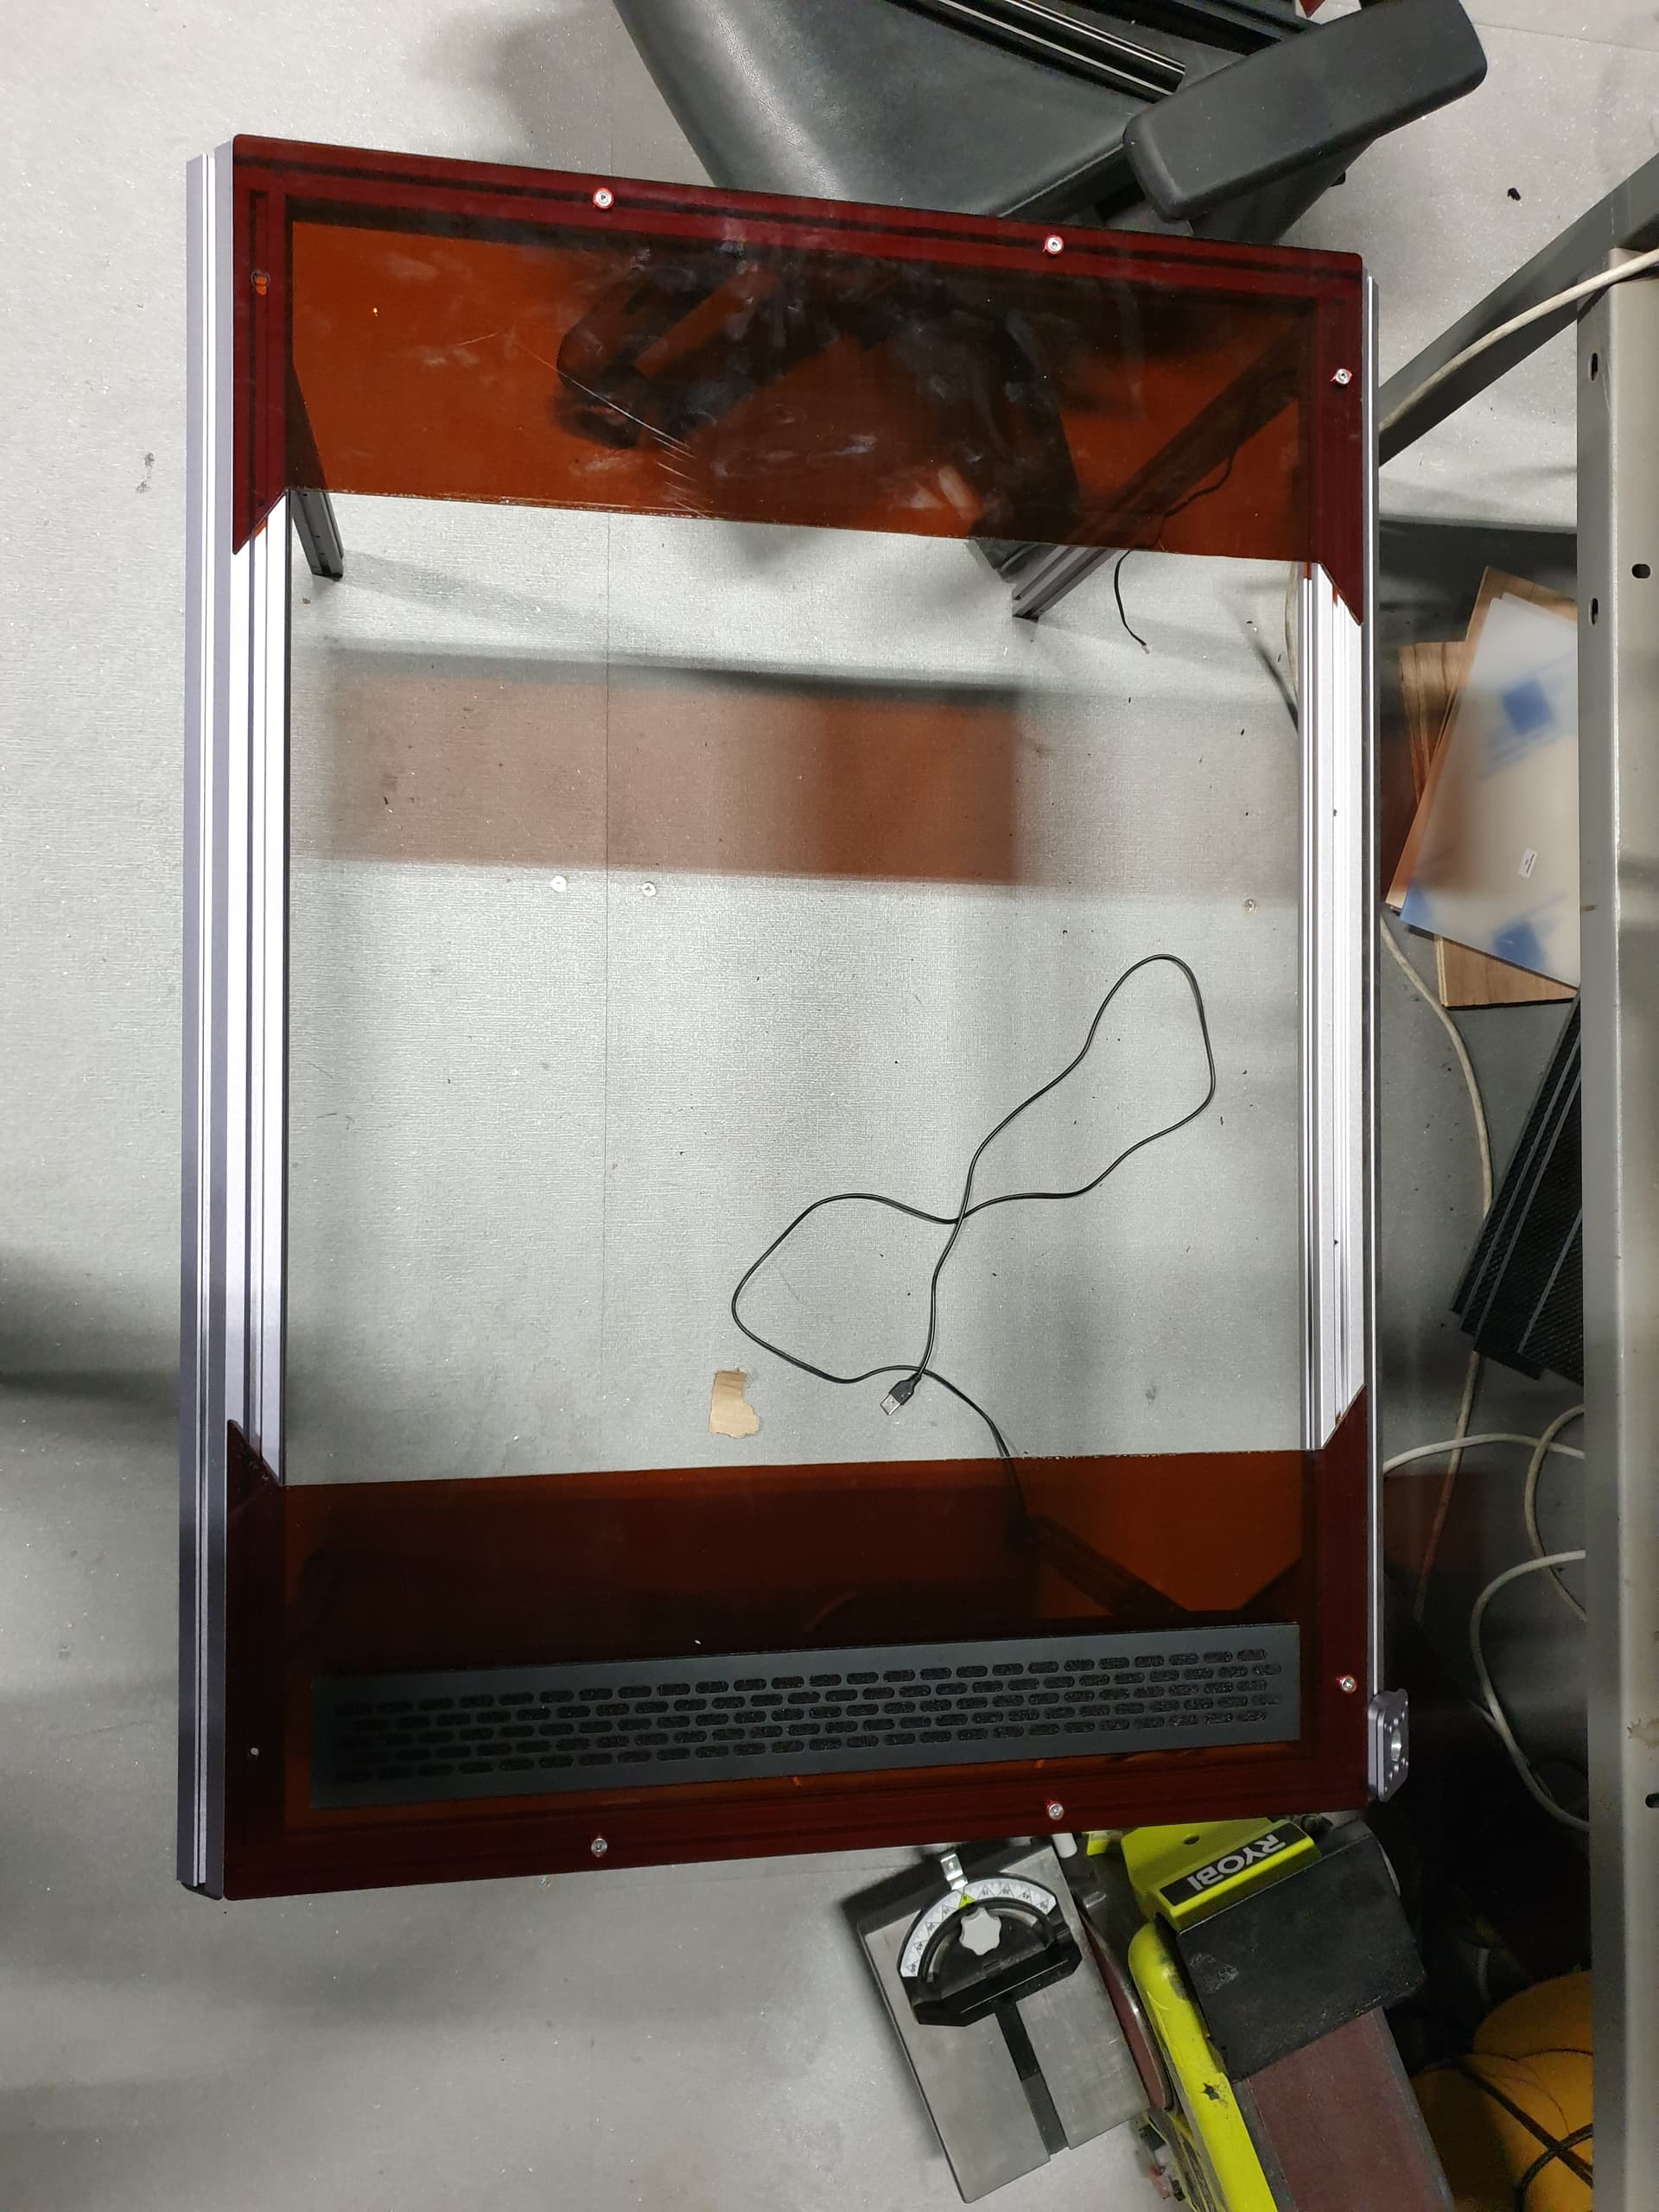
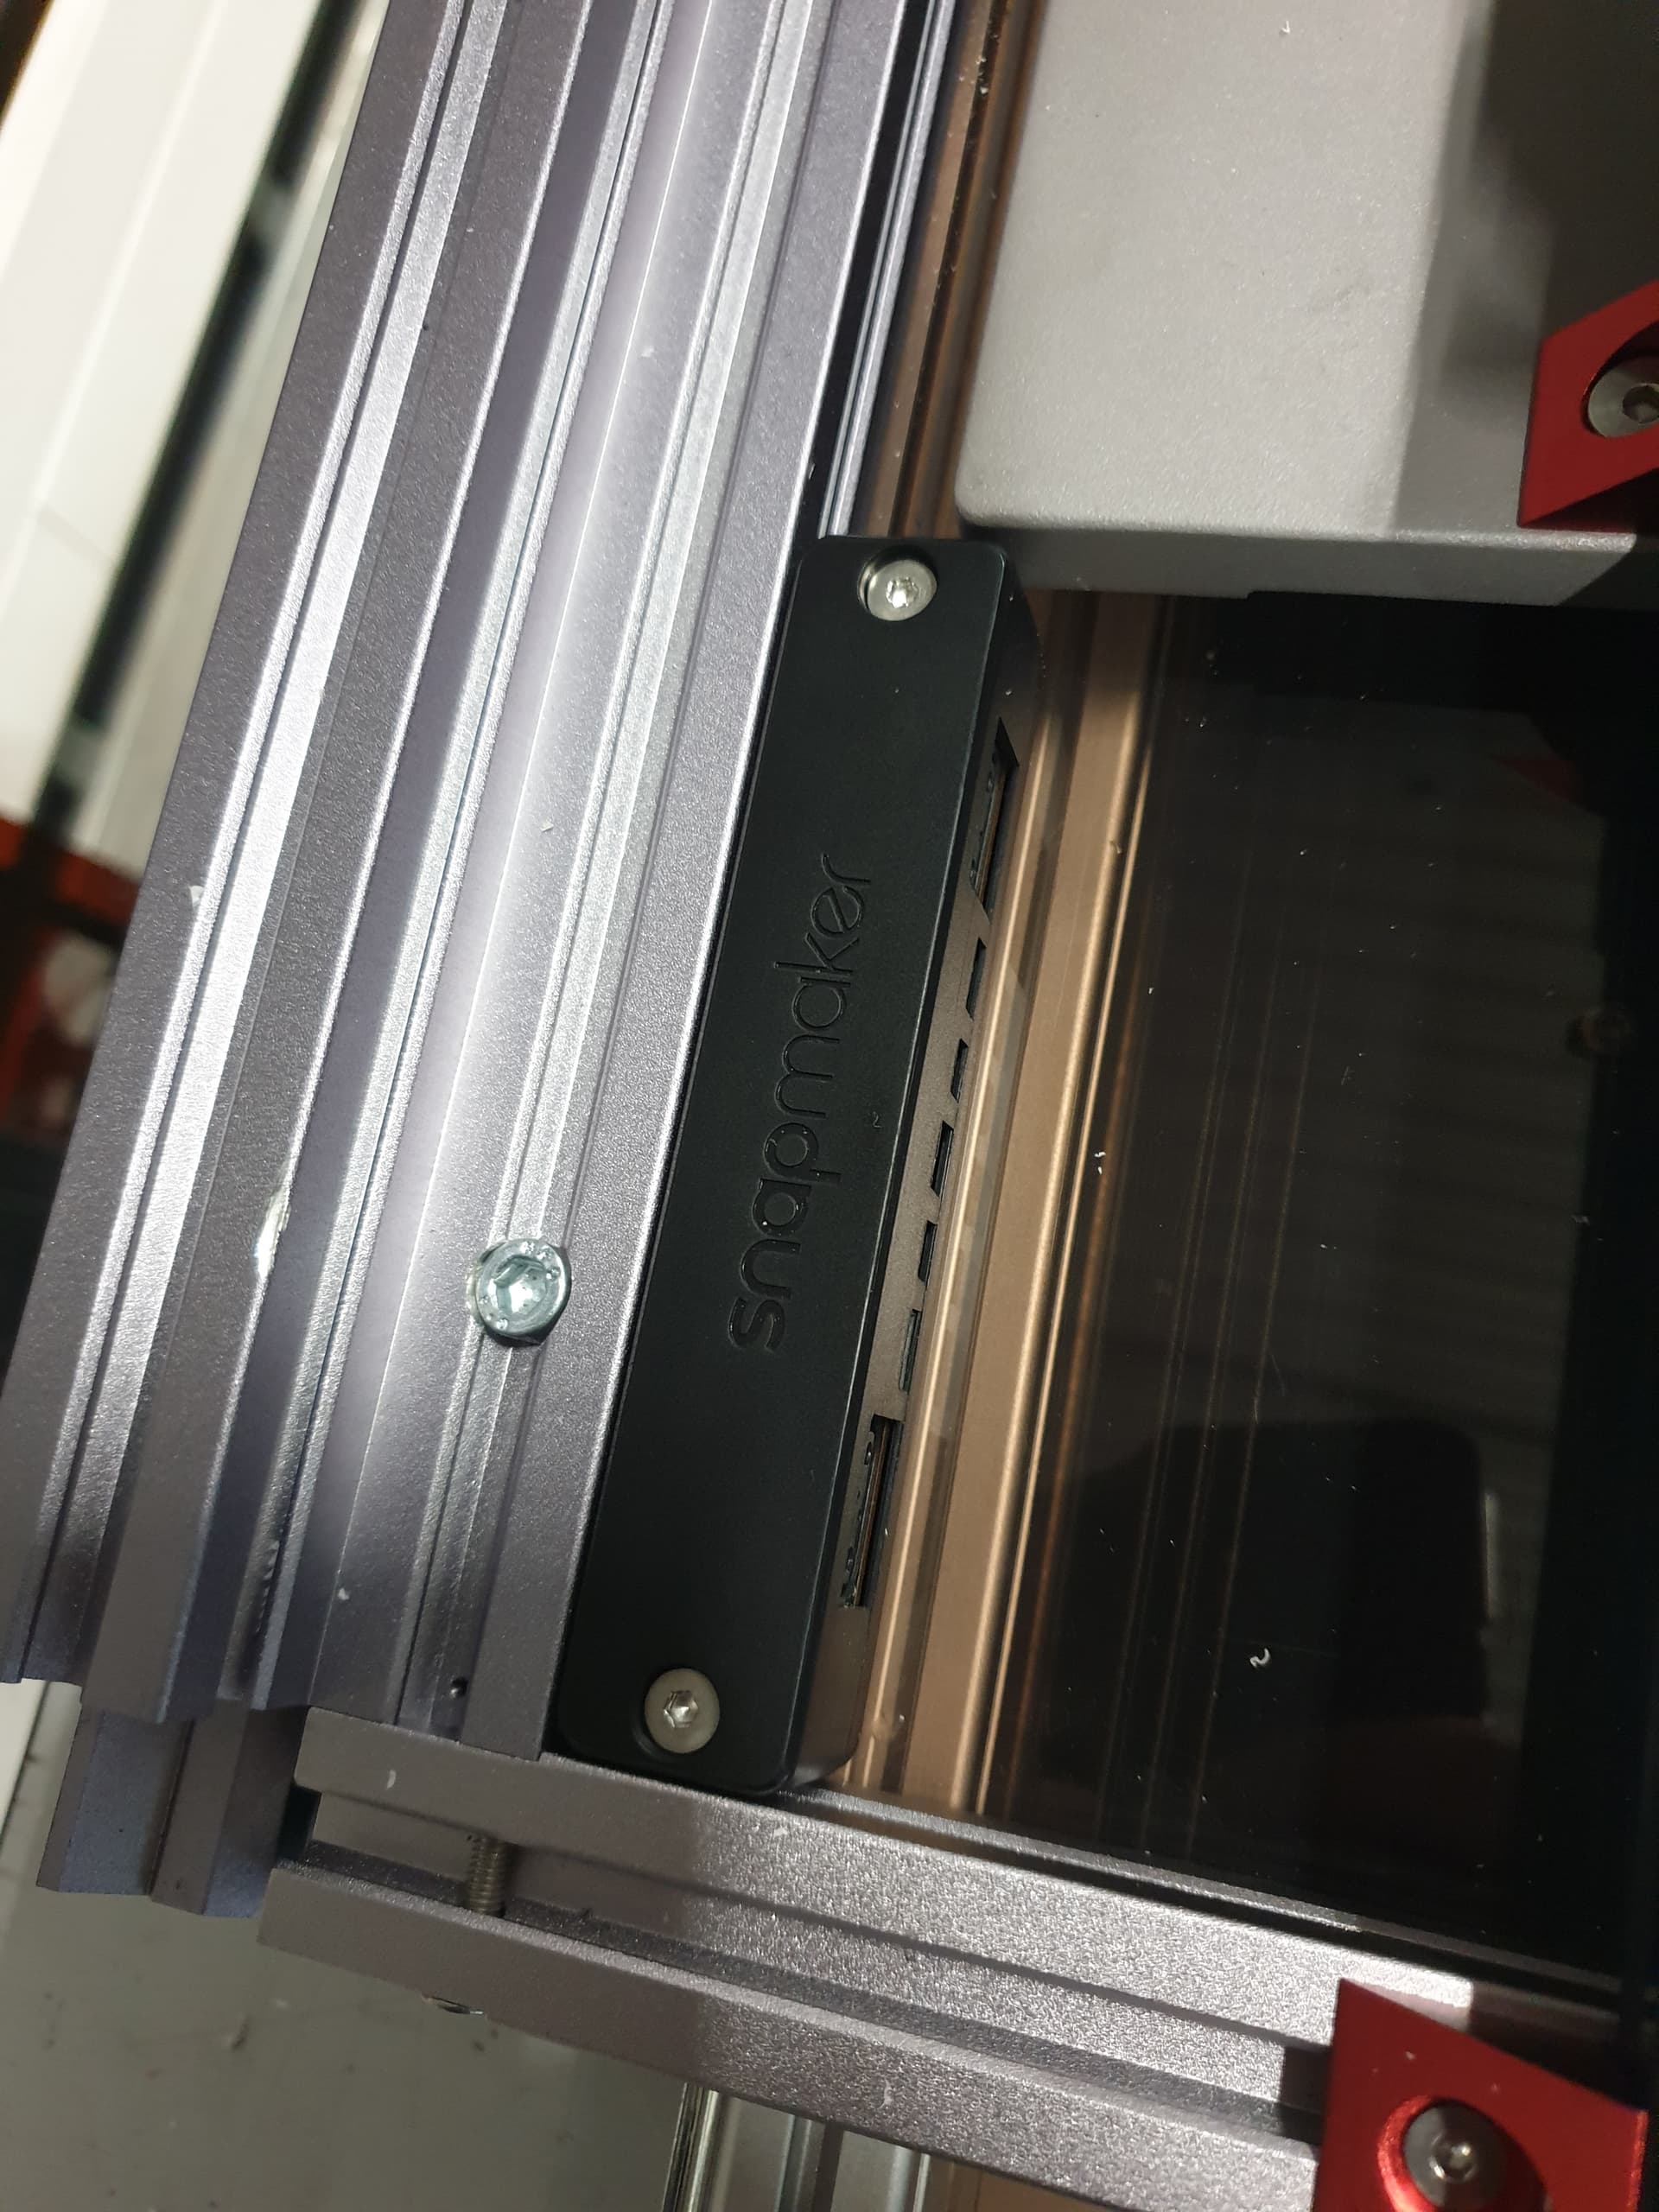
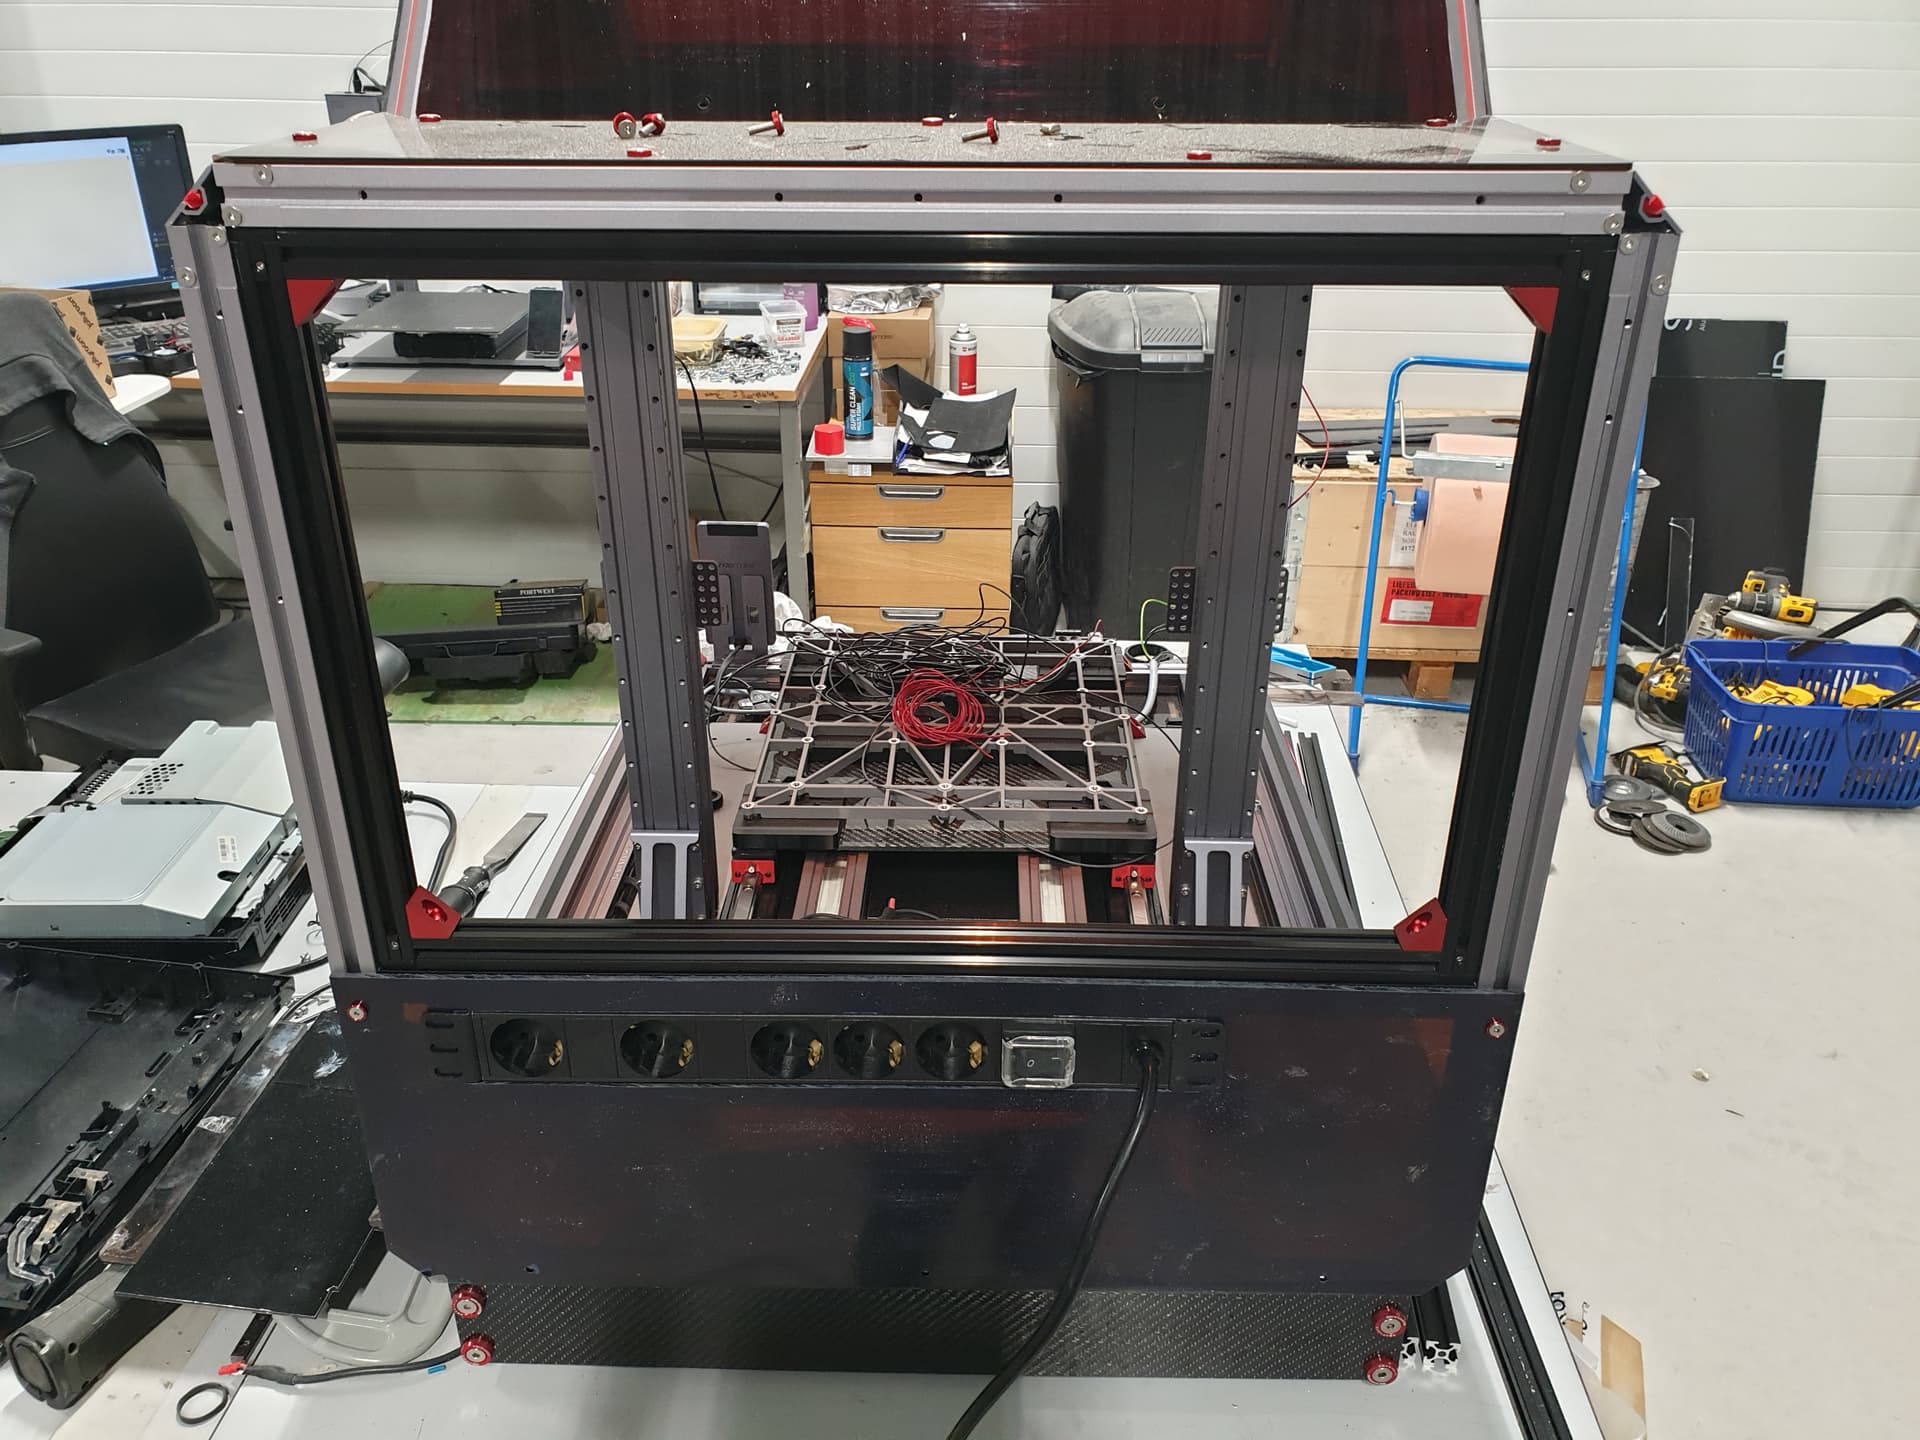
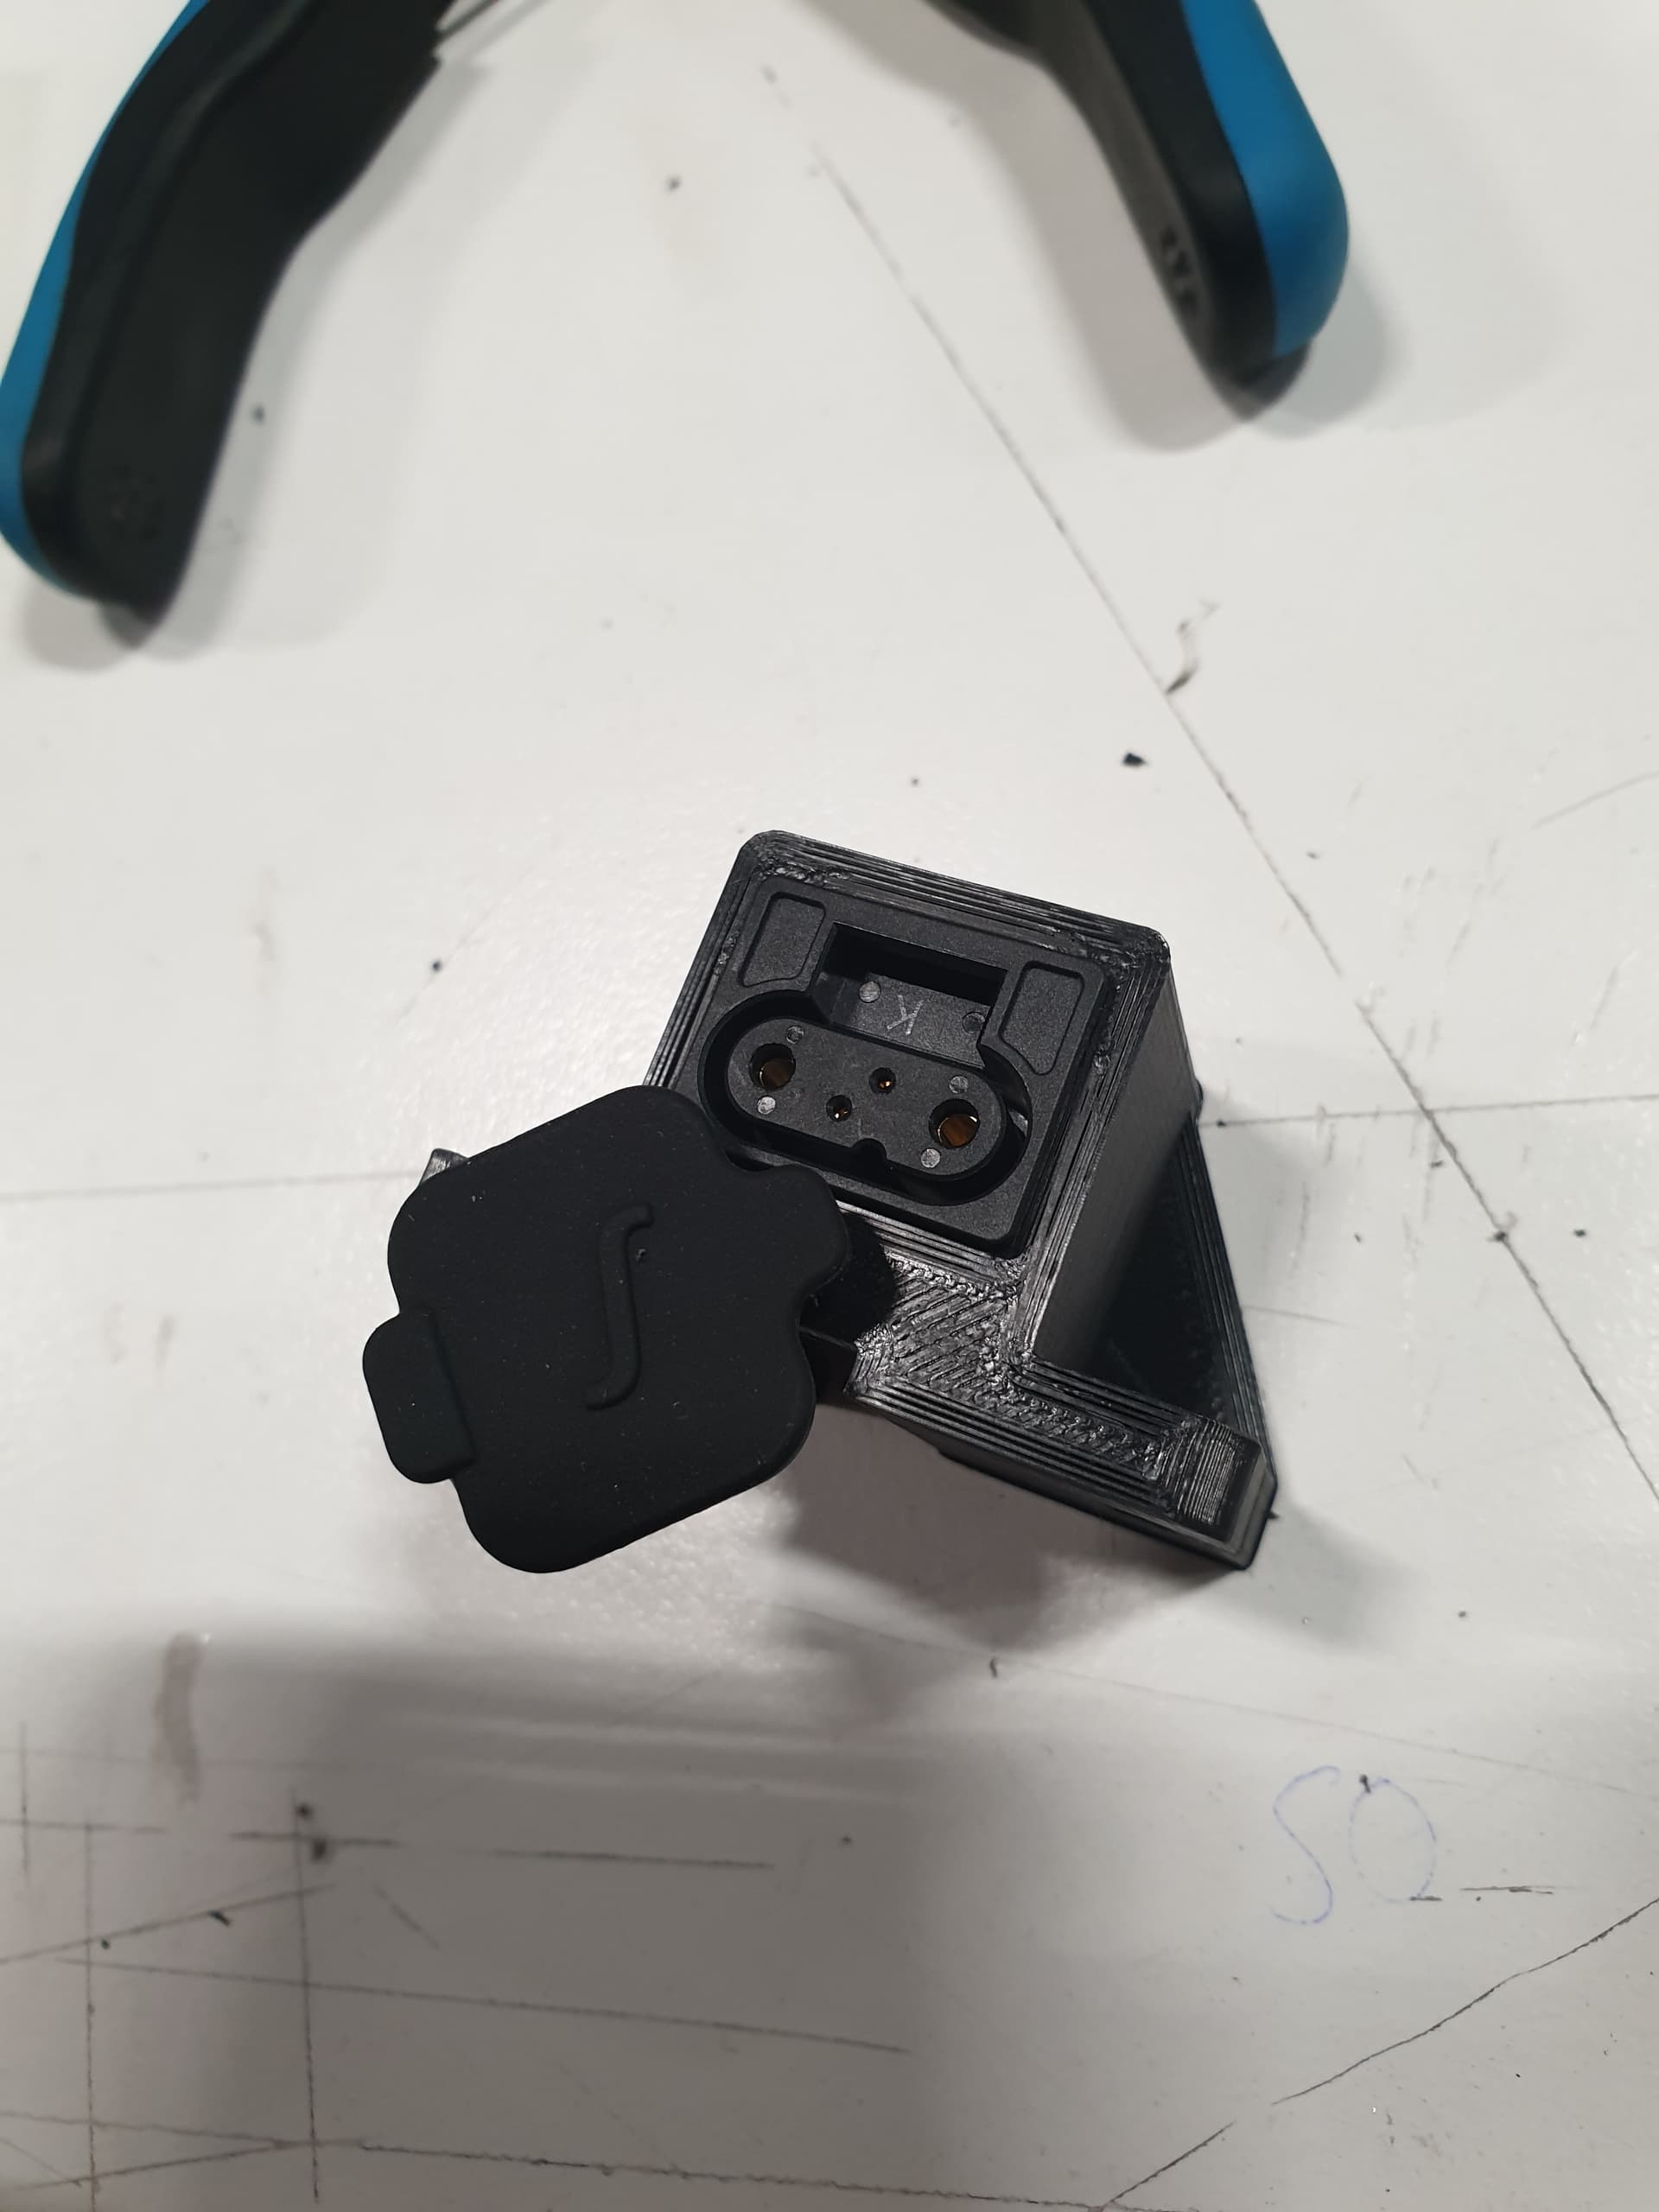
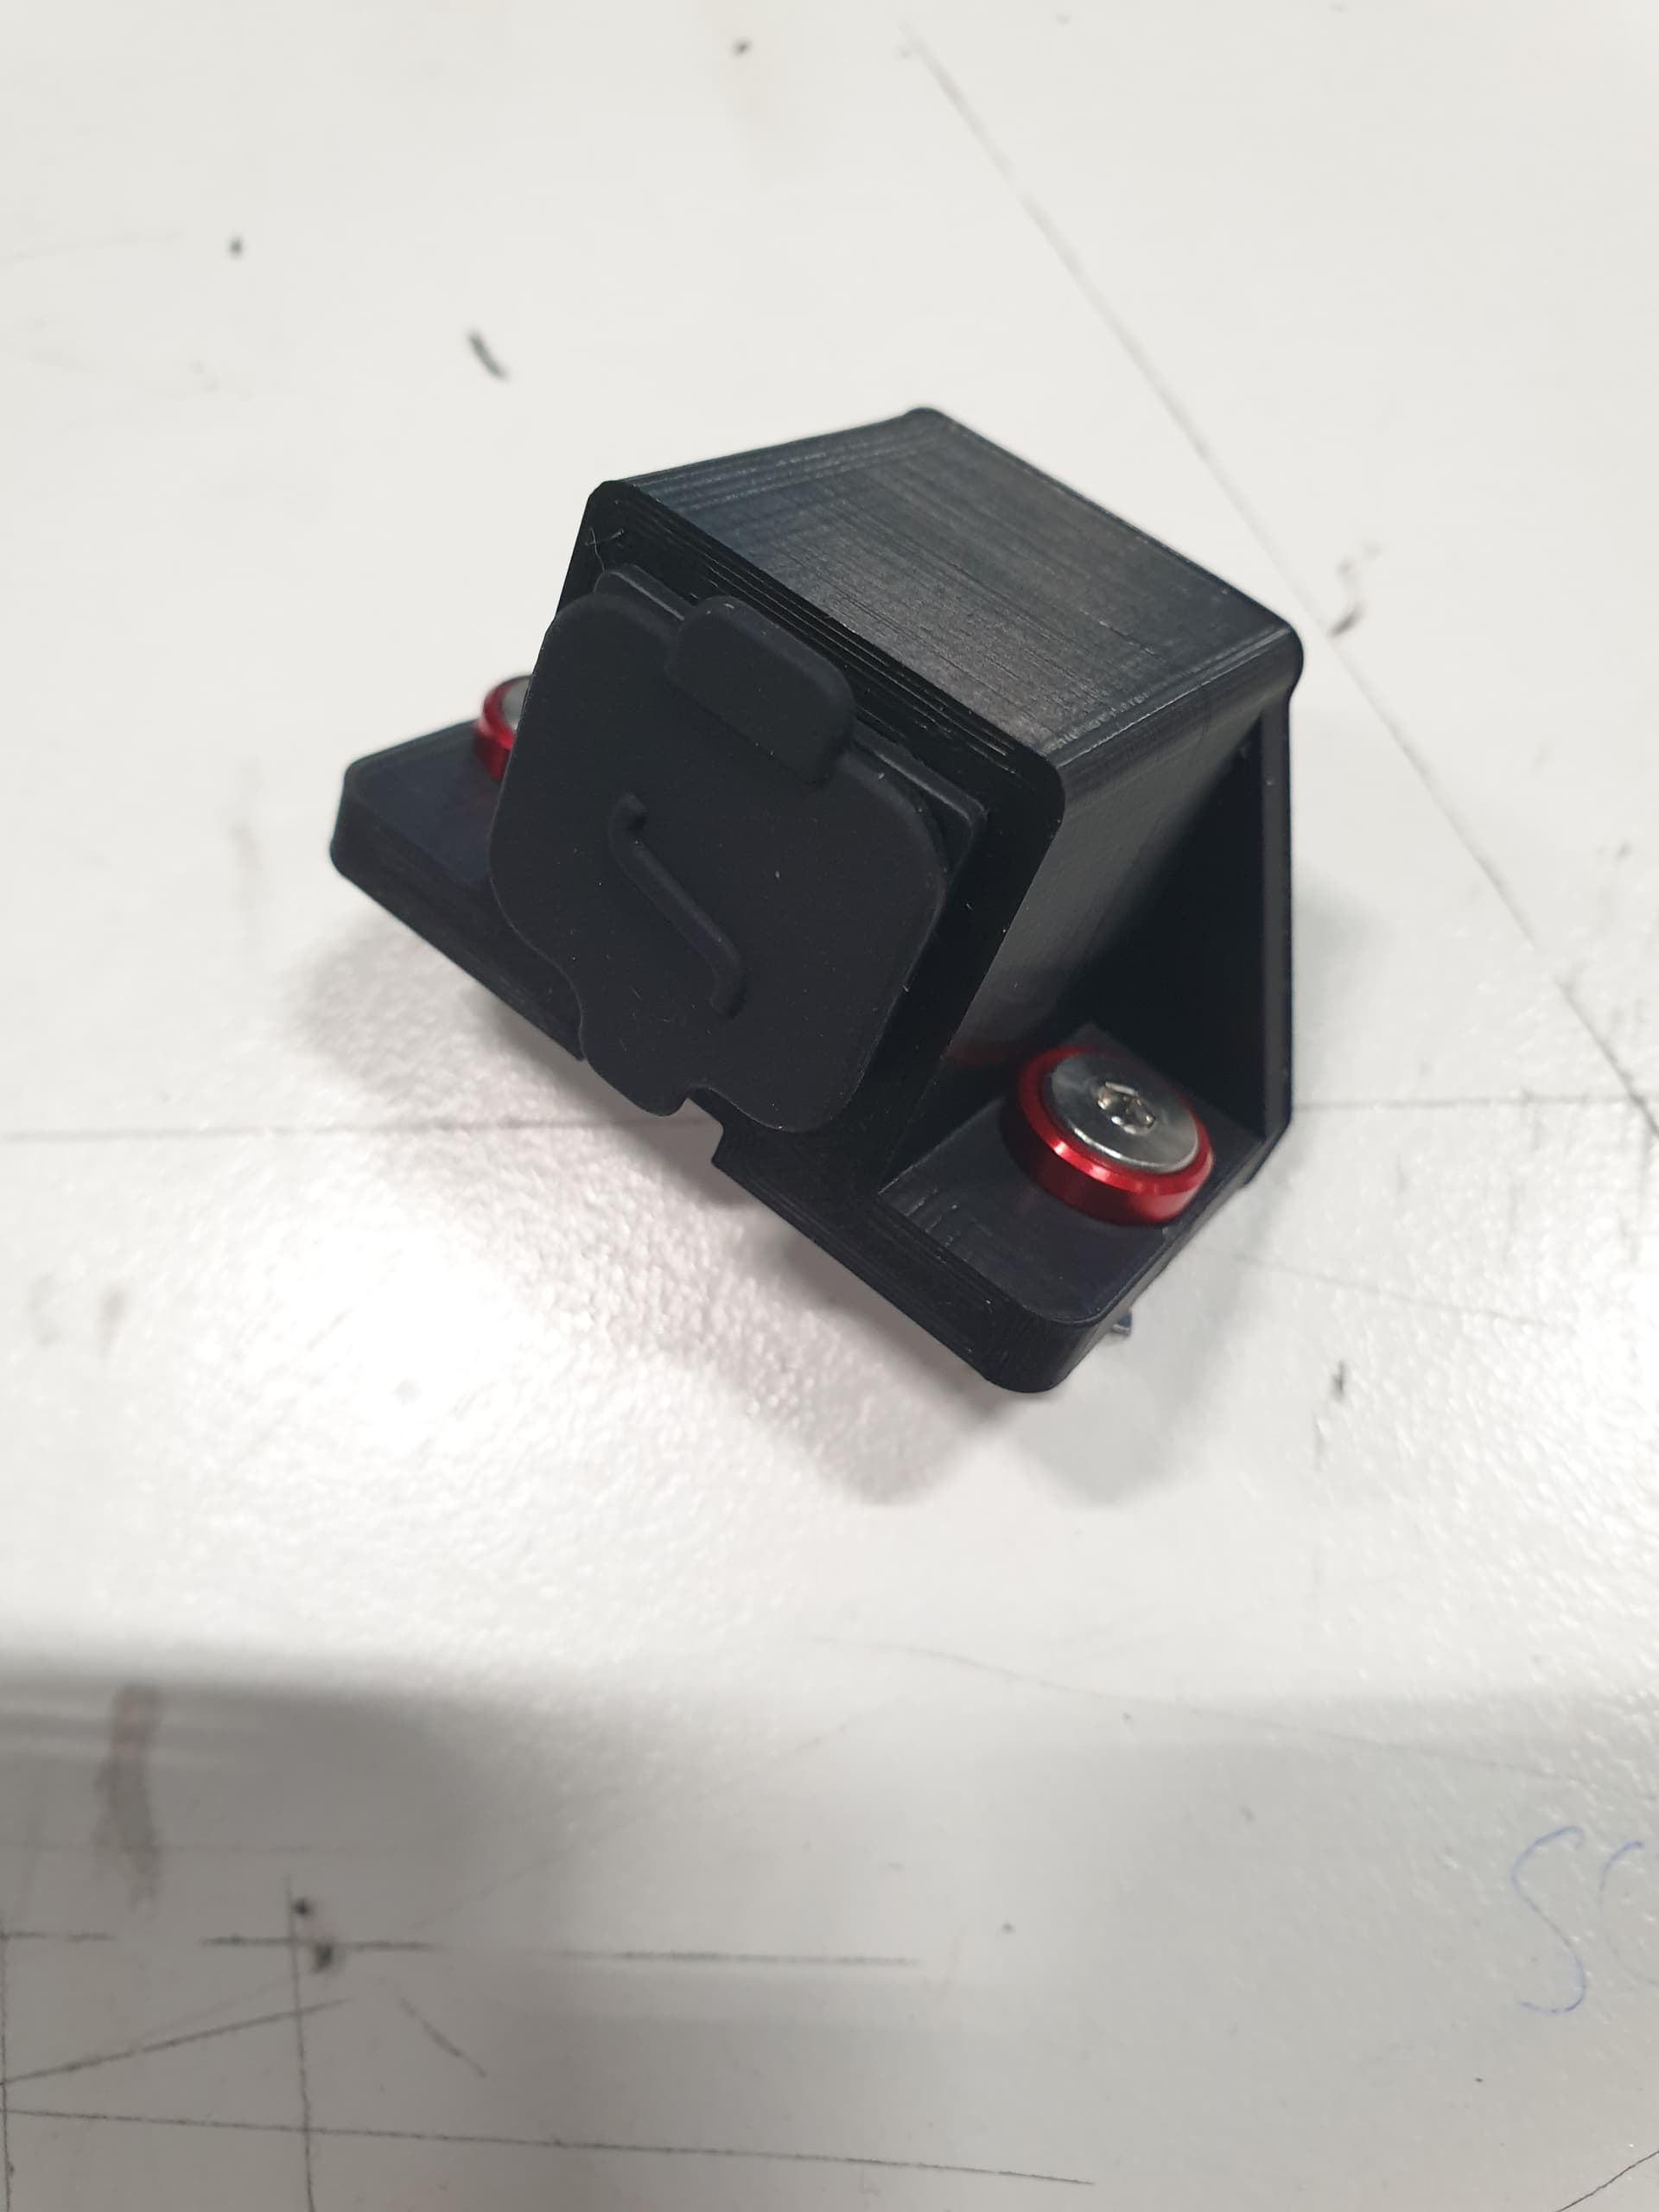
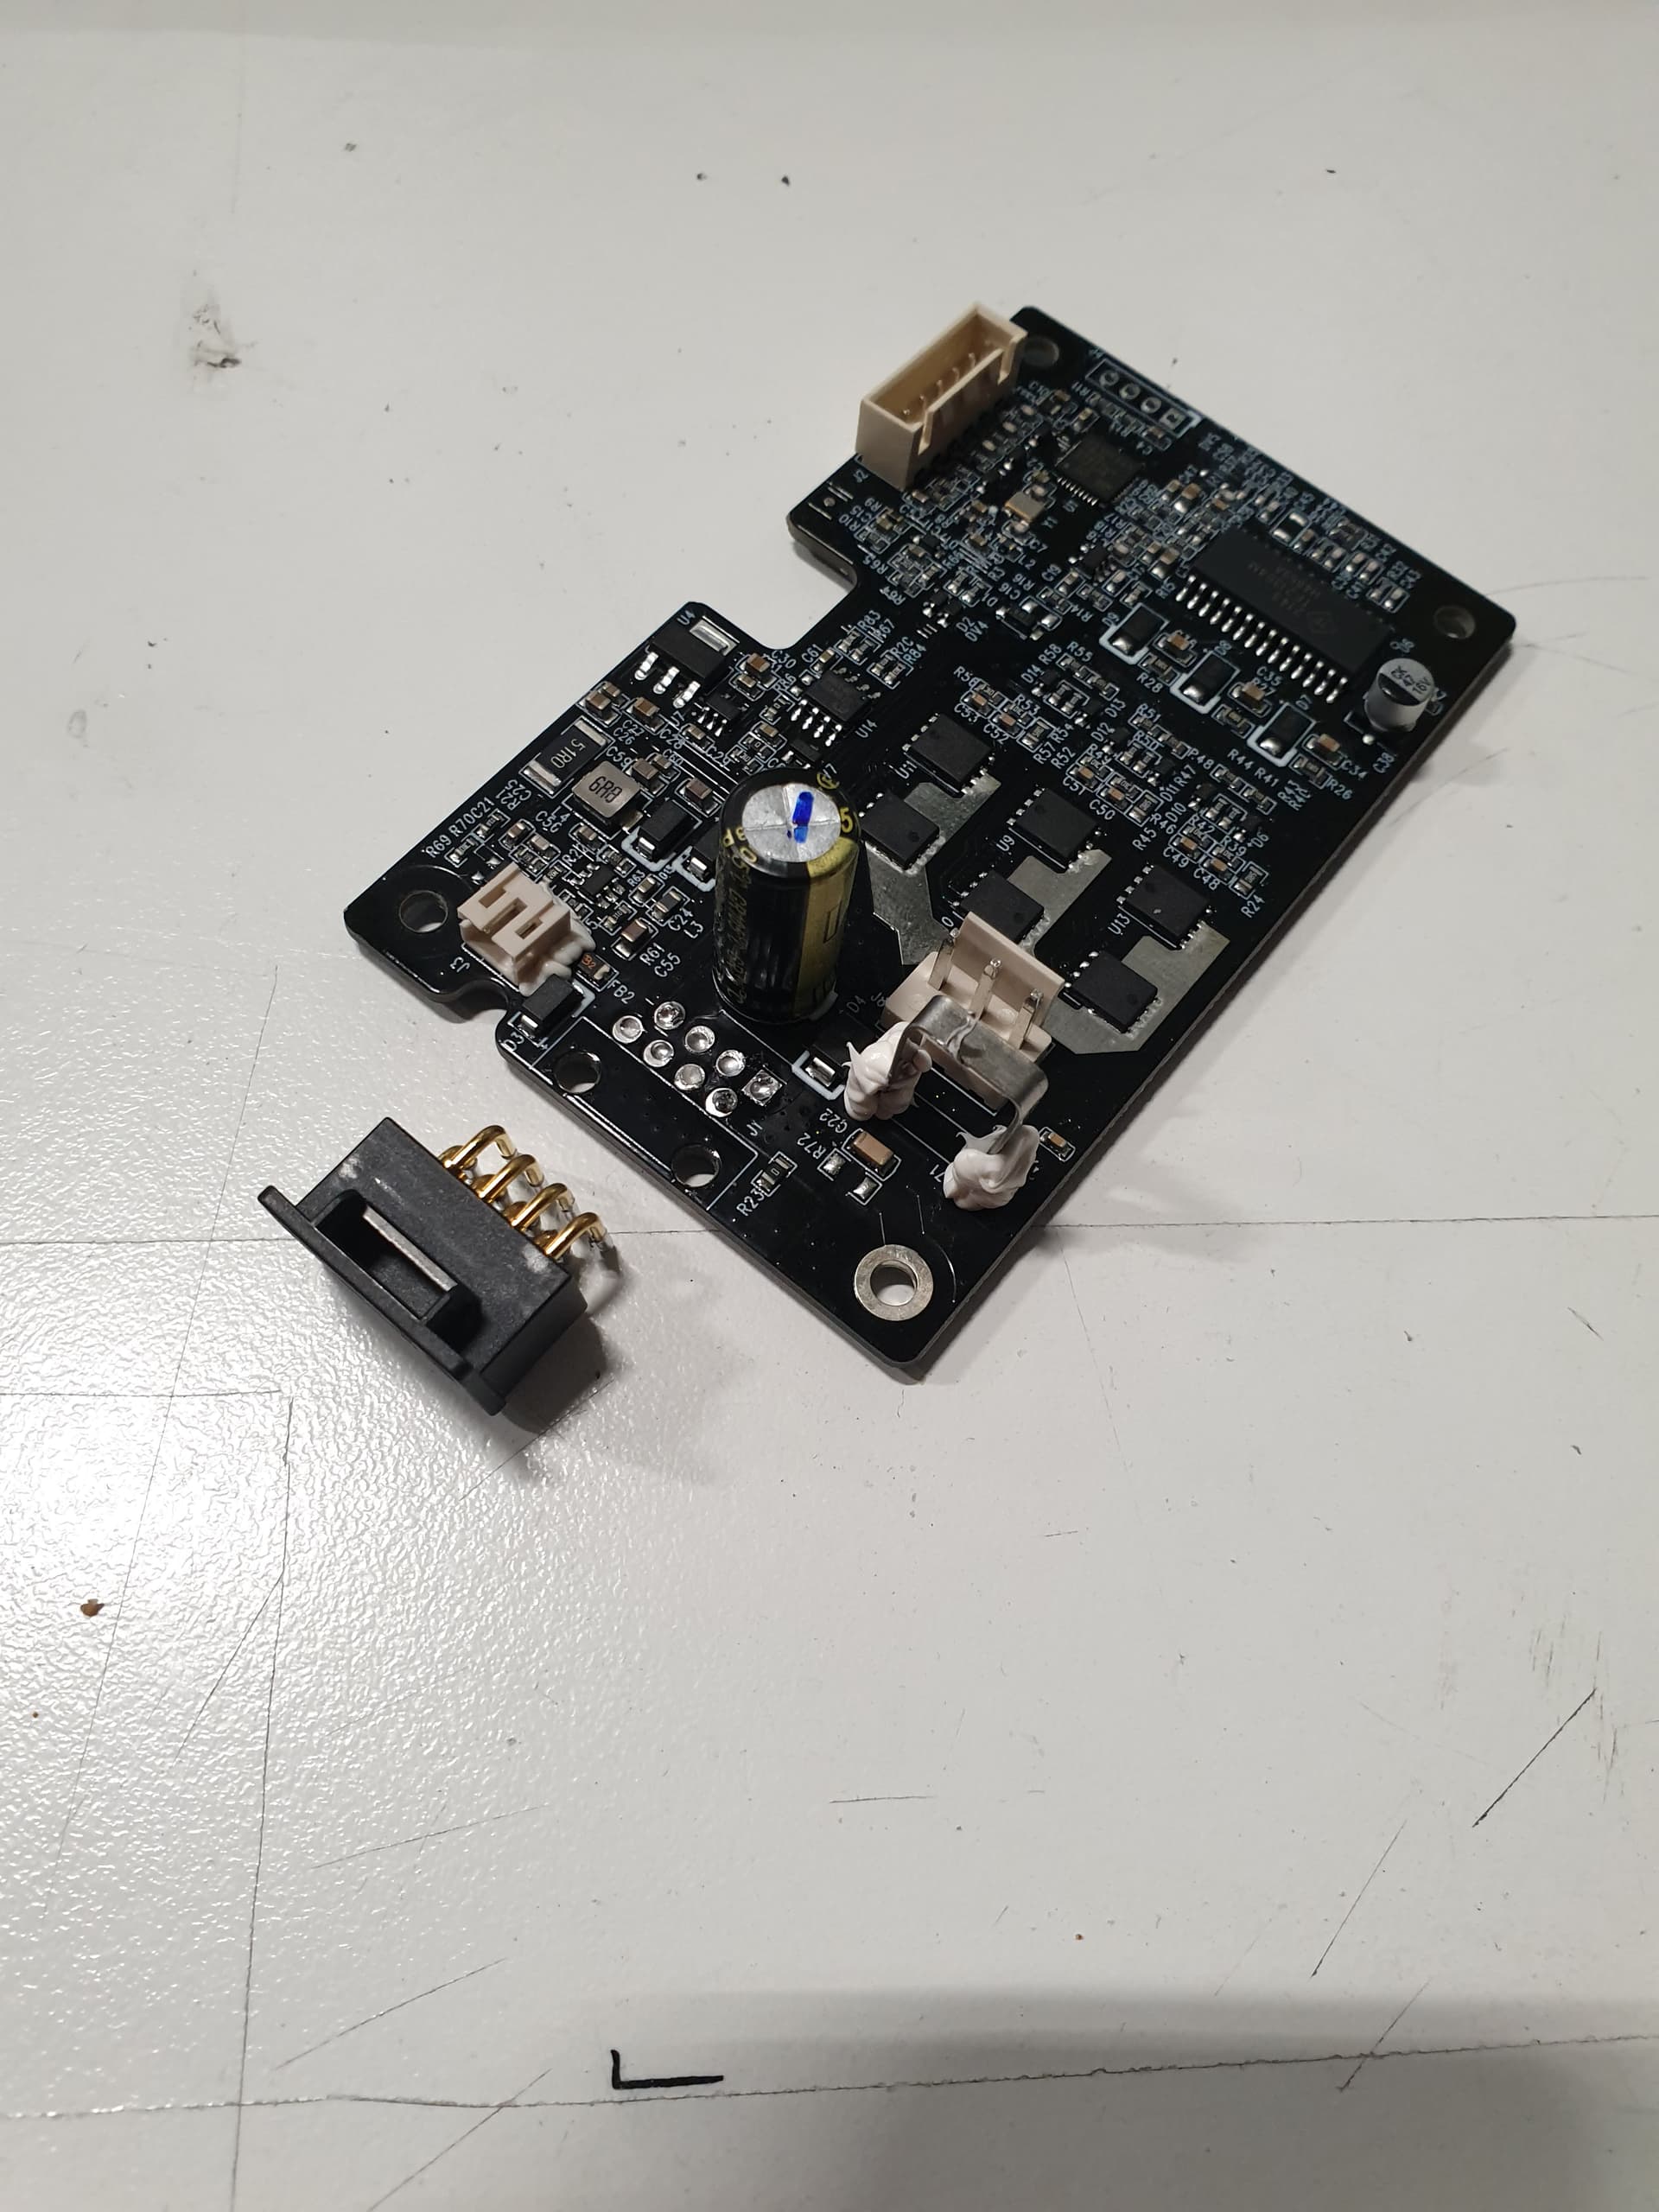
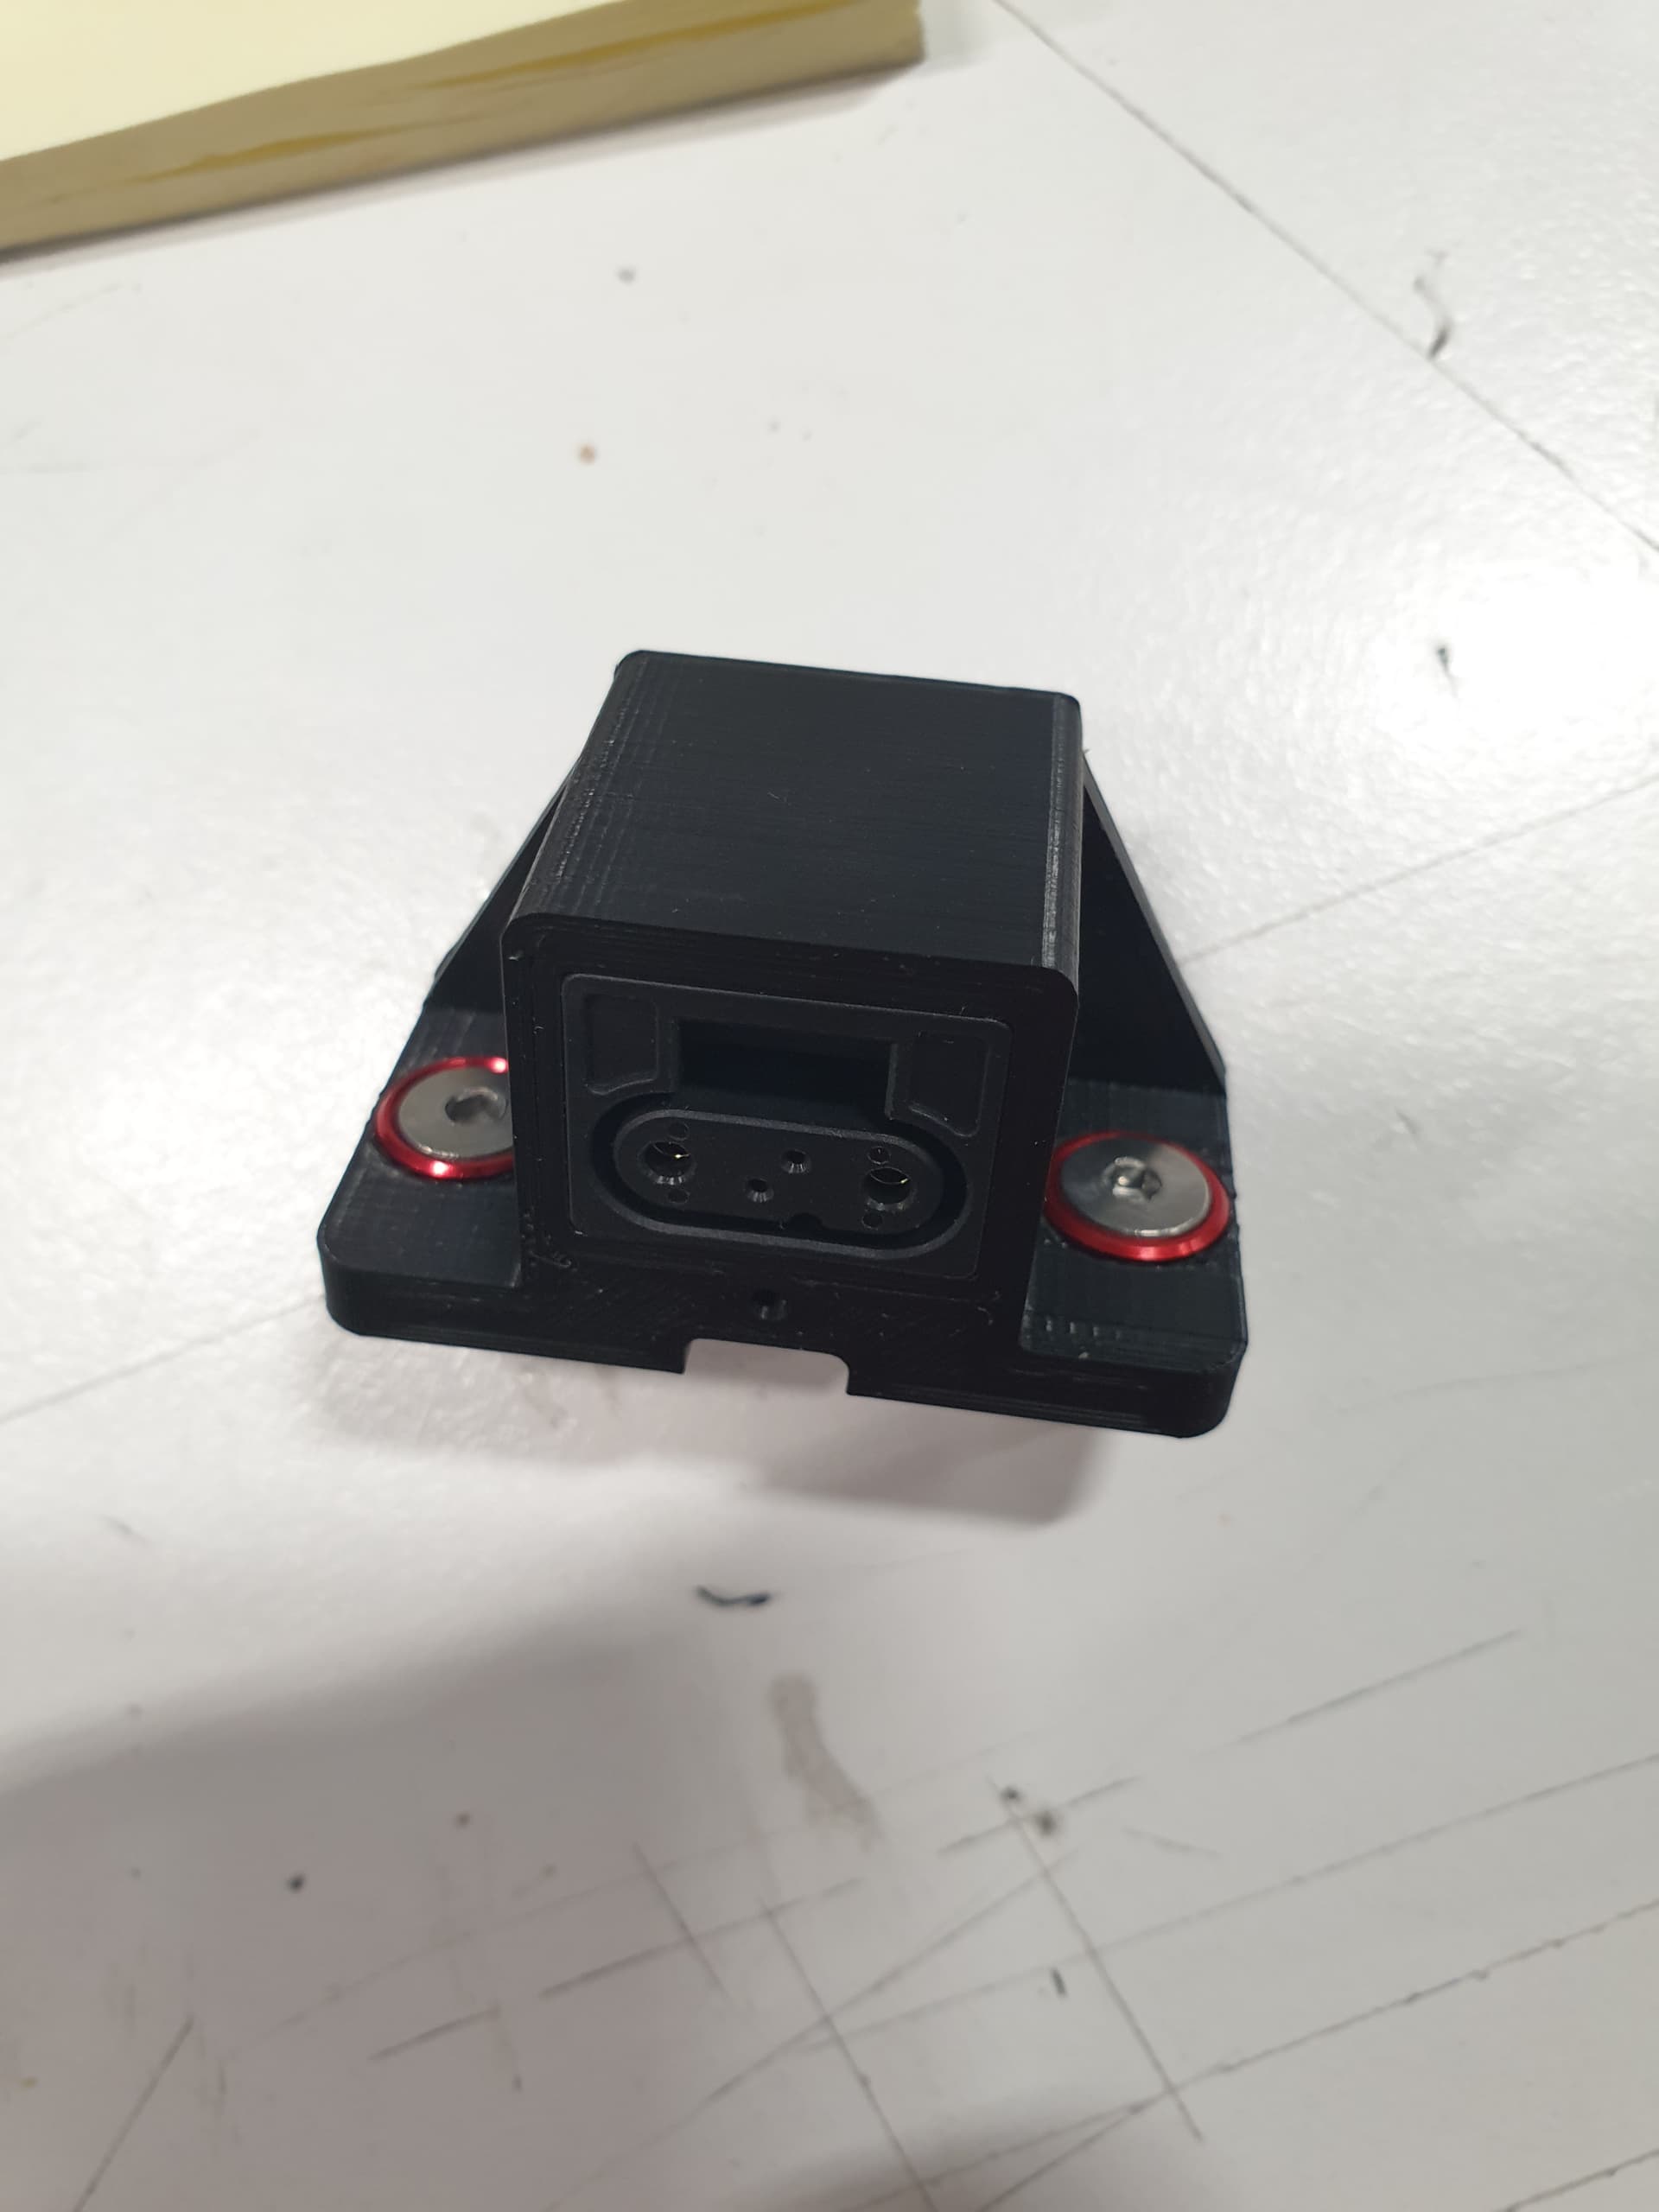
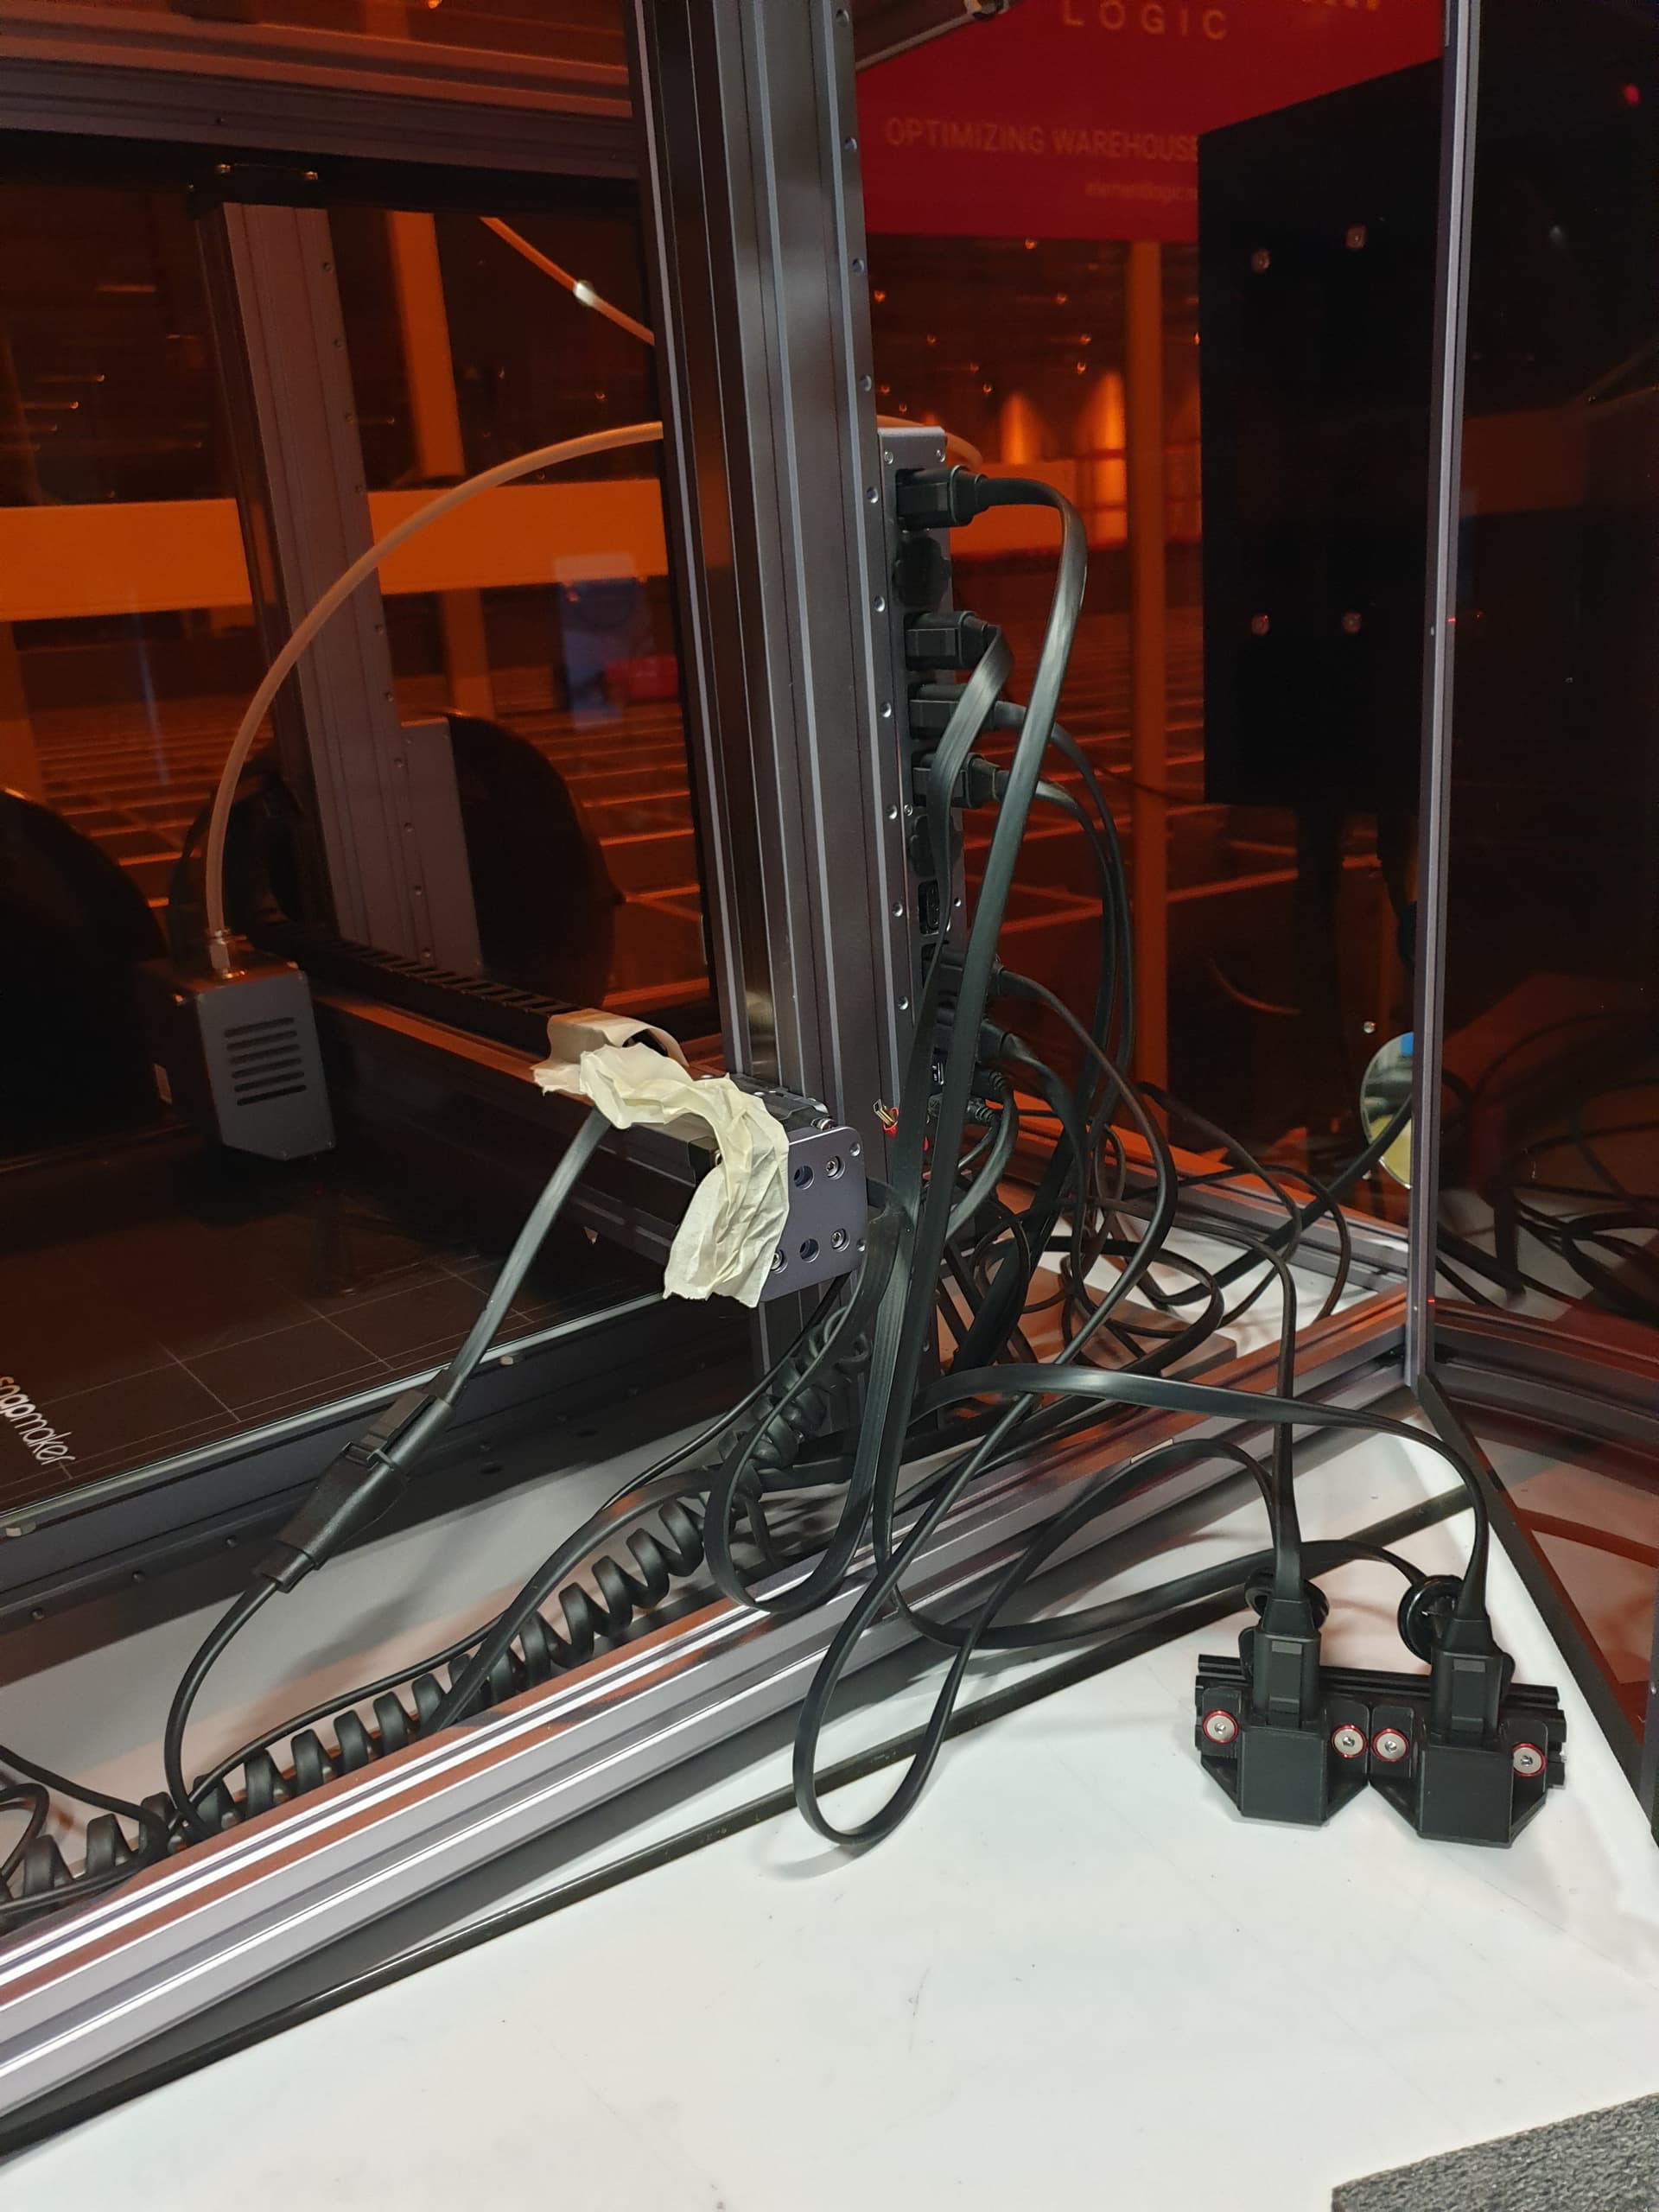
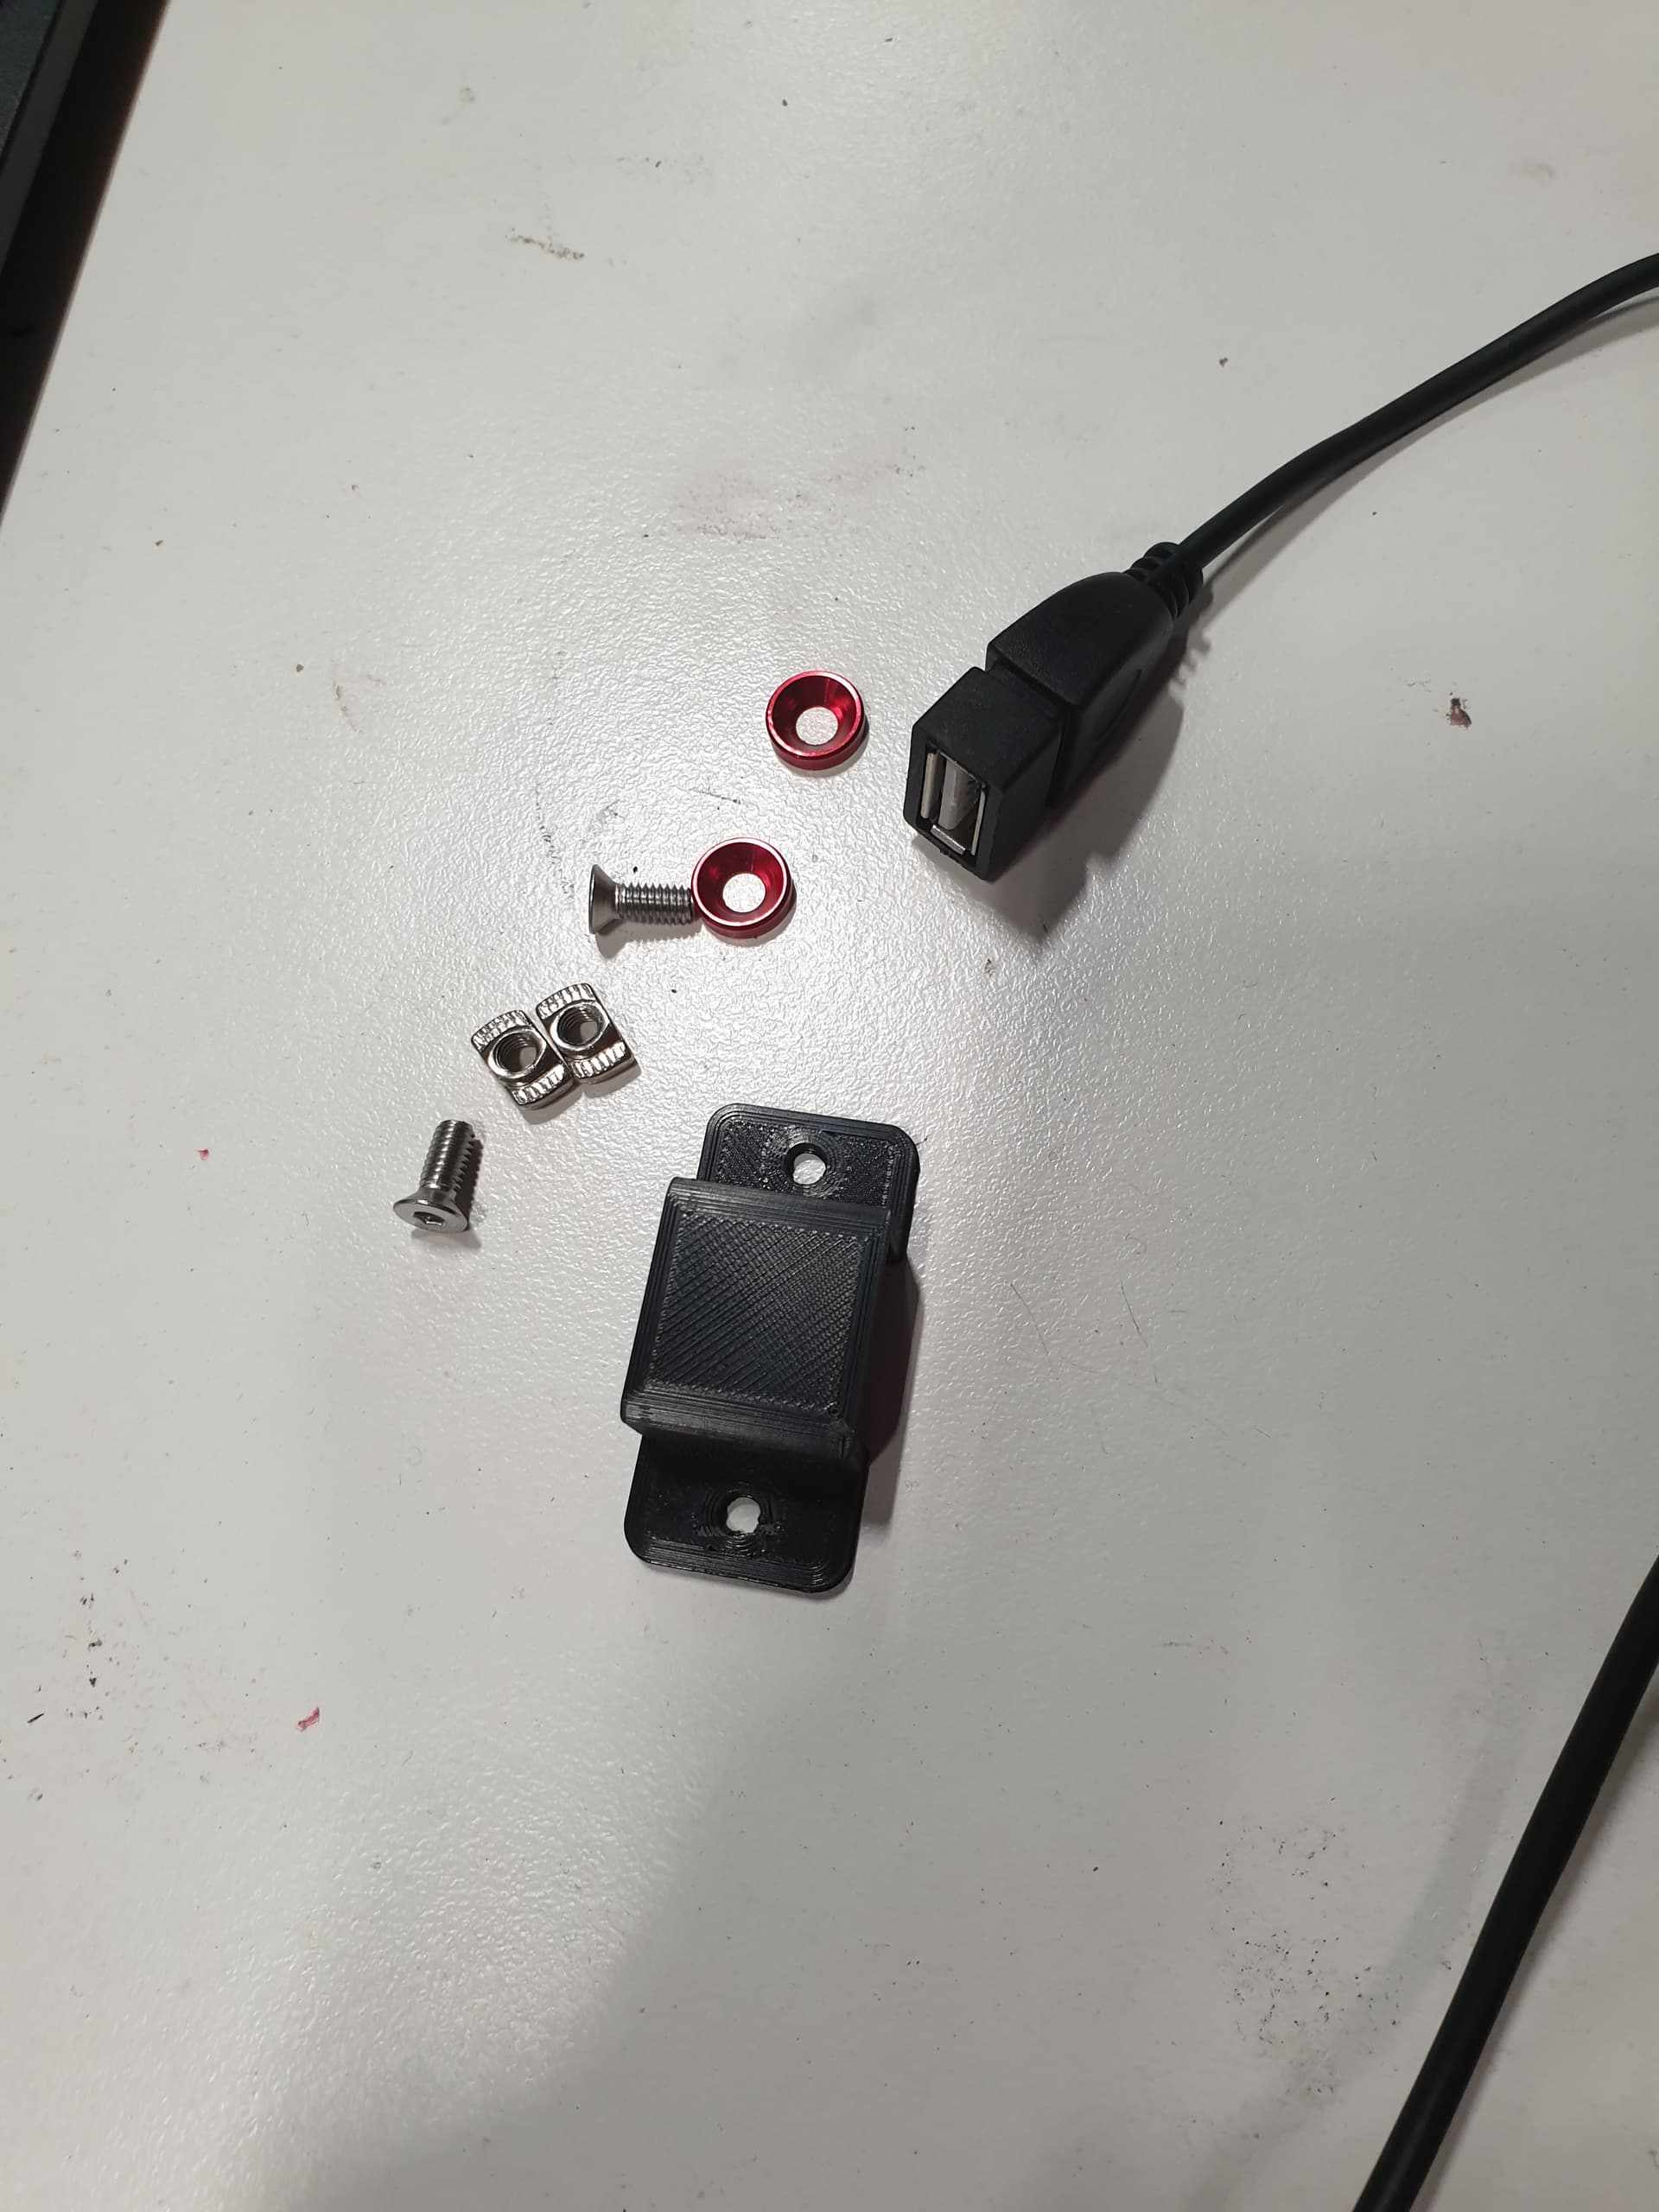
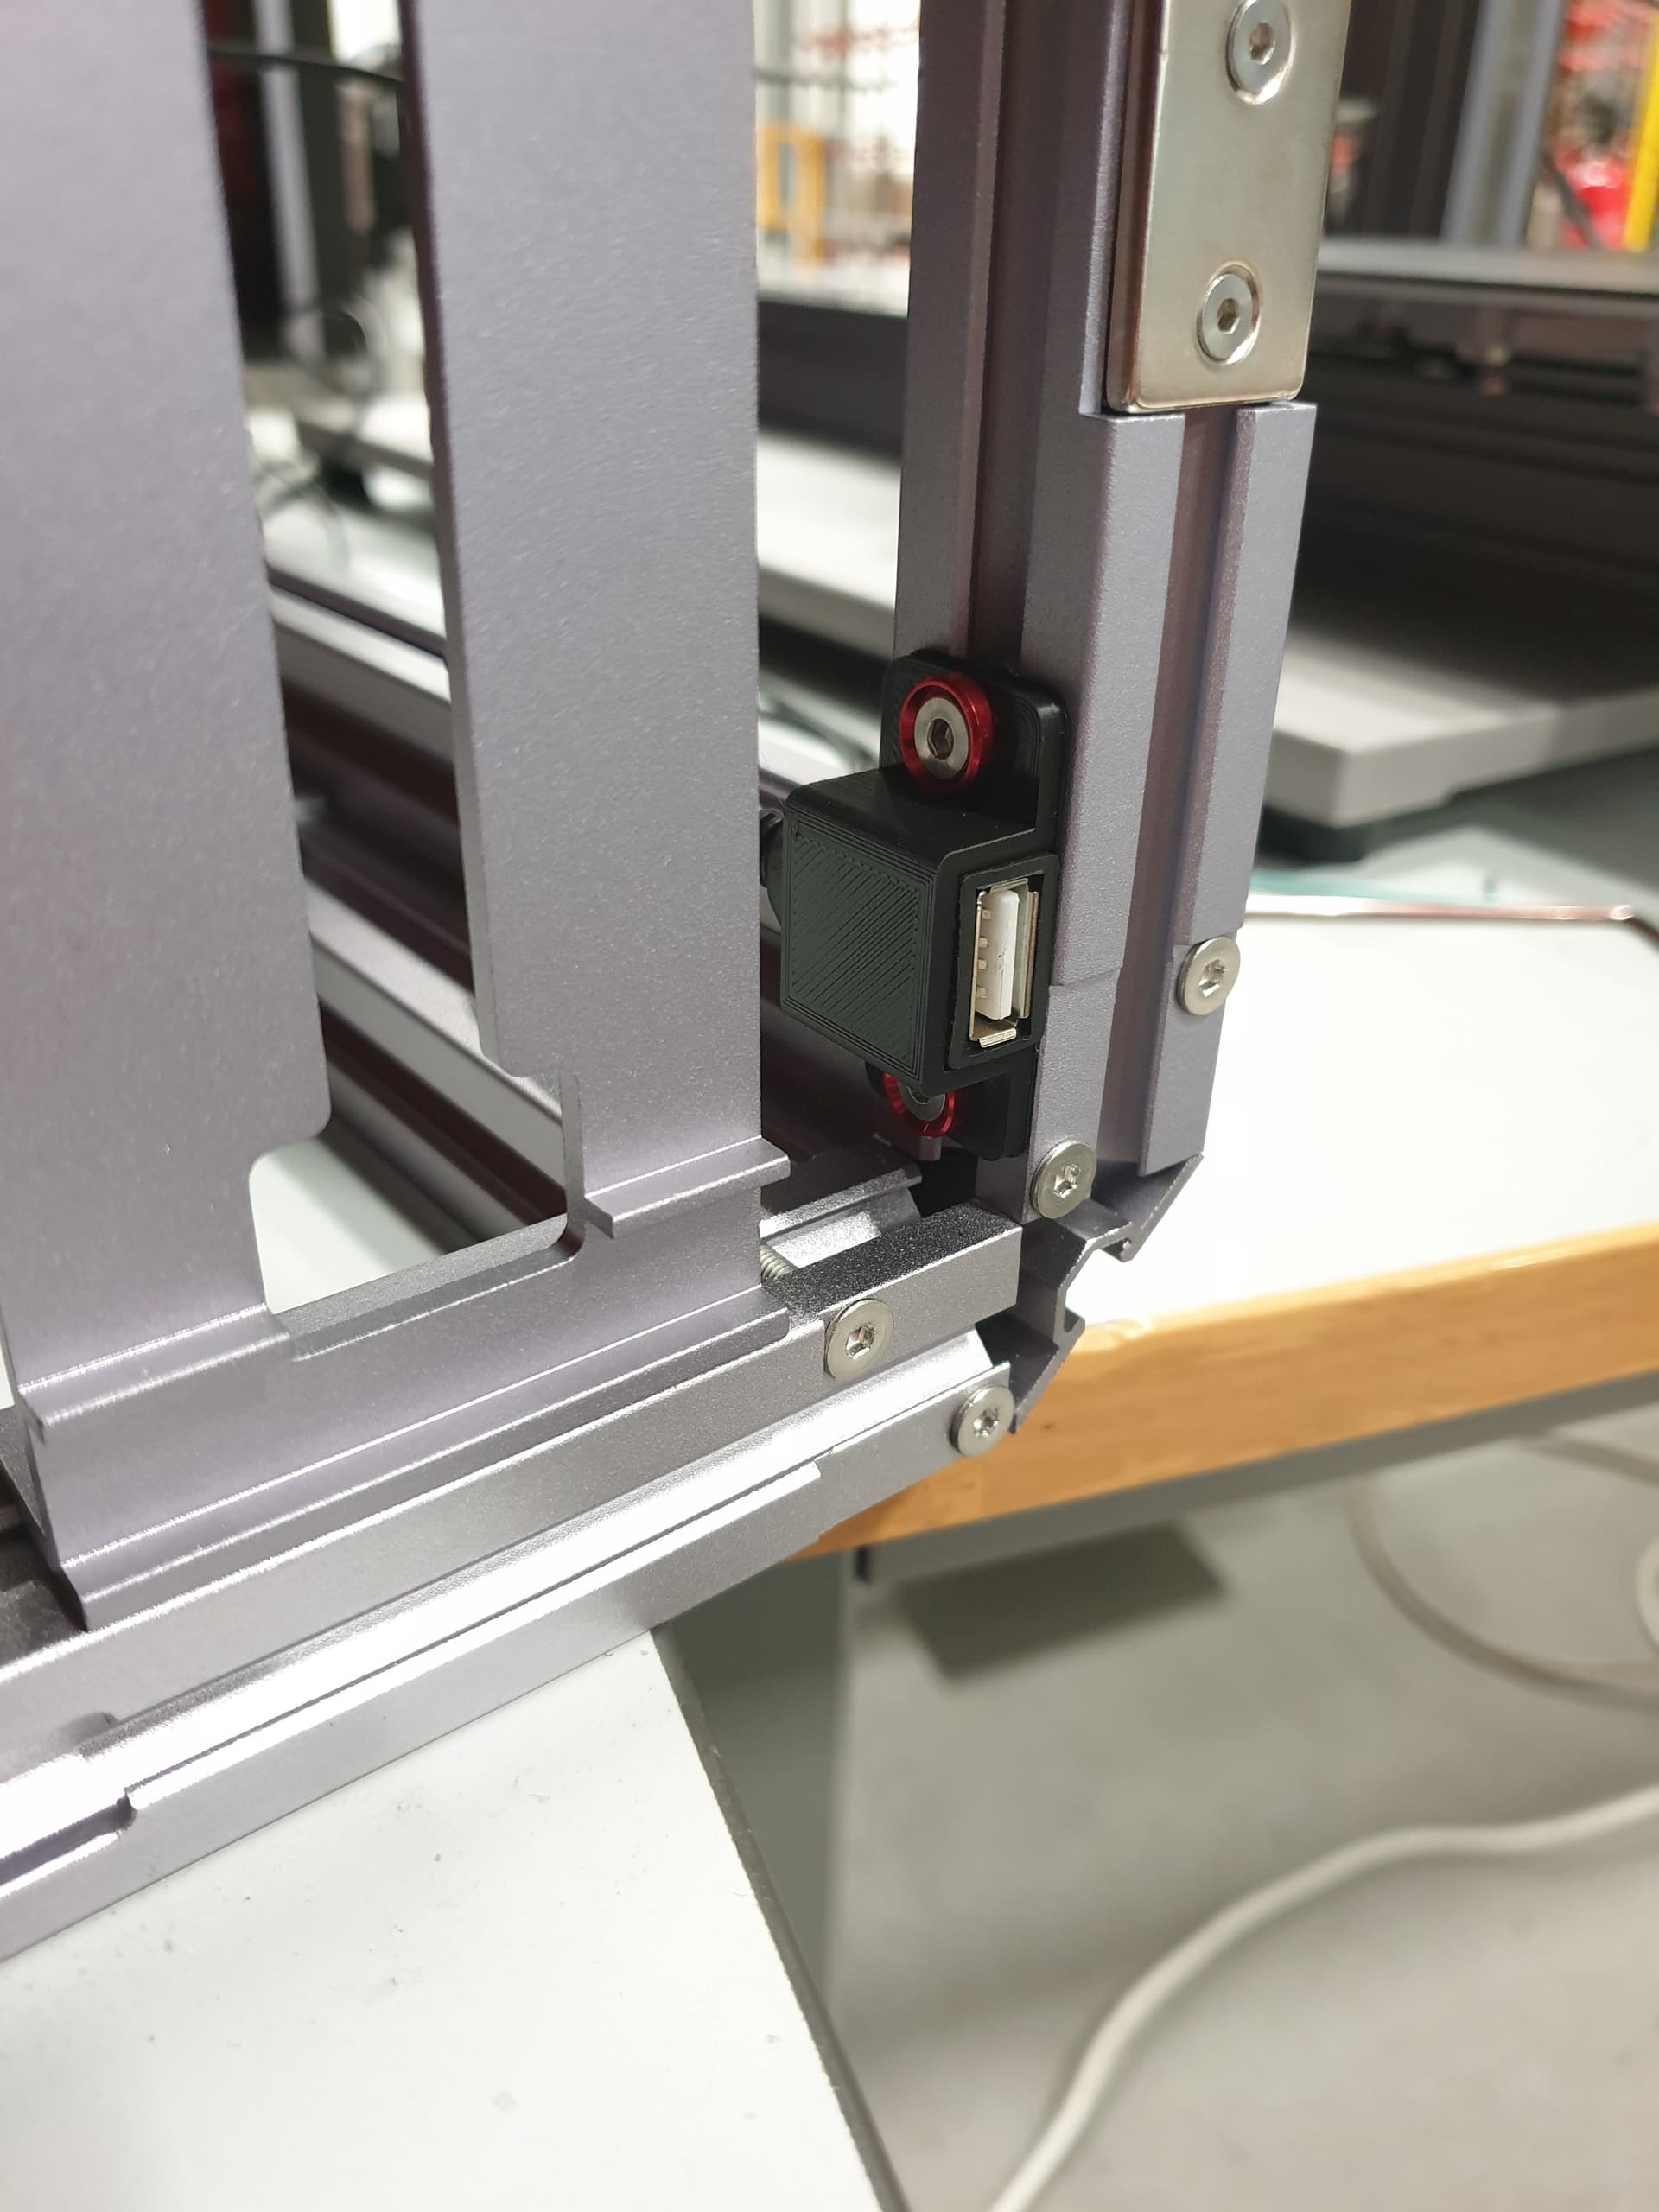
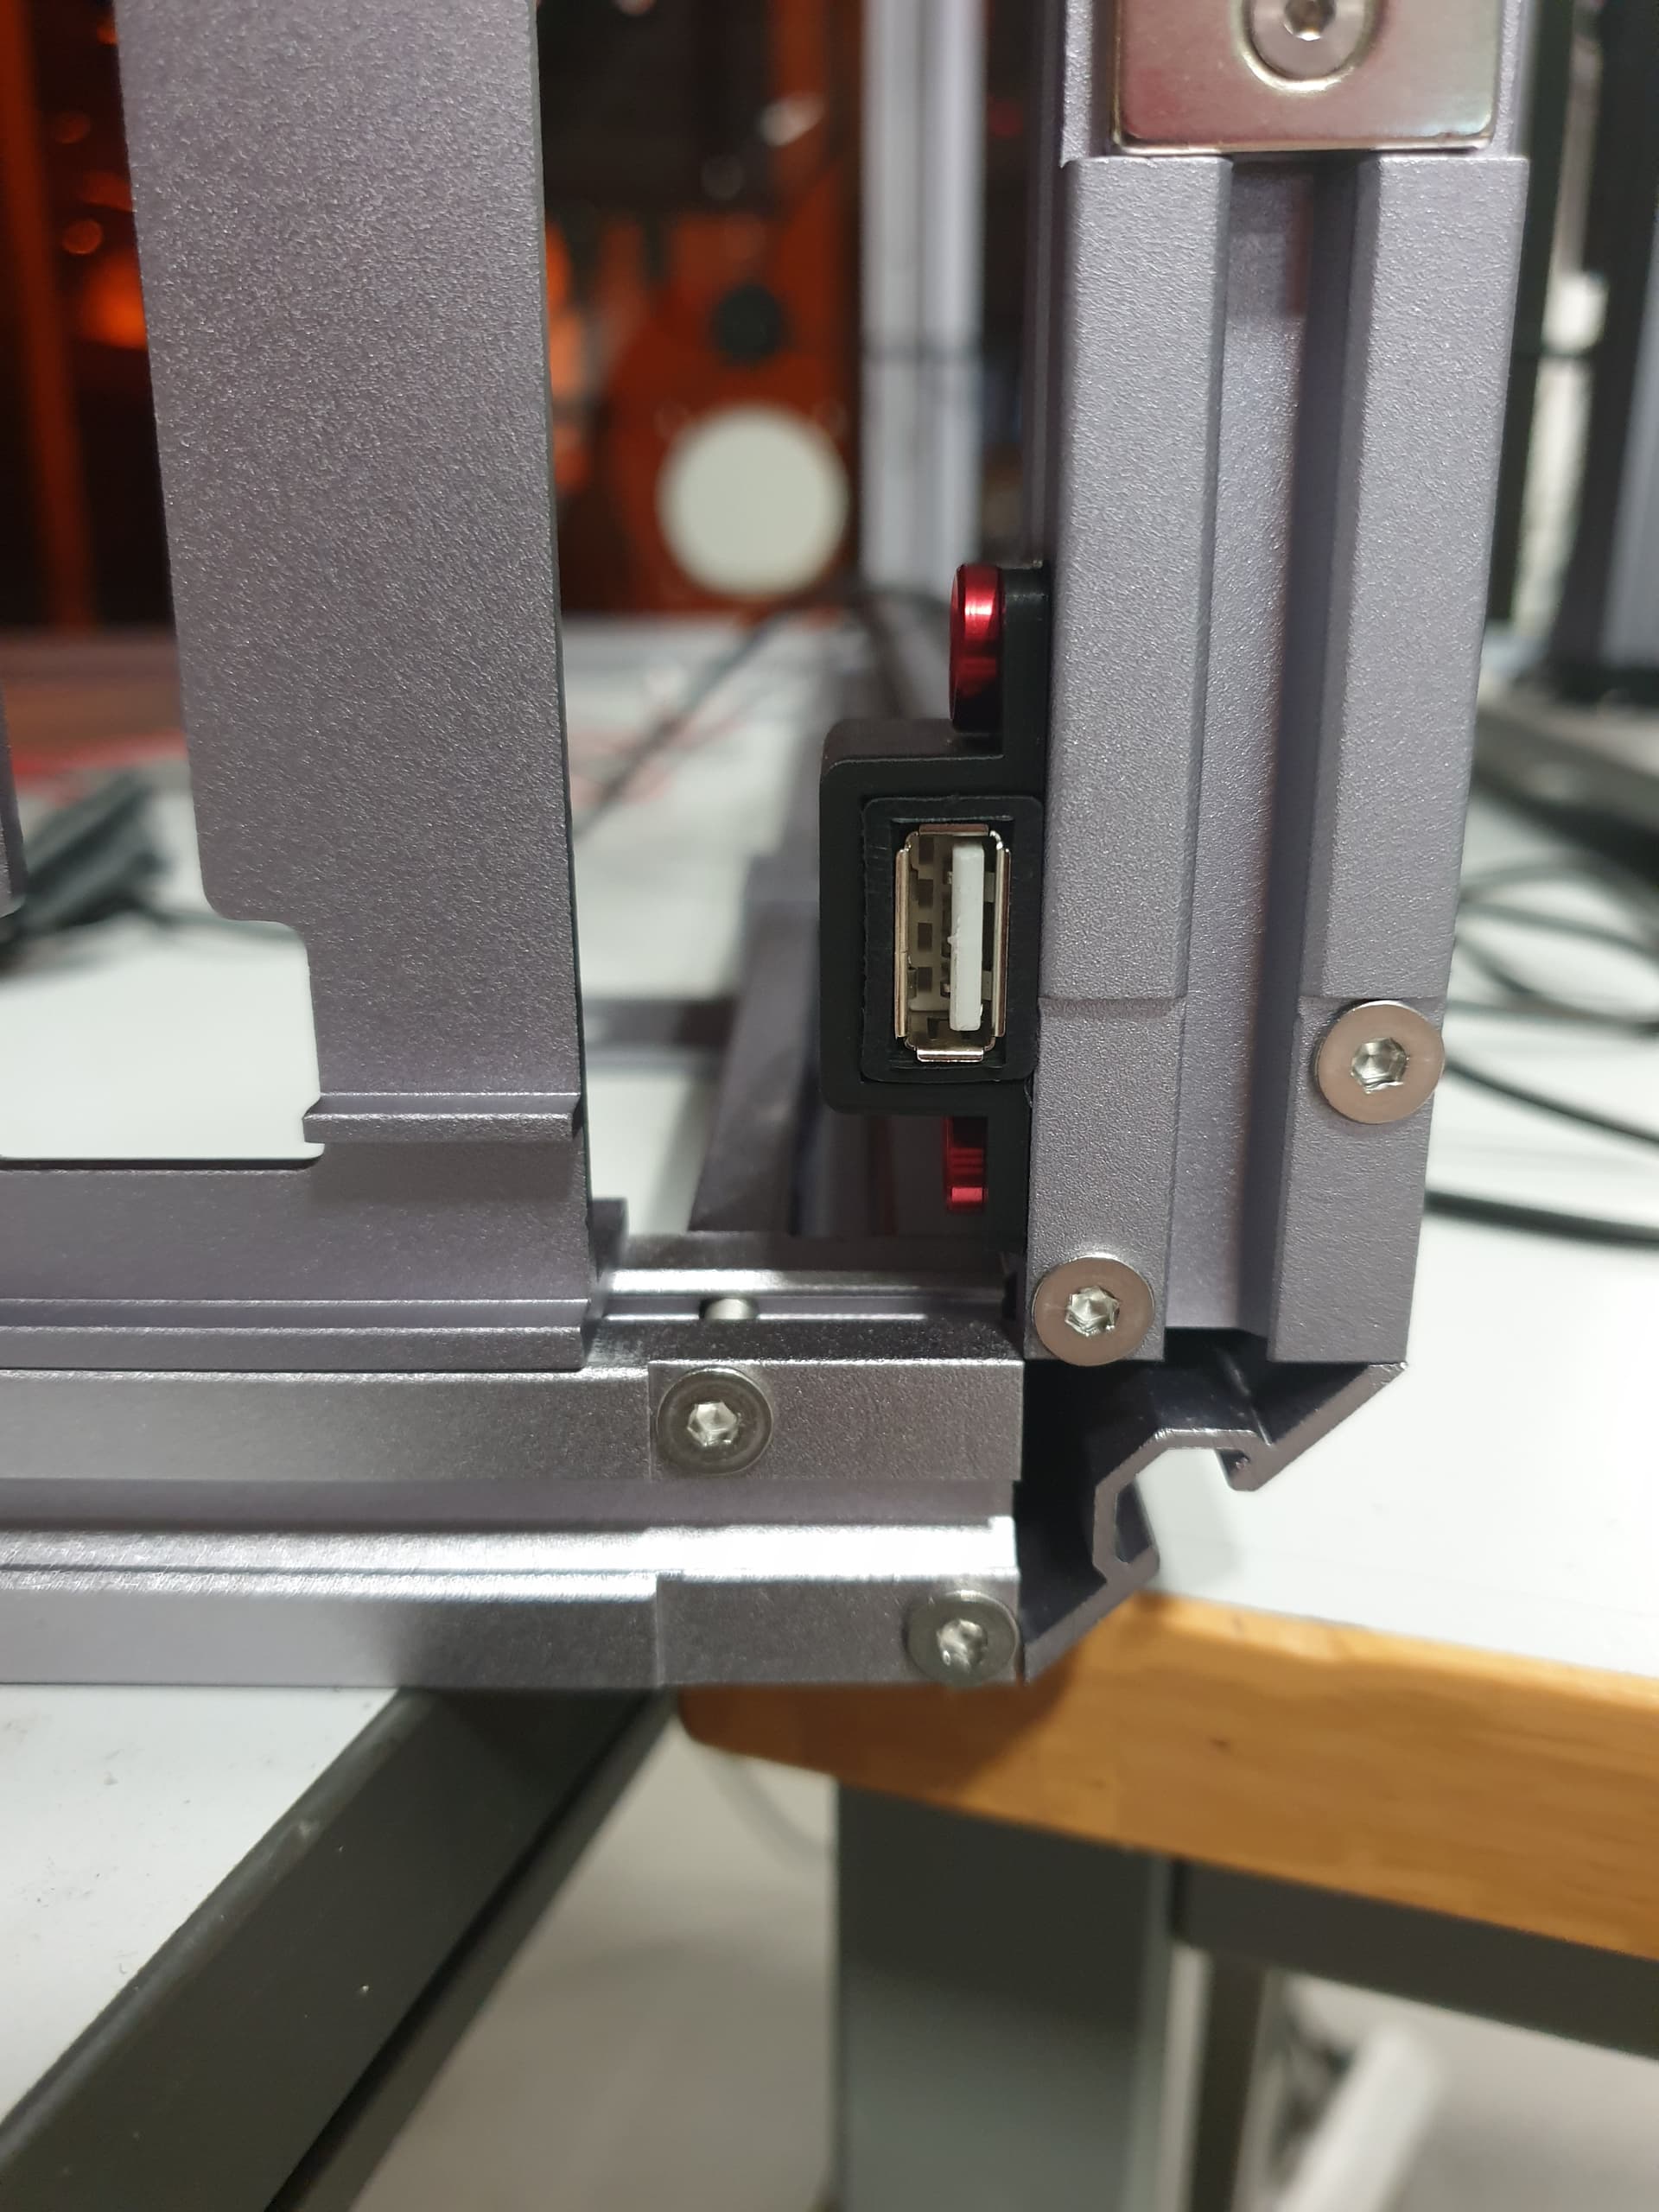
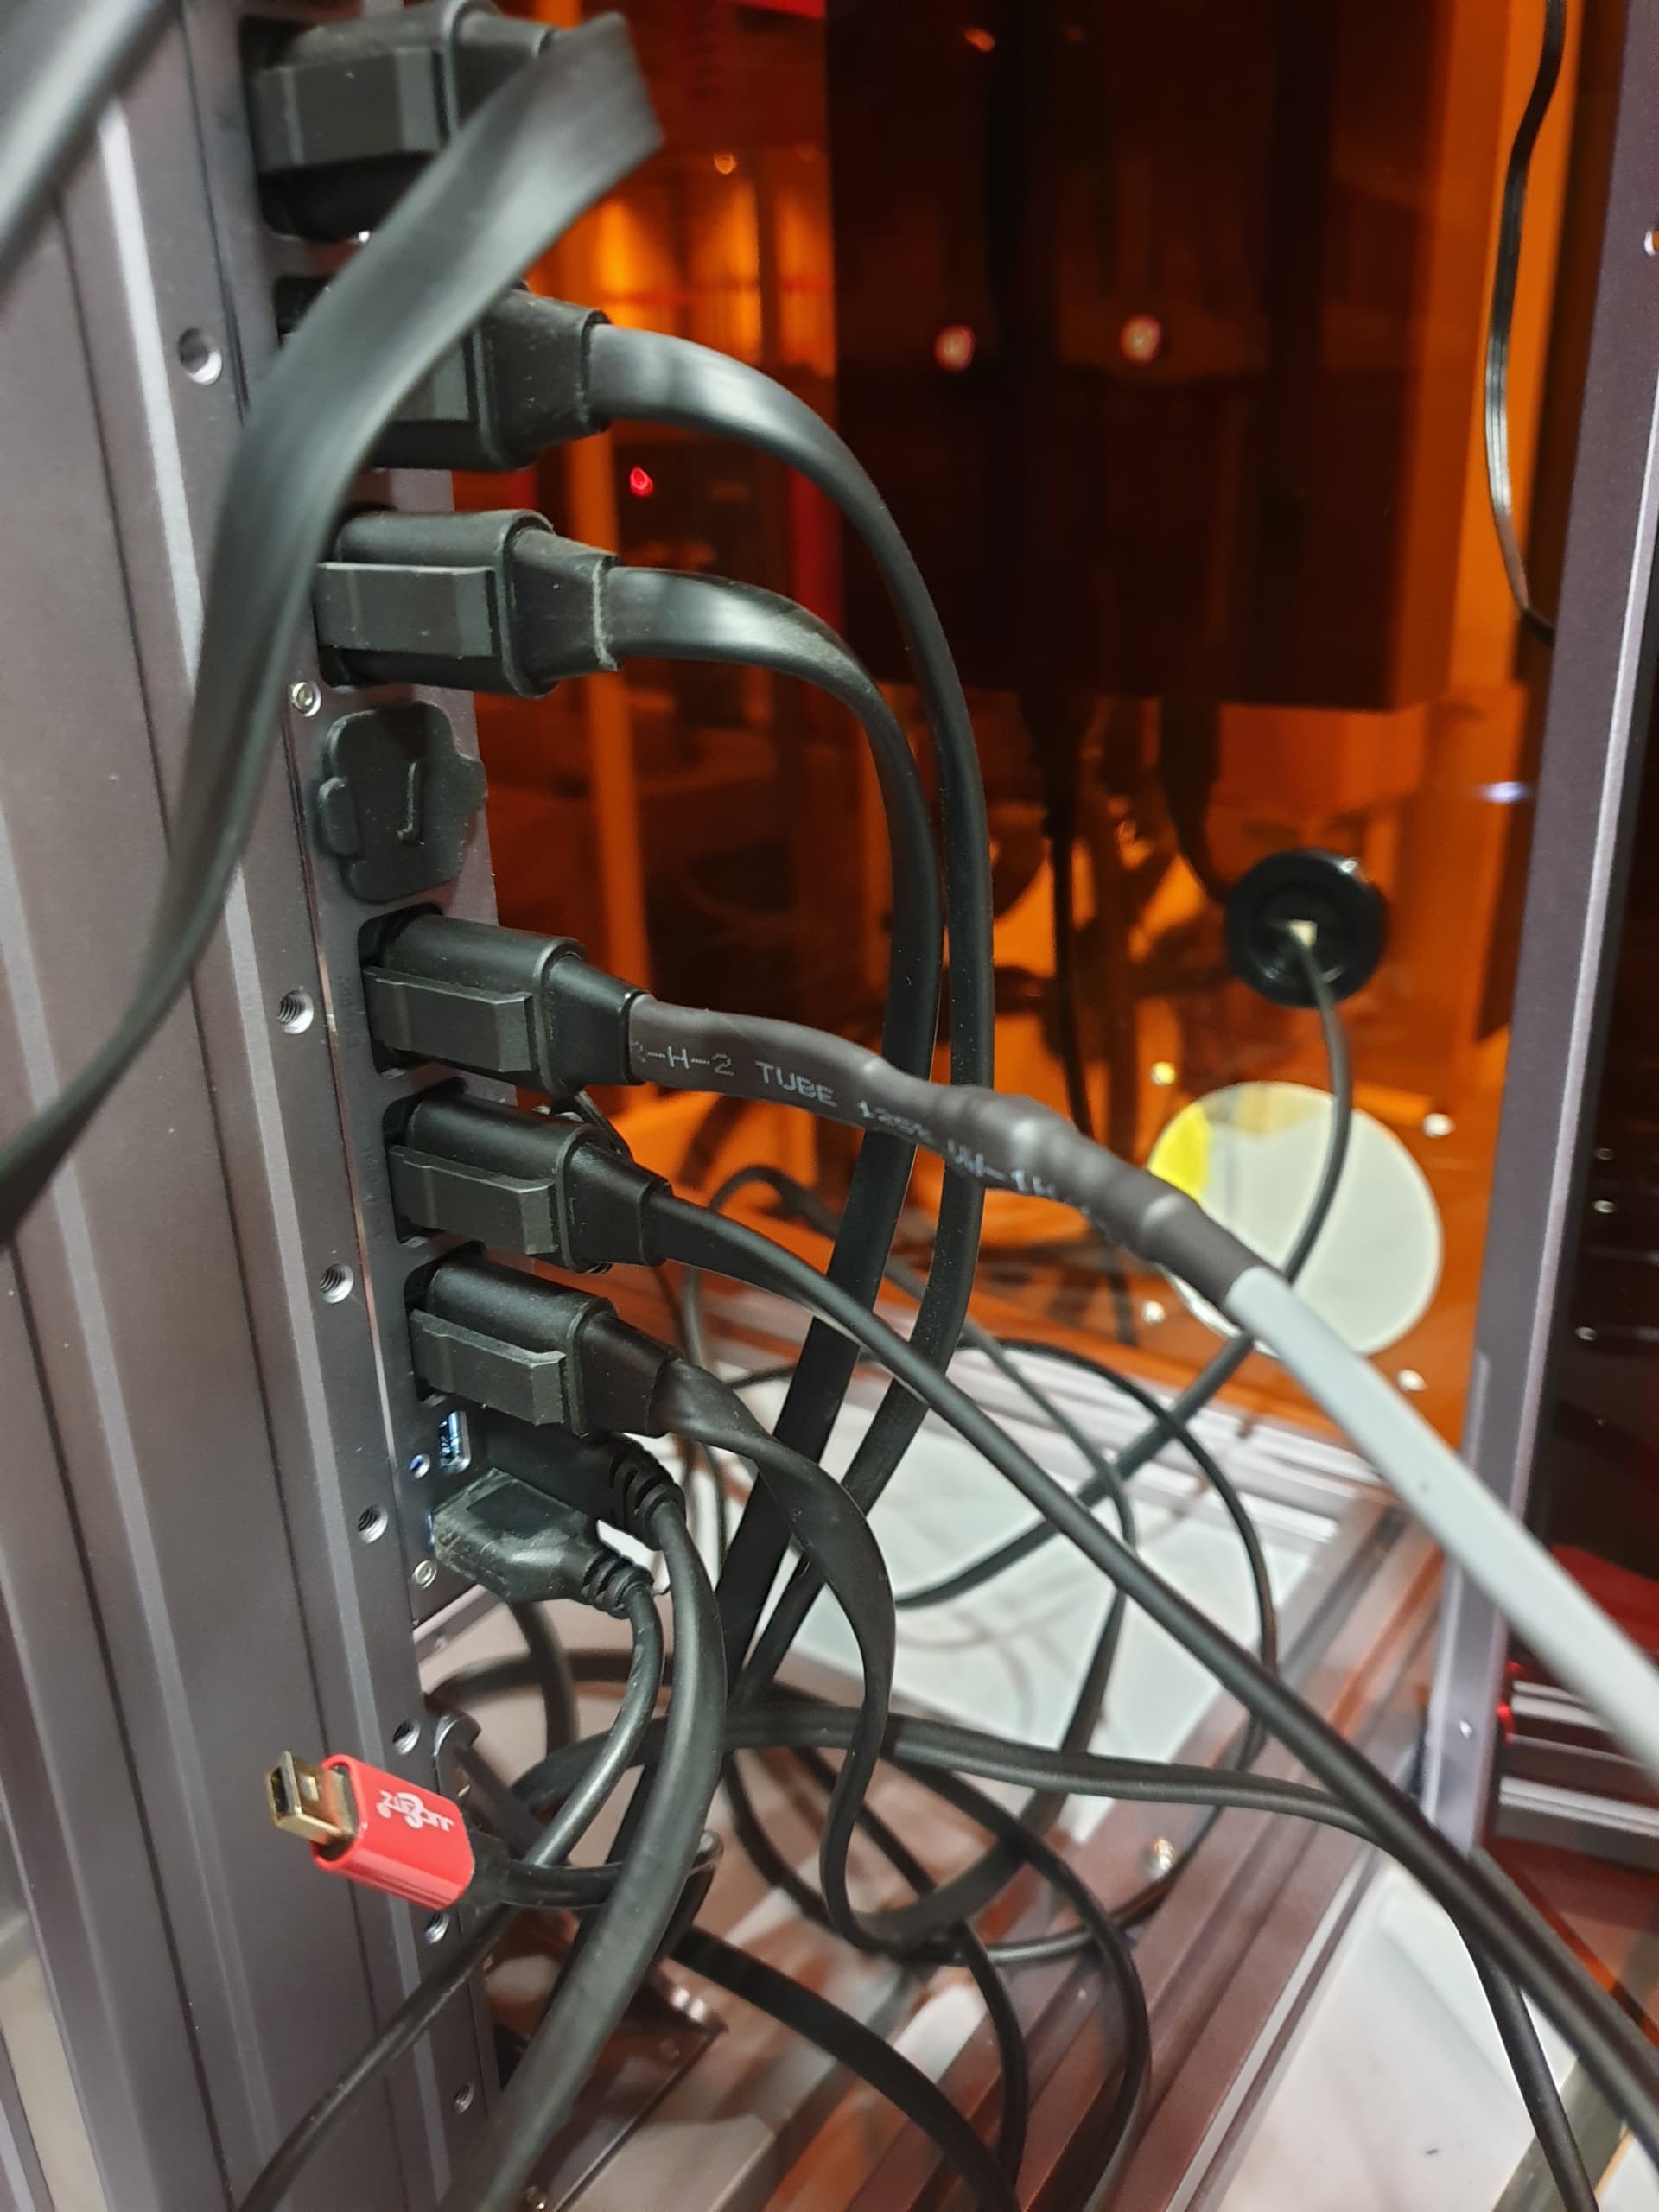
I also didn’t like how the USB socket was at the back. I know the idea is to use wifi, but that isn’t always possible, so I made an extension cable that brought it to the front:


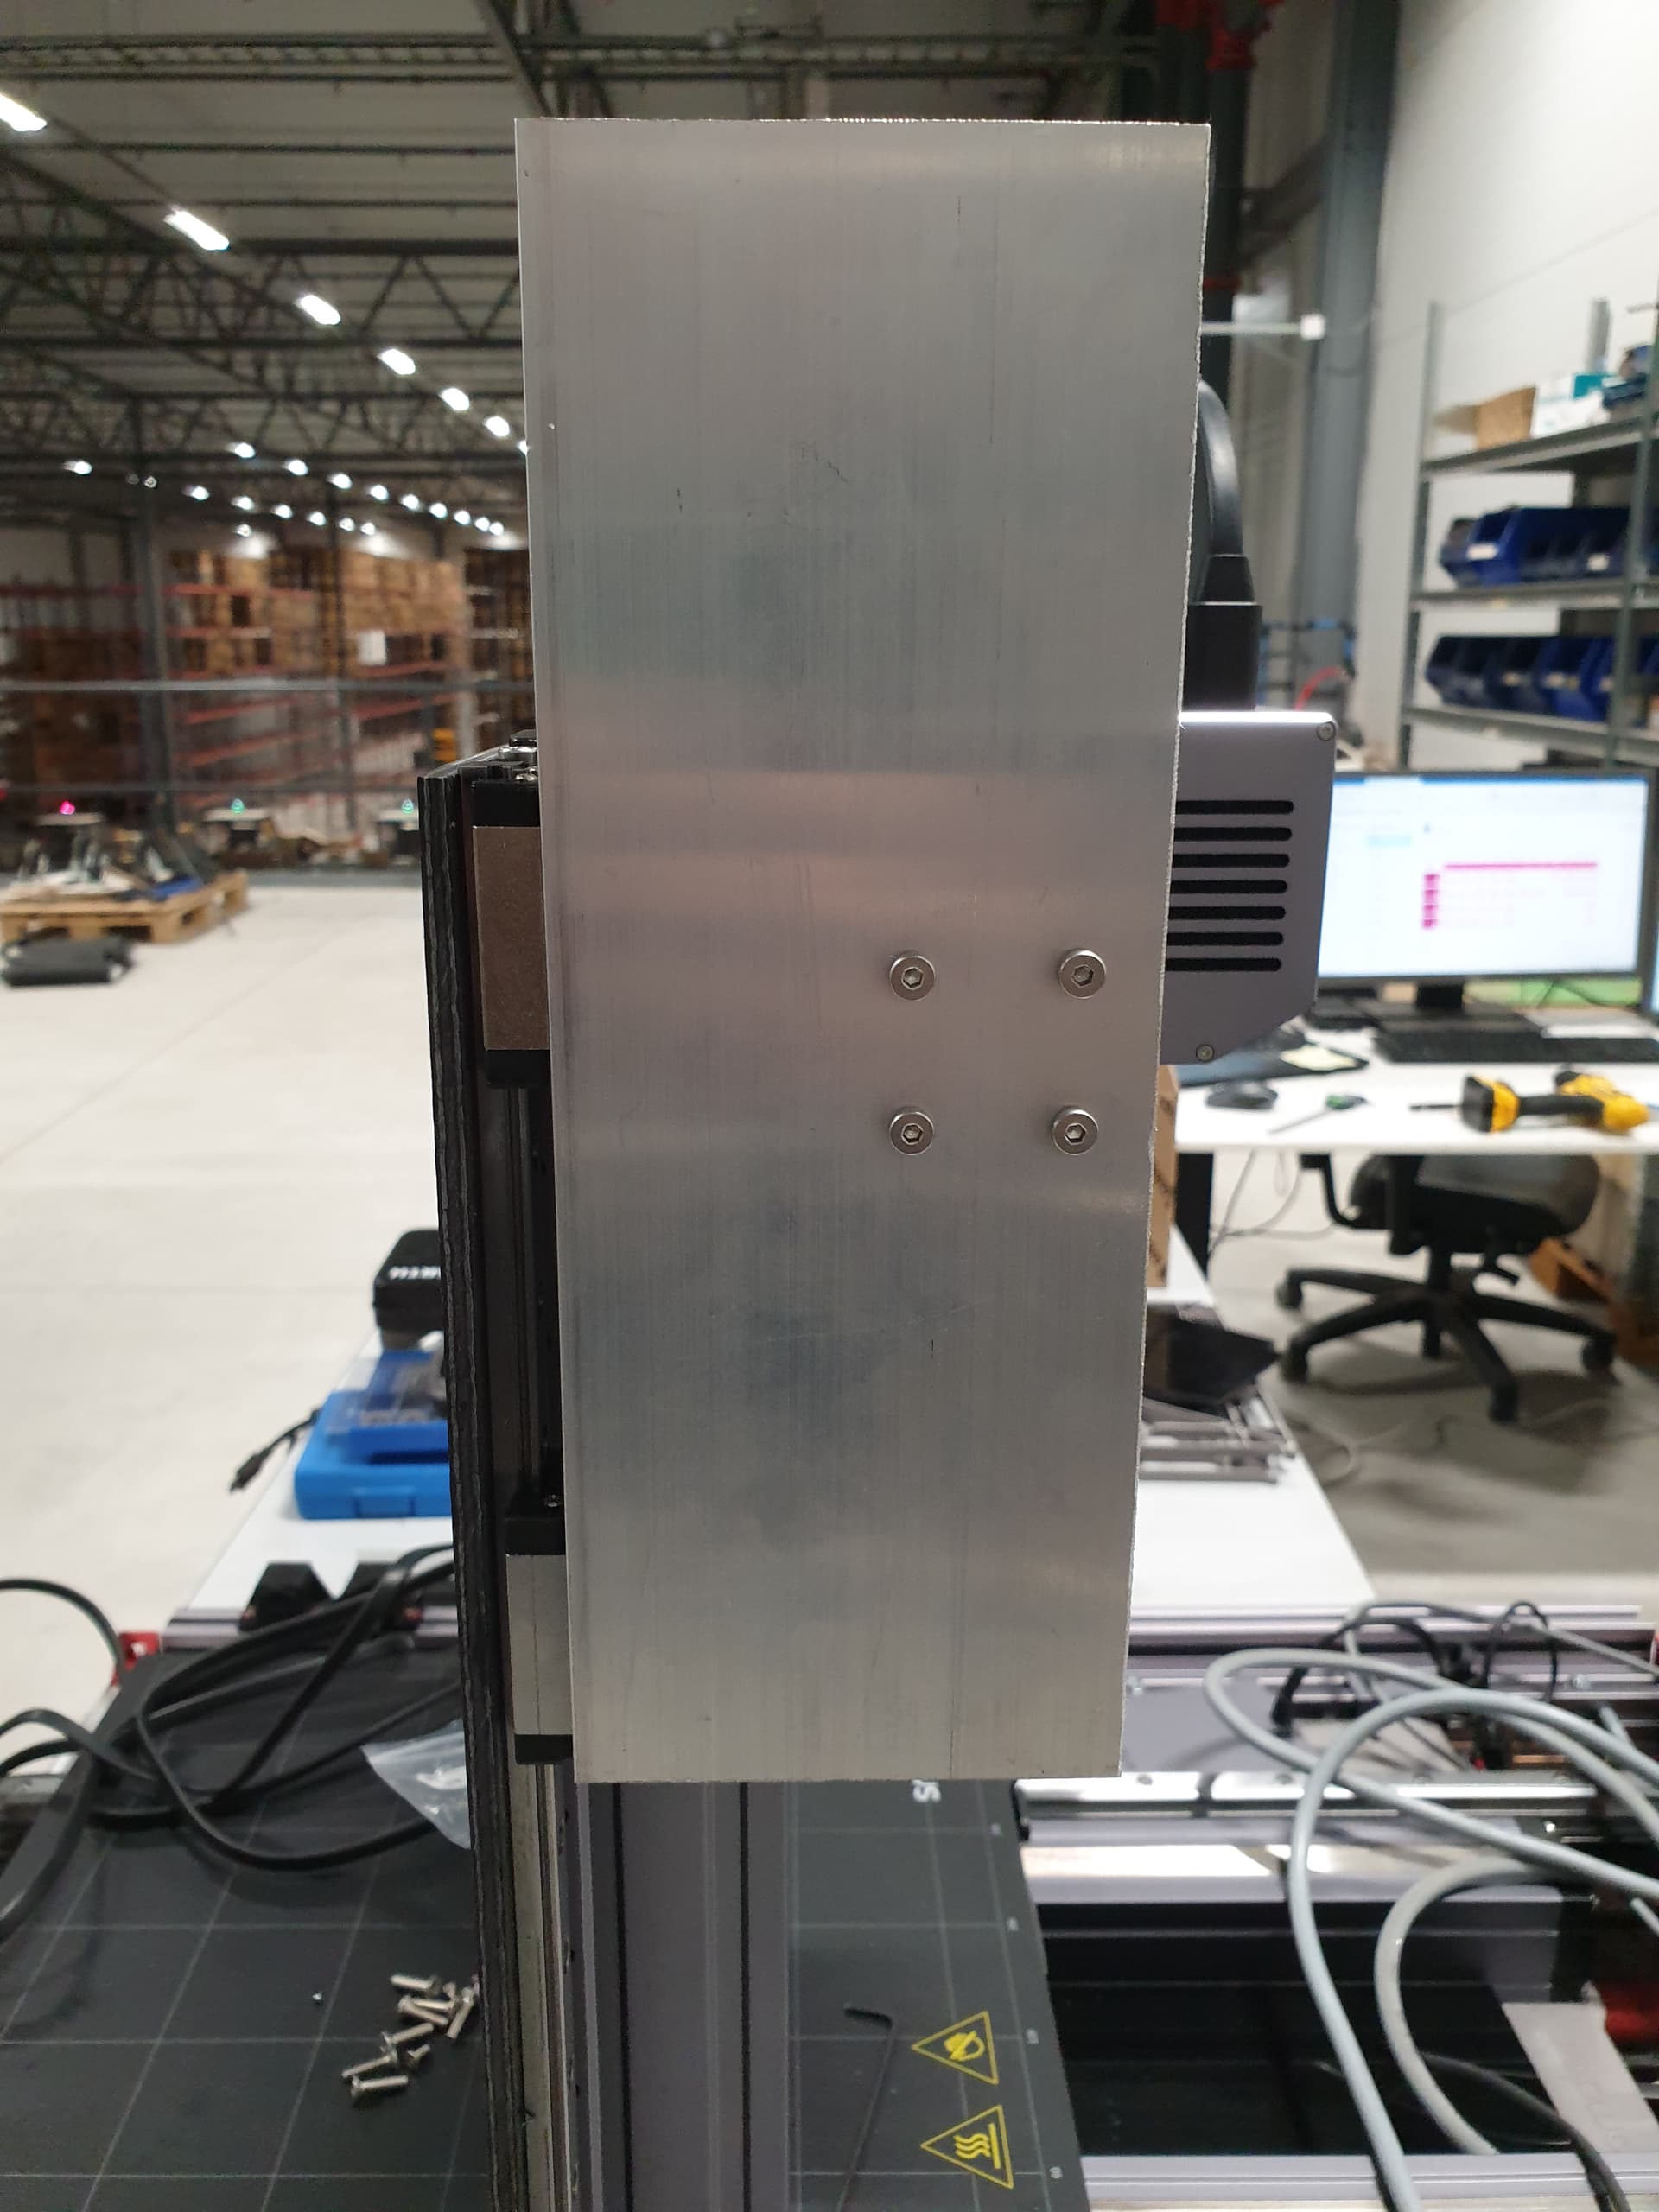
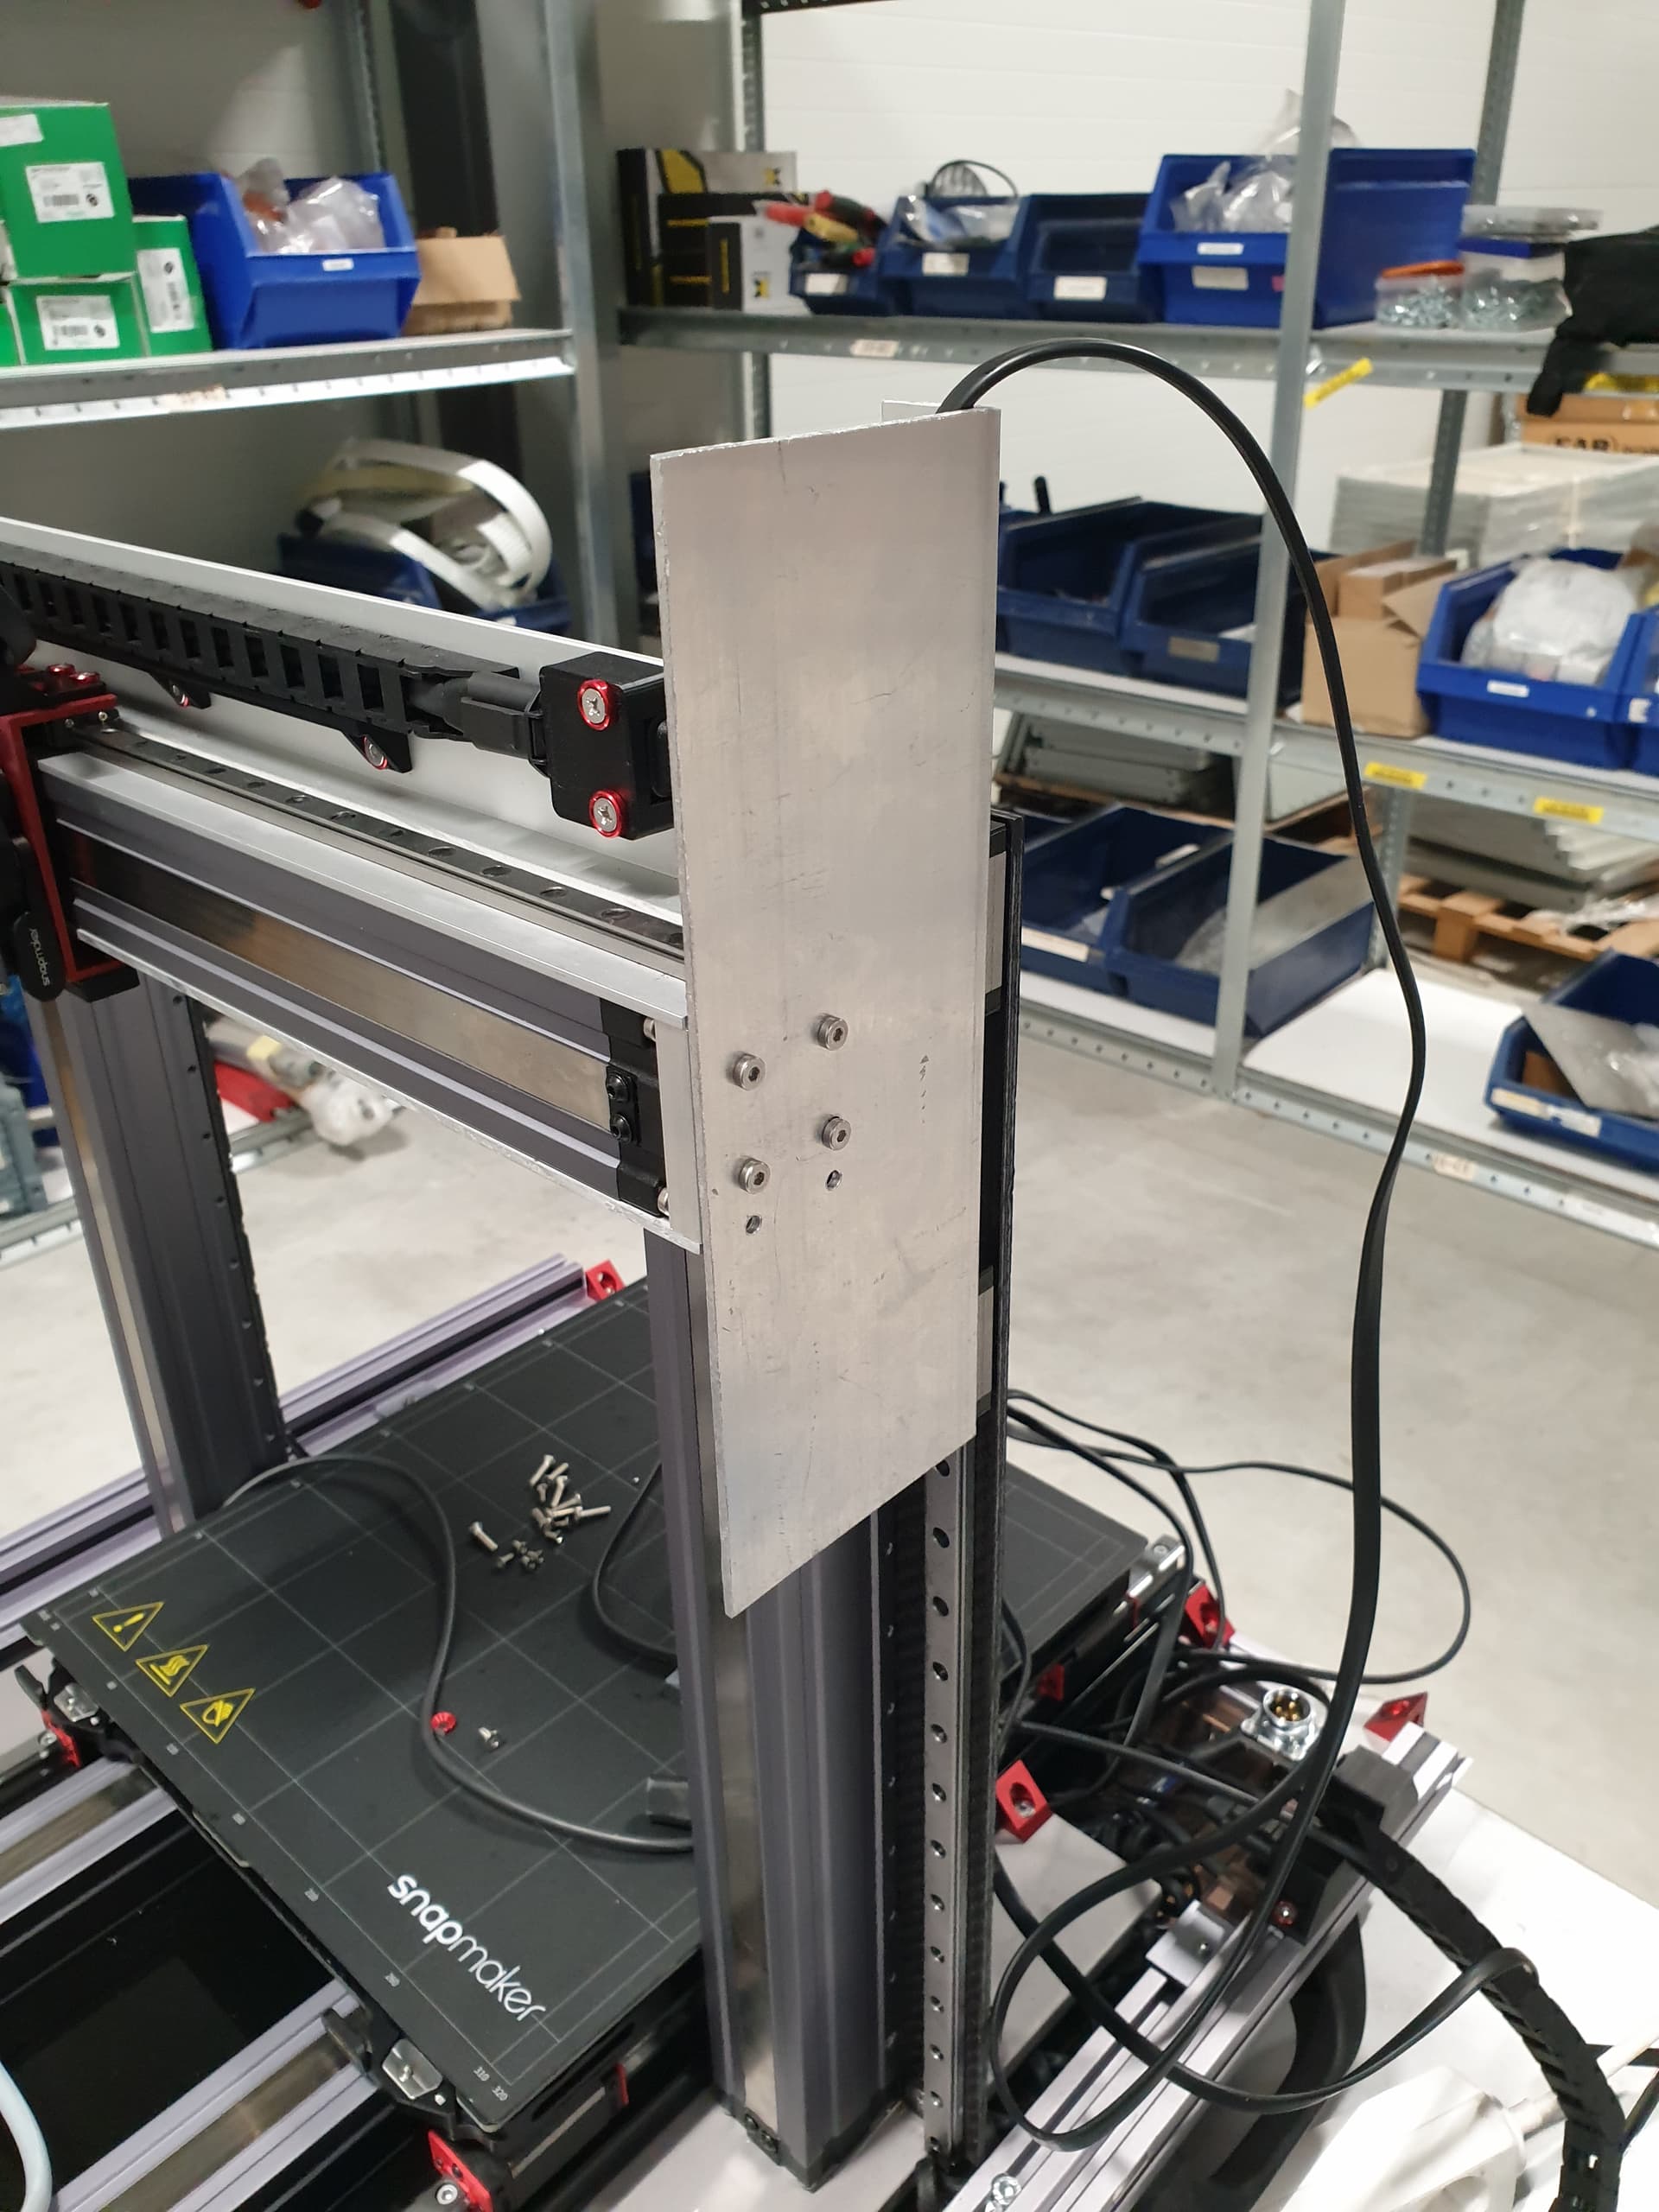
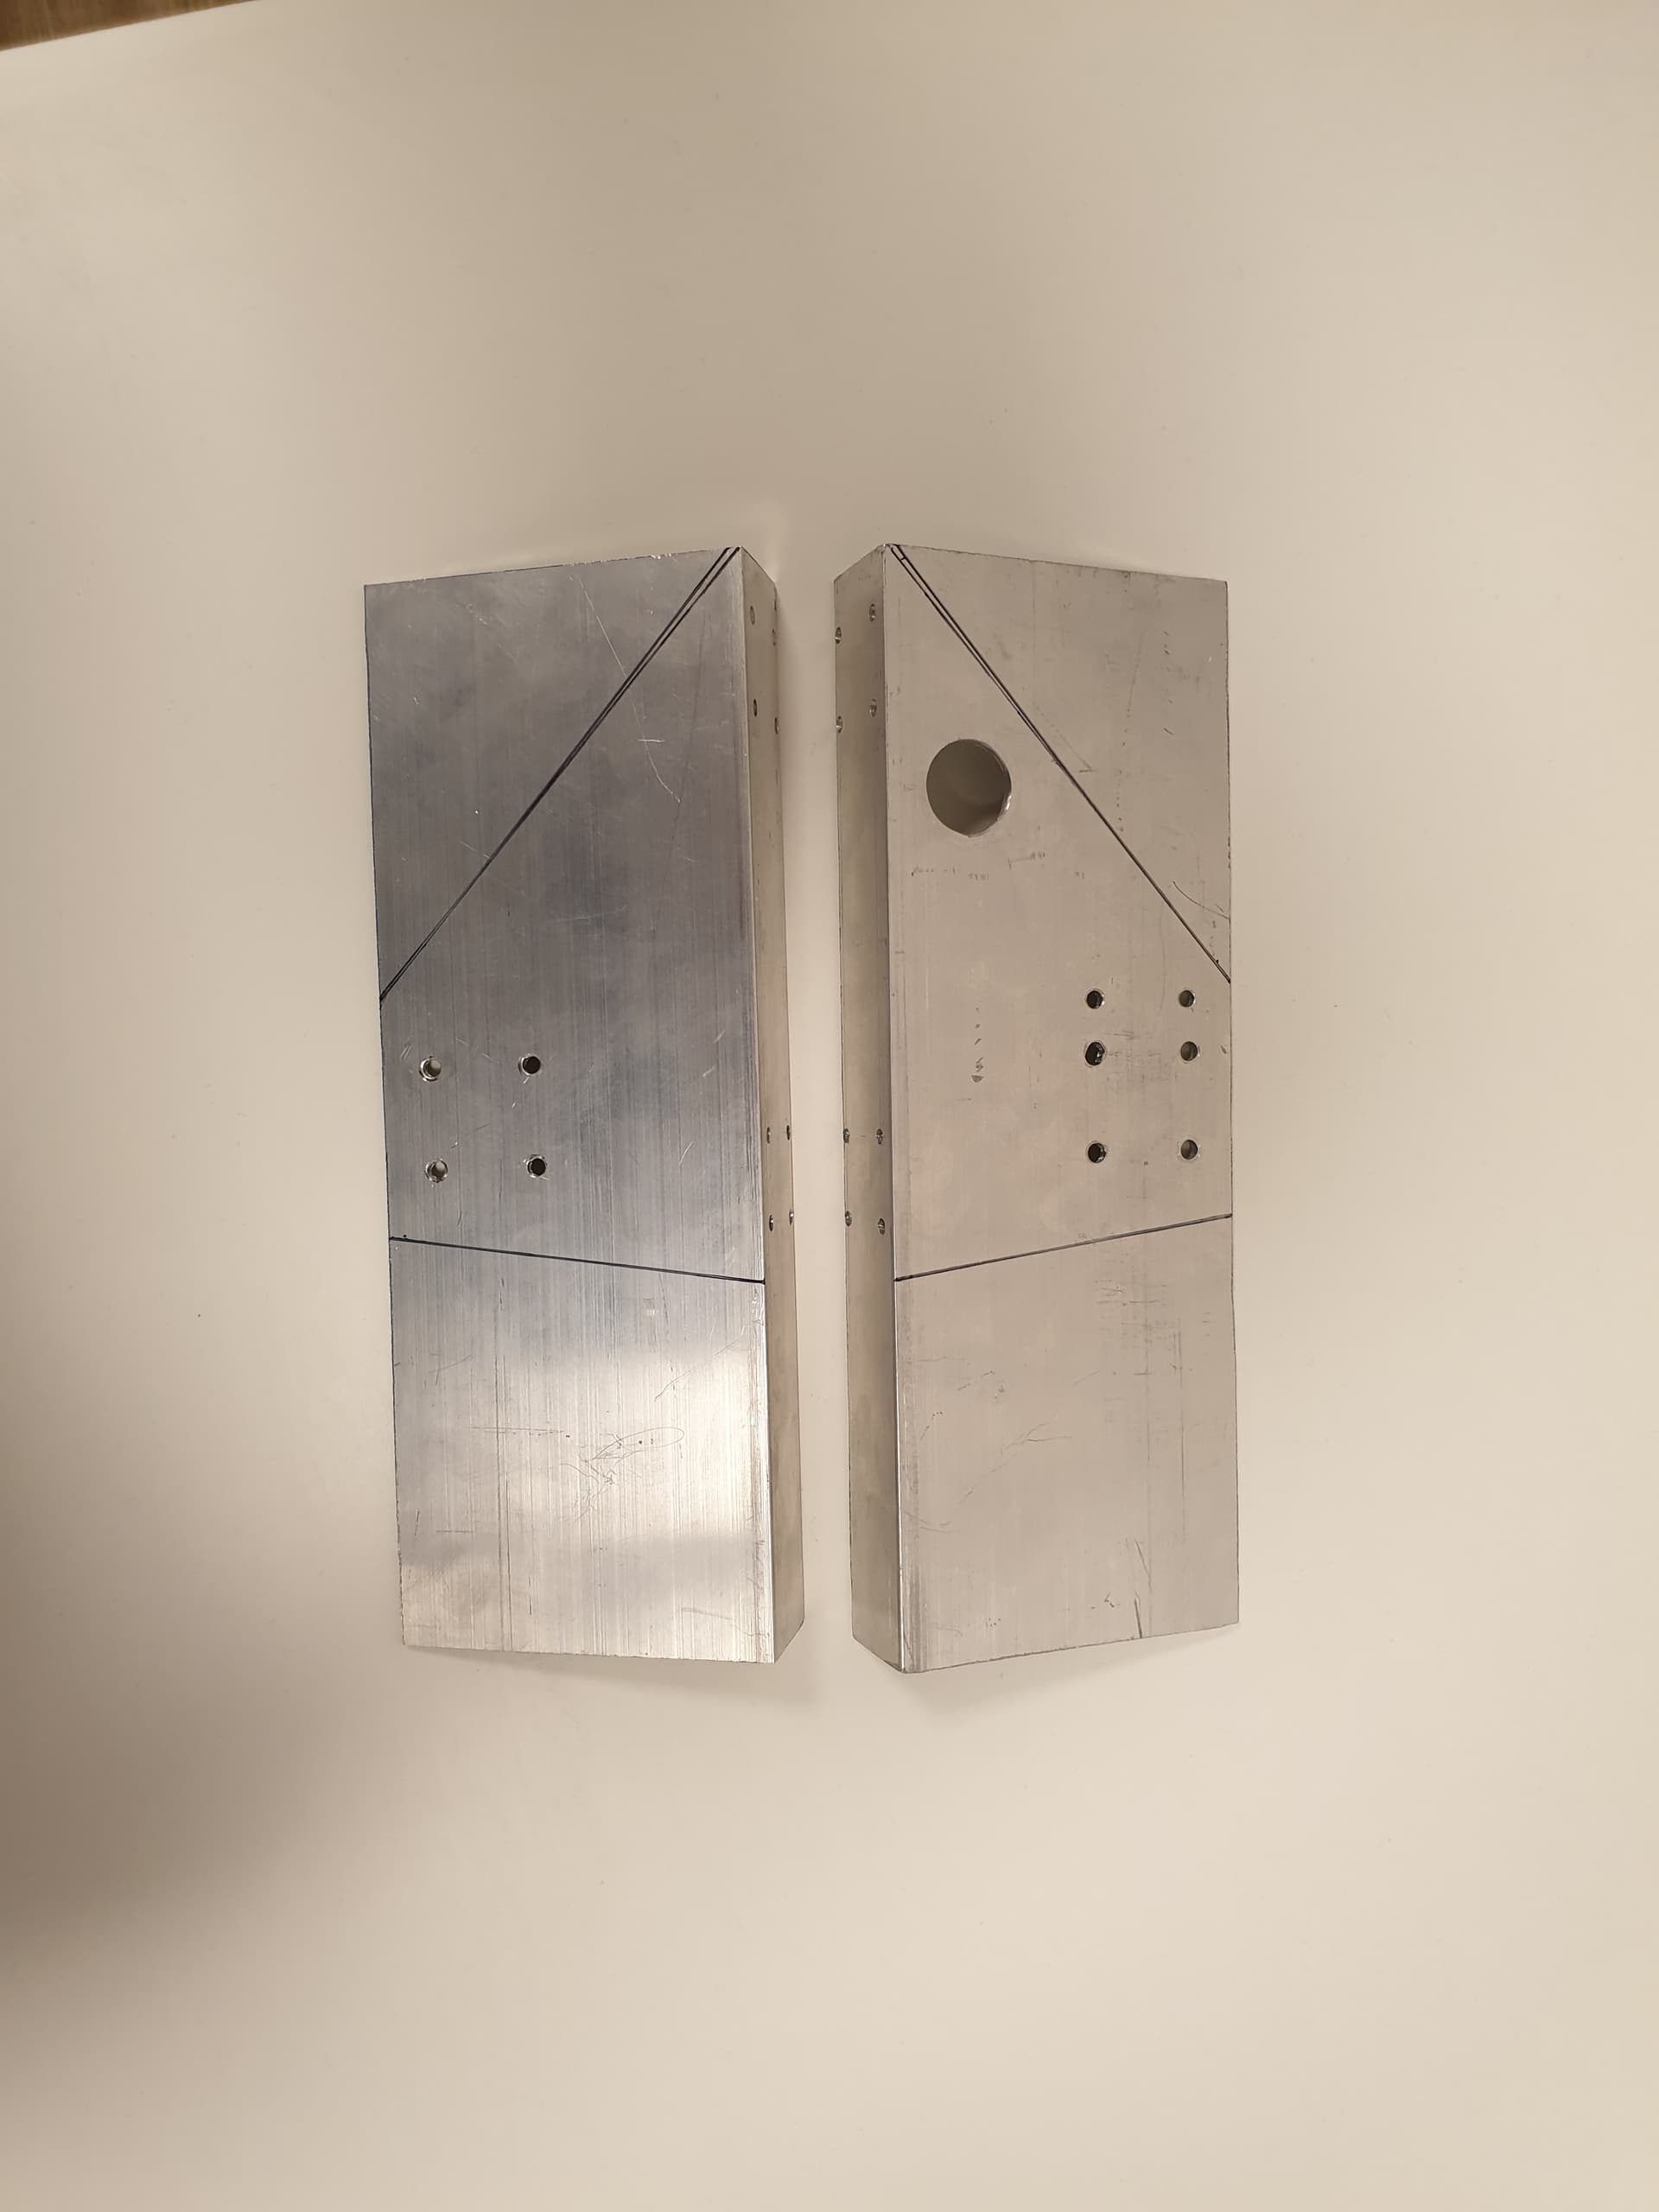
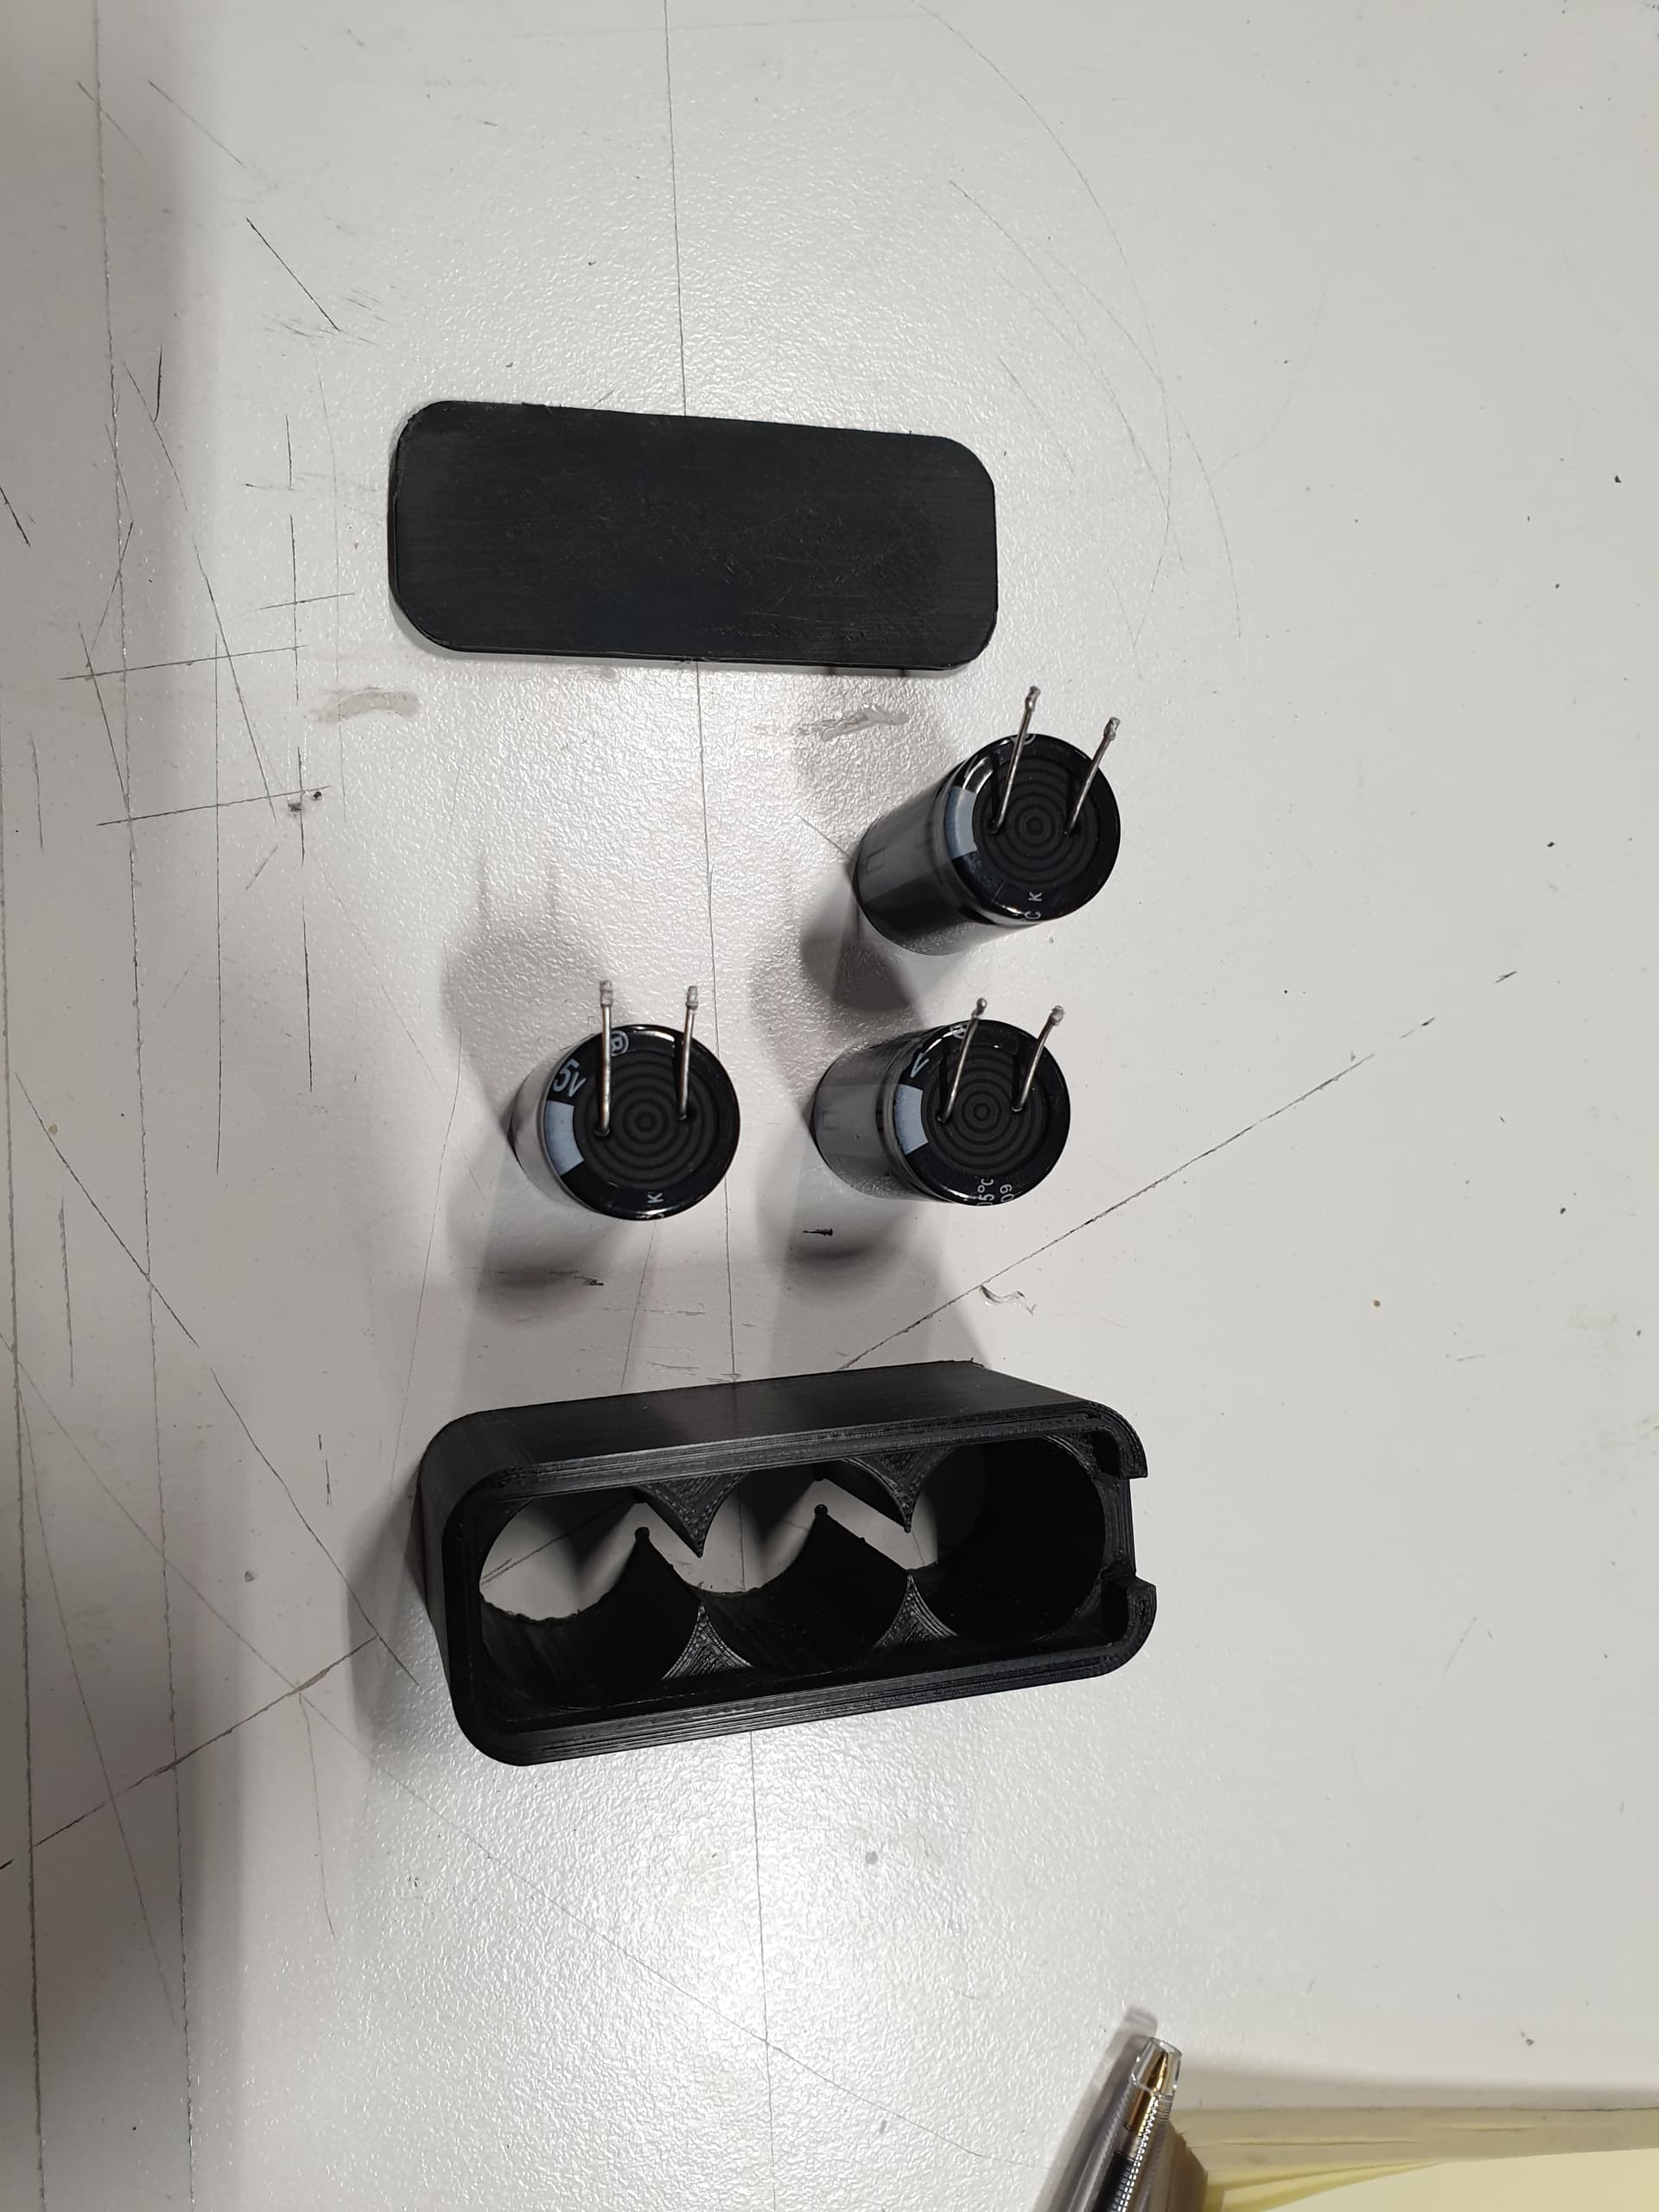
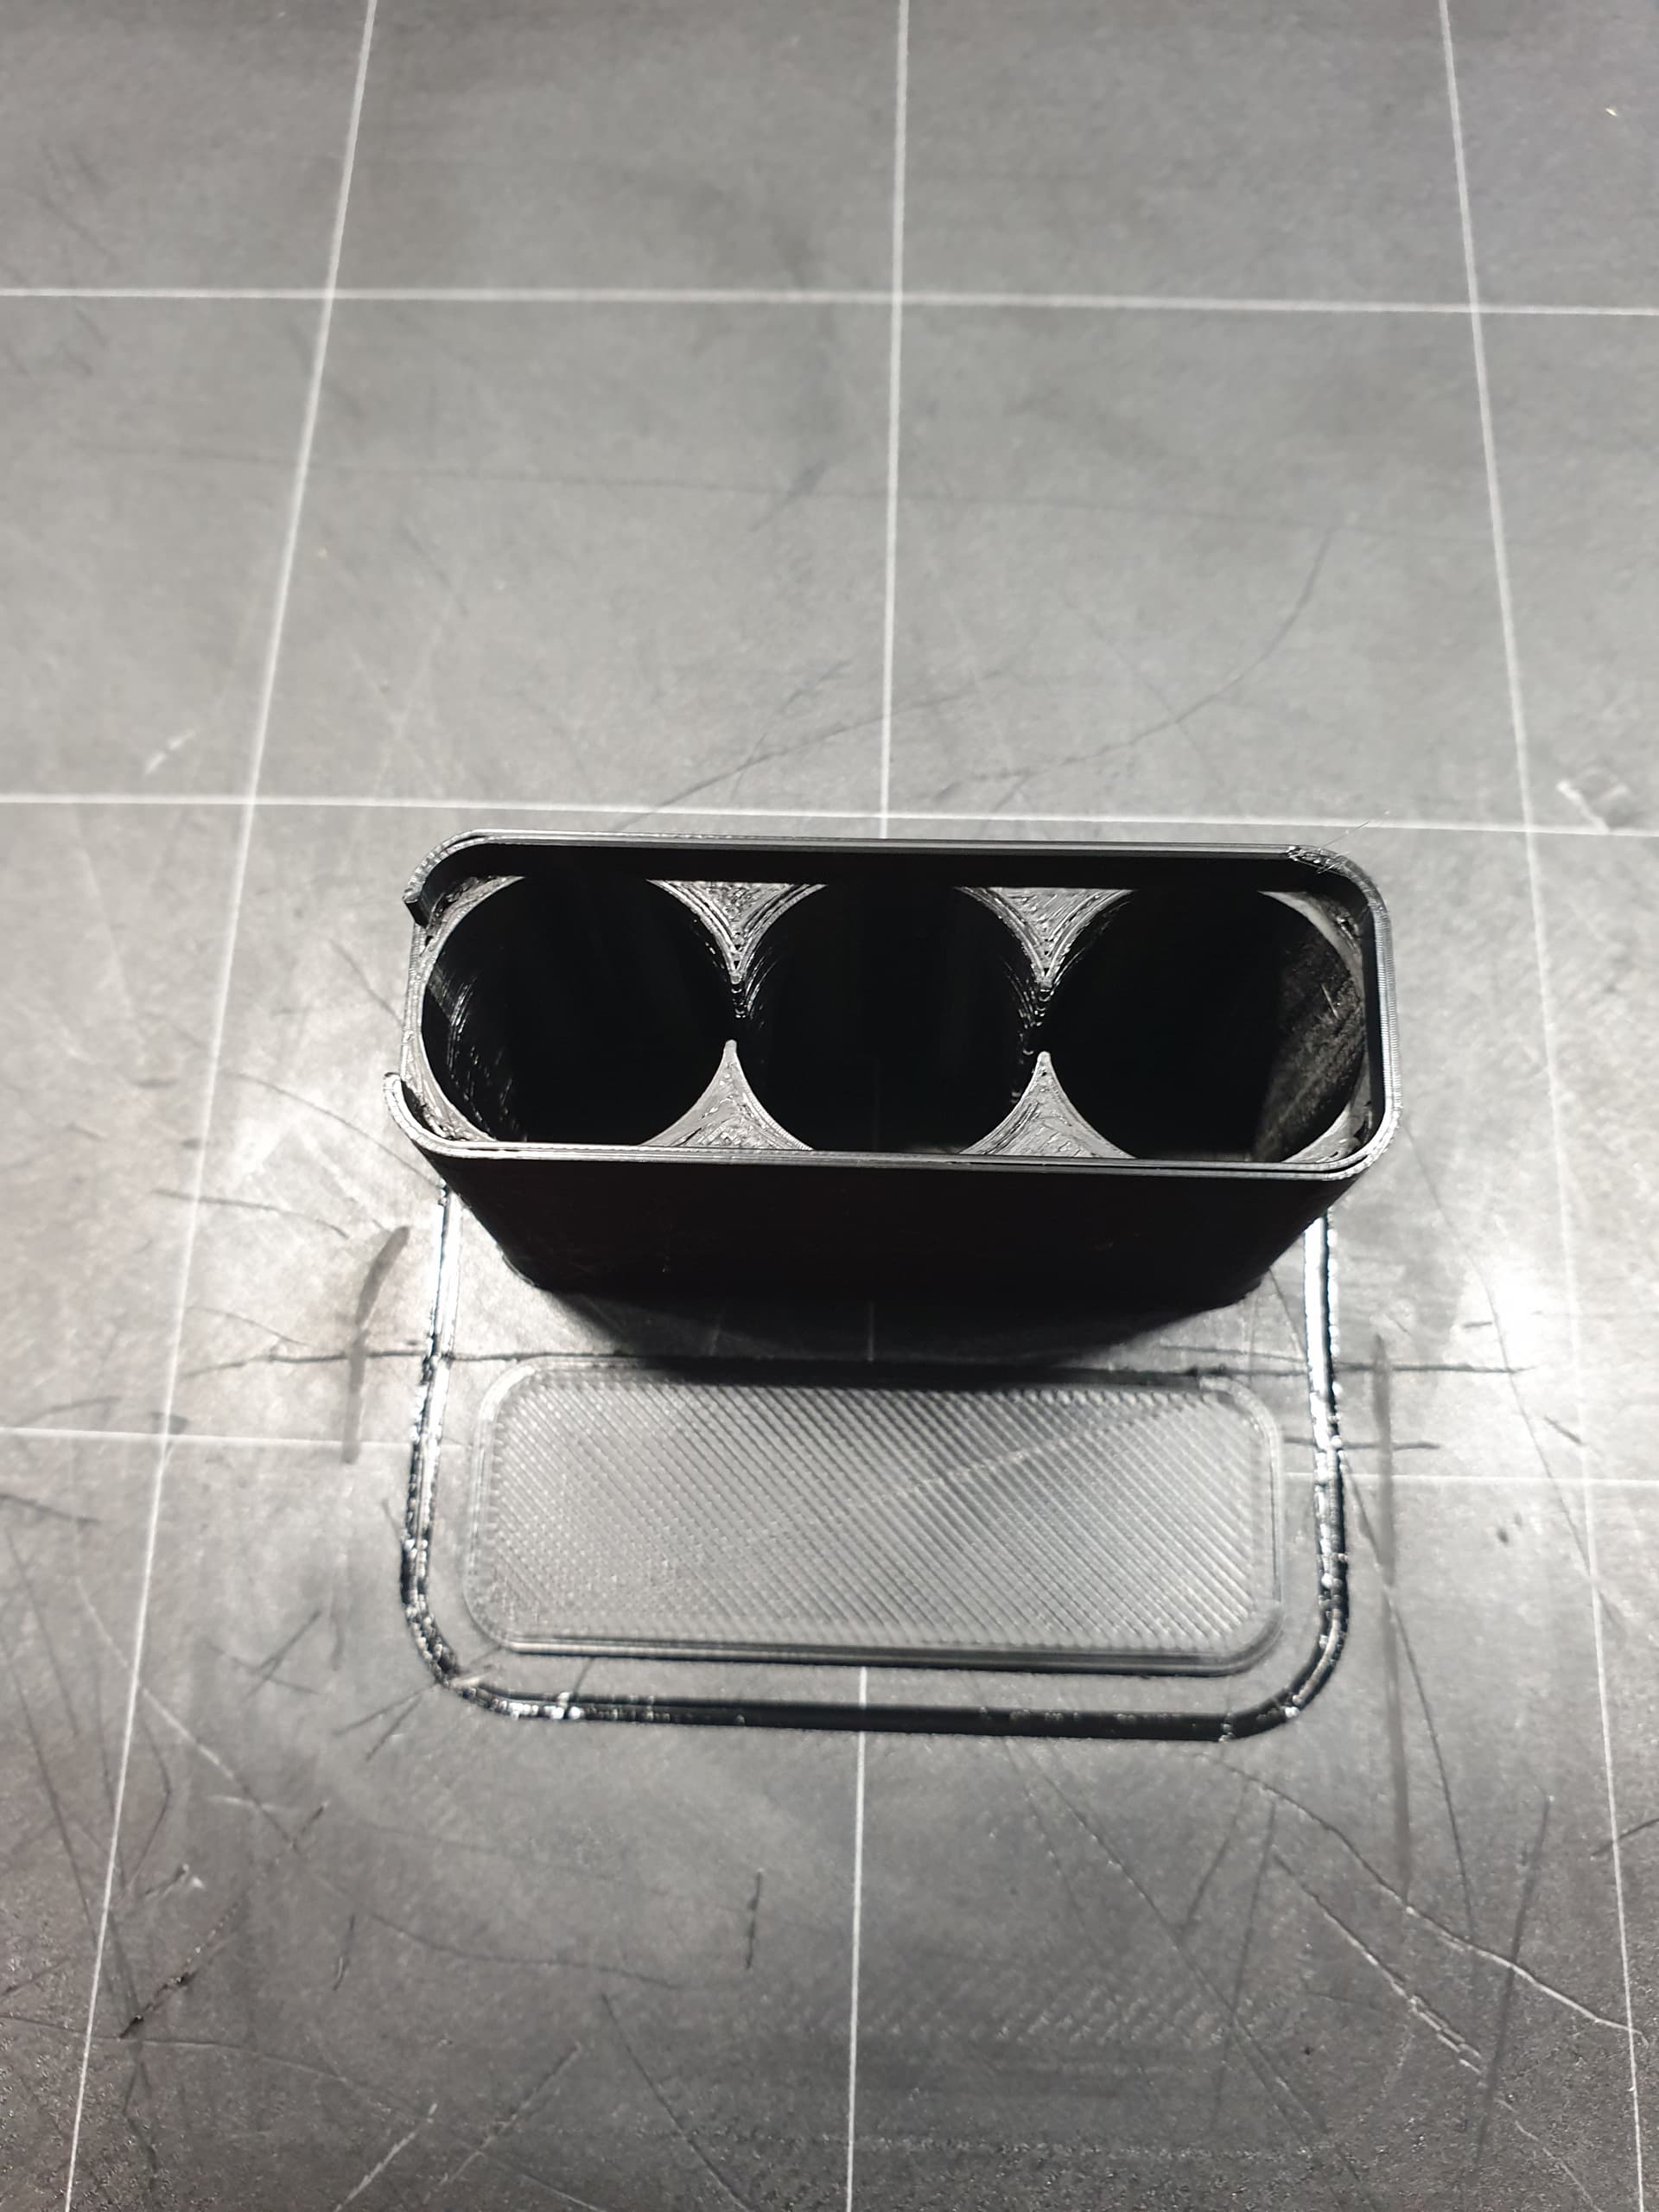
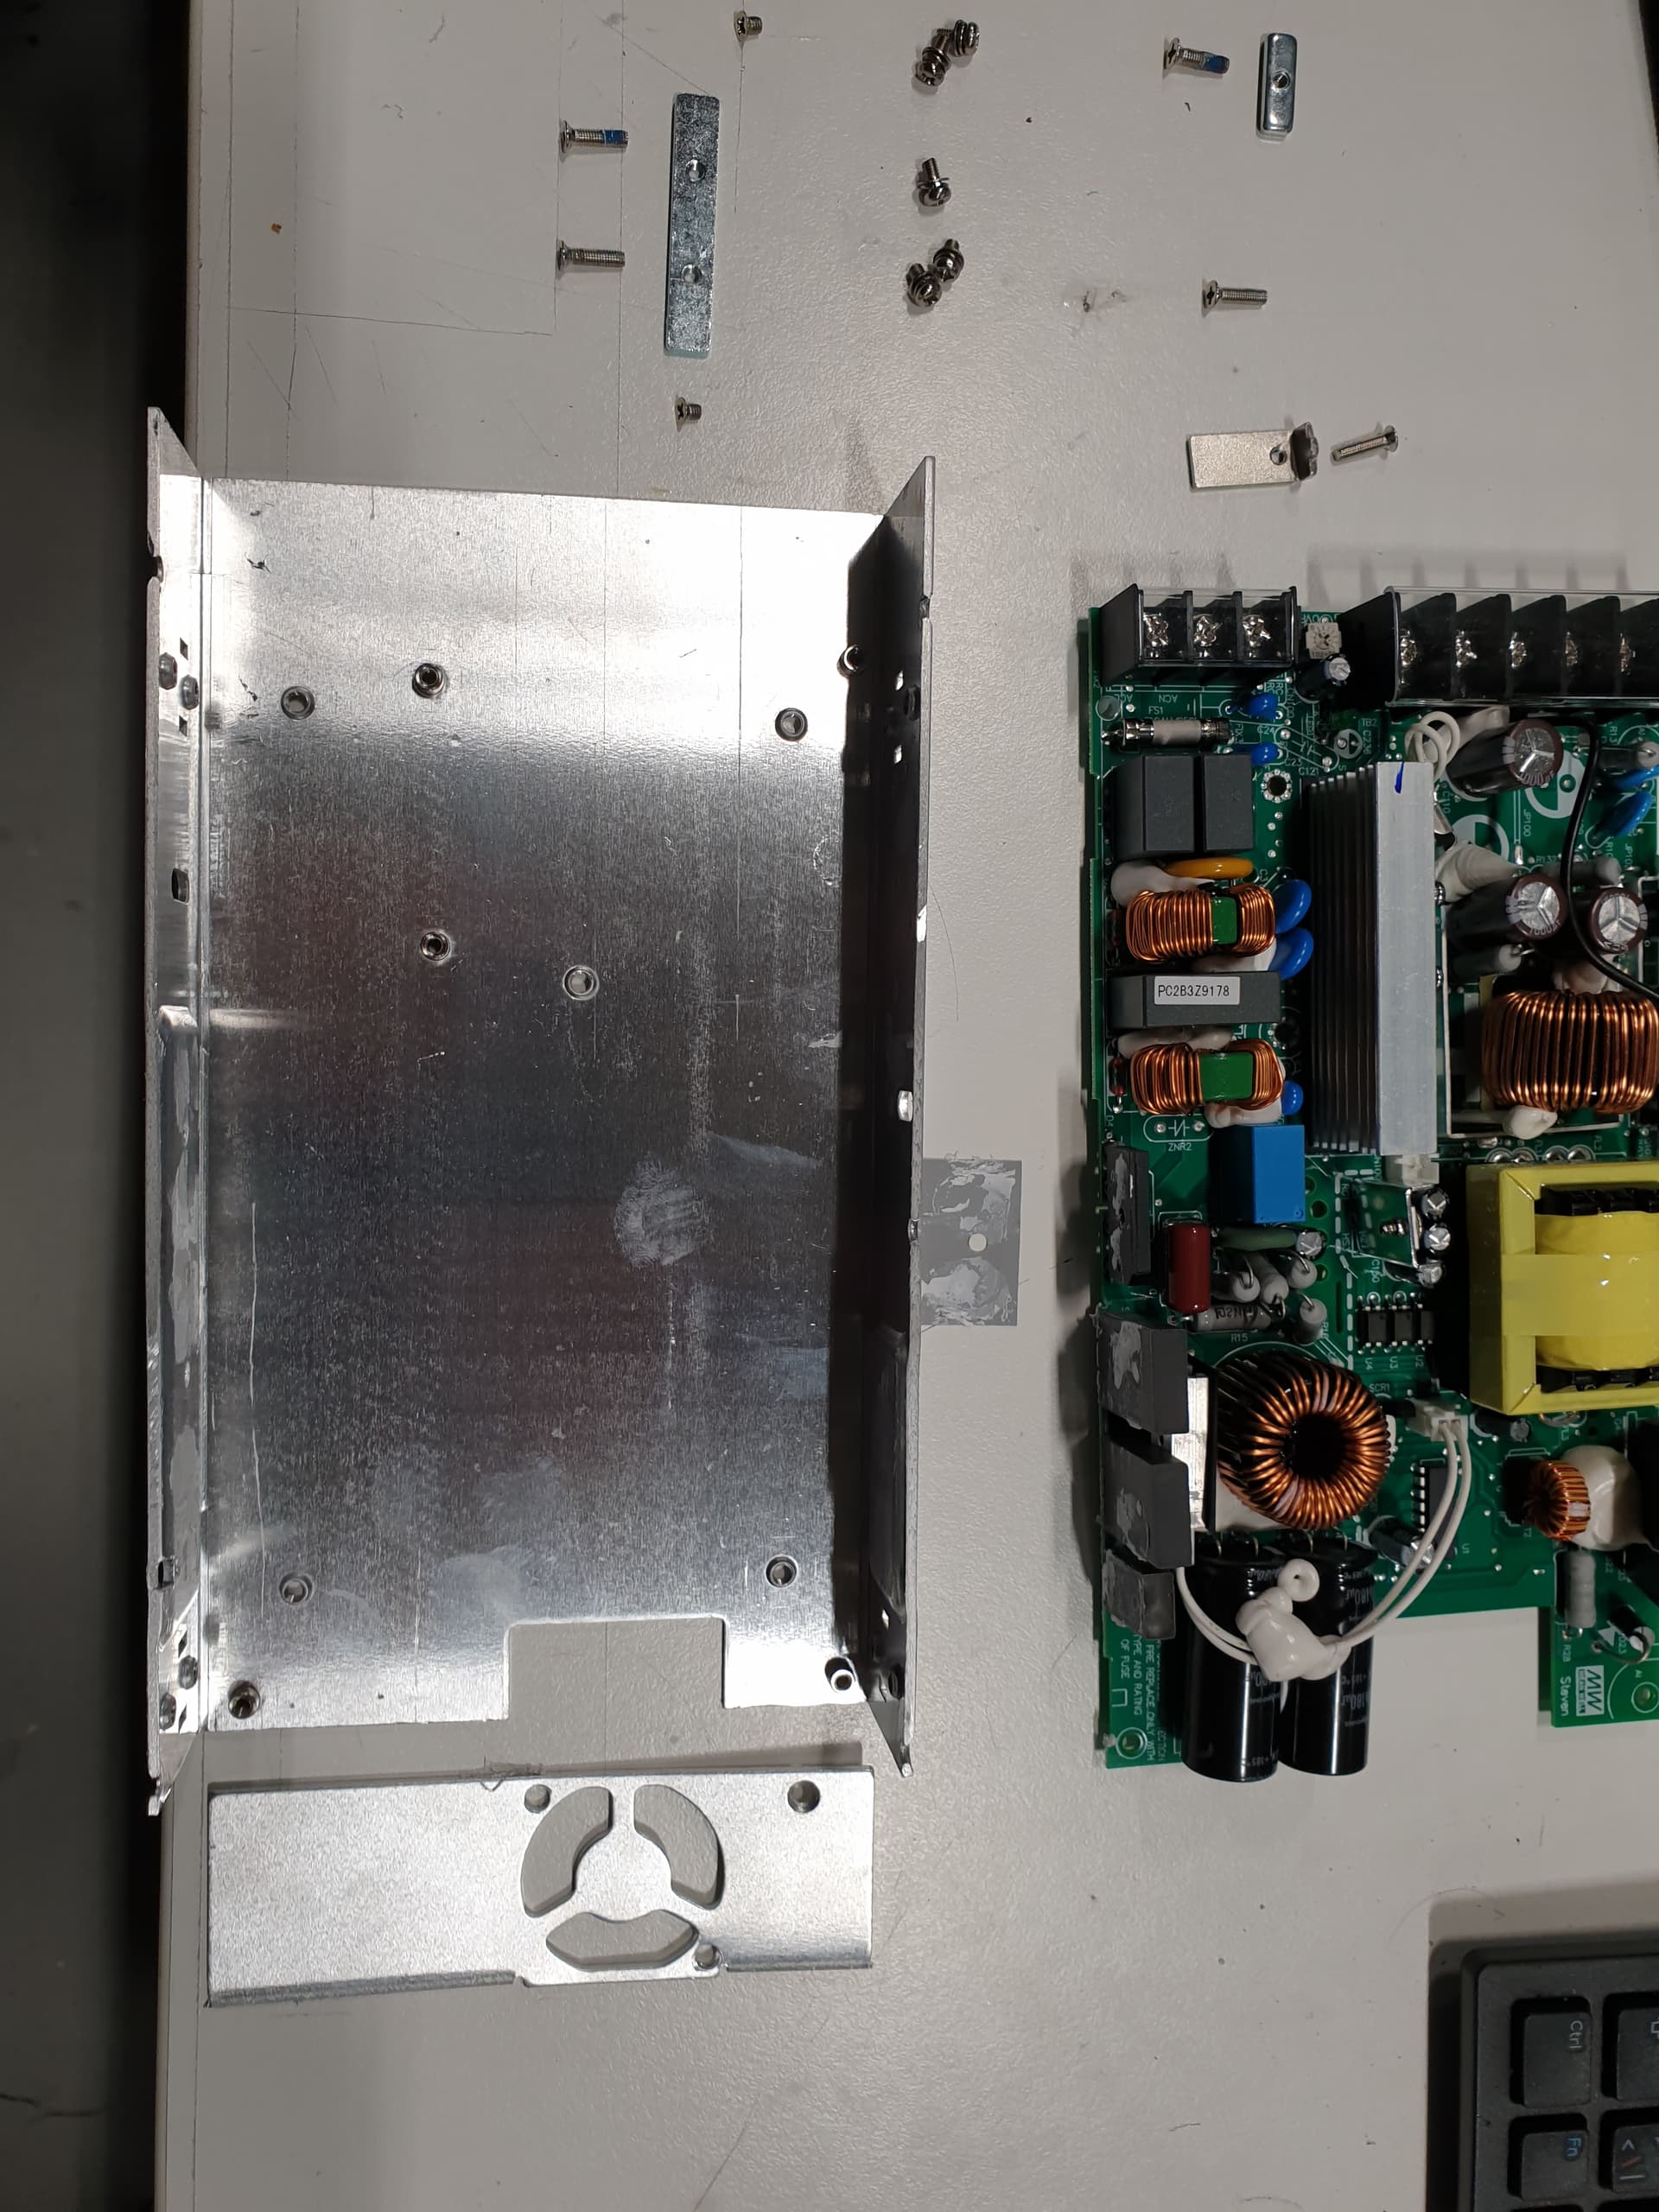
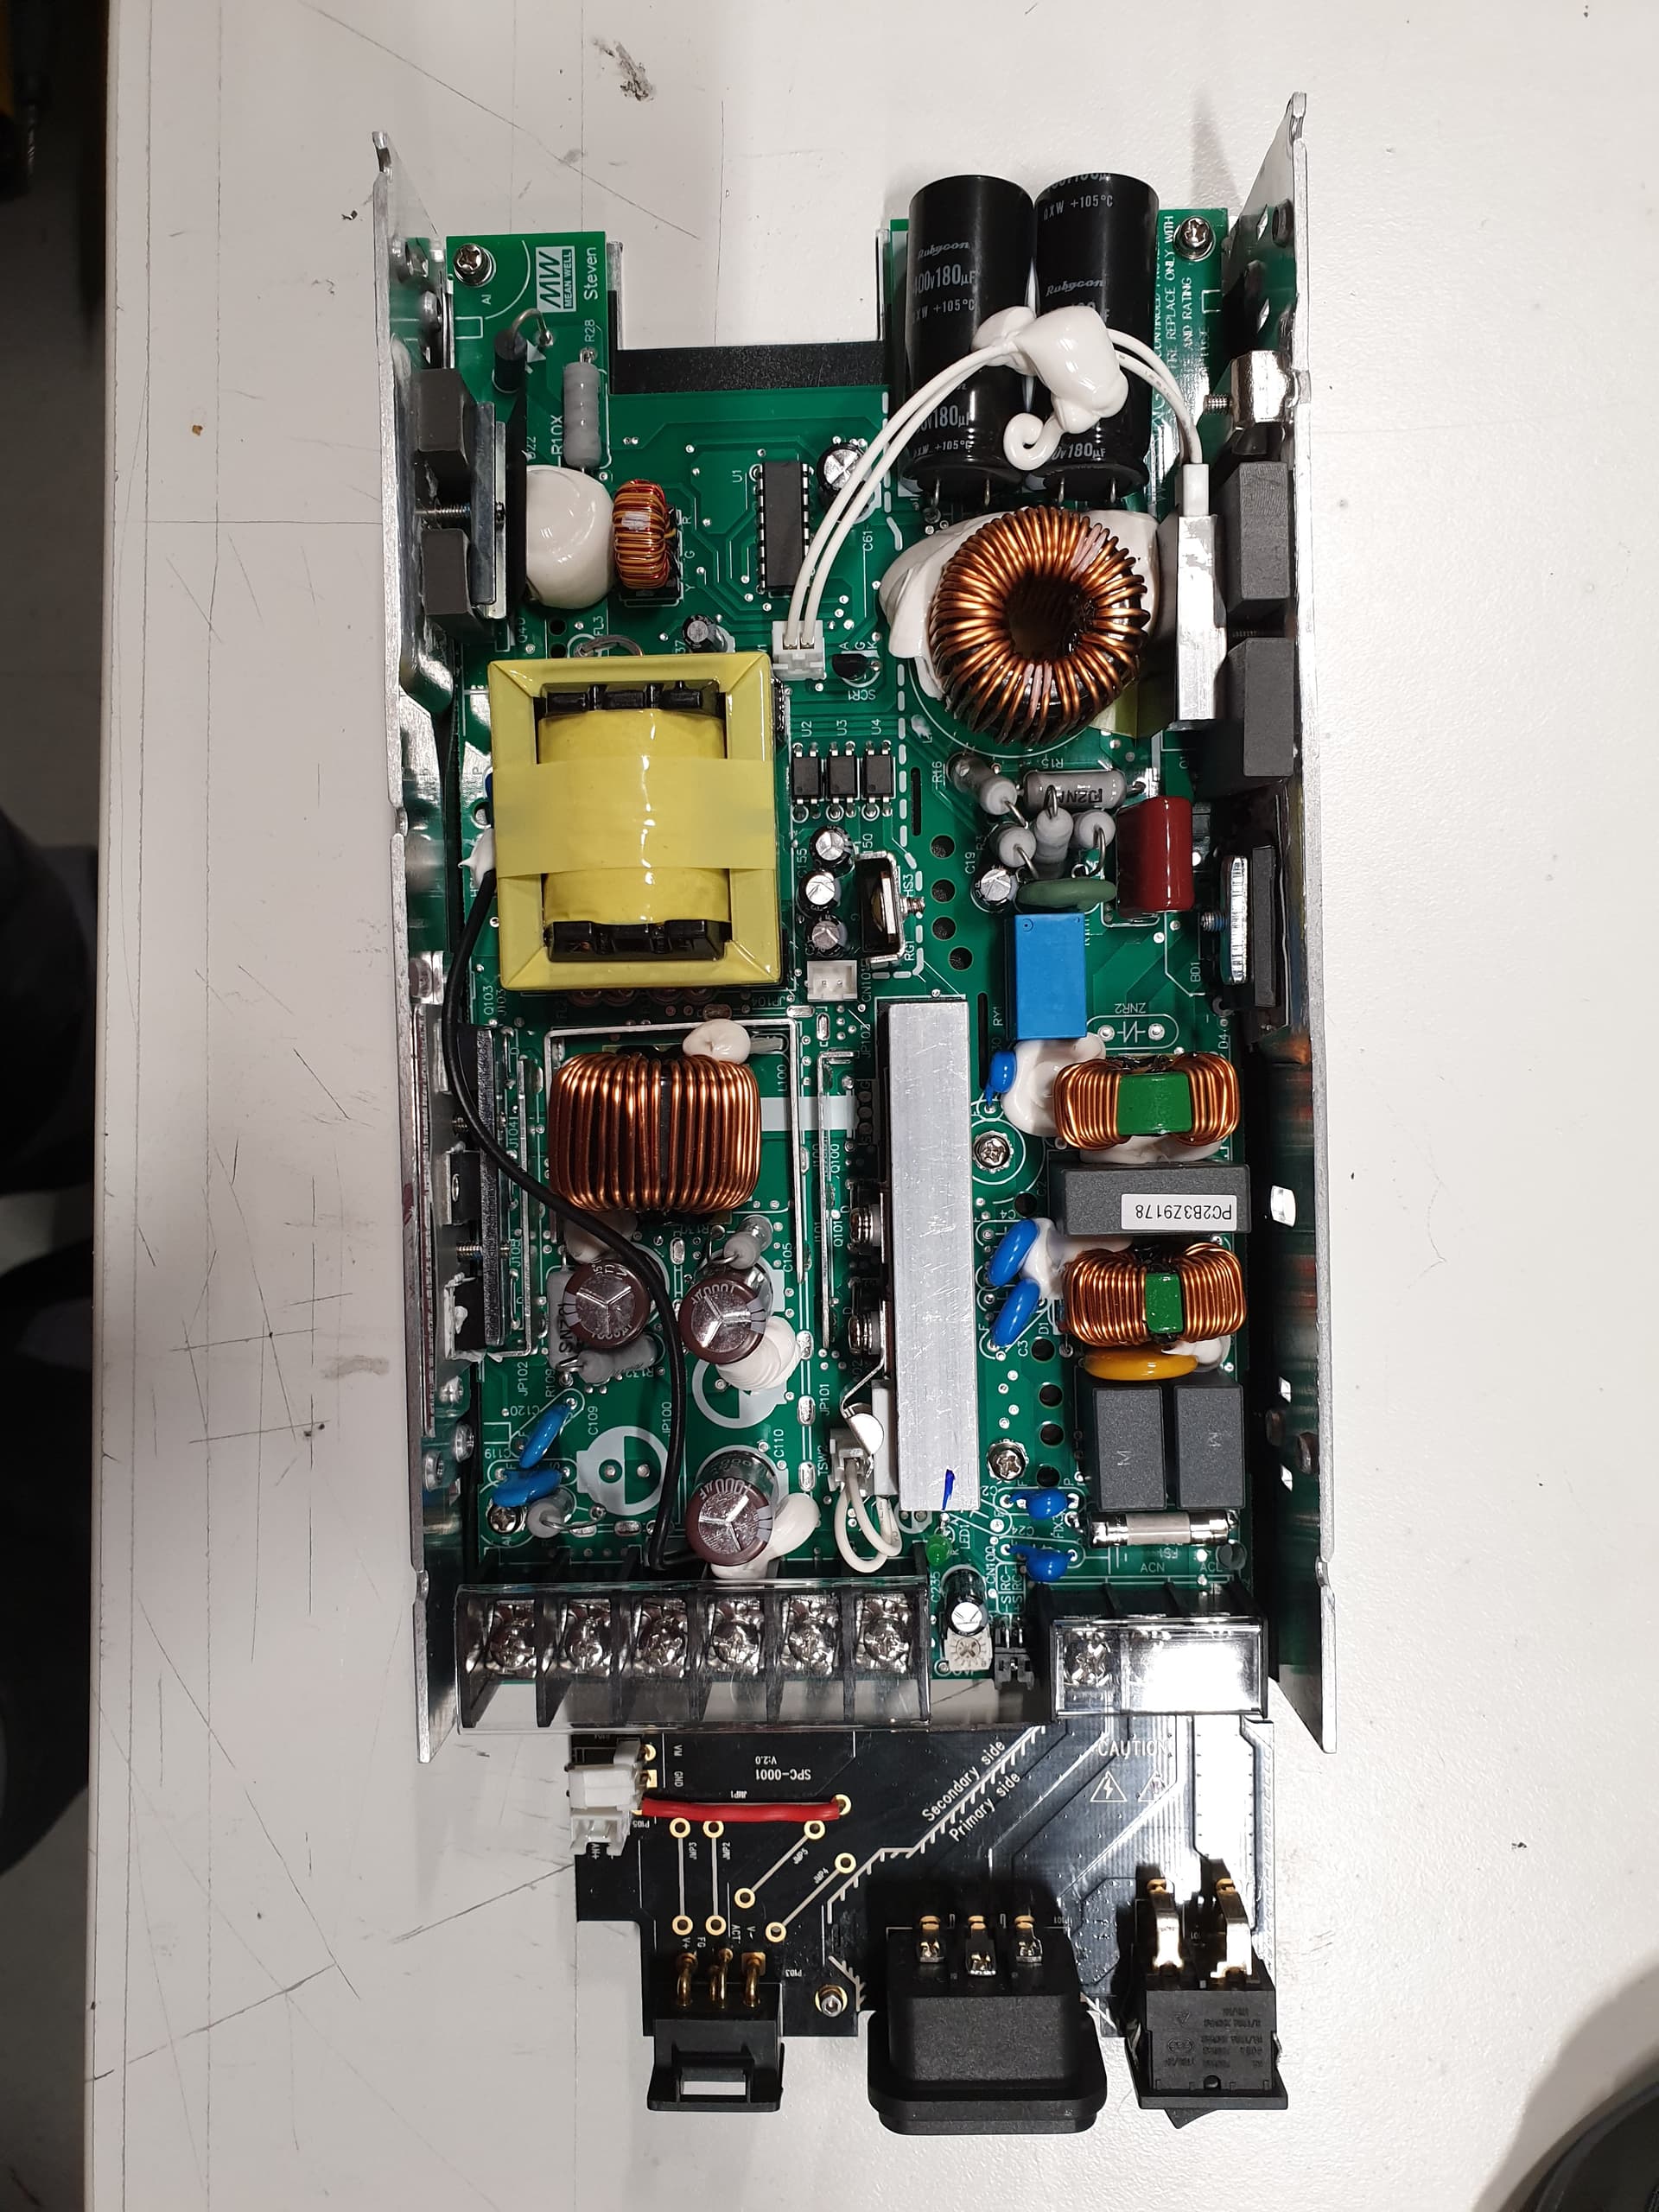
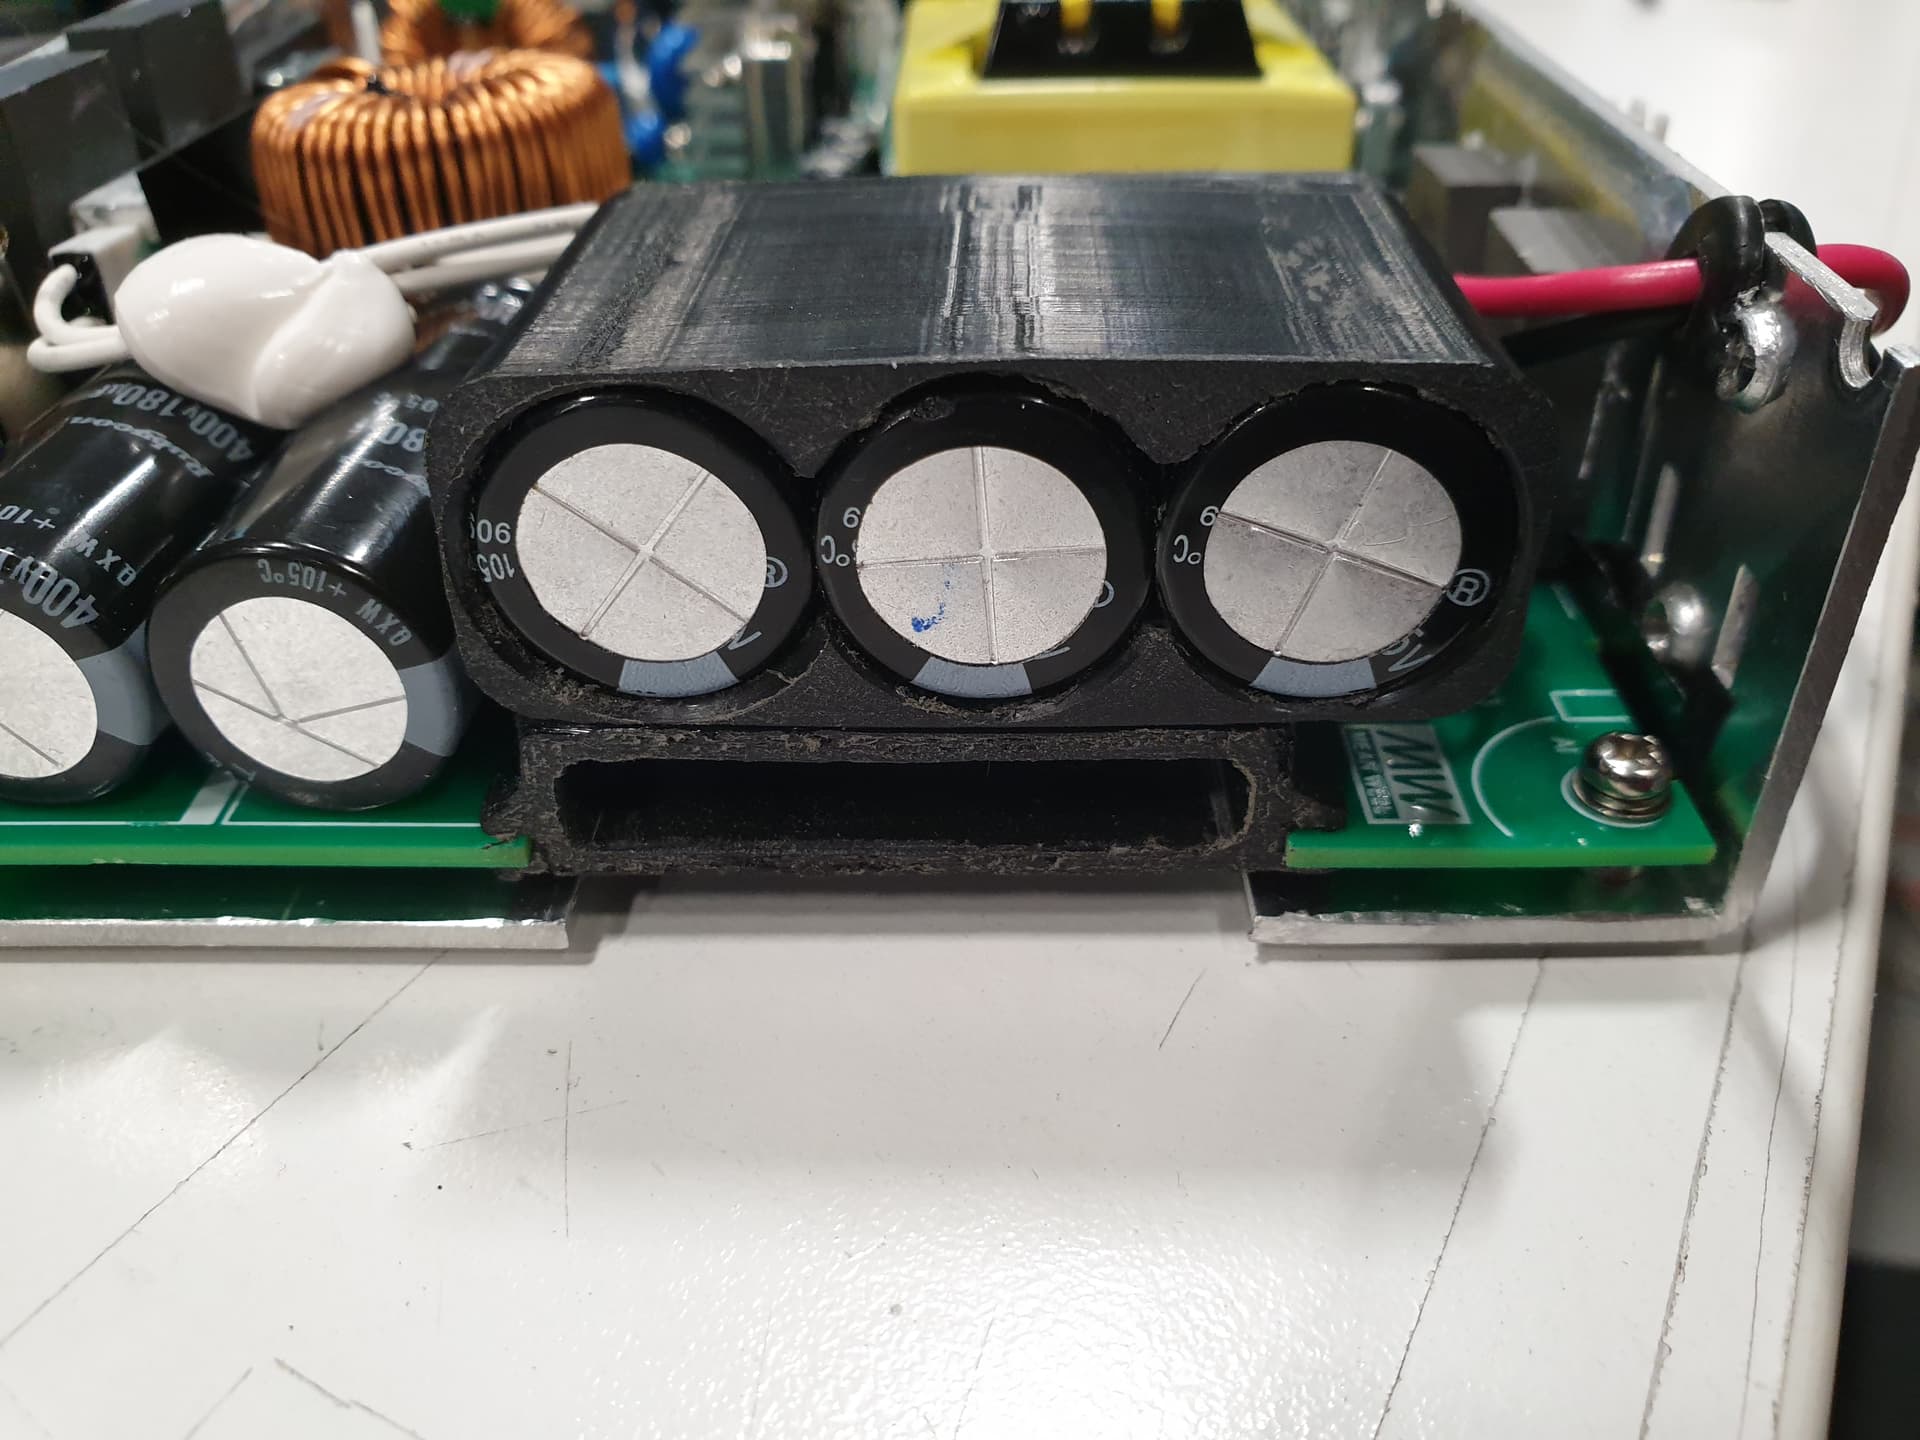
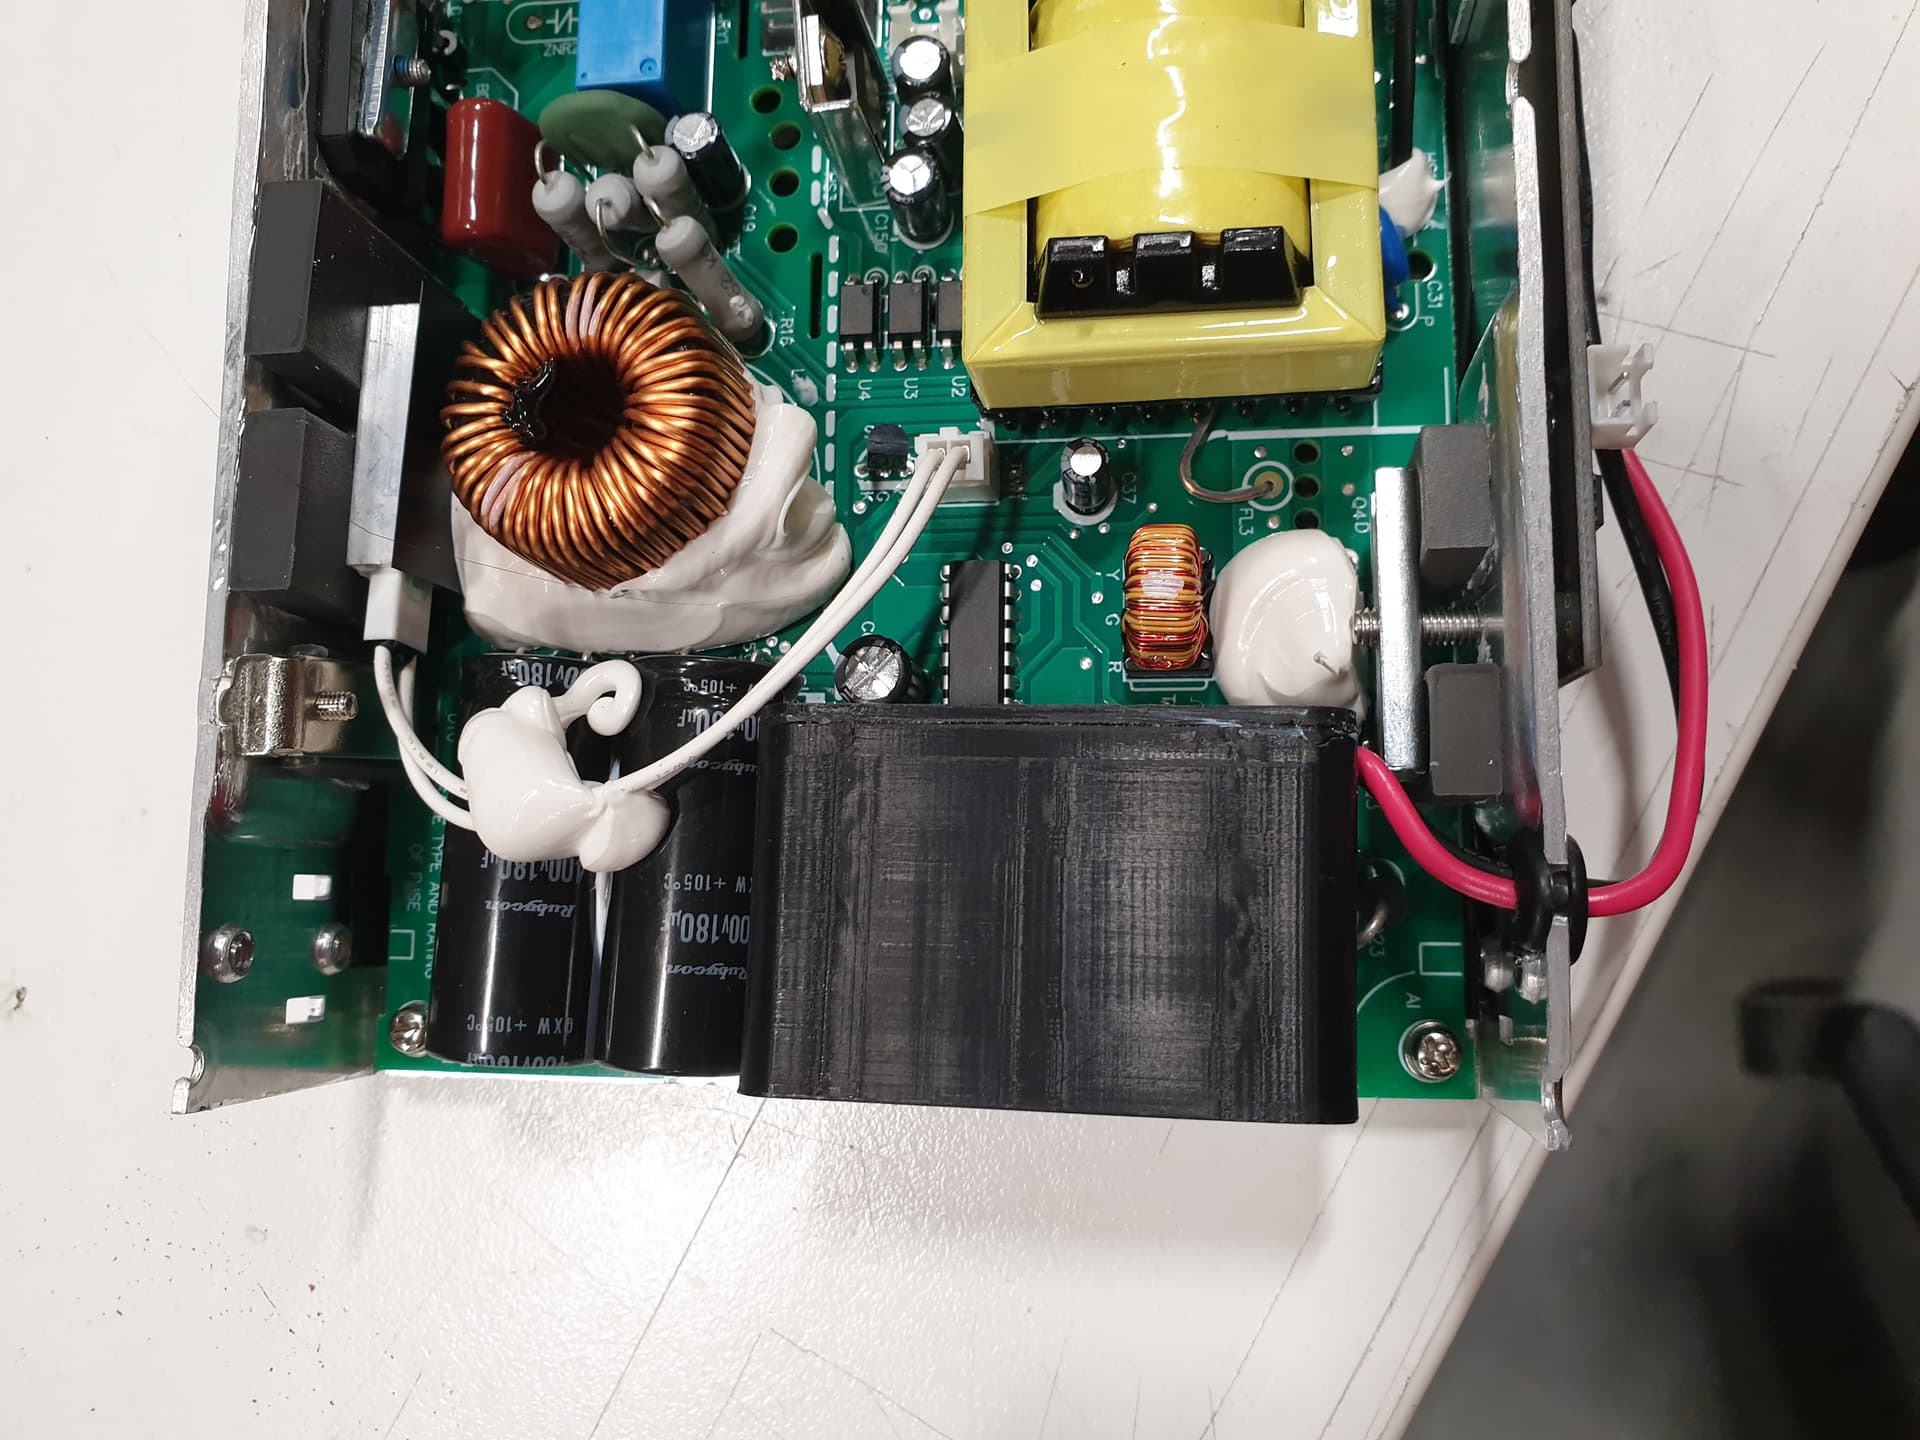
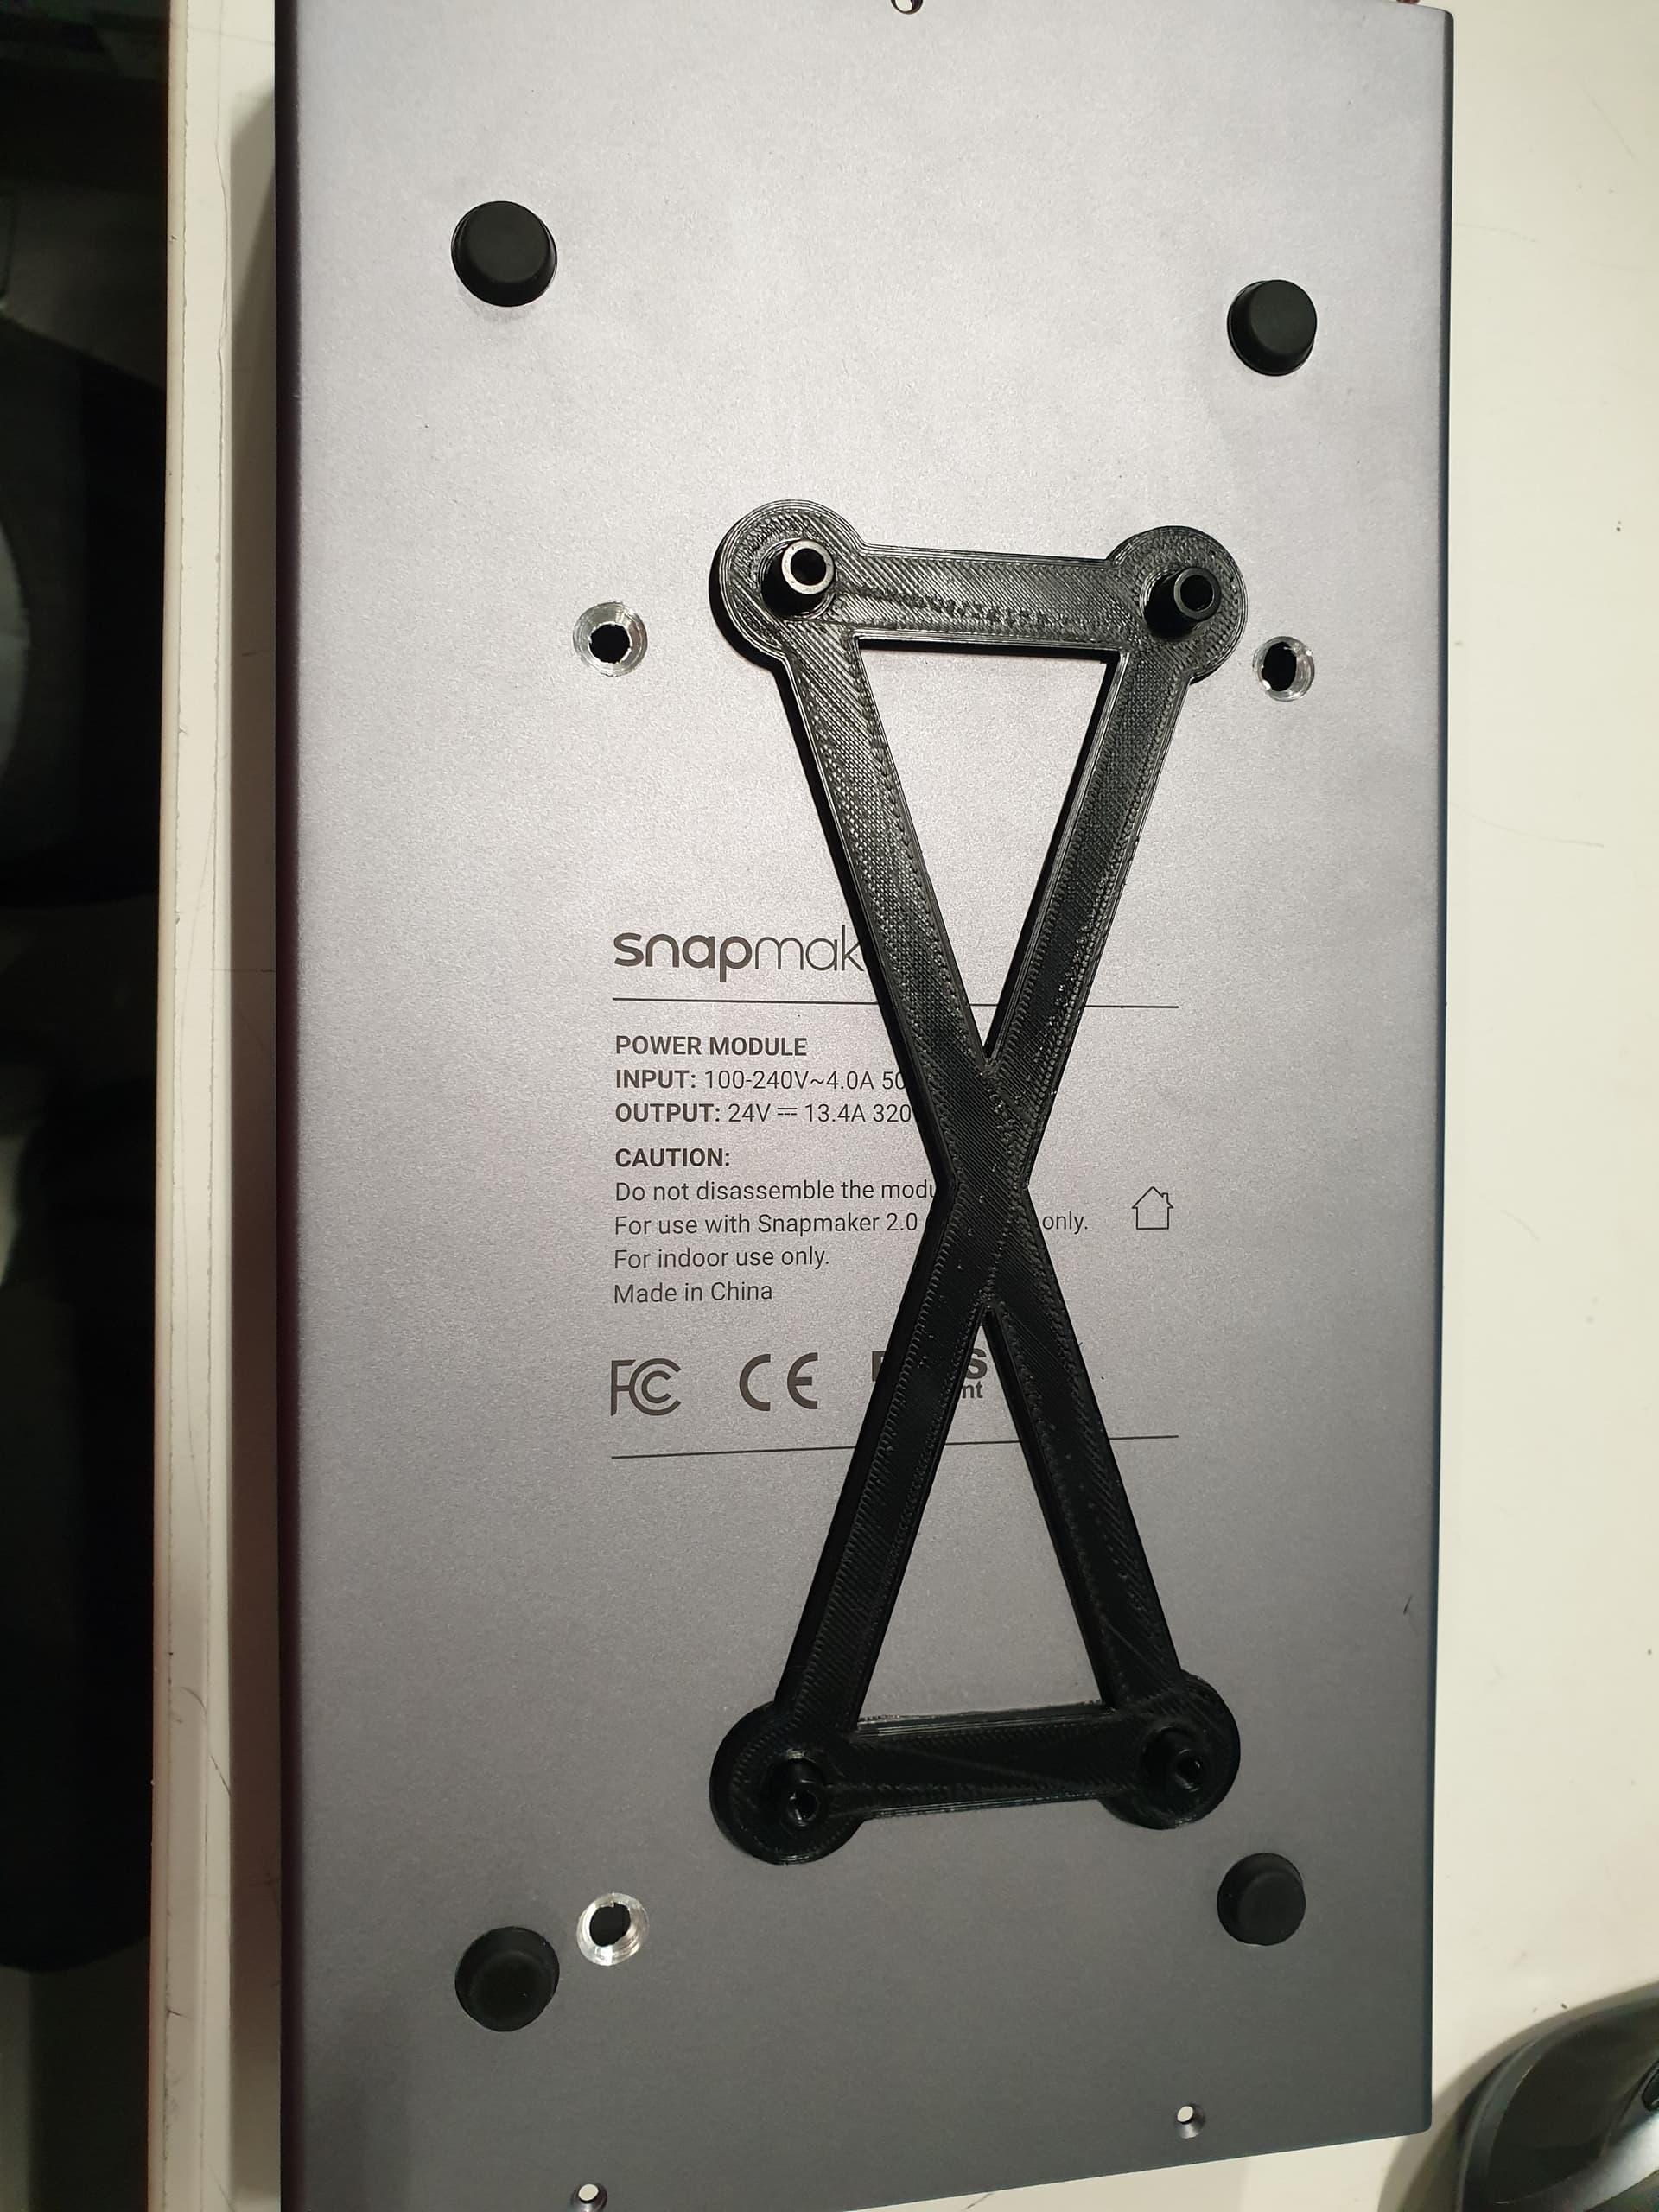
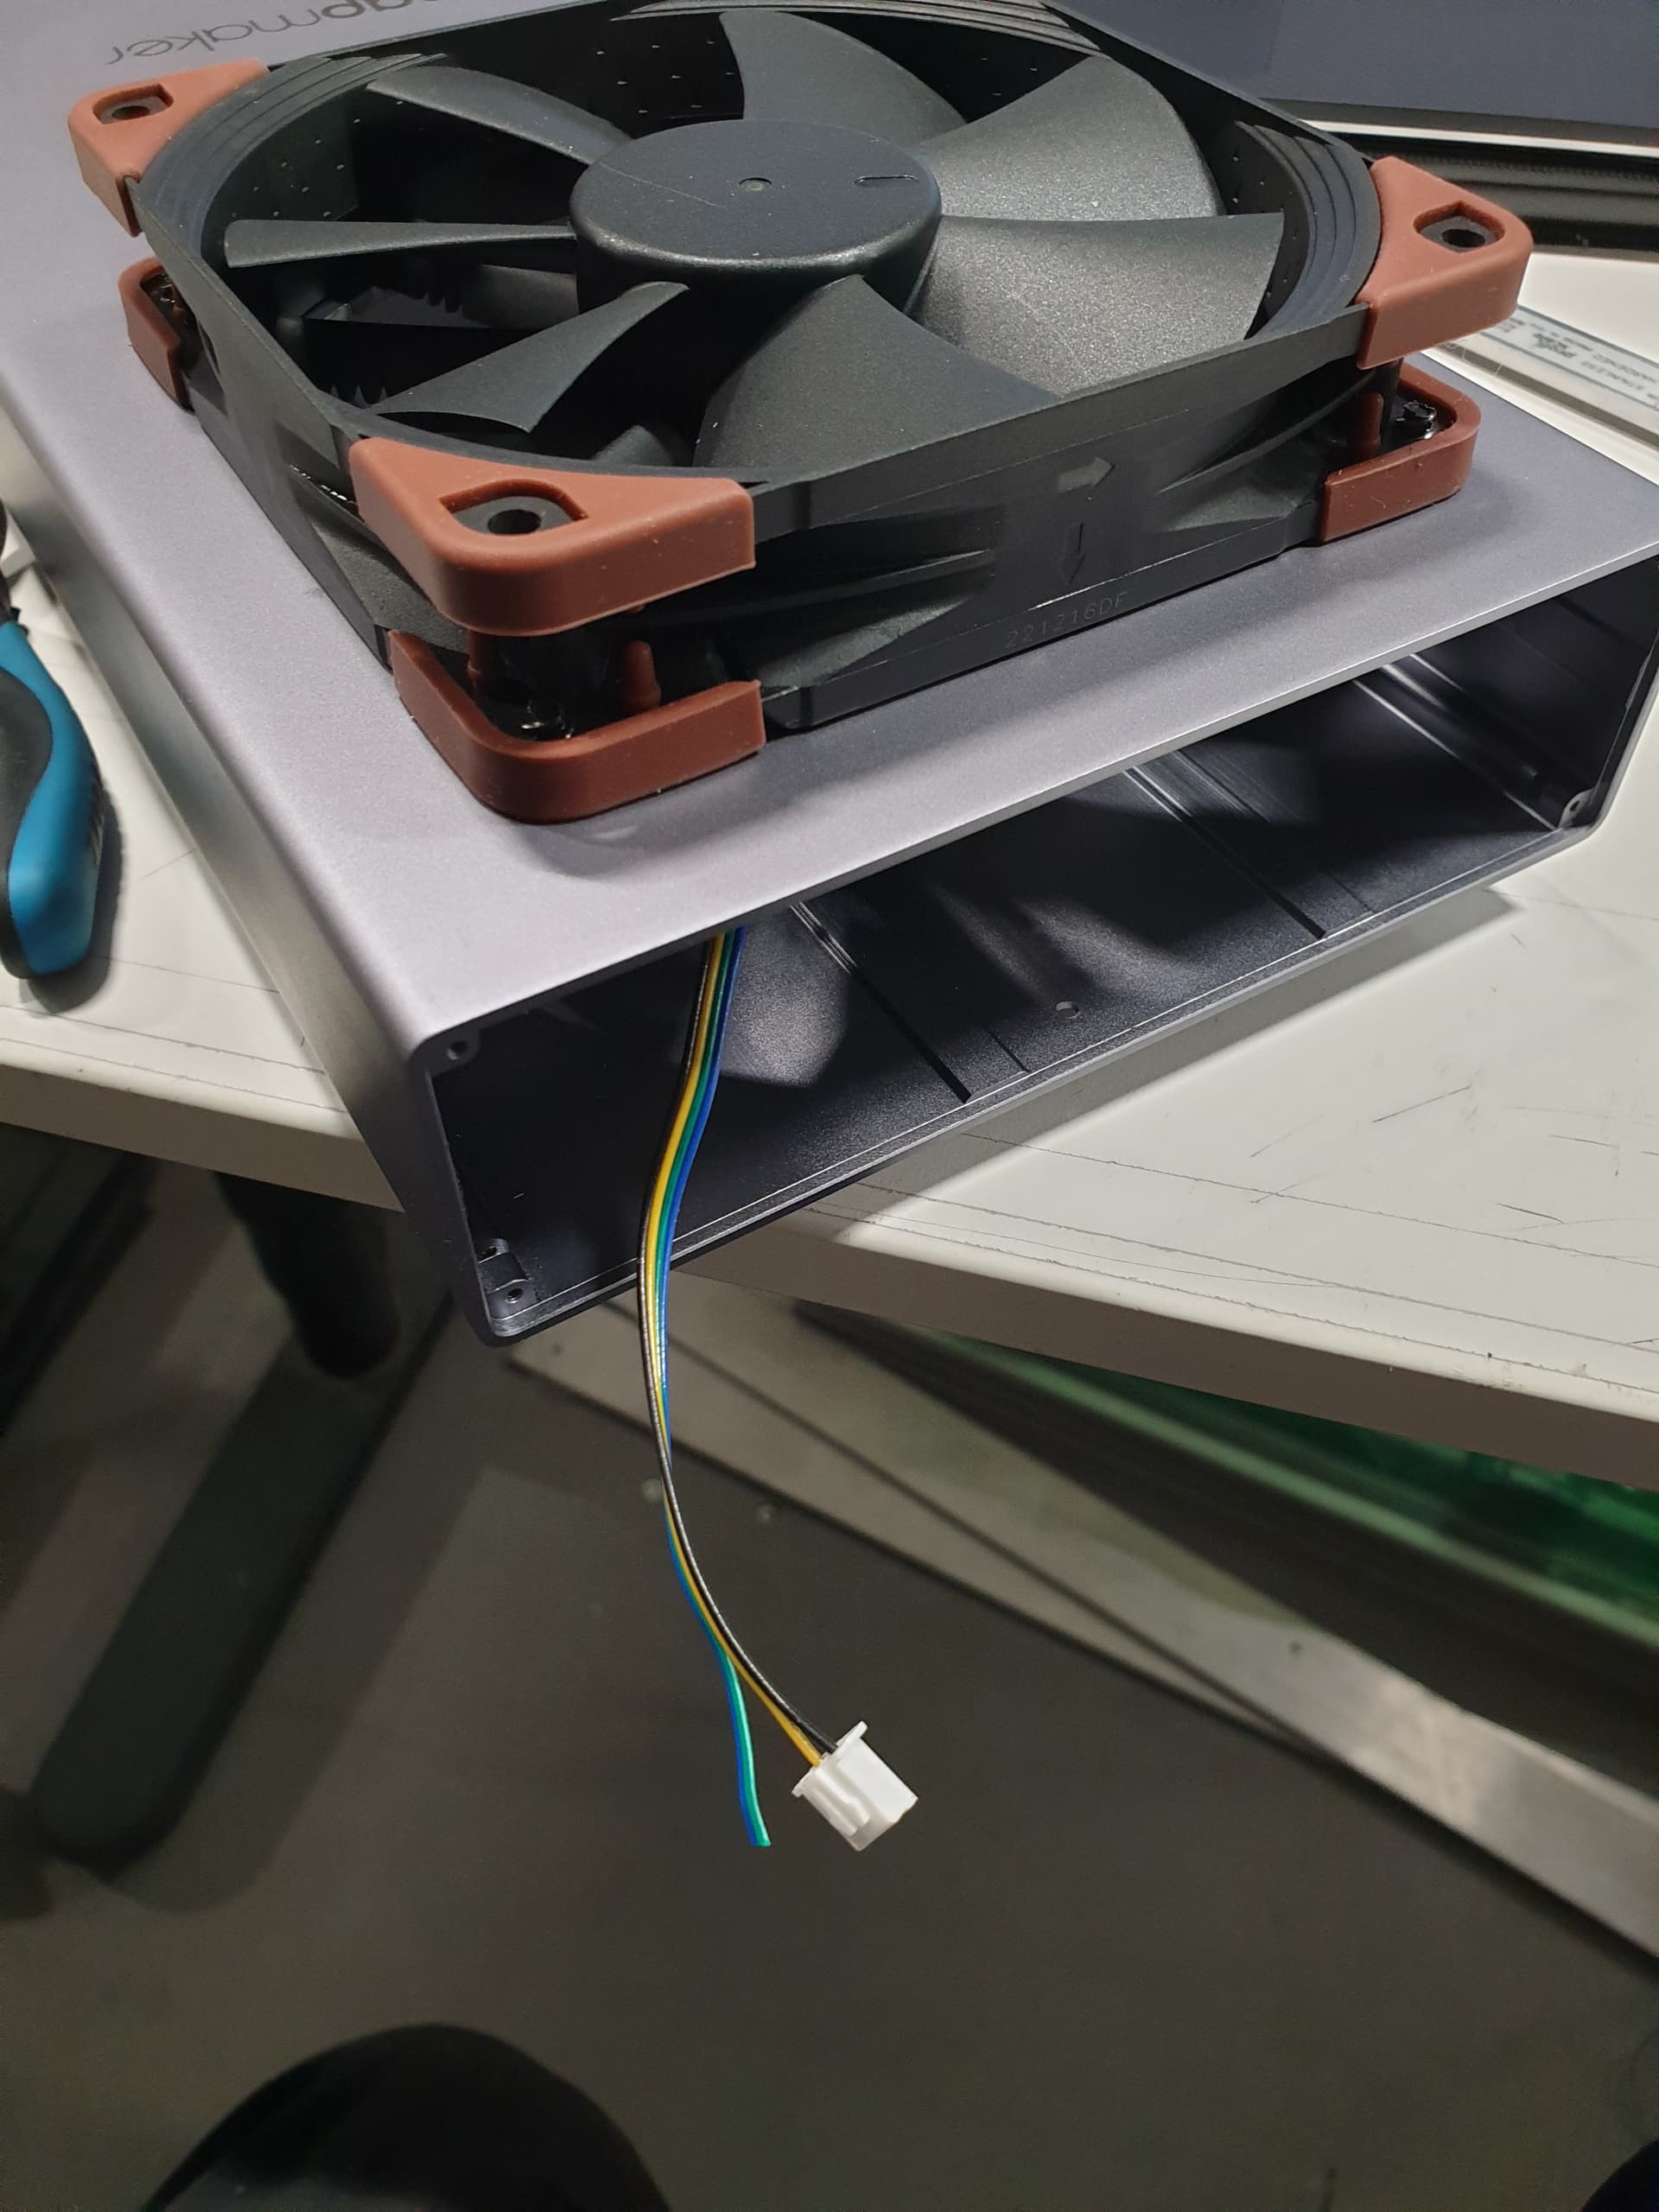
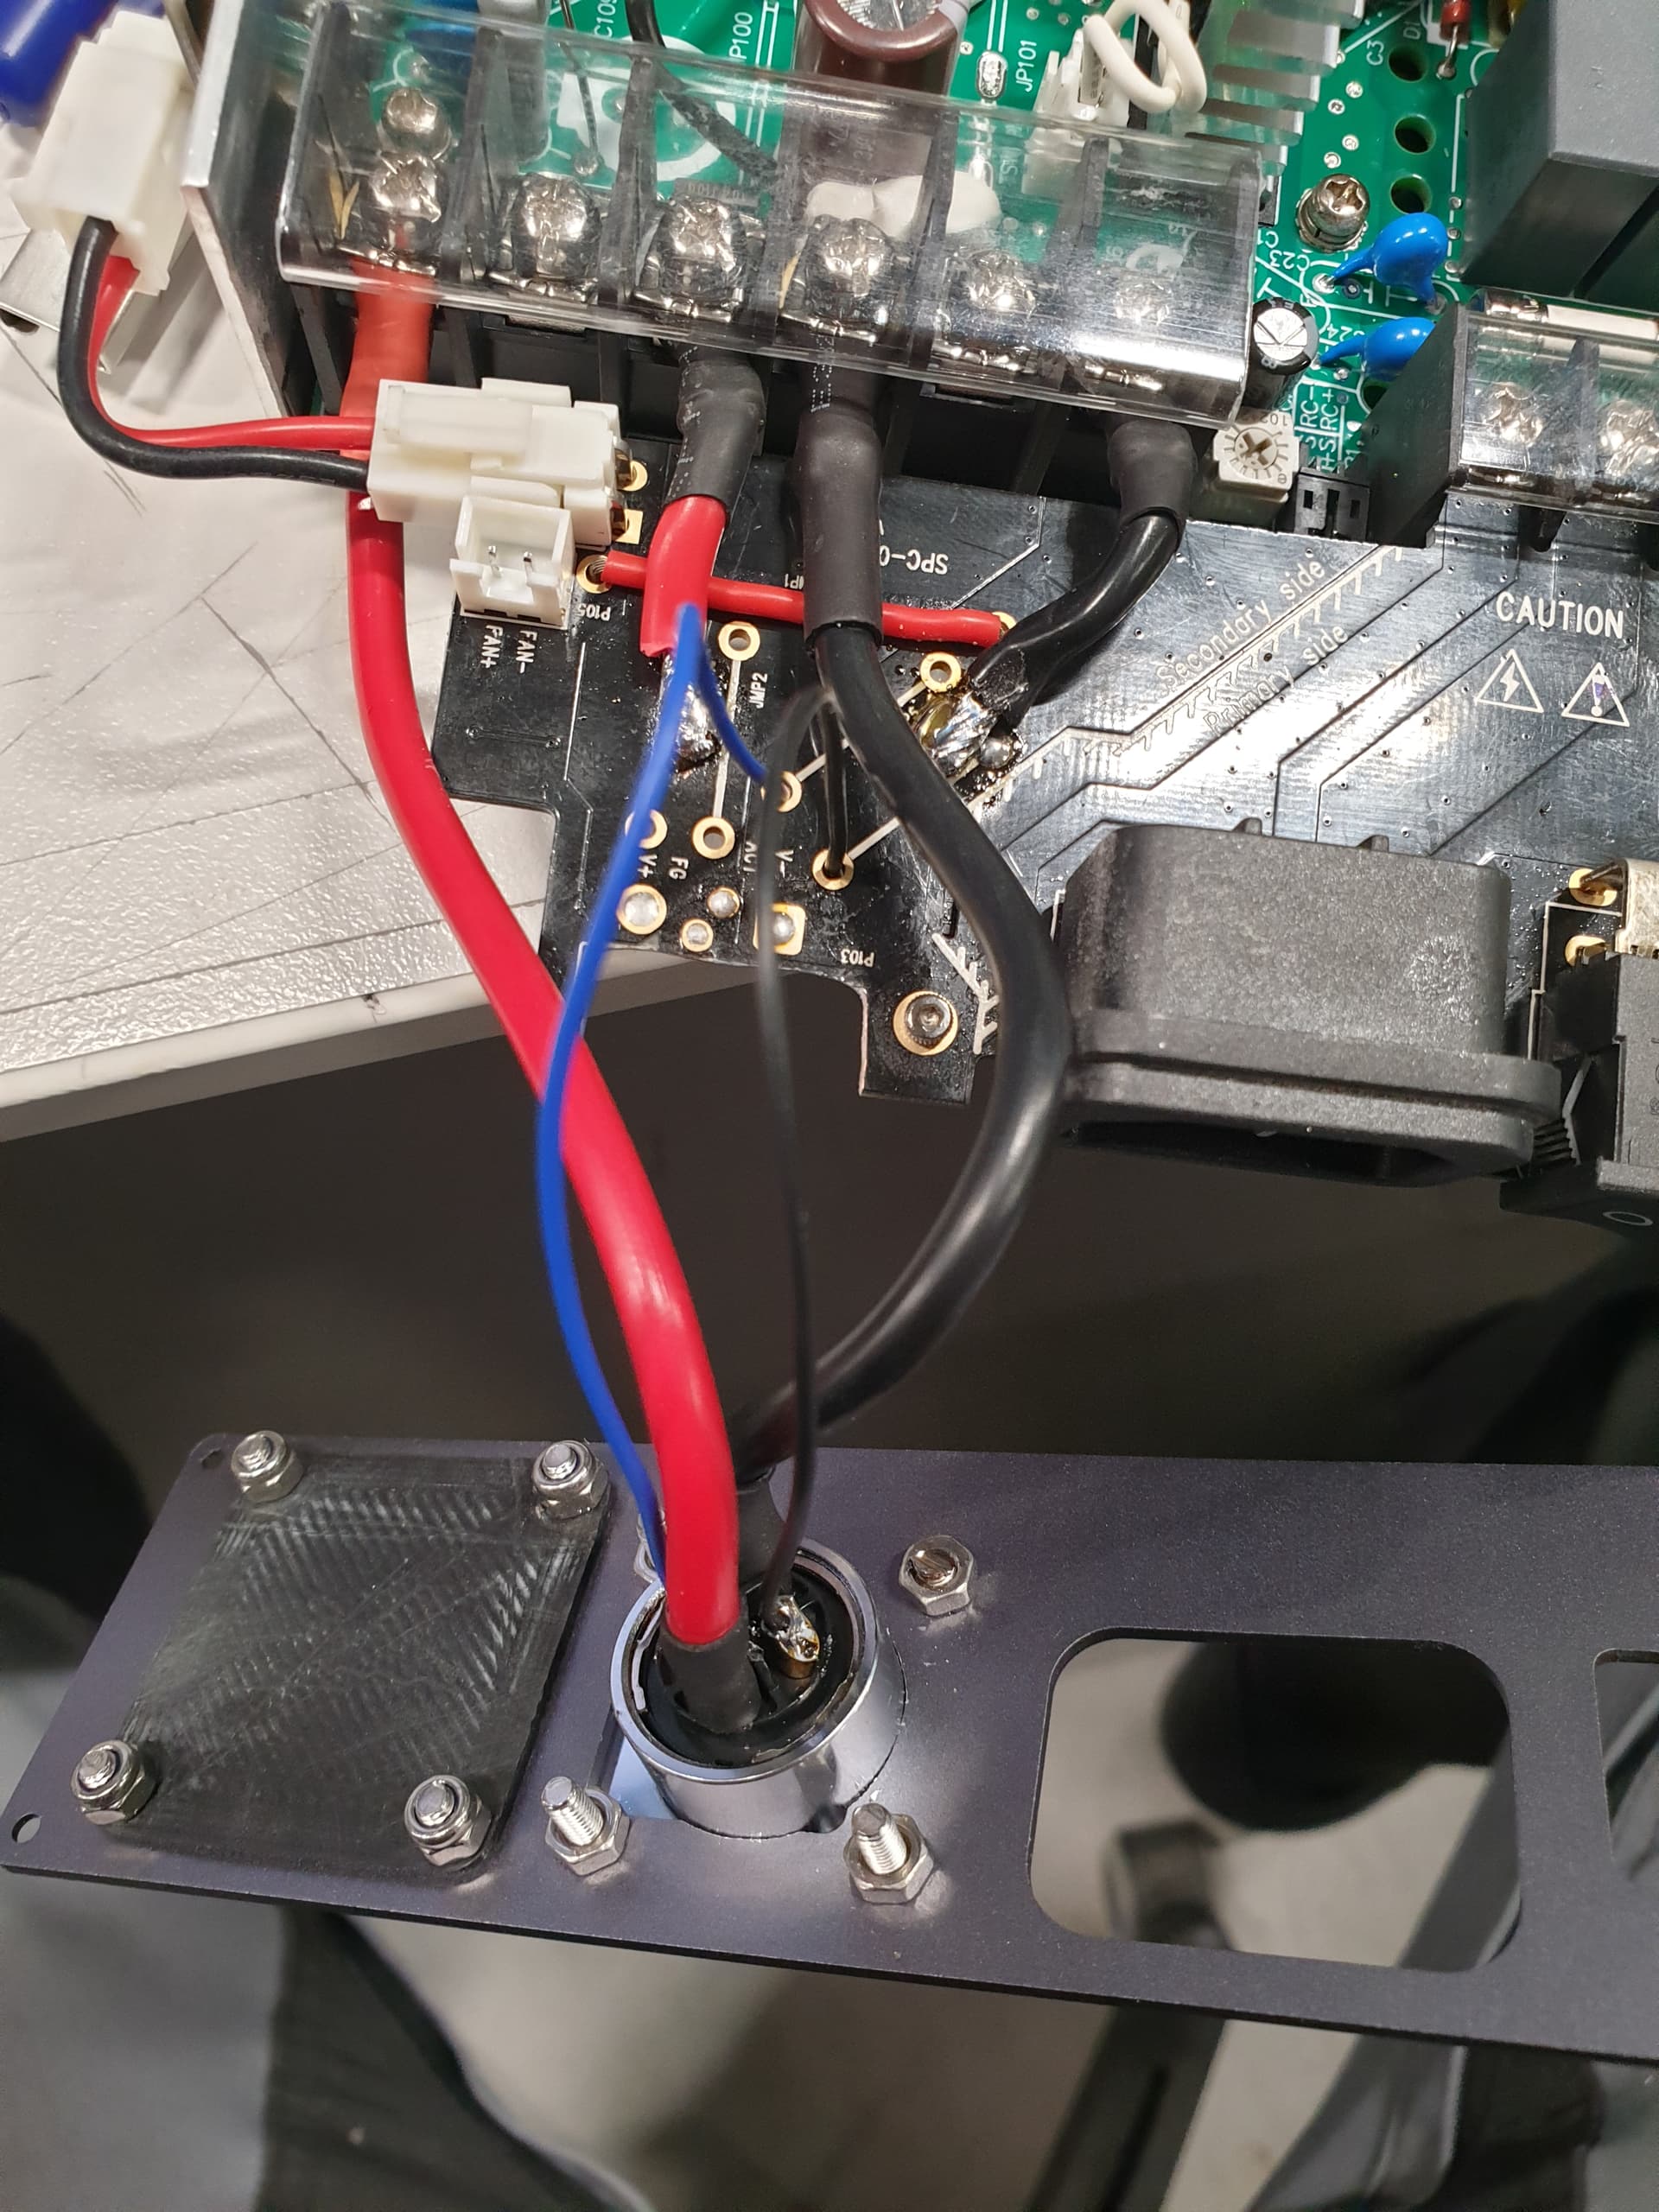
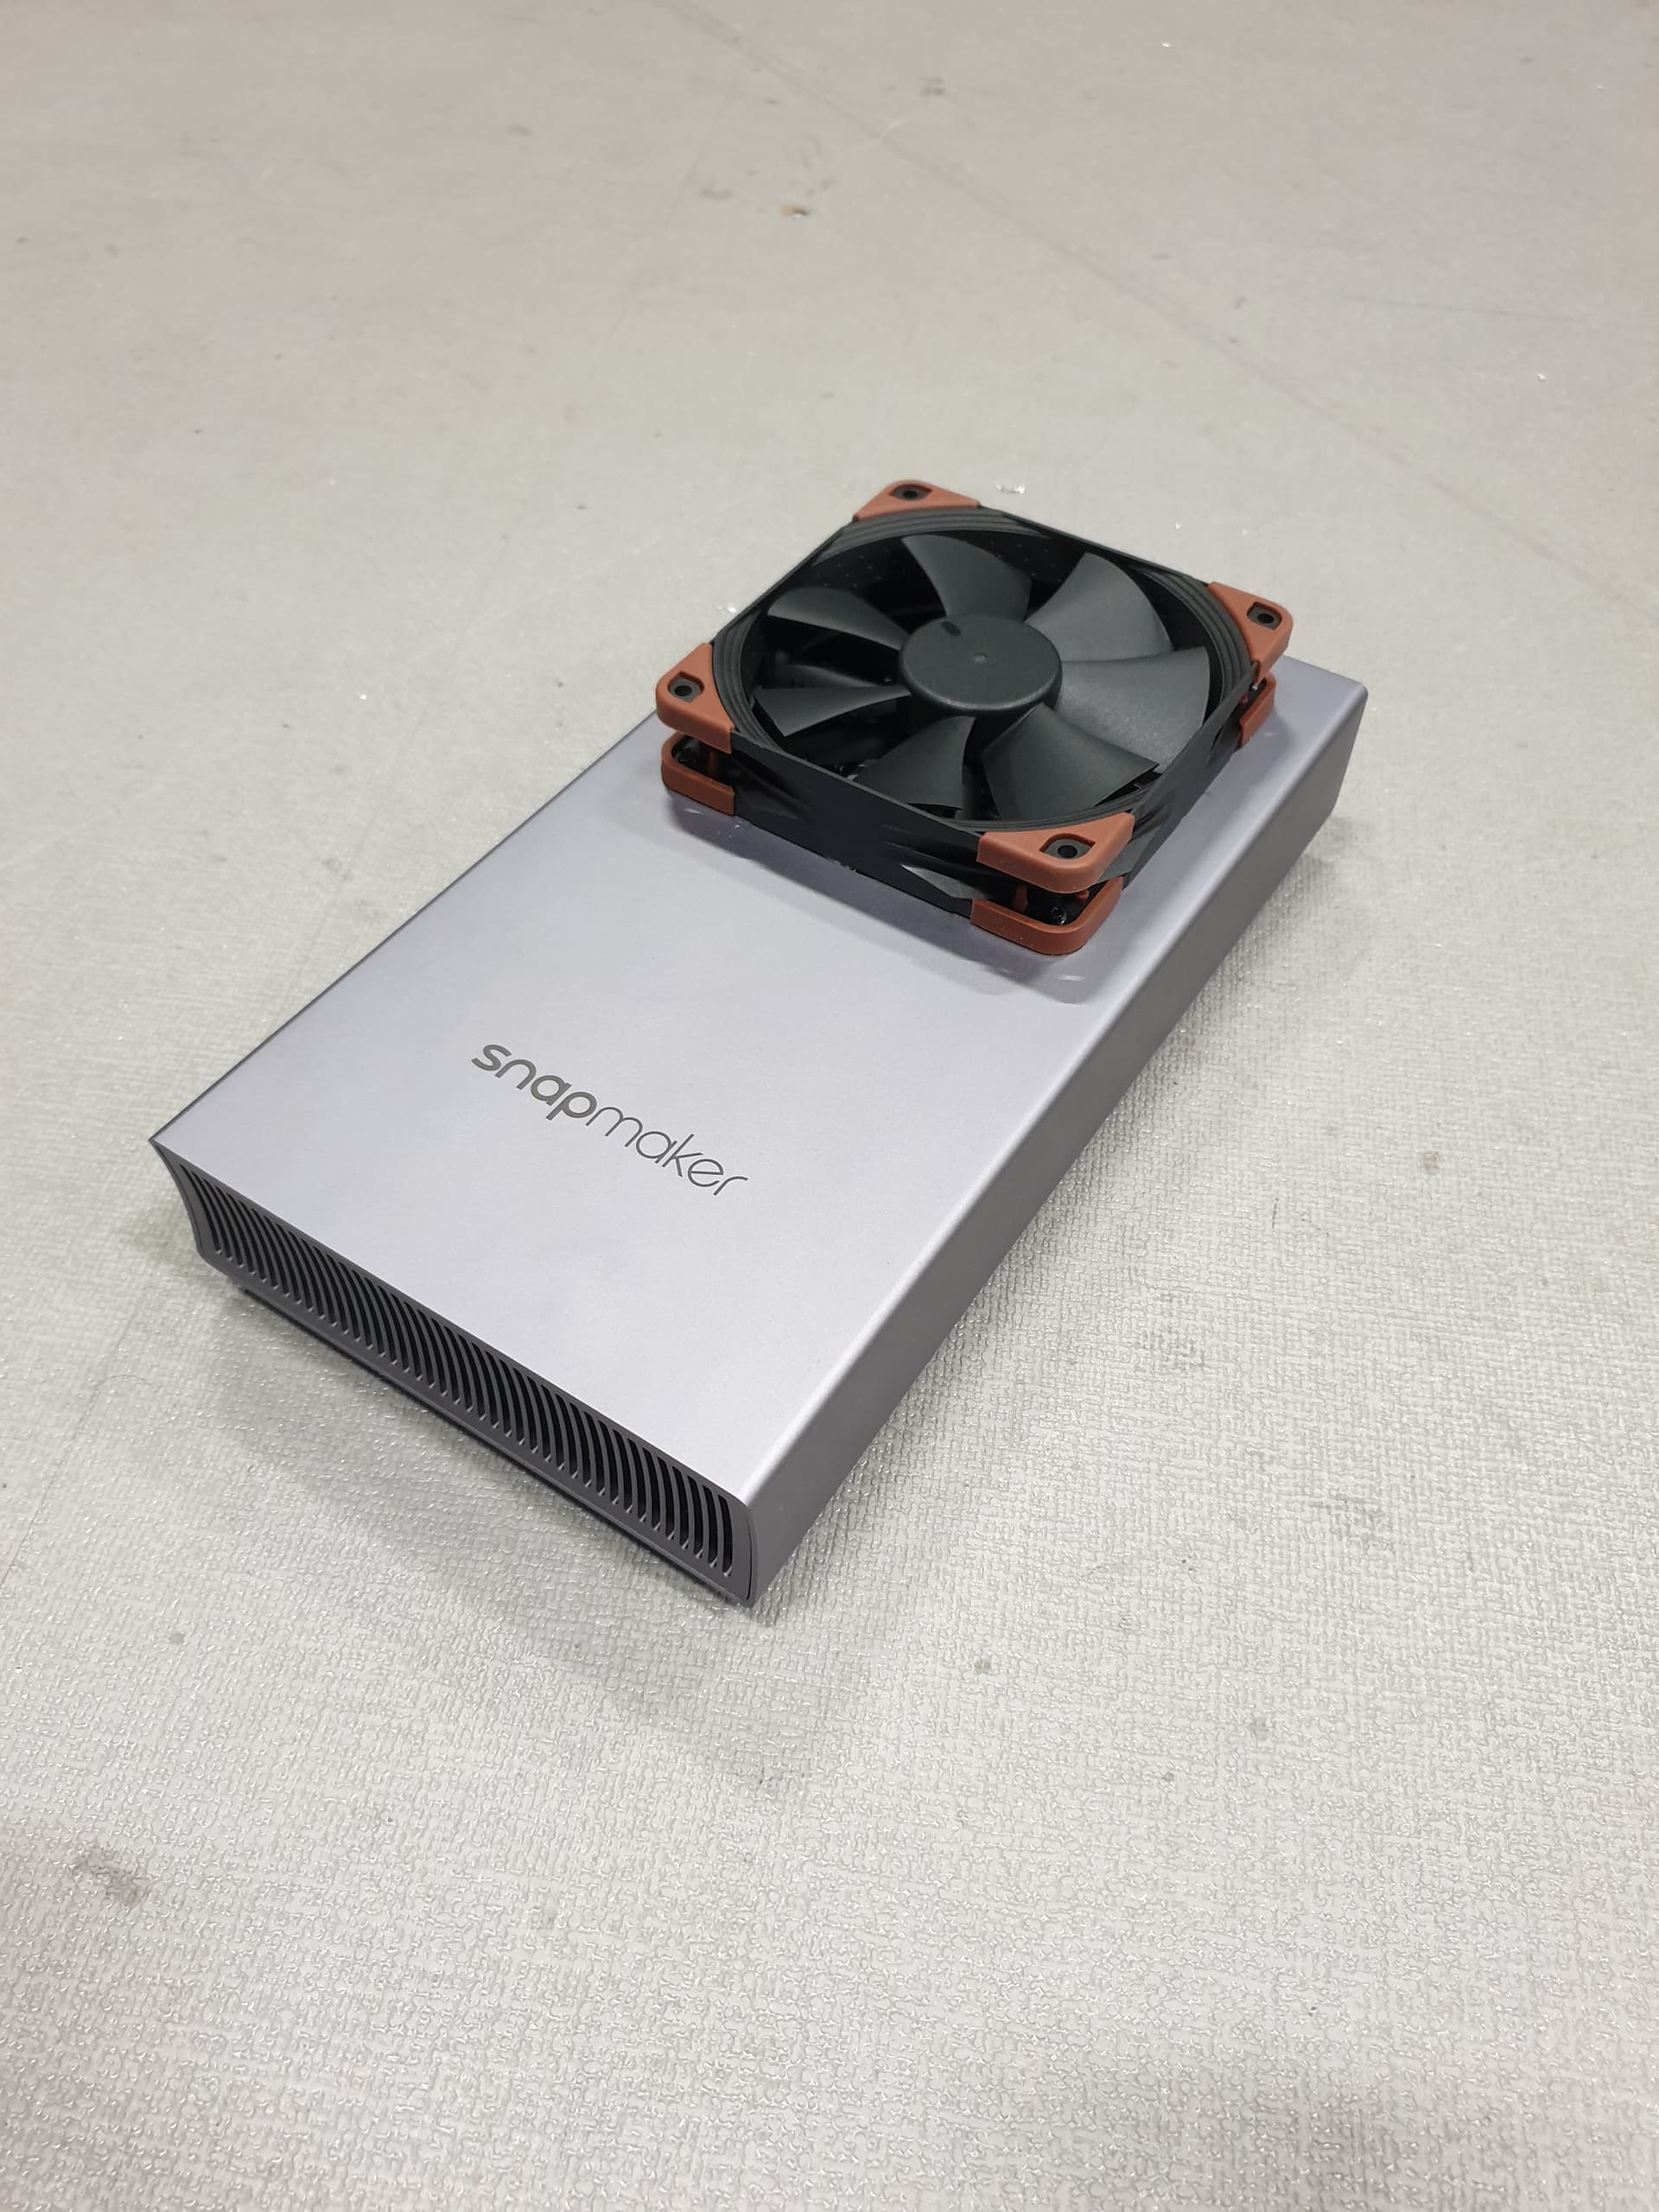
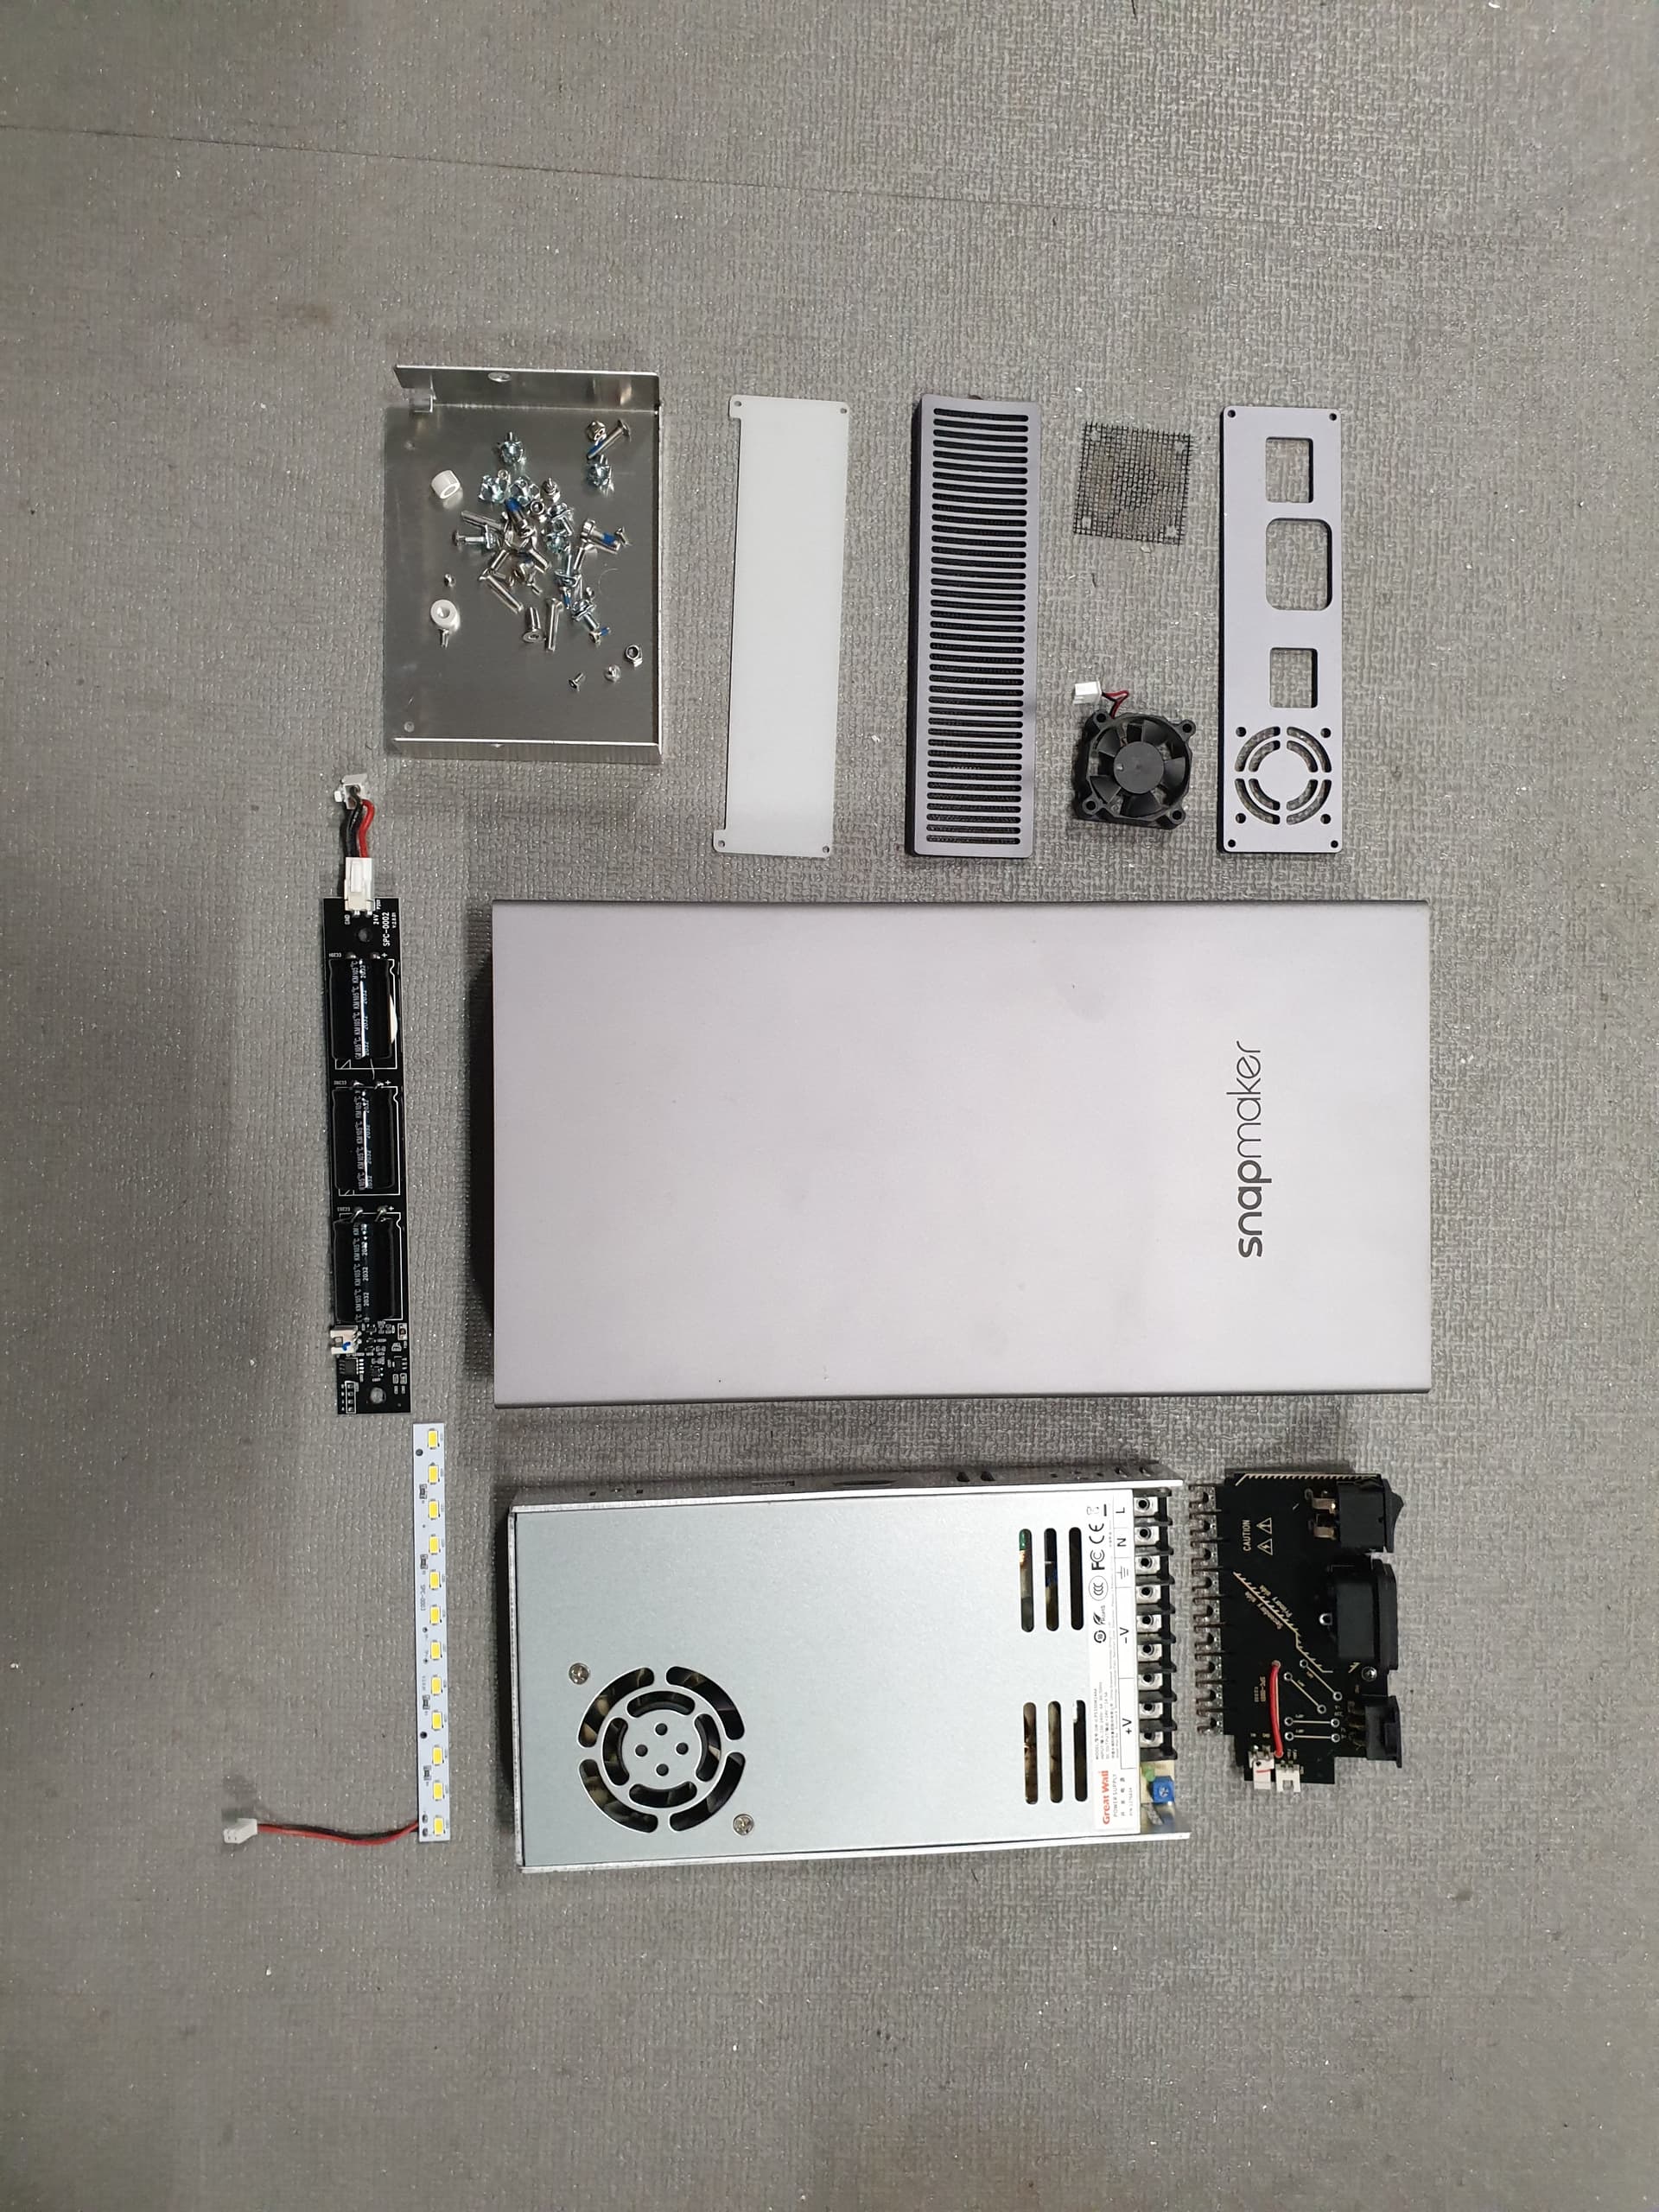
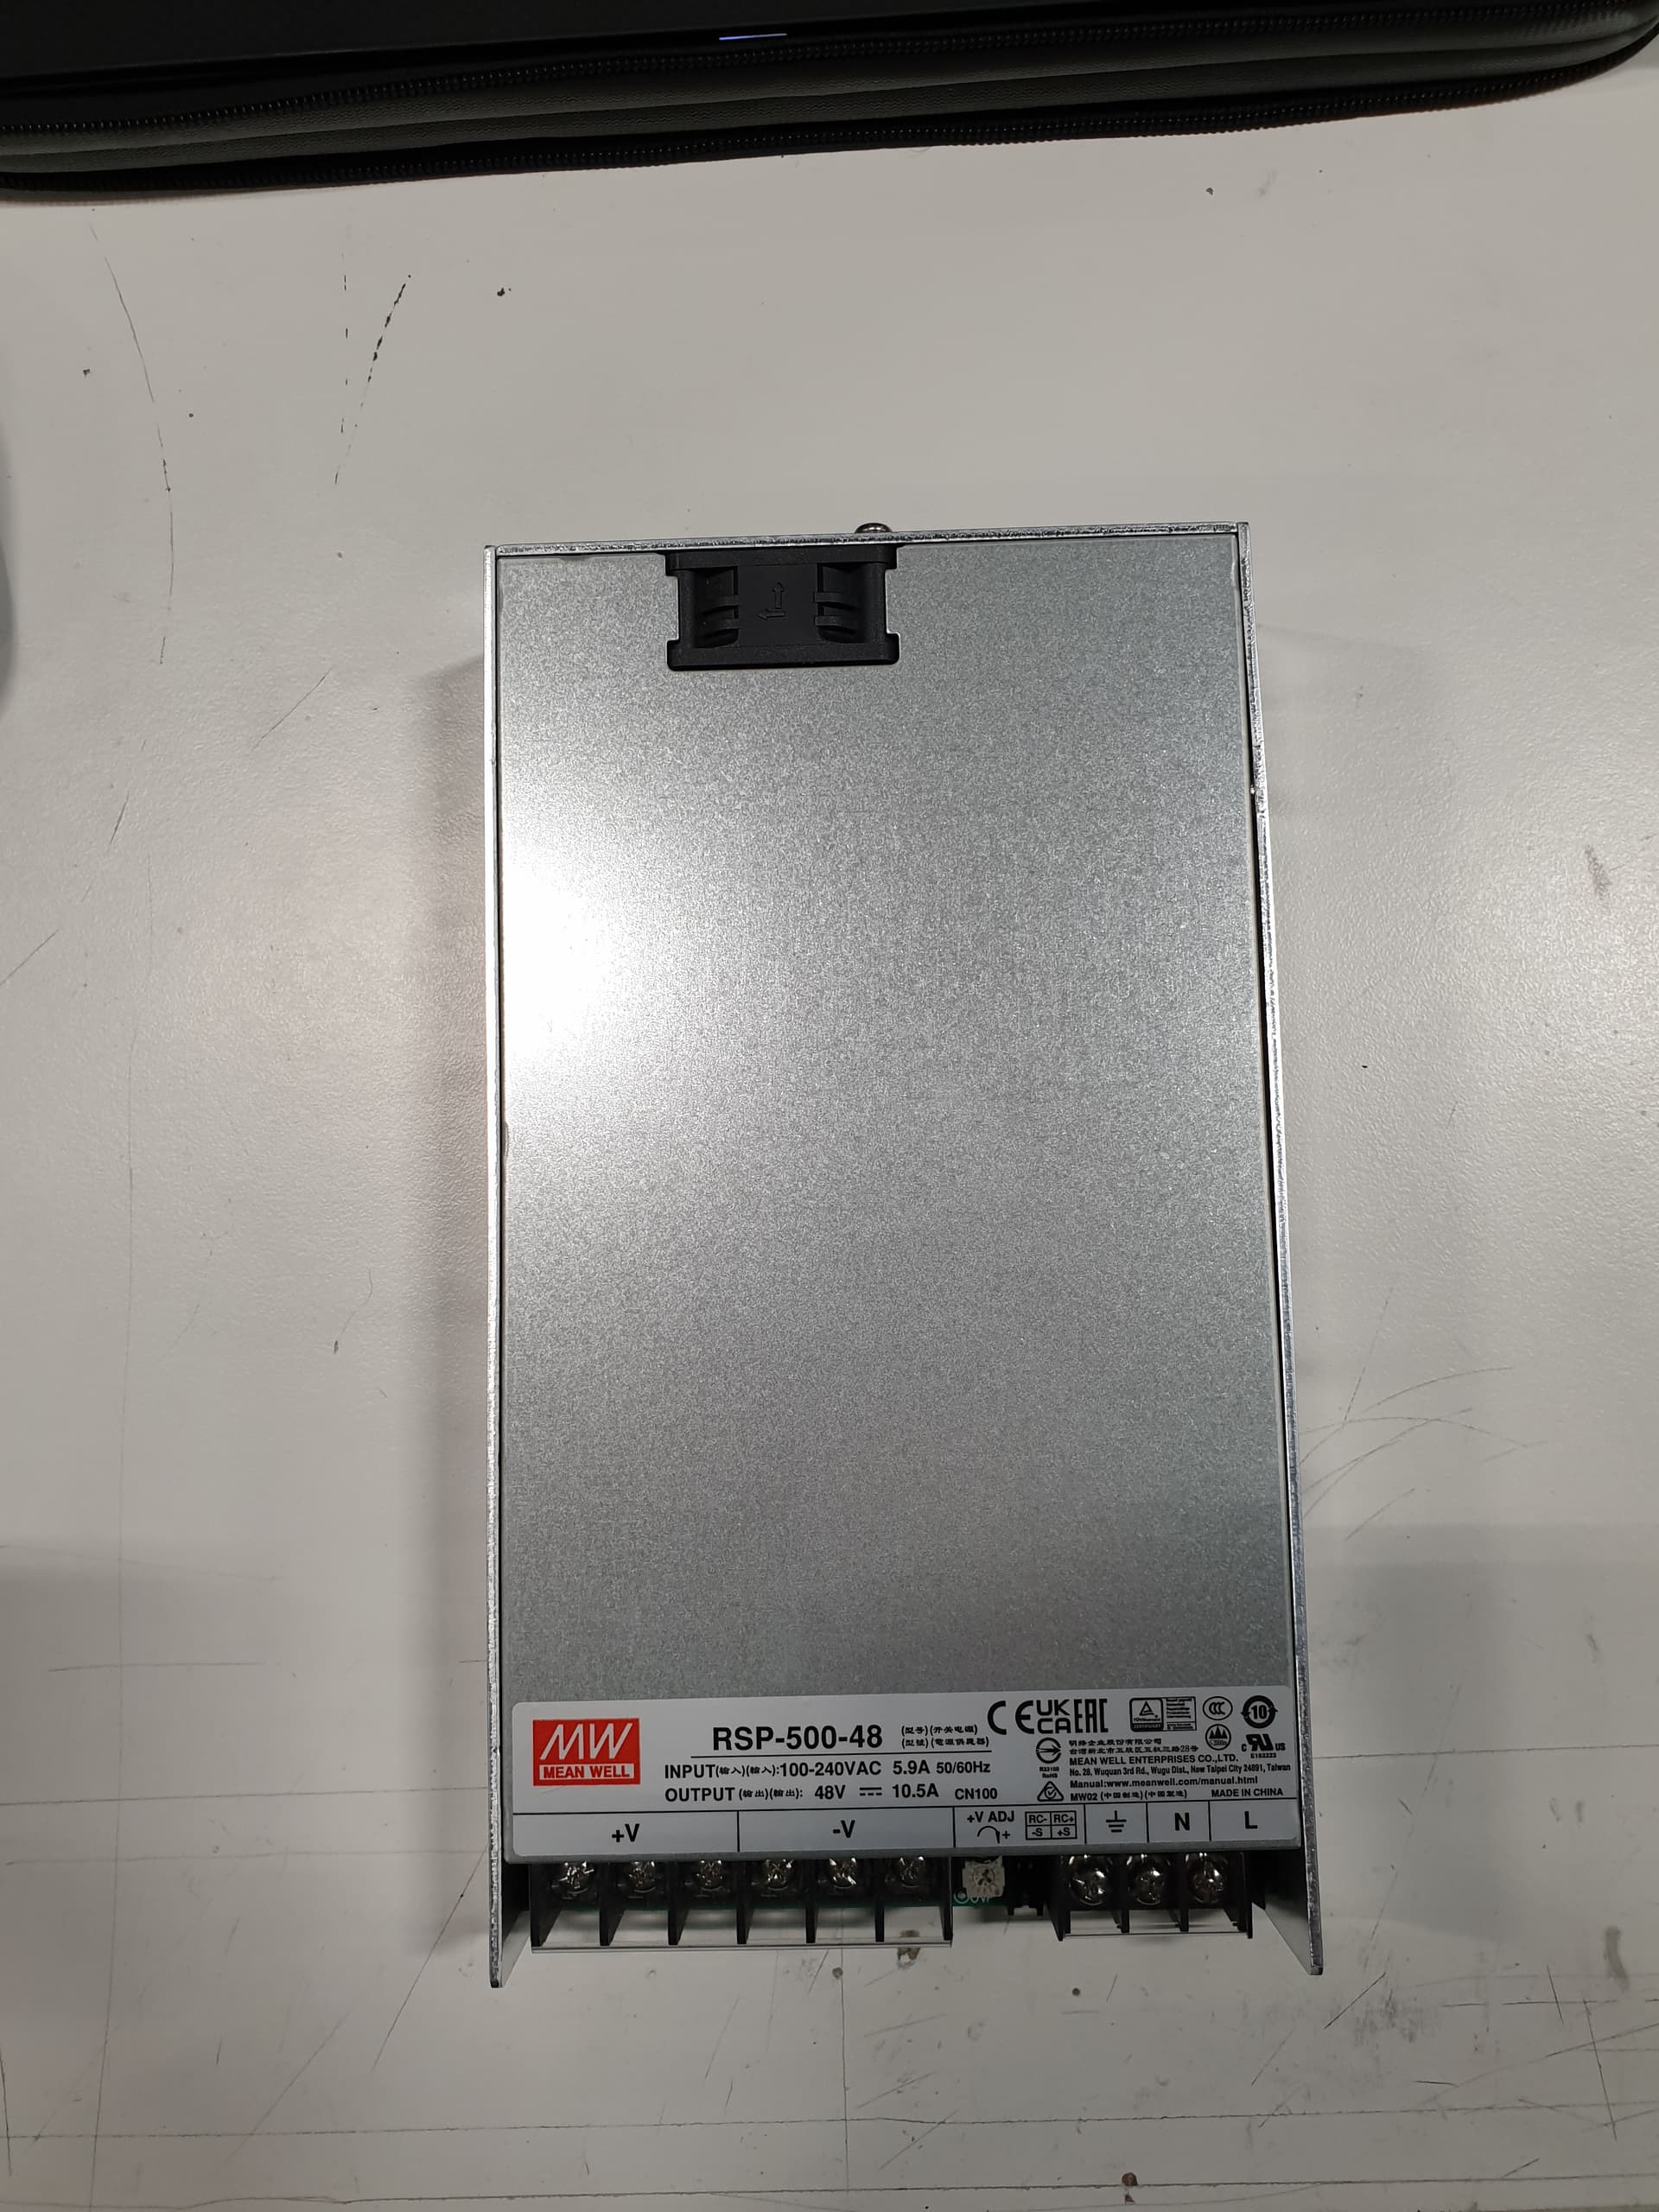
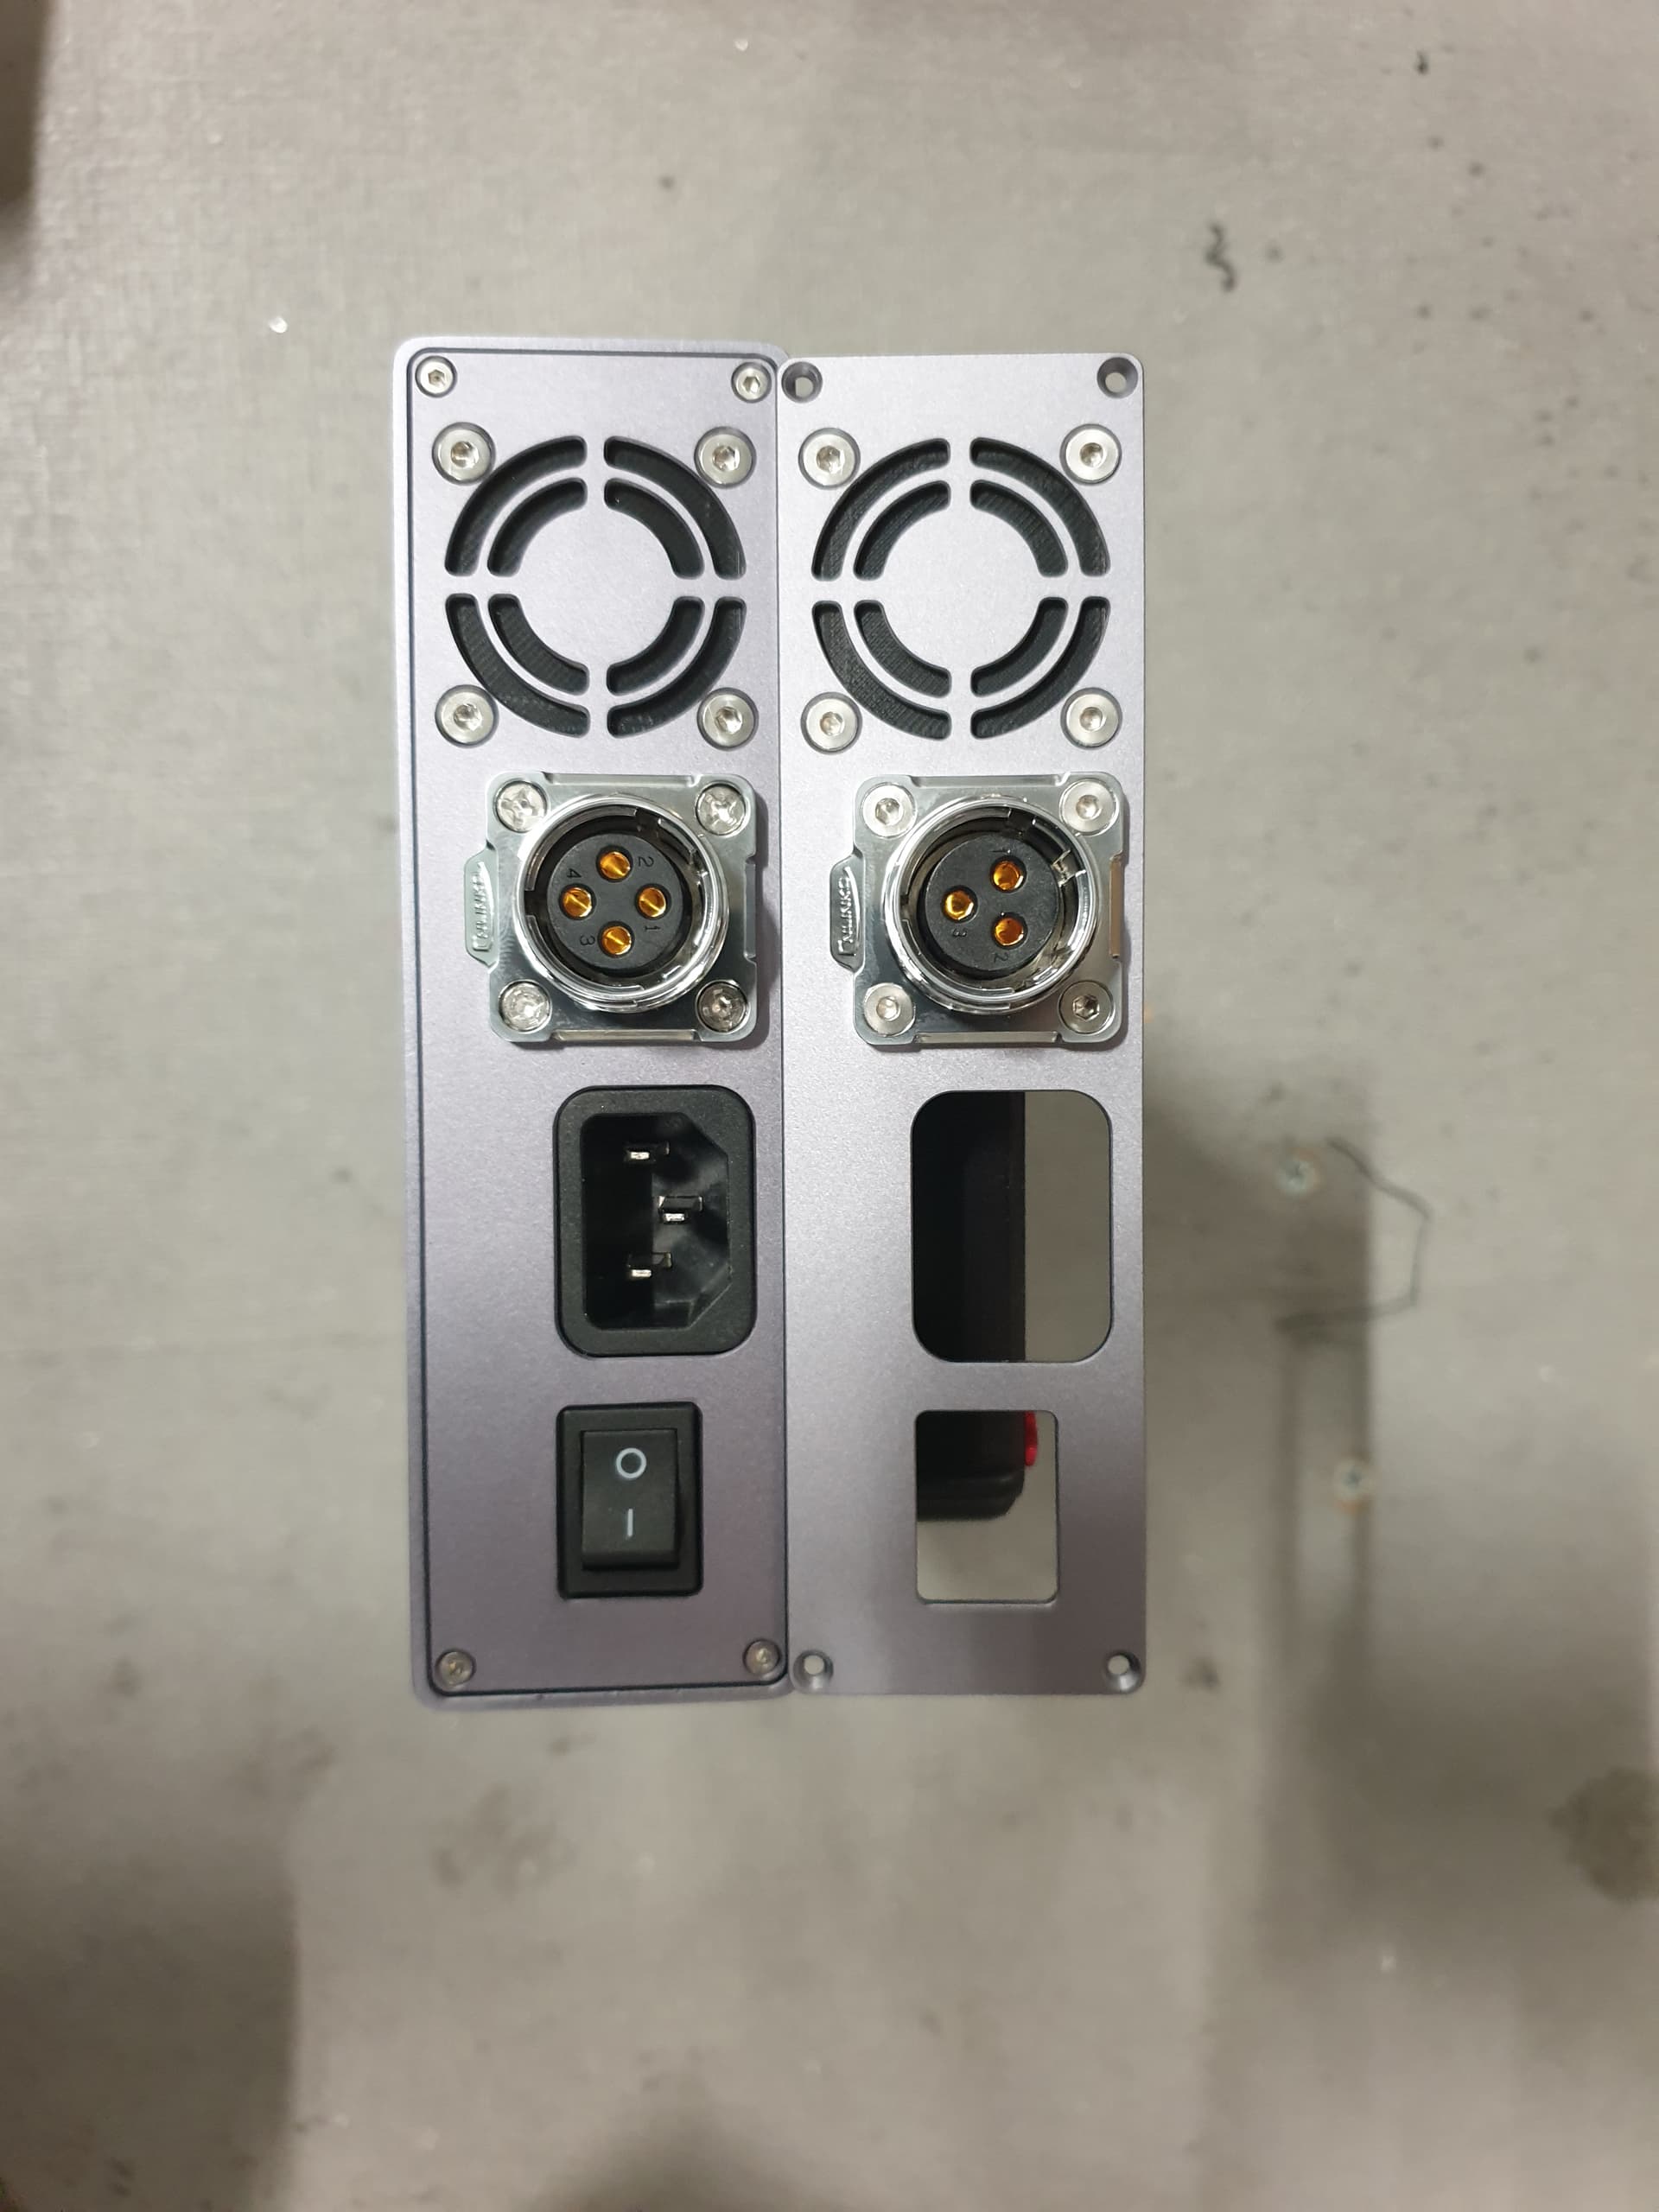
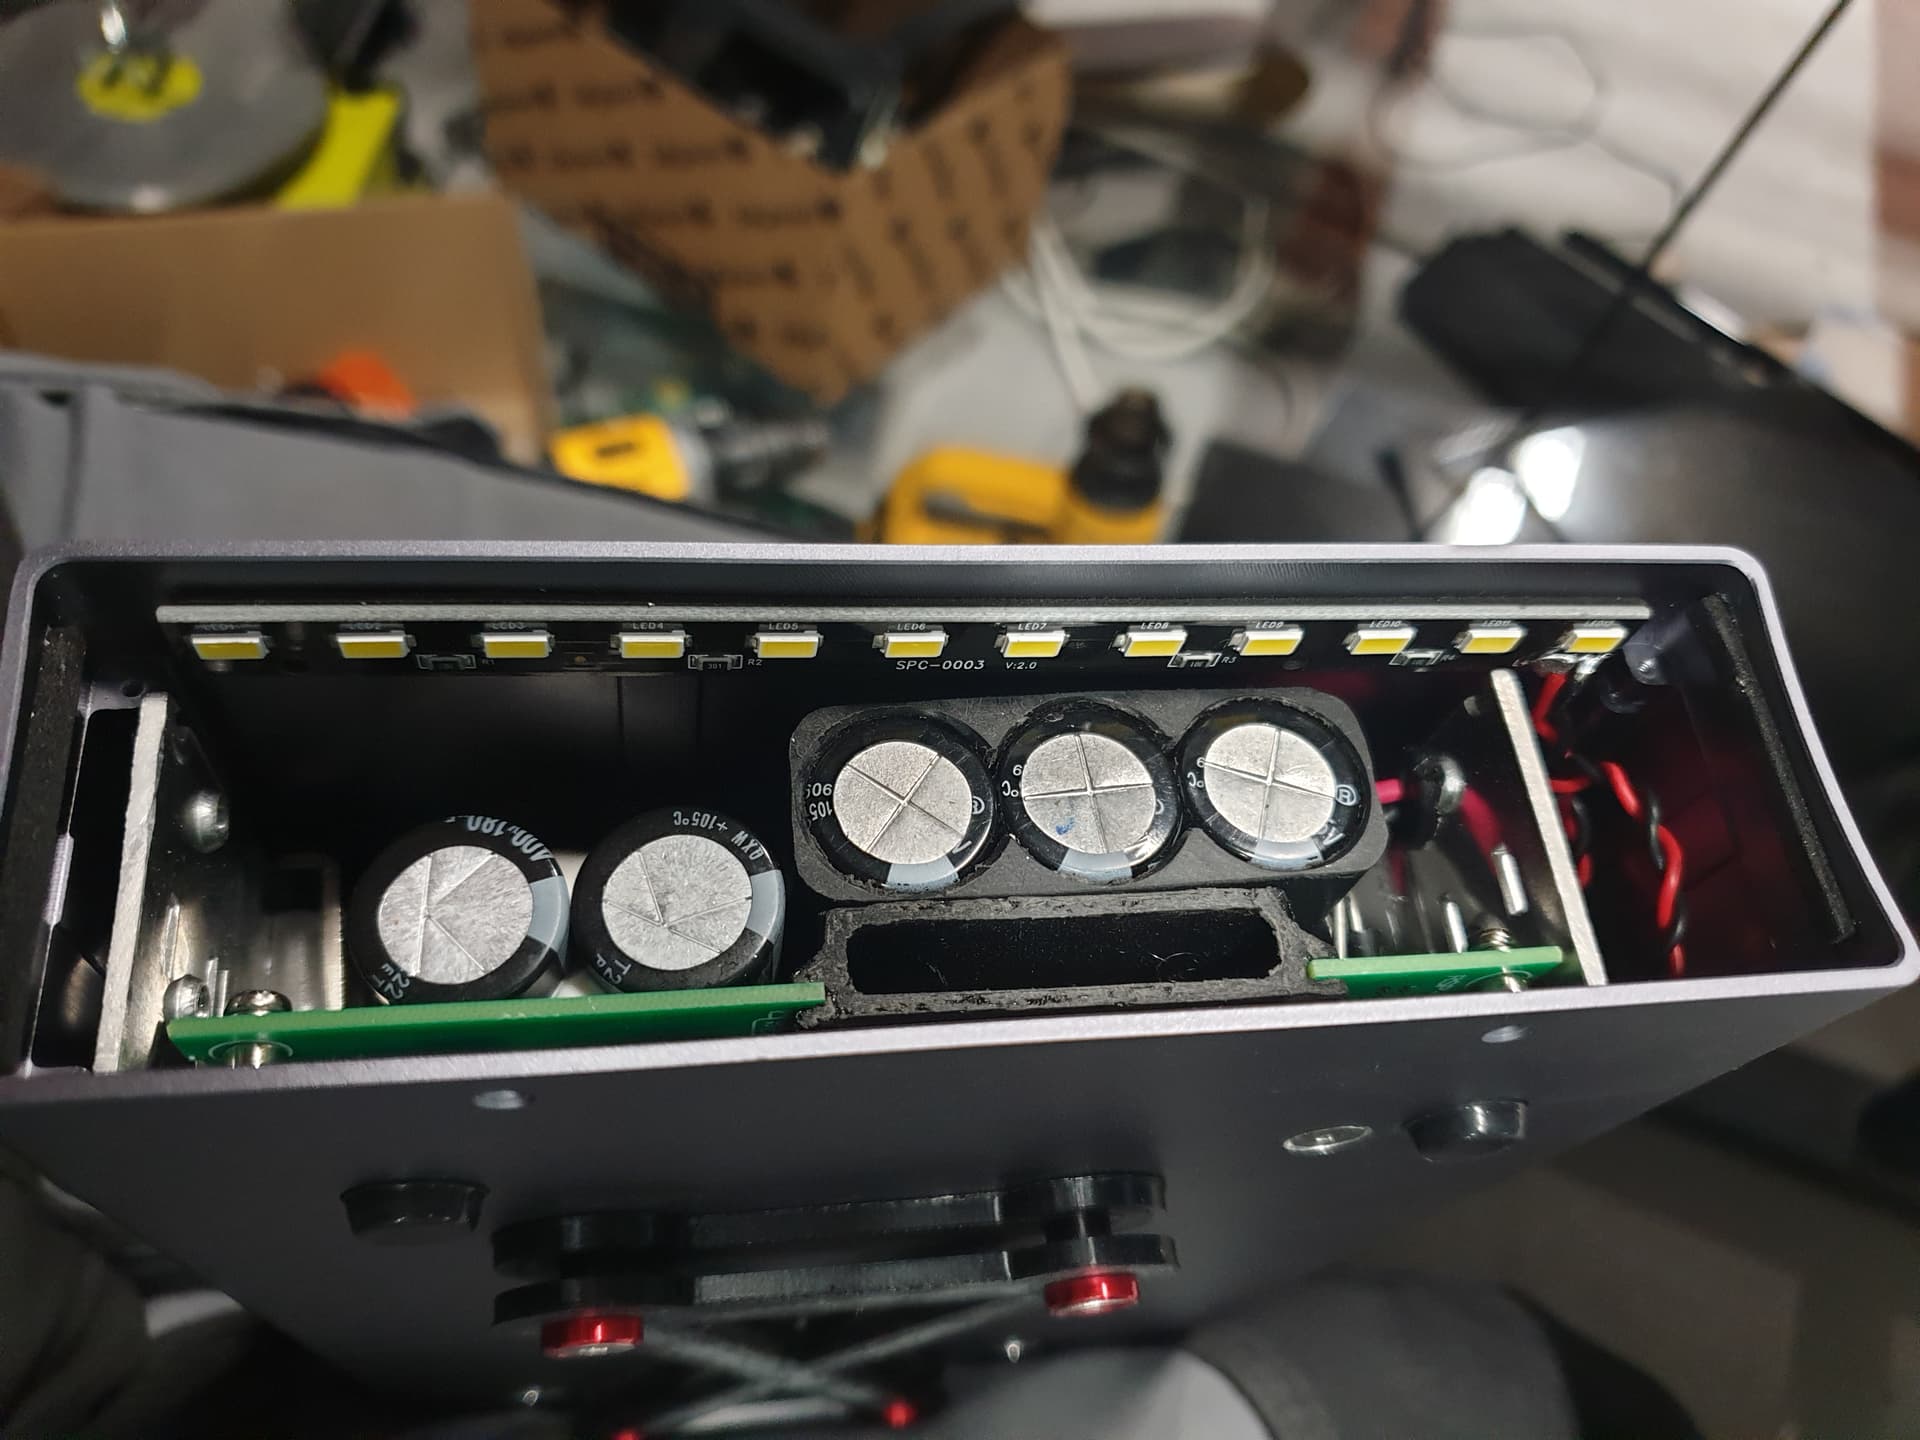
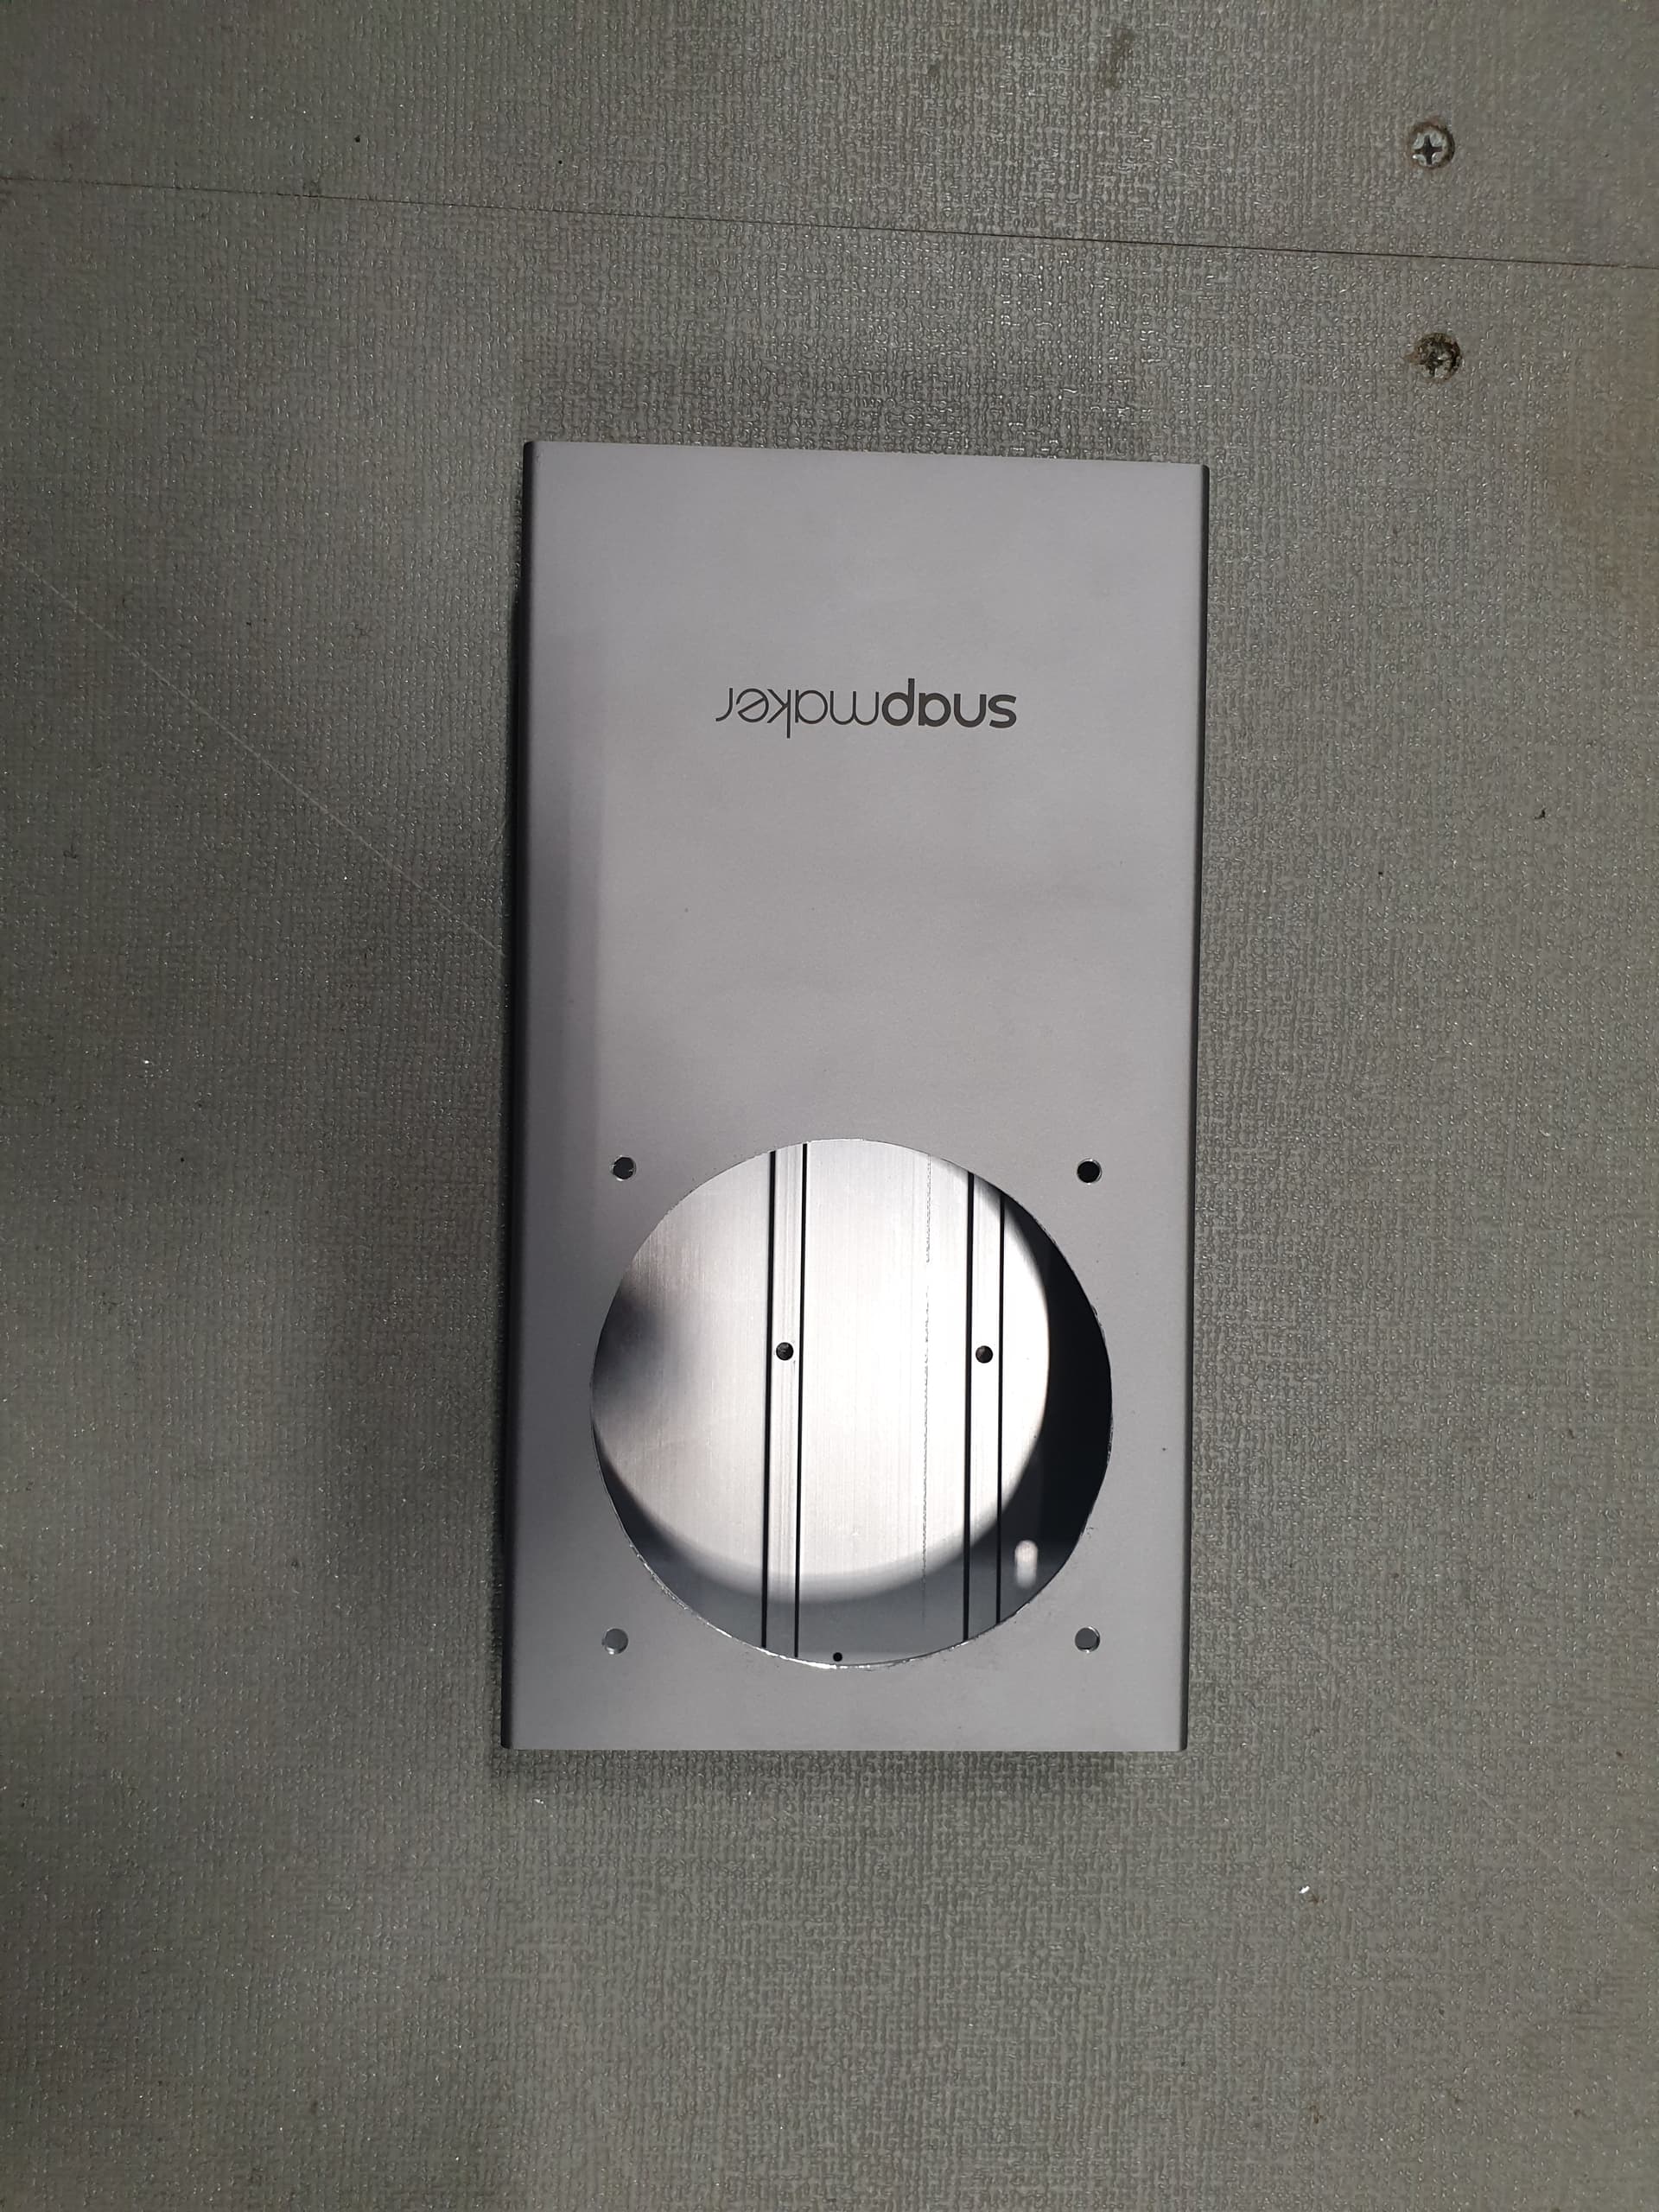
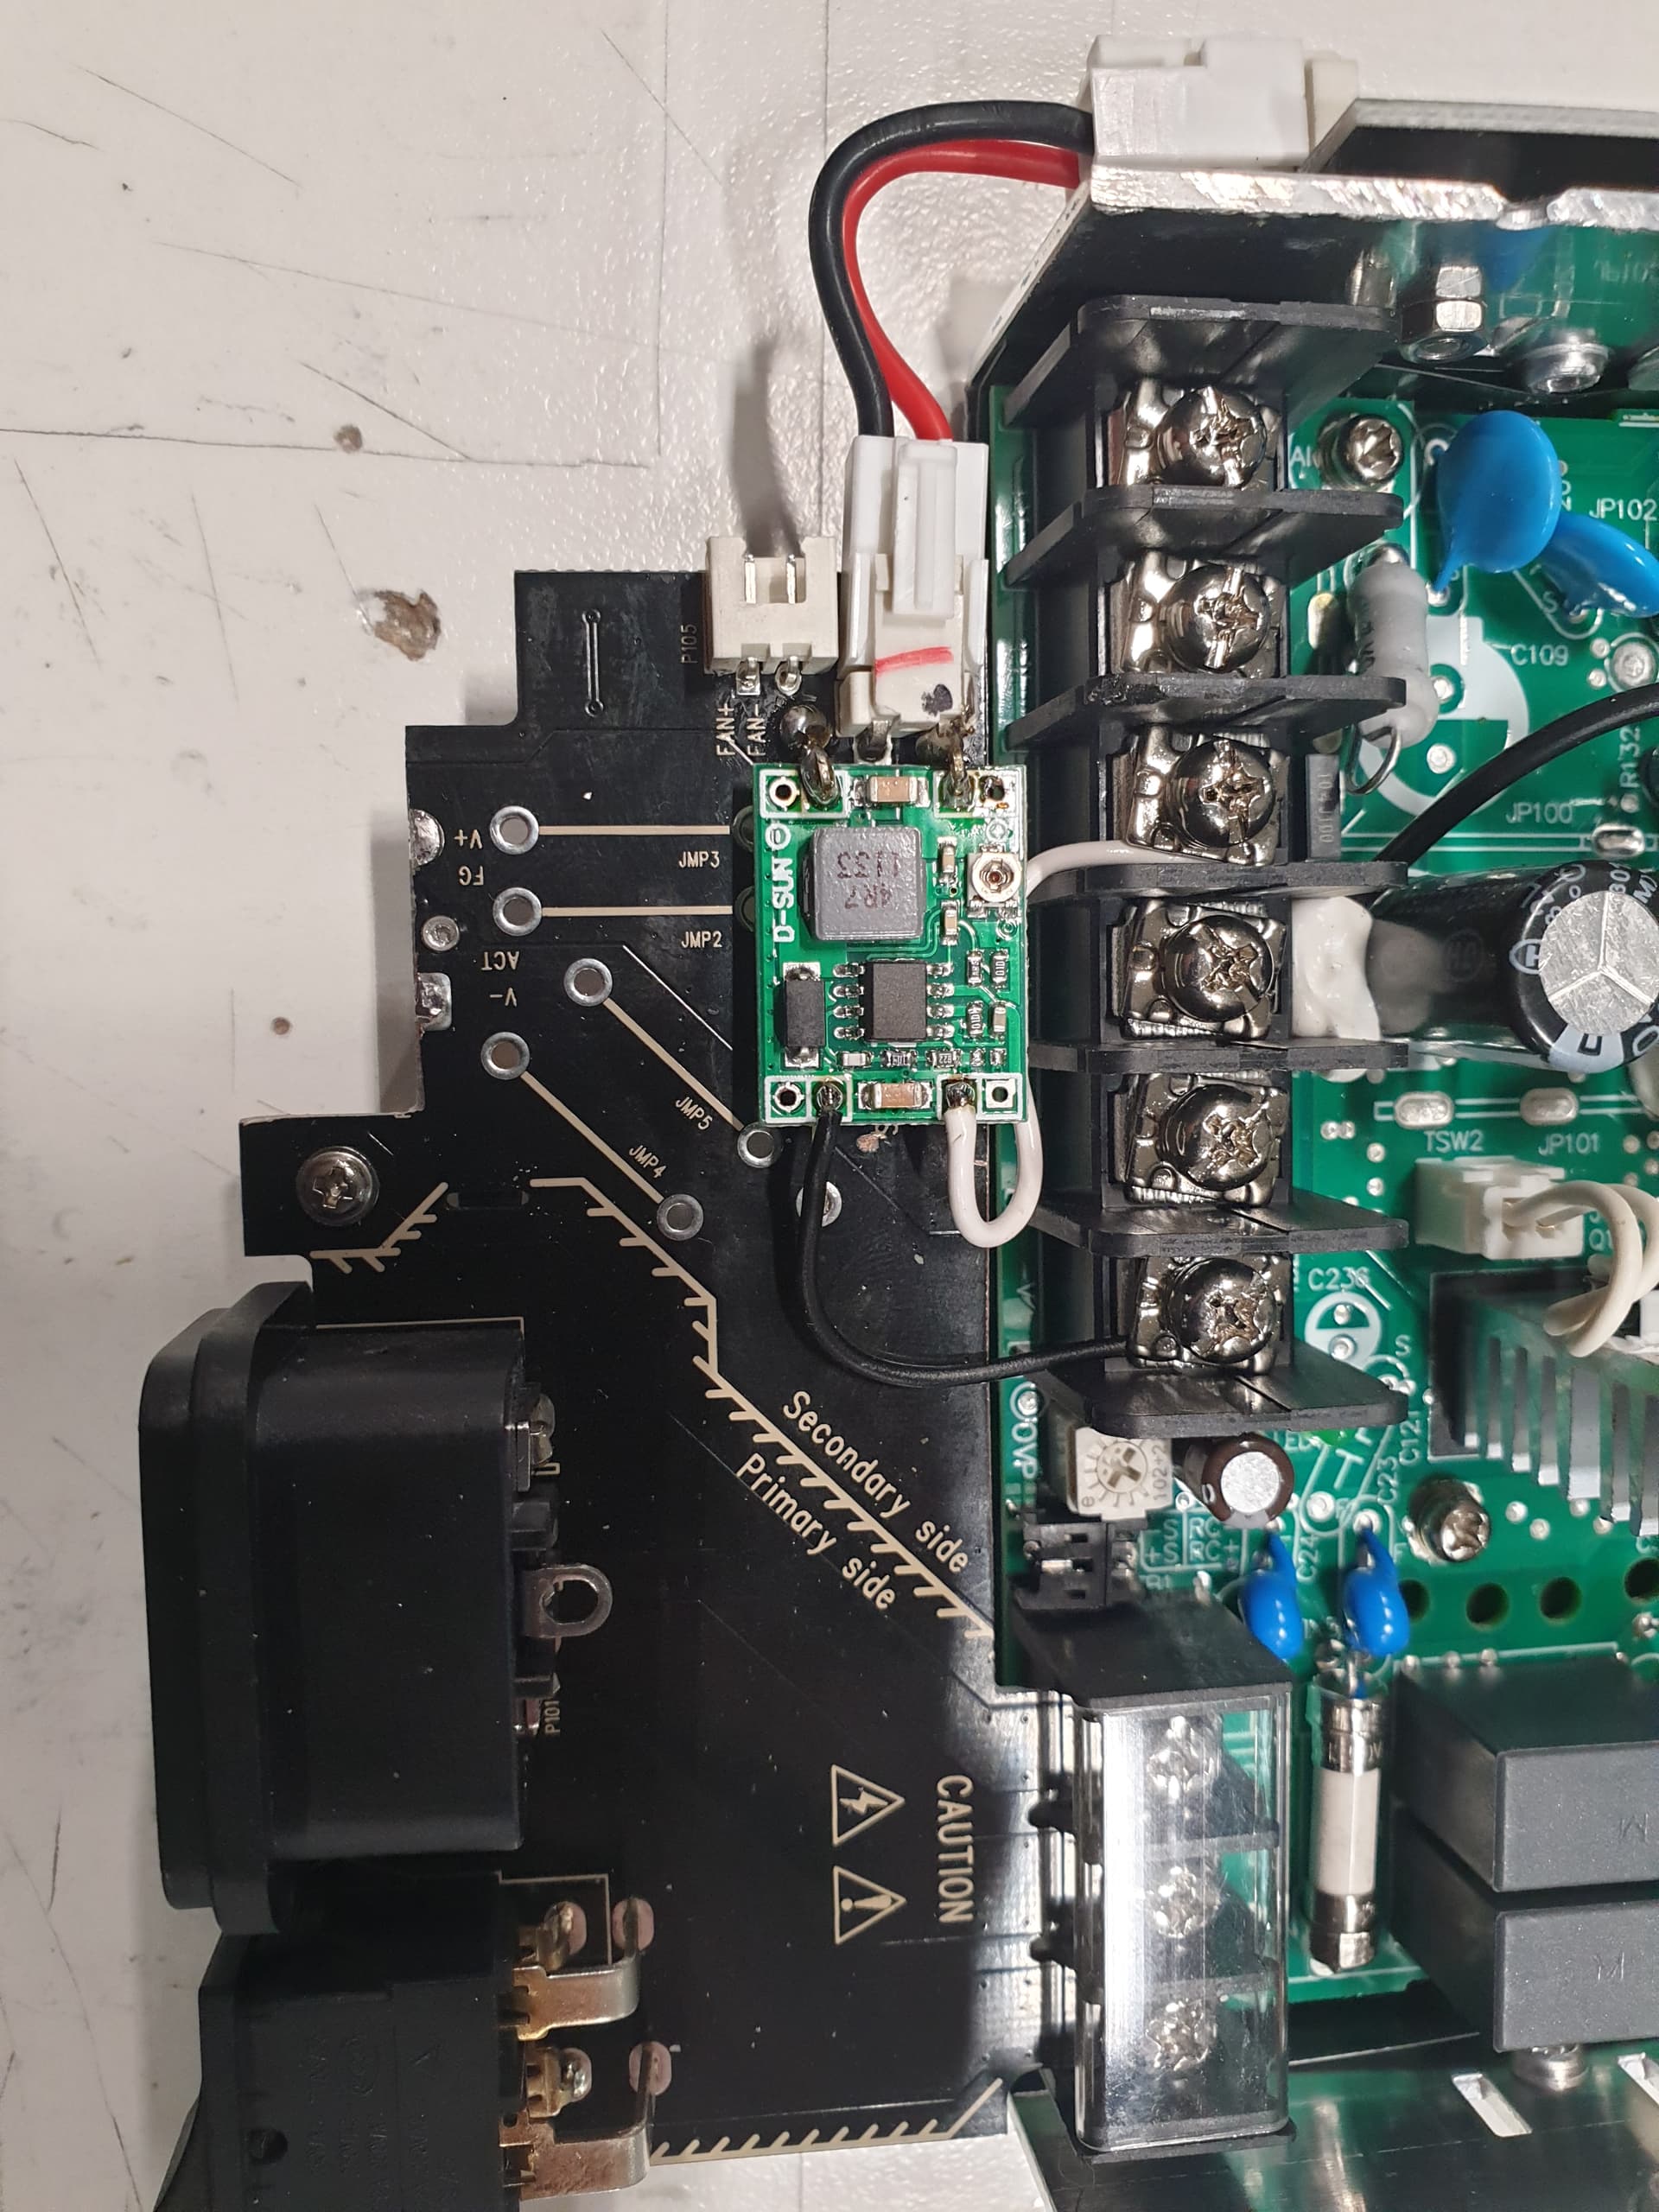
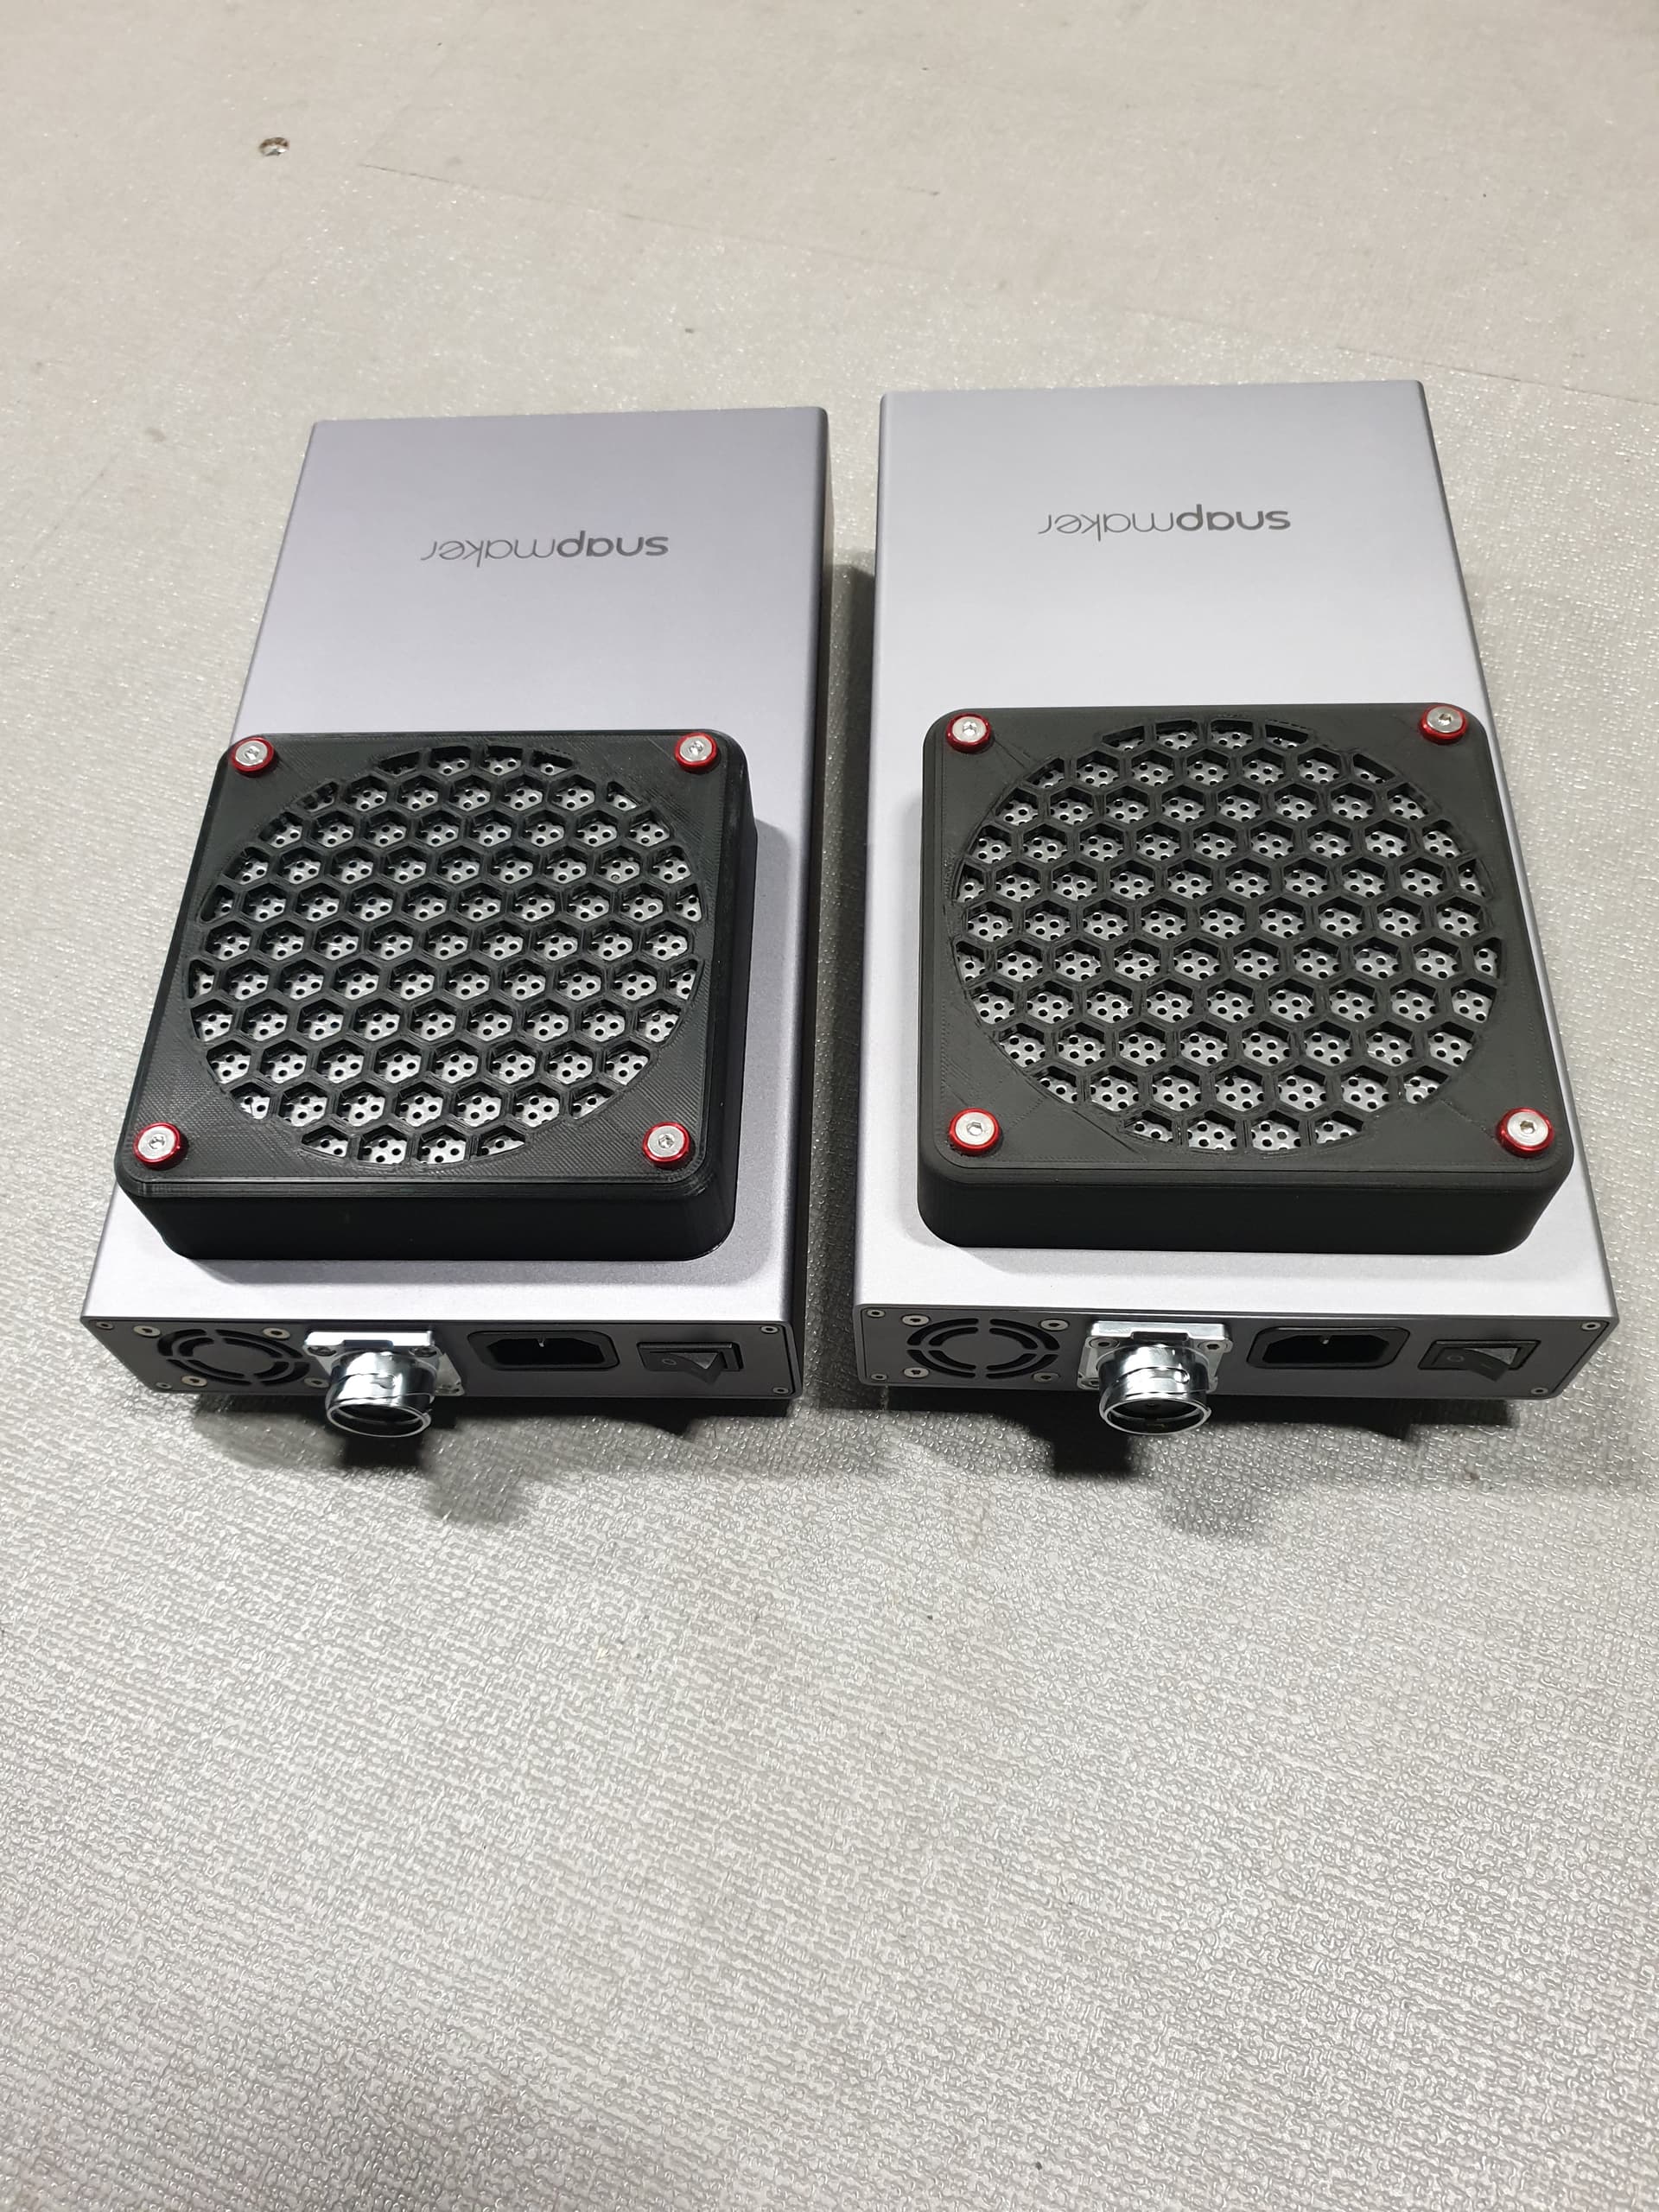
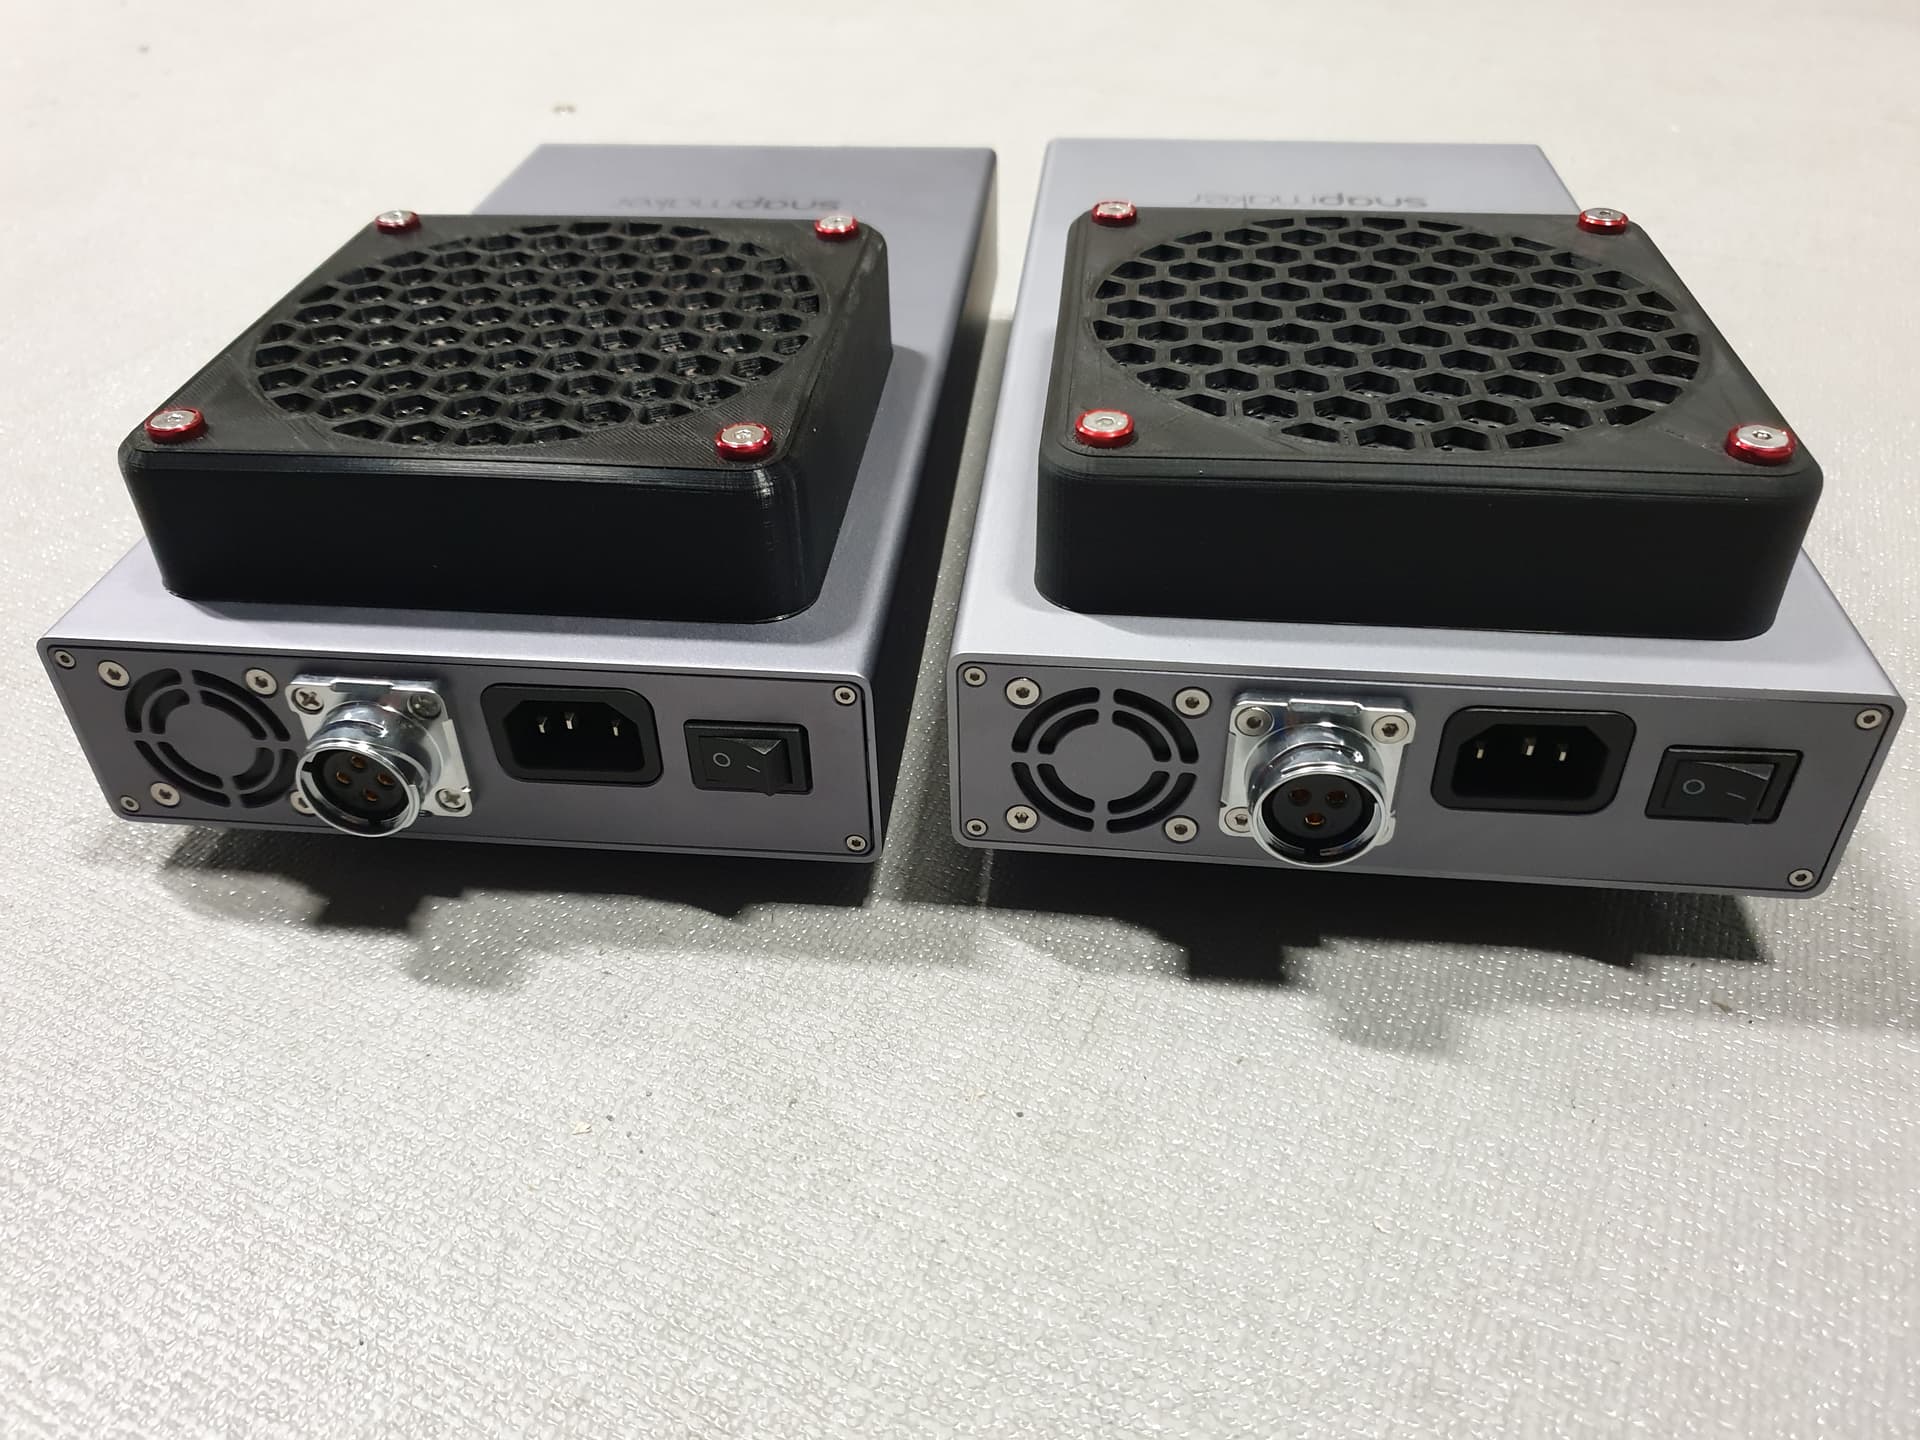
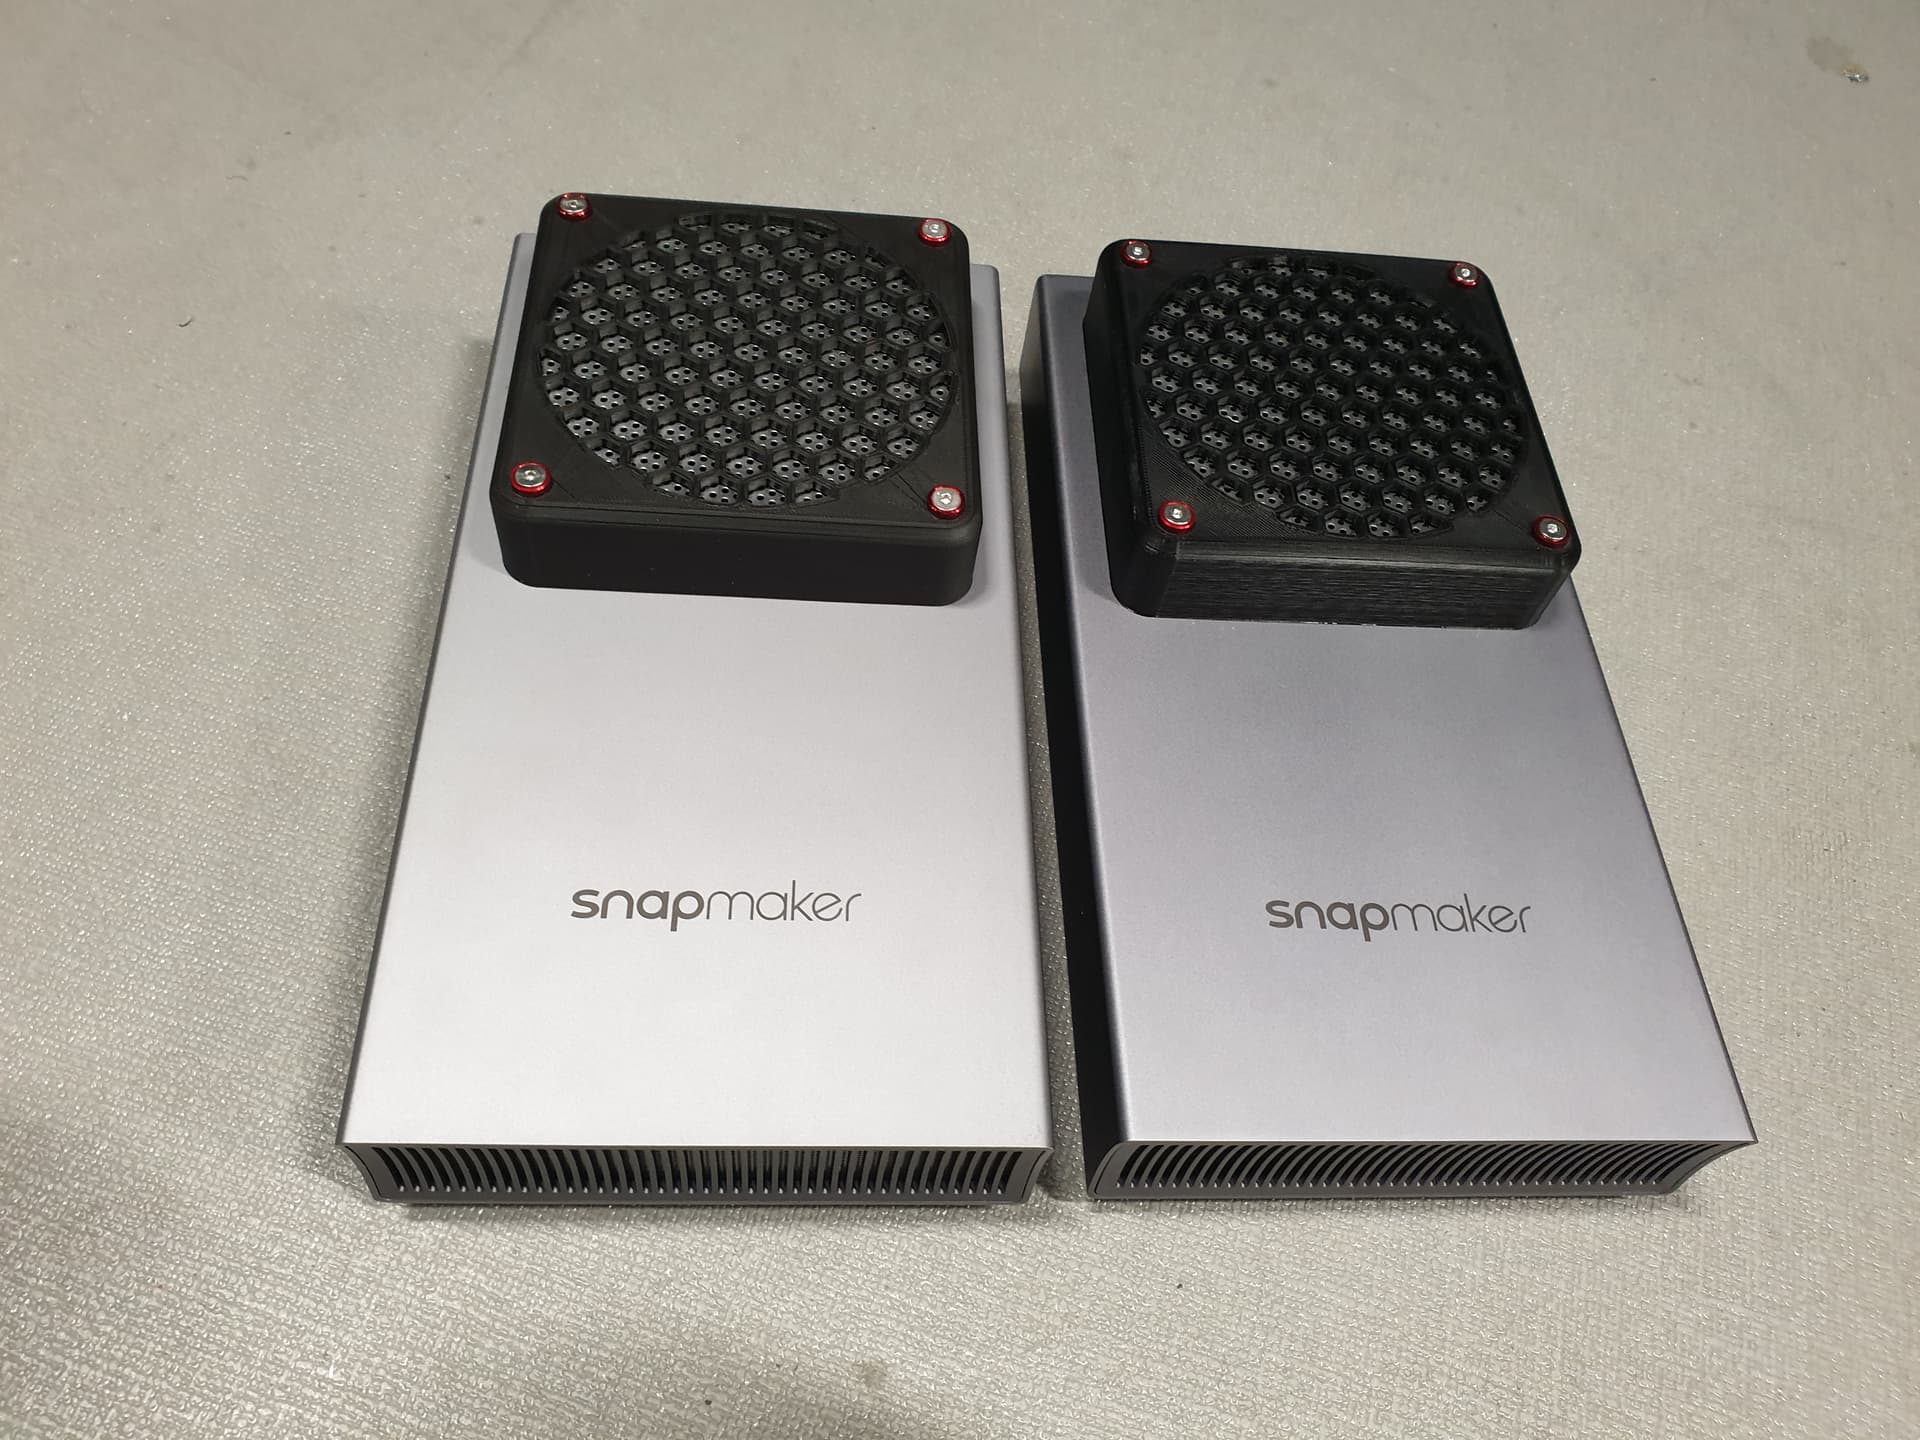
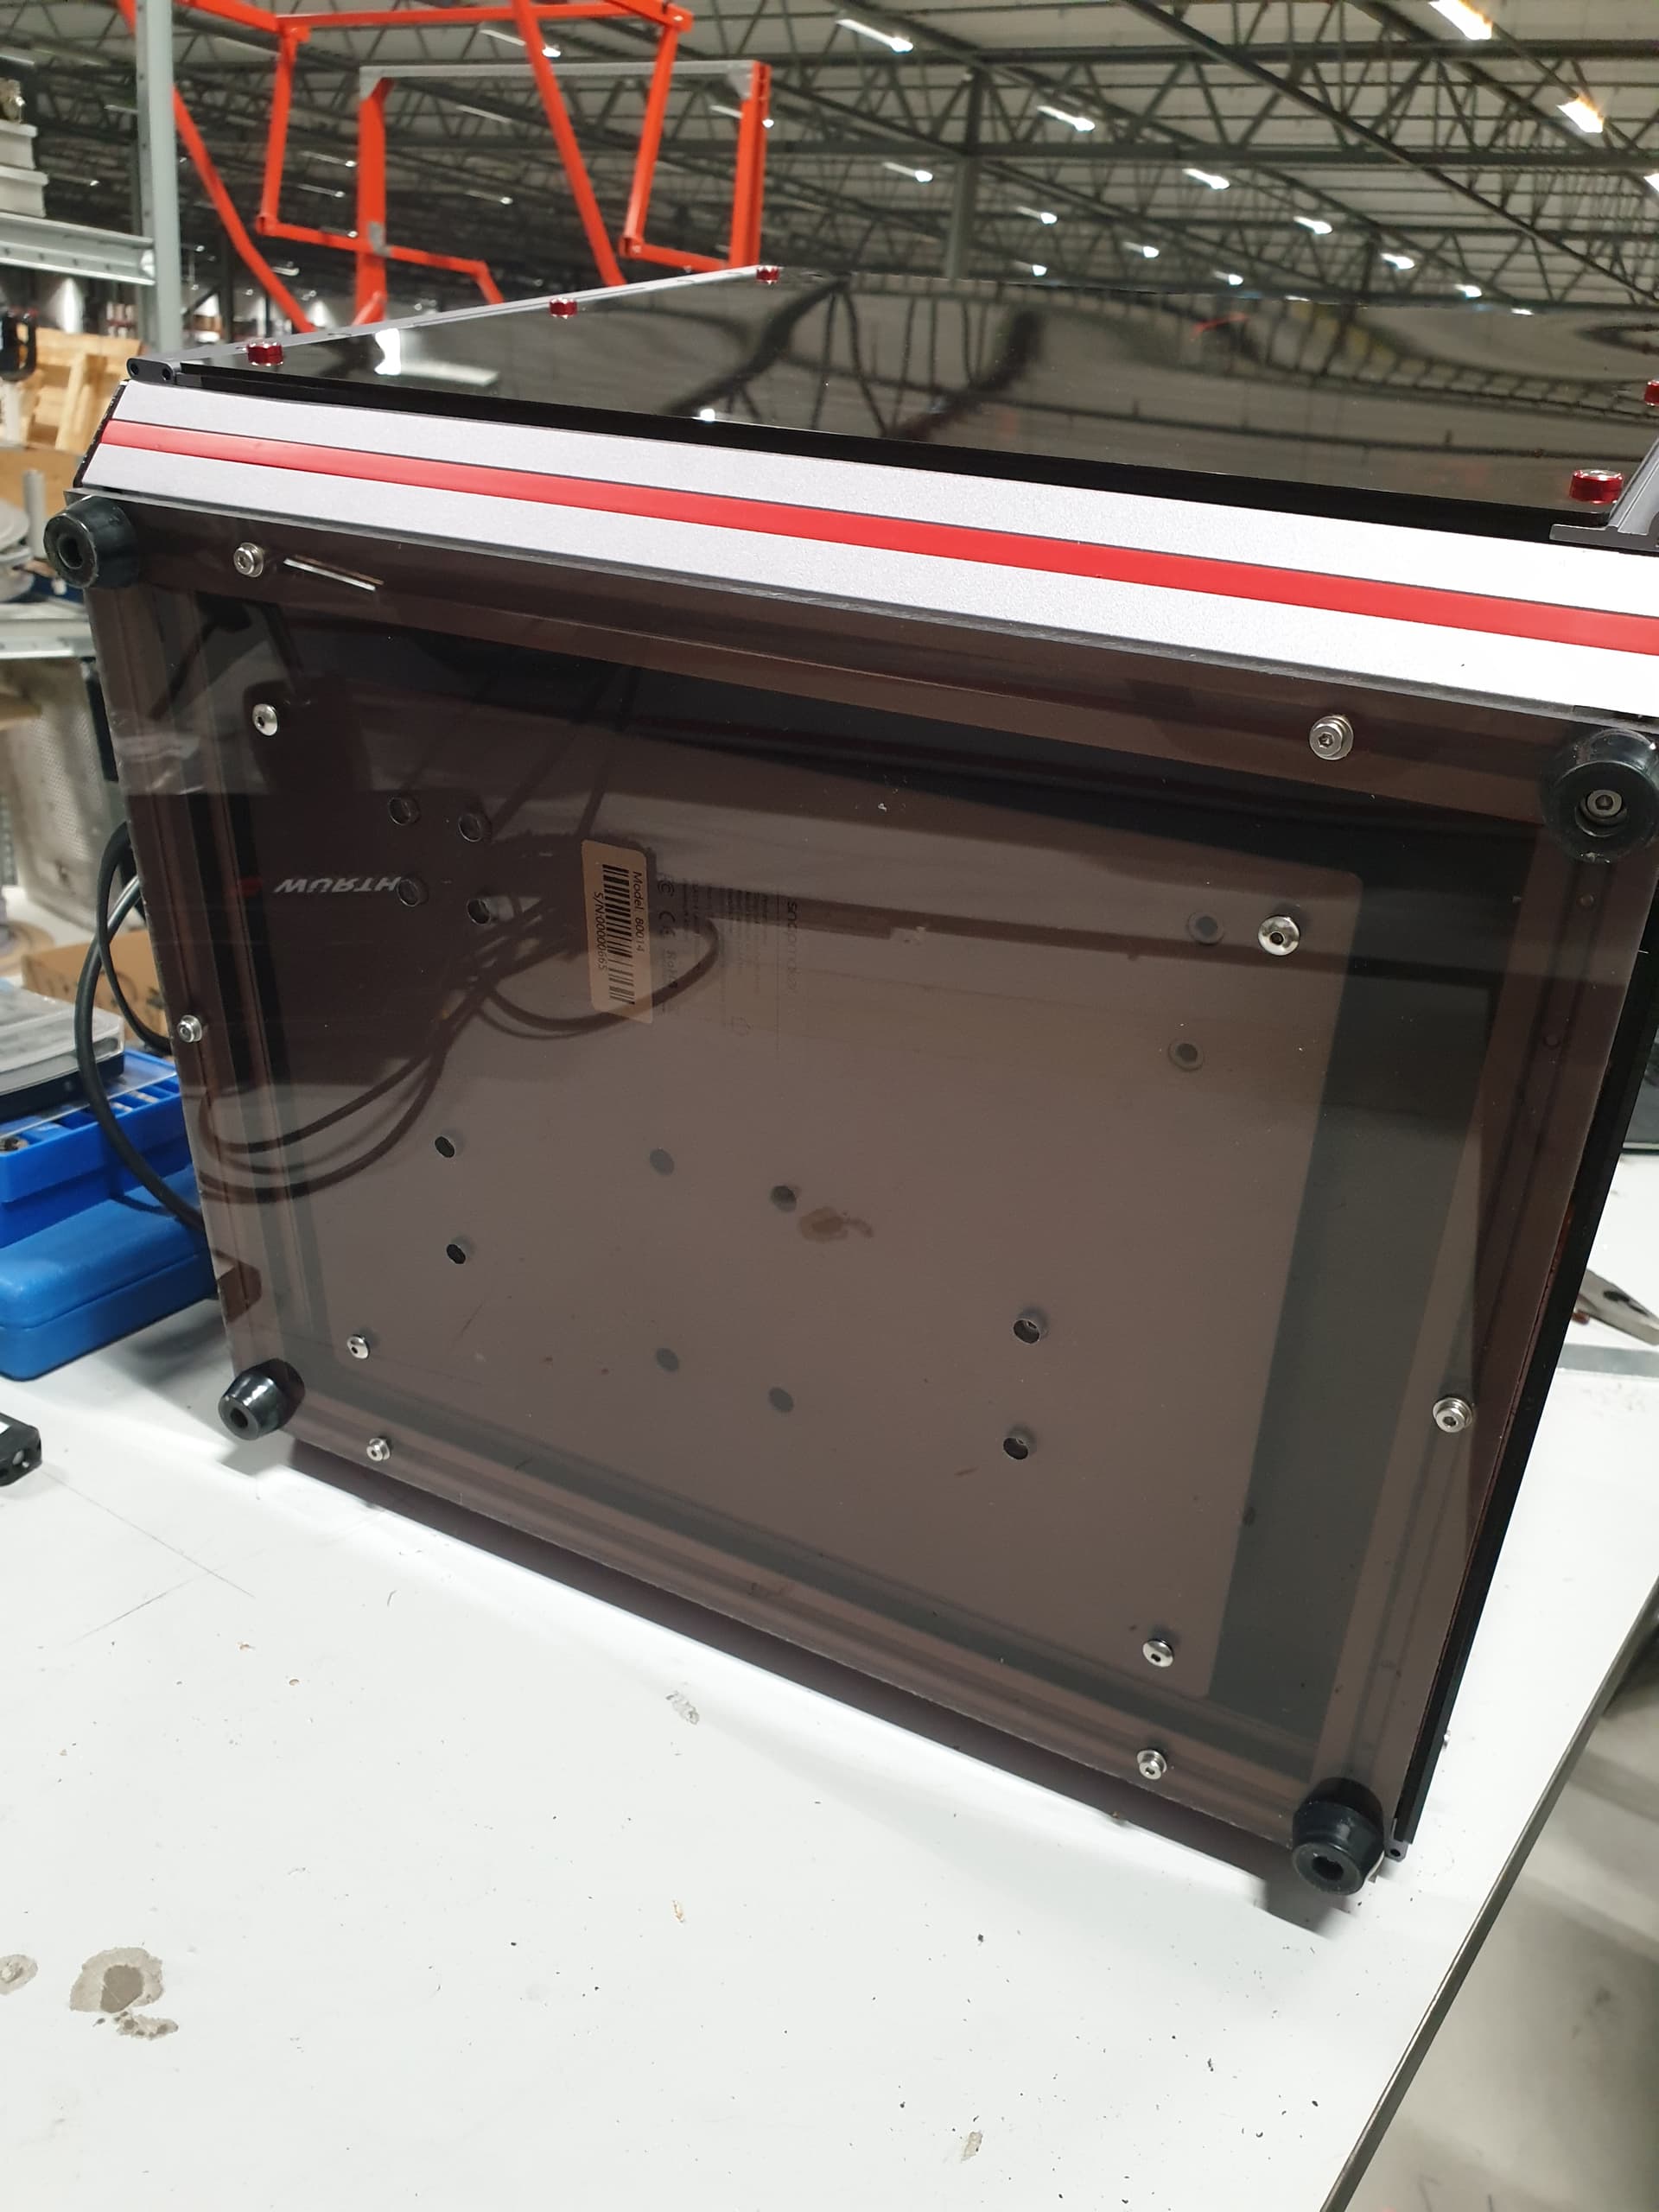
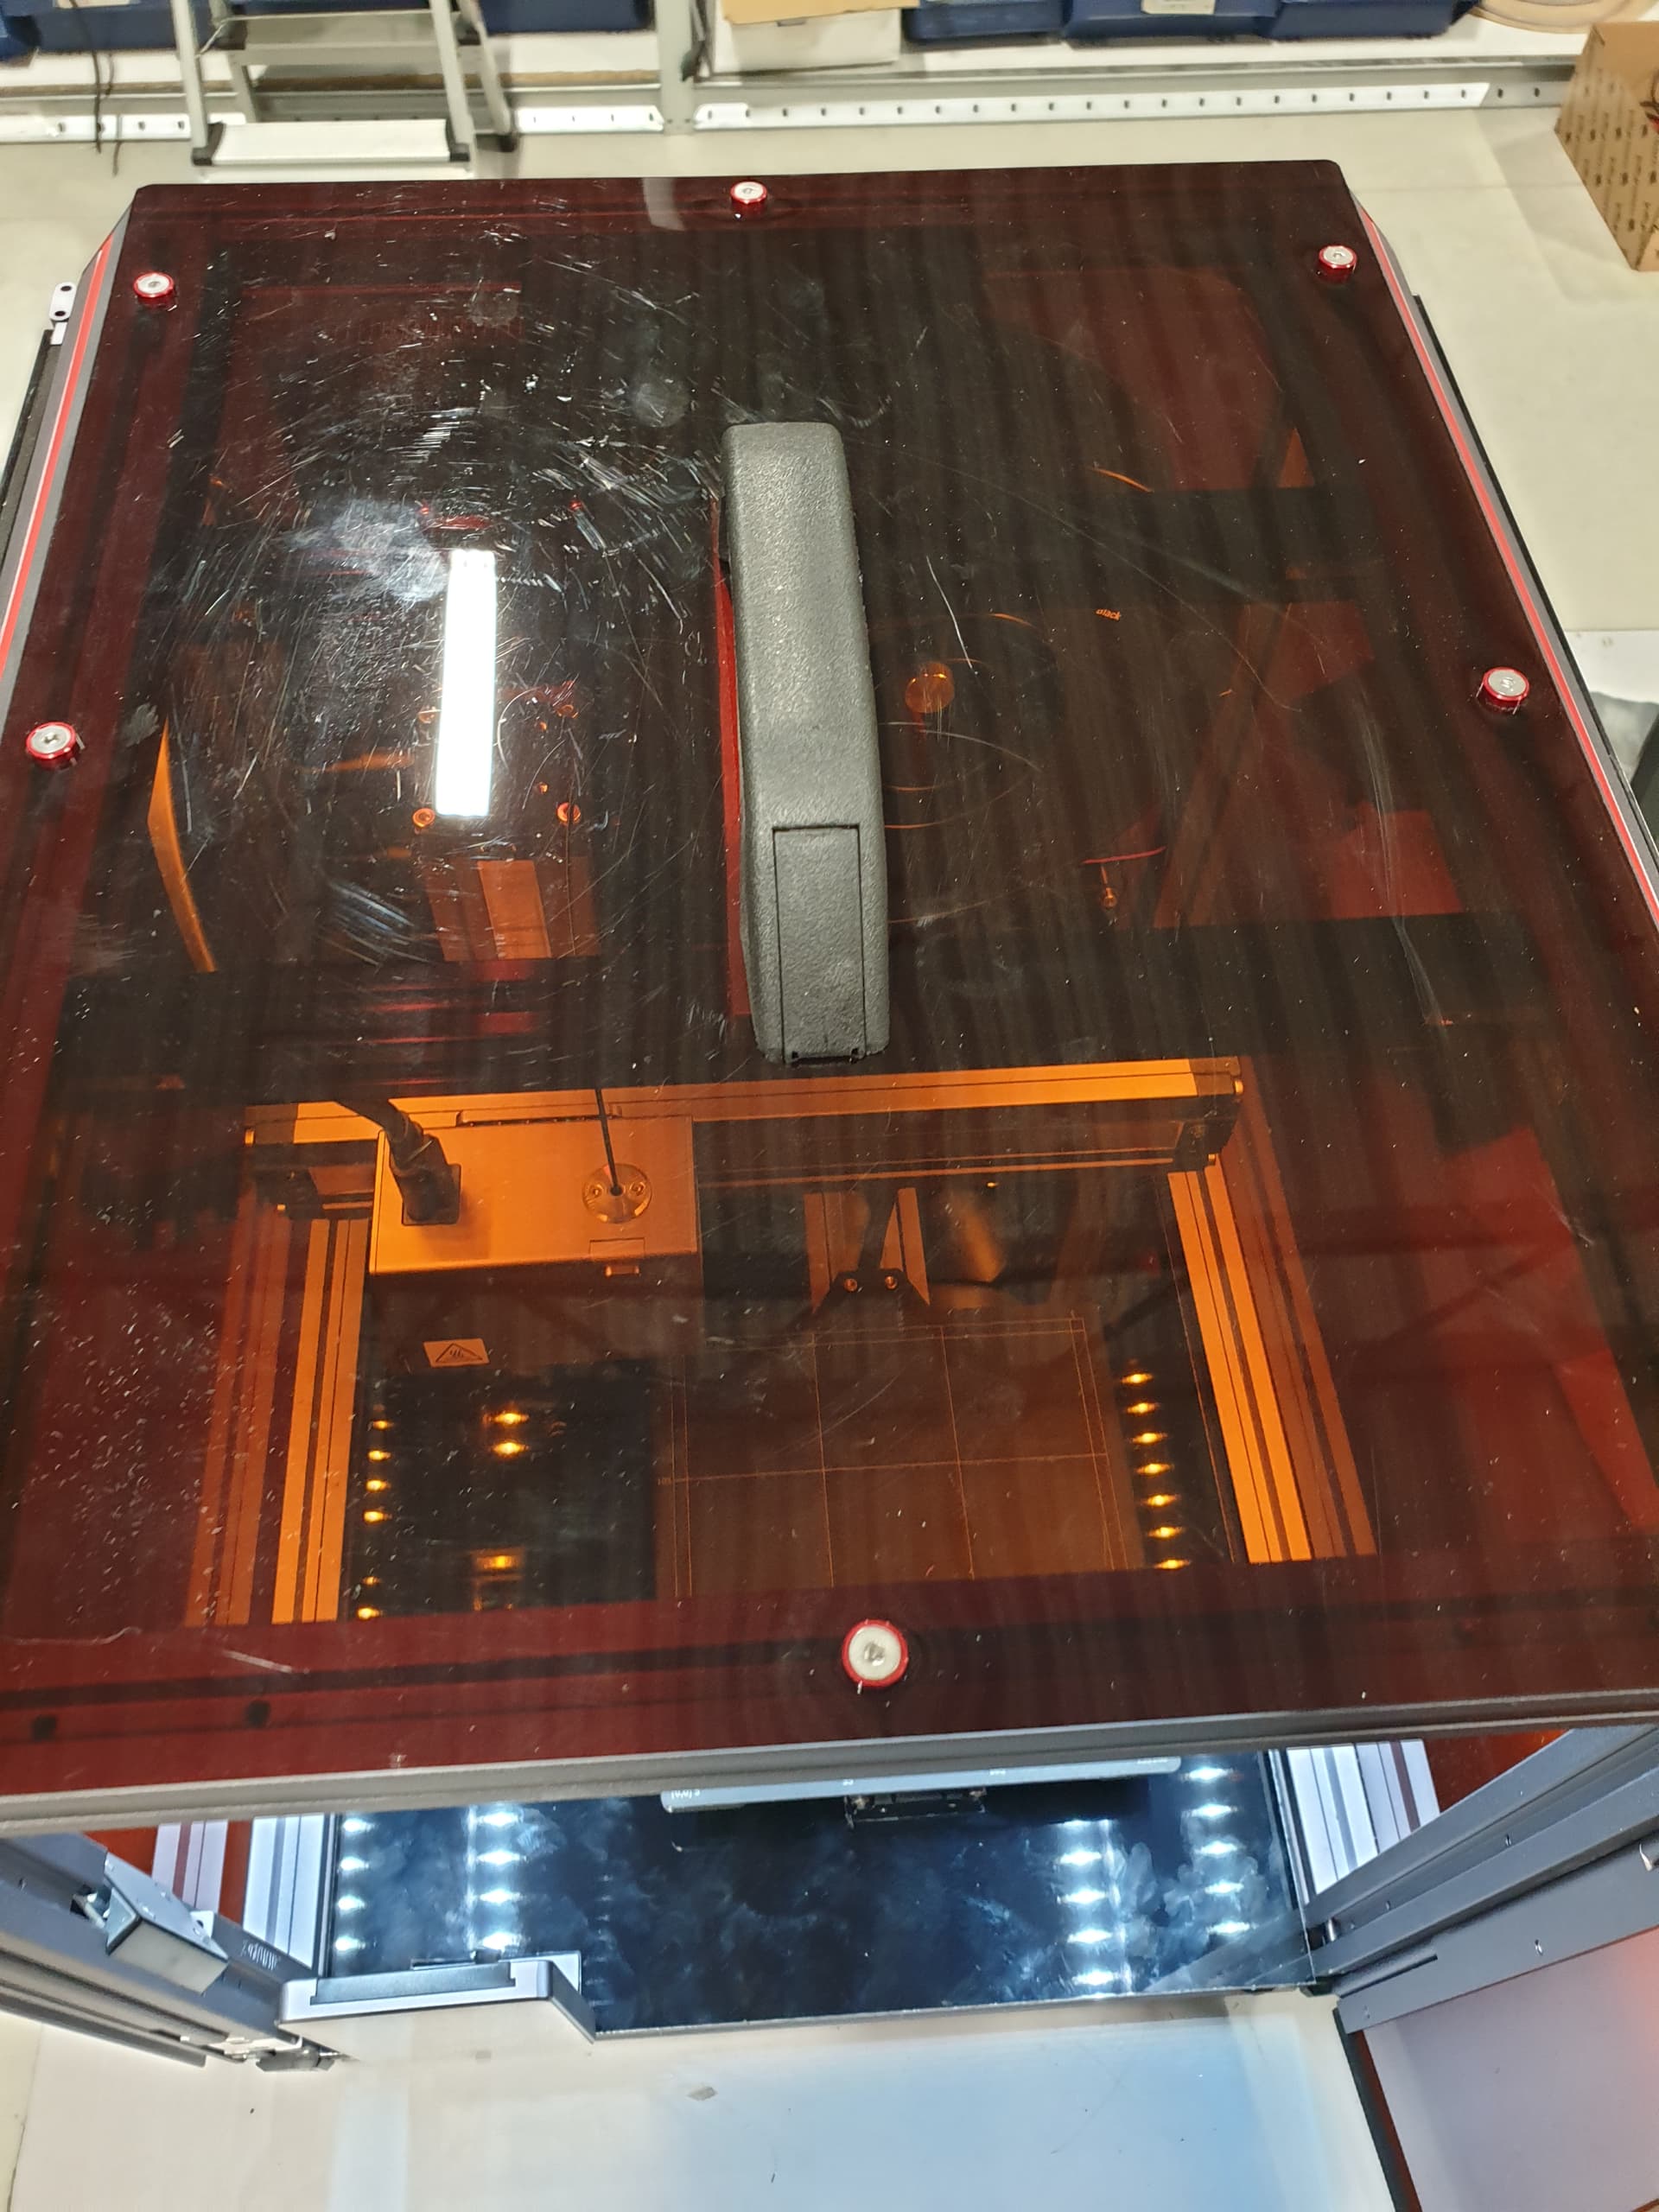
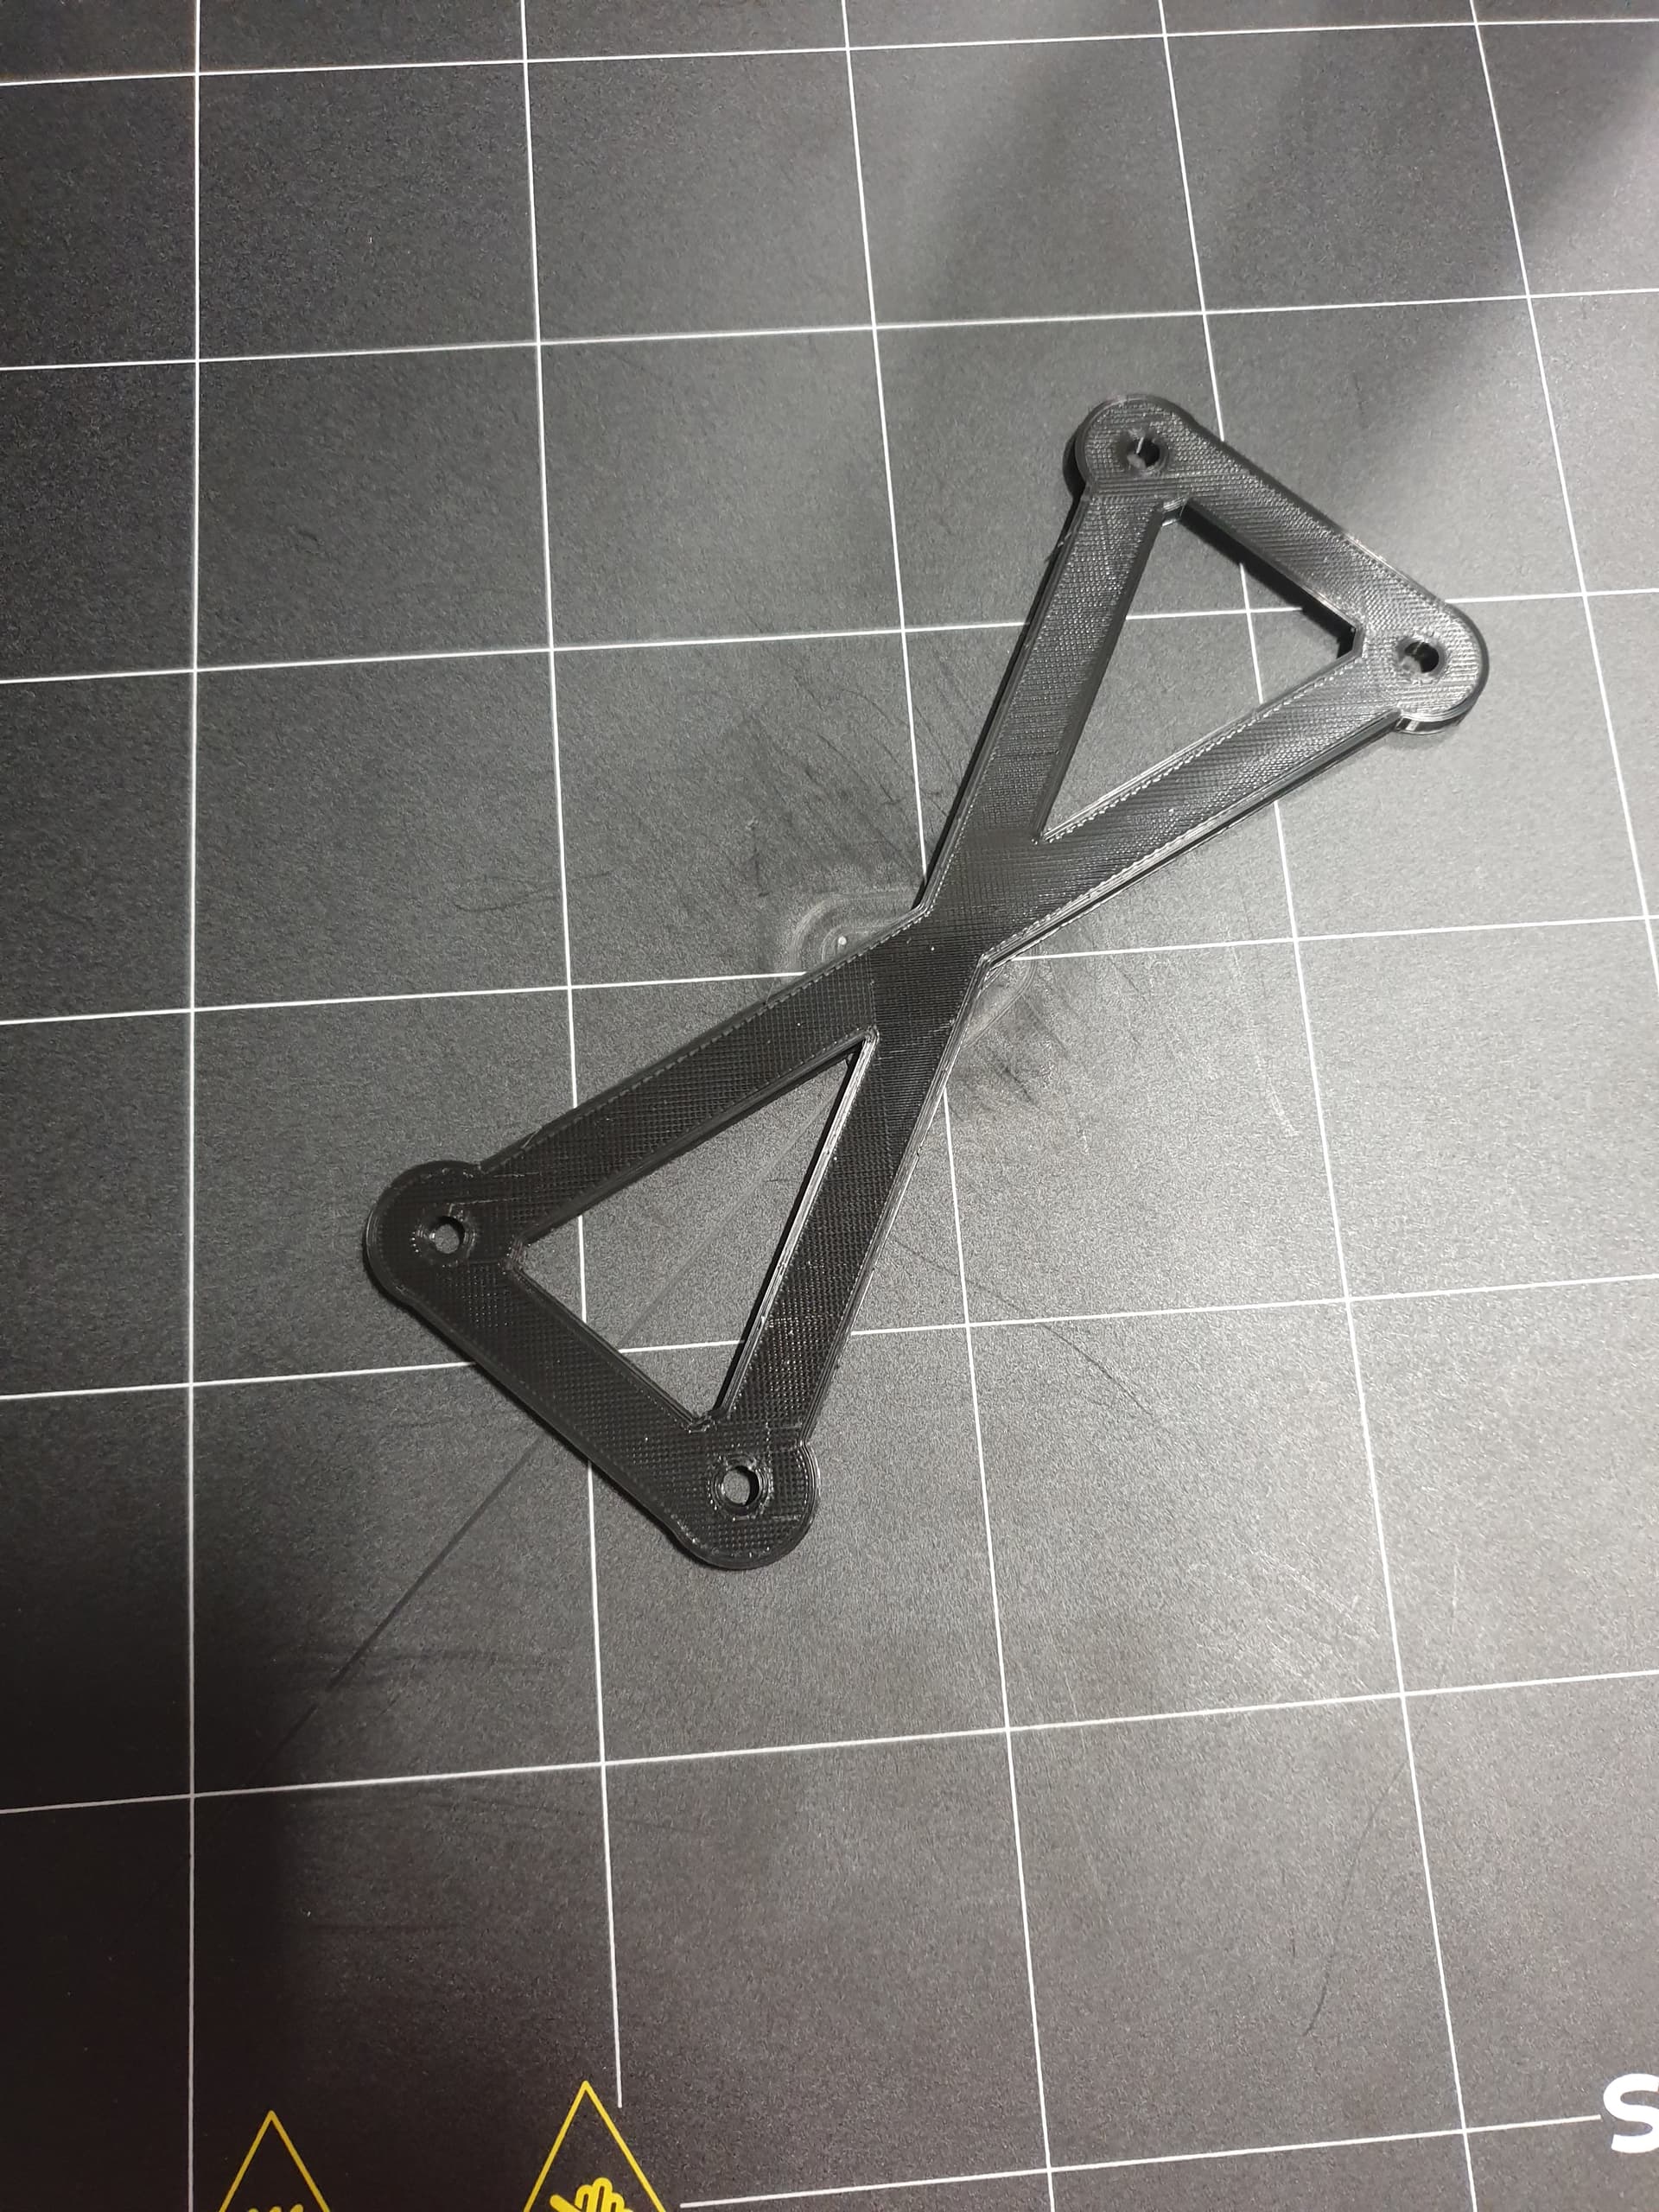
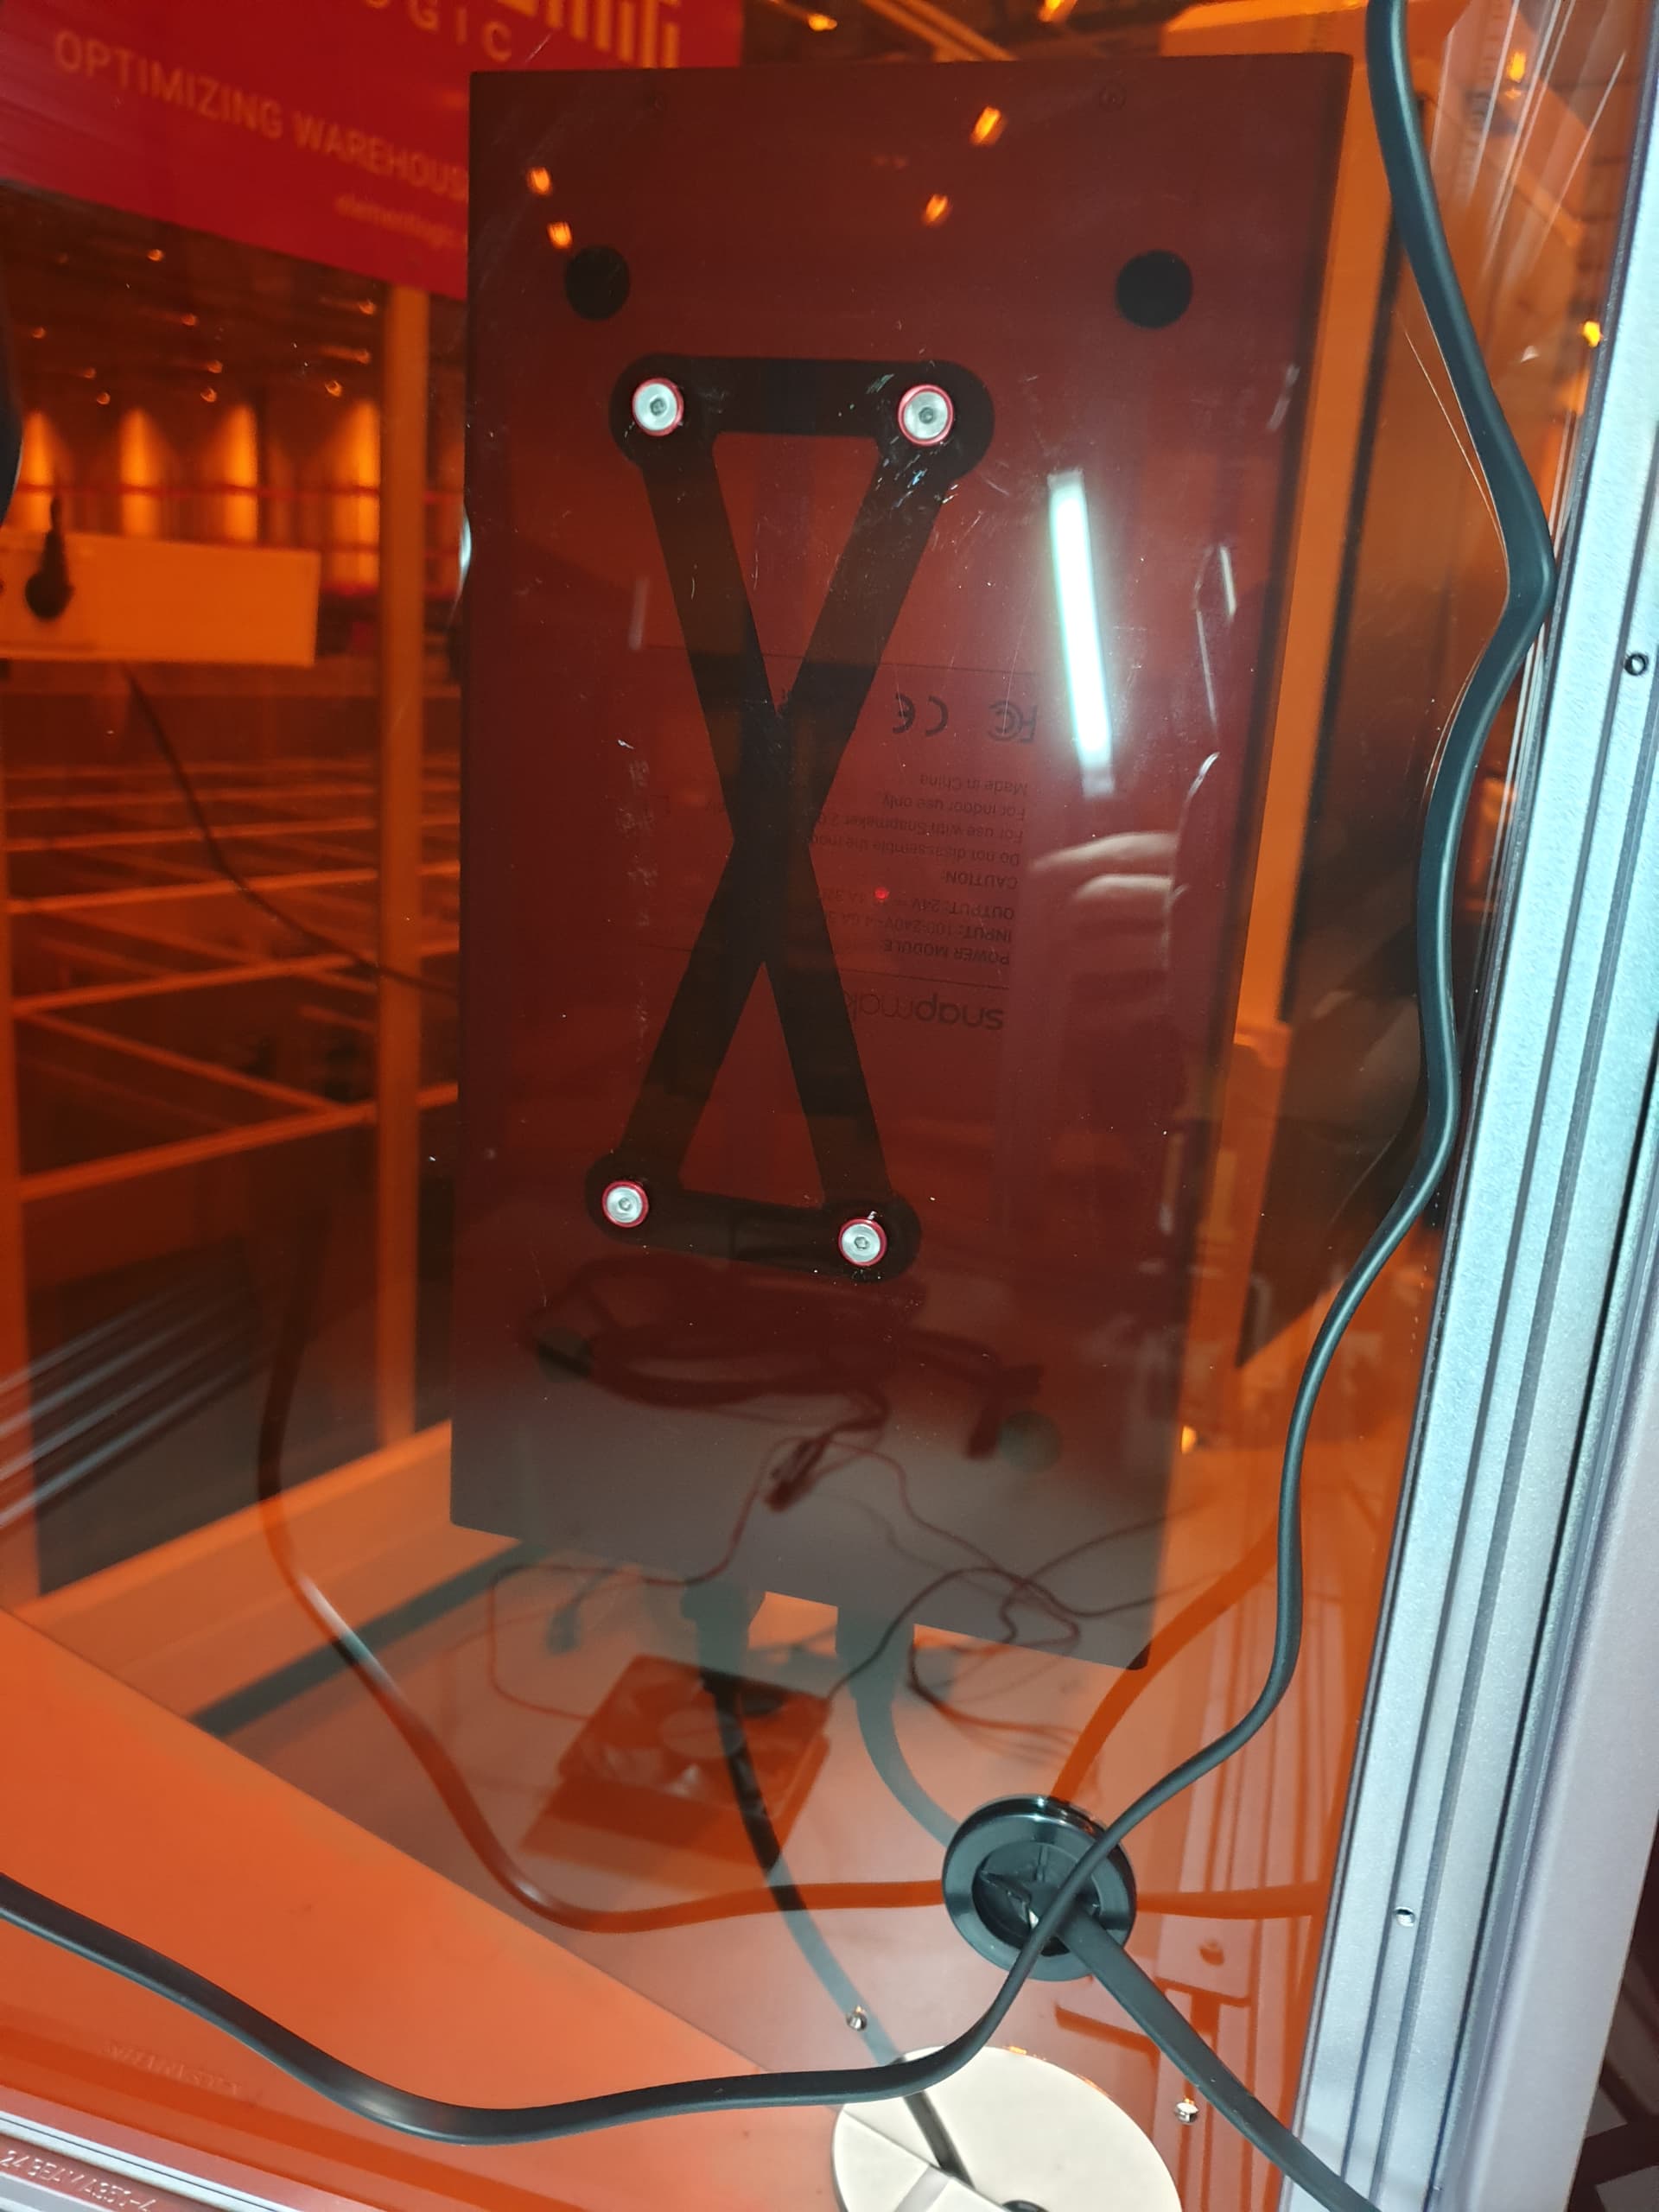
I thought that the power supply was feeling left out, with the enclosure being almost a complete unit apart from the power supply, I decided to mount it on the back window:


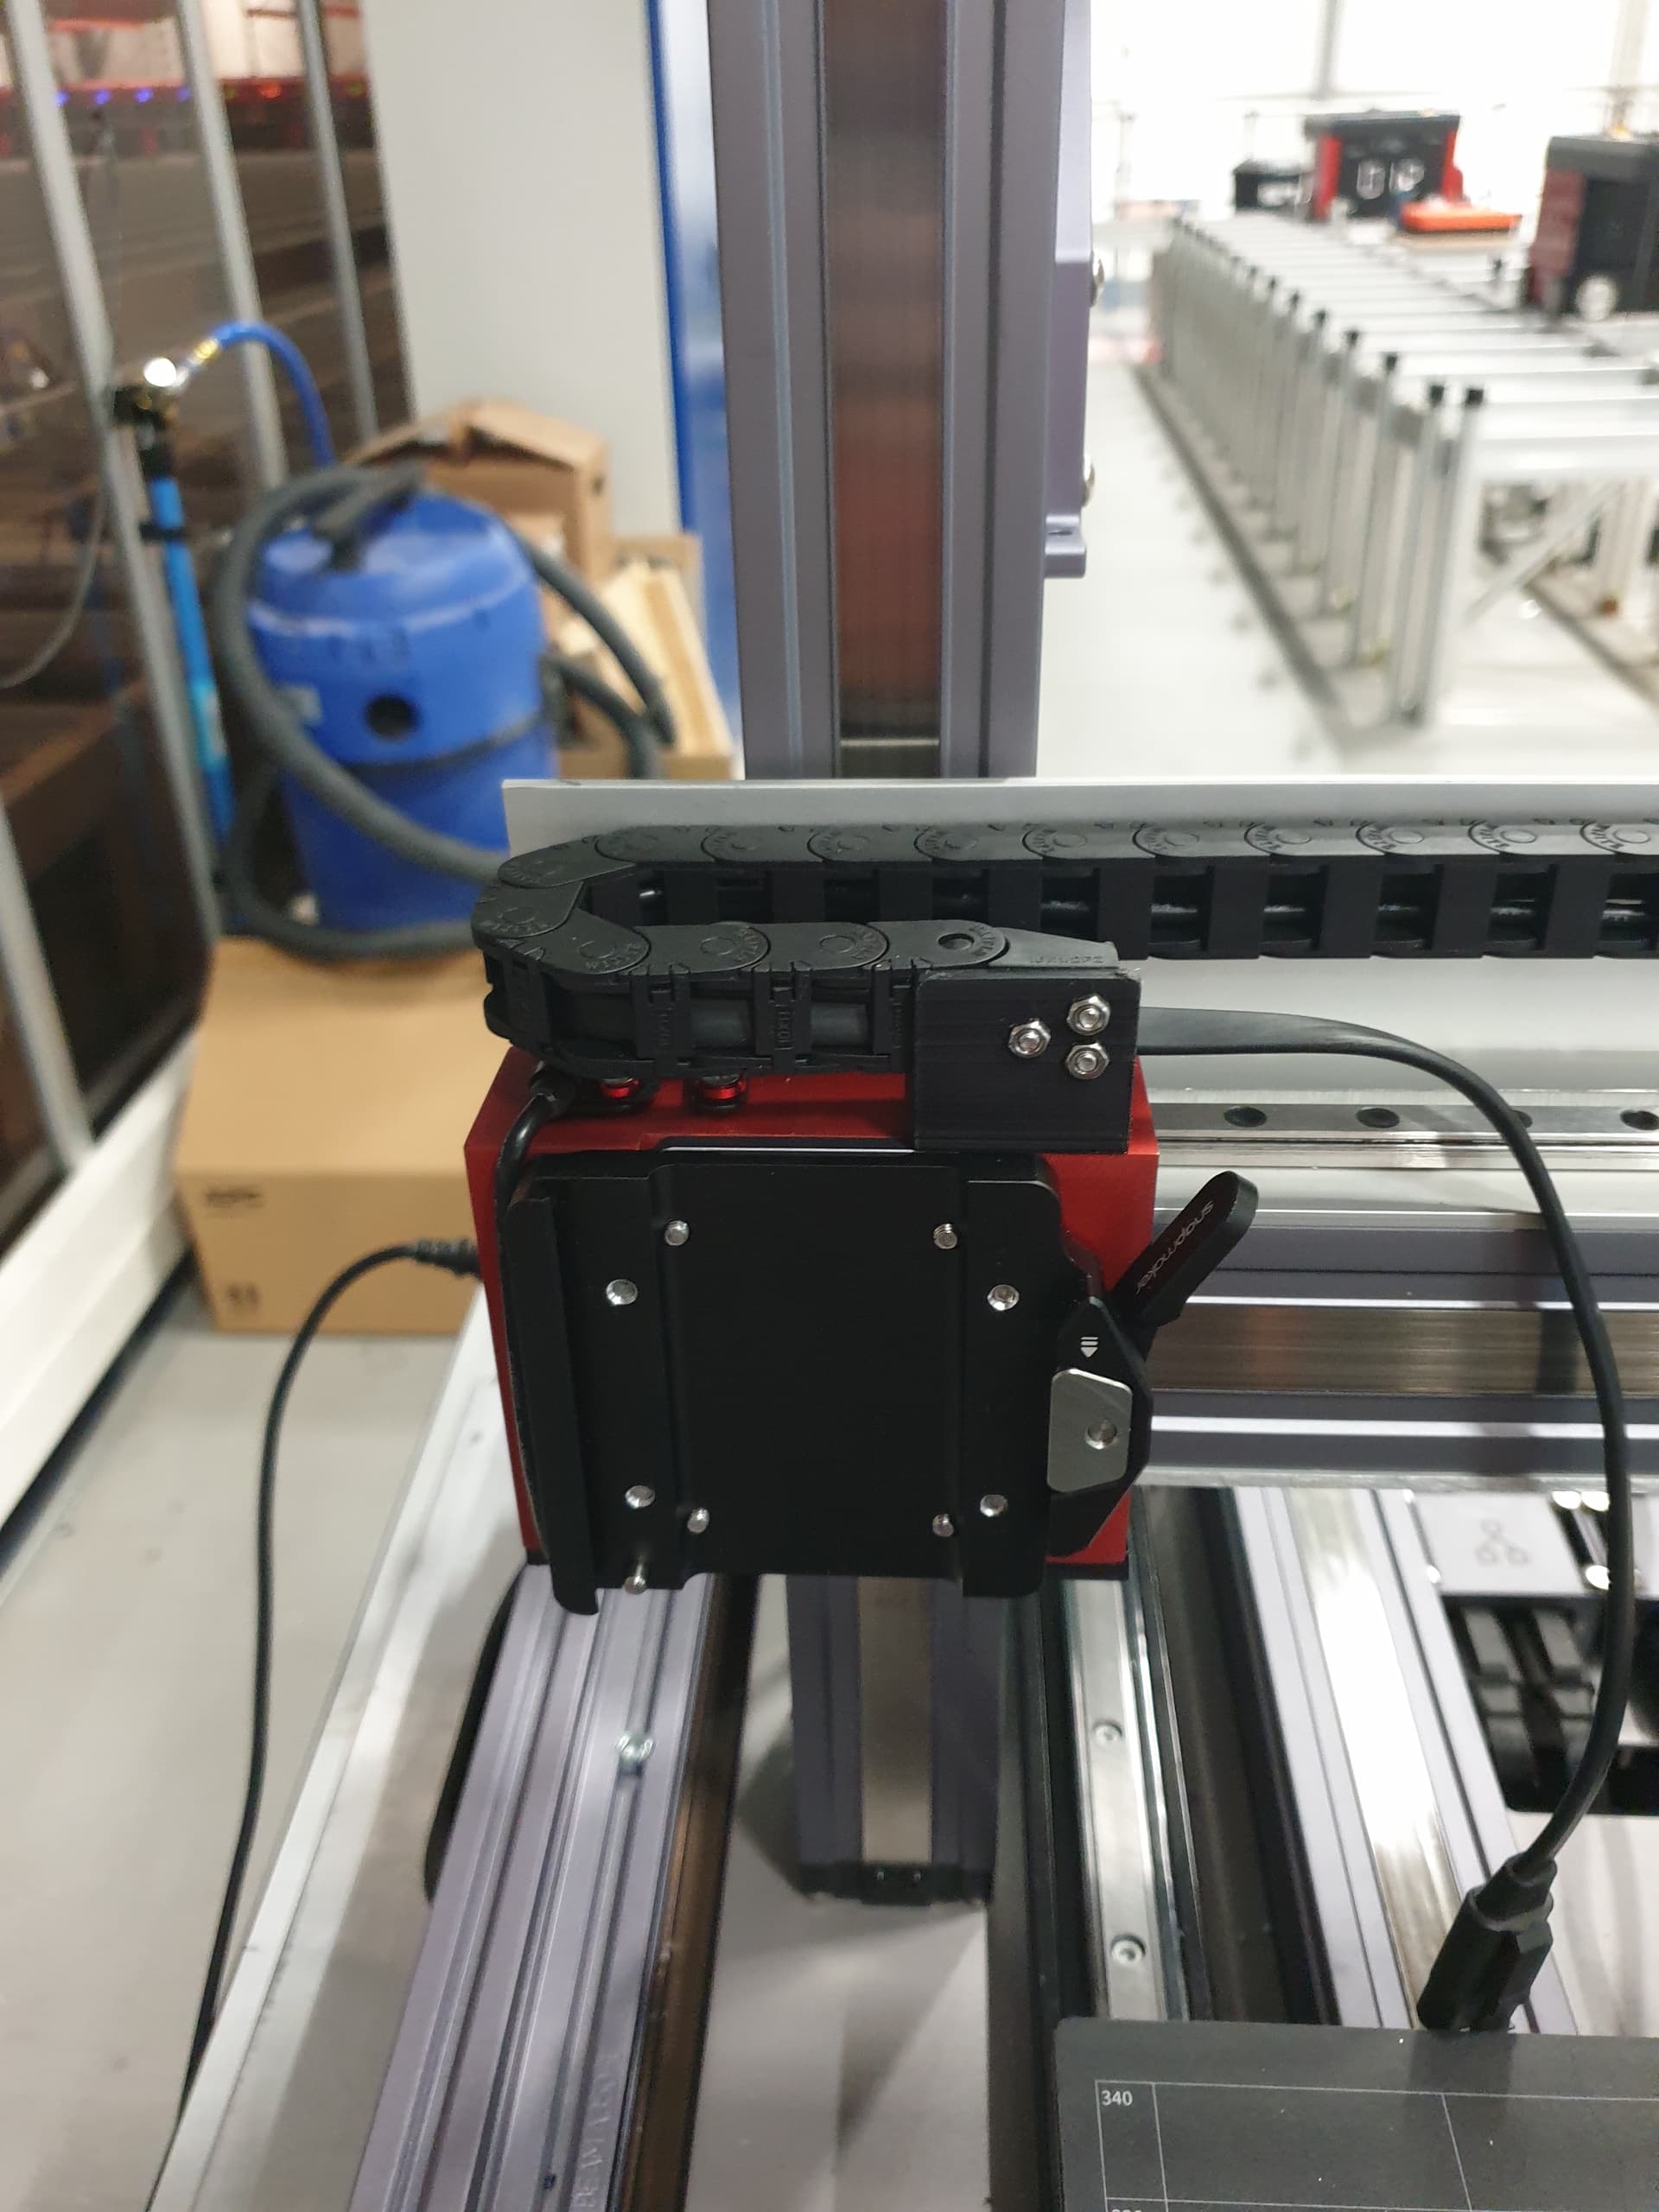
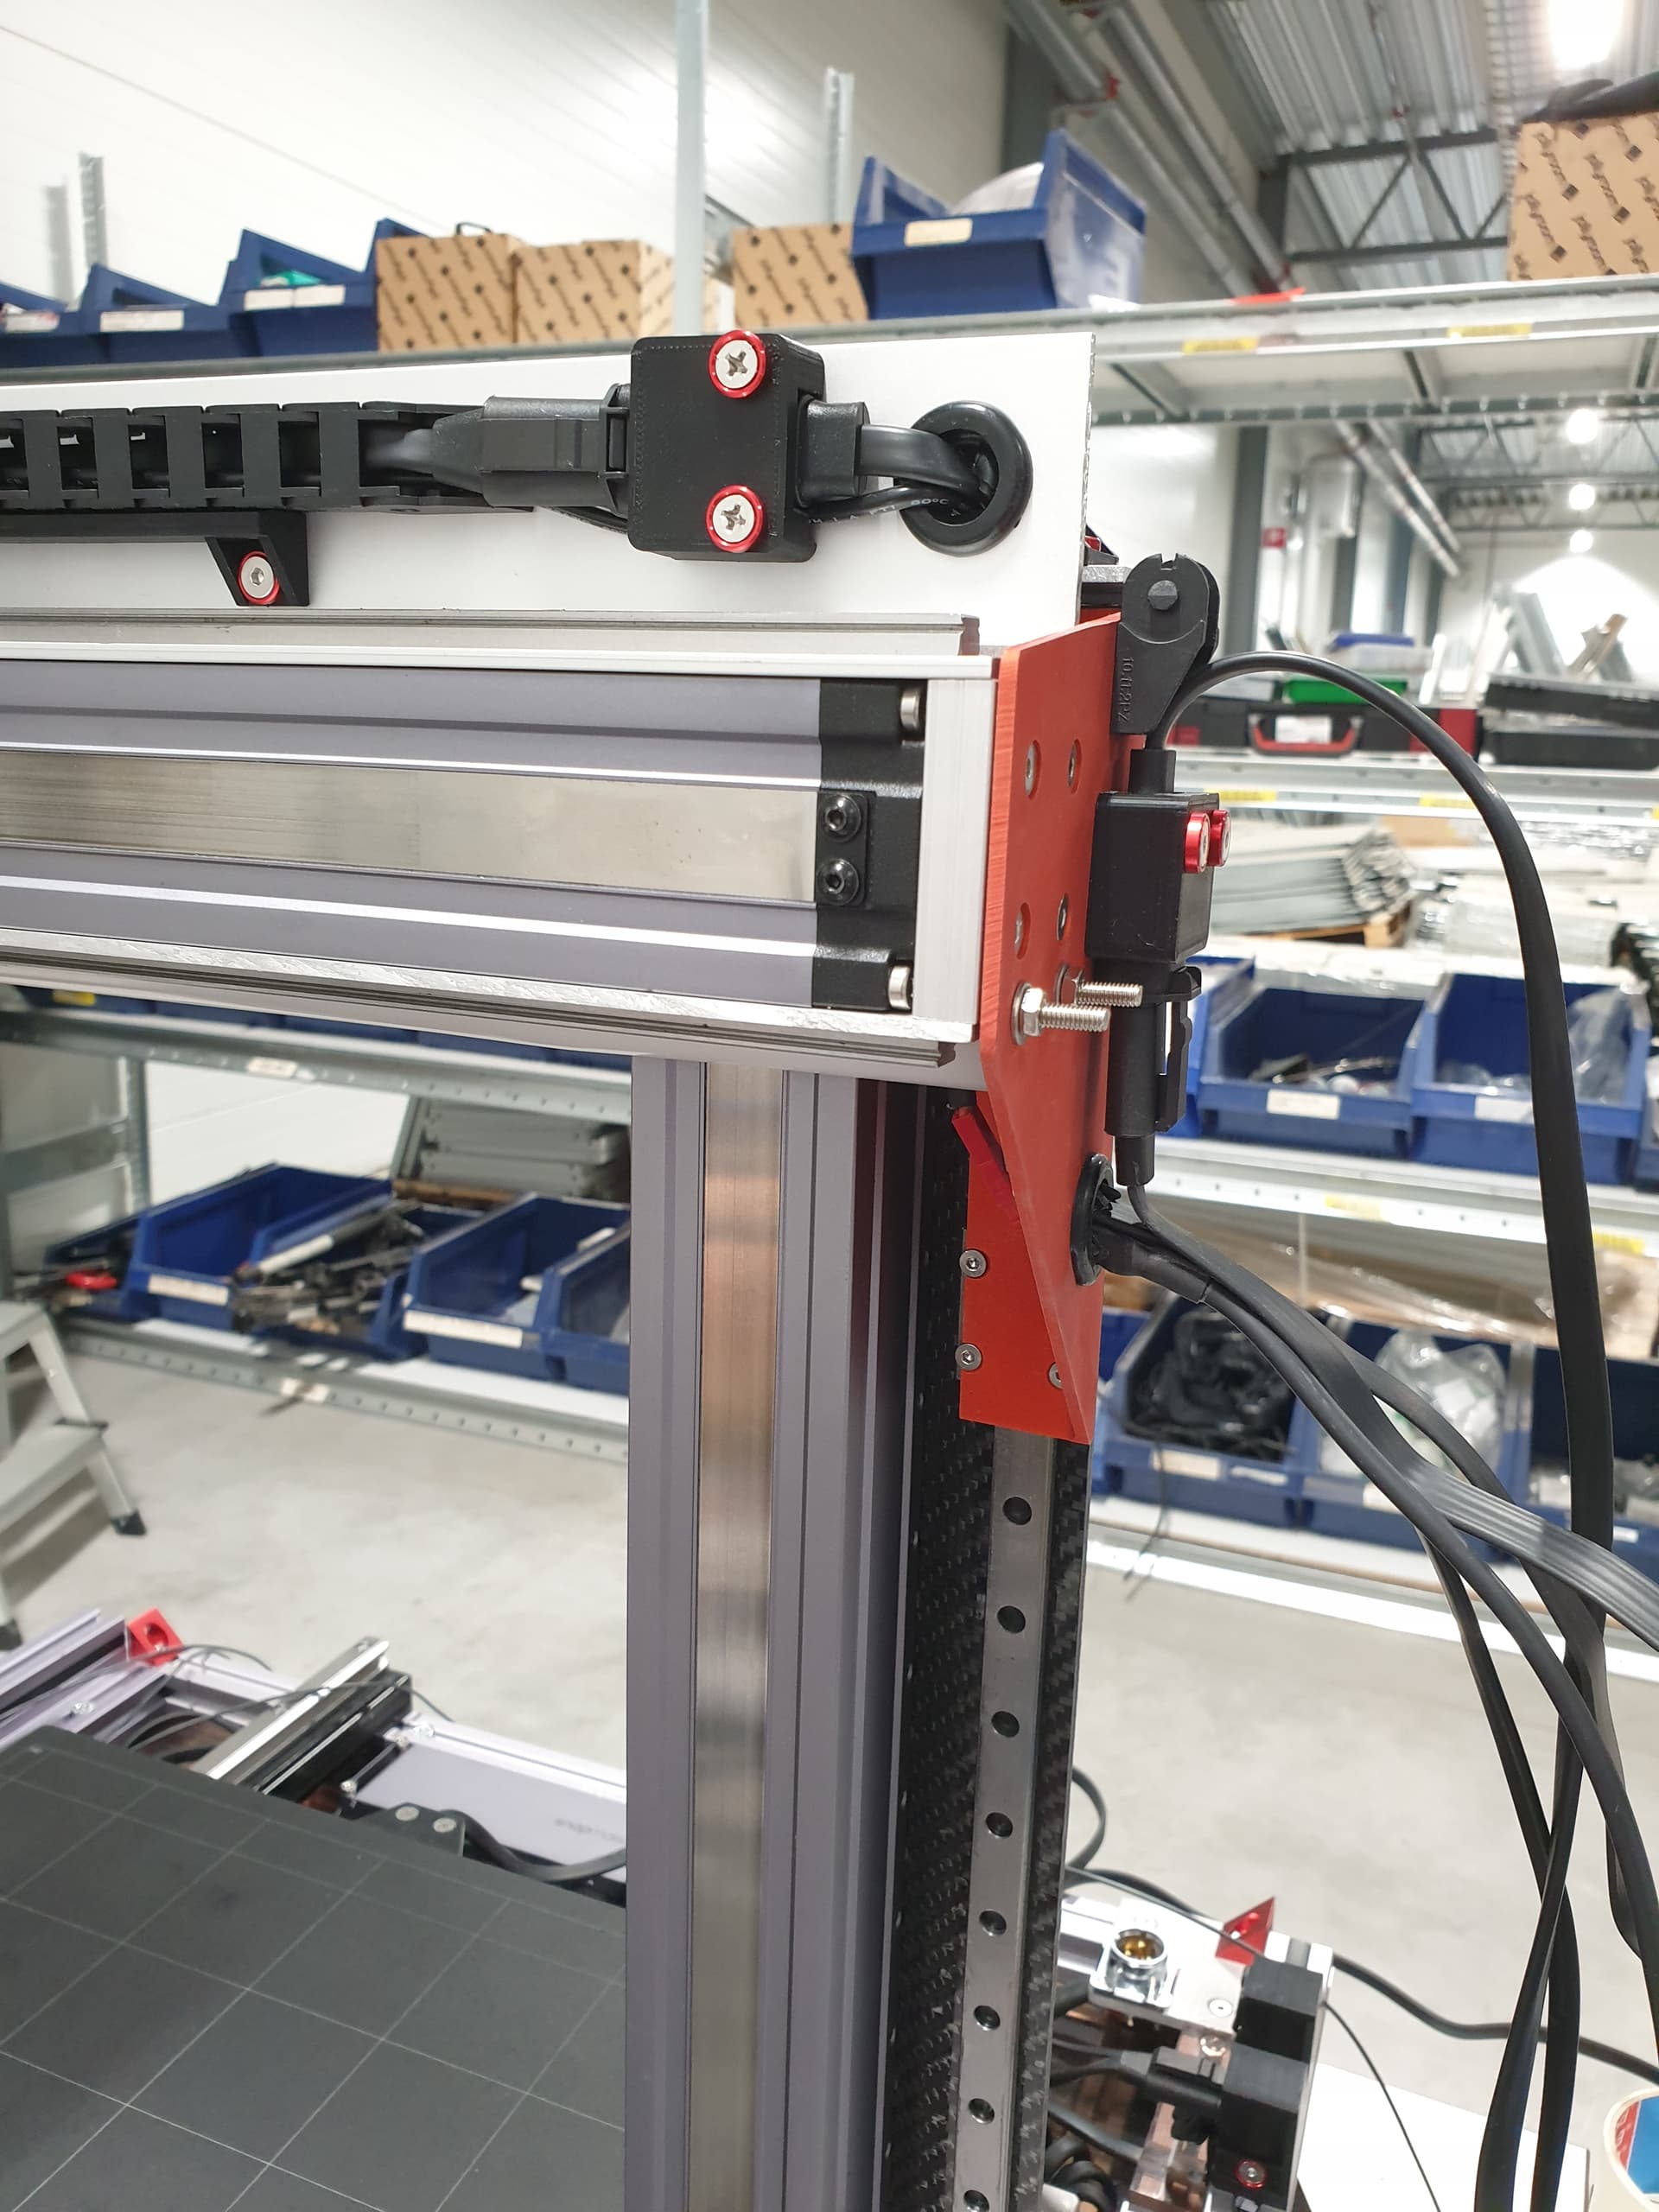
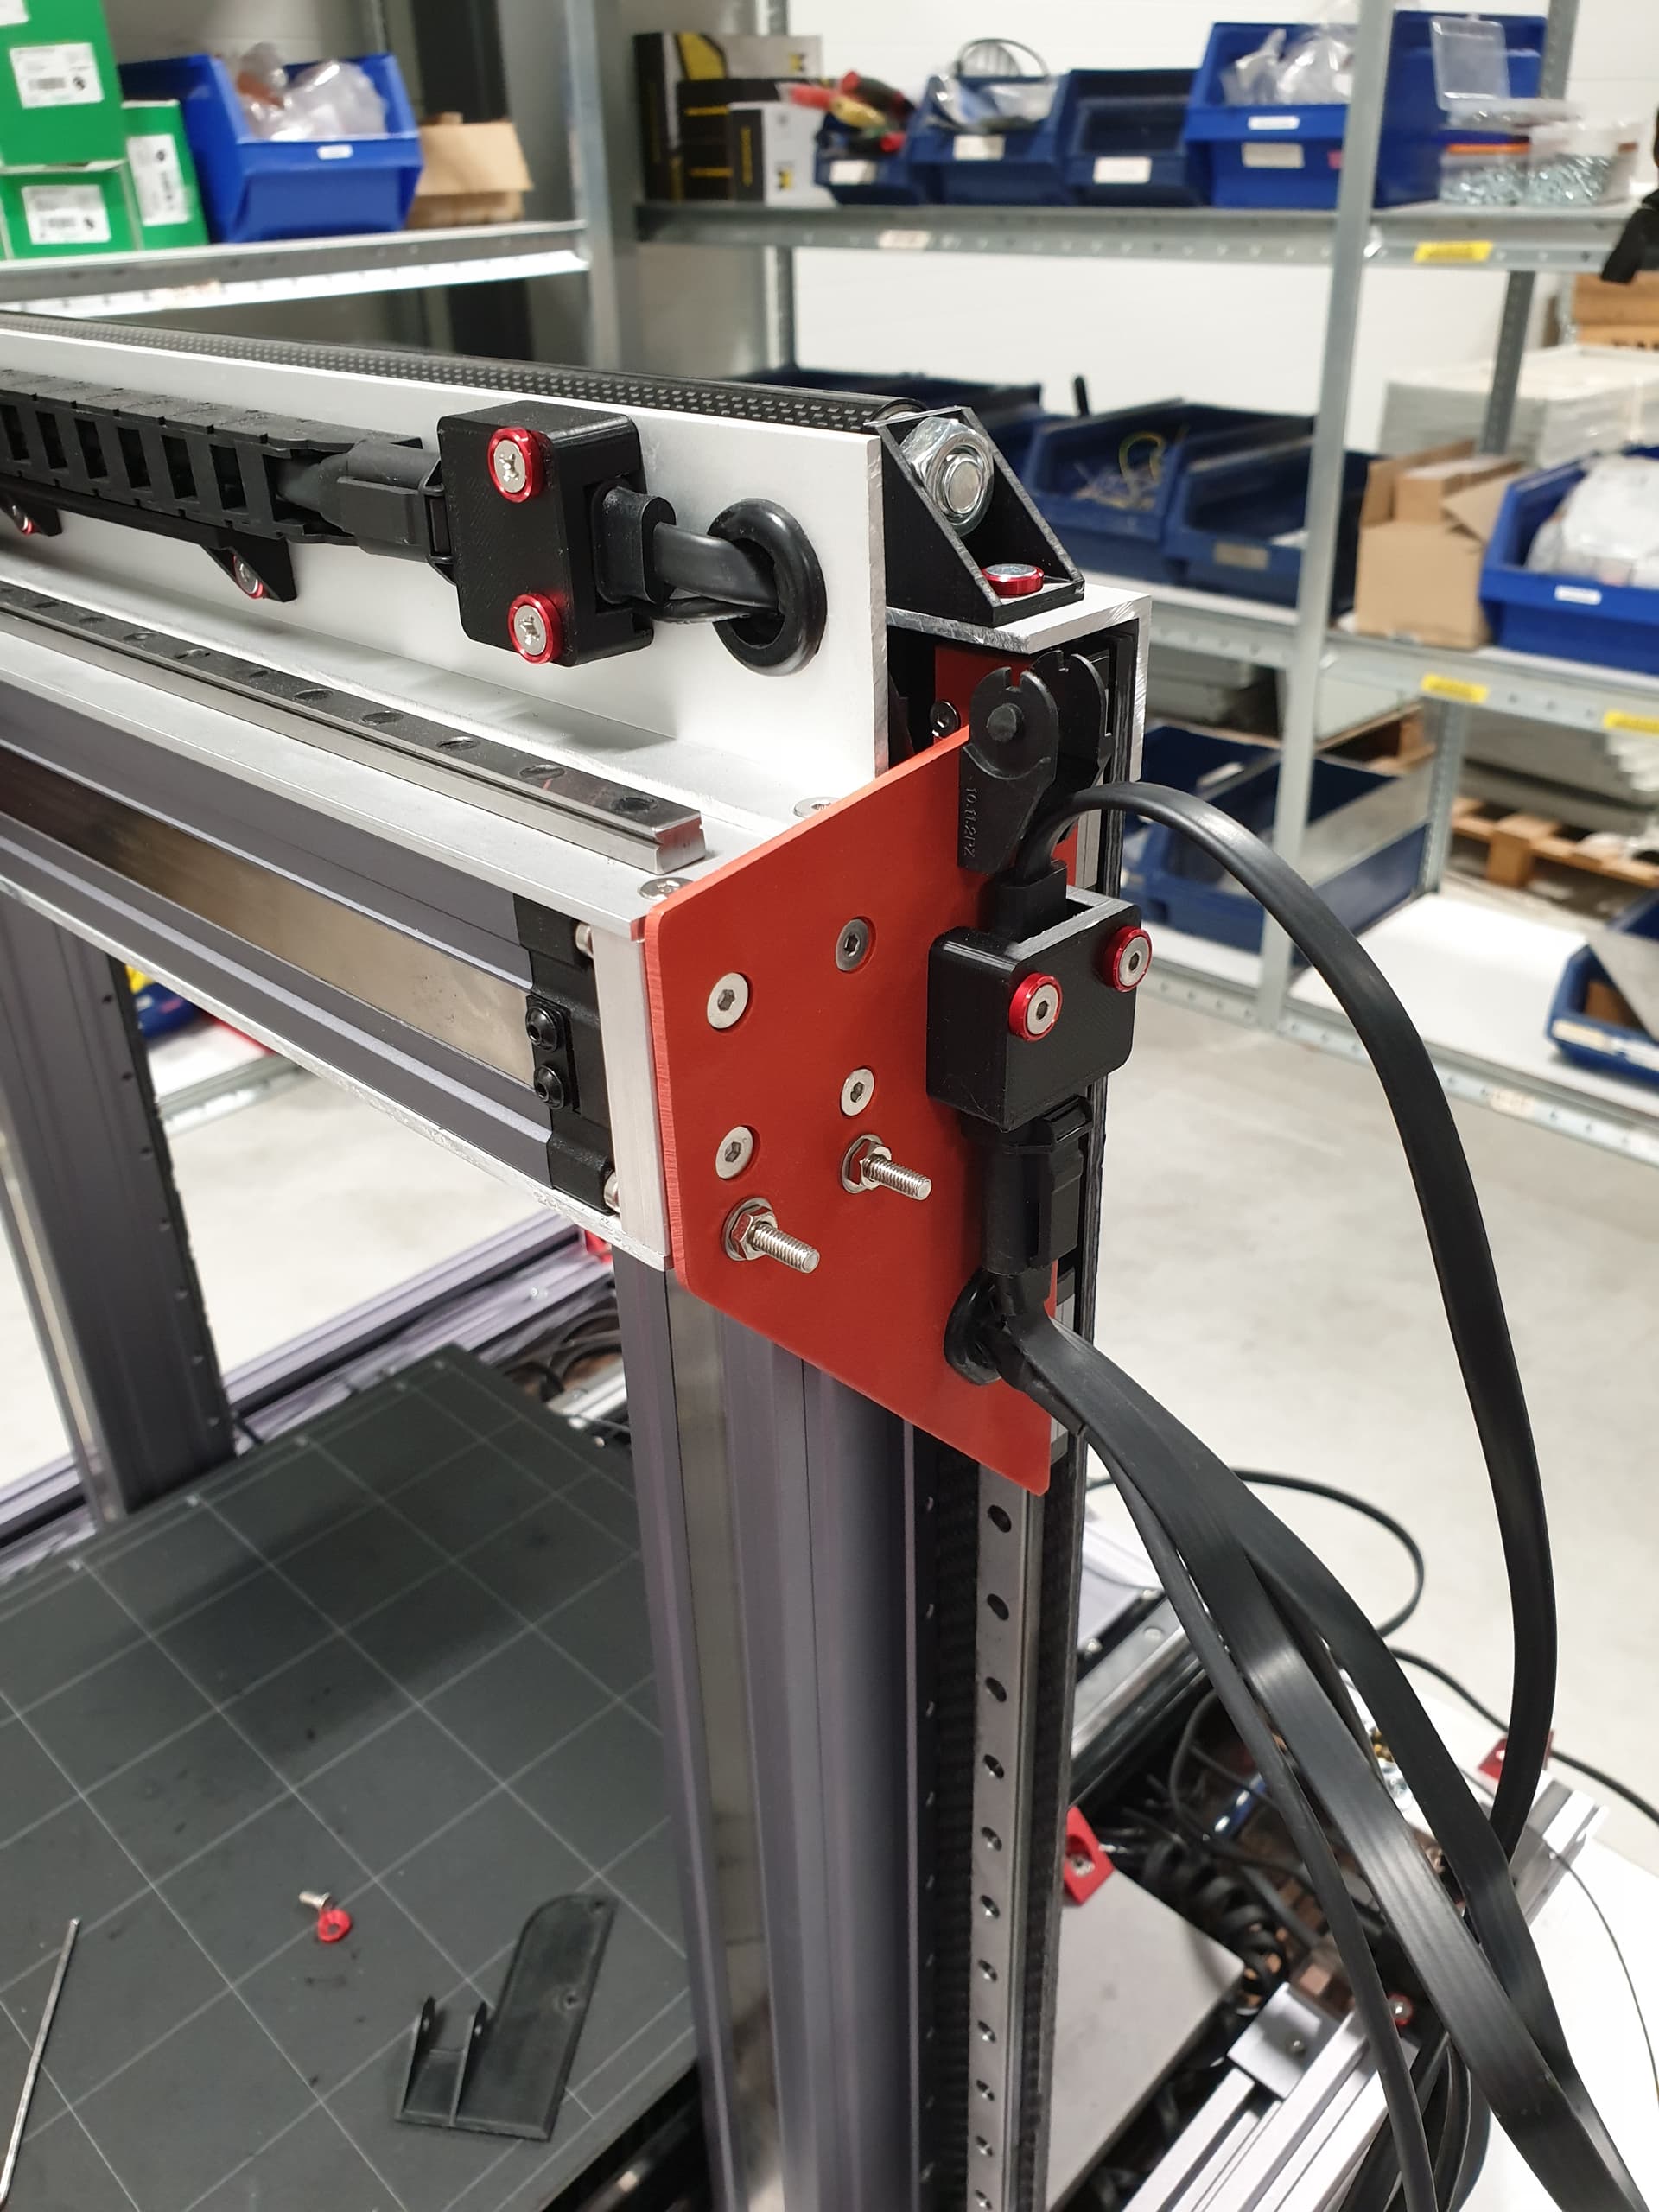
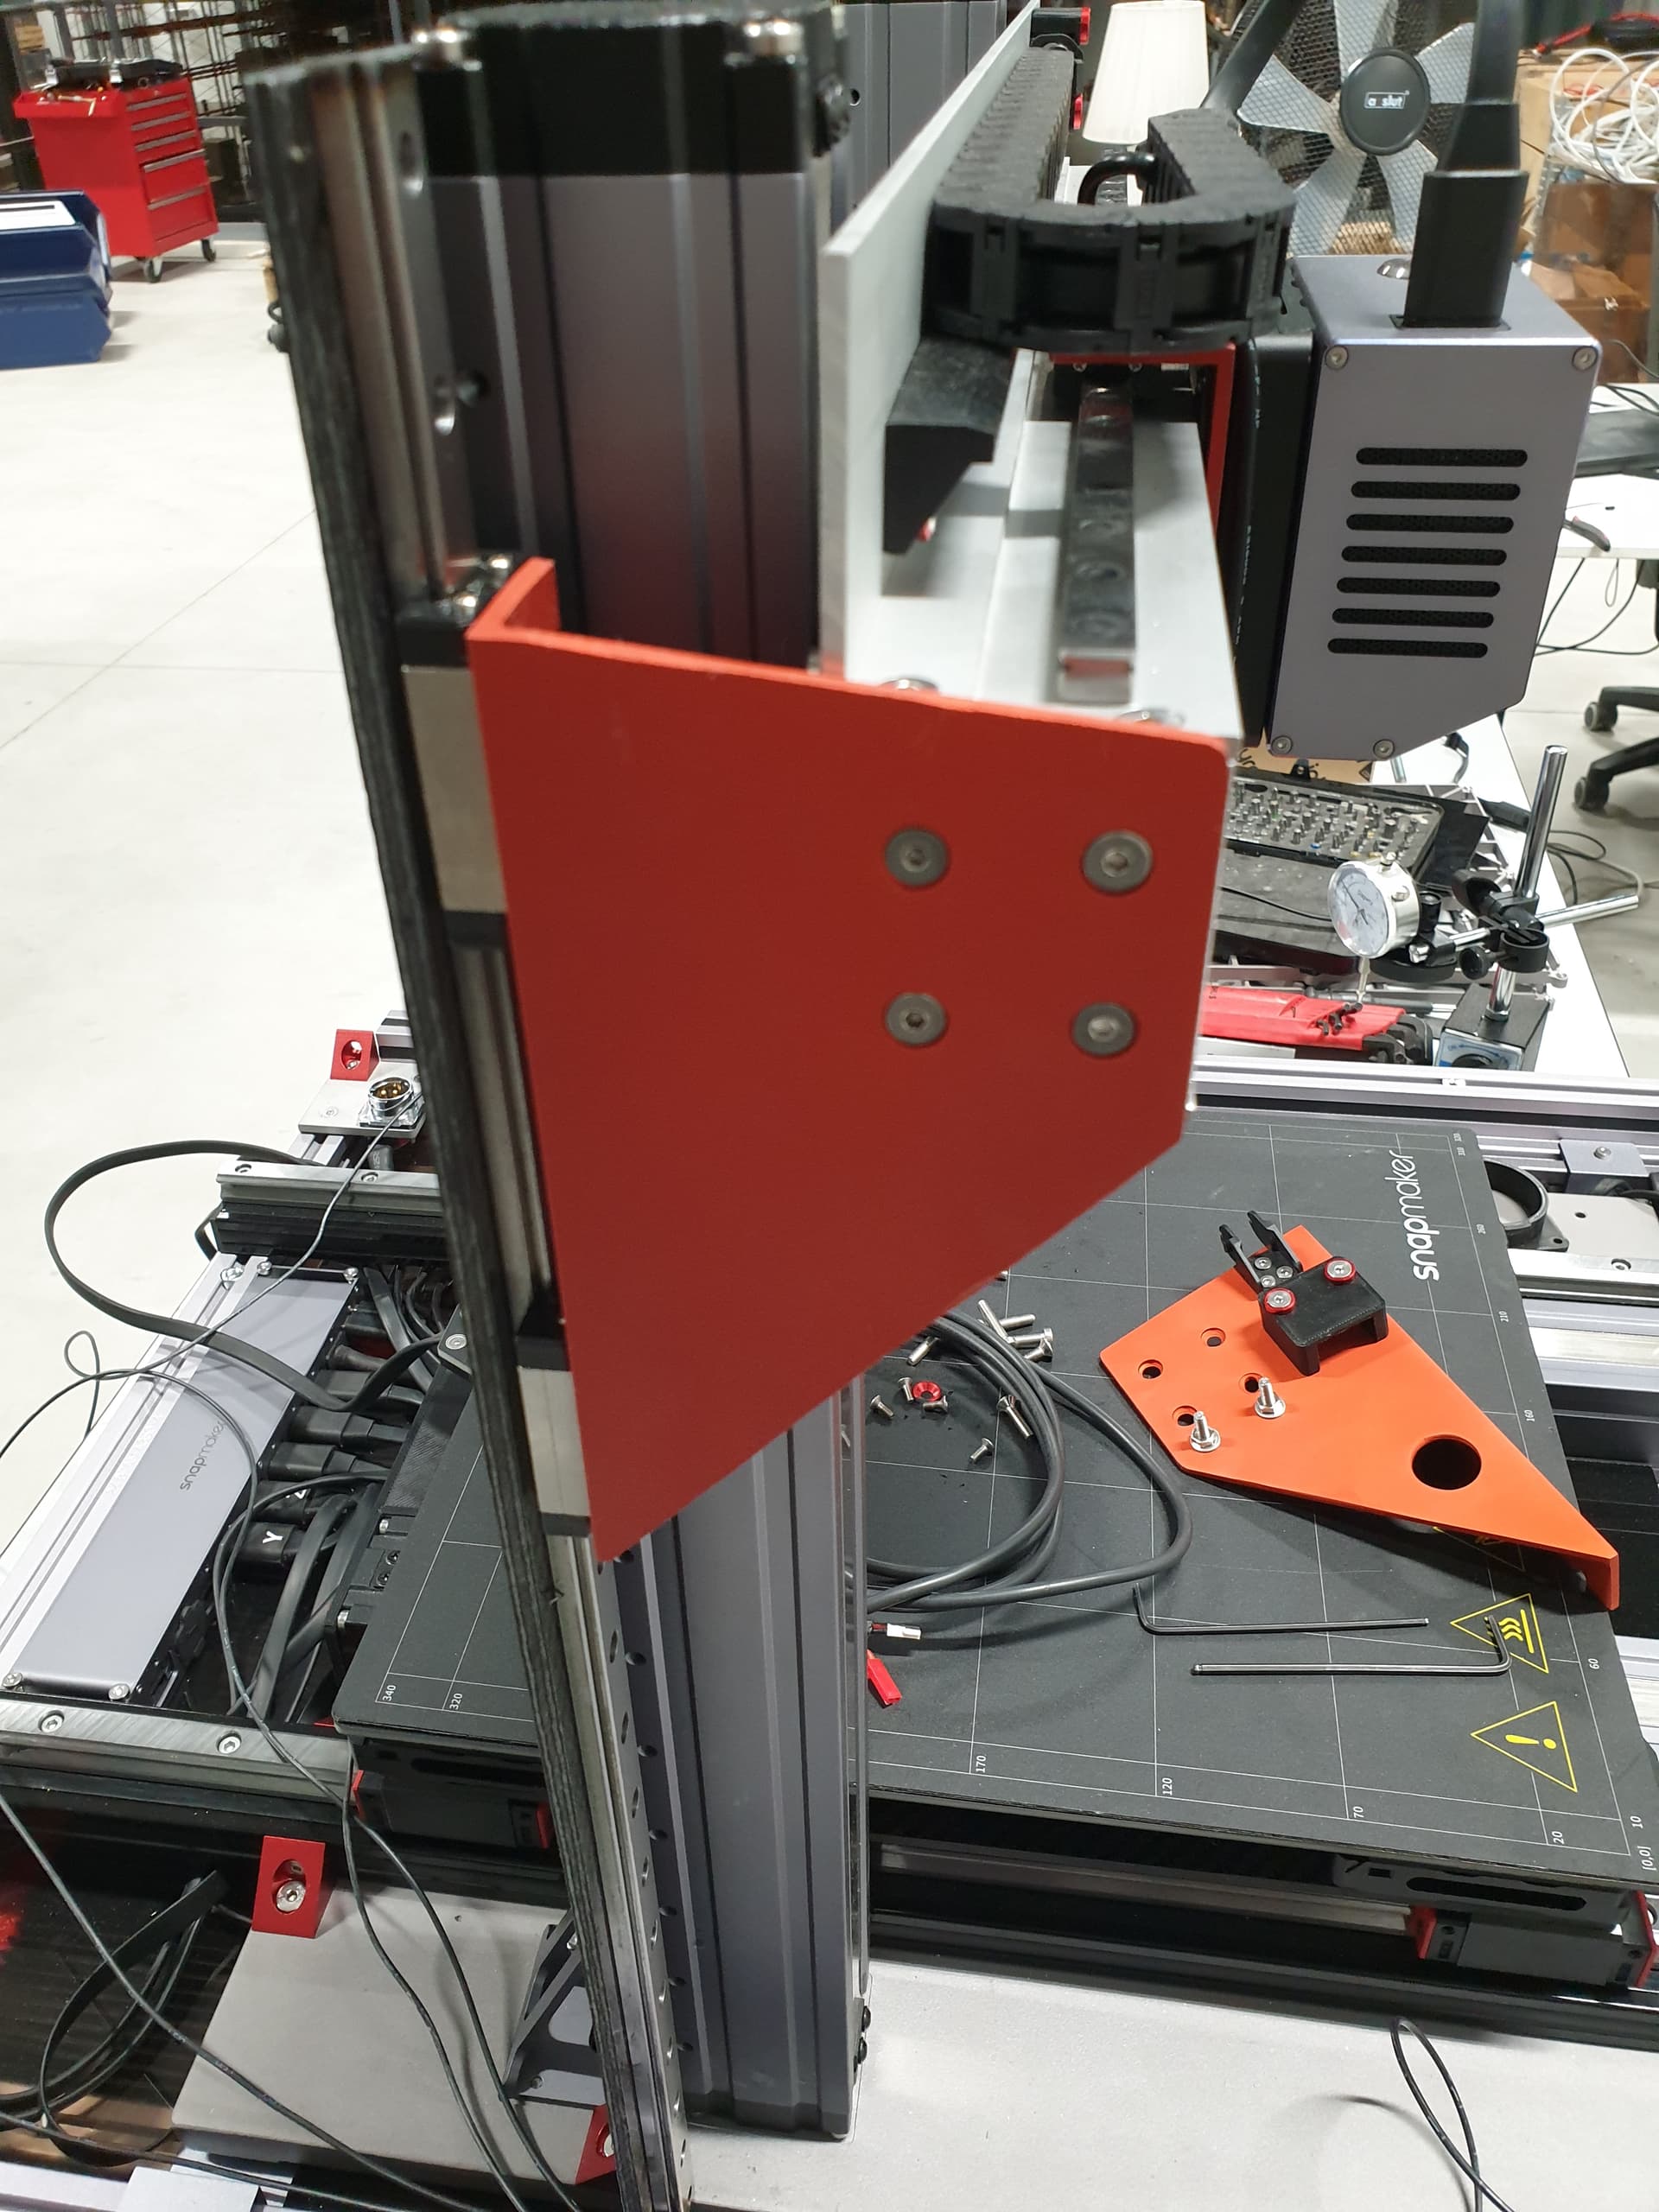
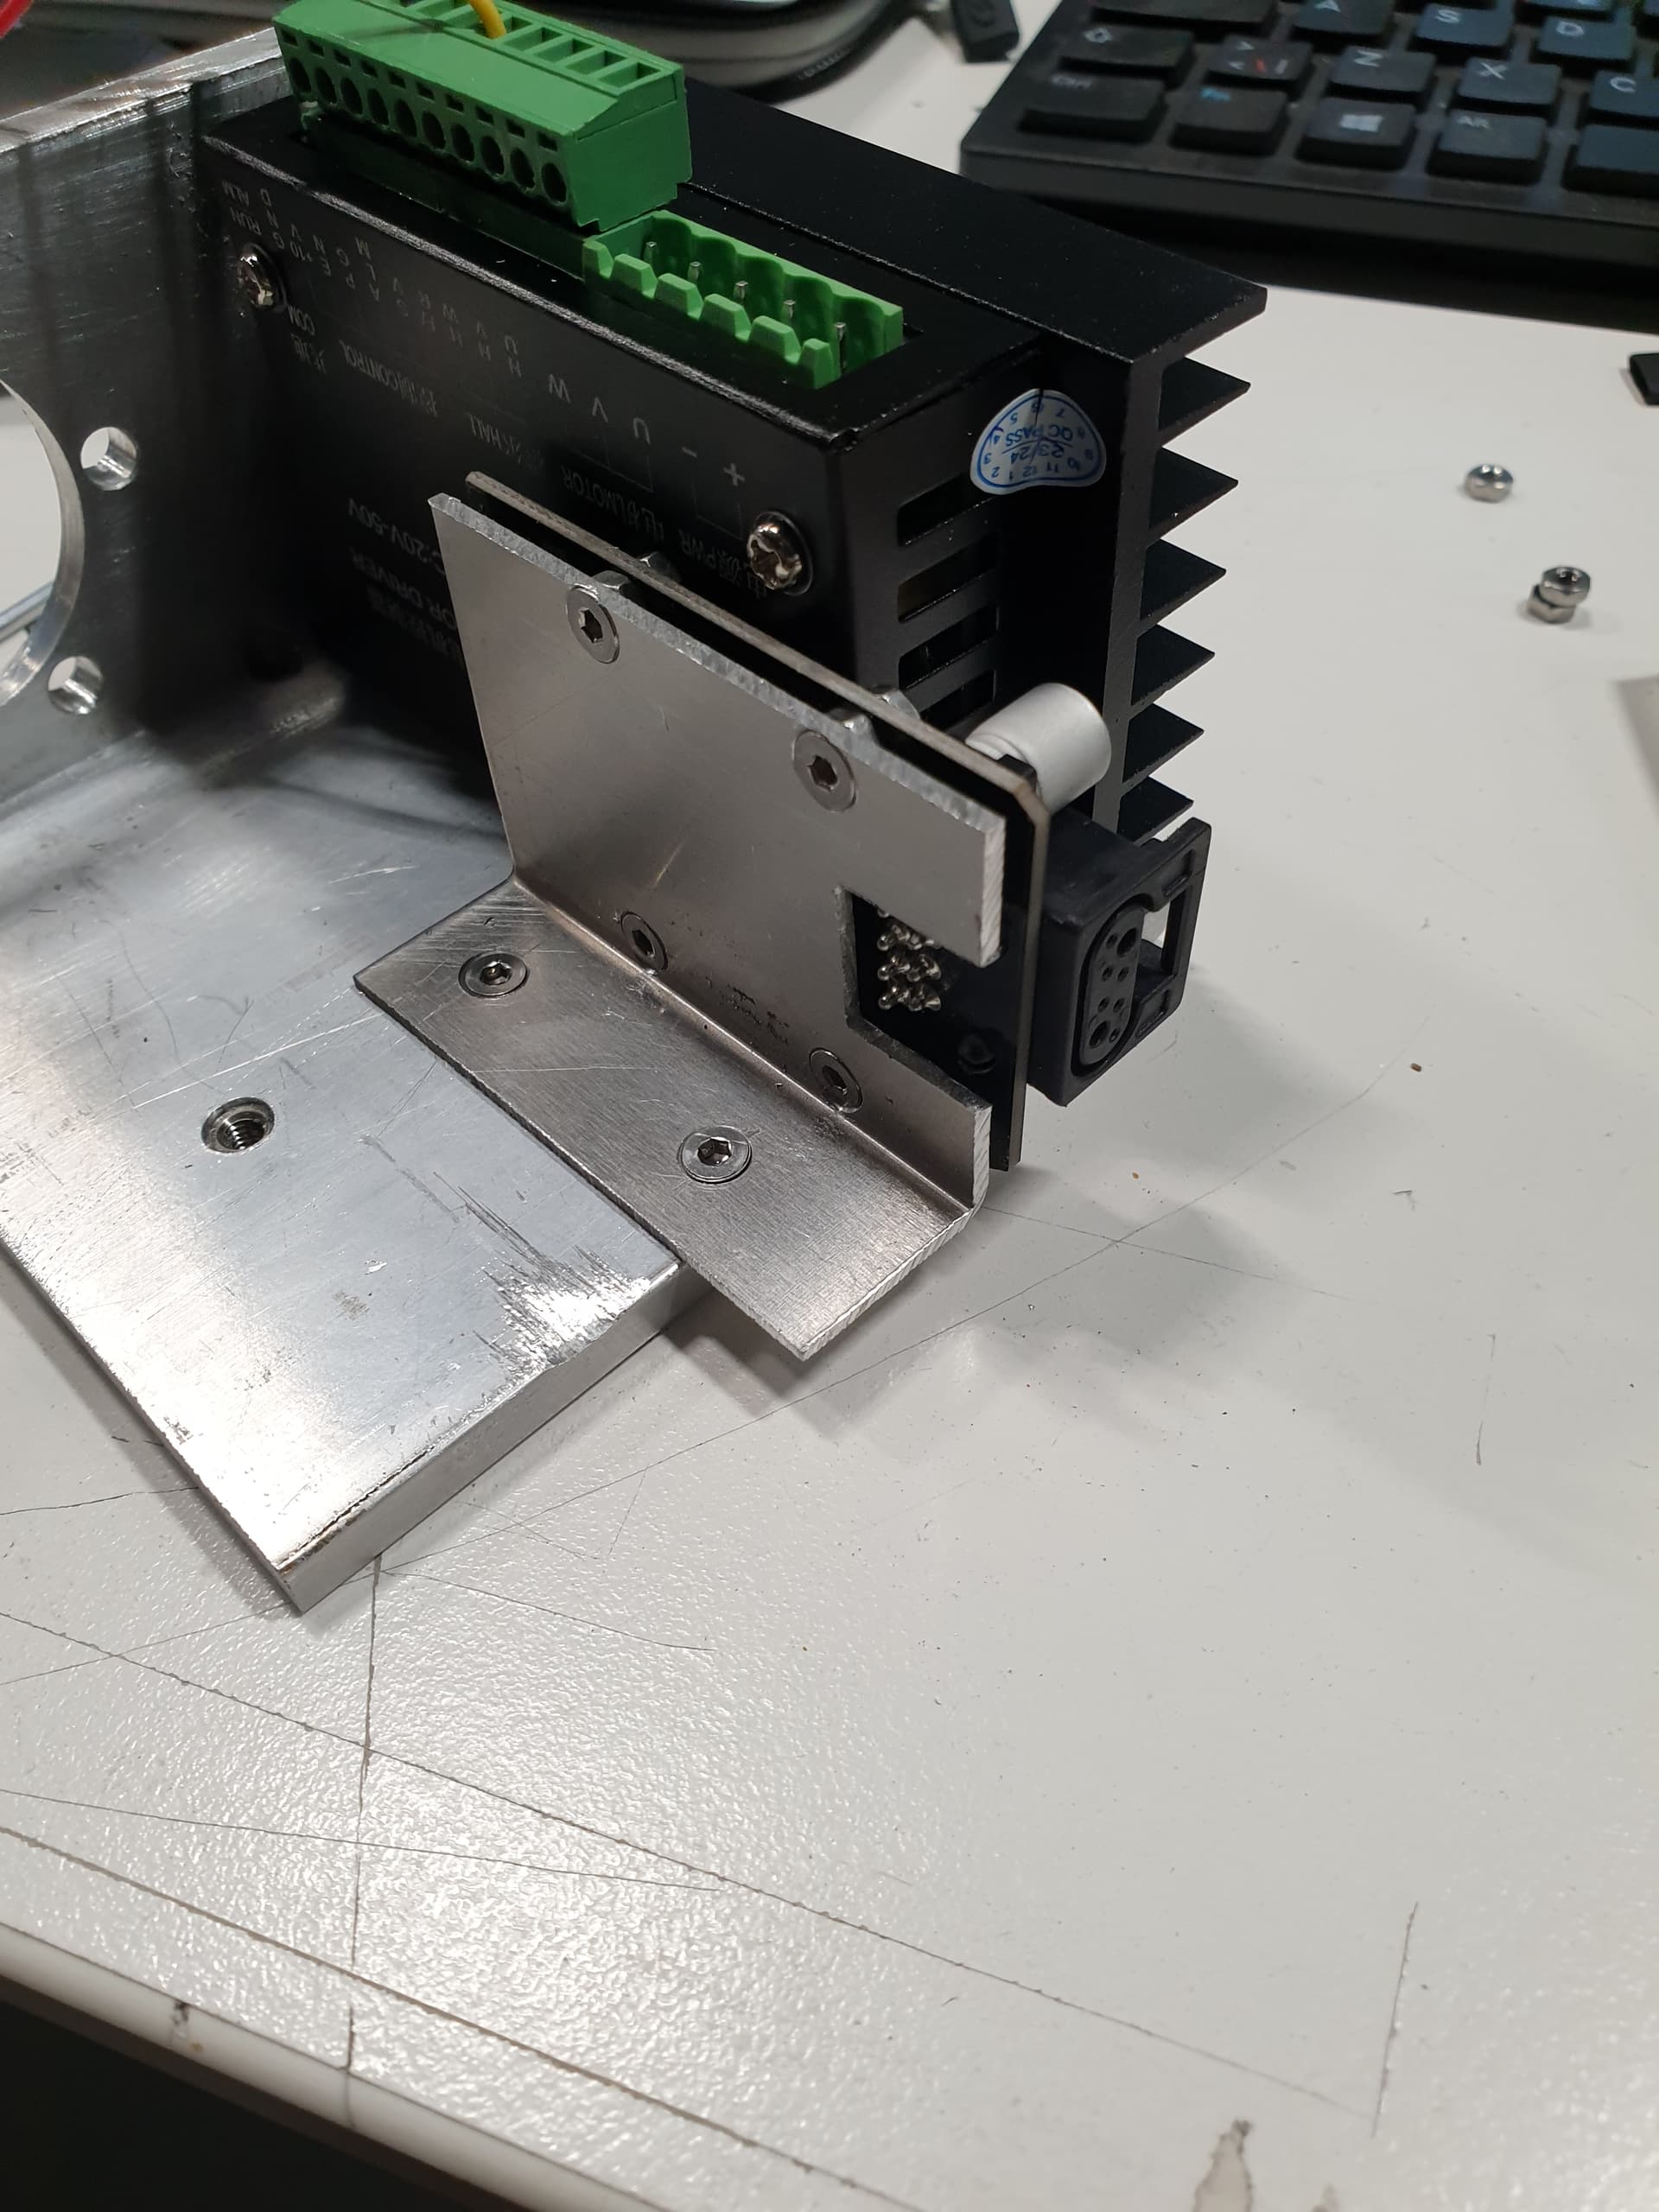
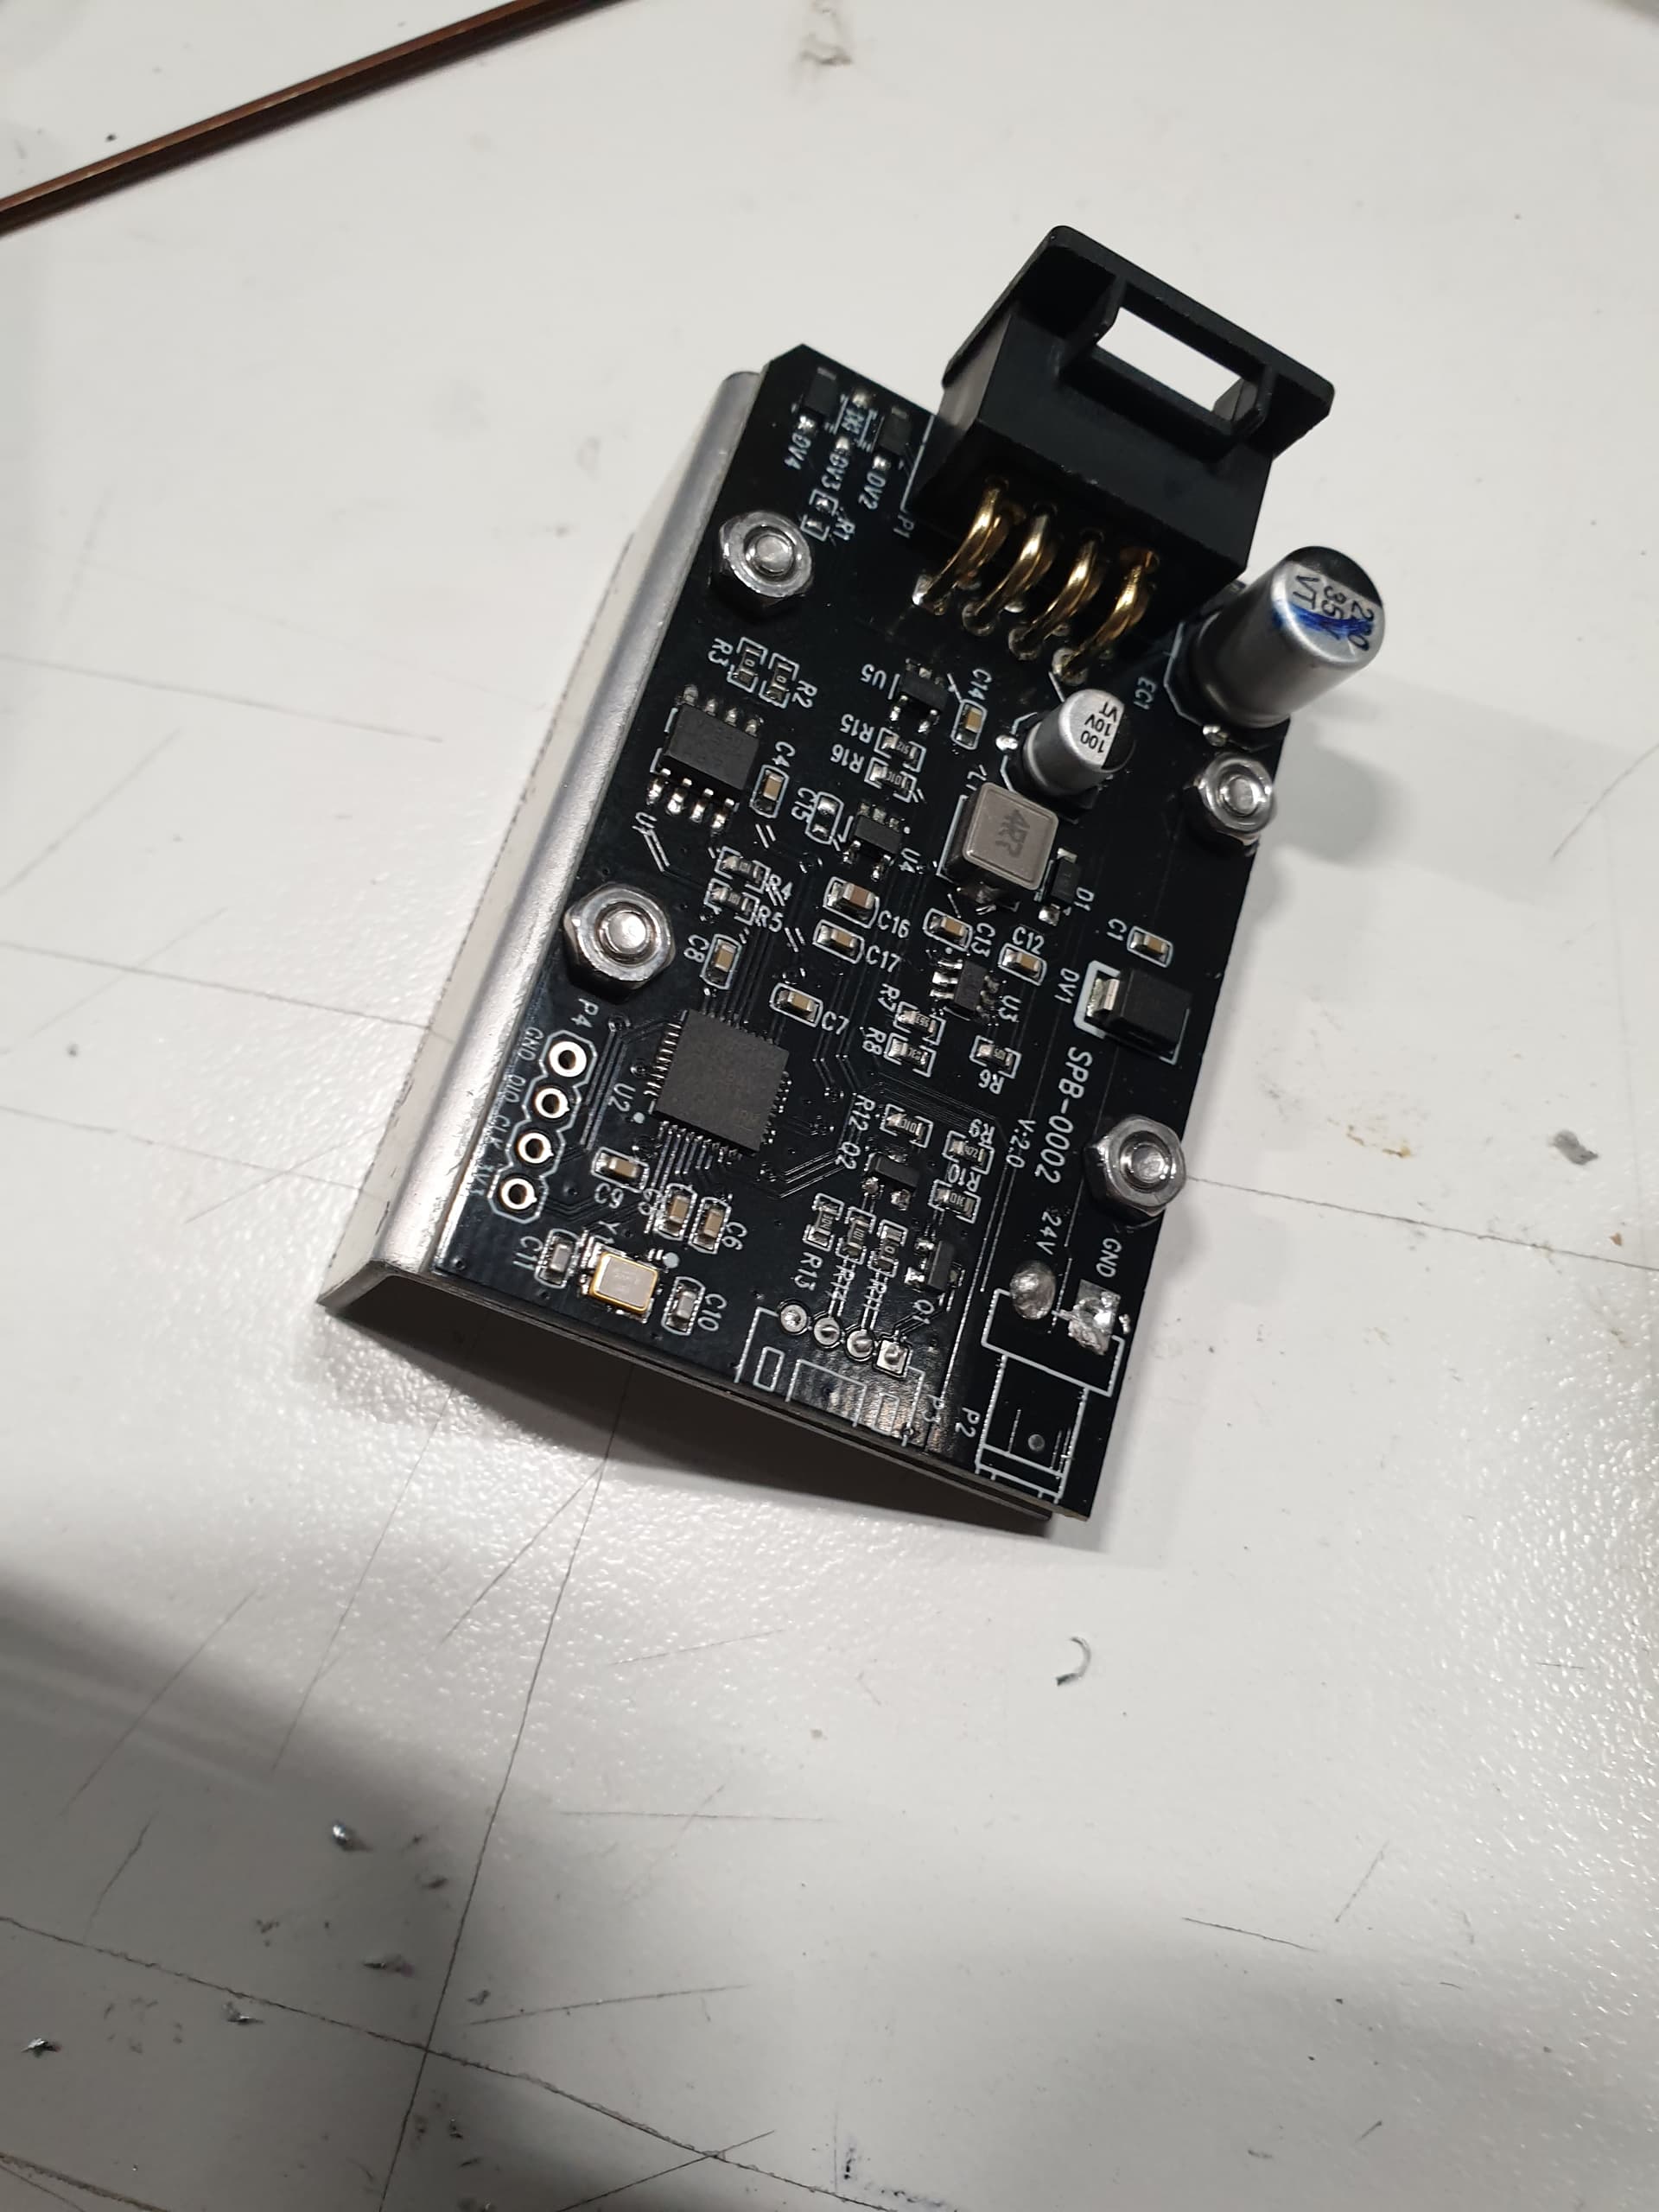
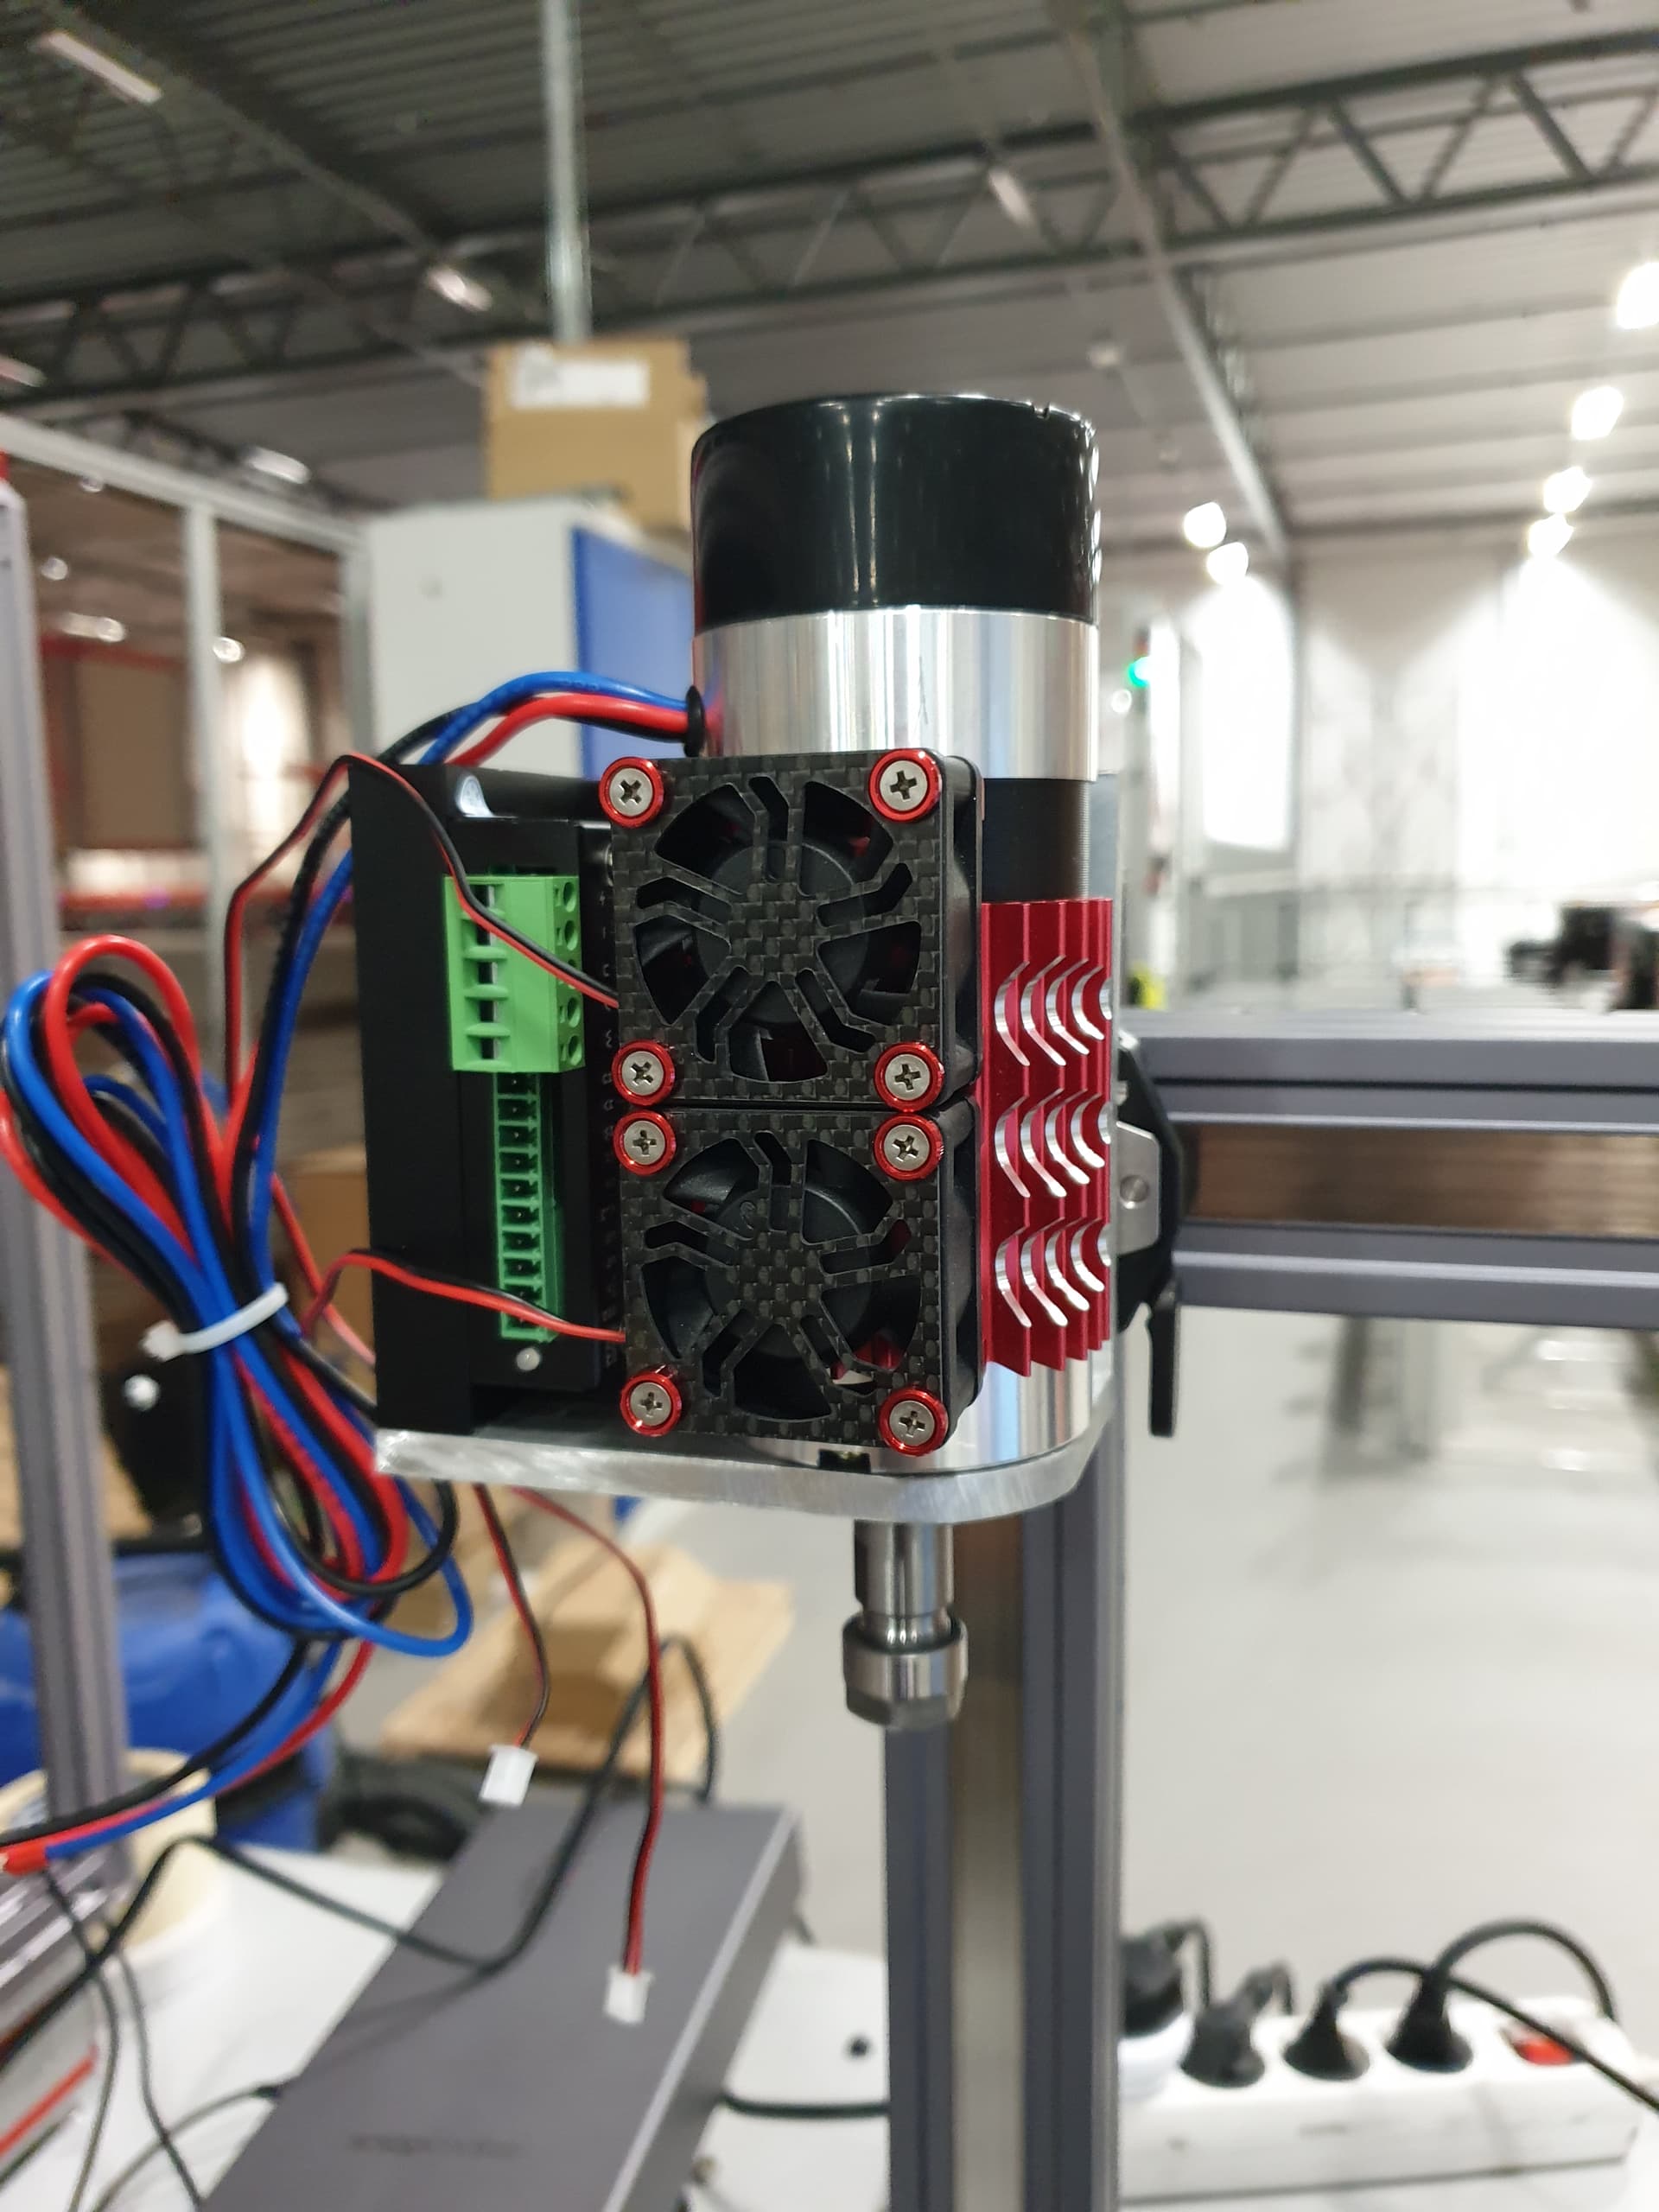
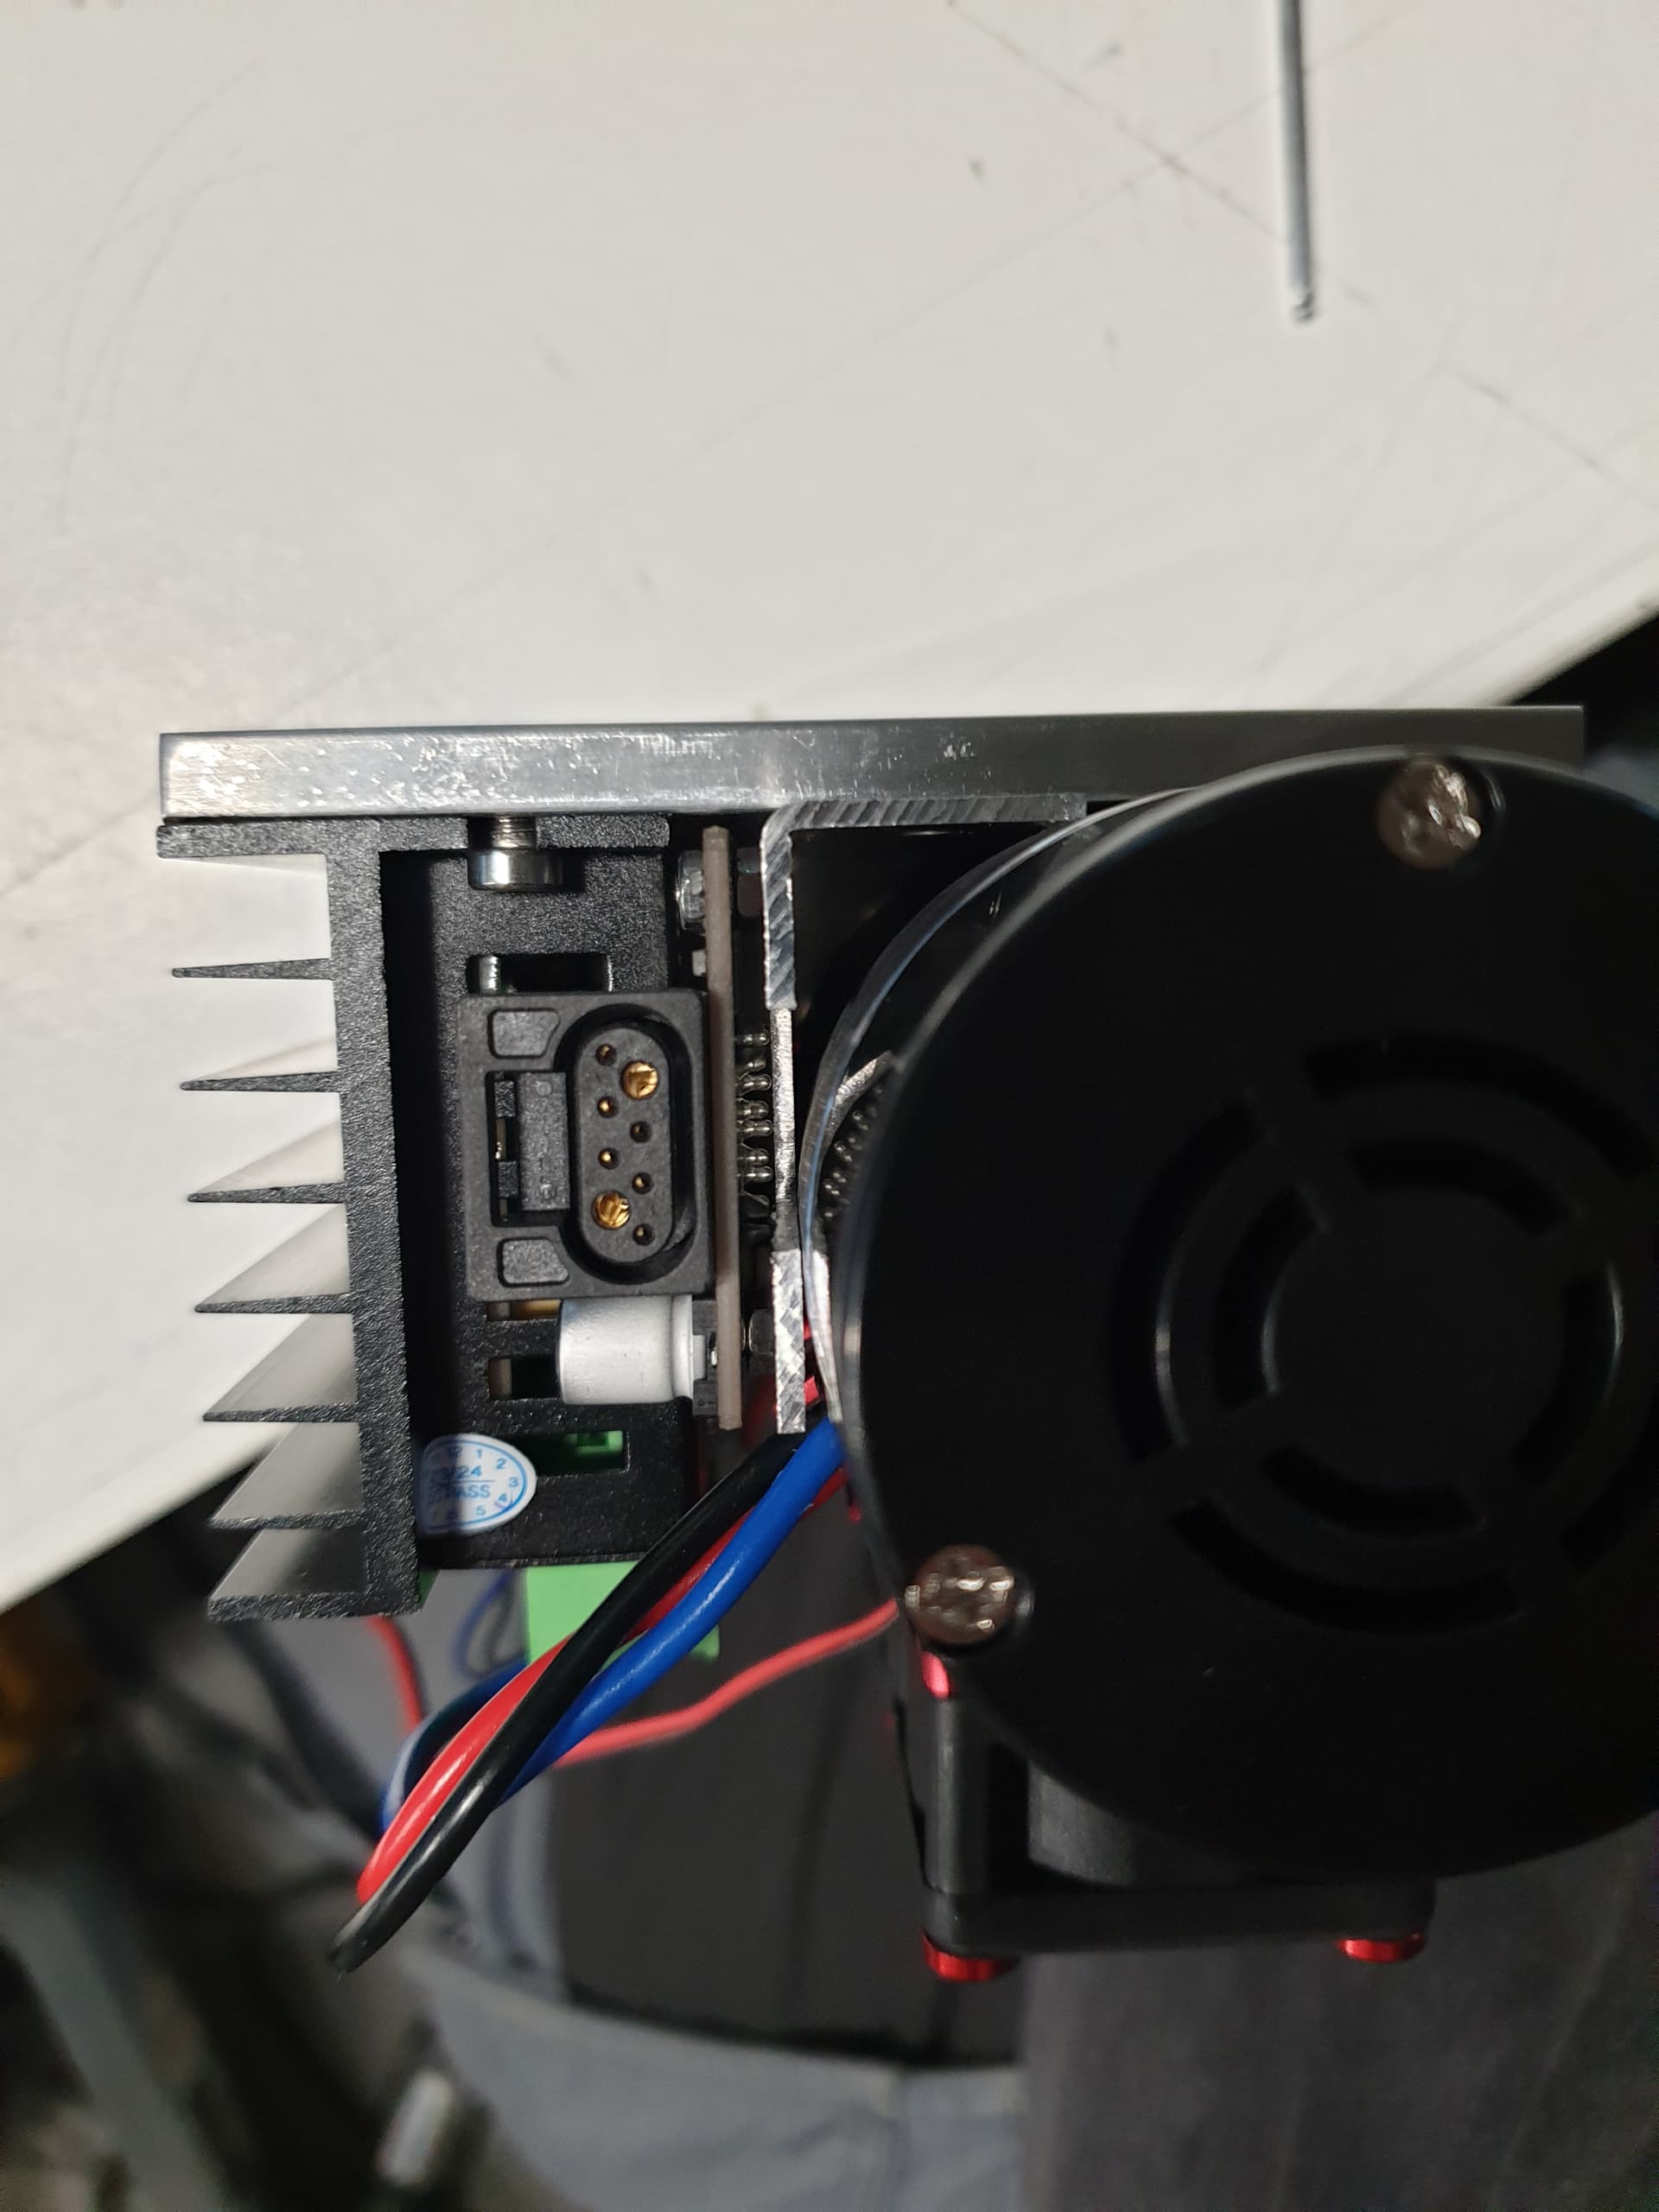
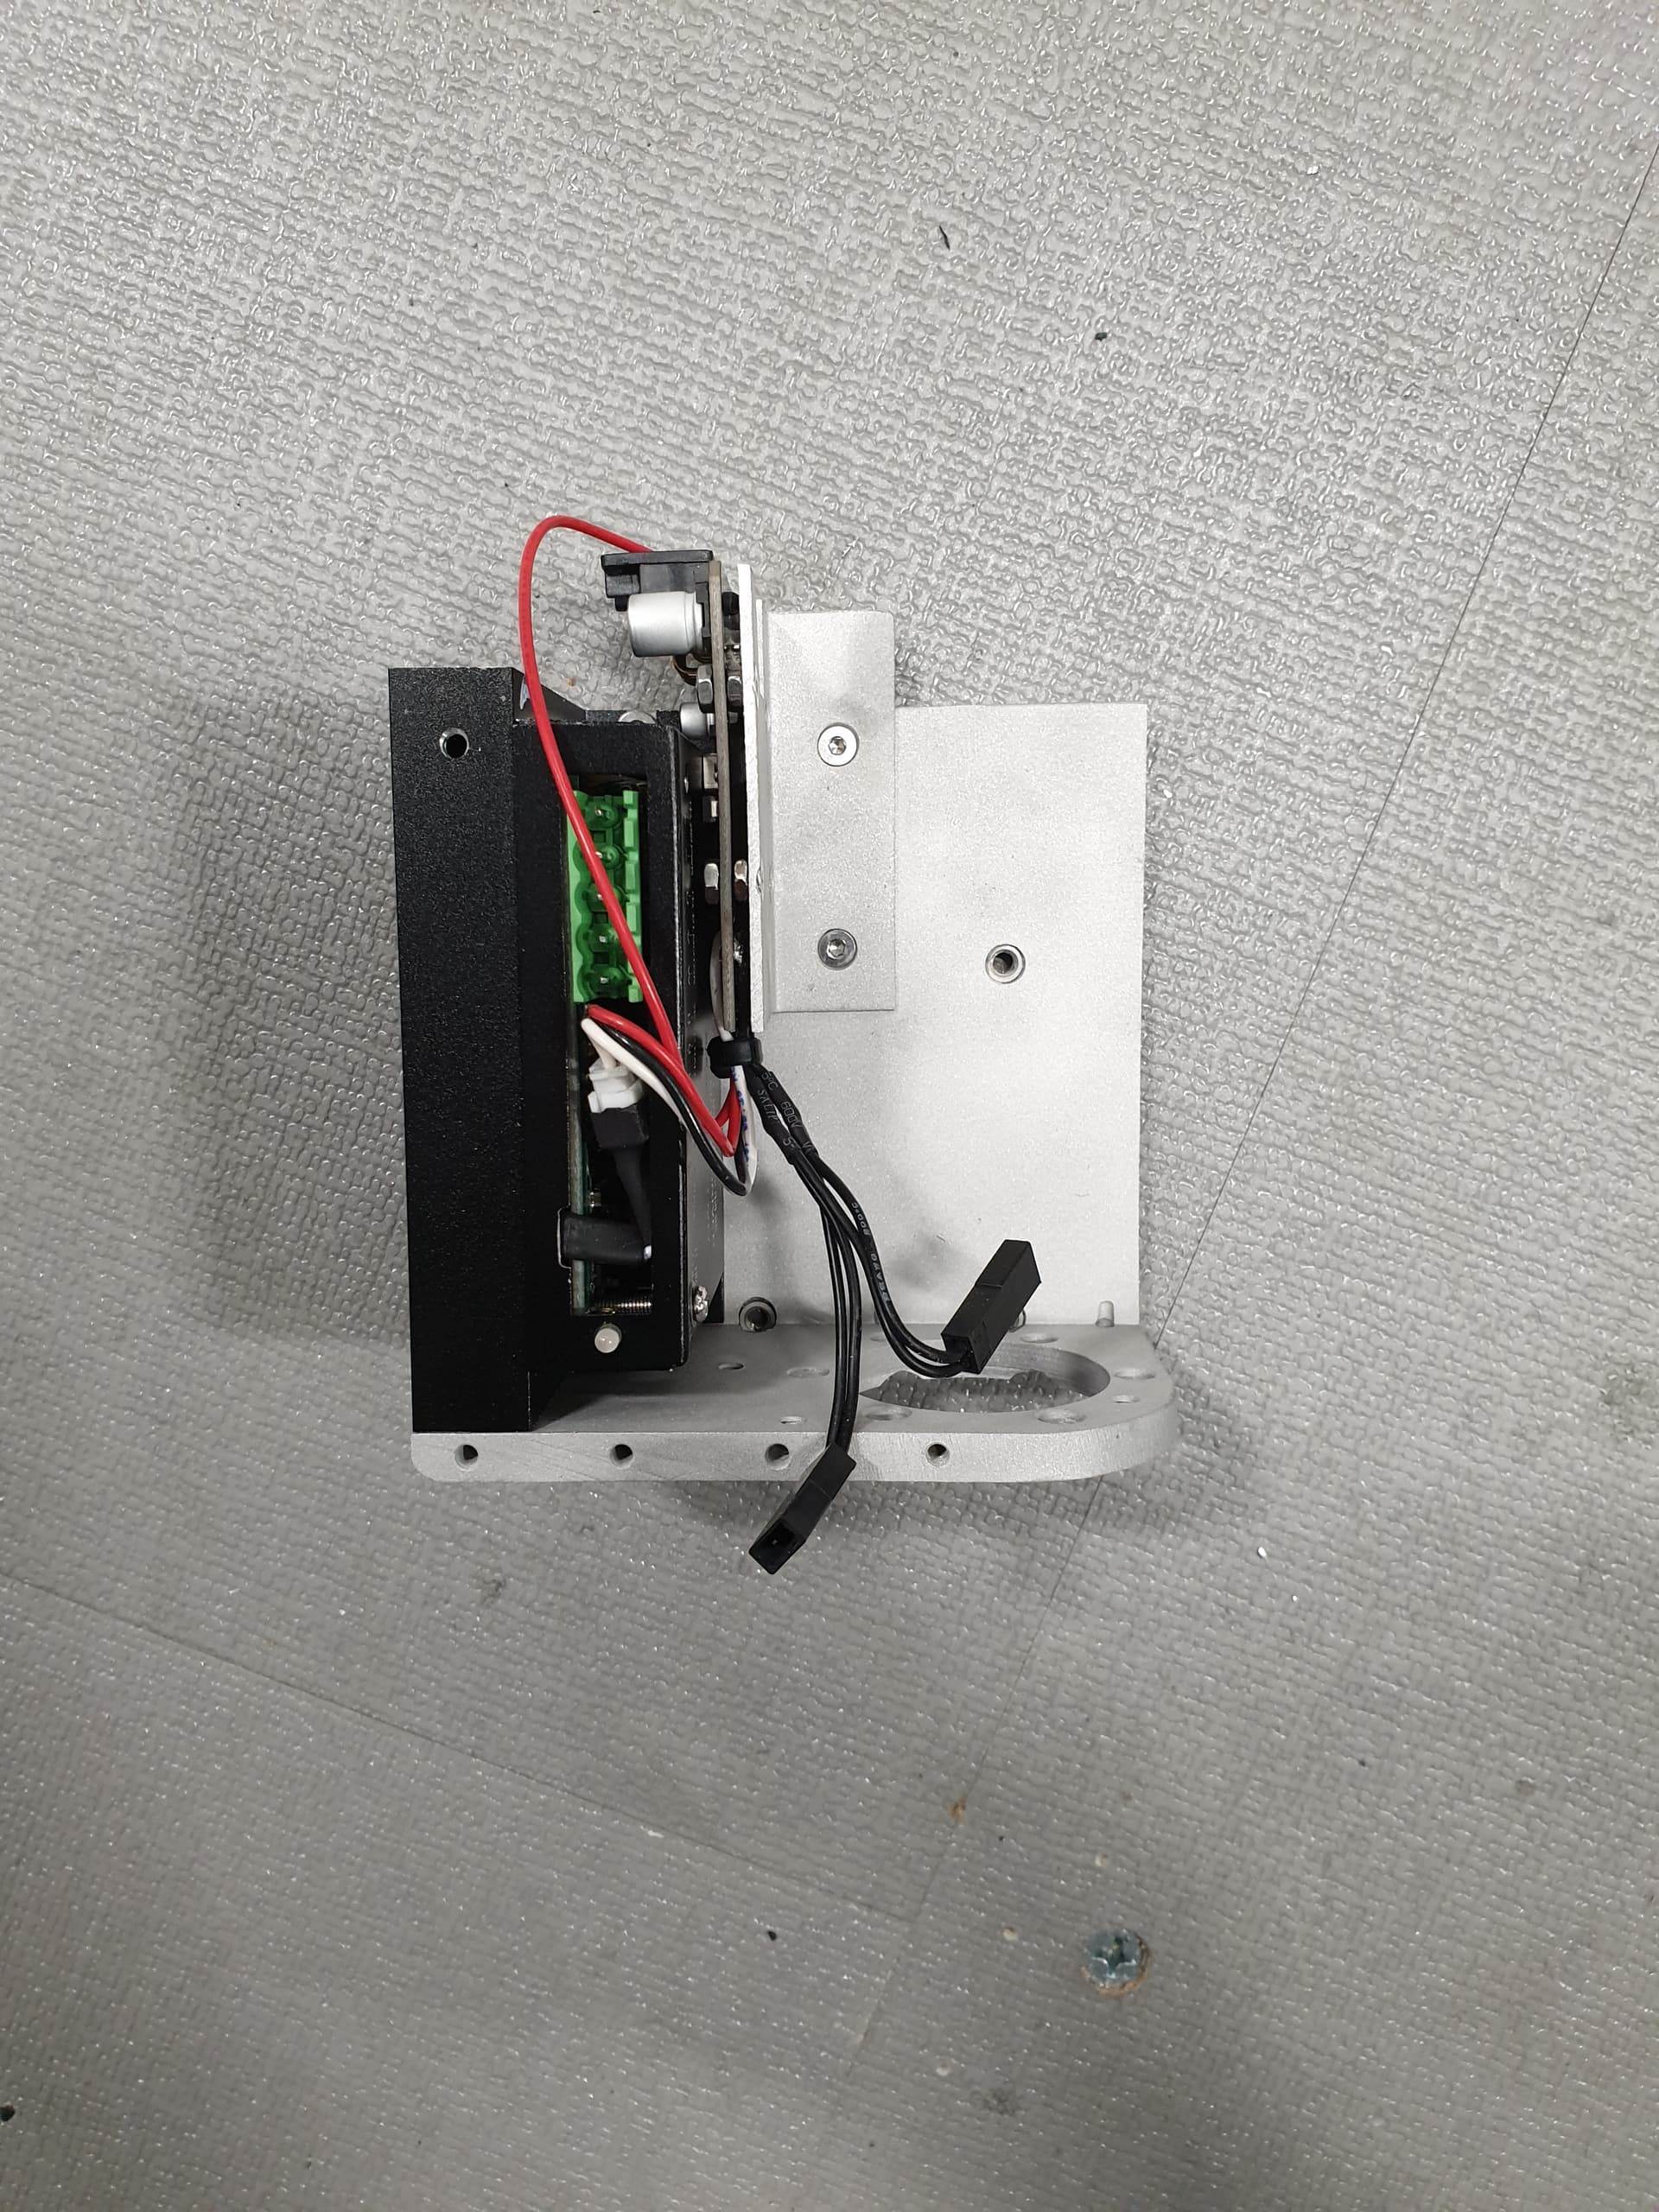
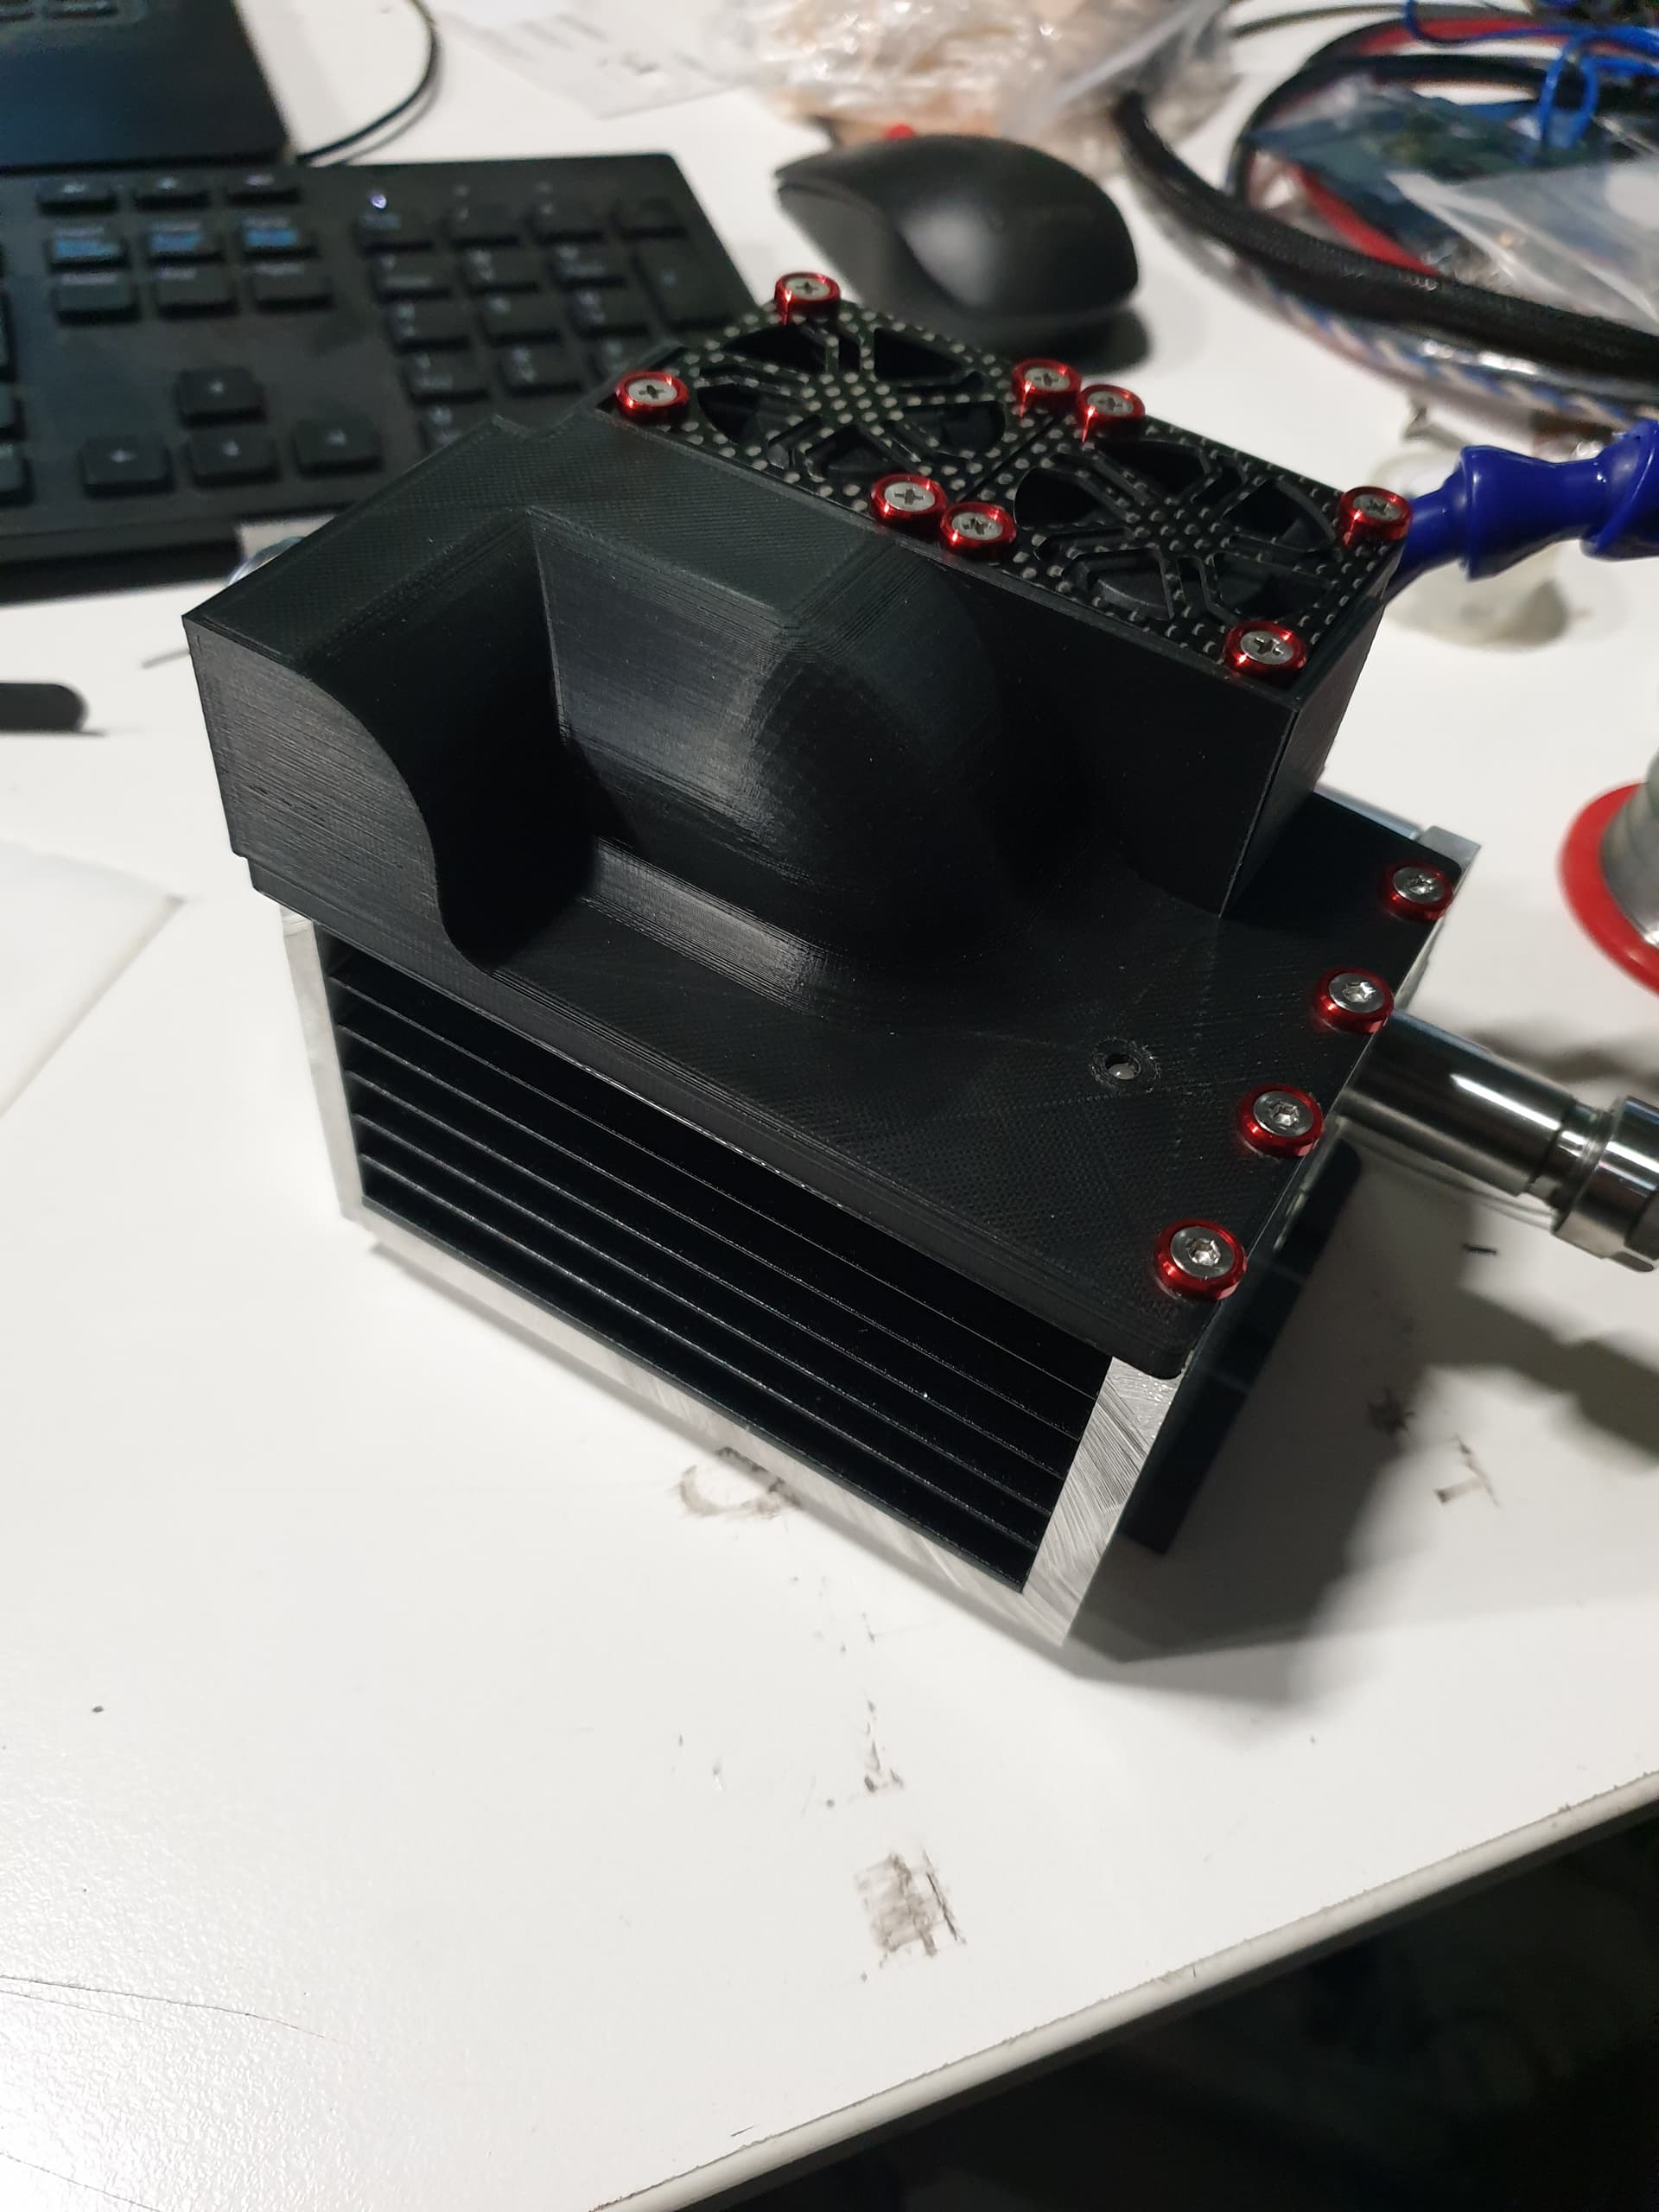
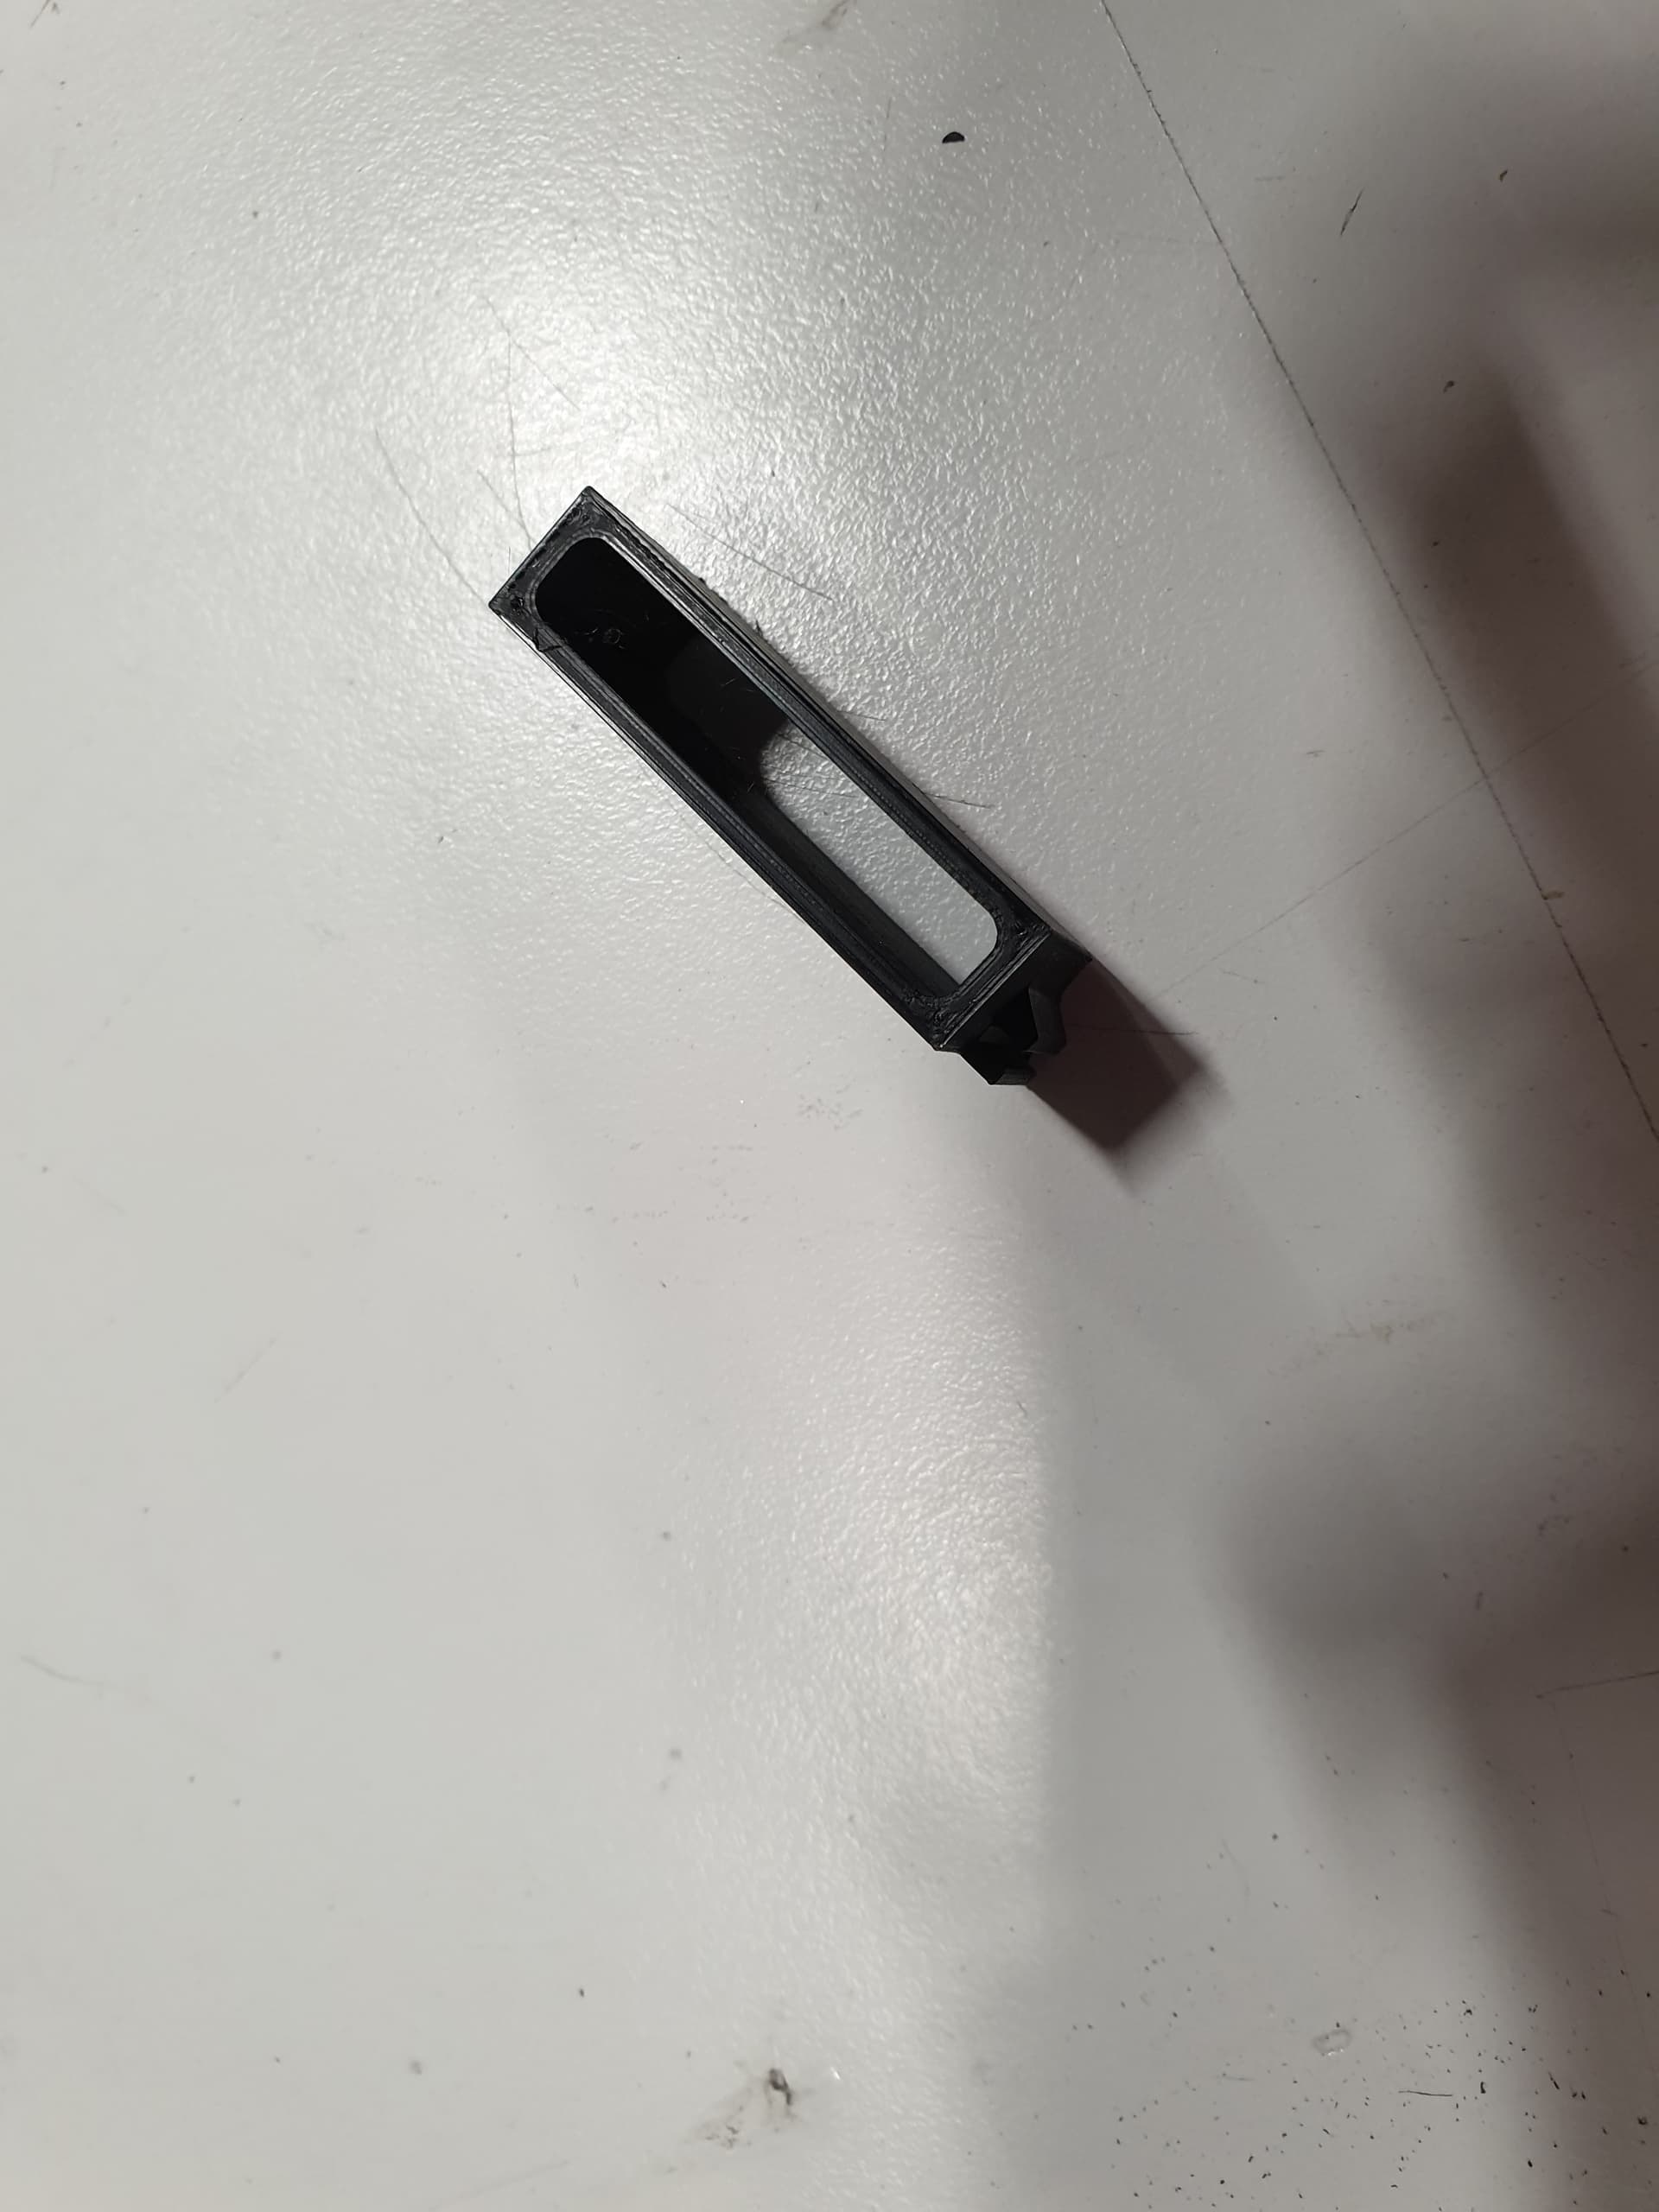
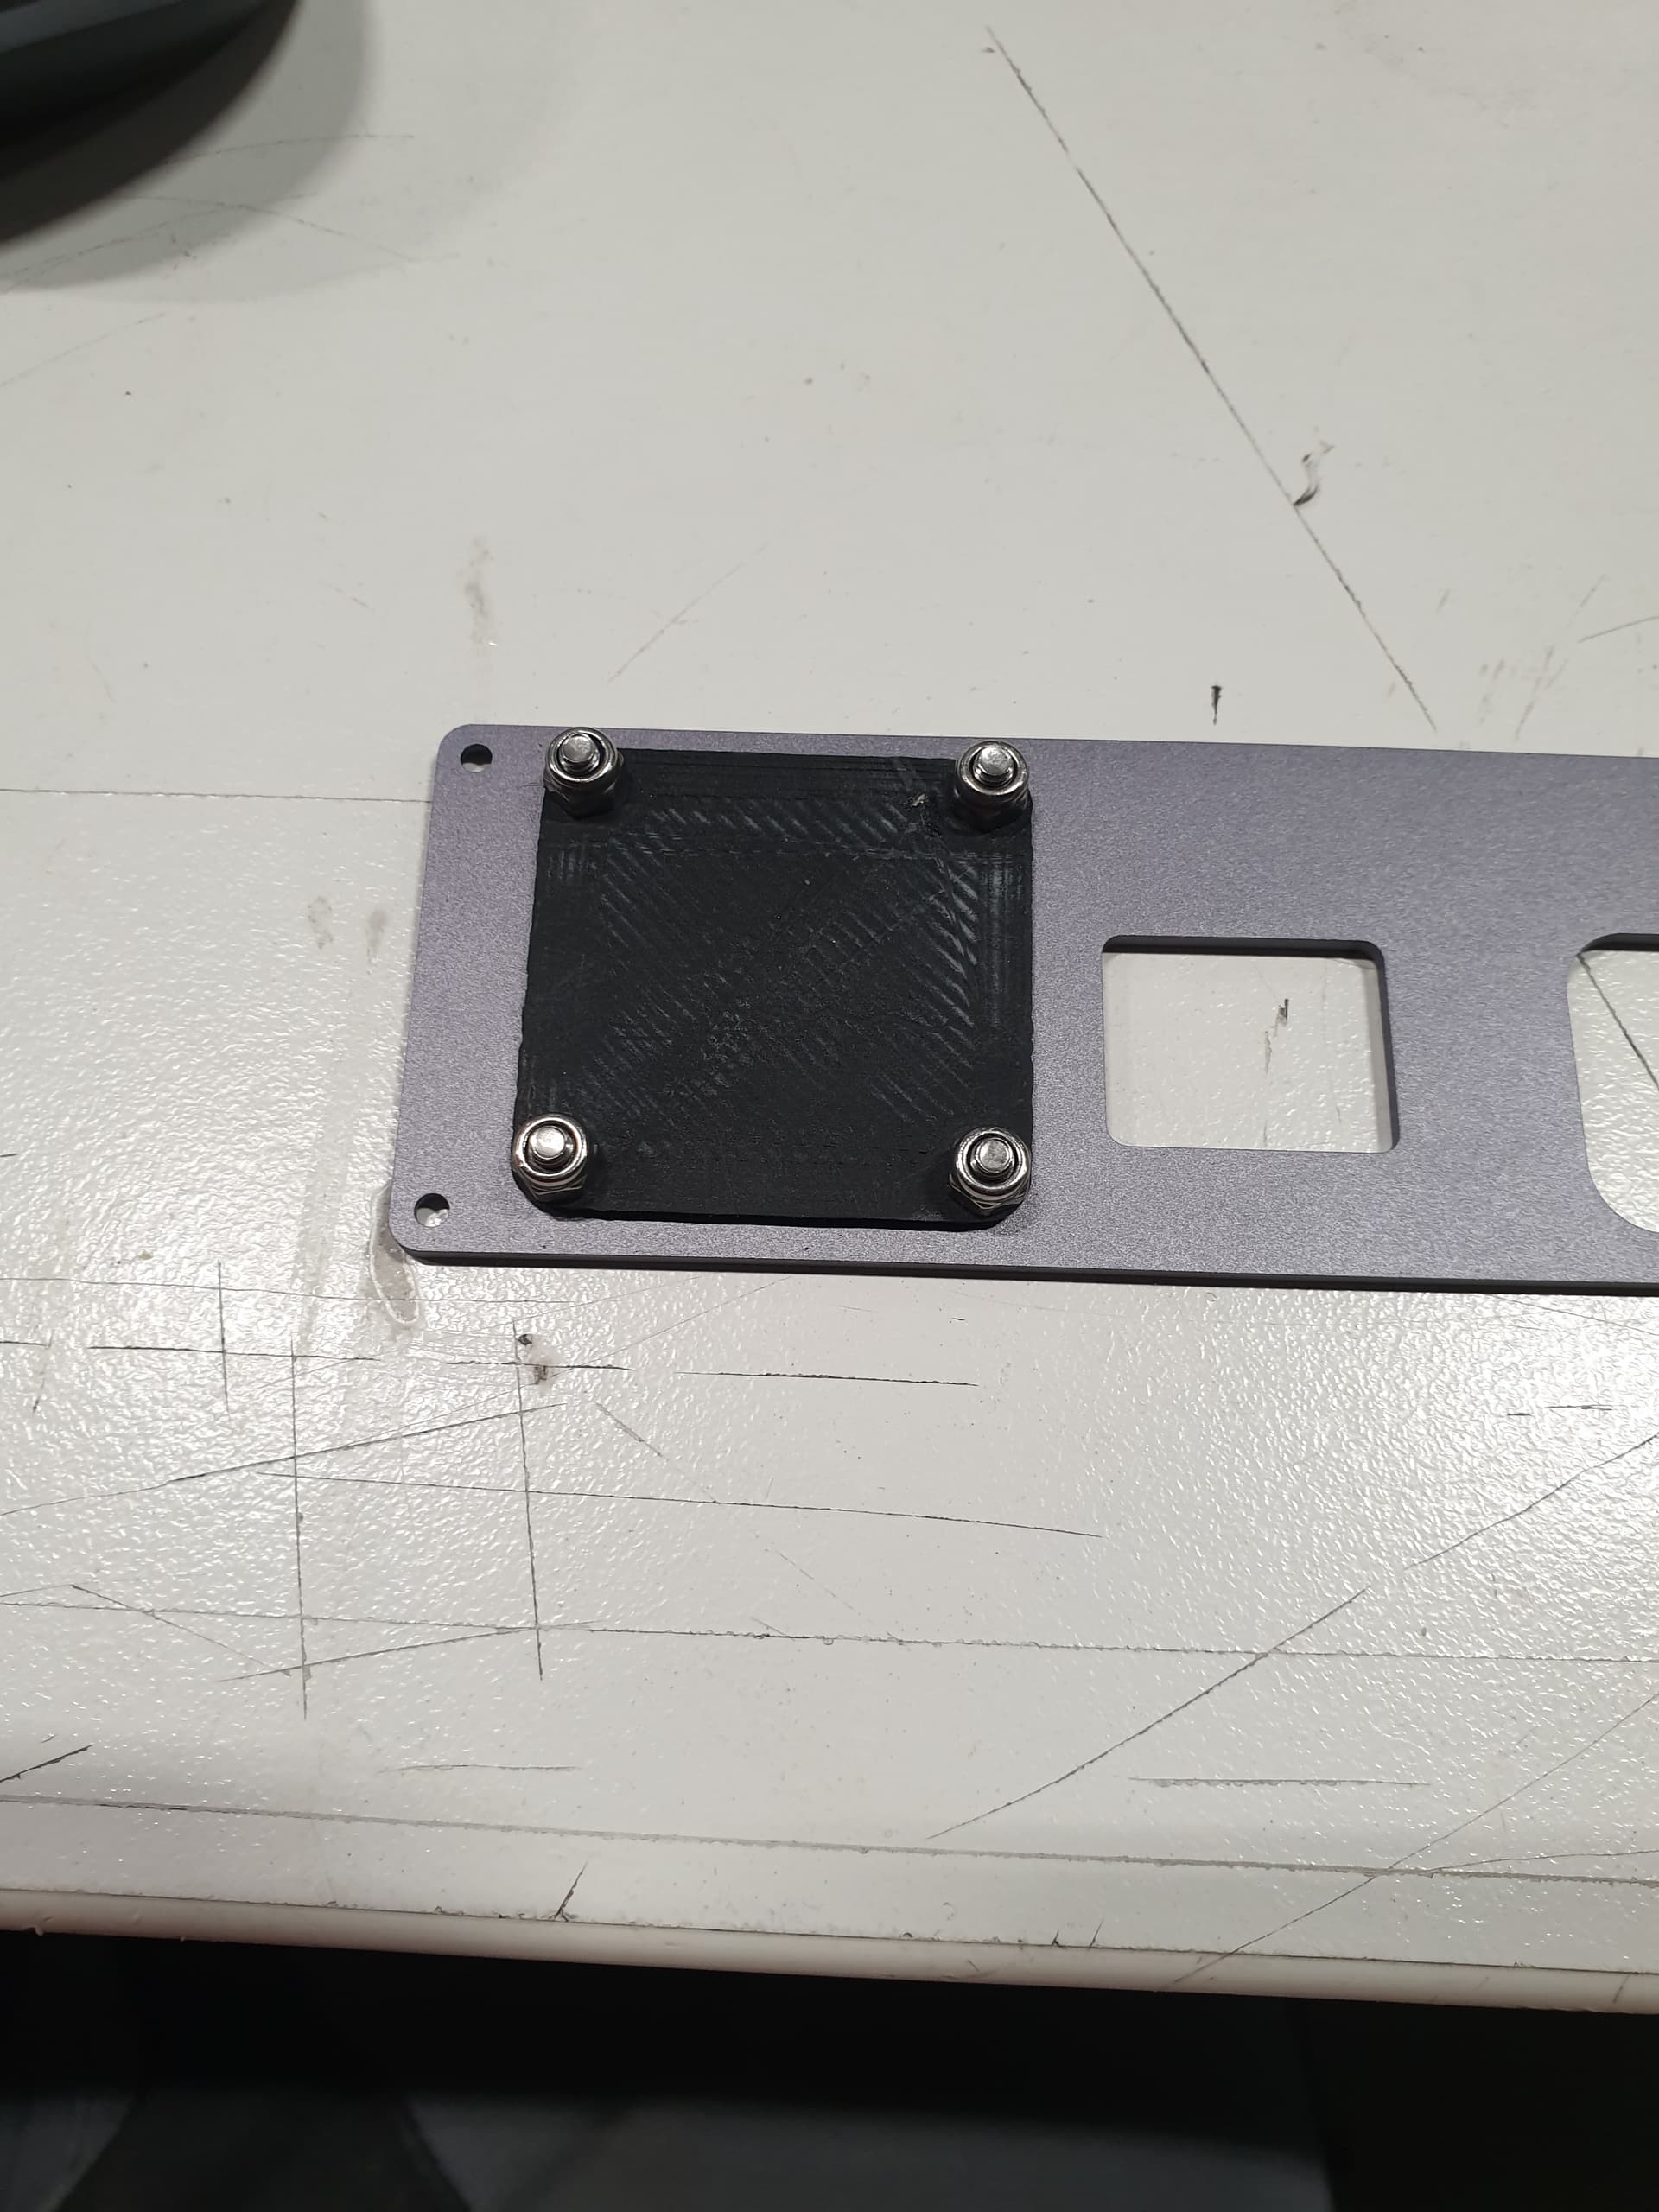
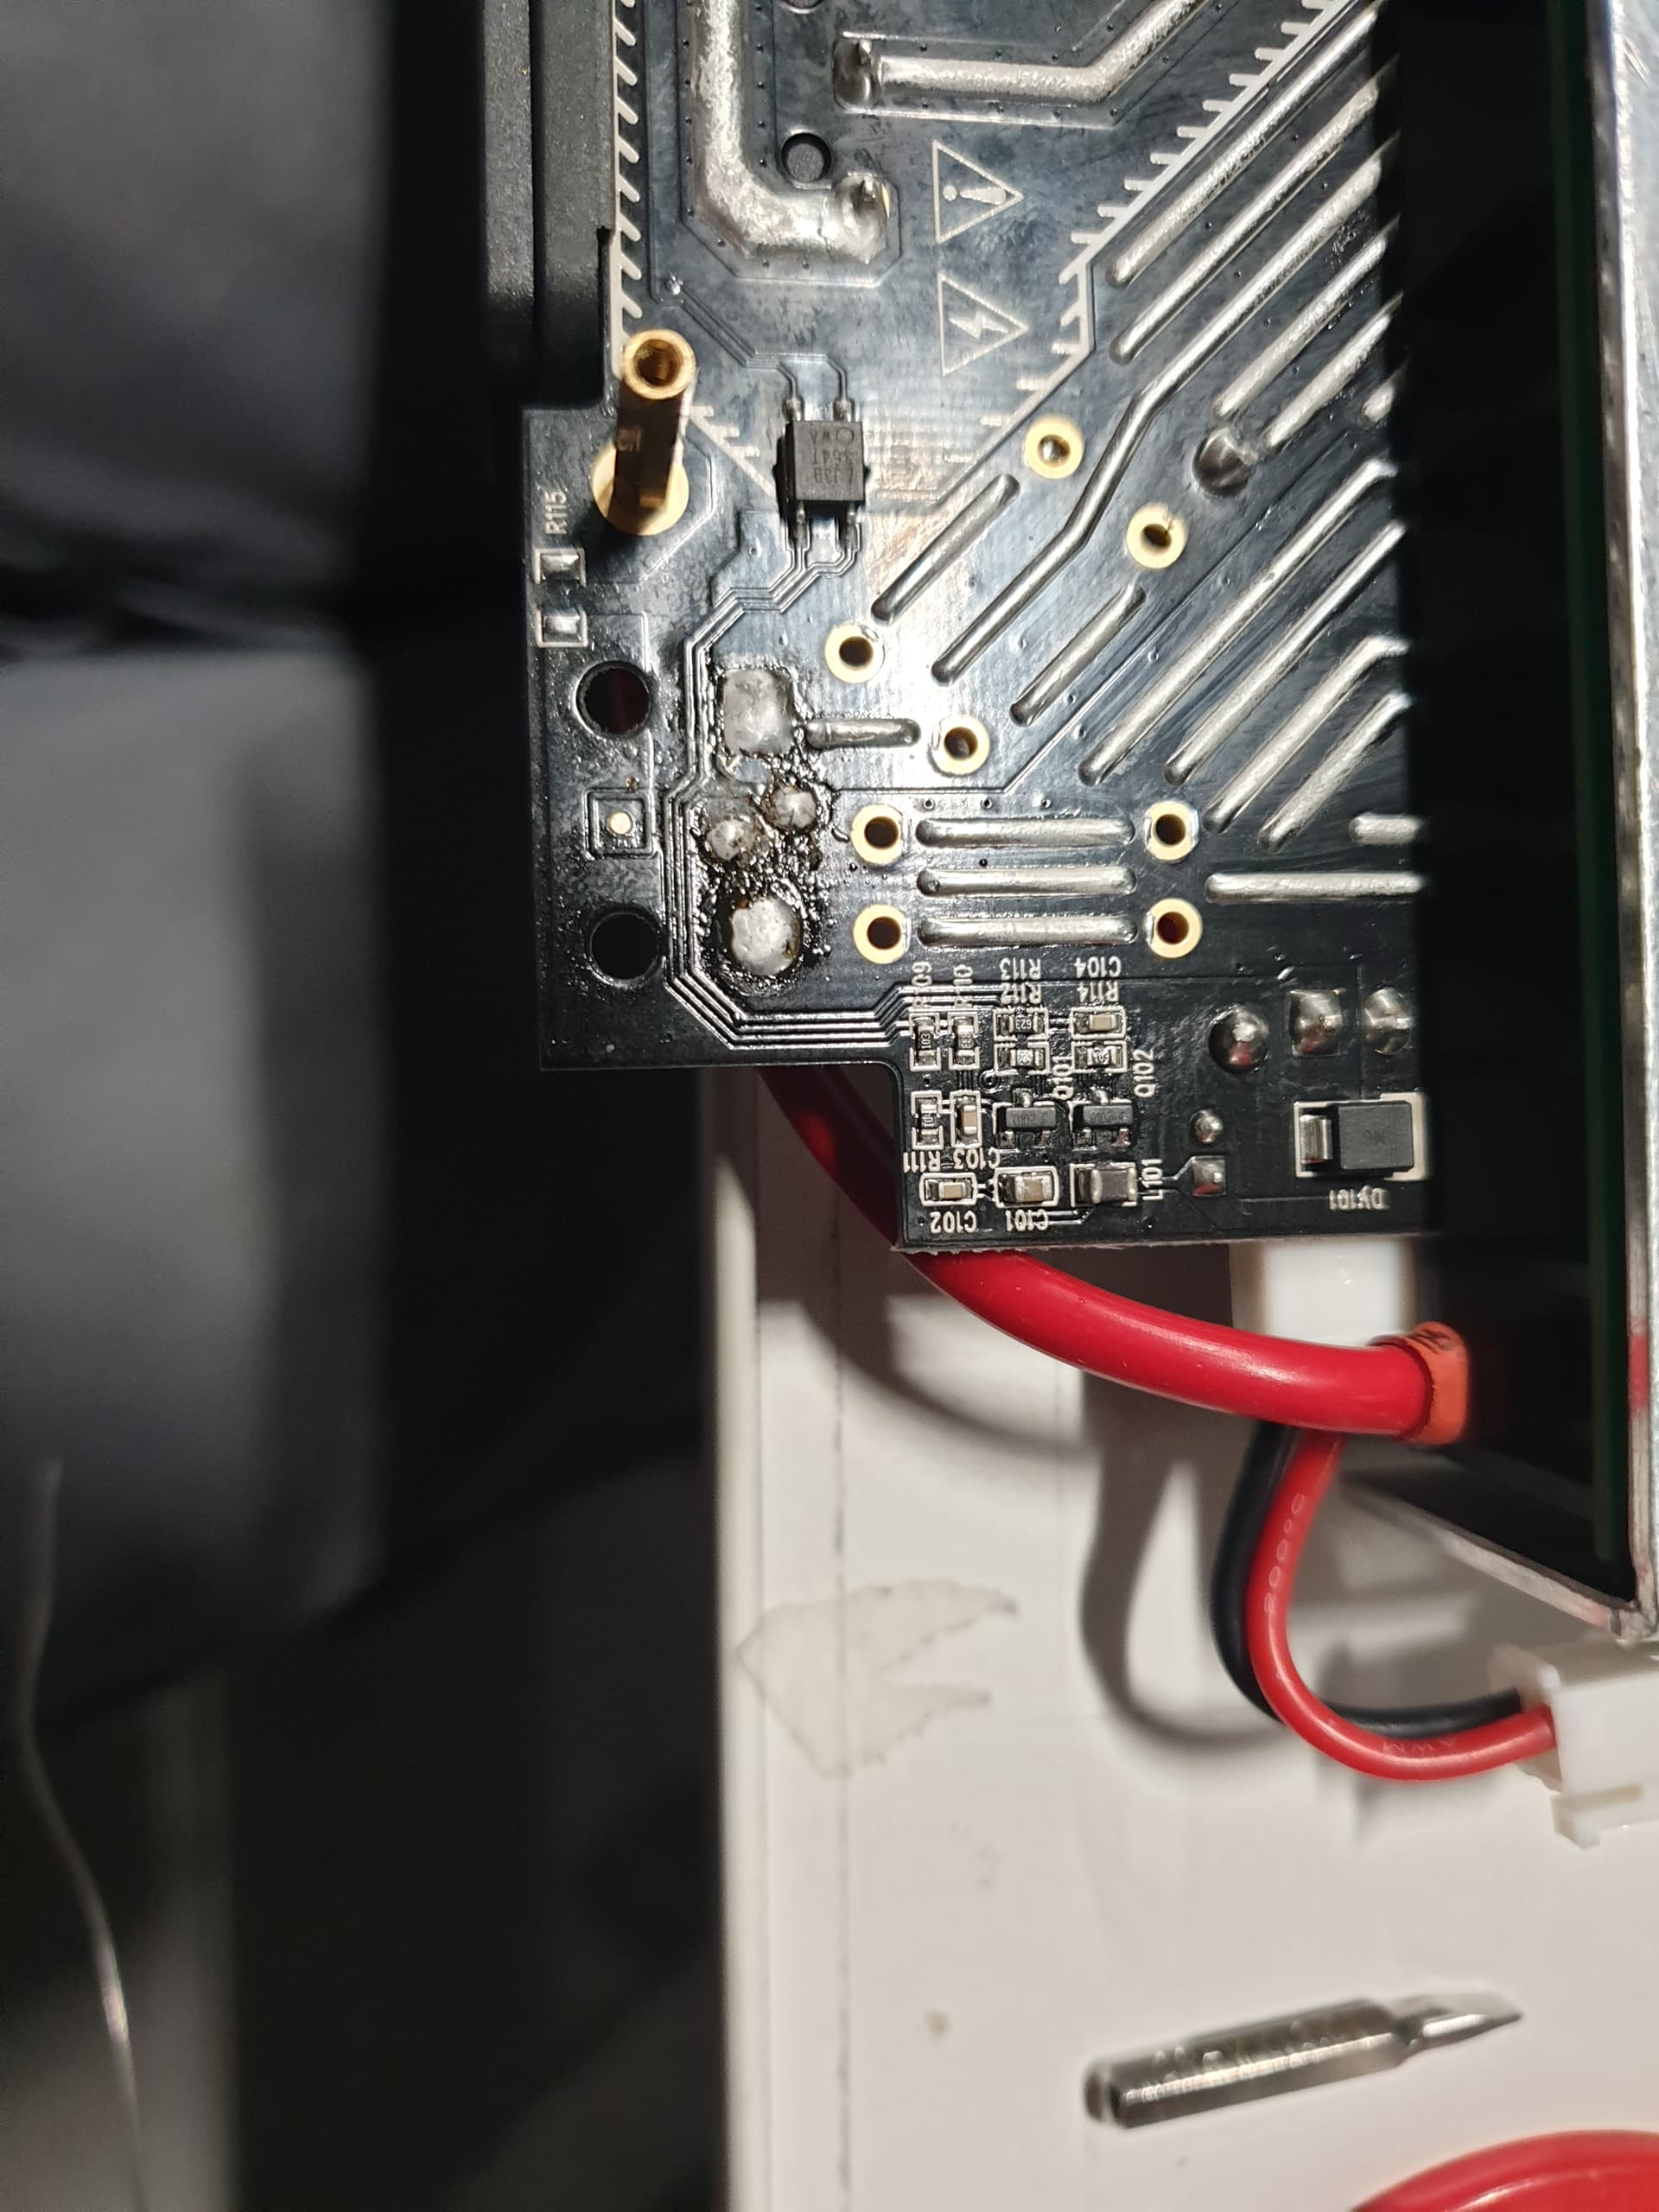
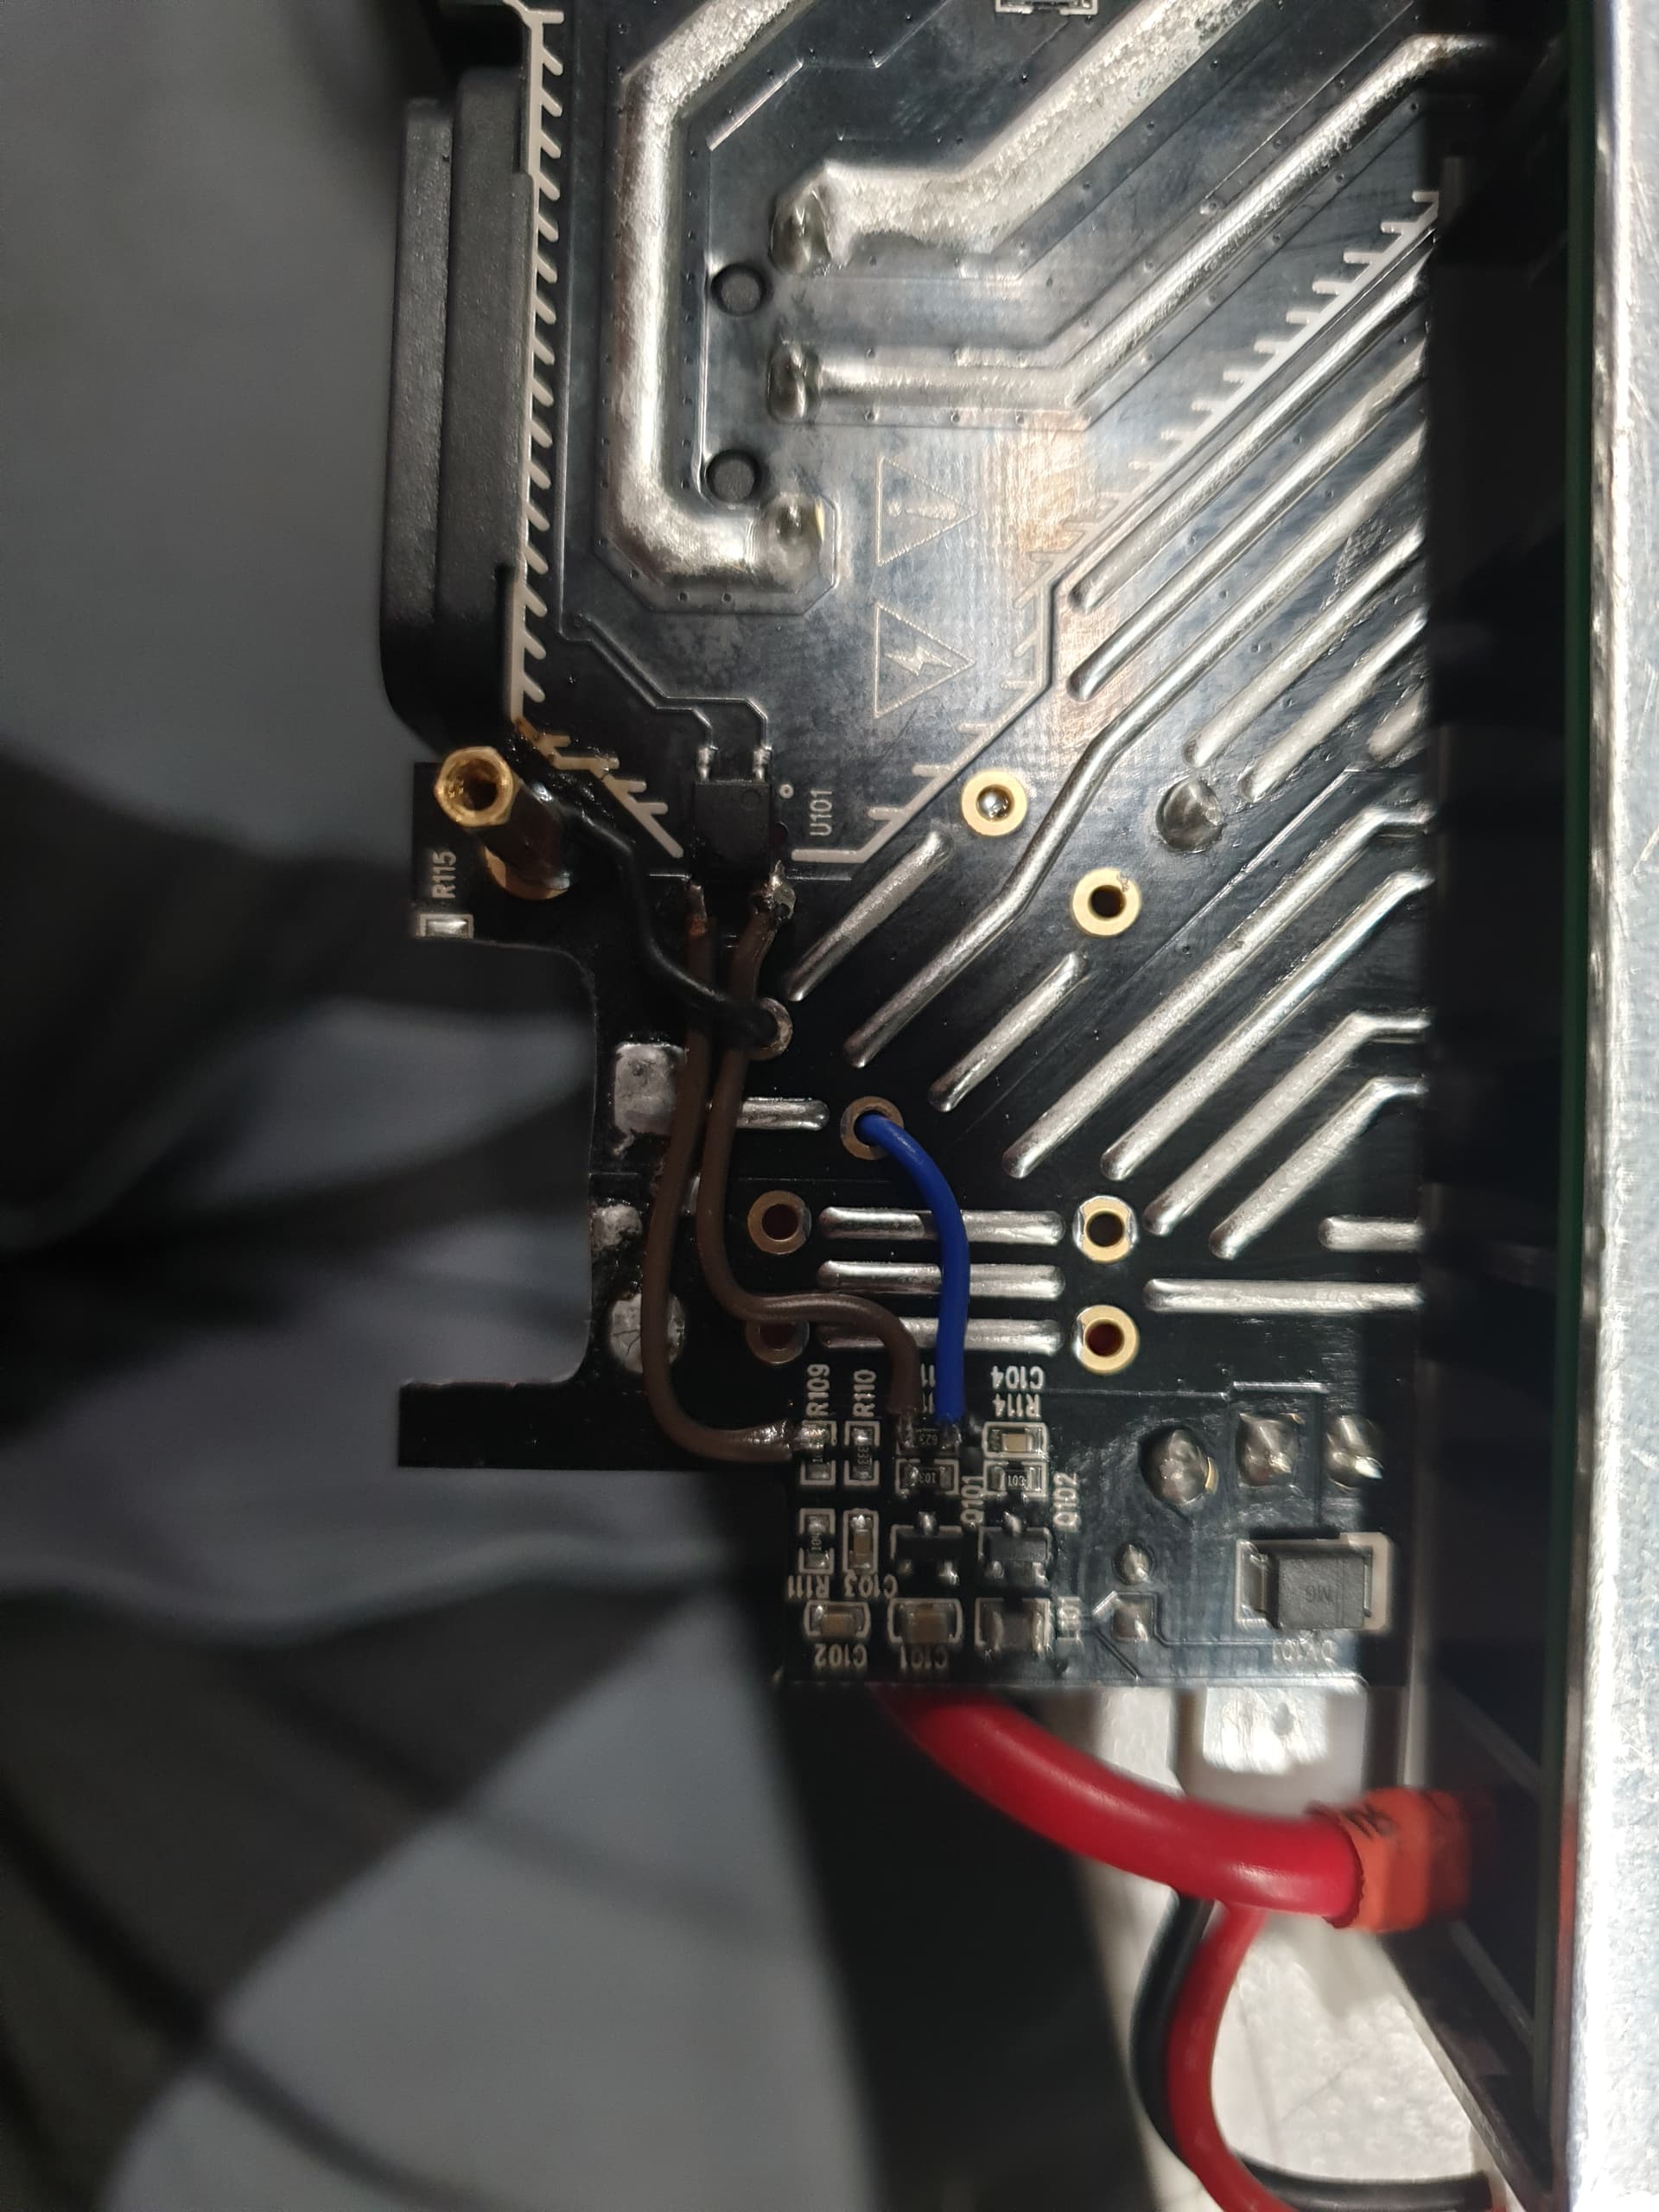
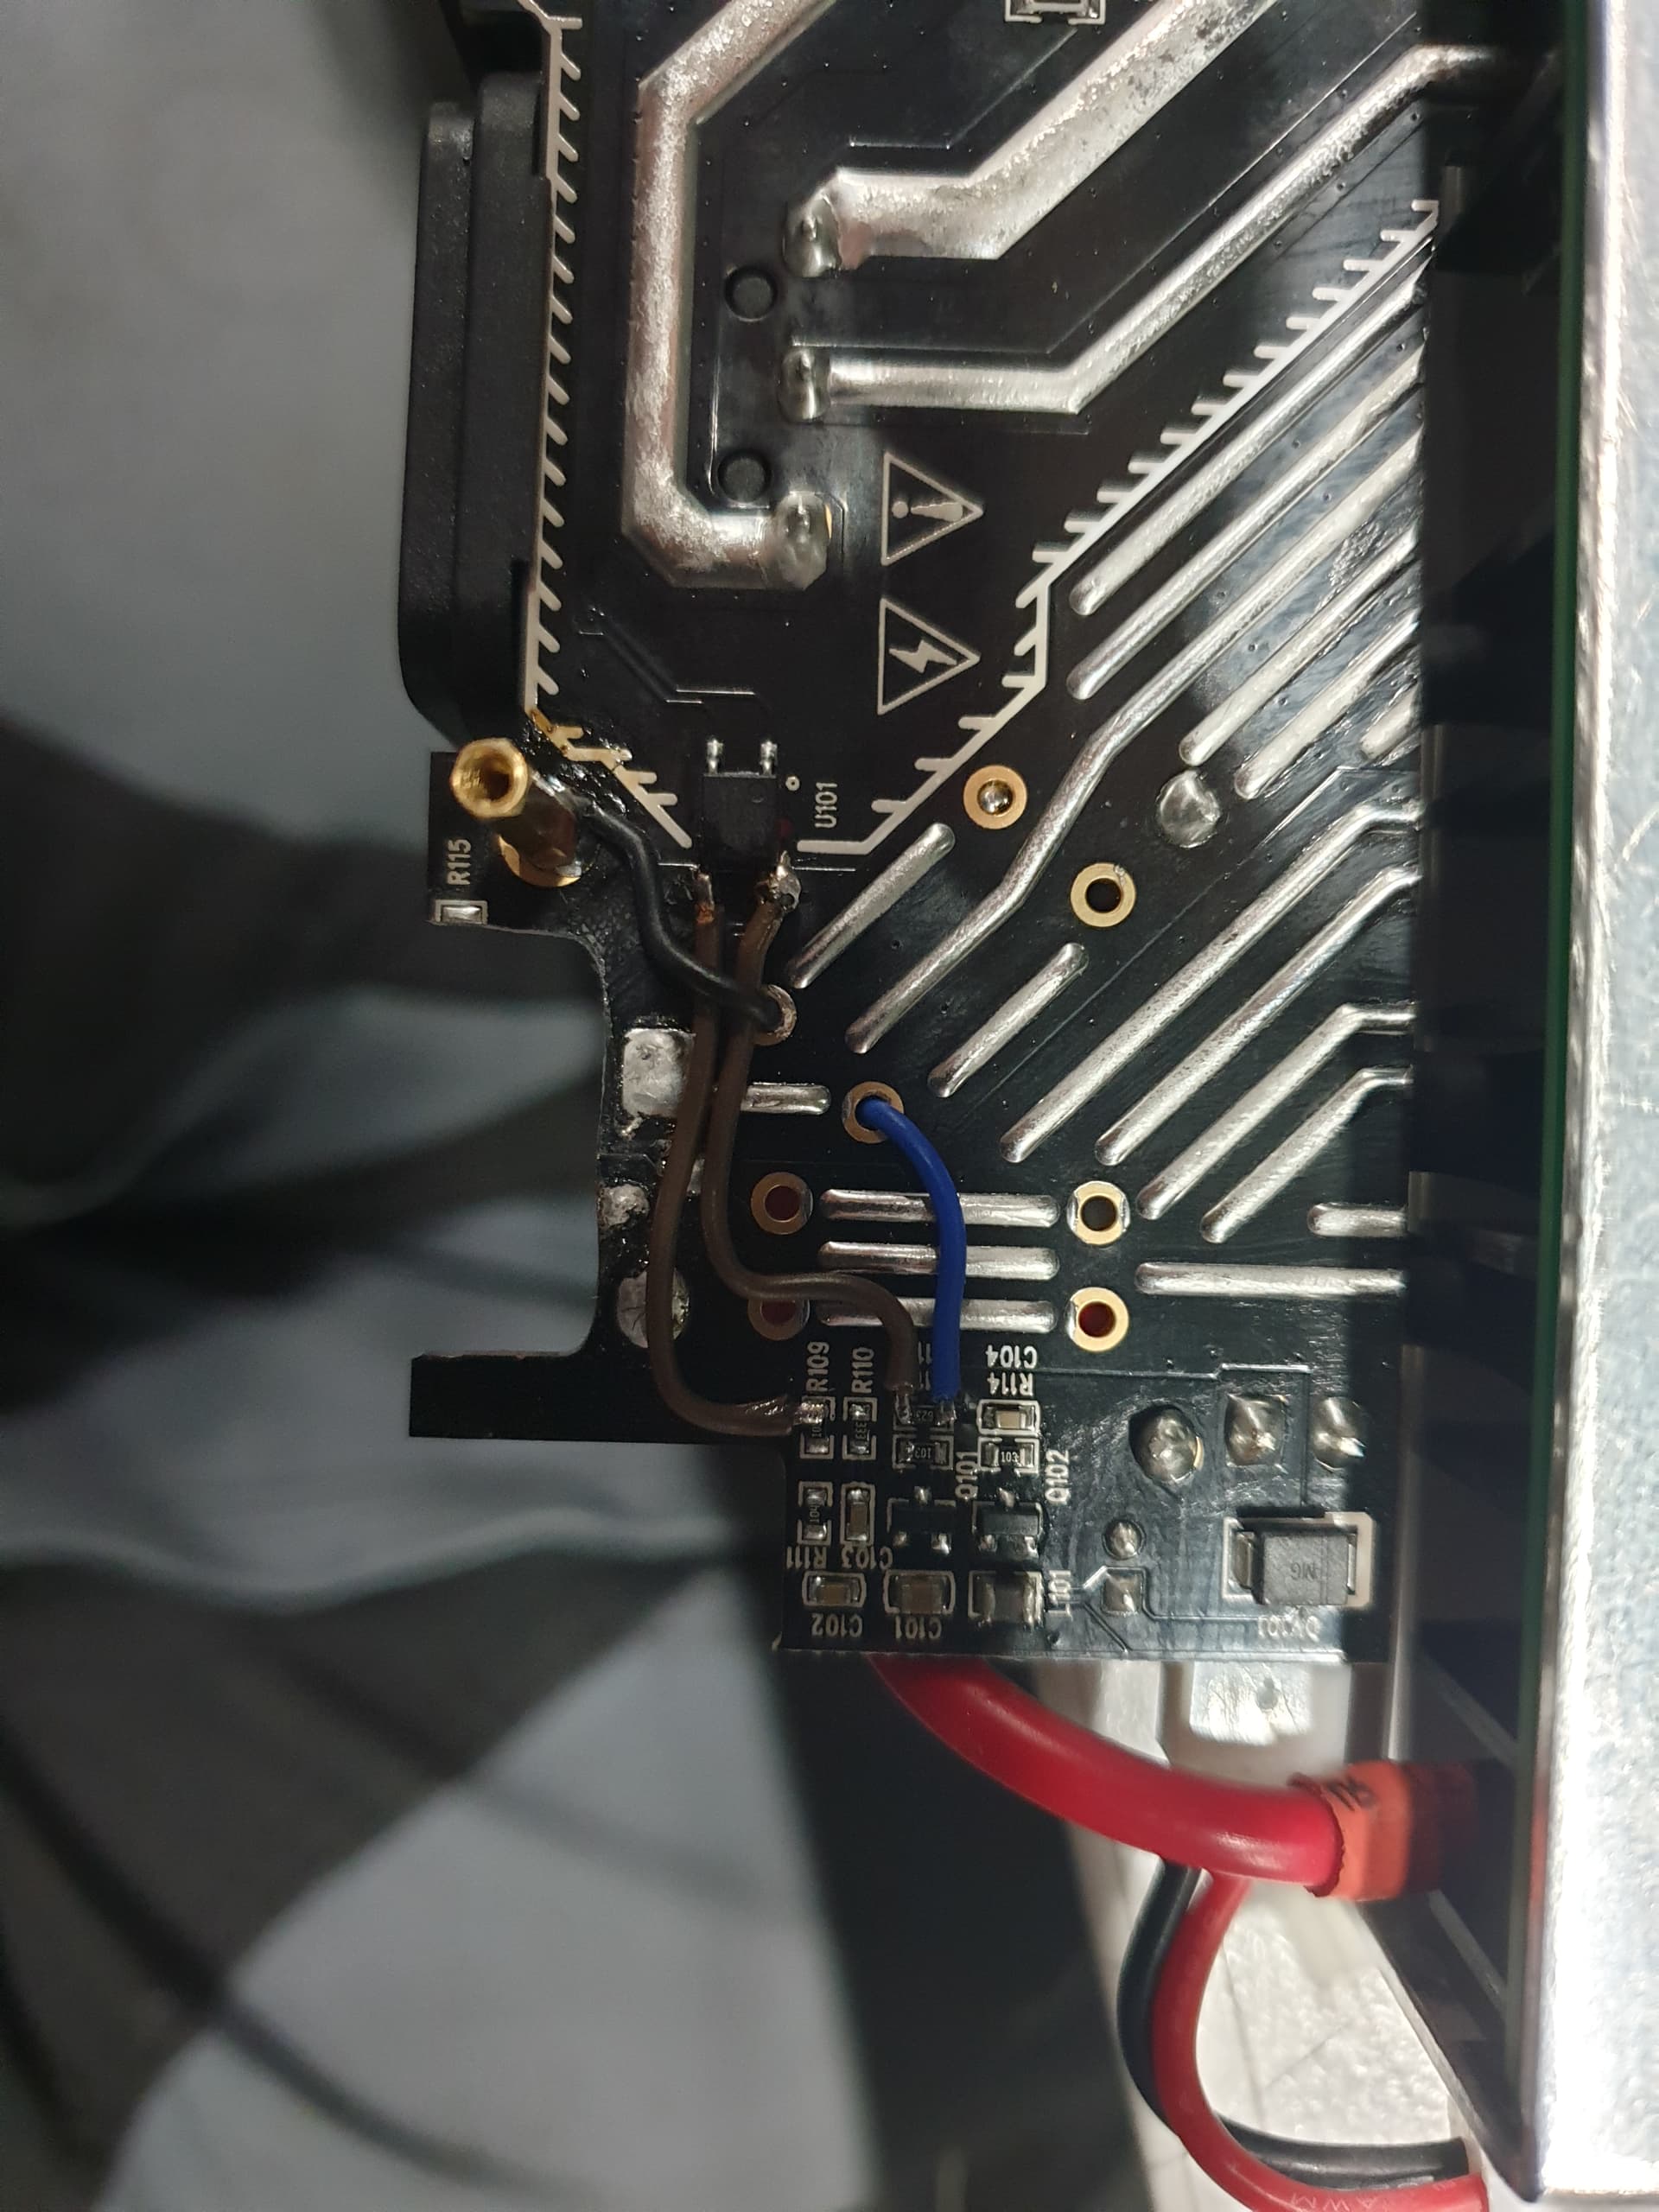
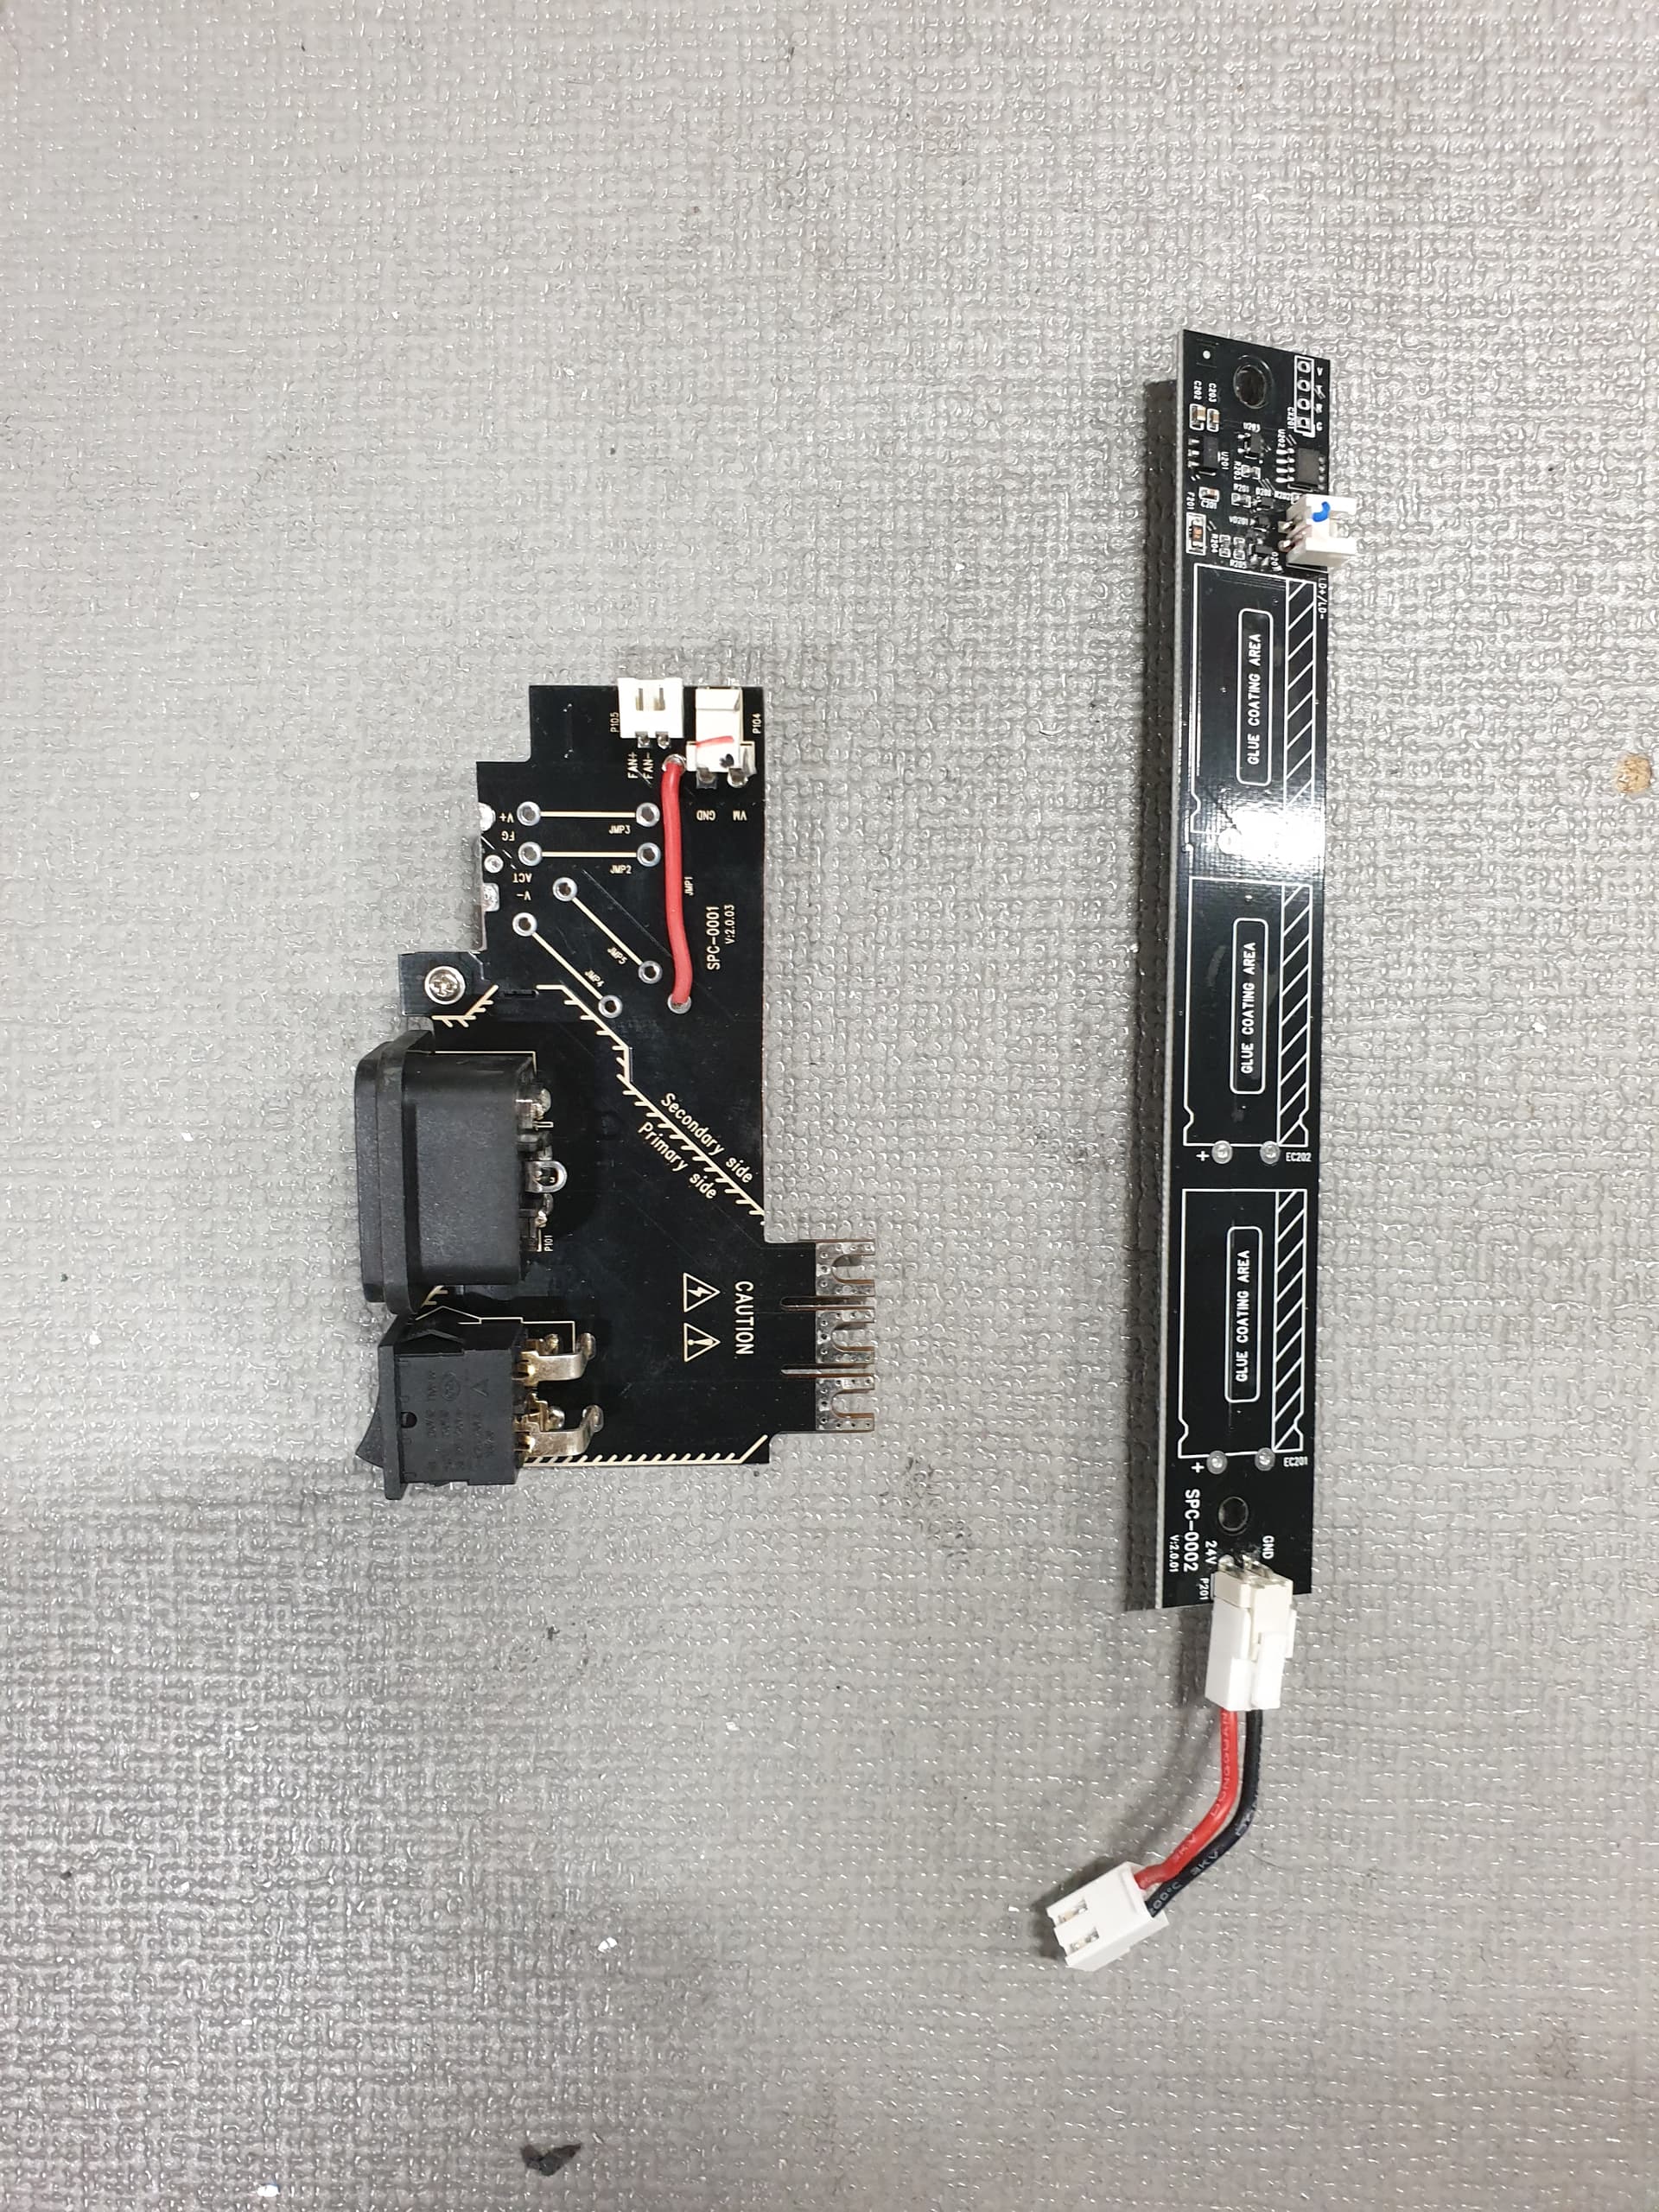
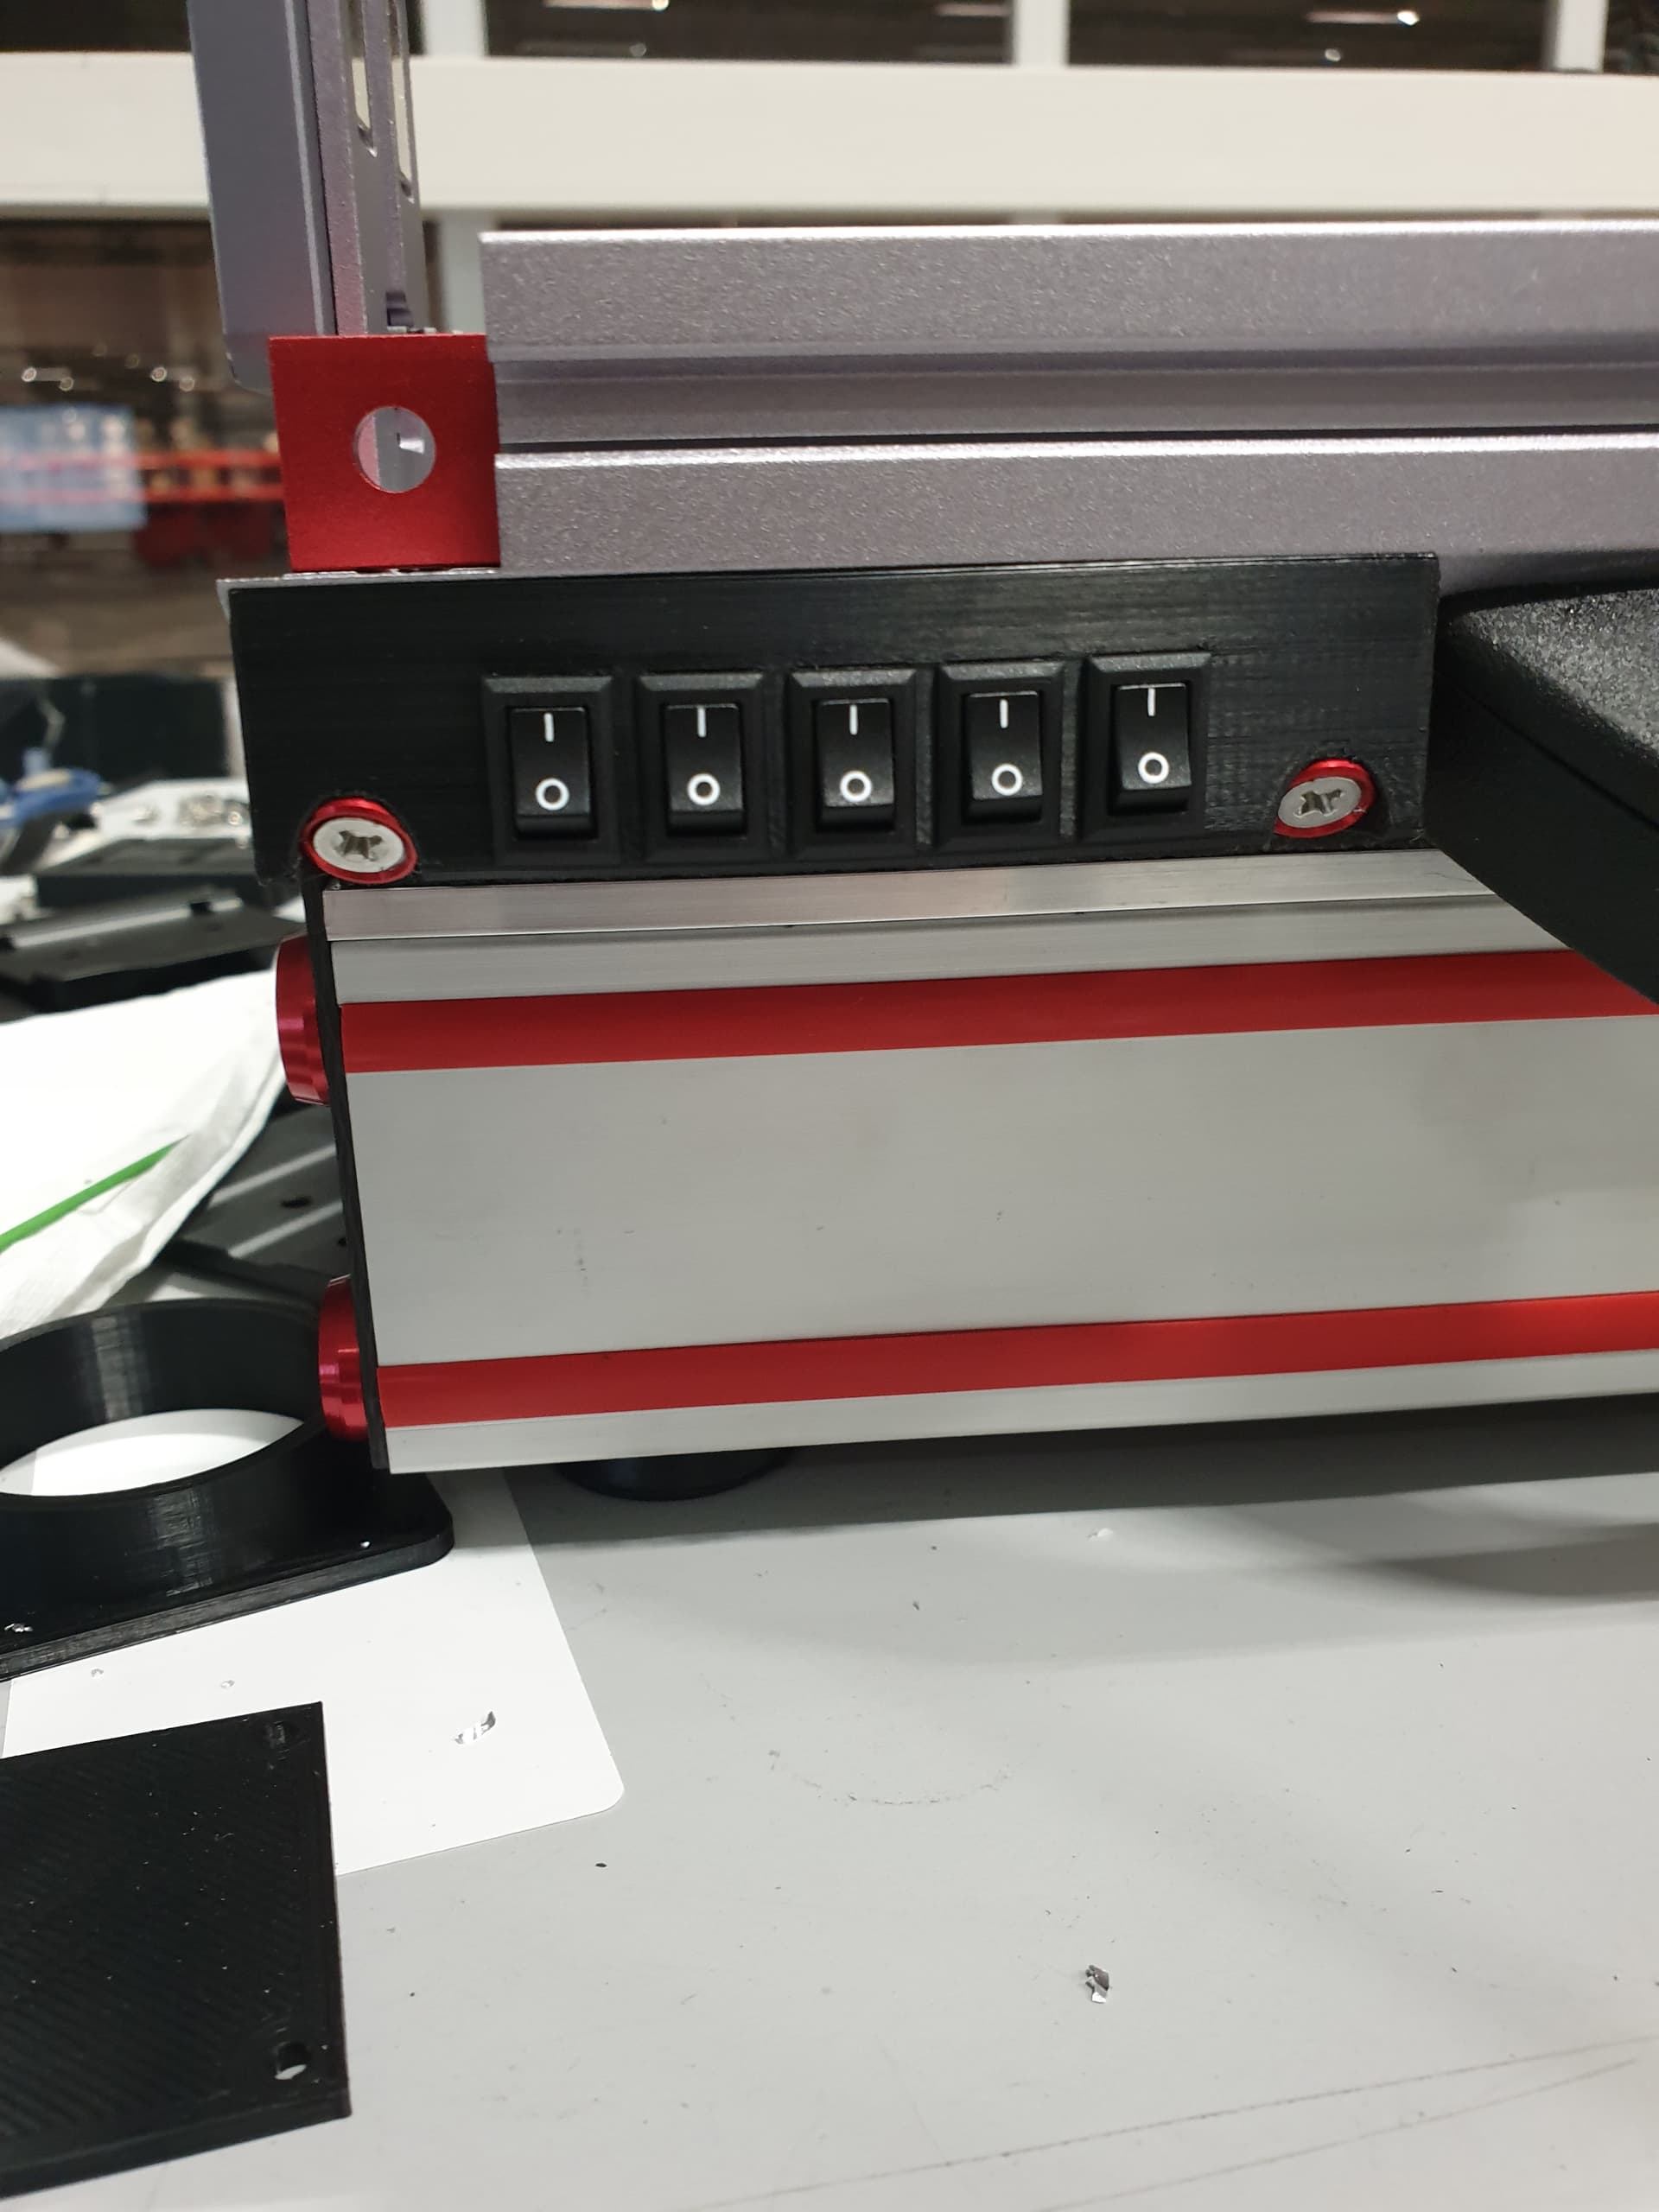
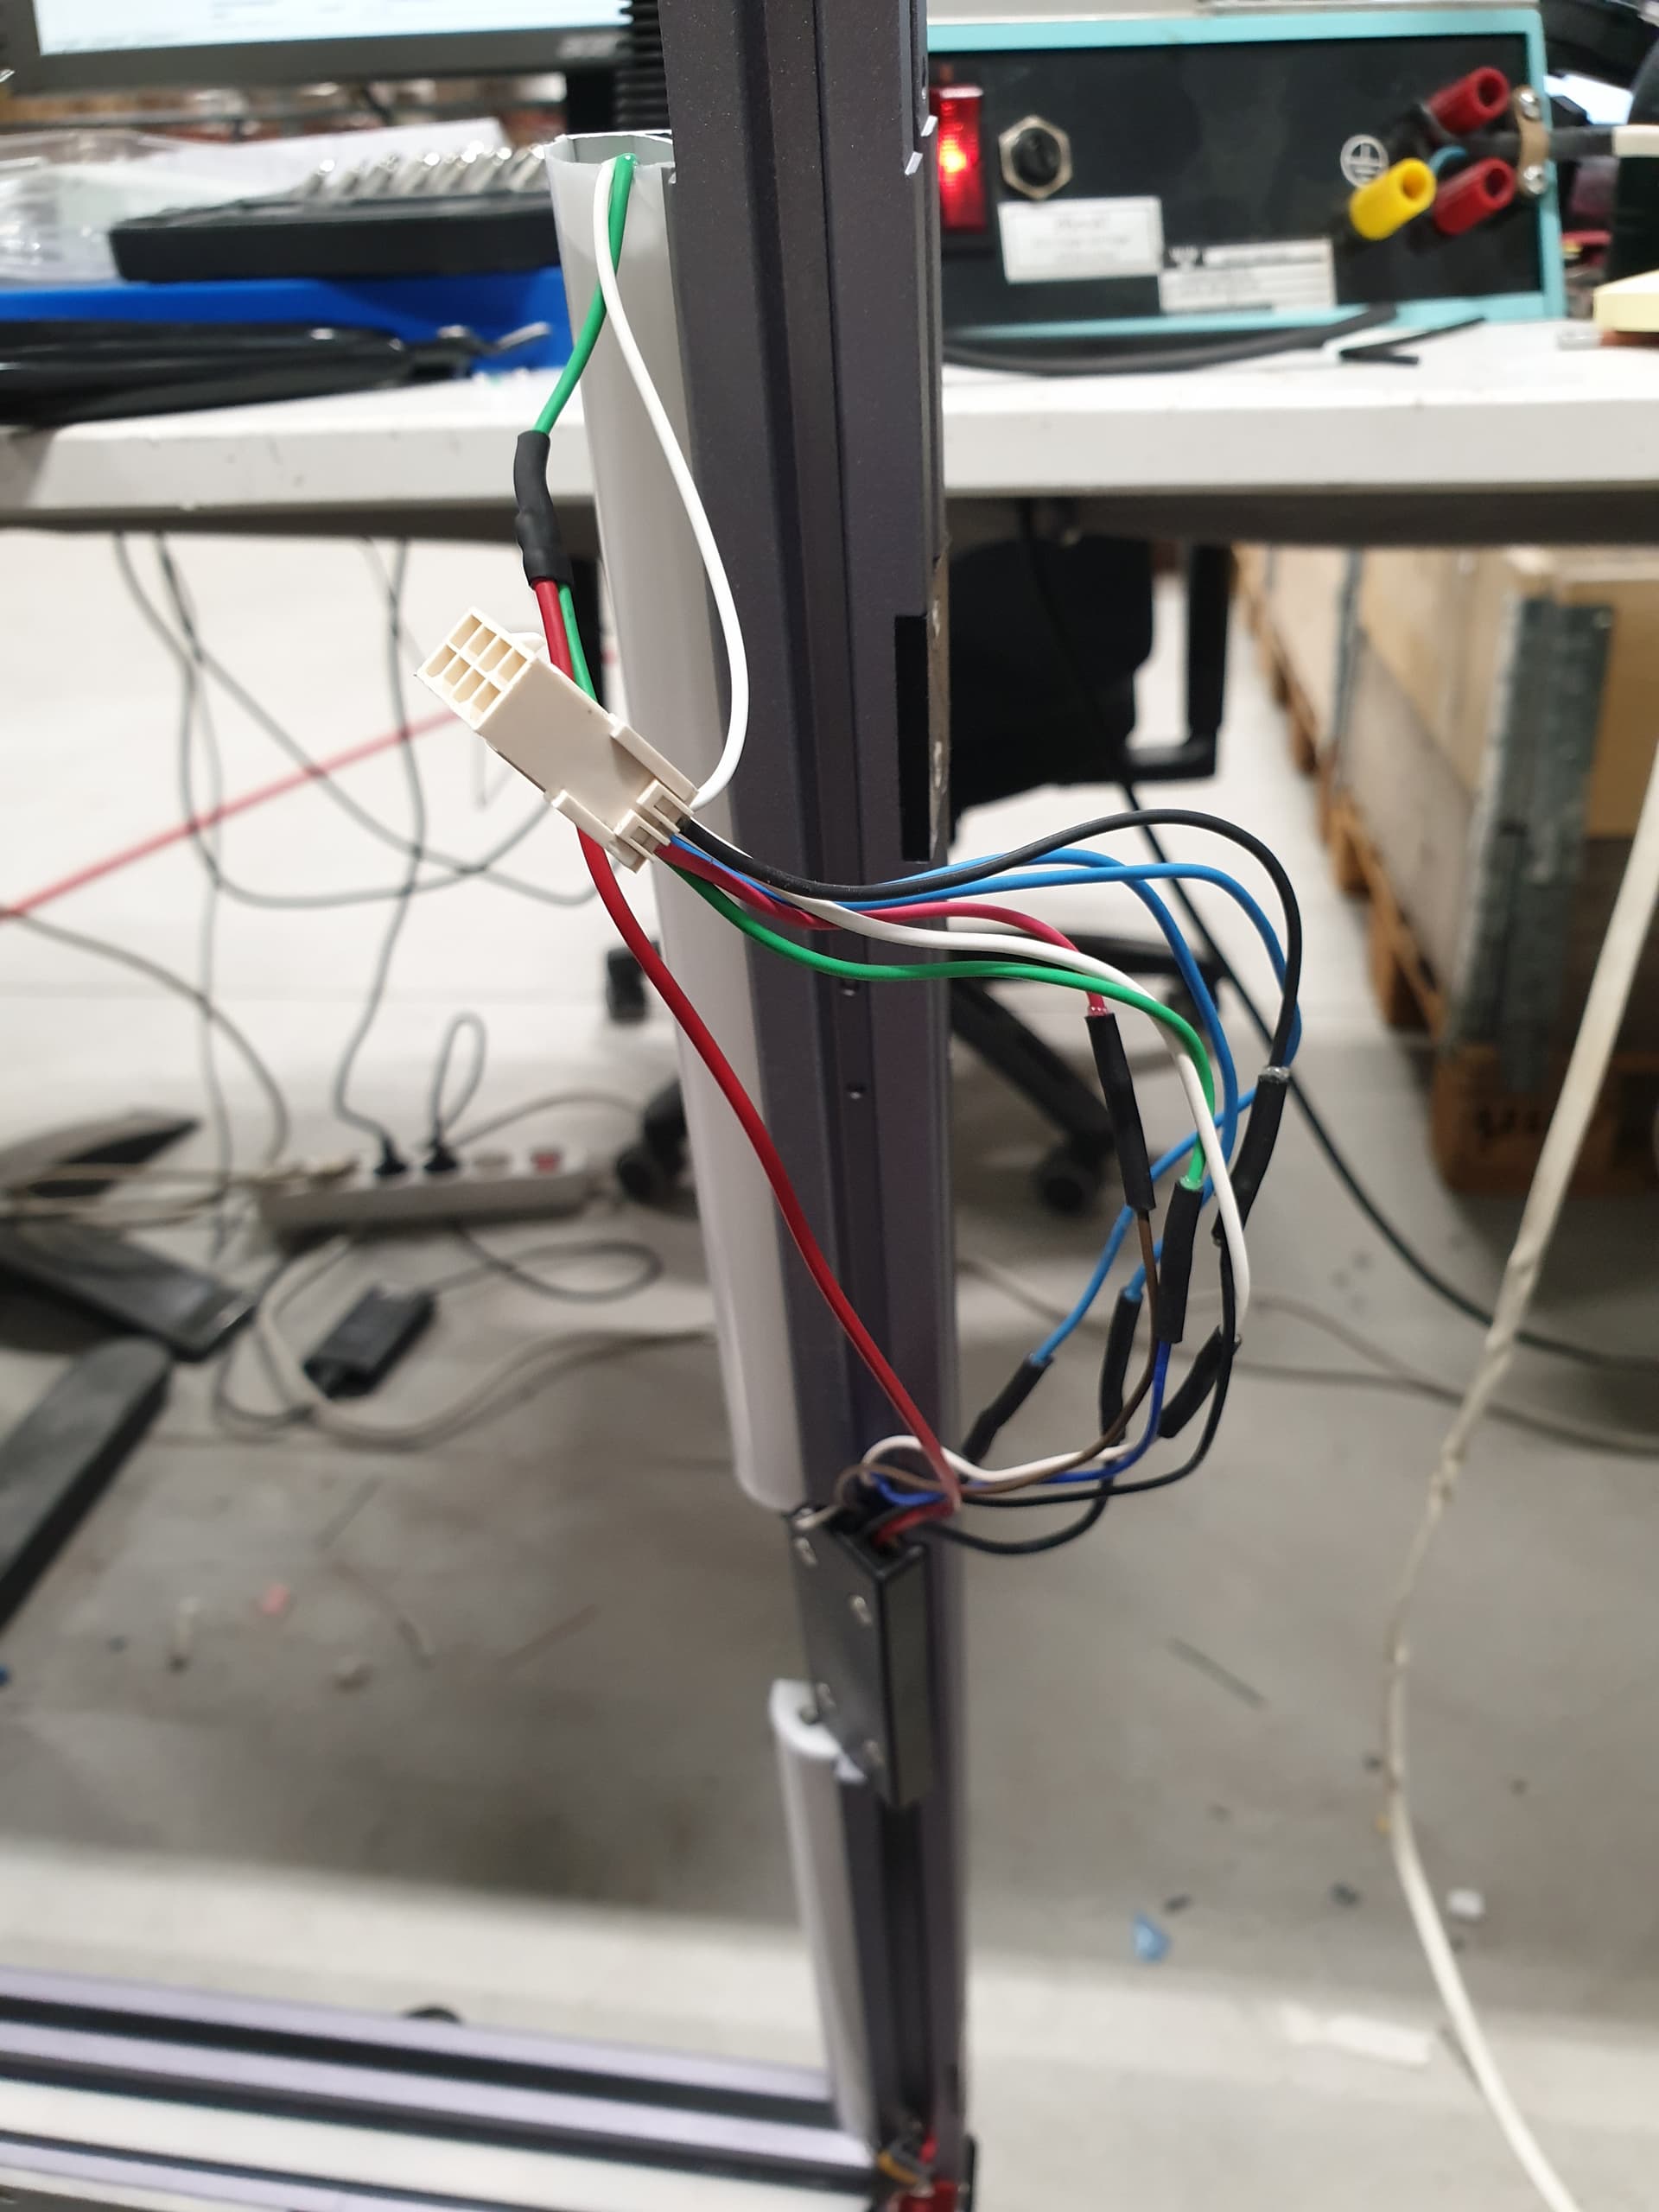
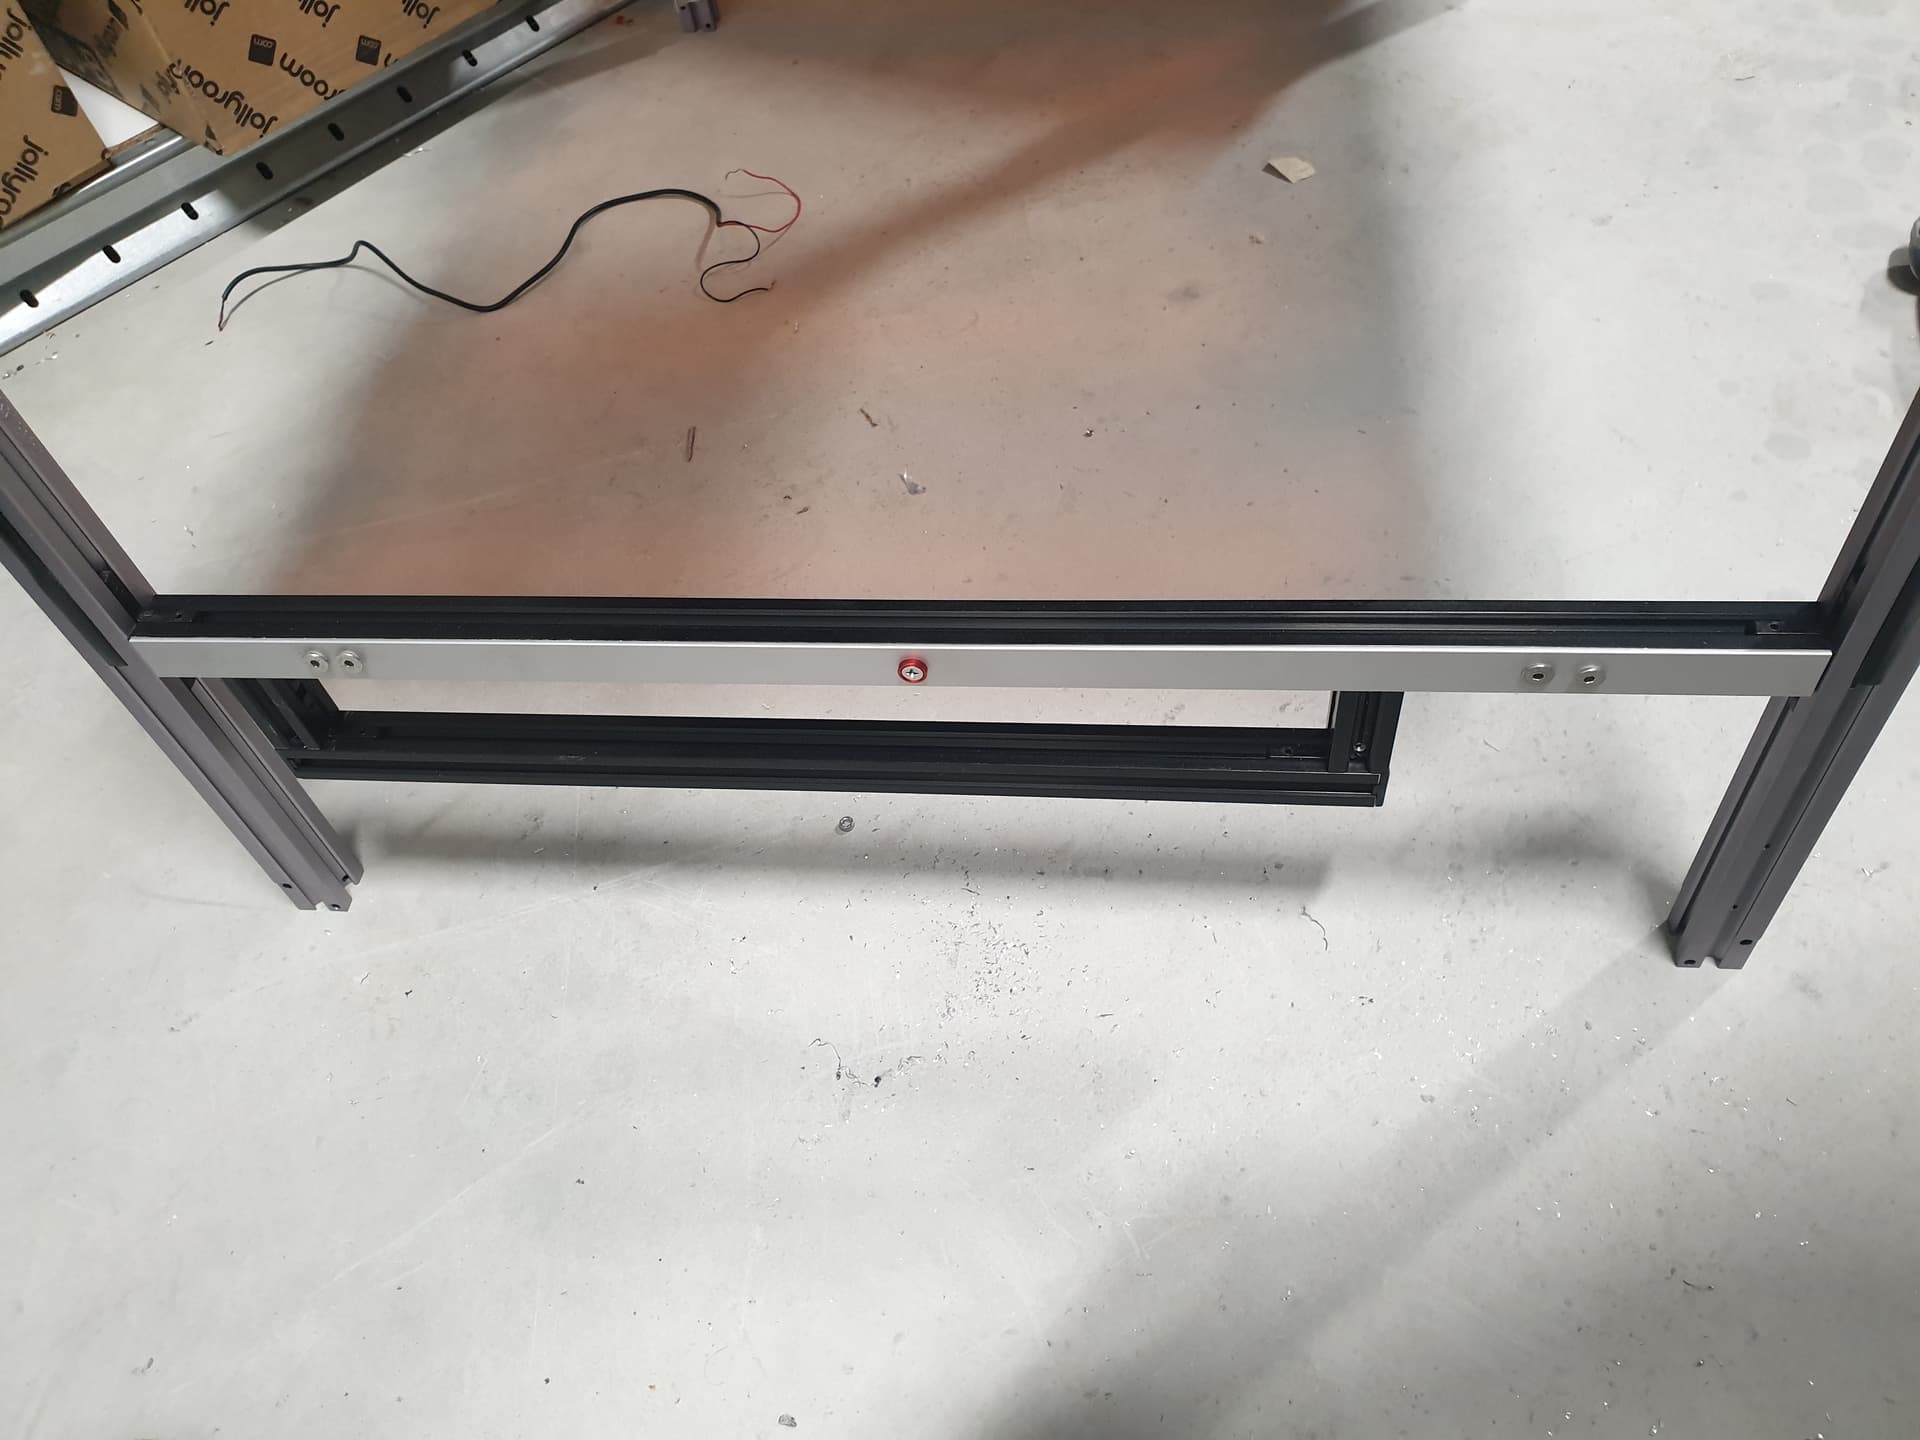
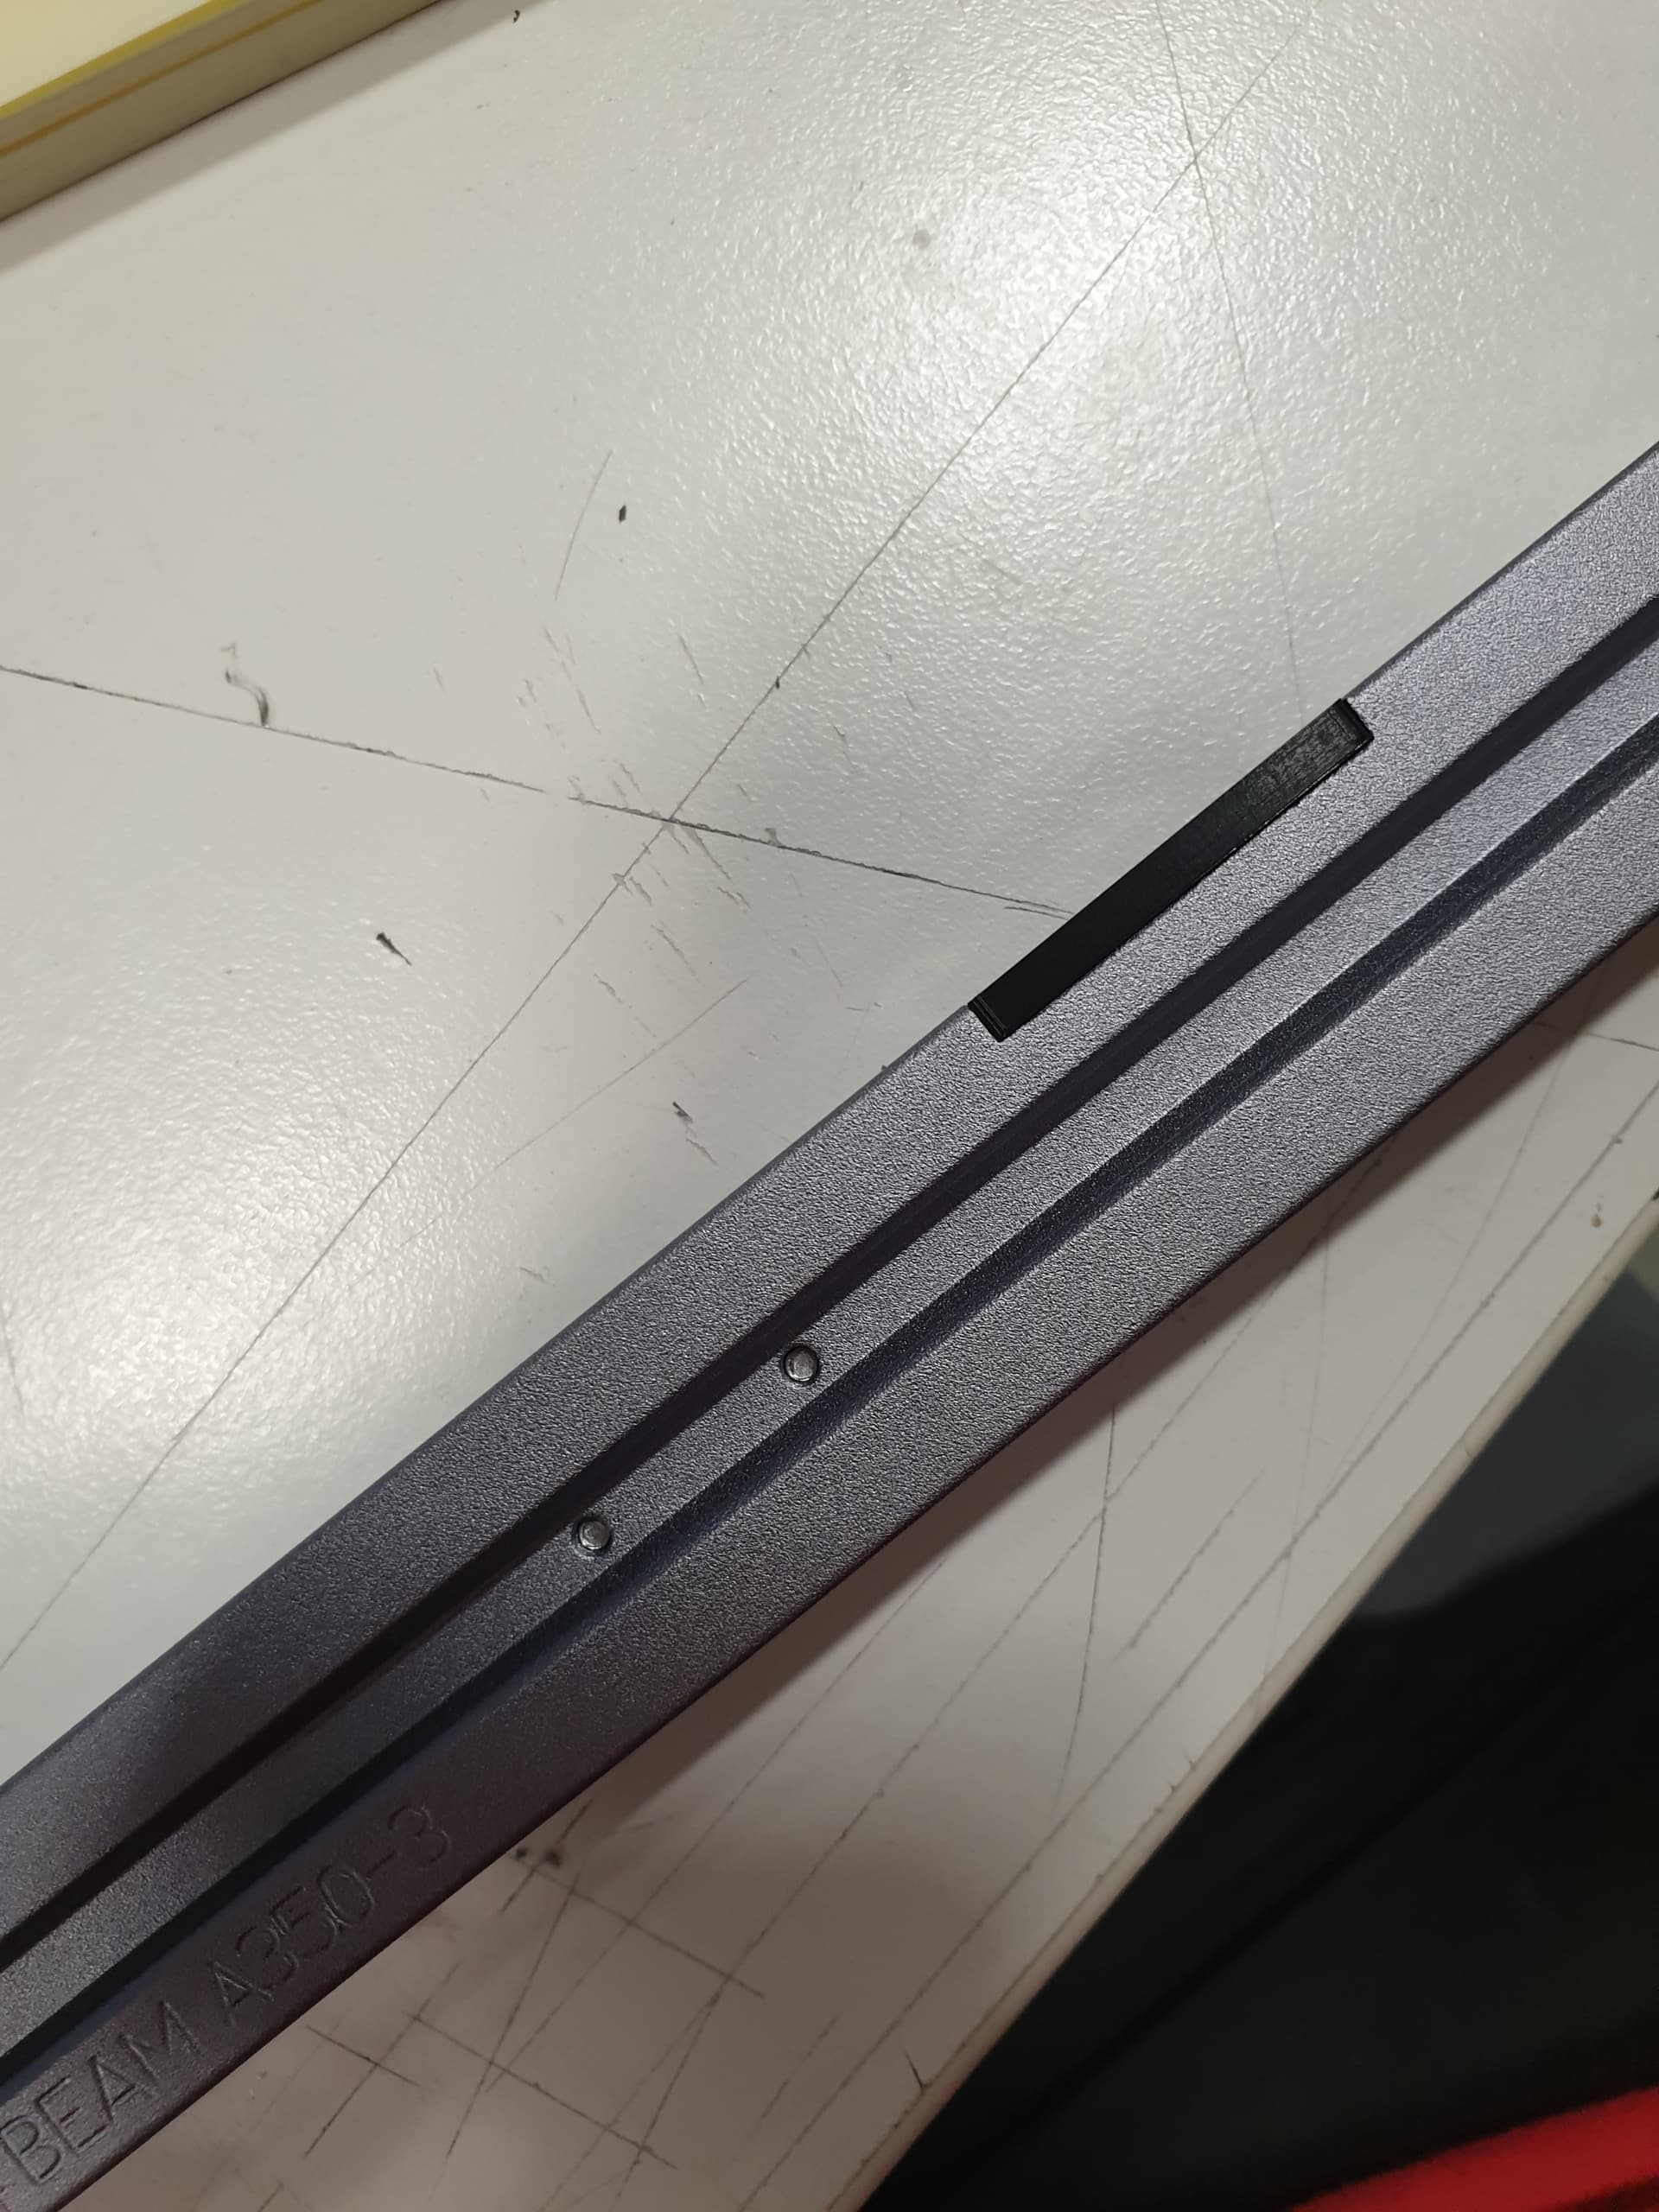
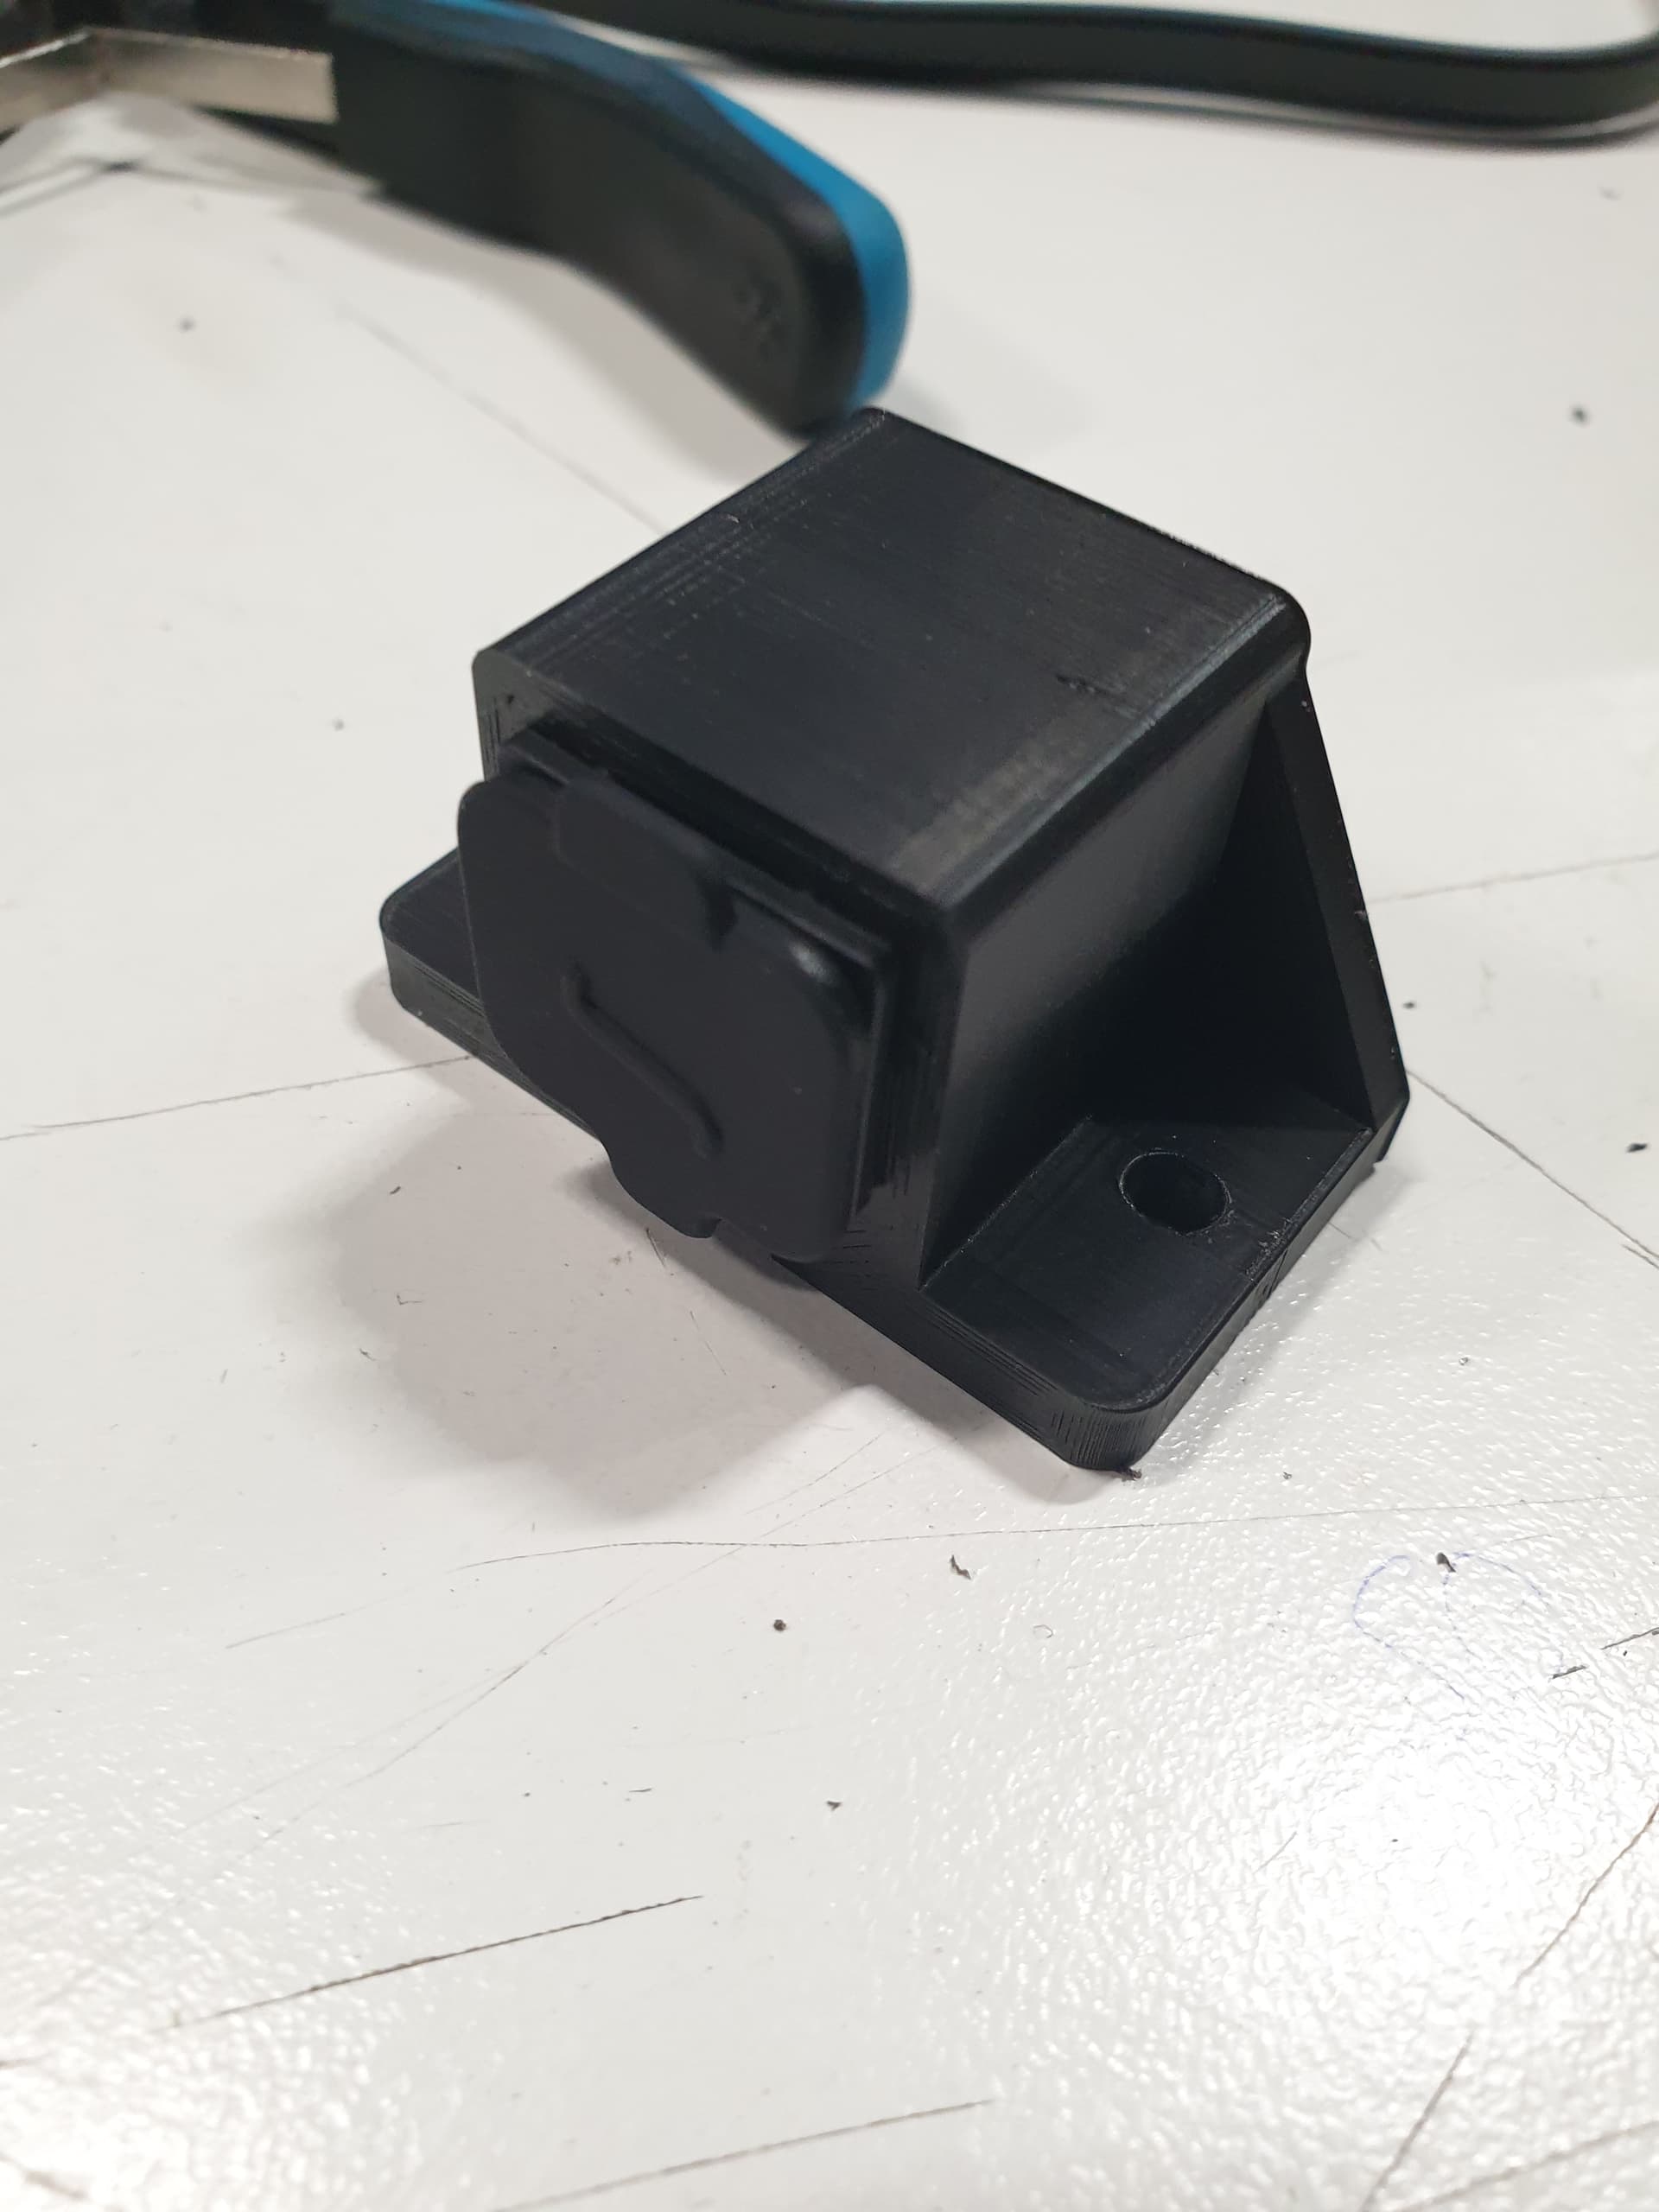
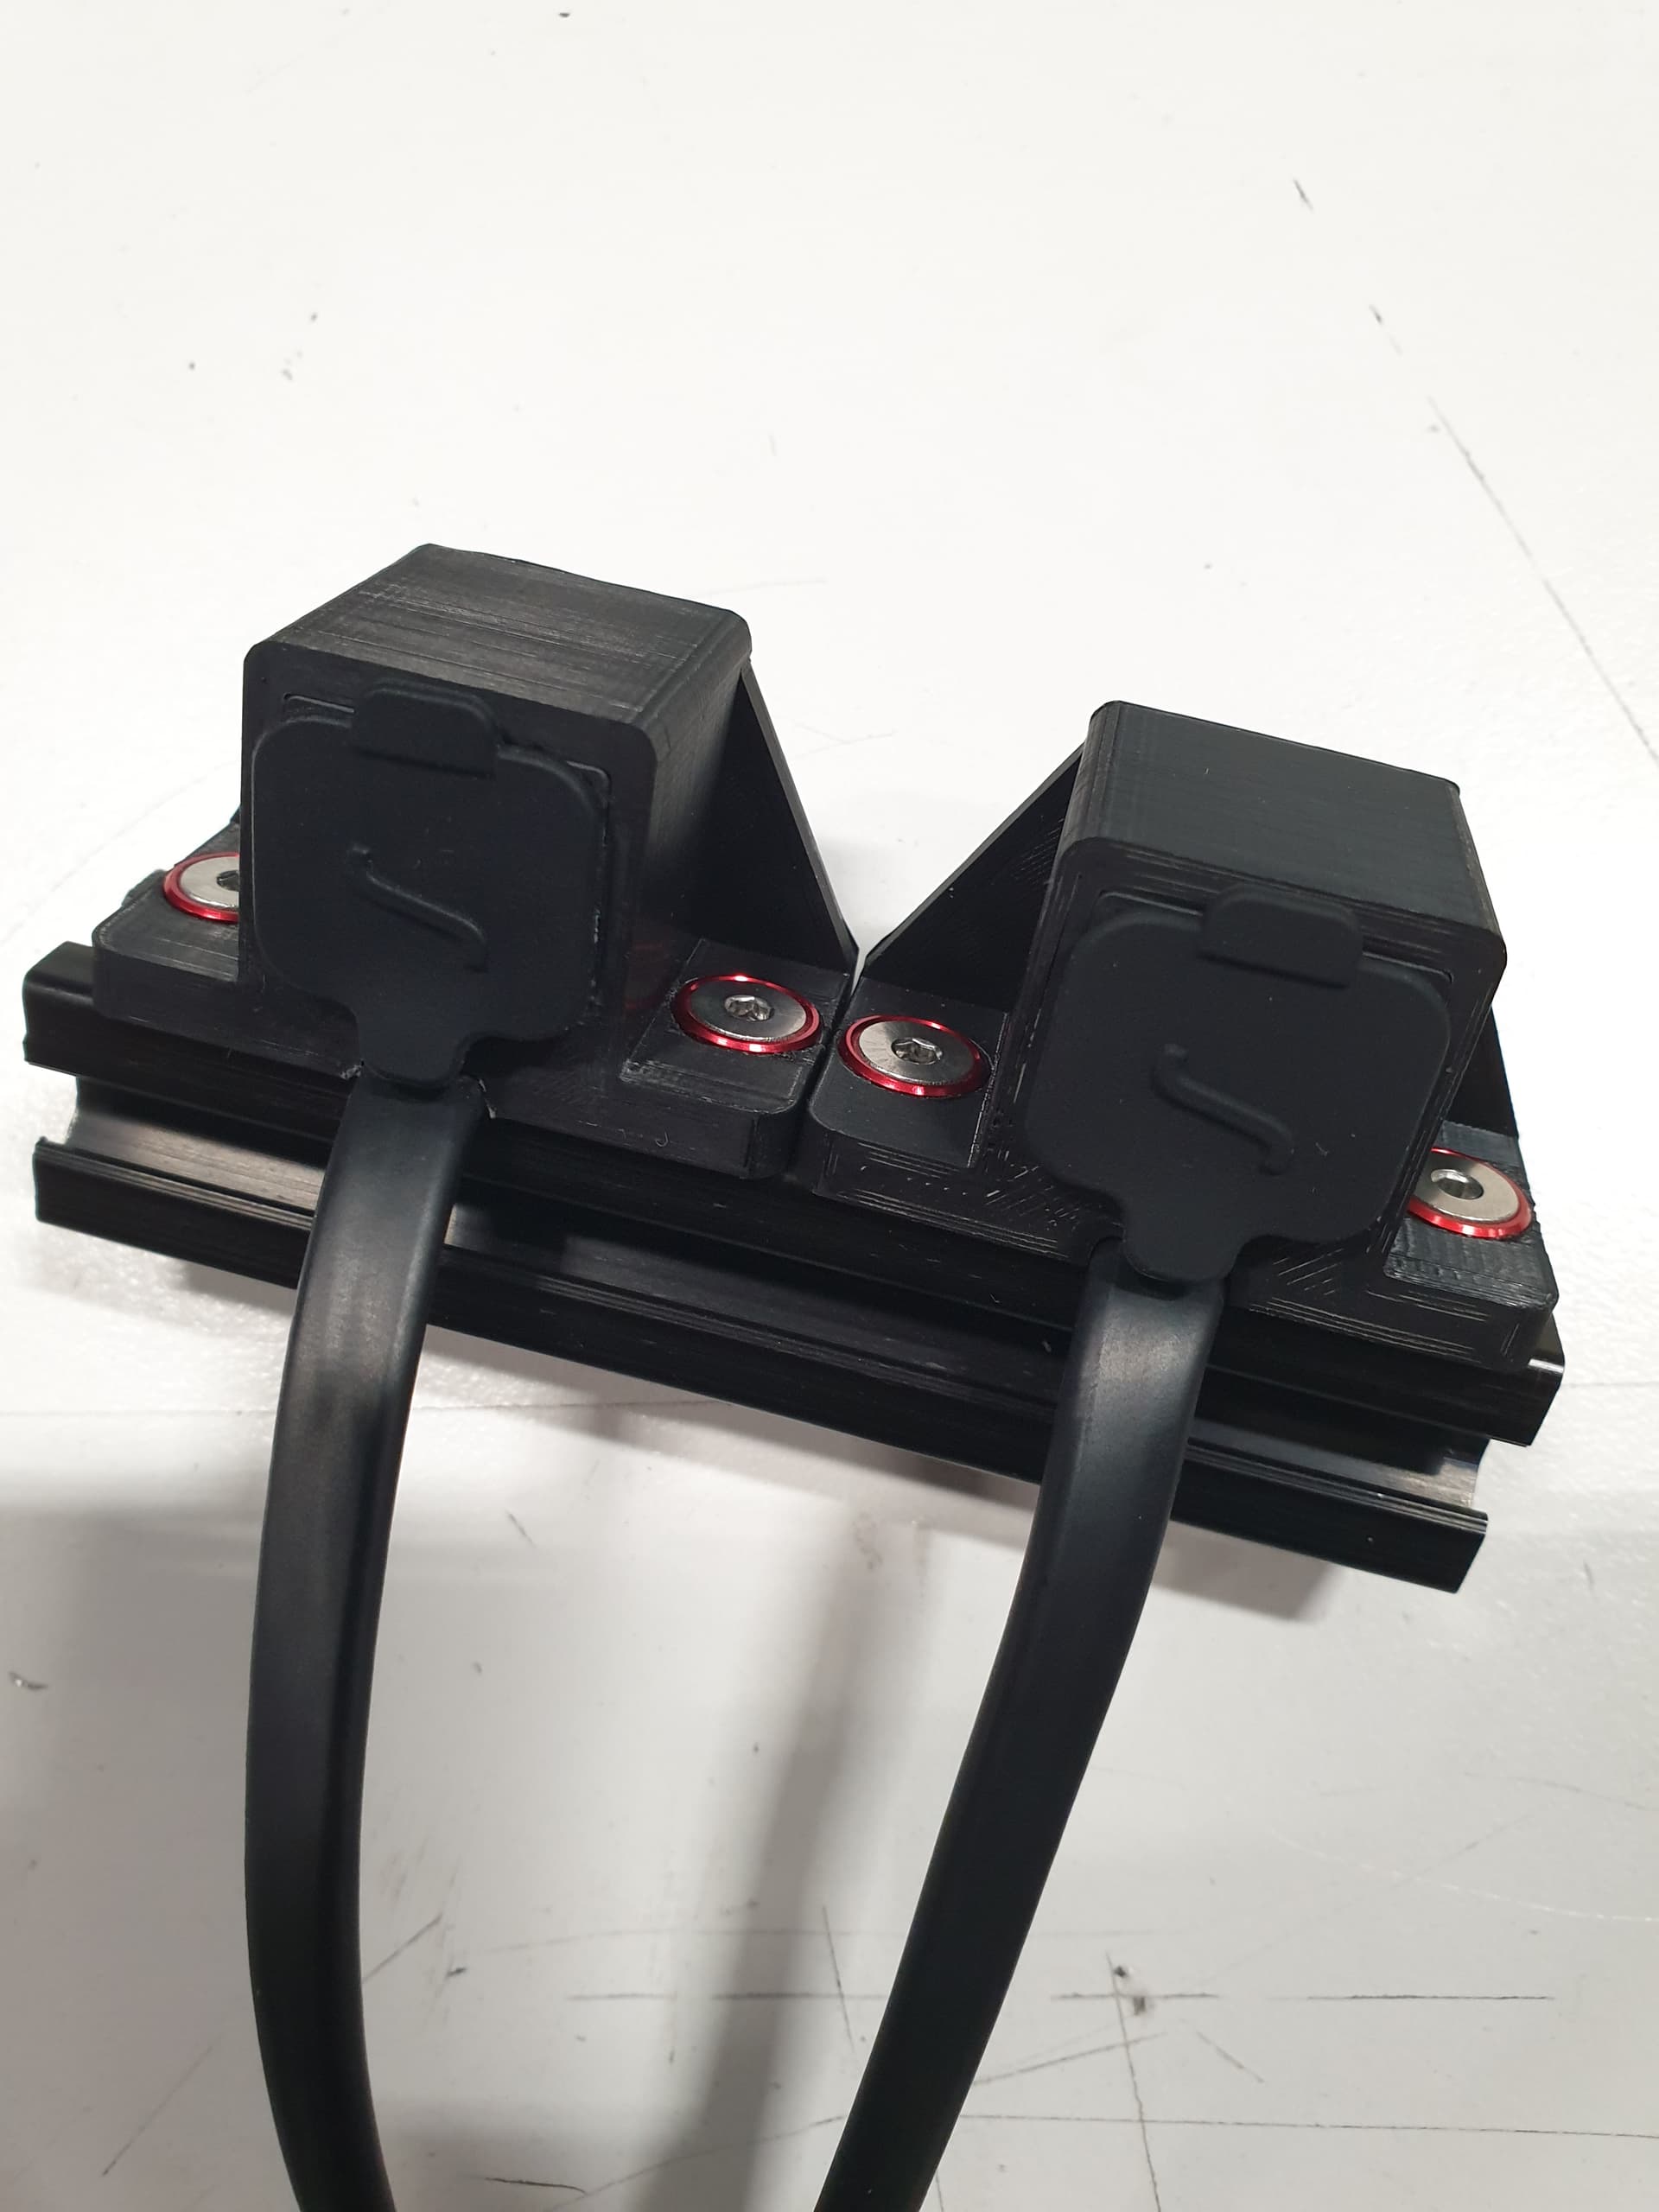
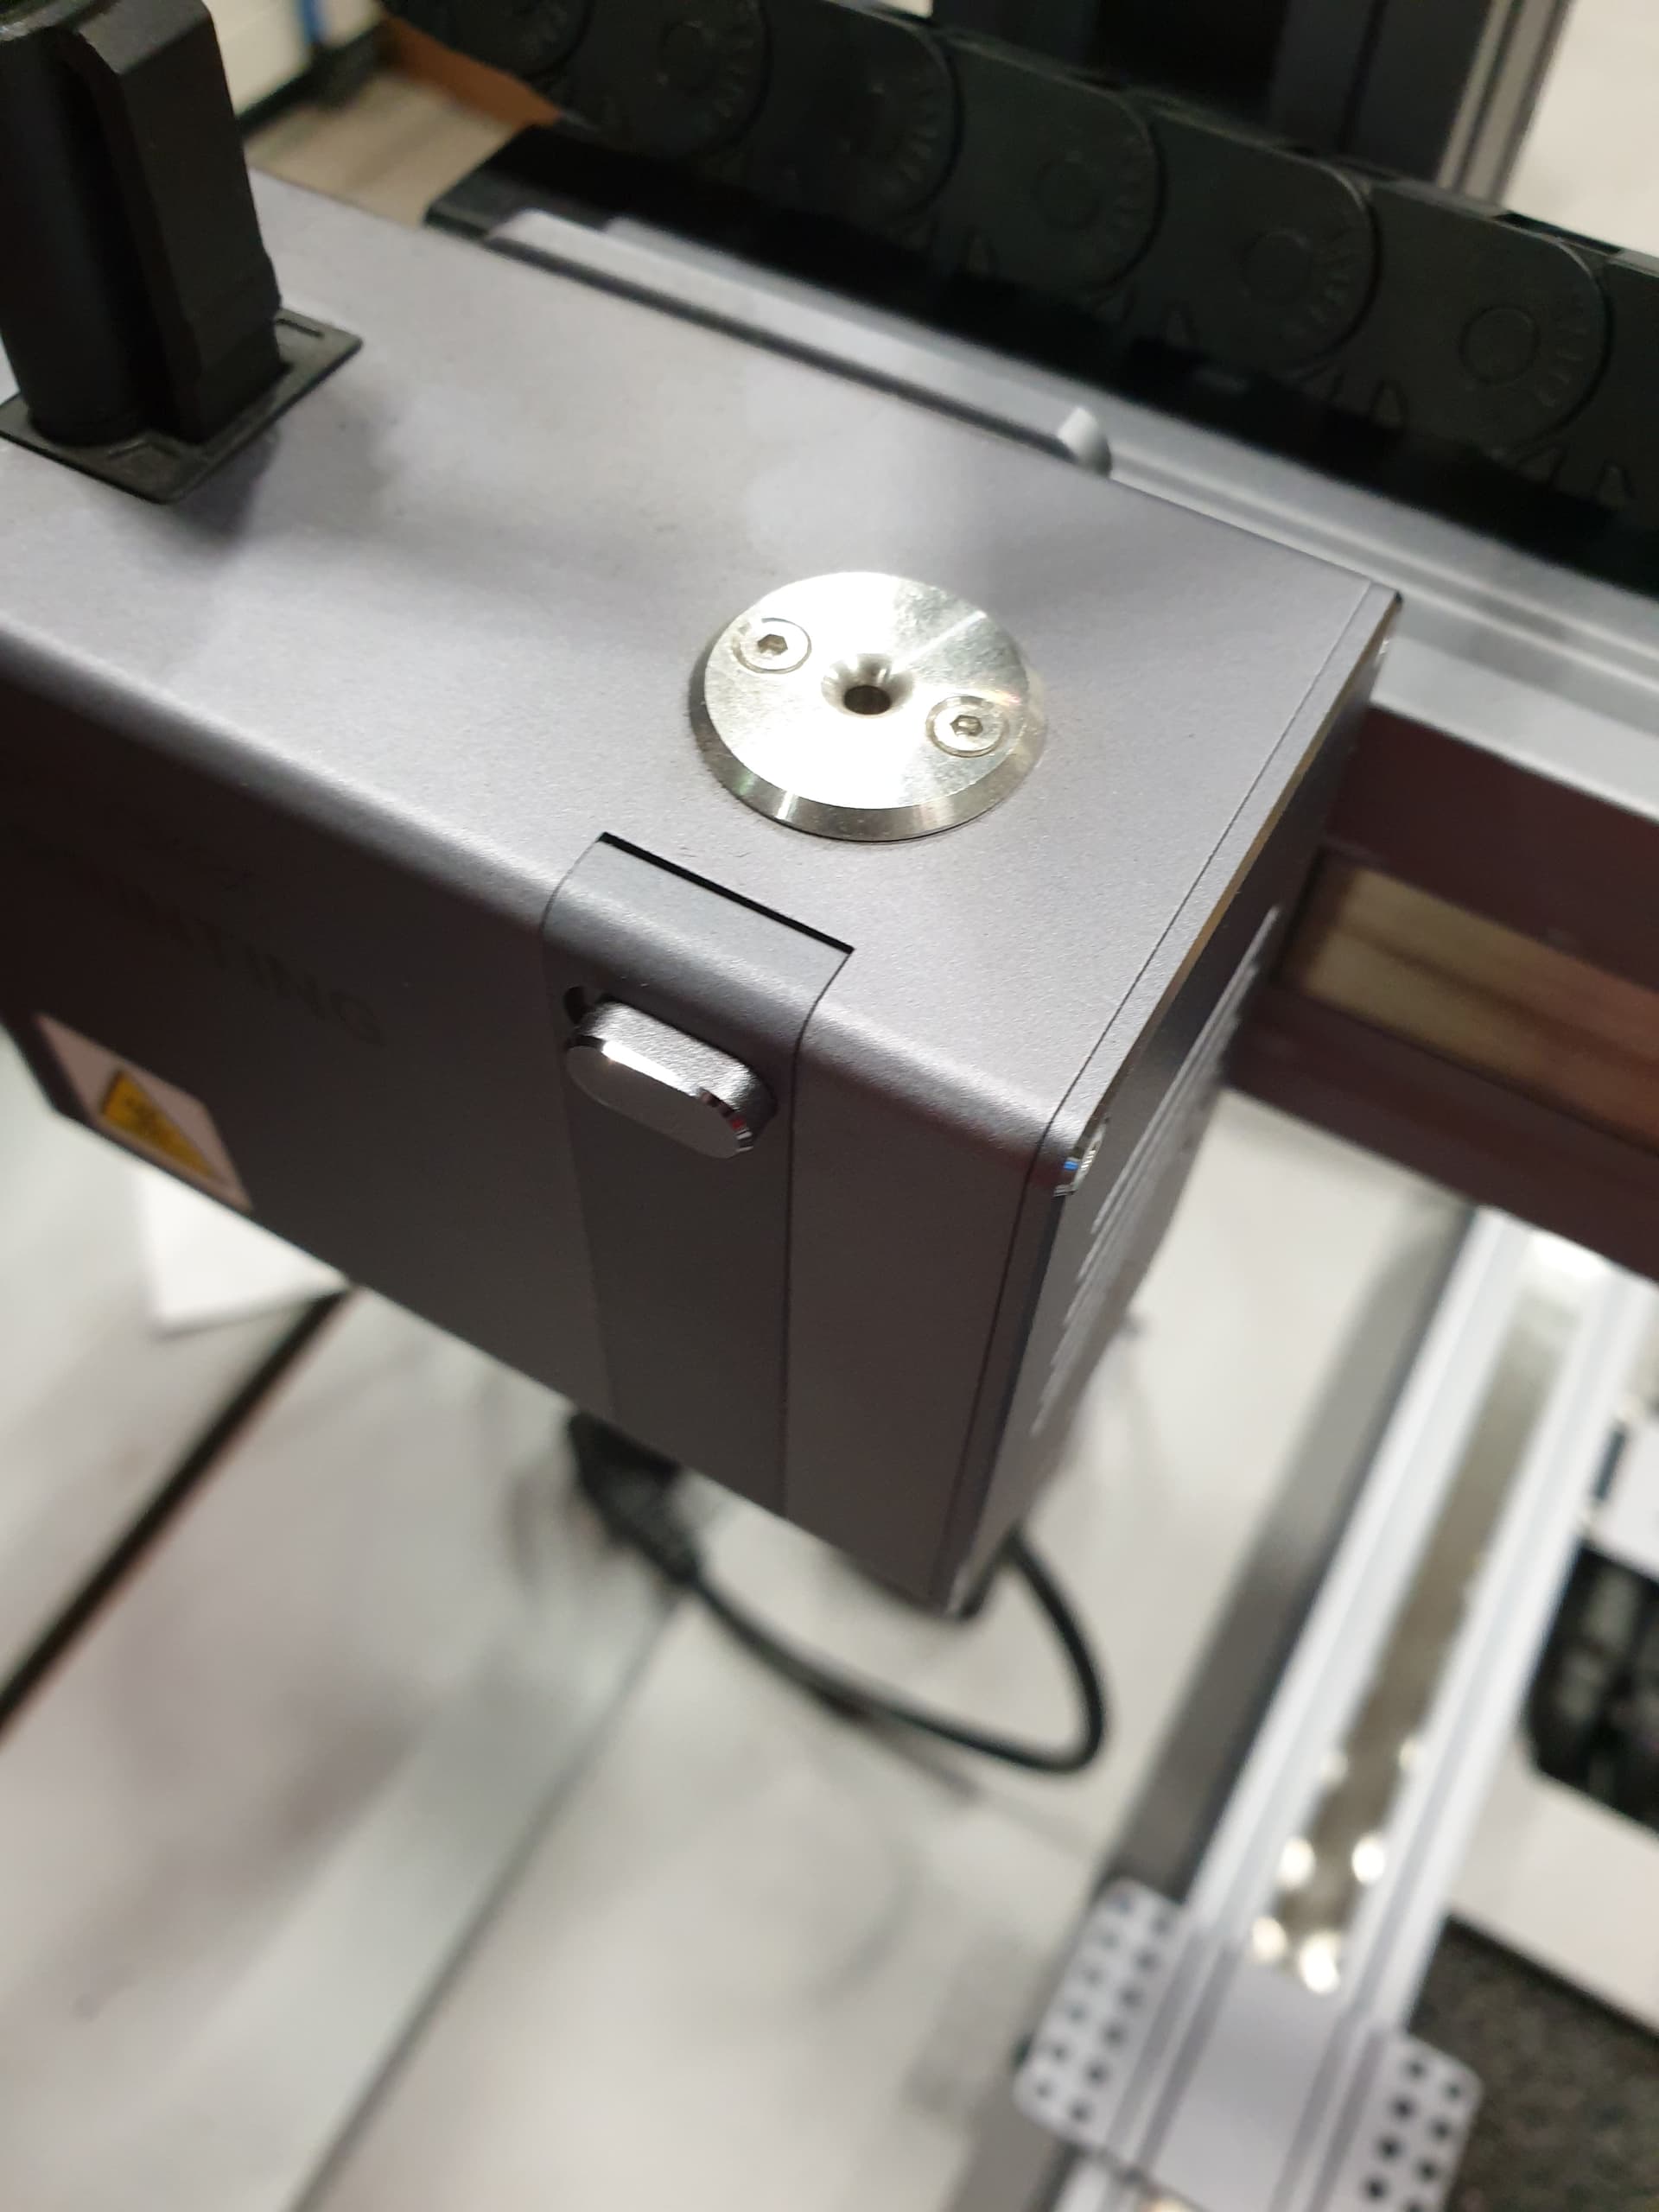
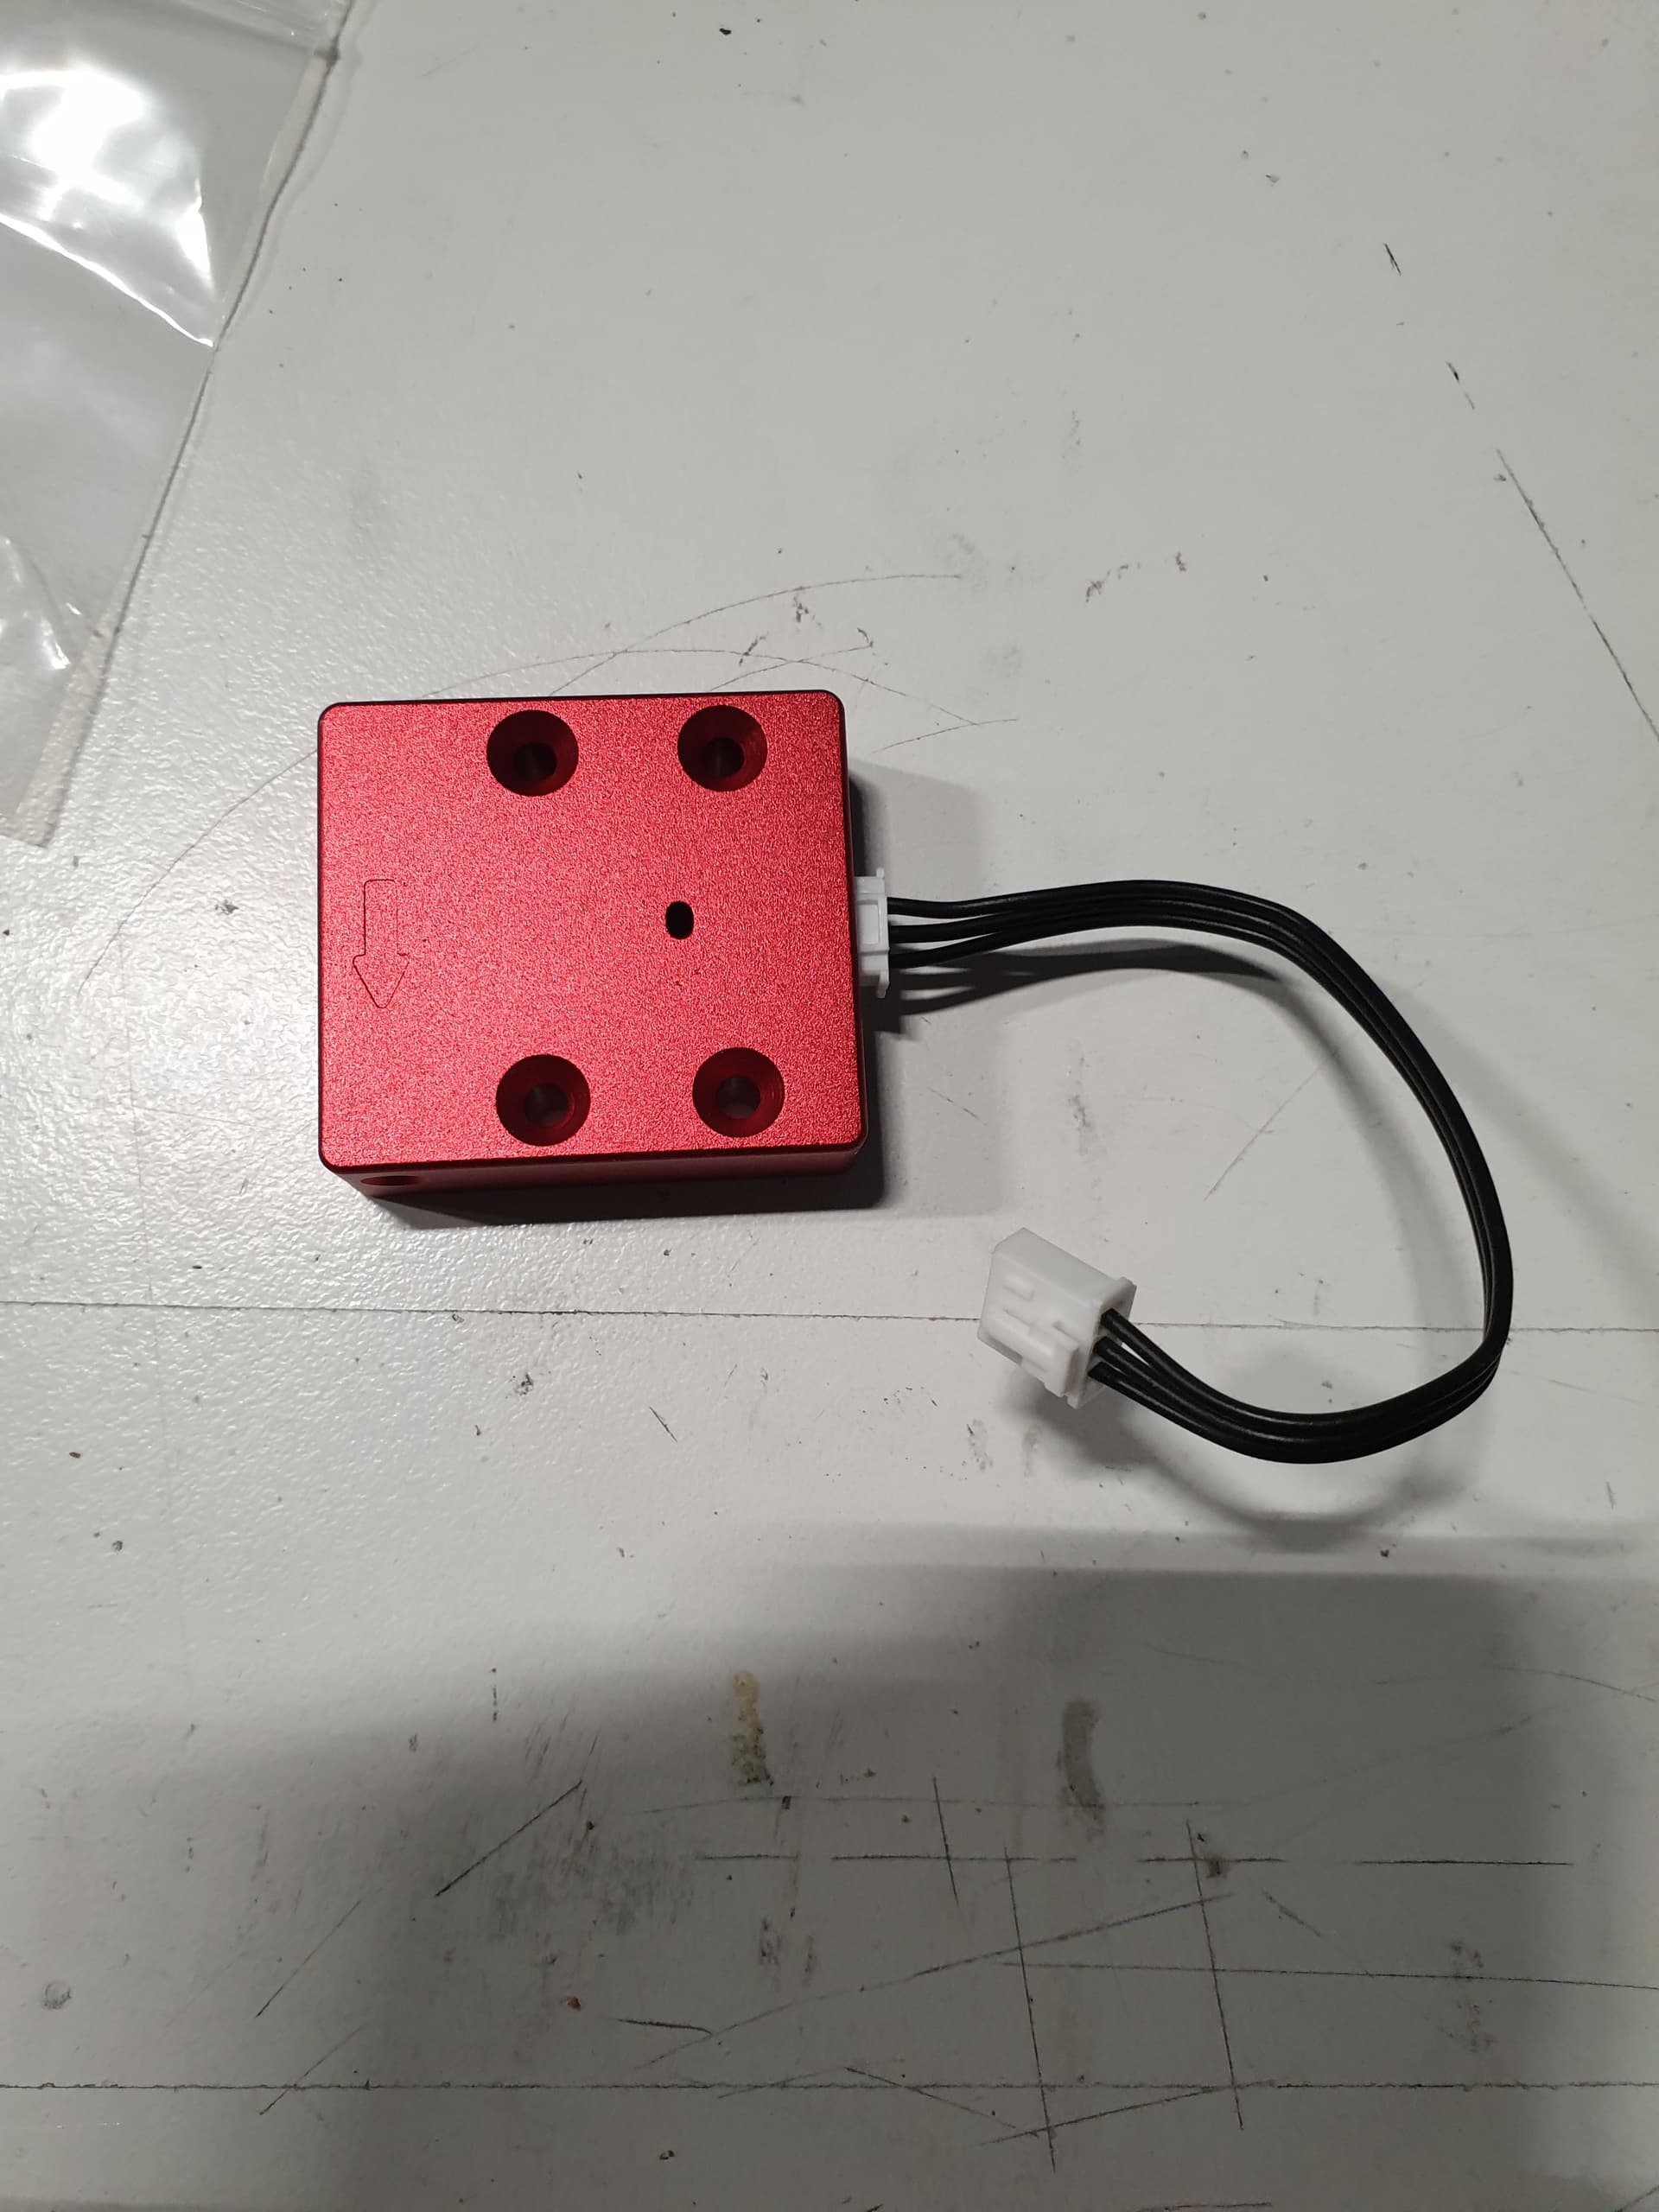
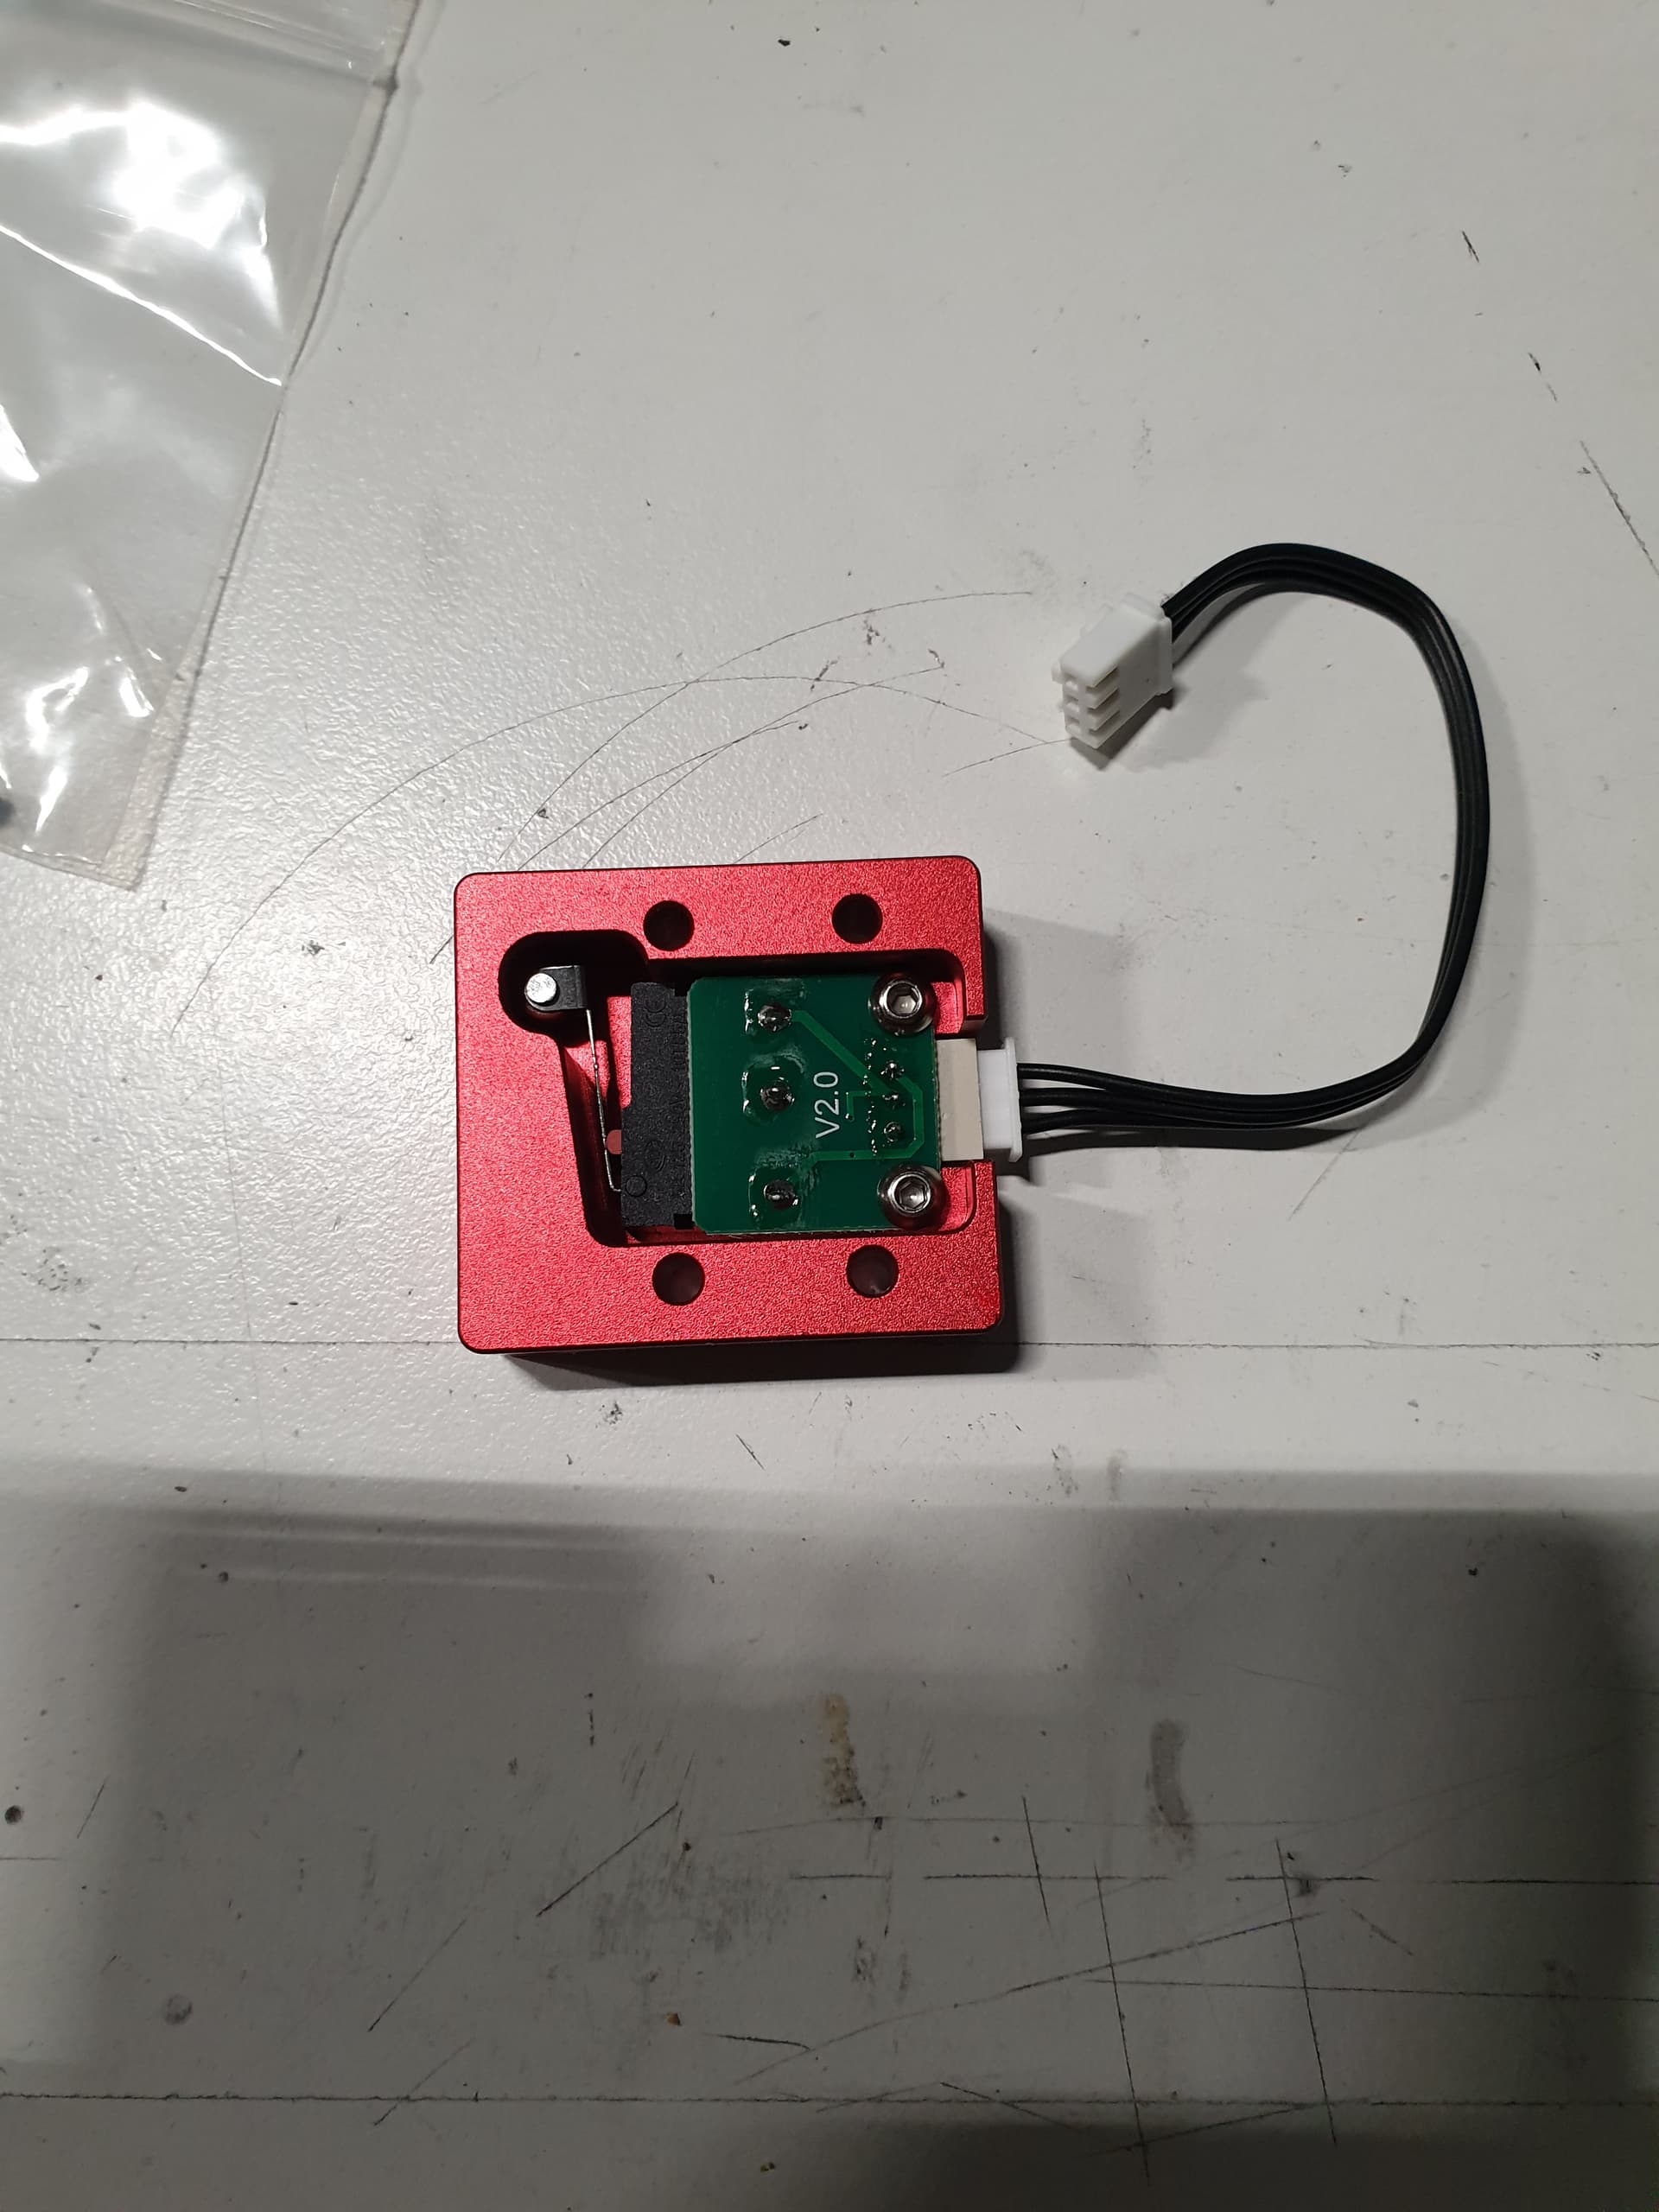
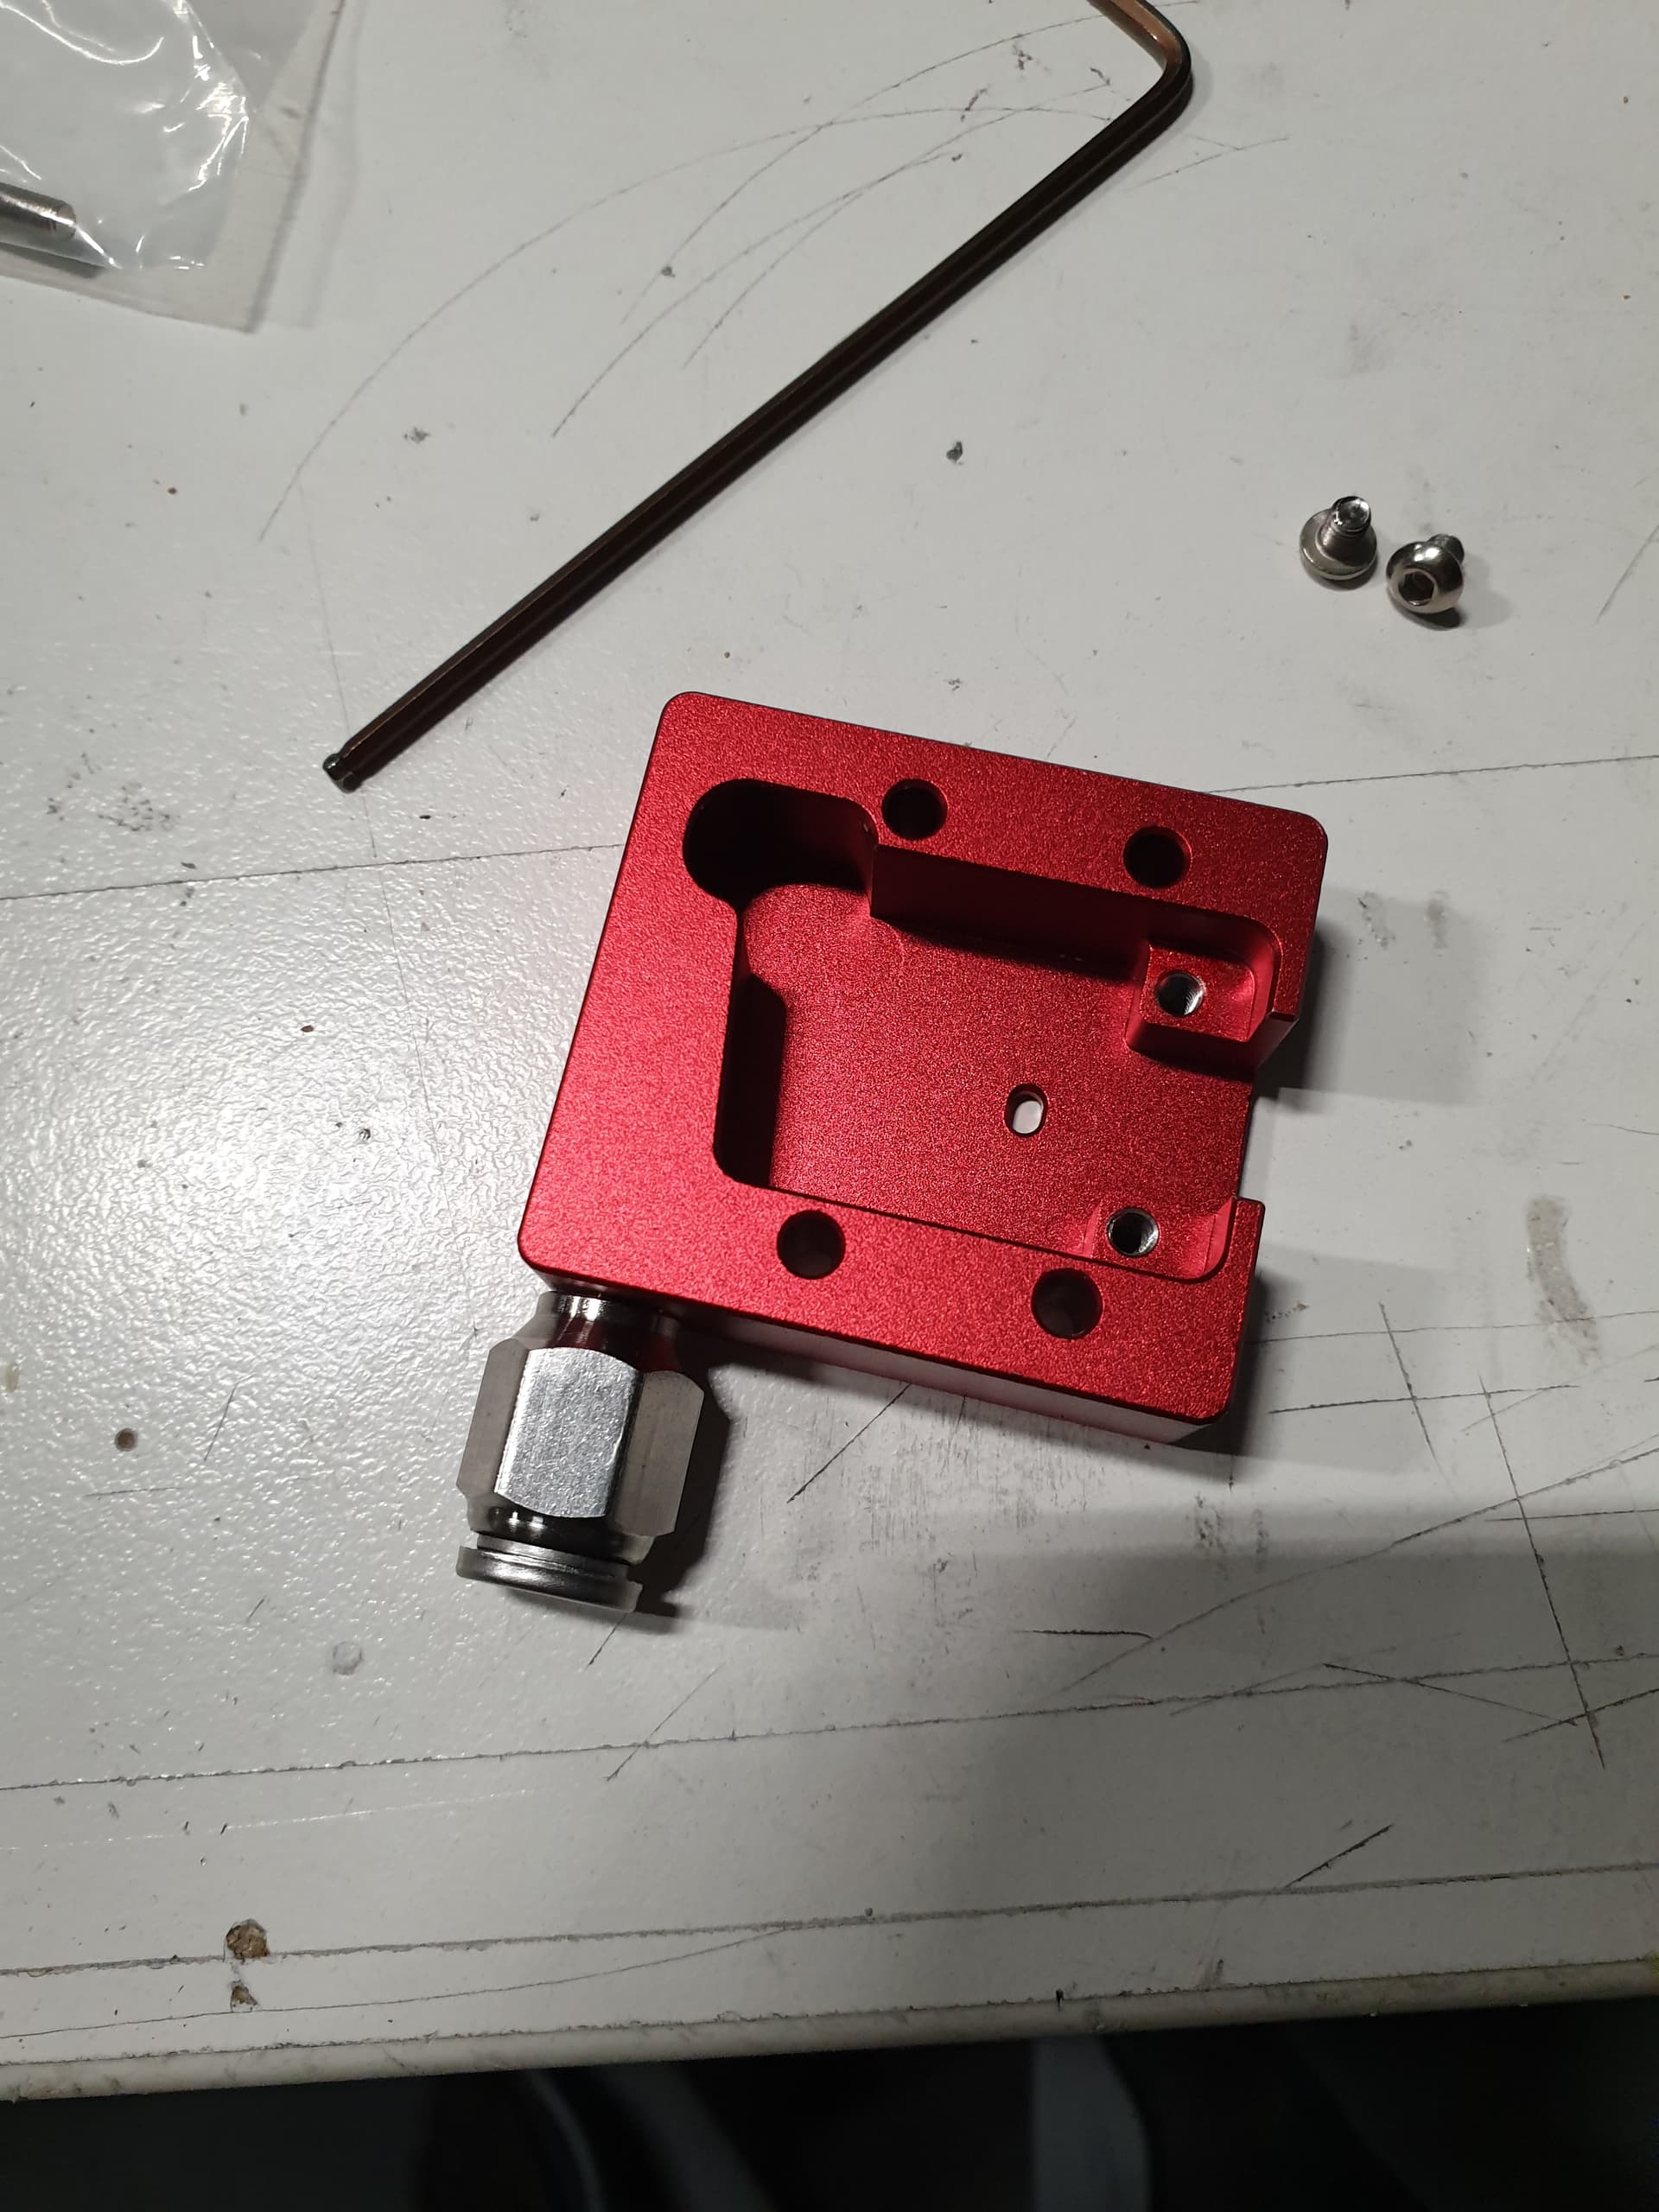
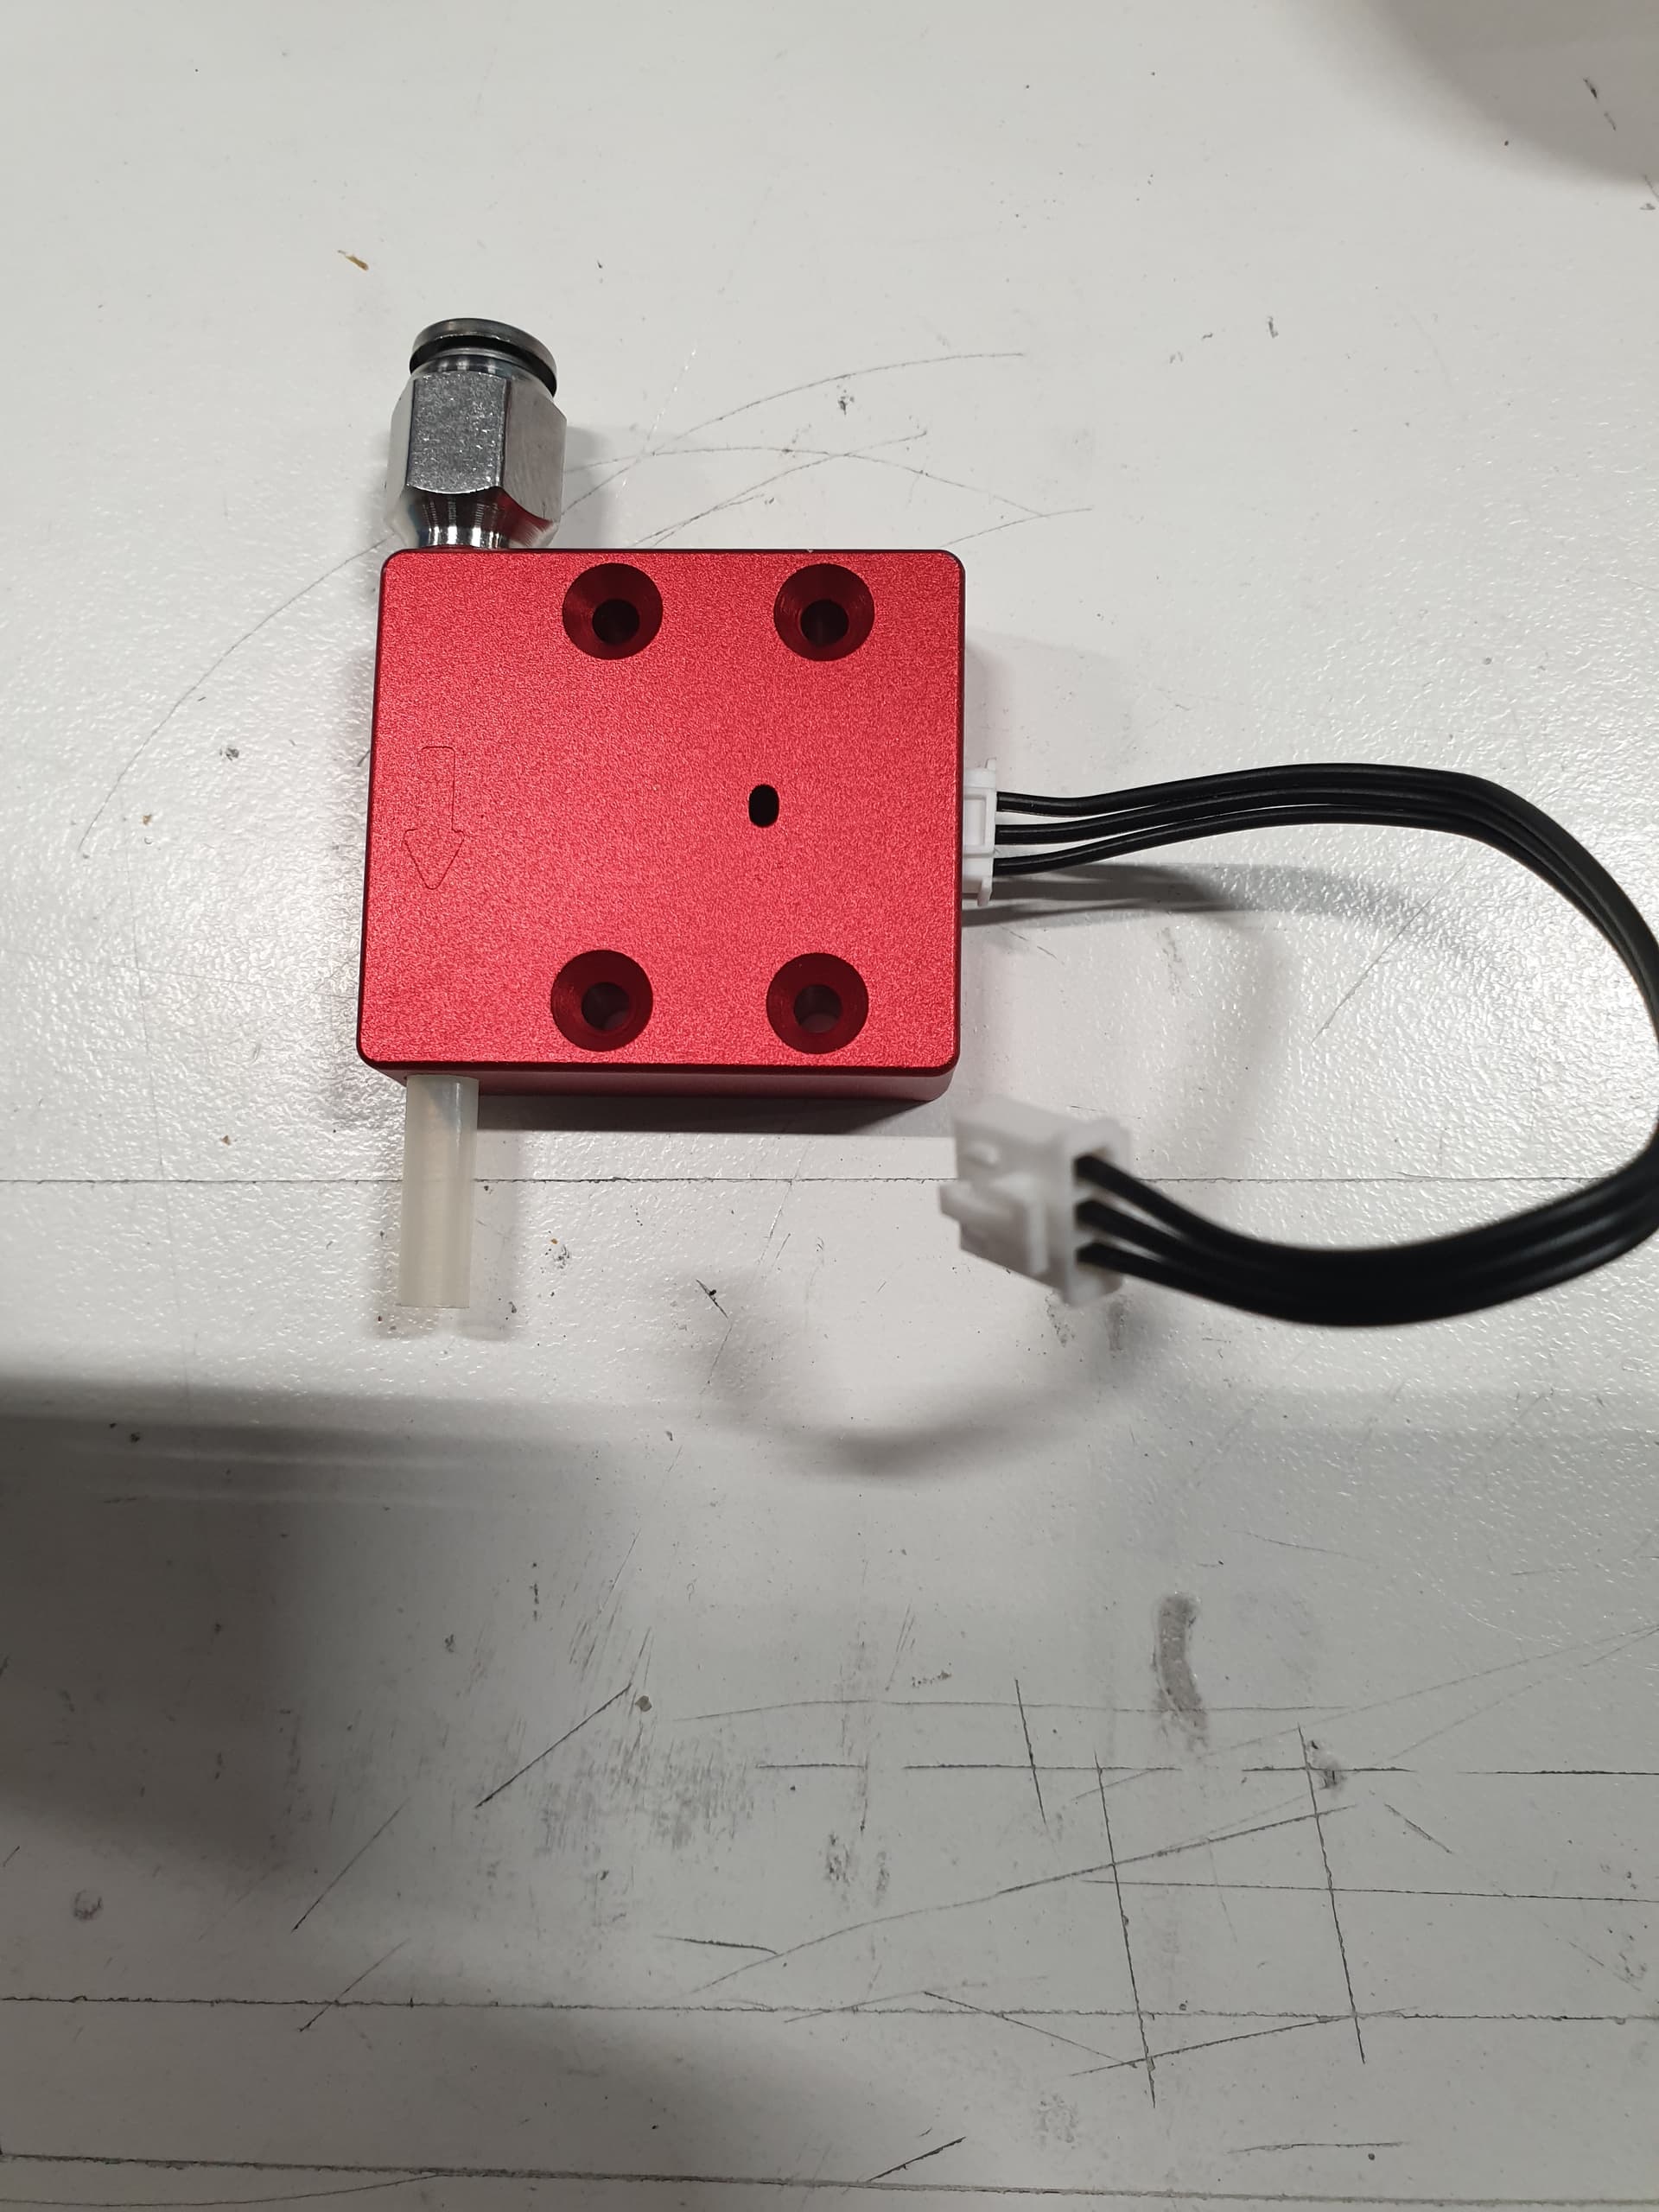
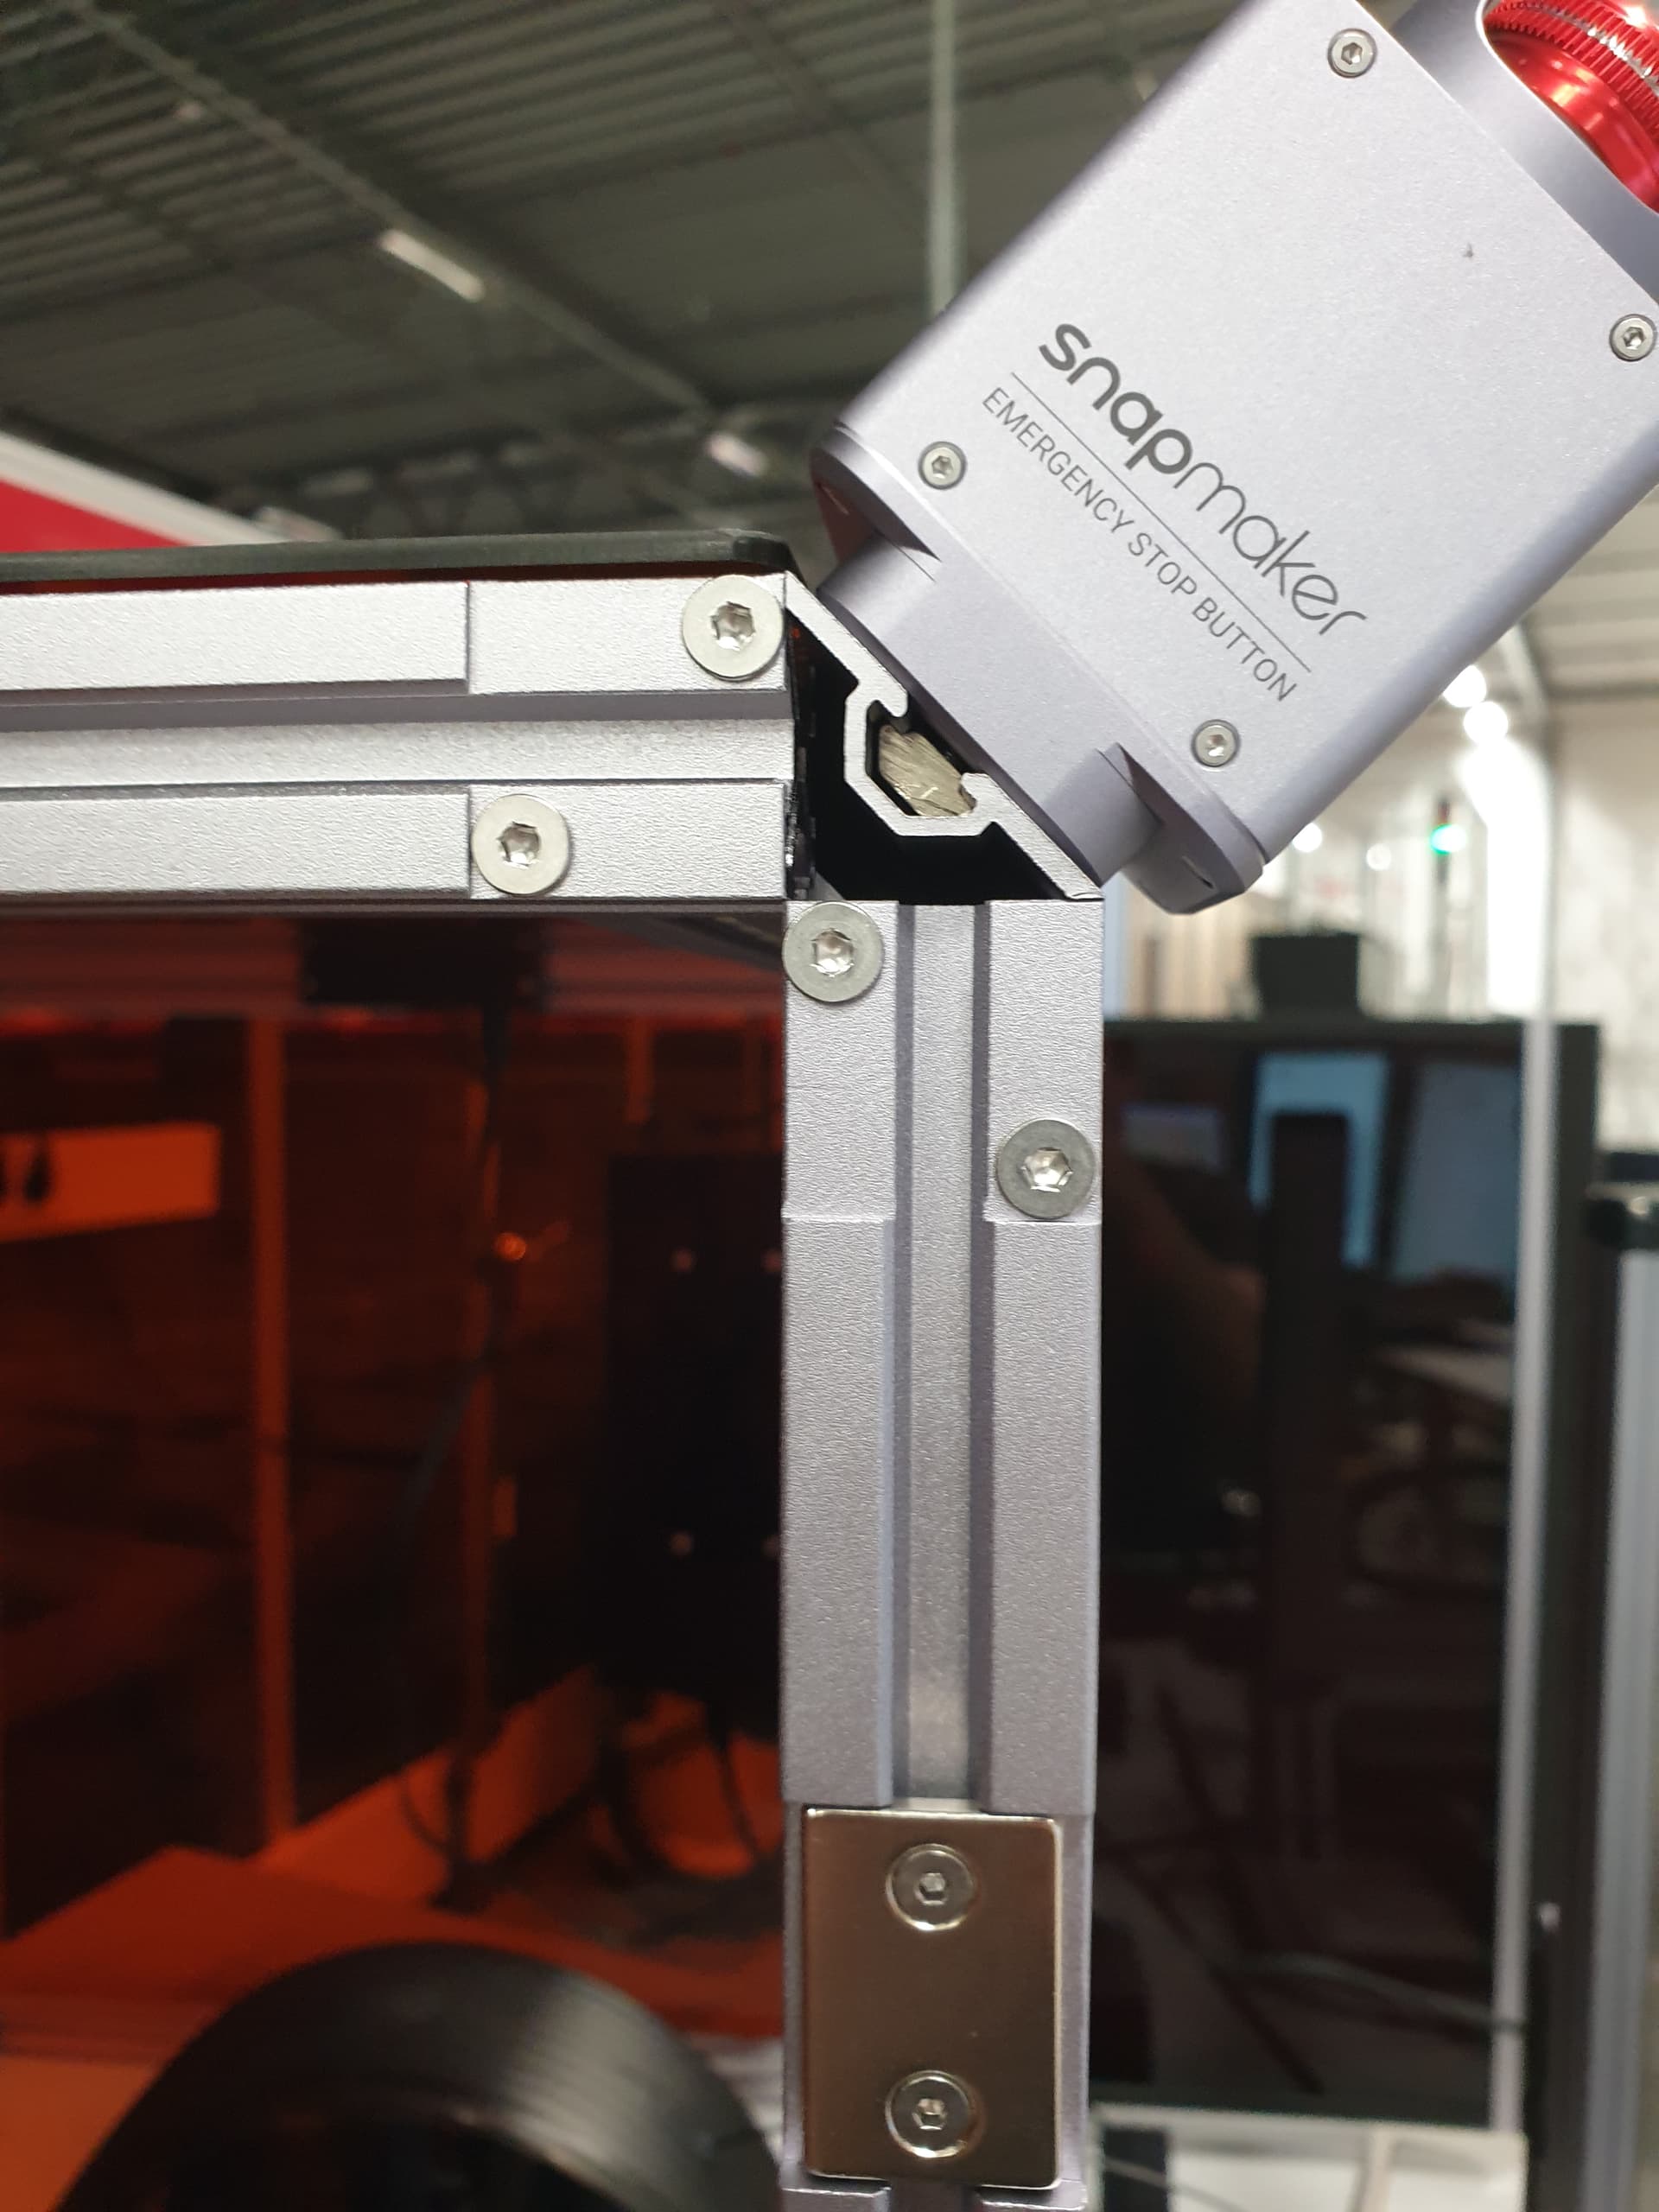
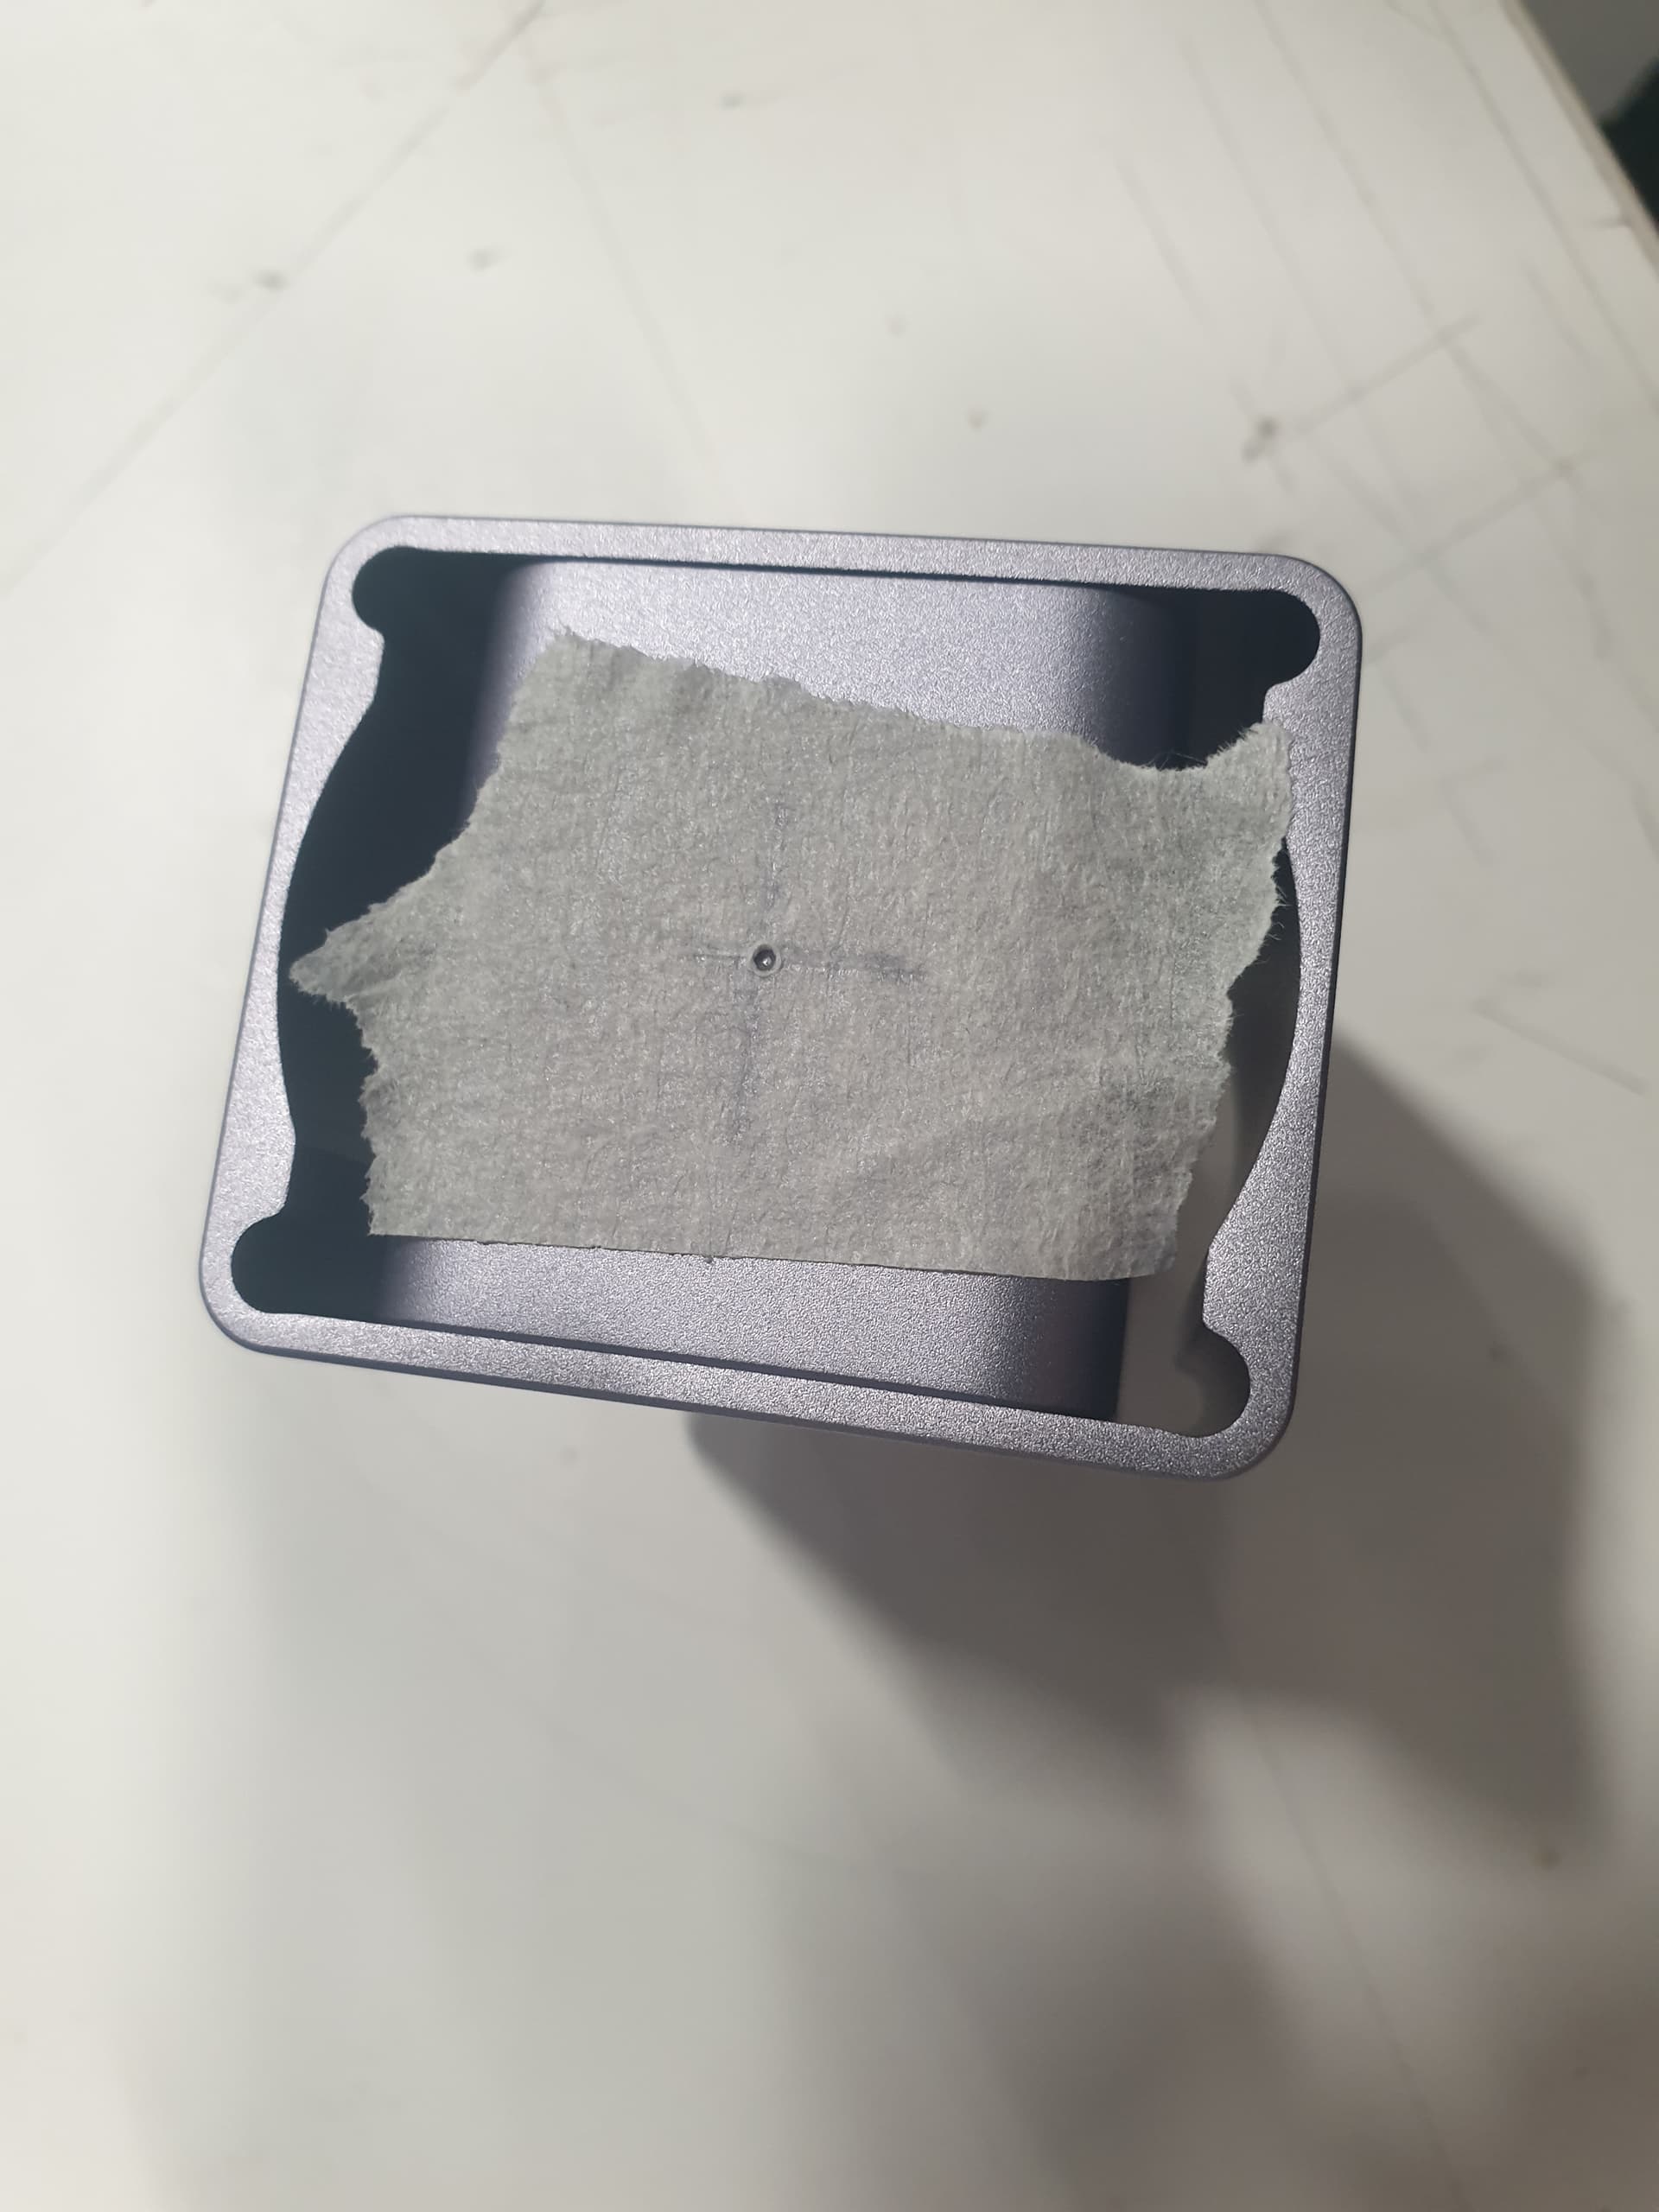
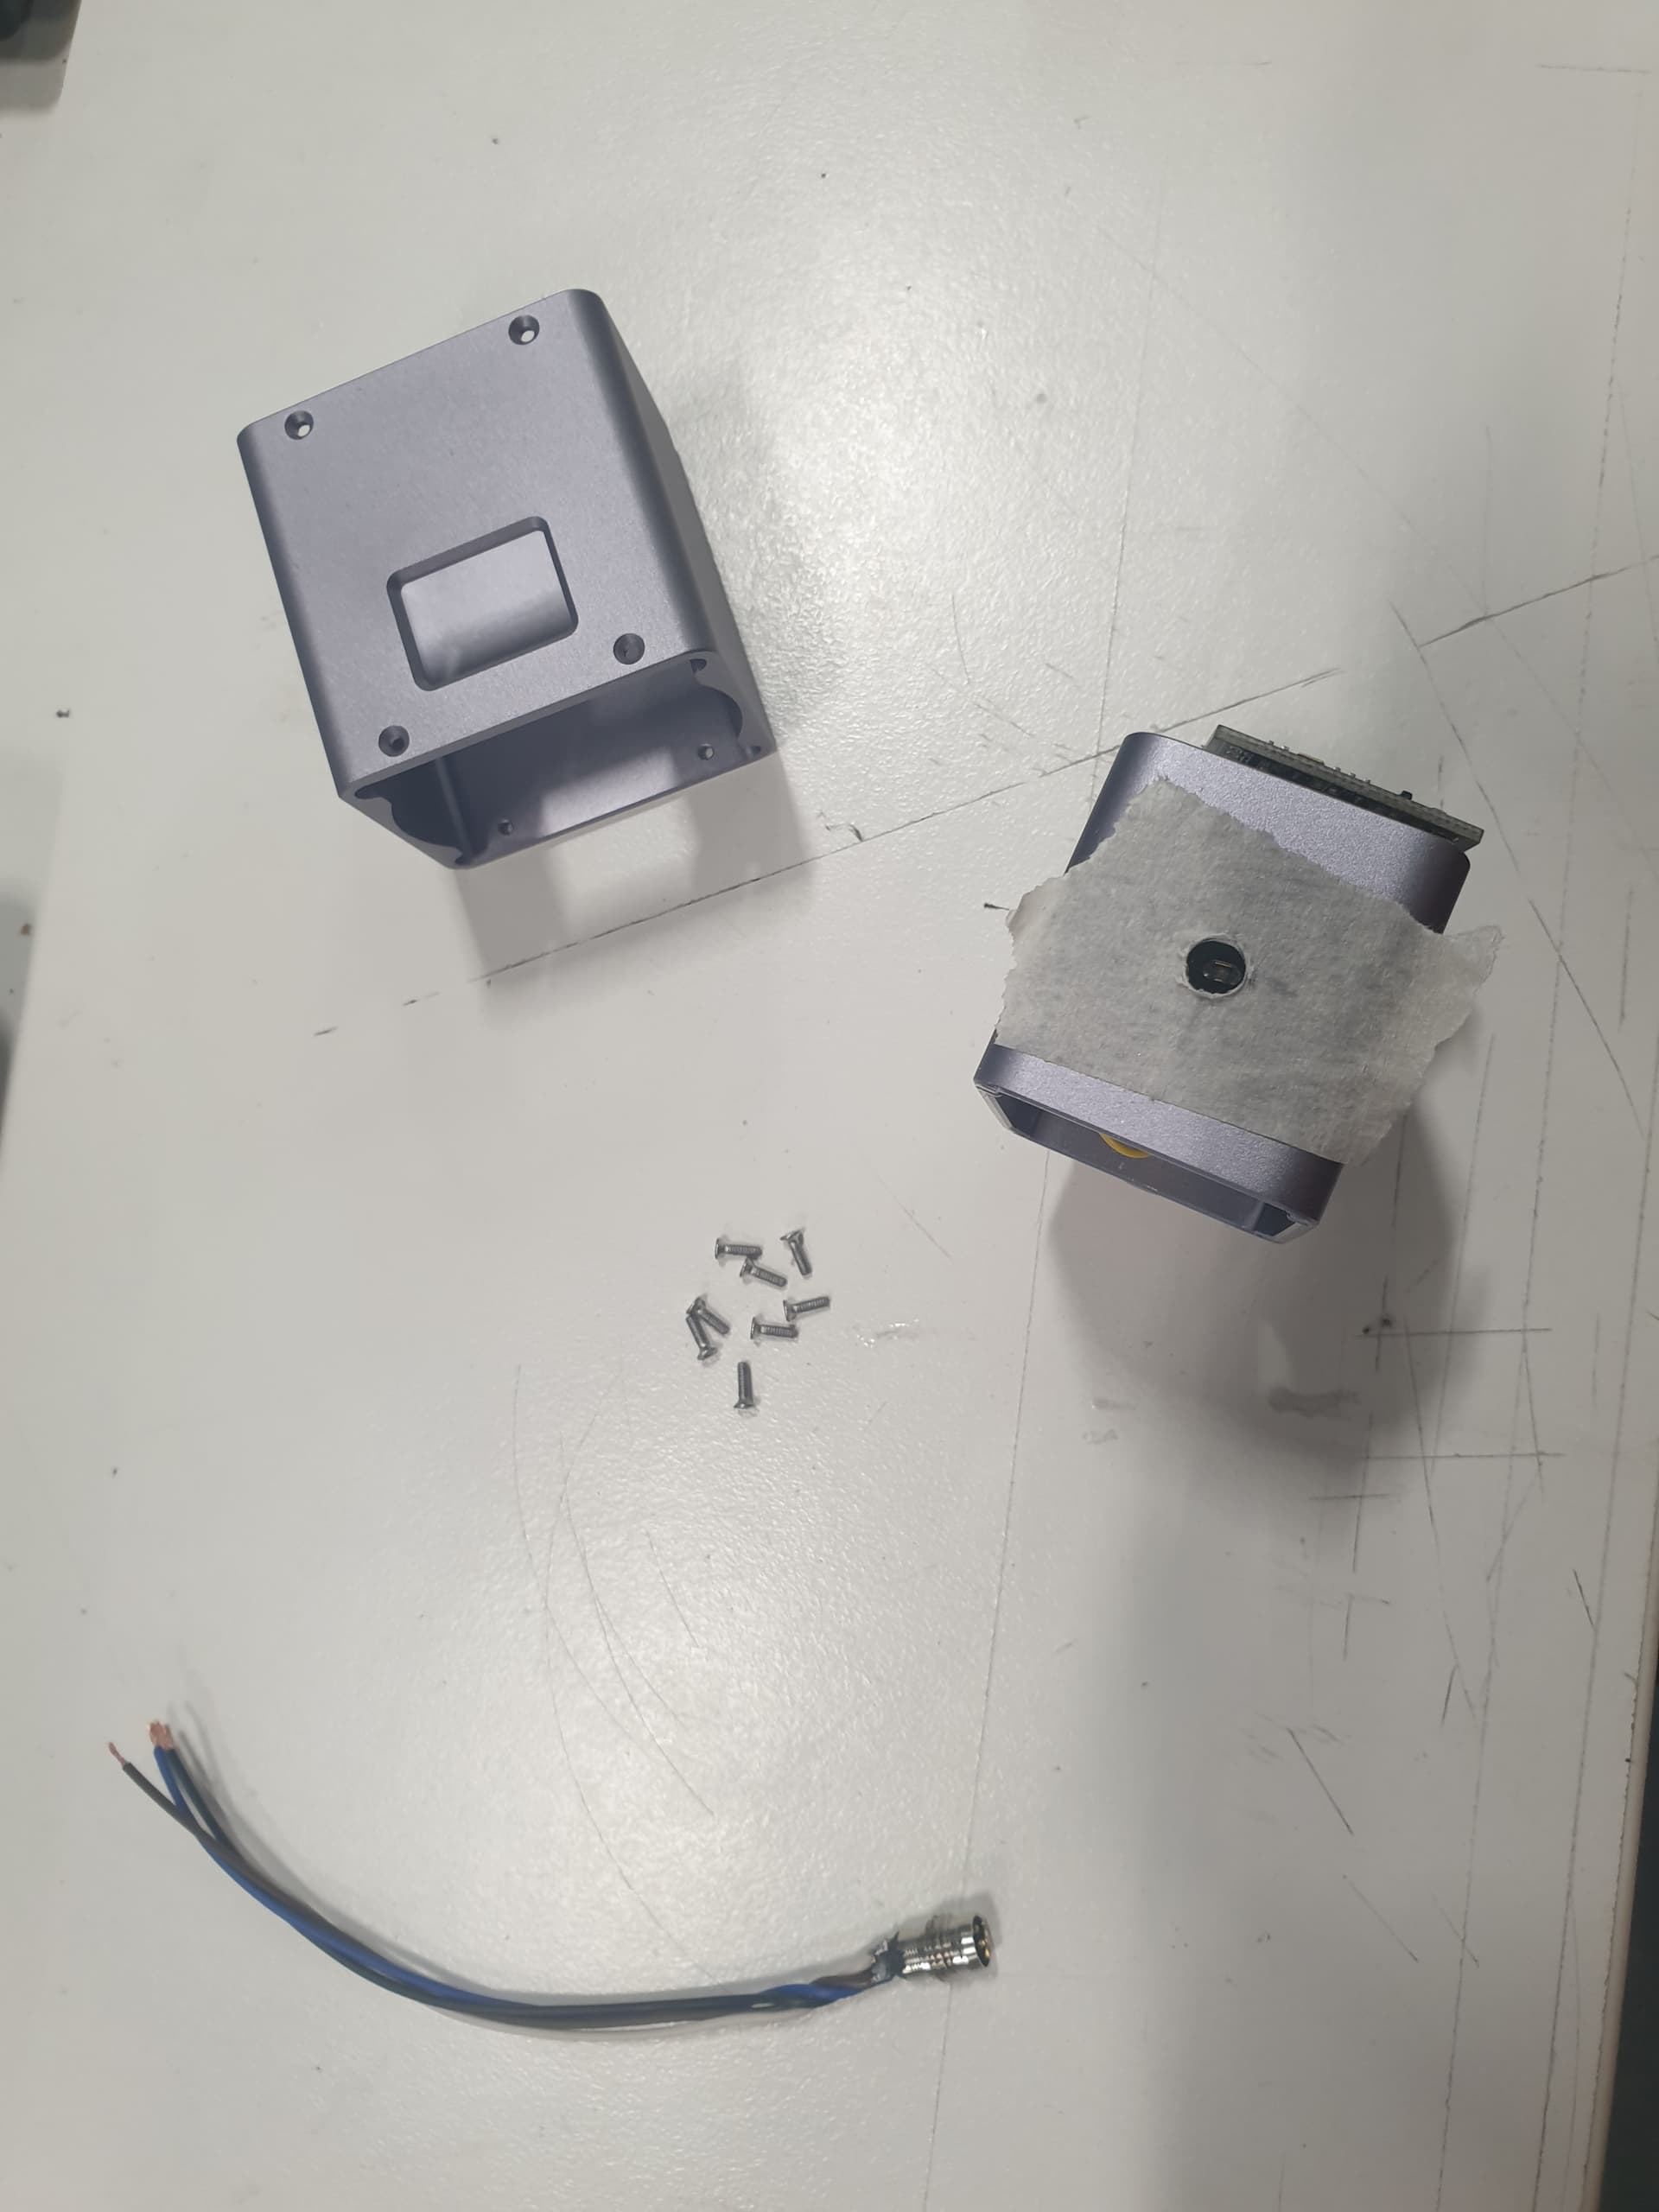
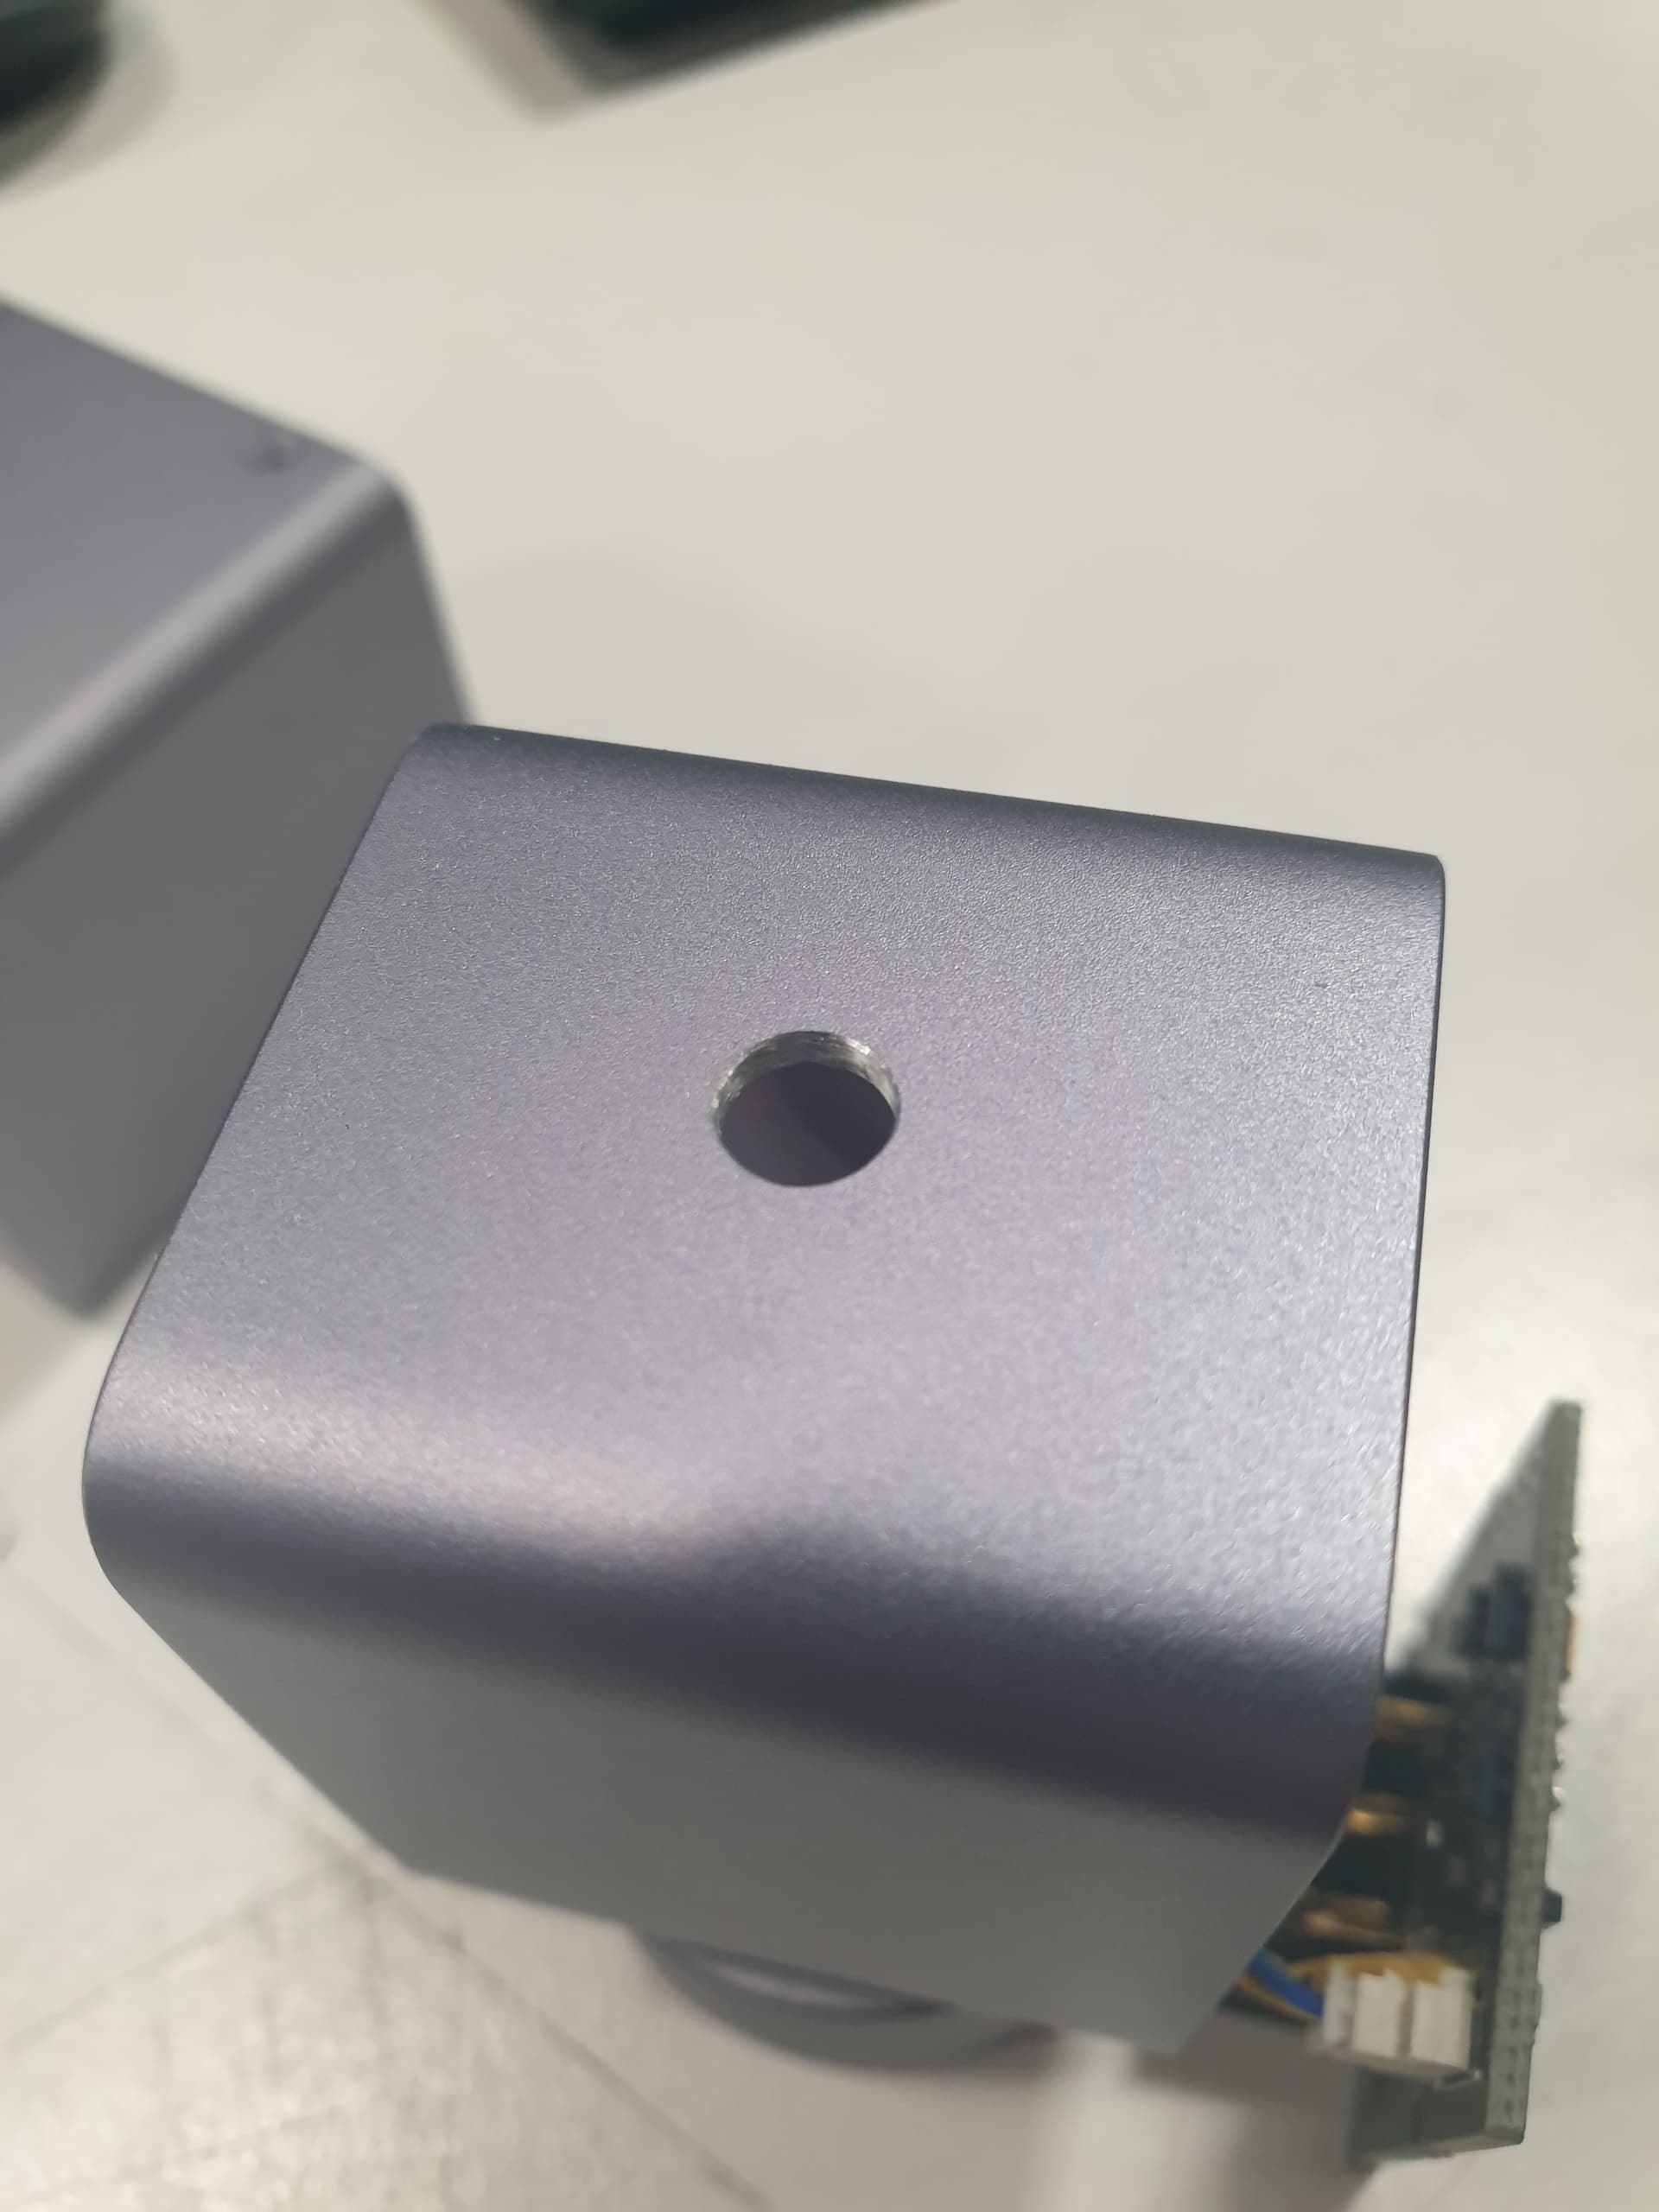
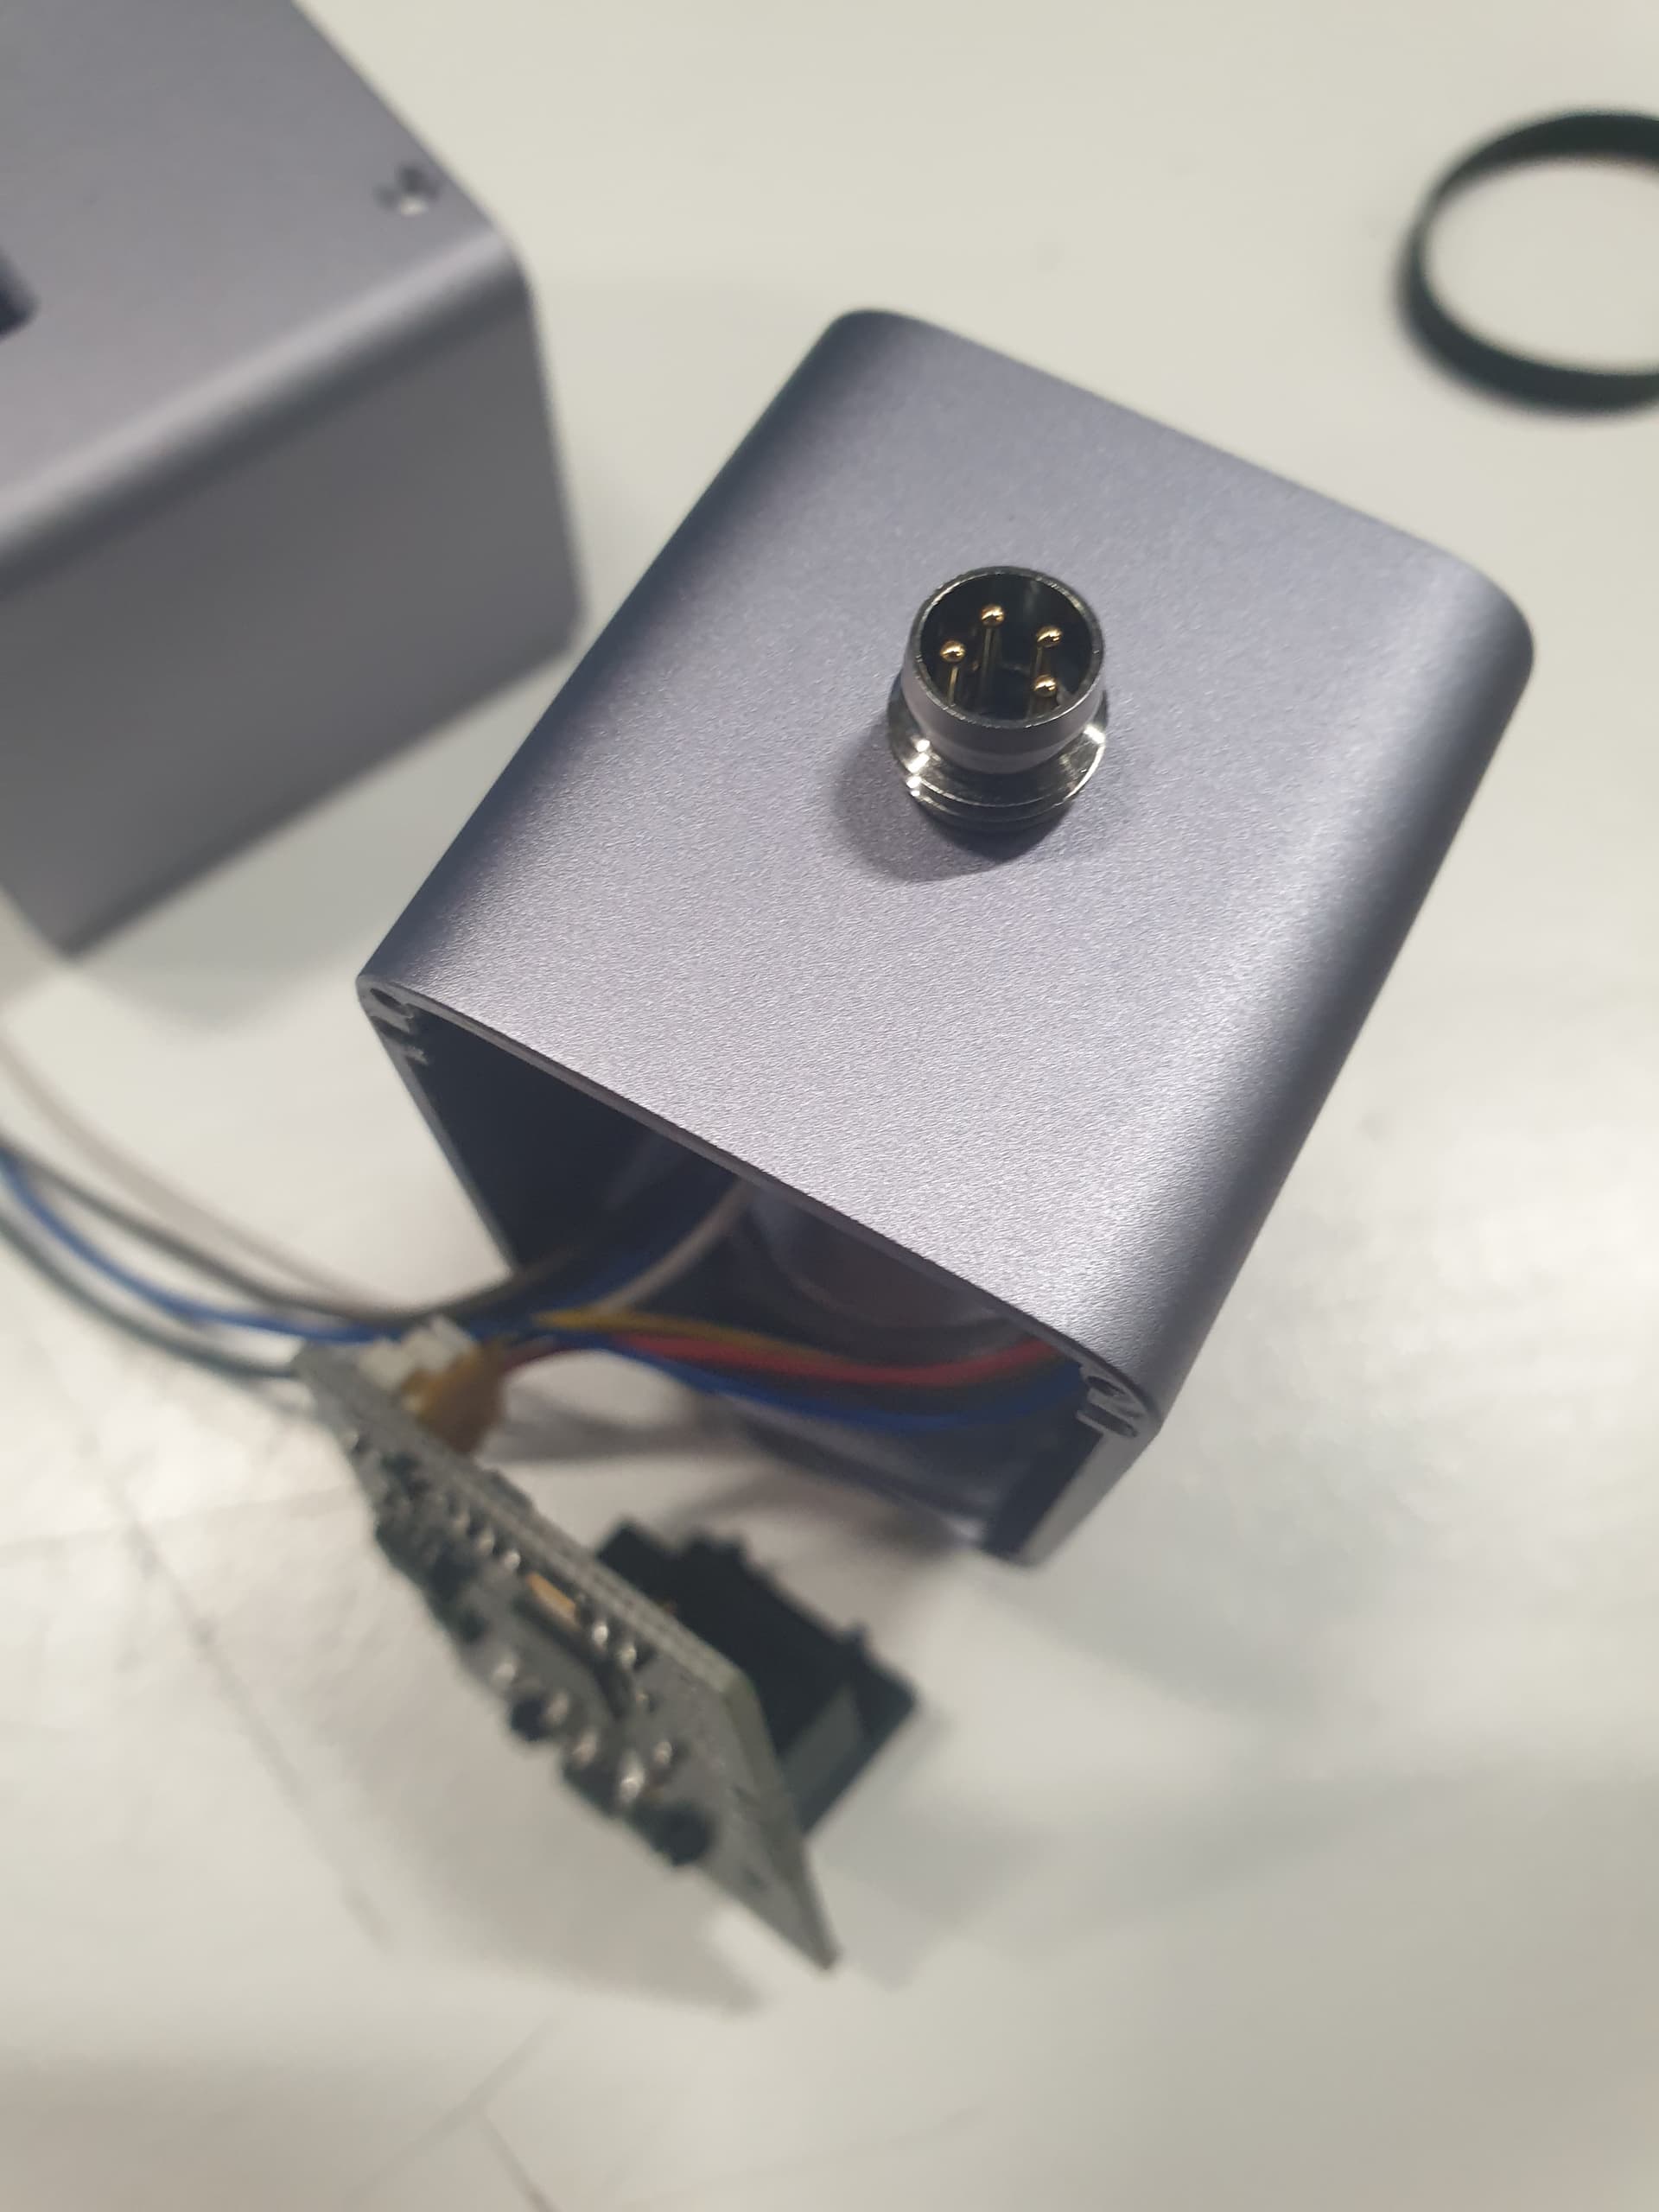
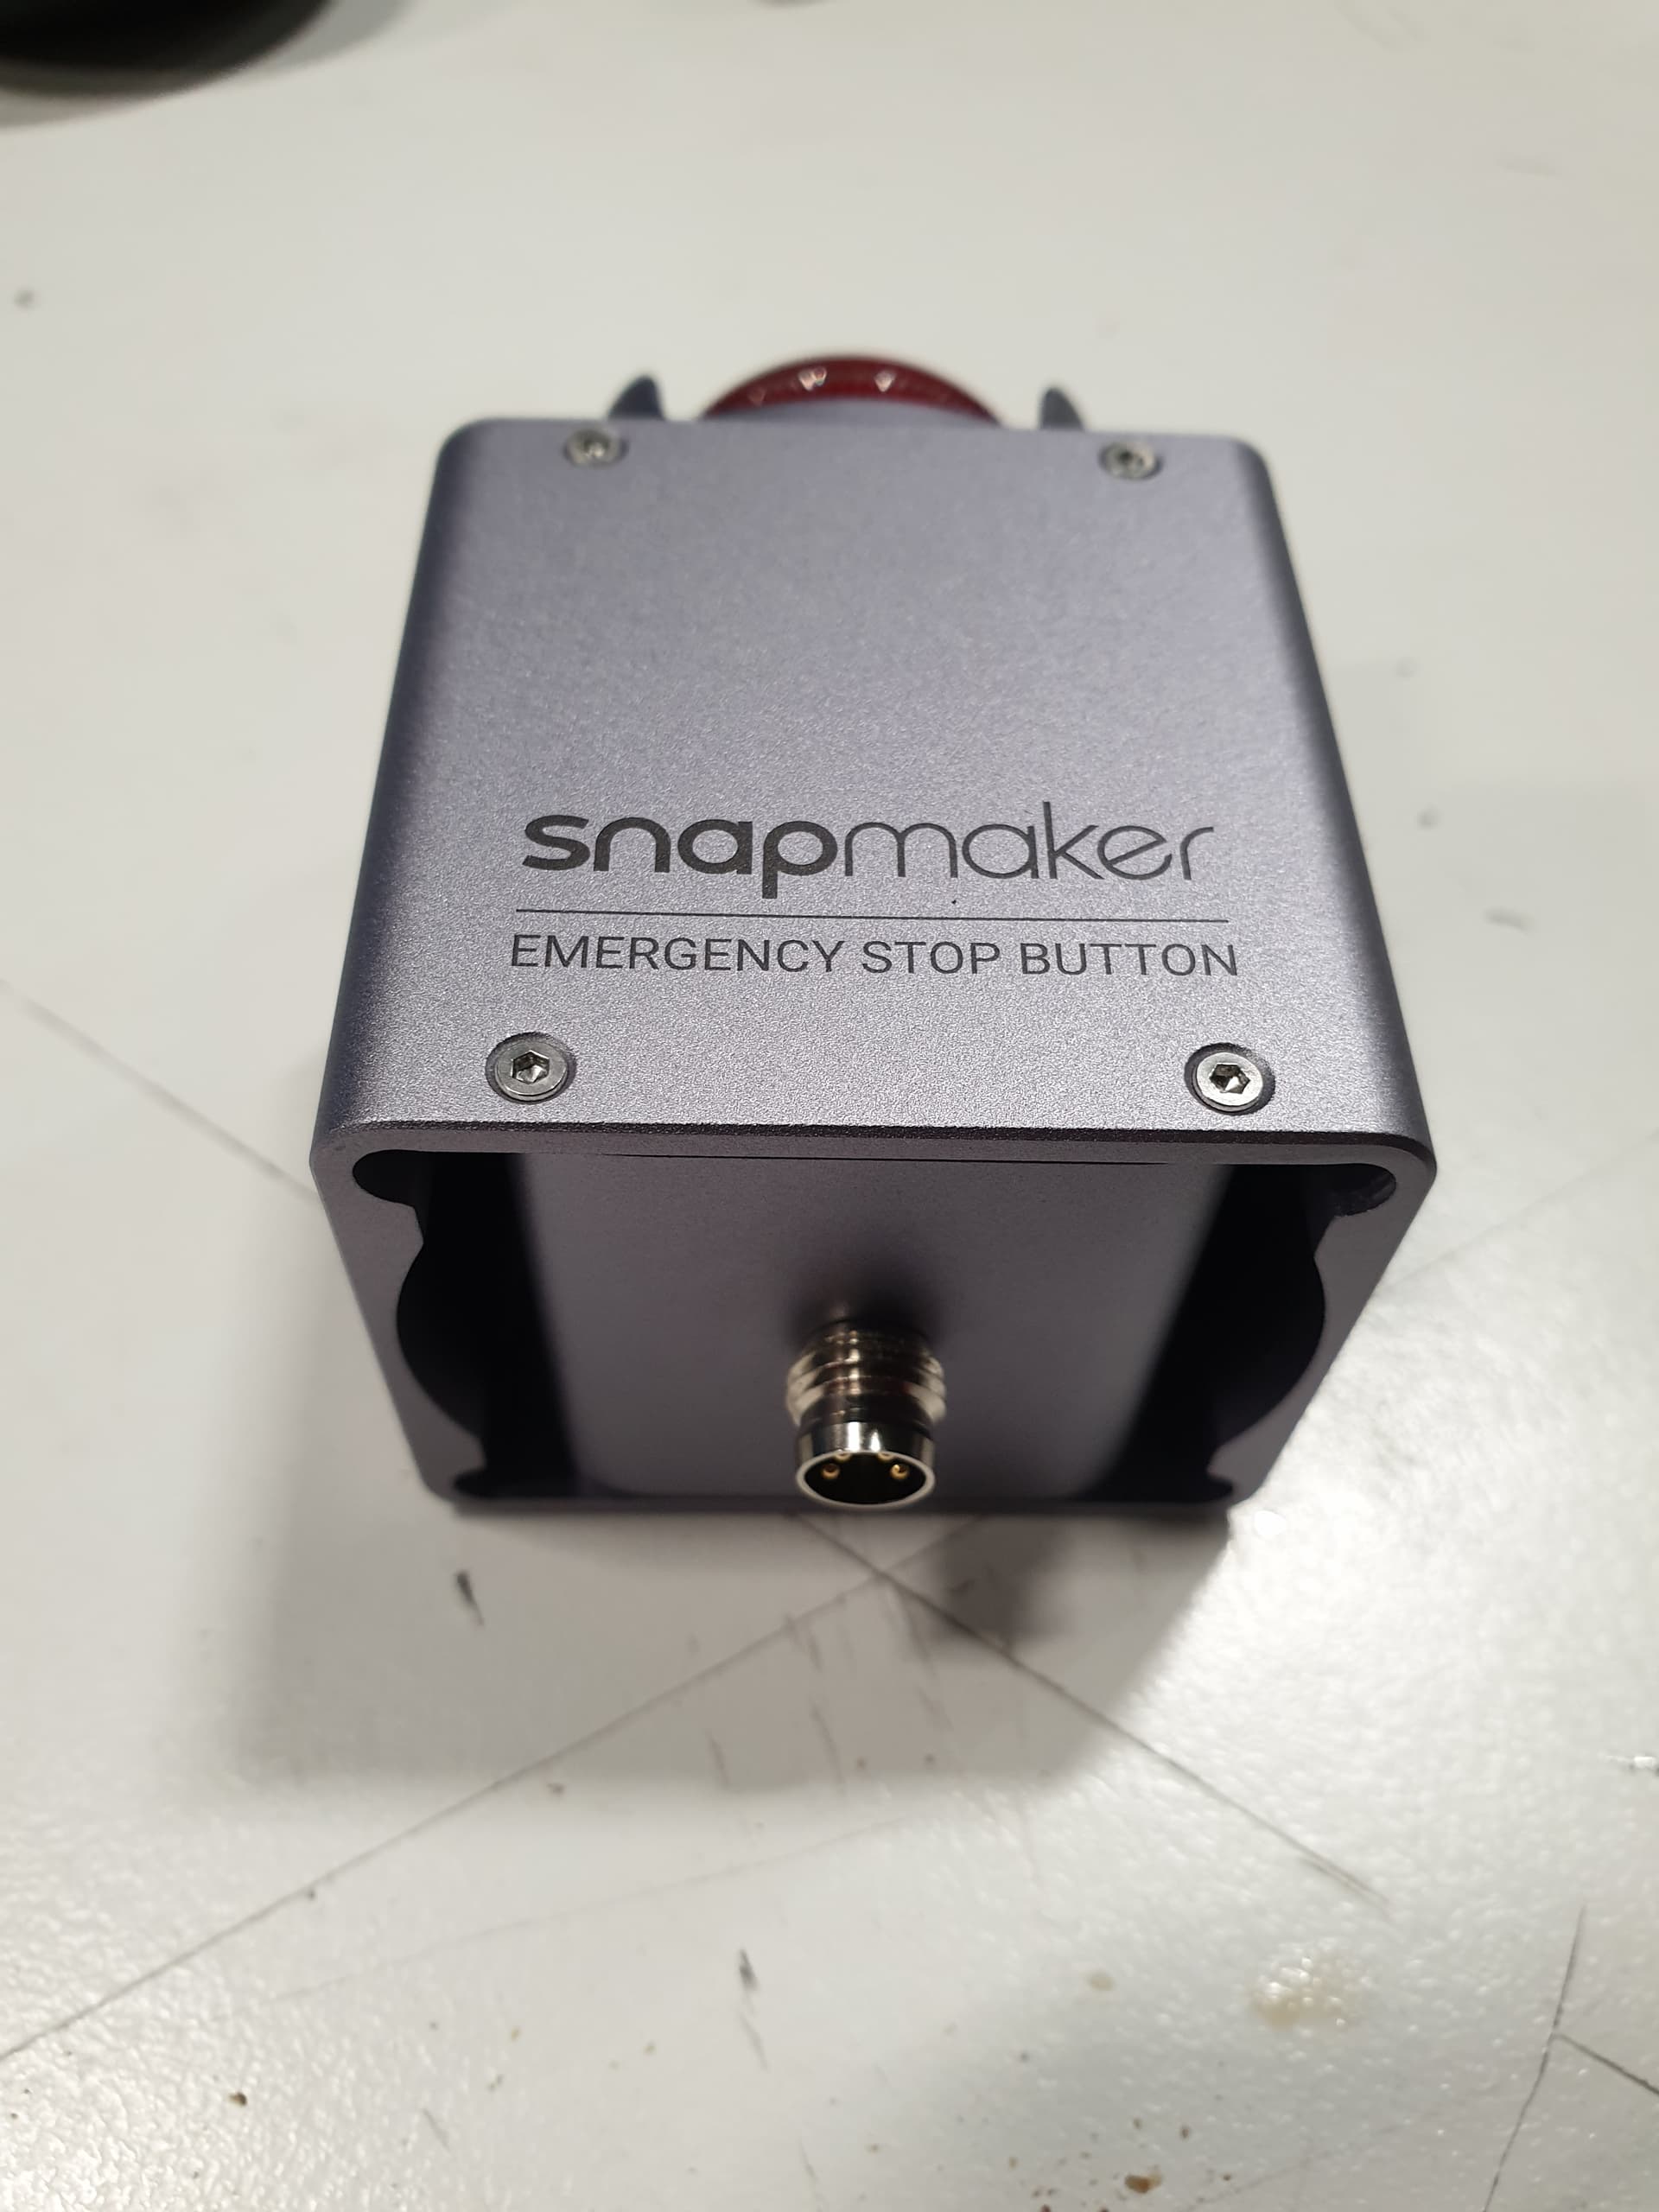
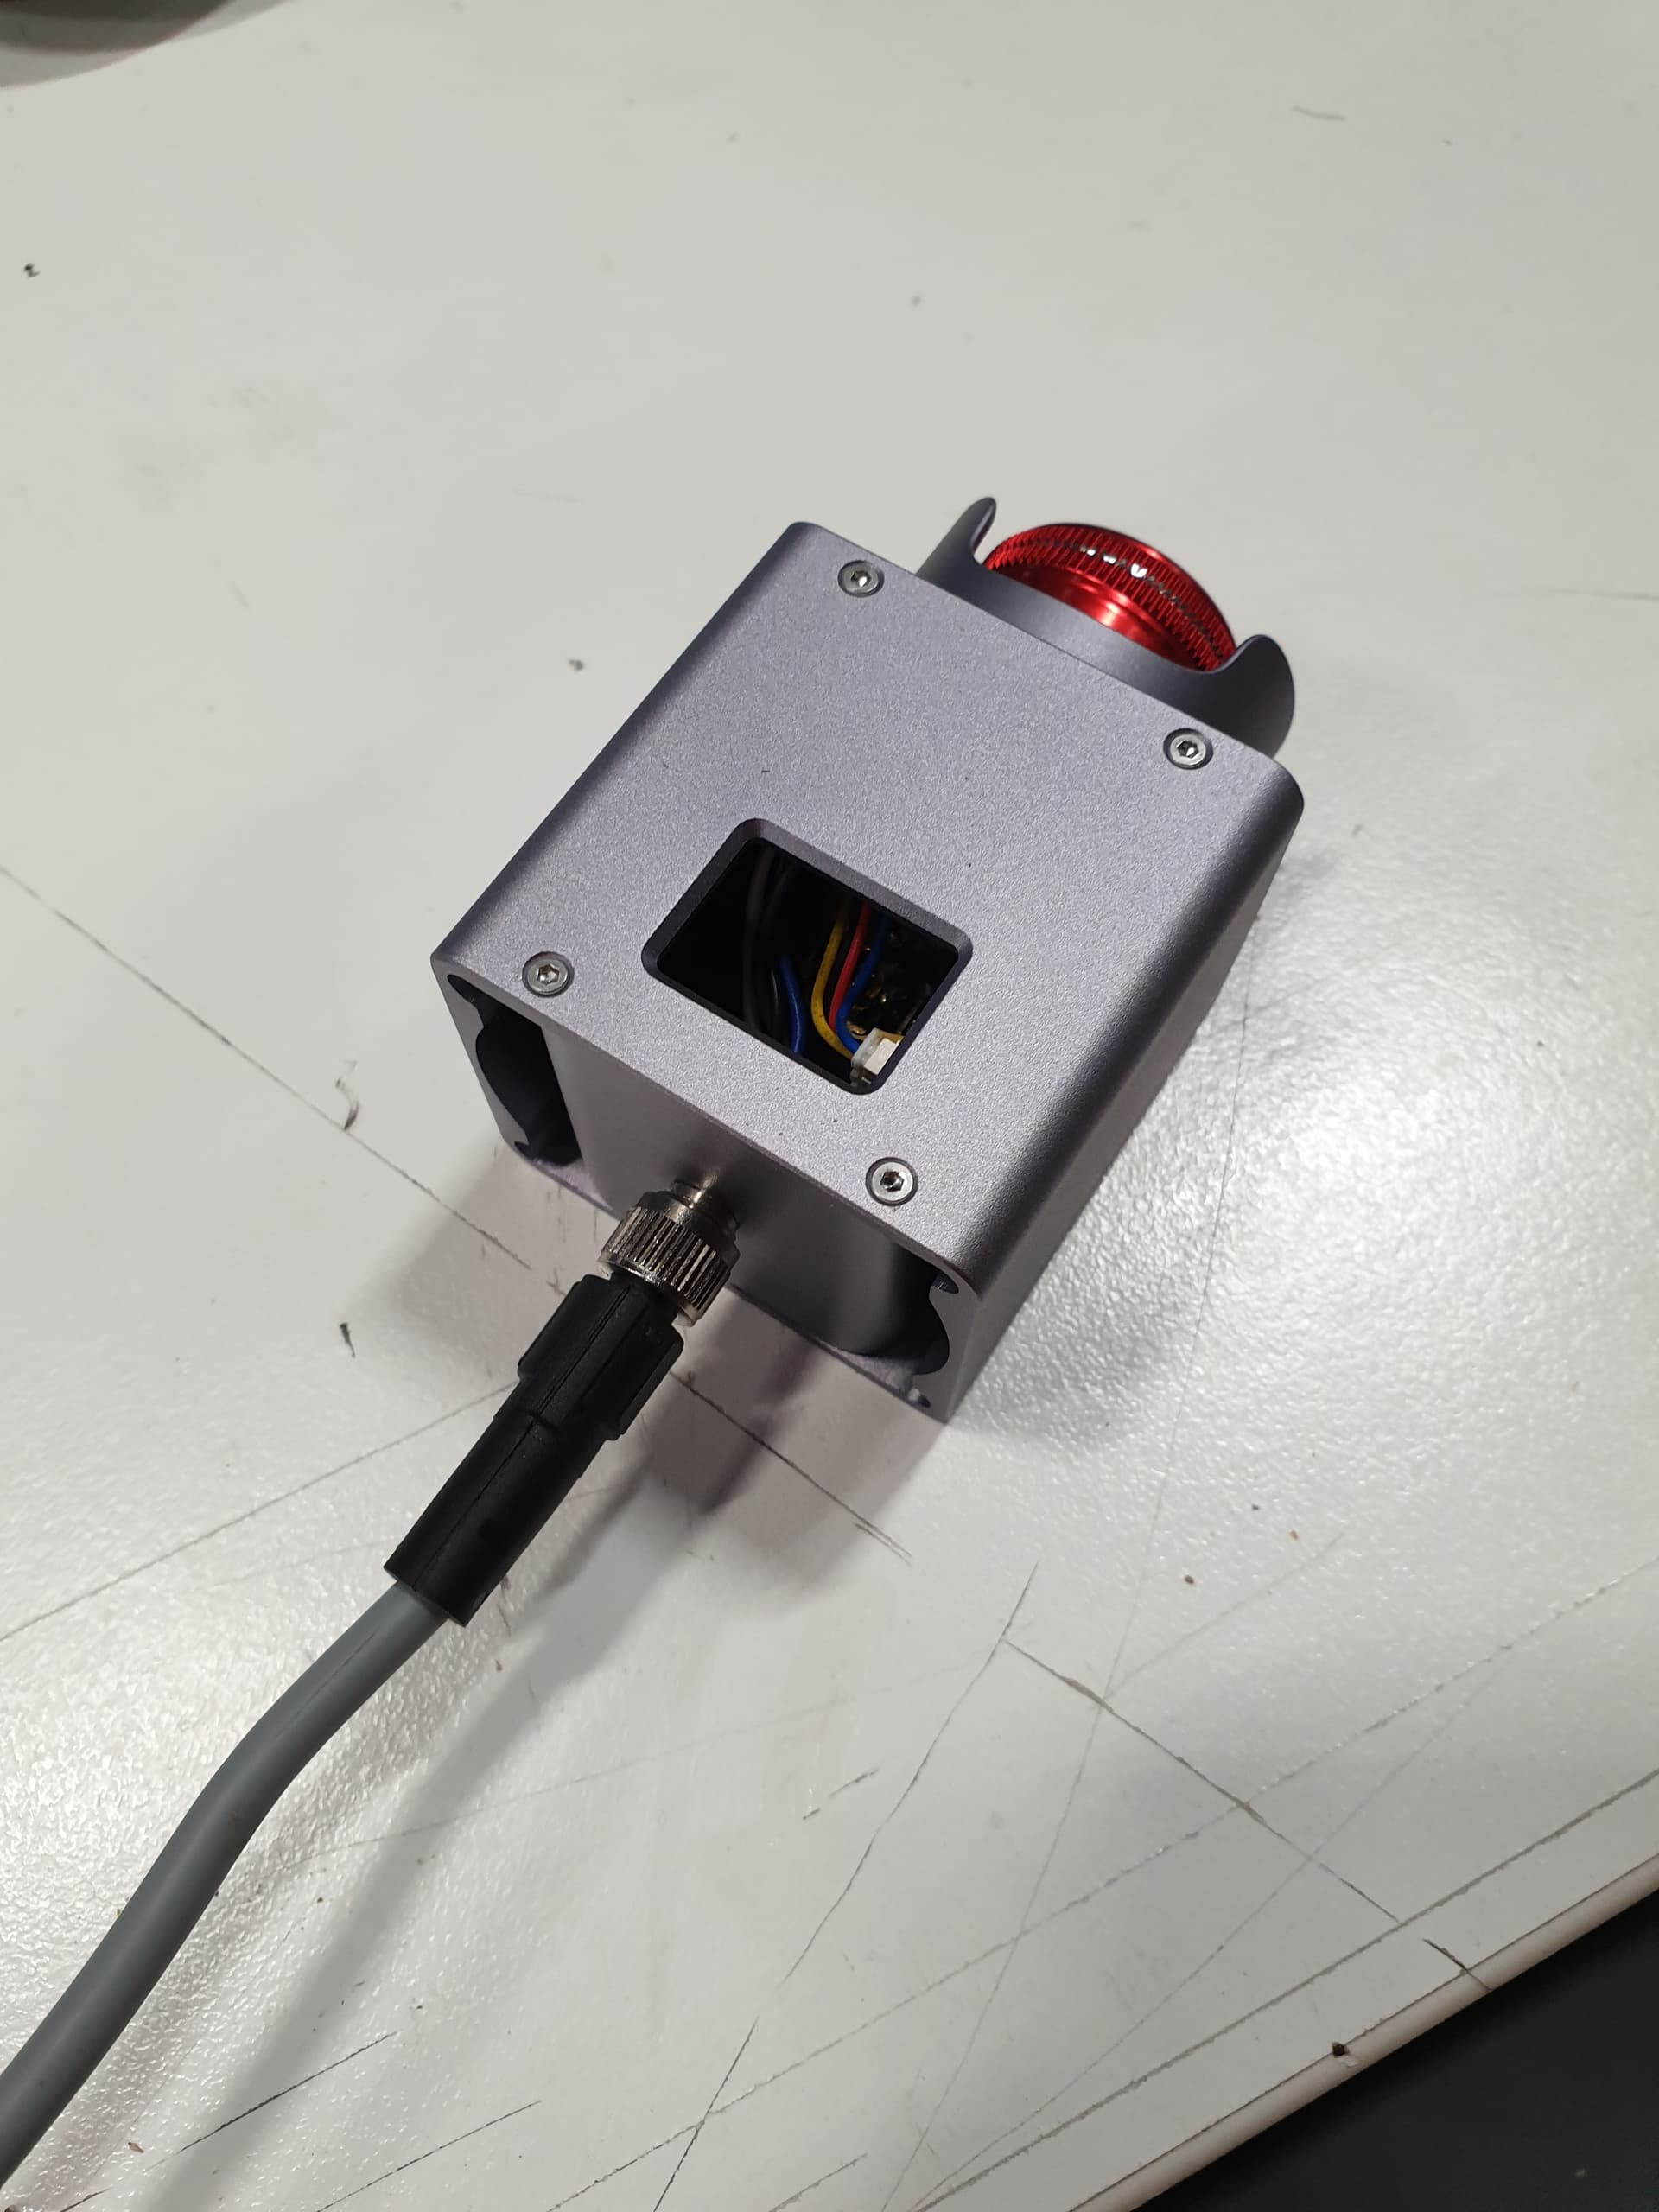
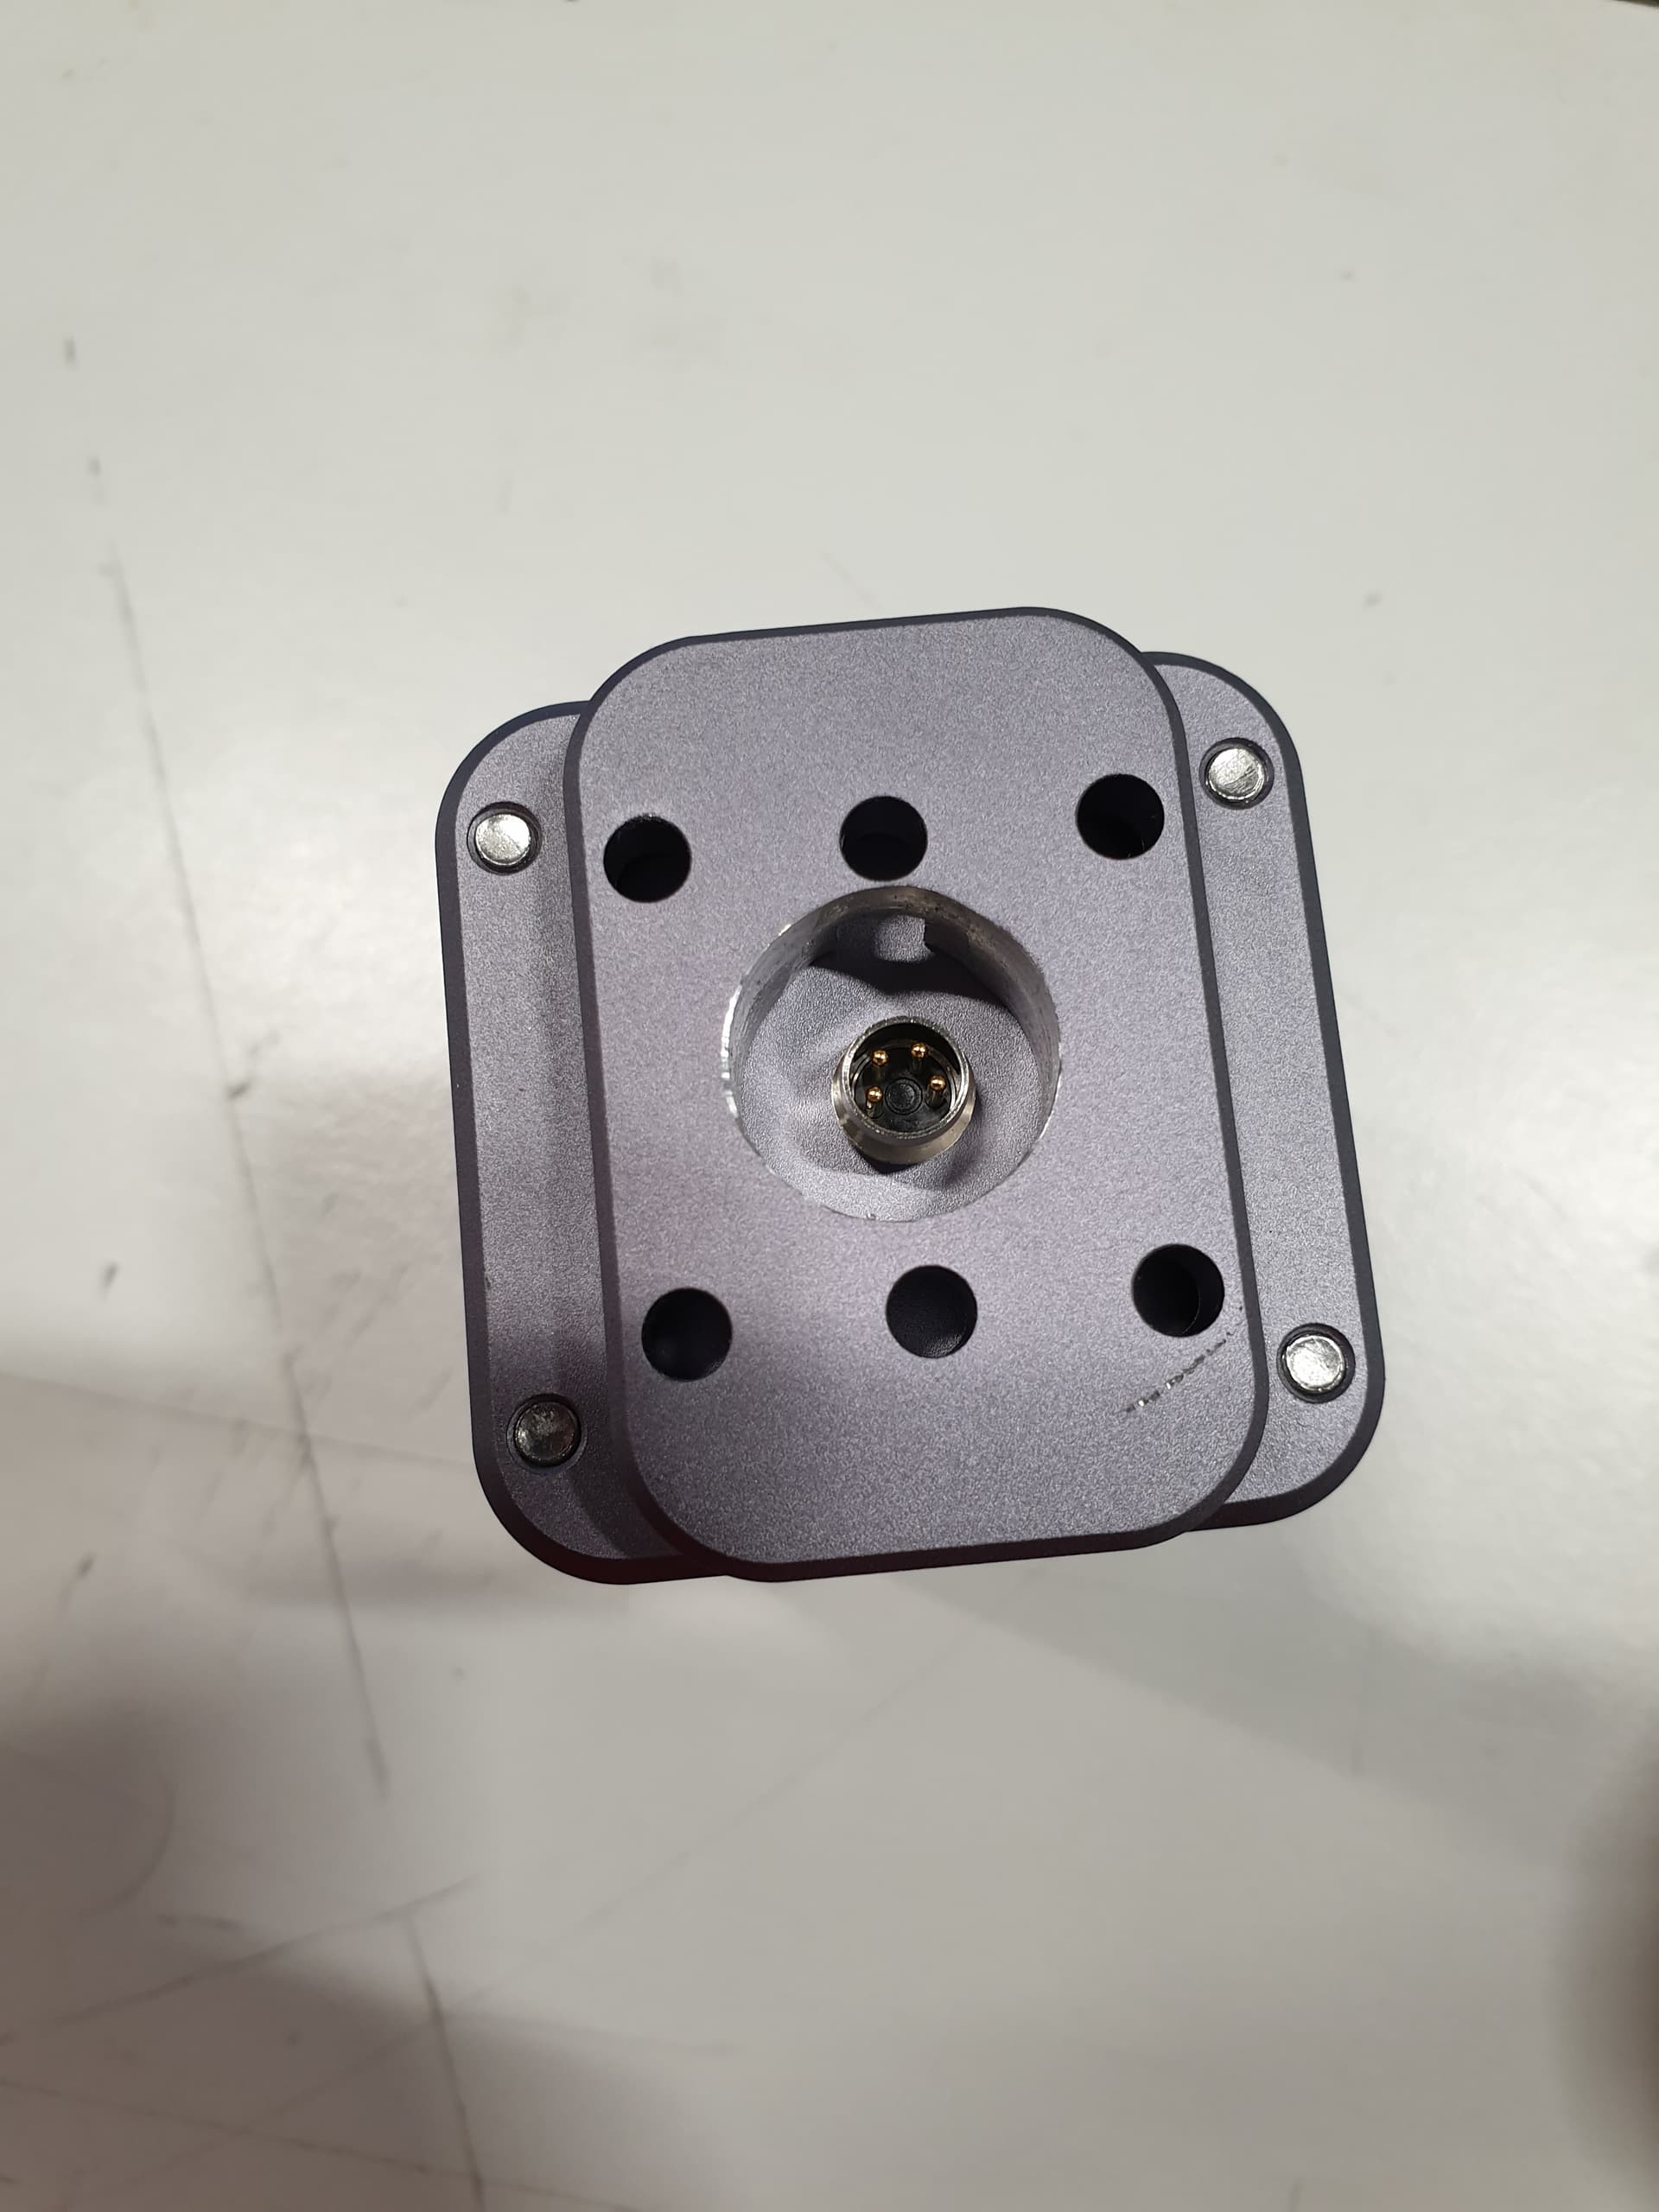
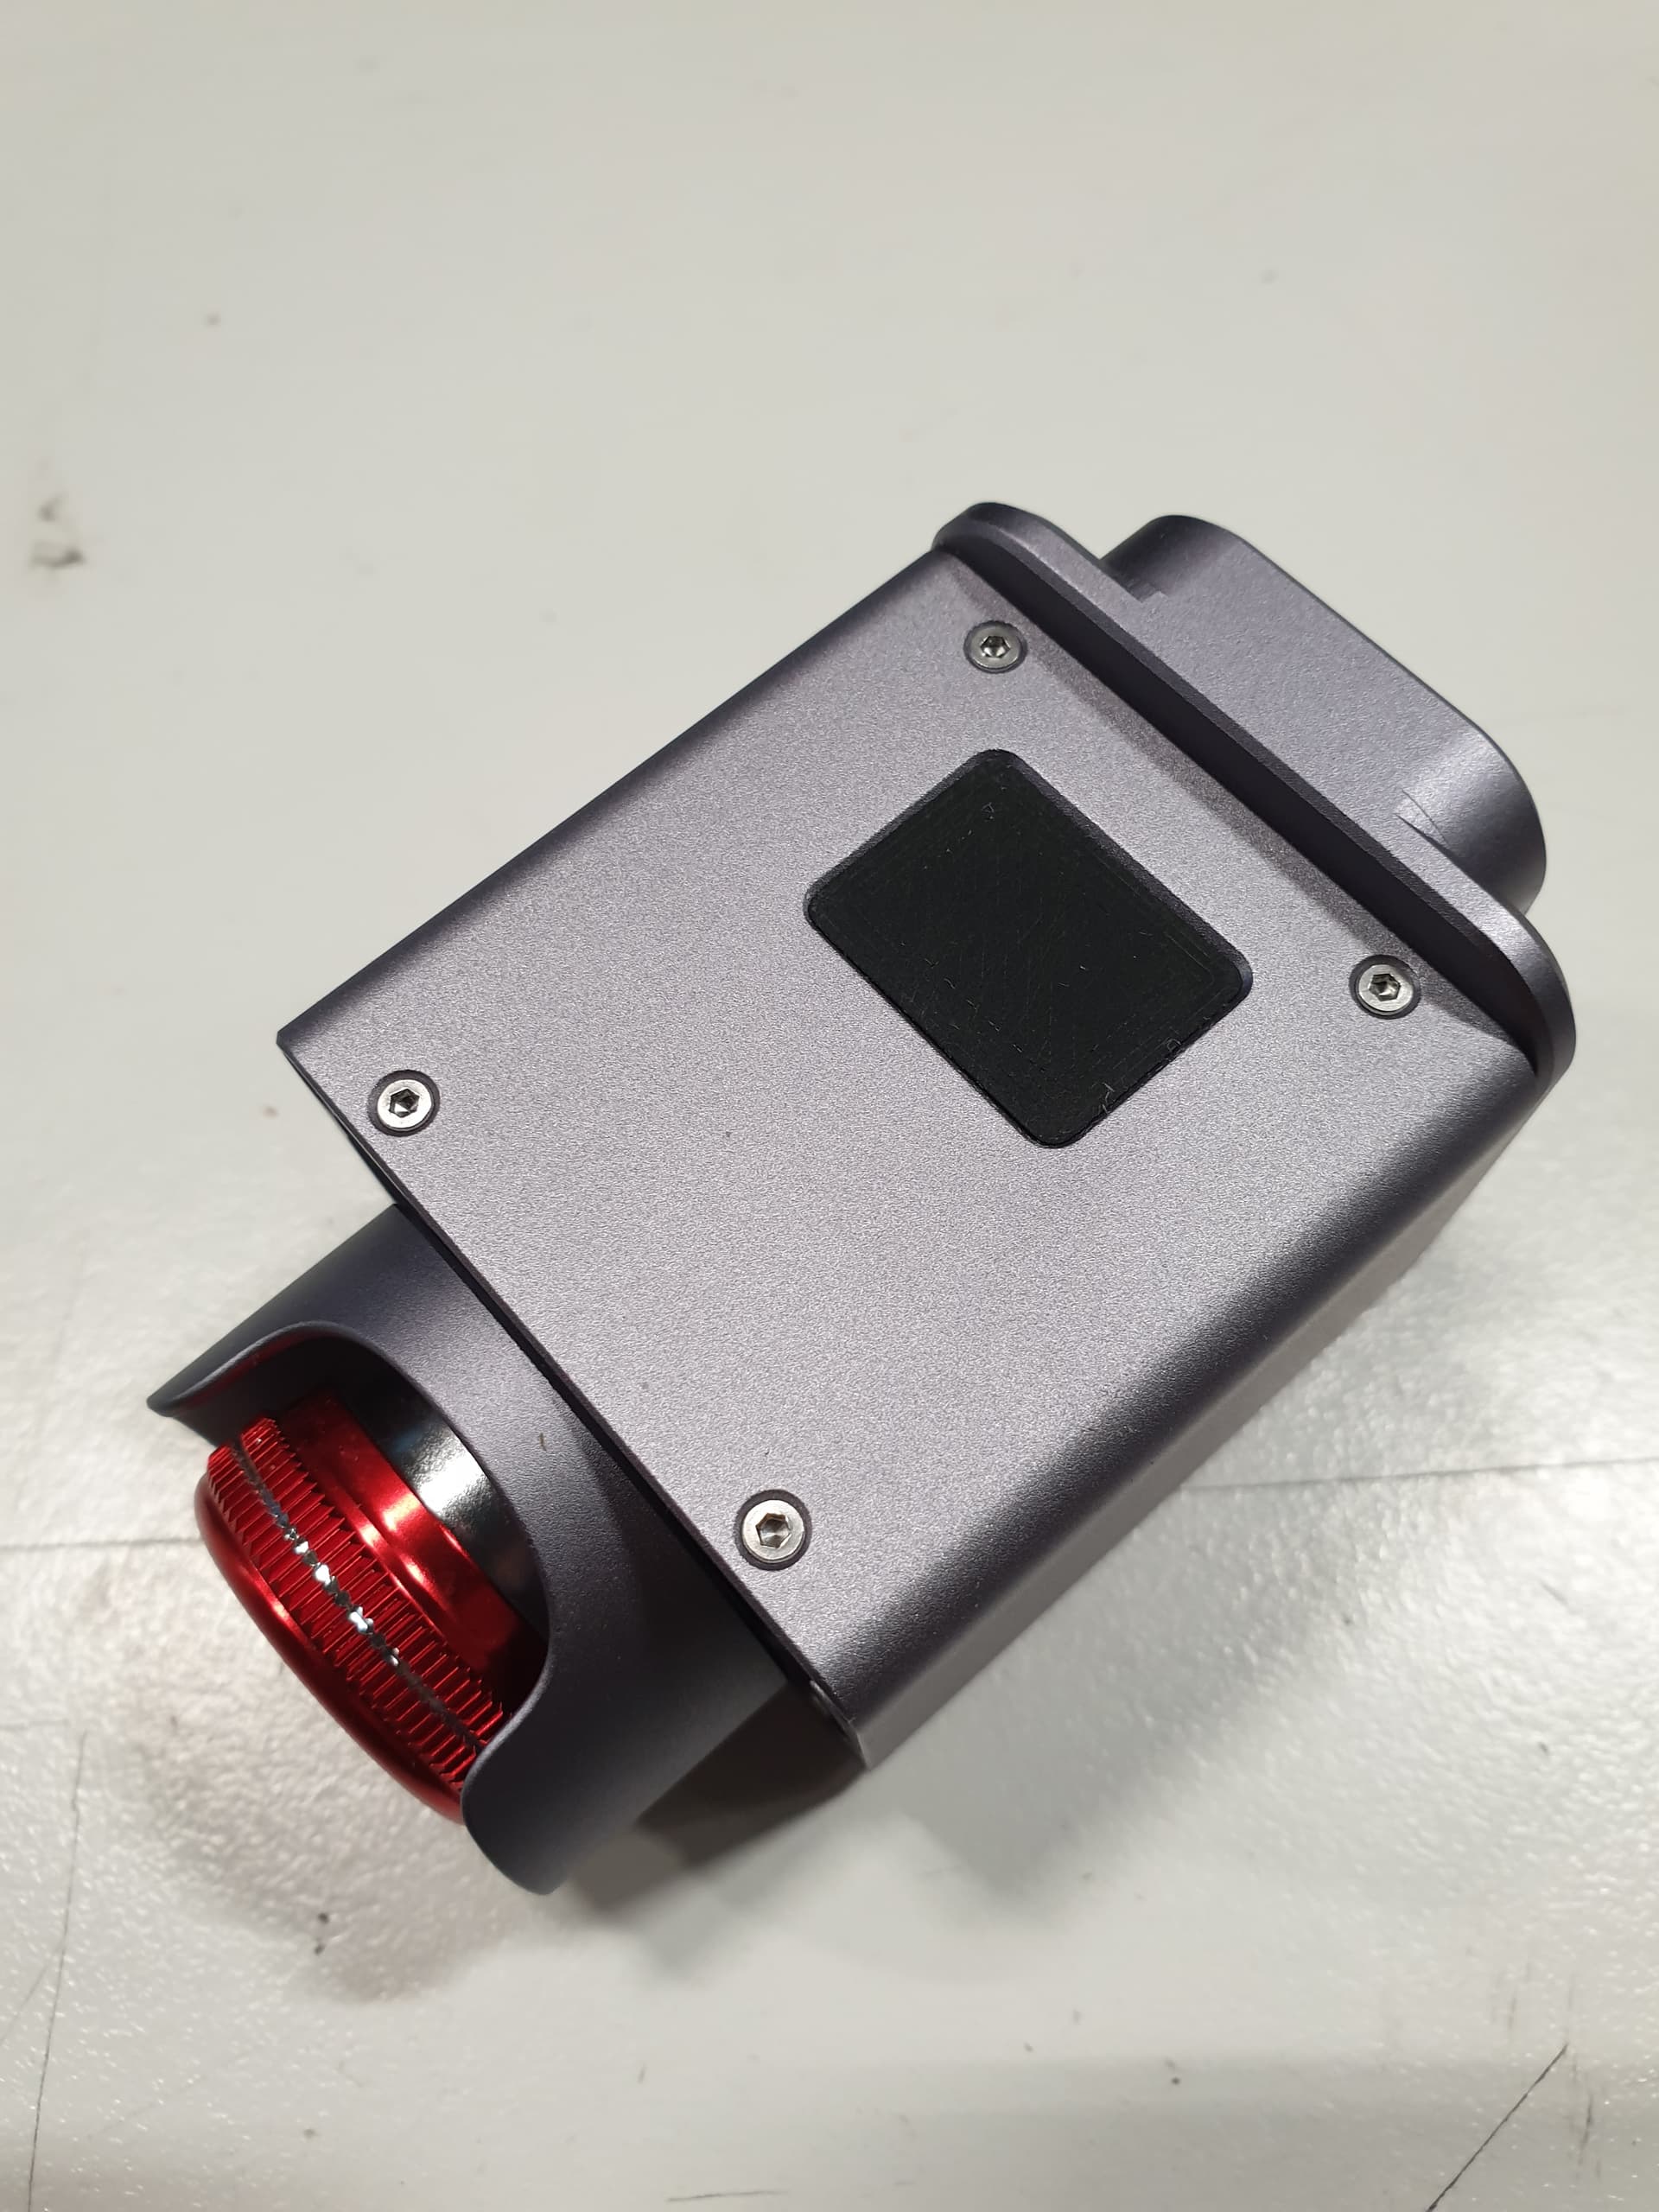
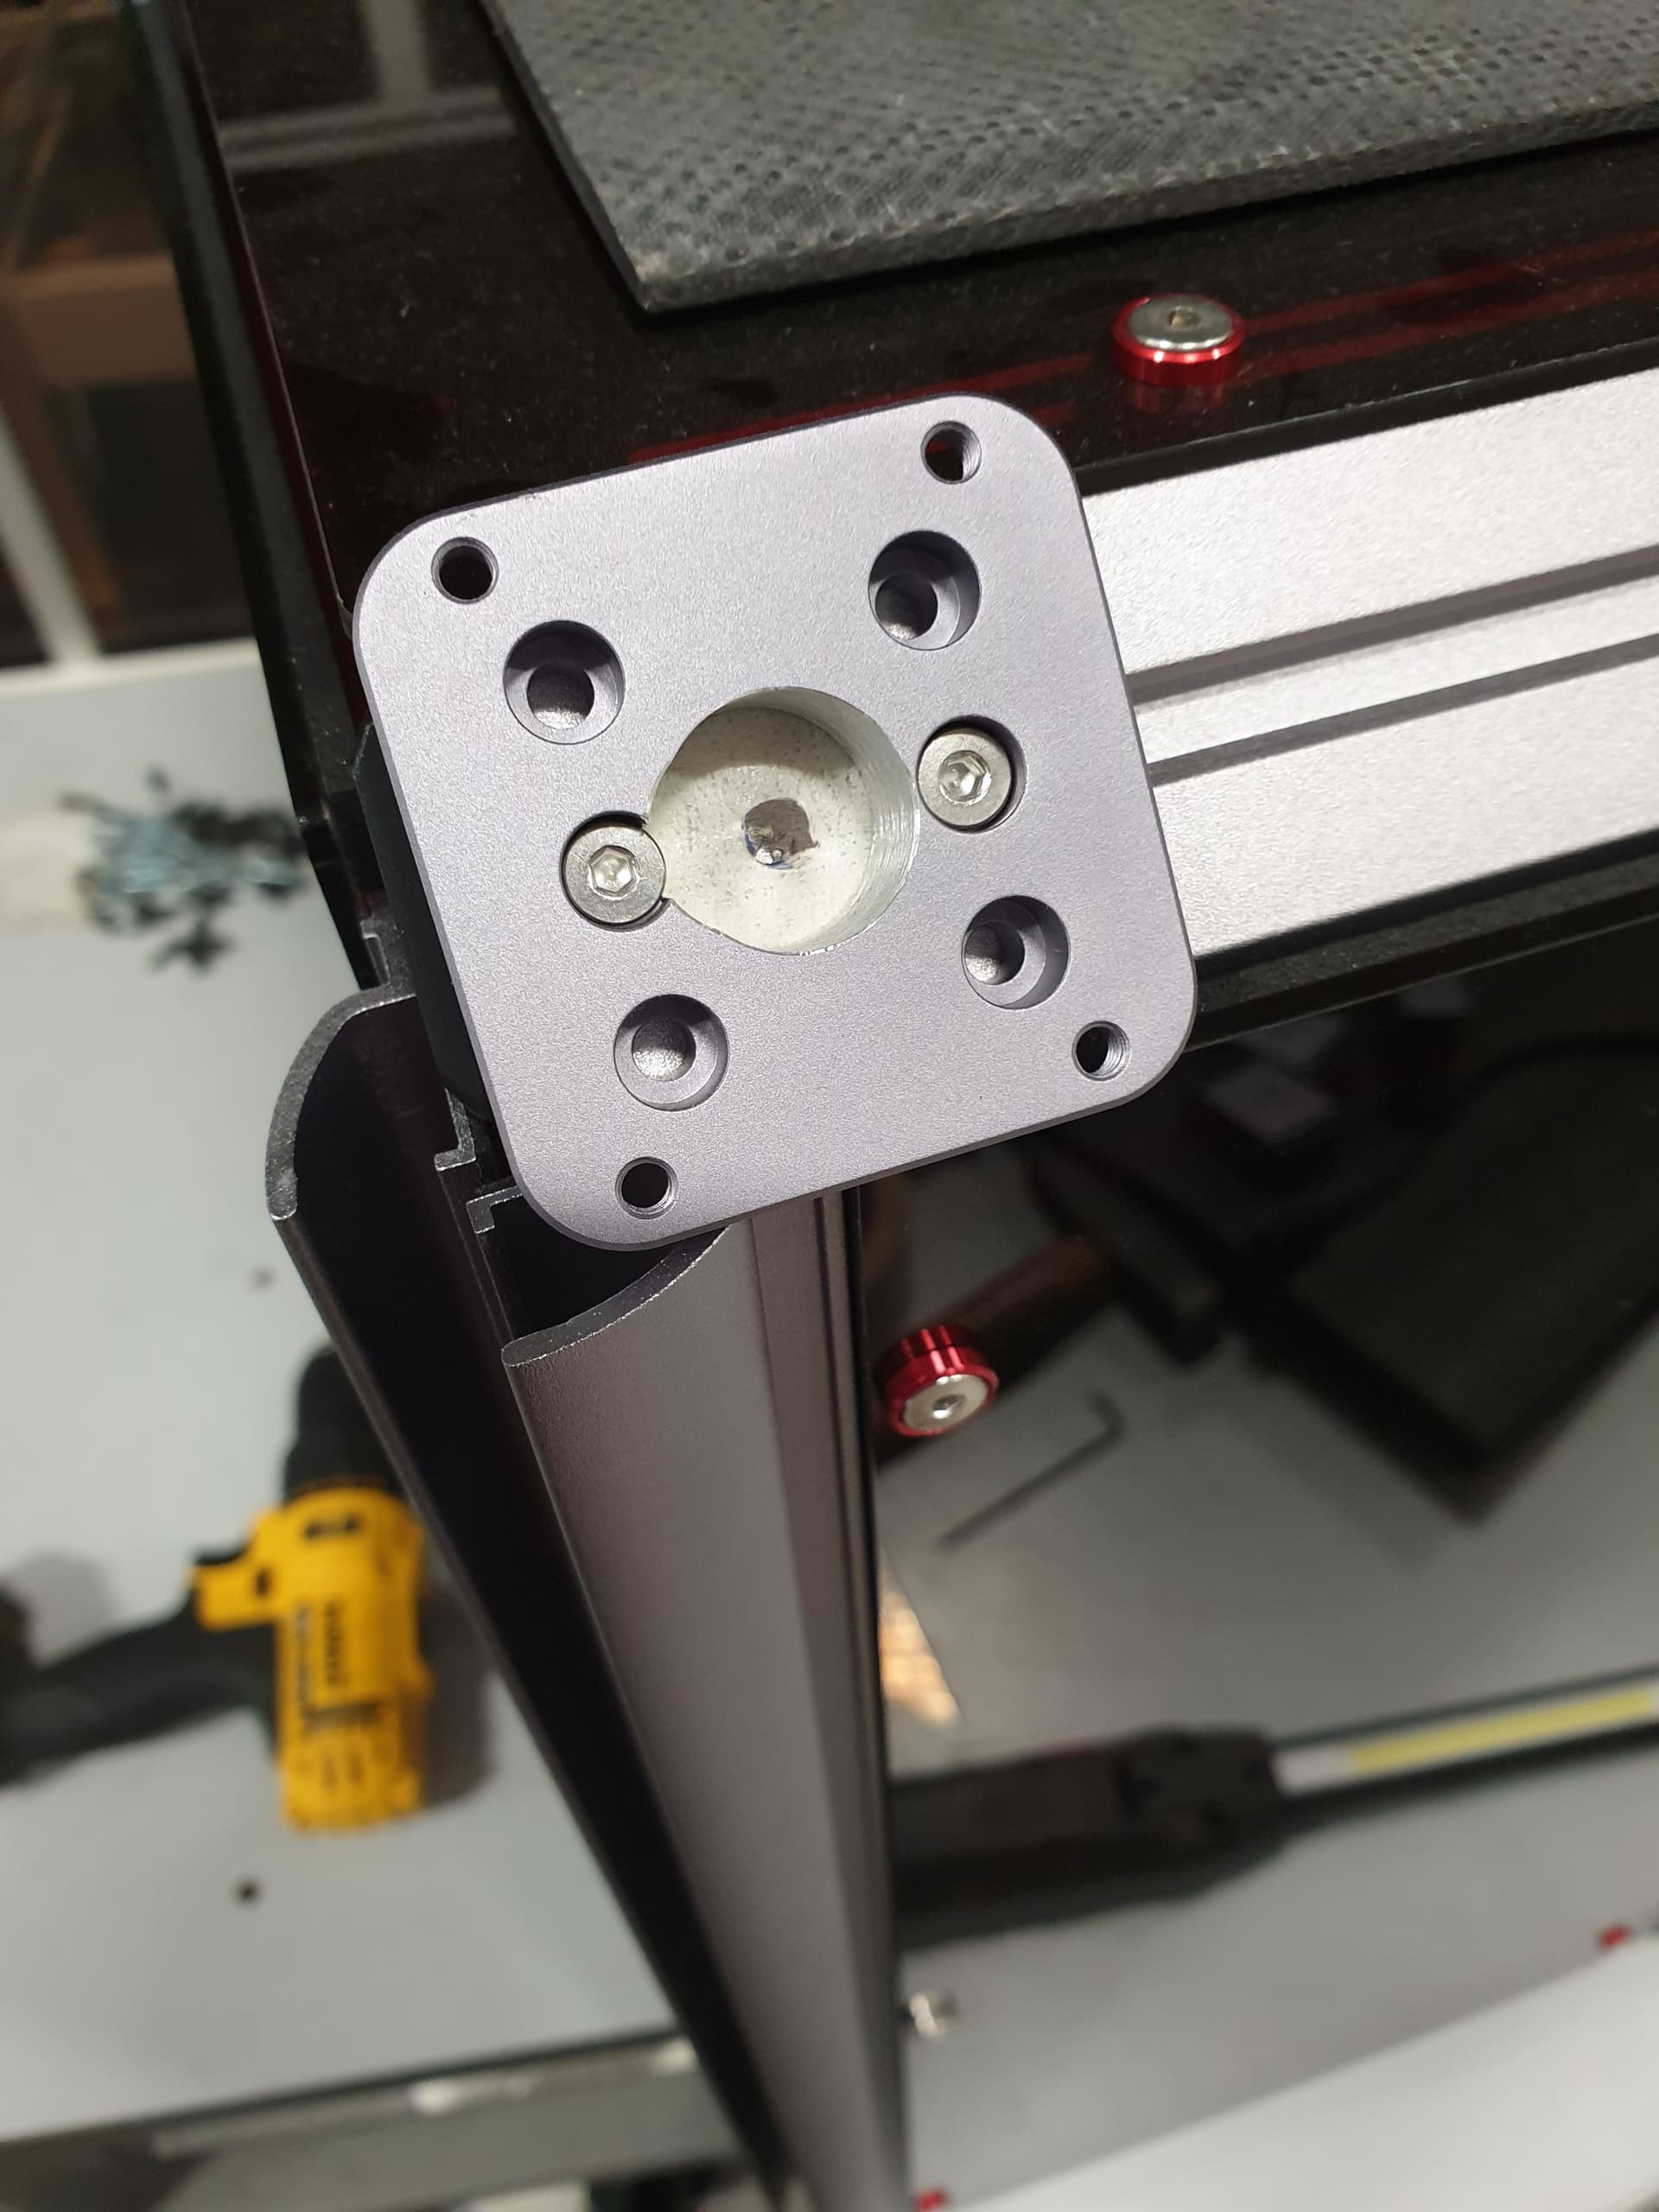
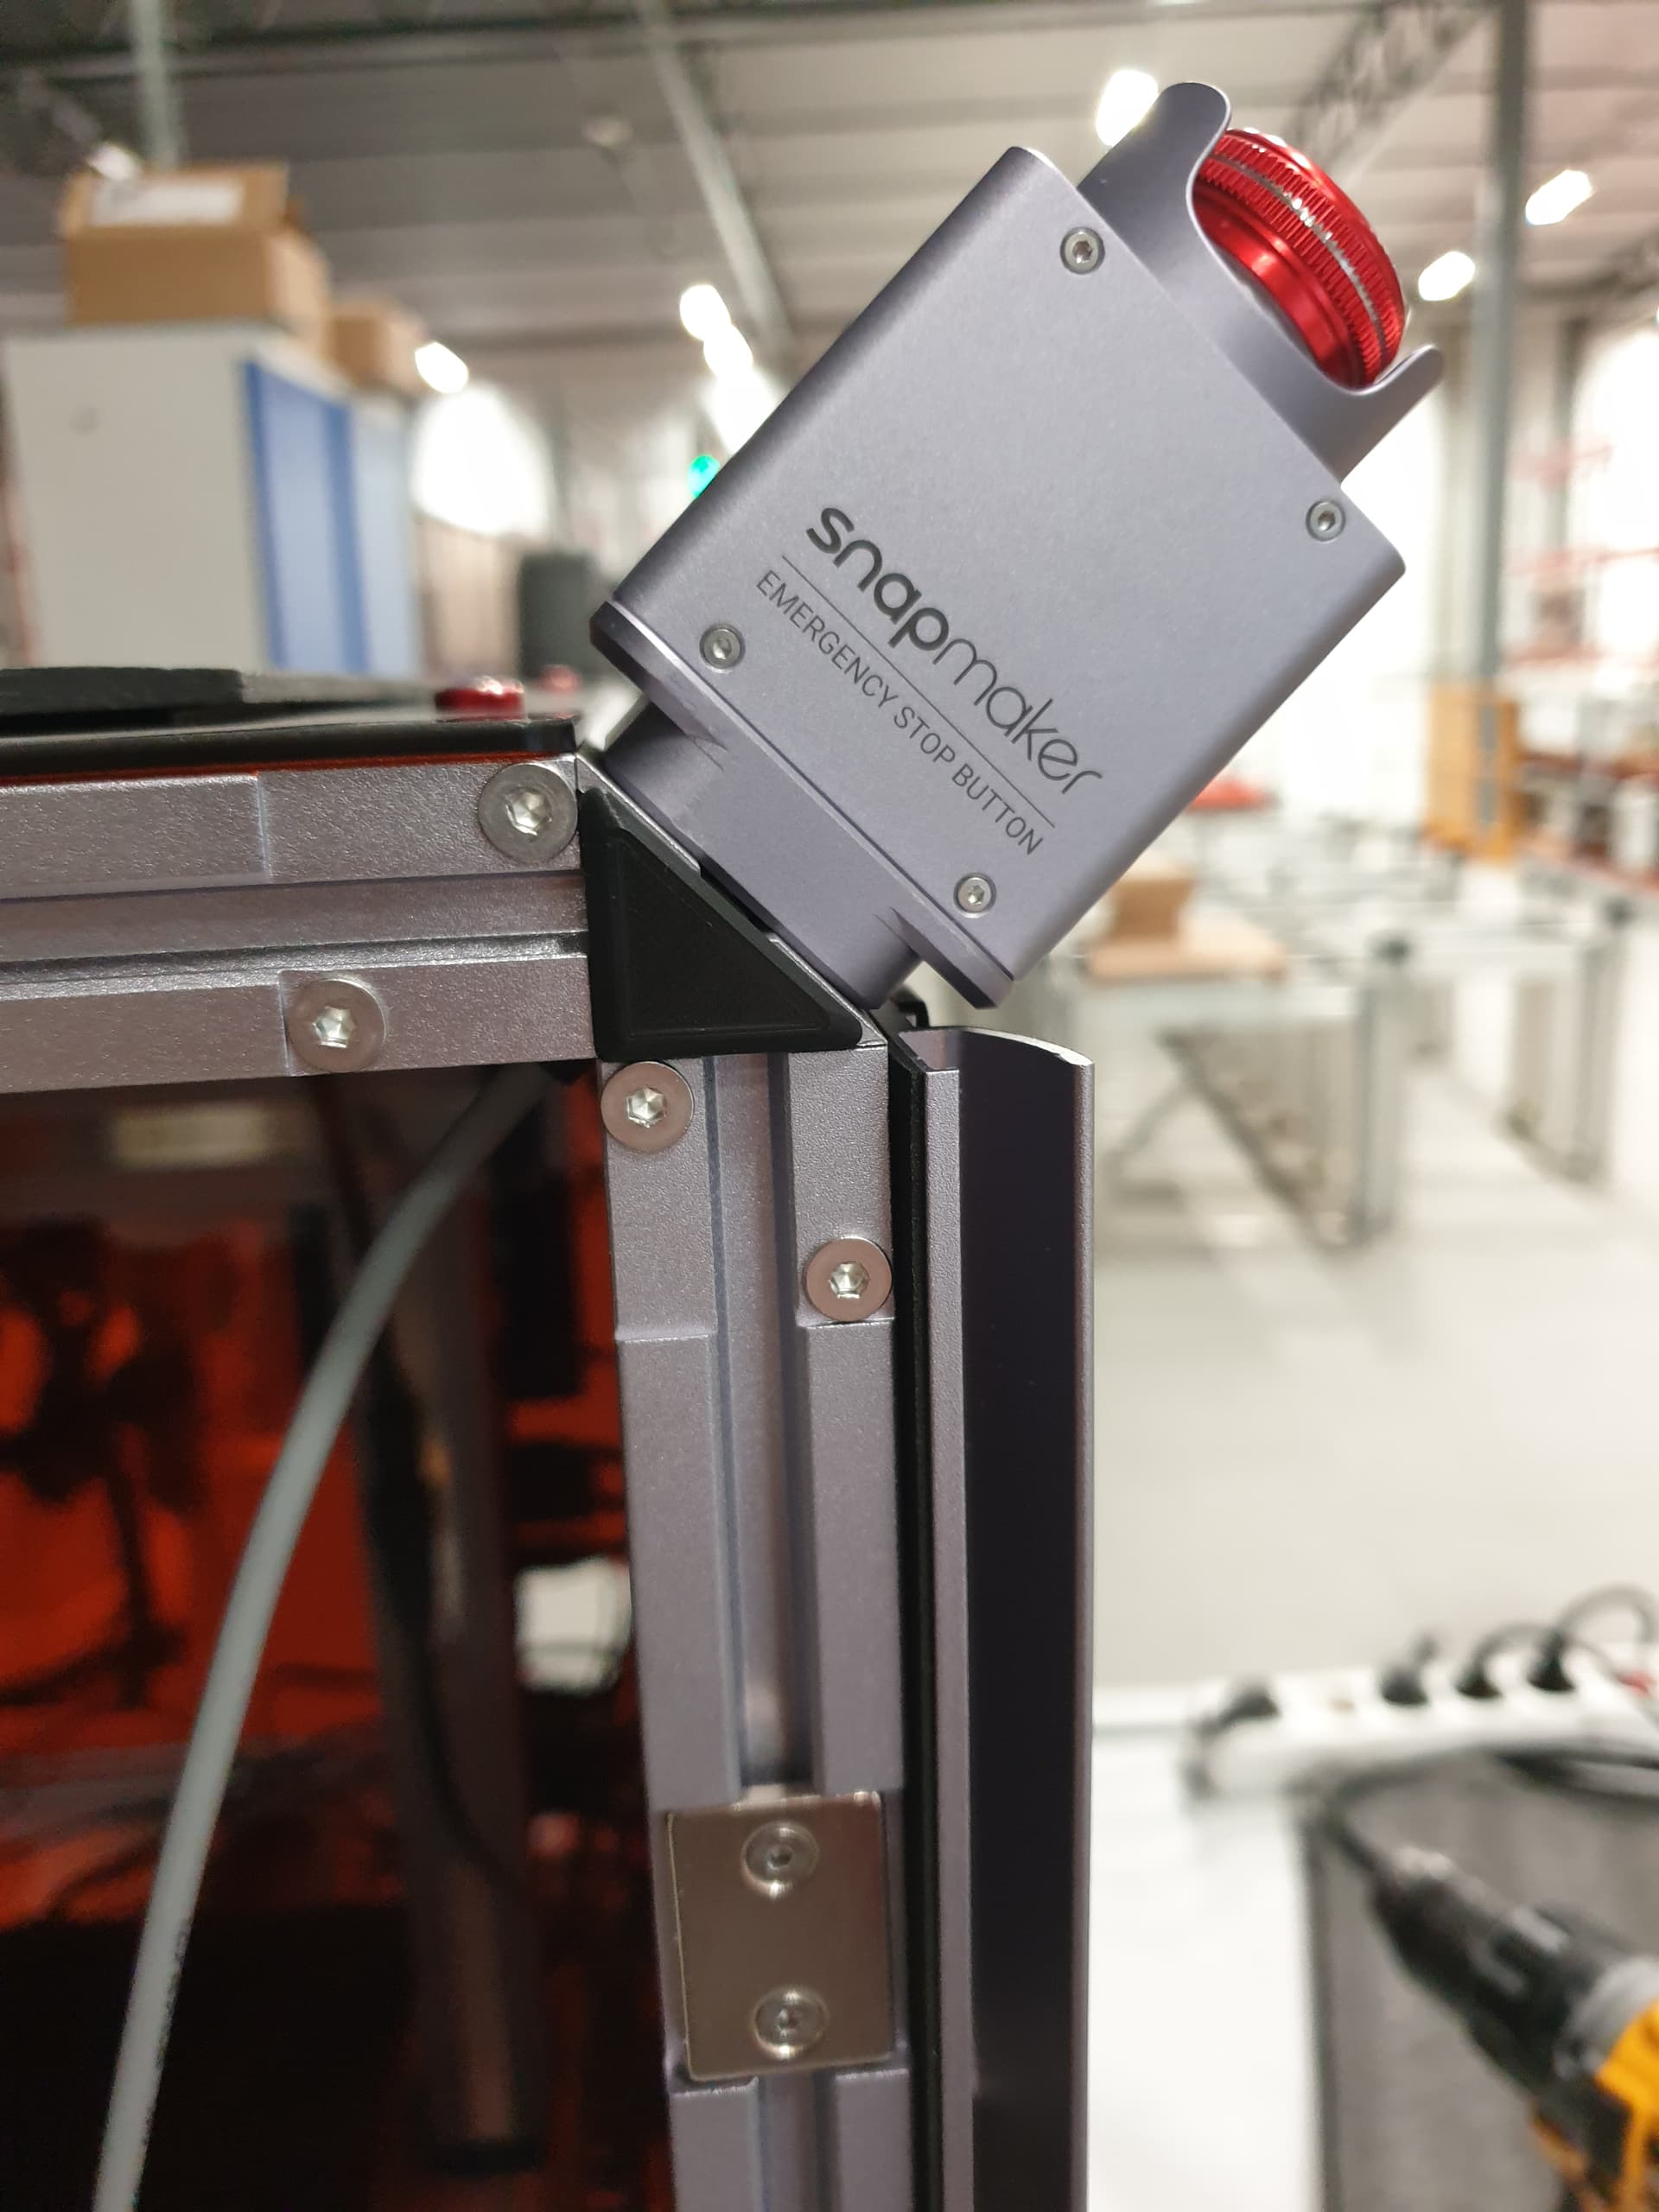
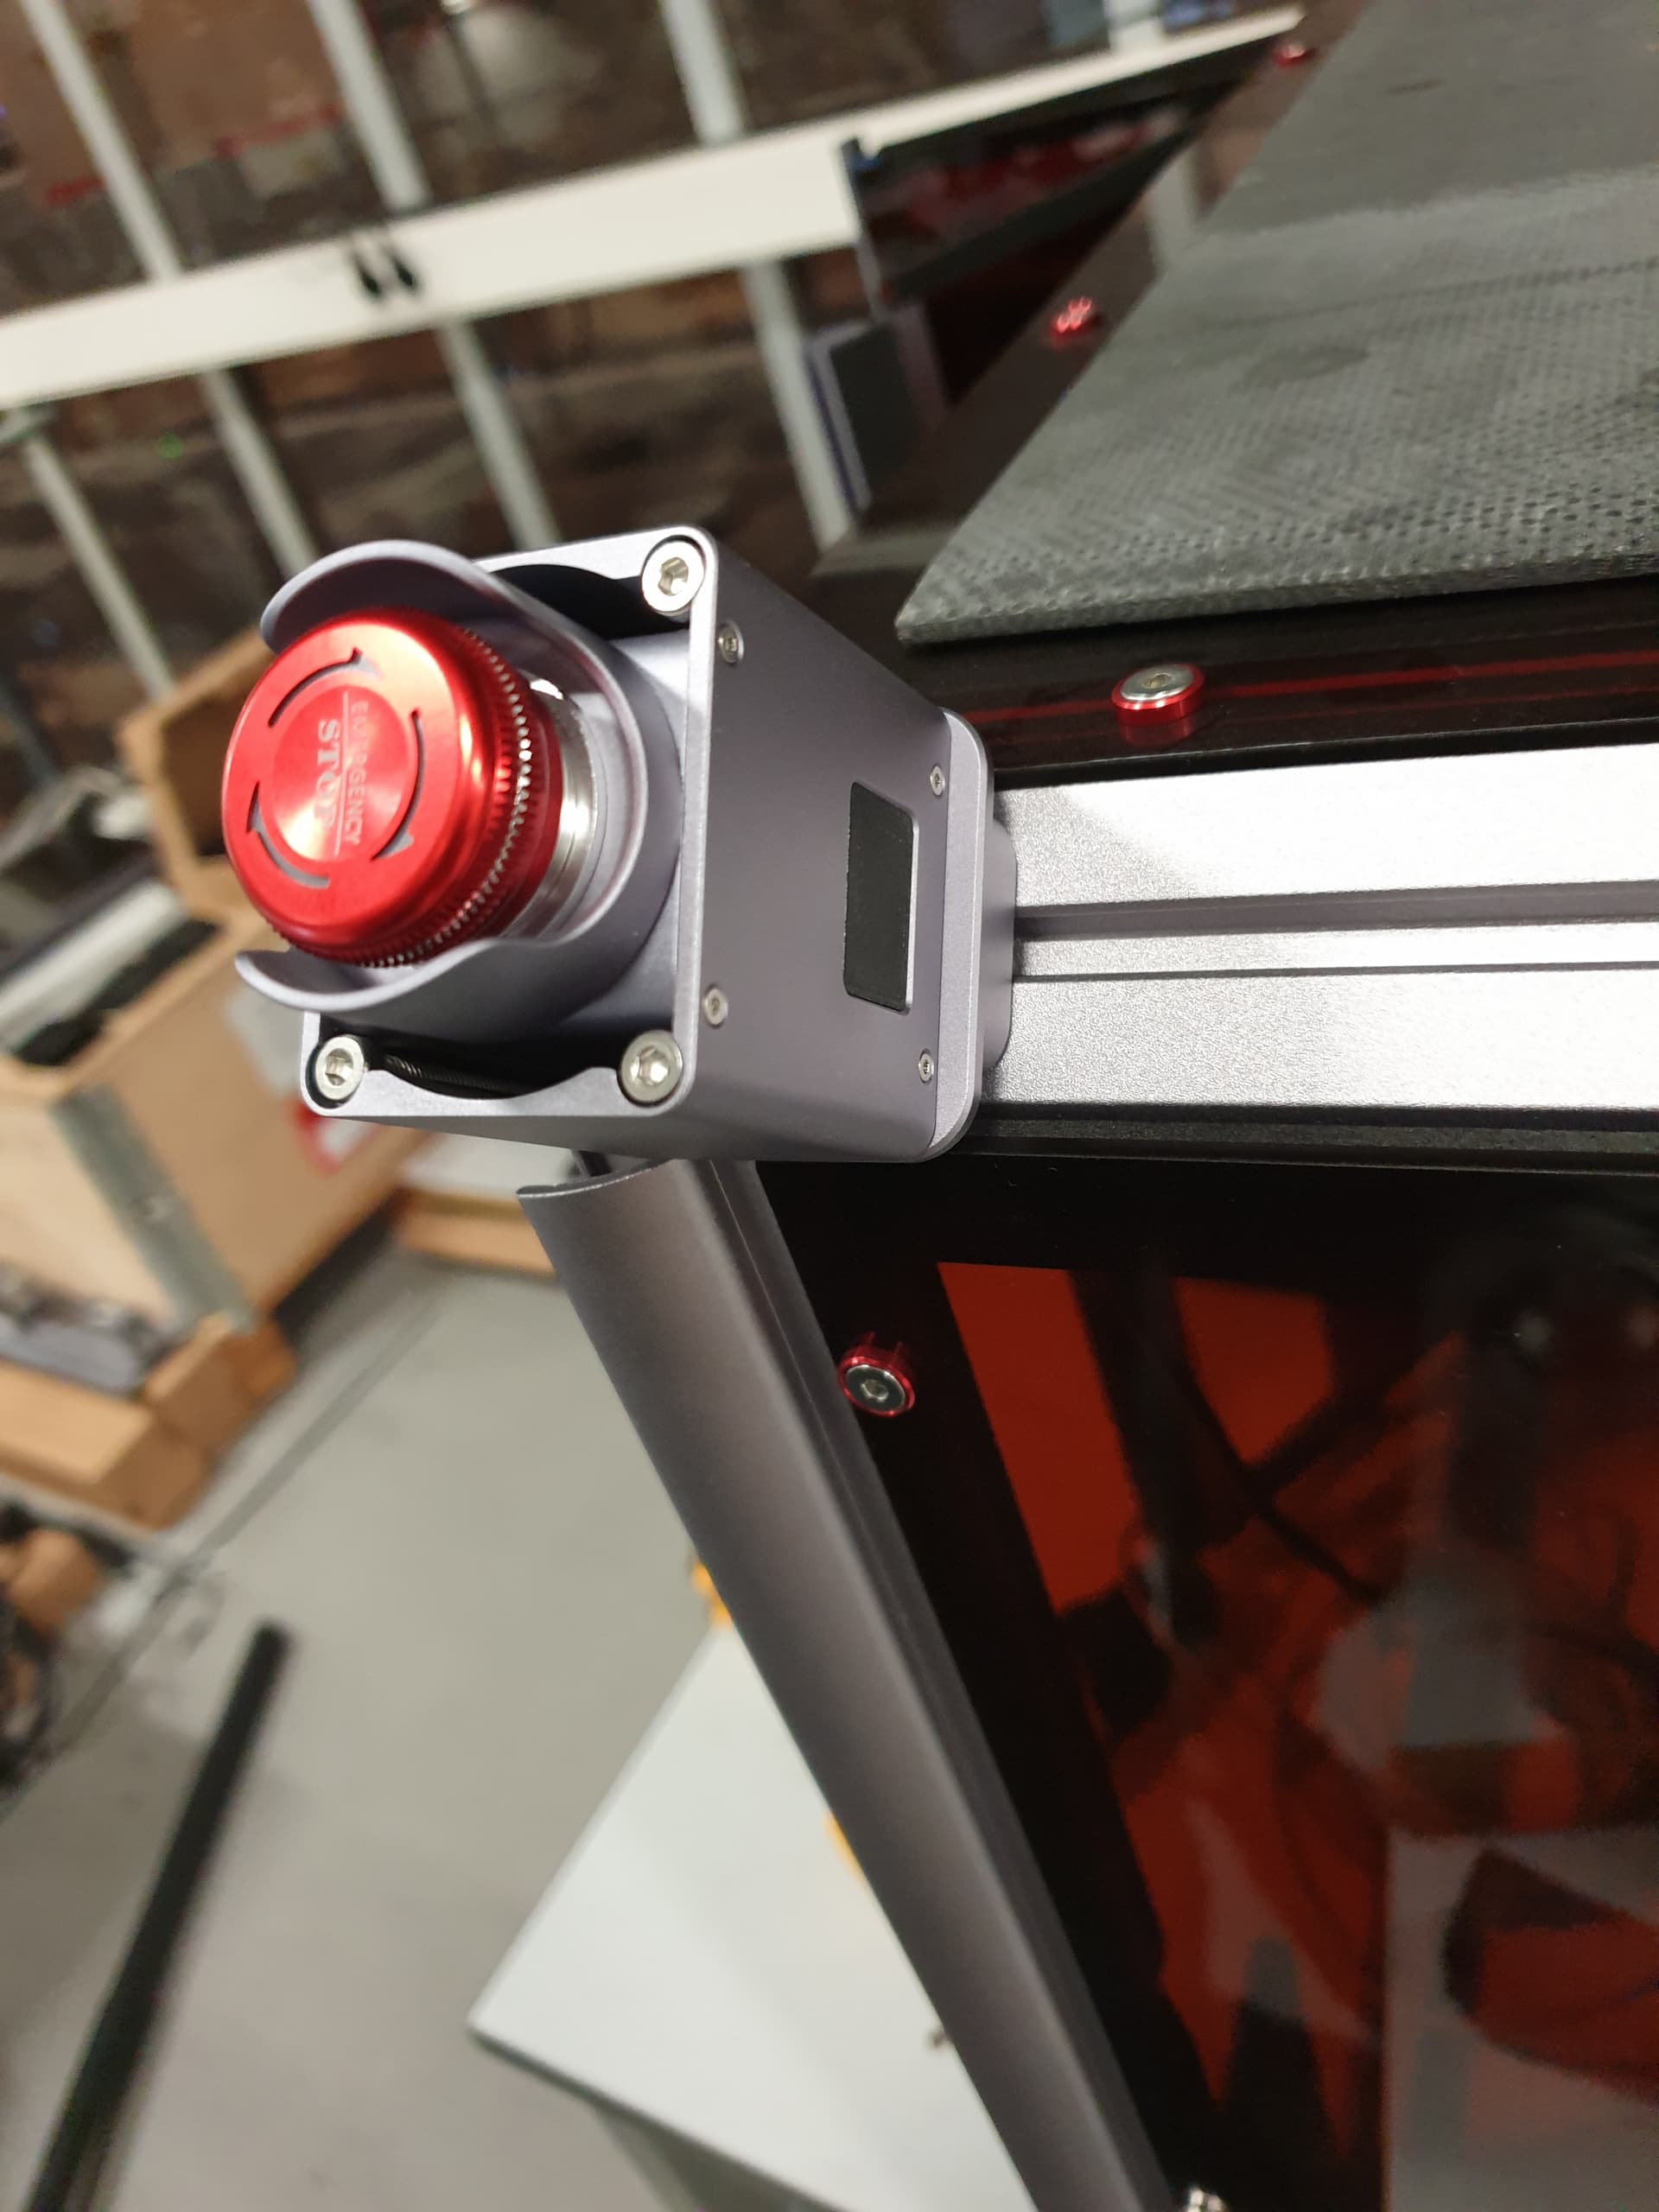
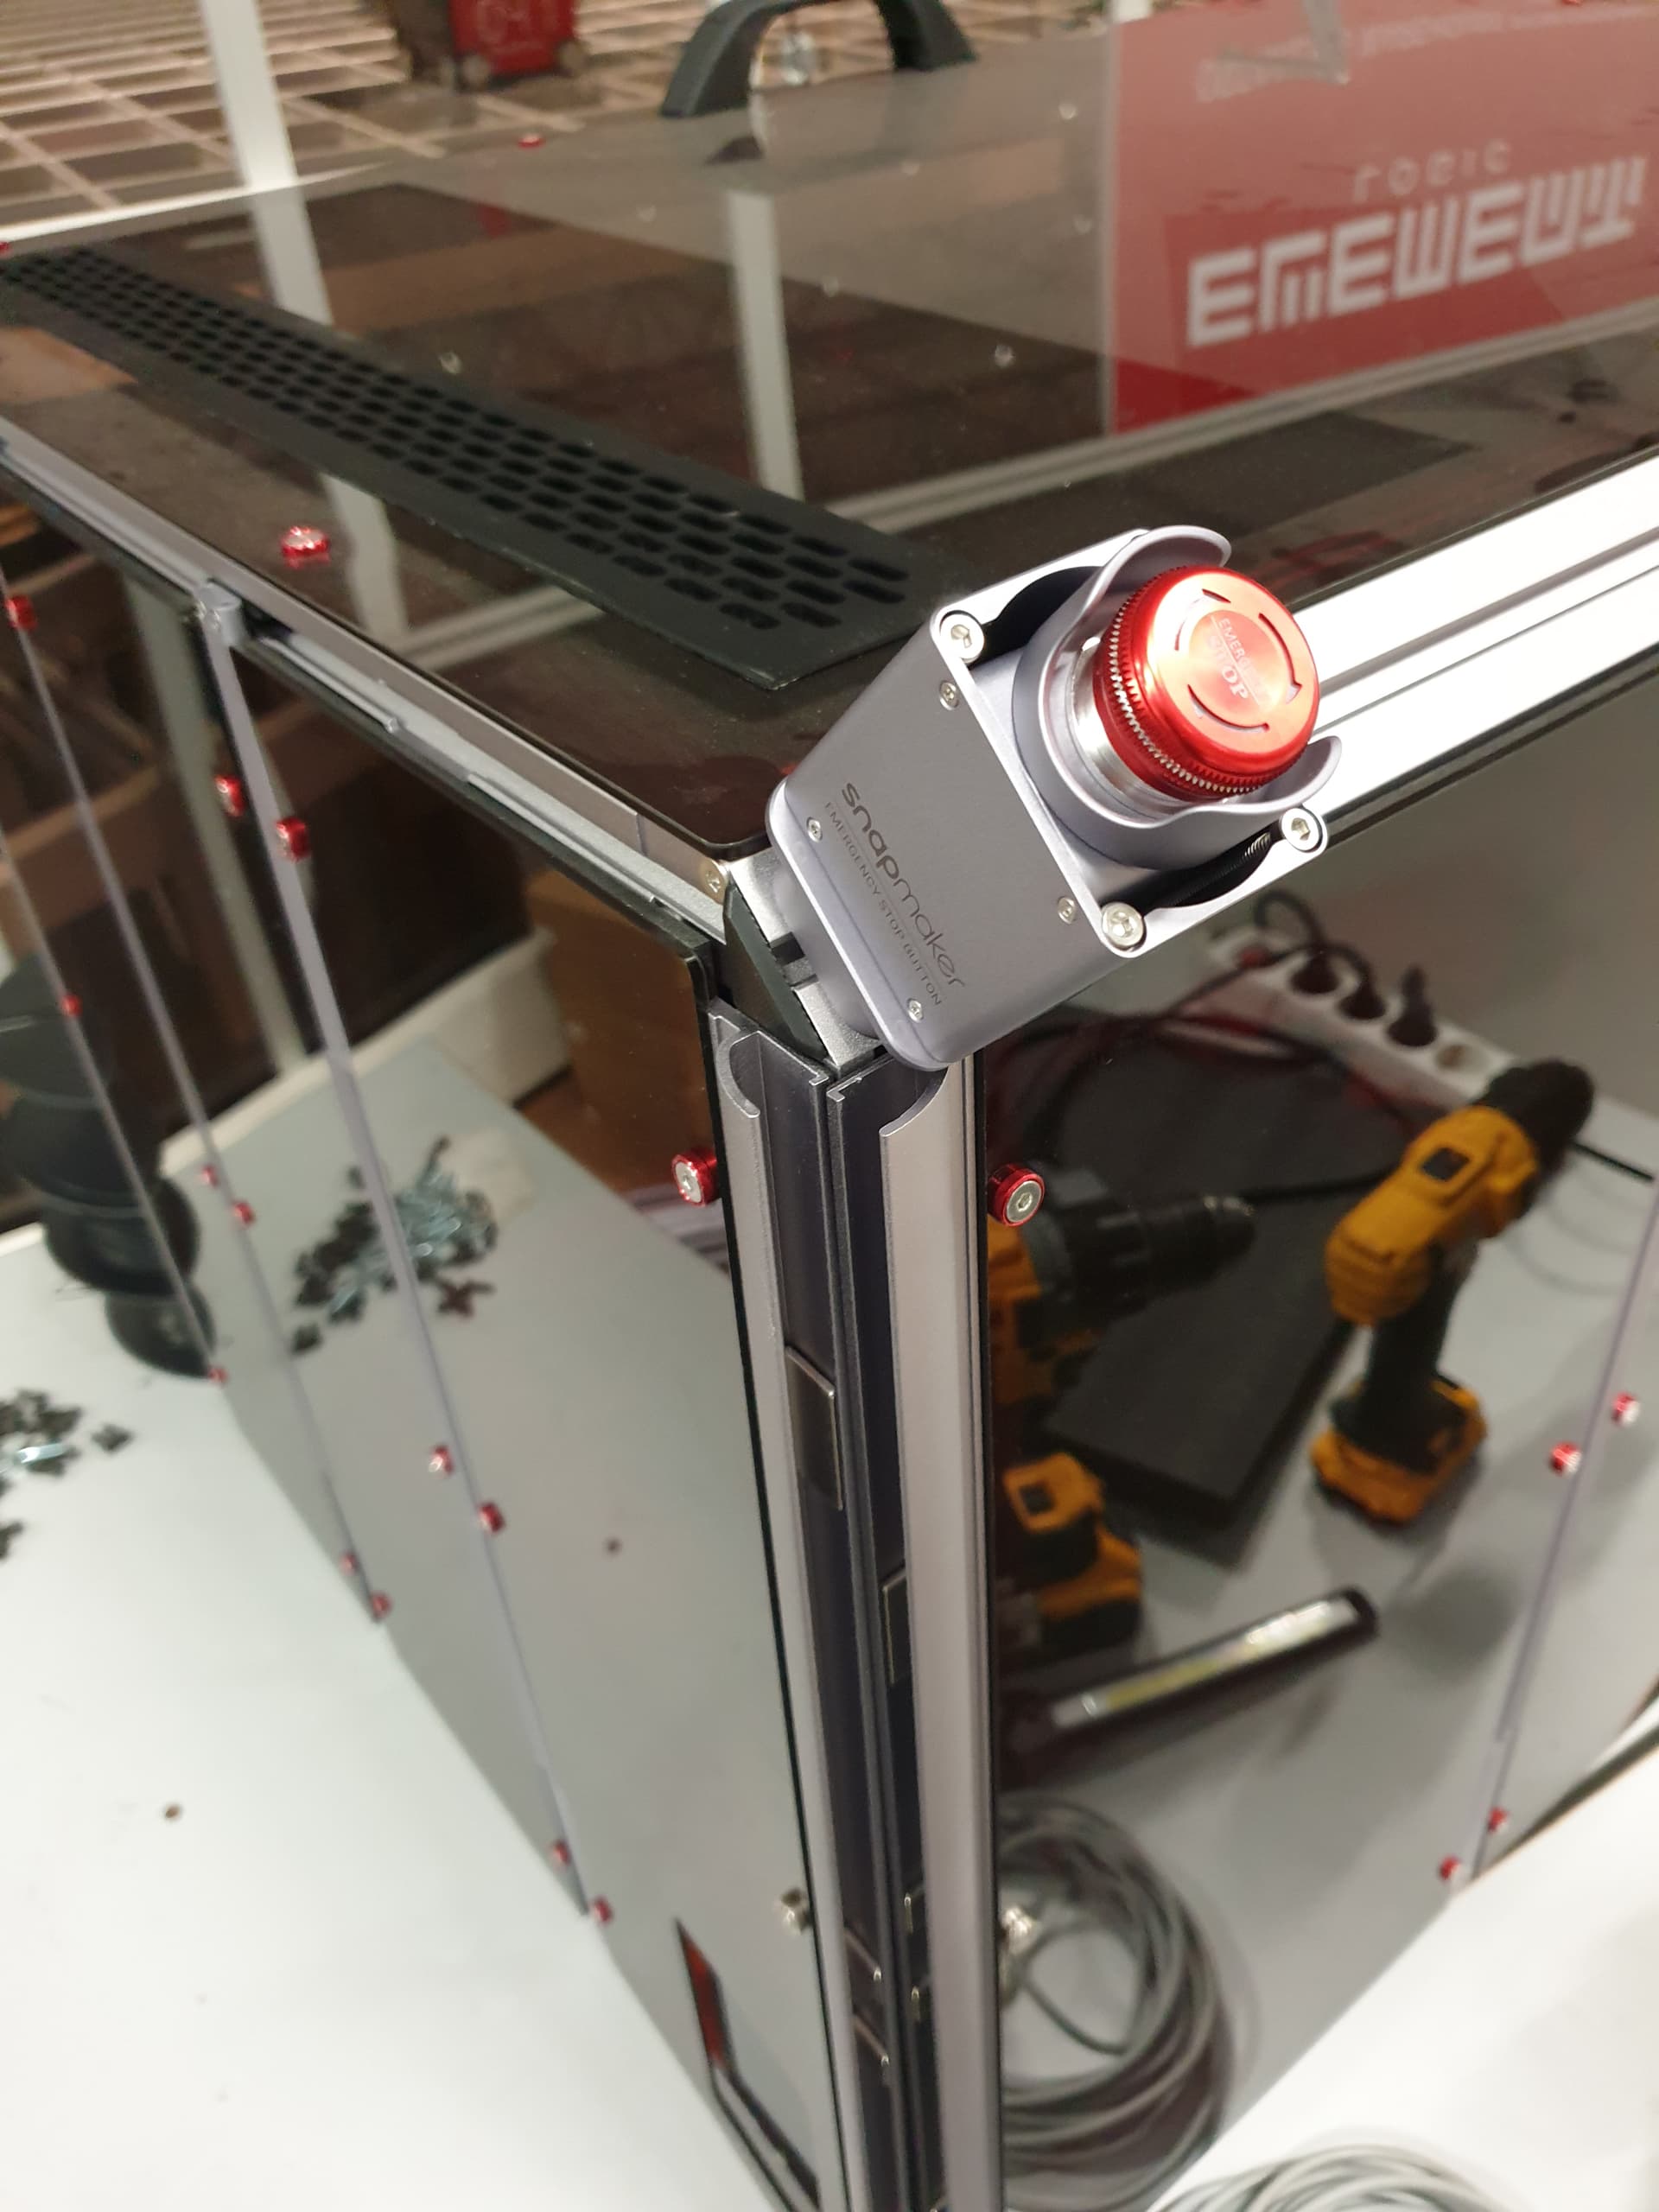
next I decided that I didn’t like how the E stop button had a cable that sat on the outside of the machine so I made some slight modifications so it was a bit neater:


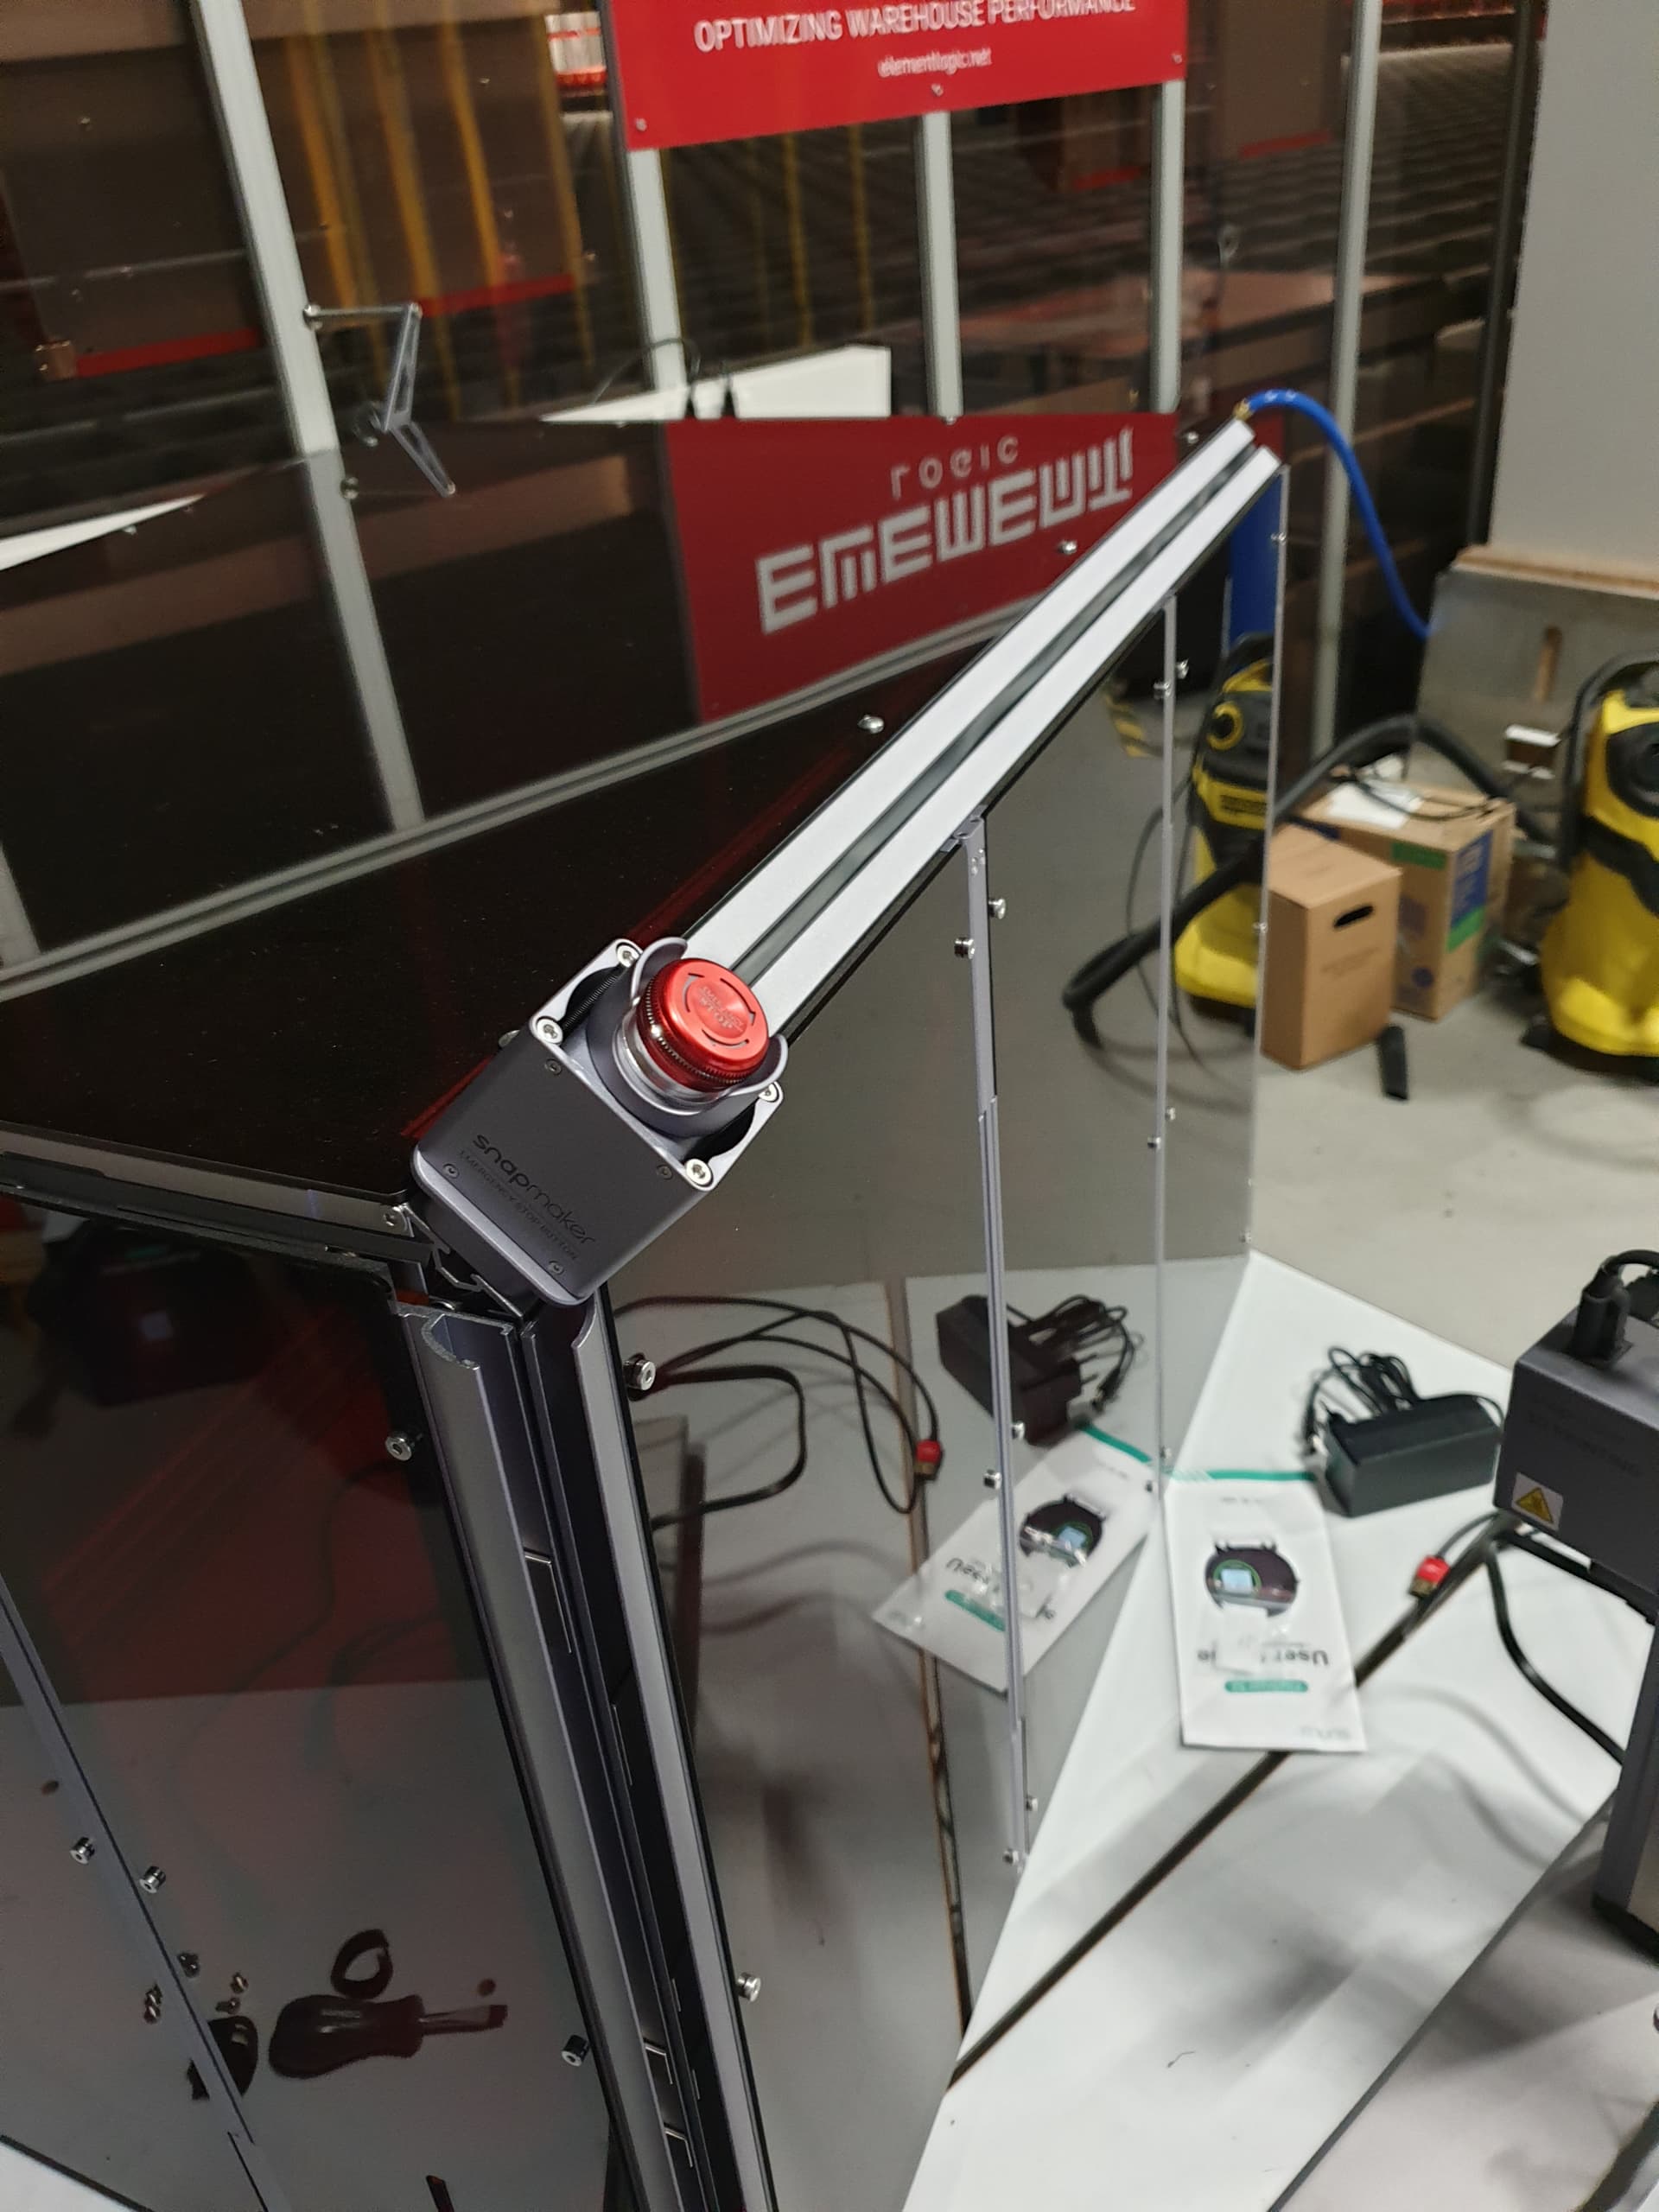
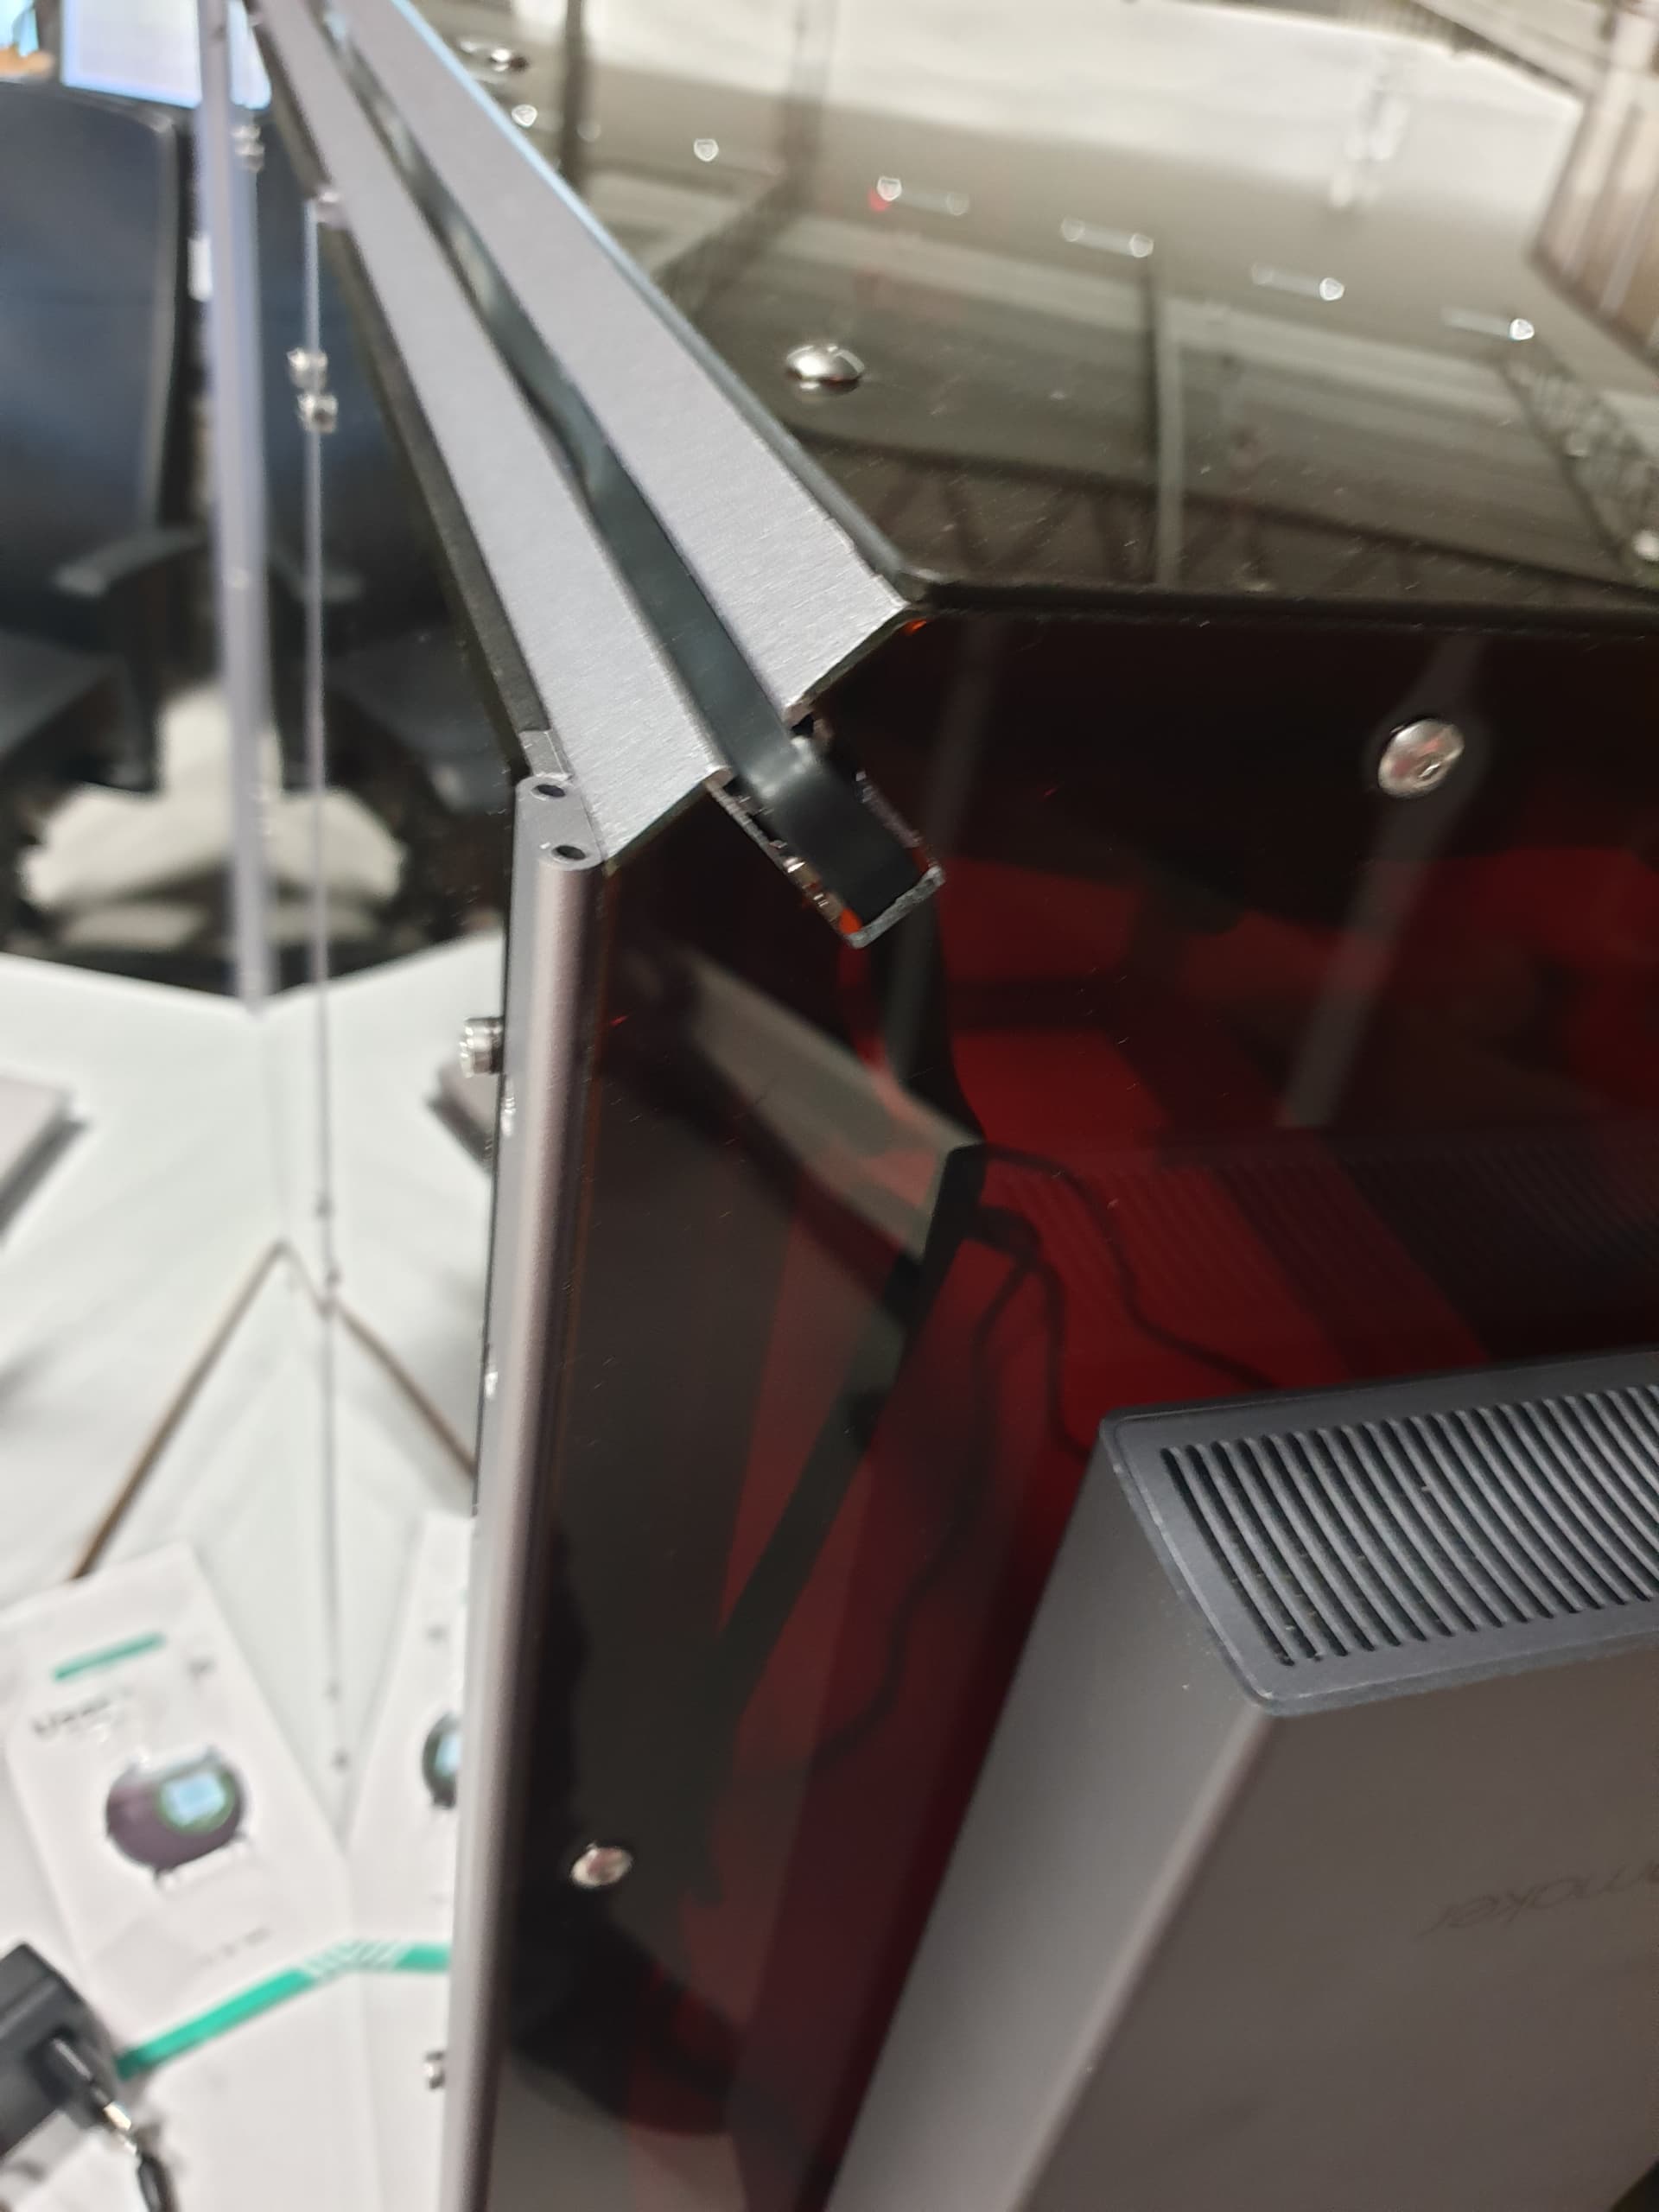
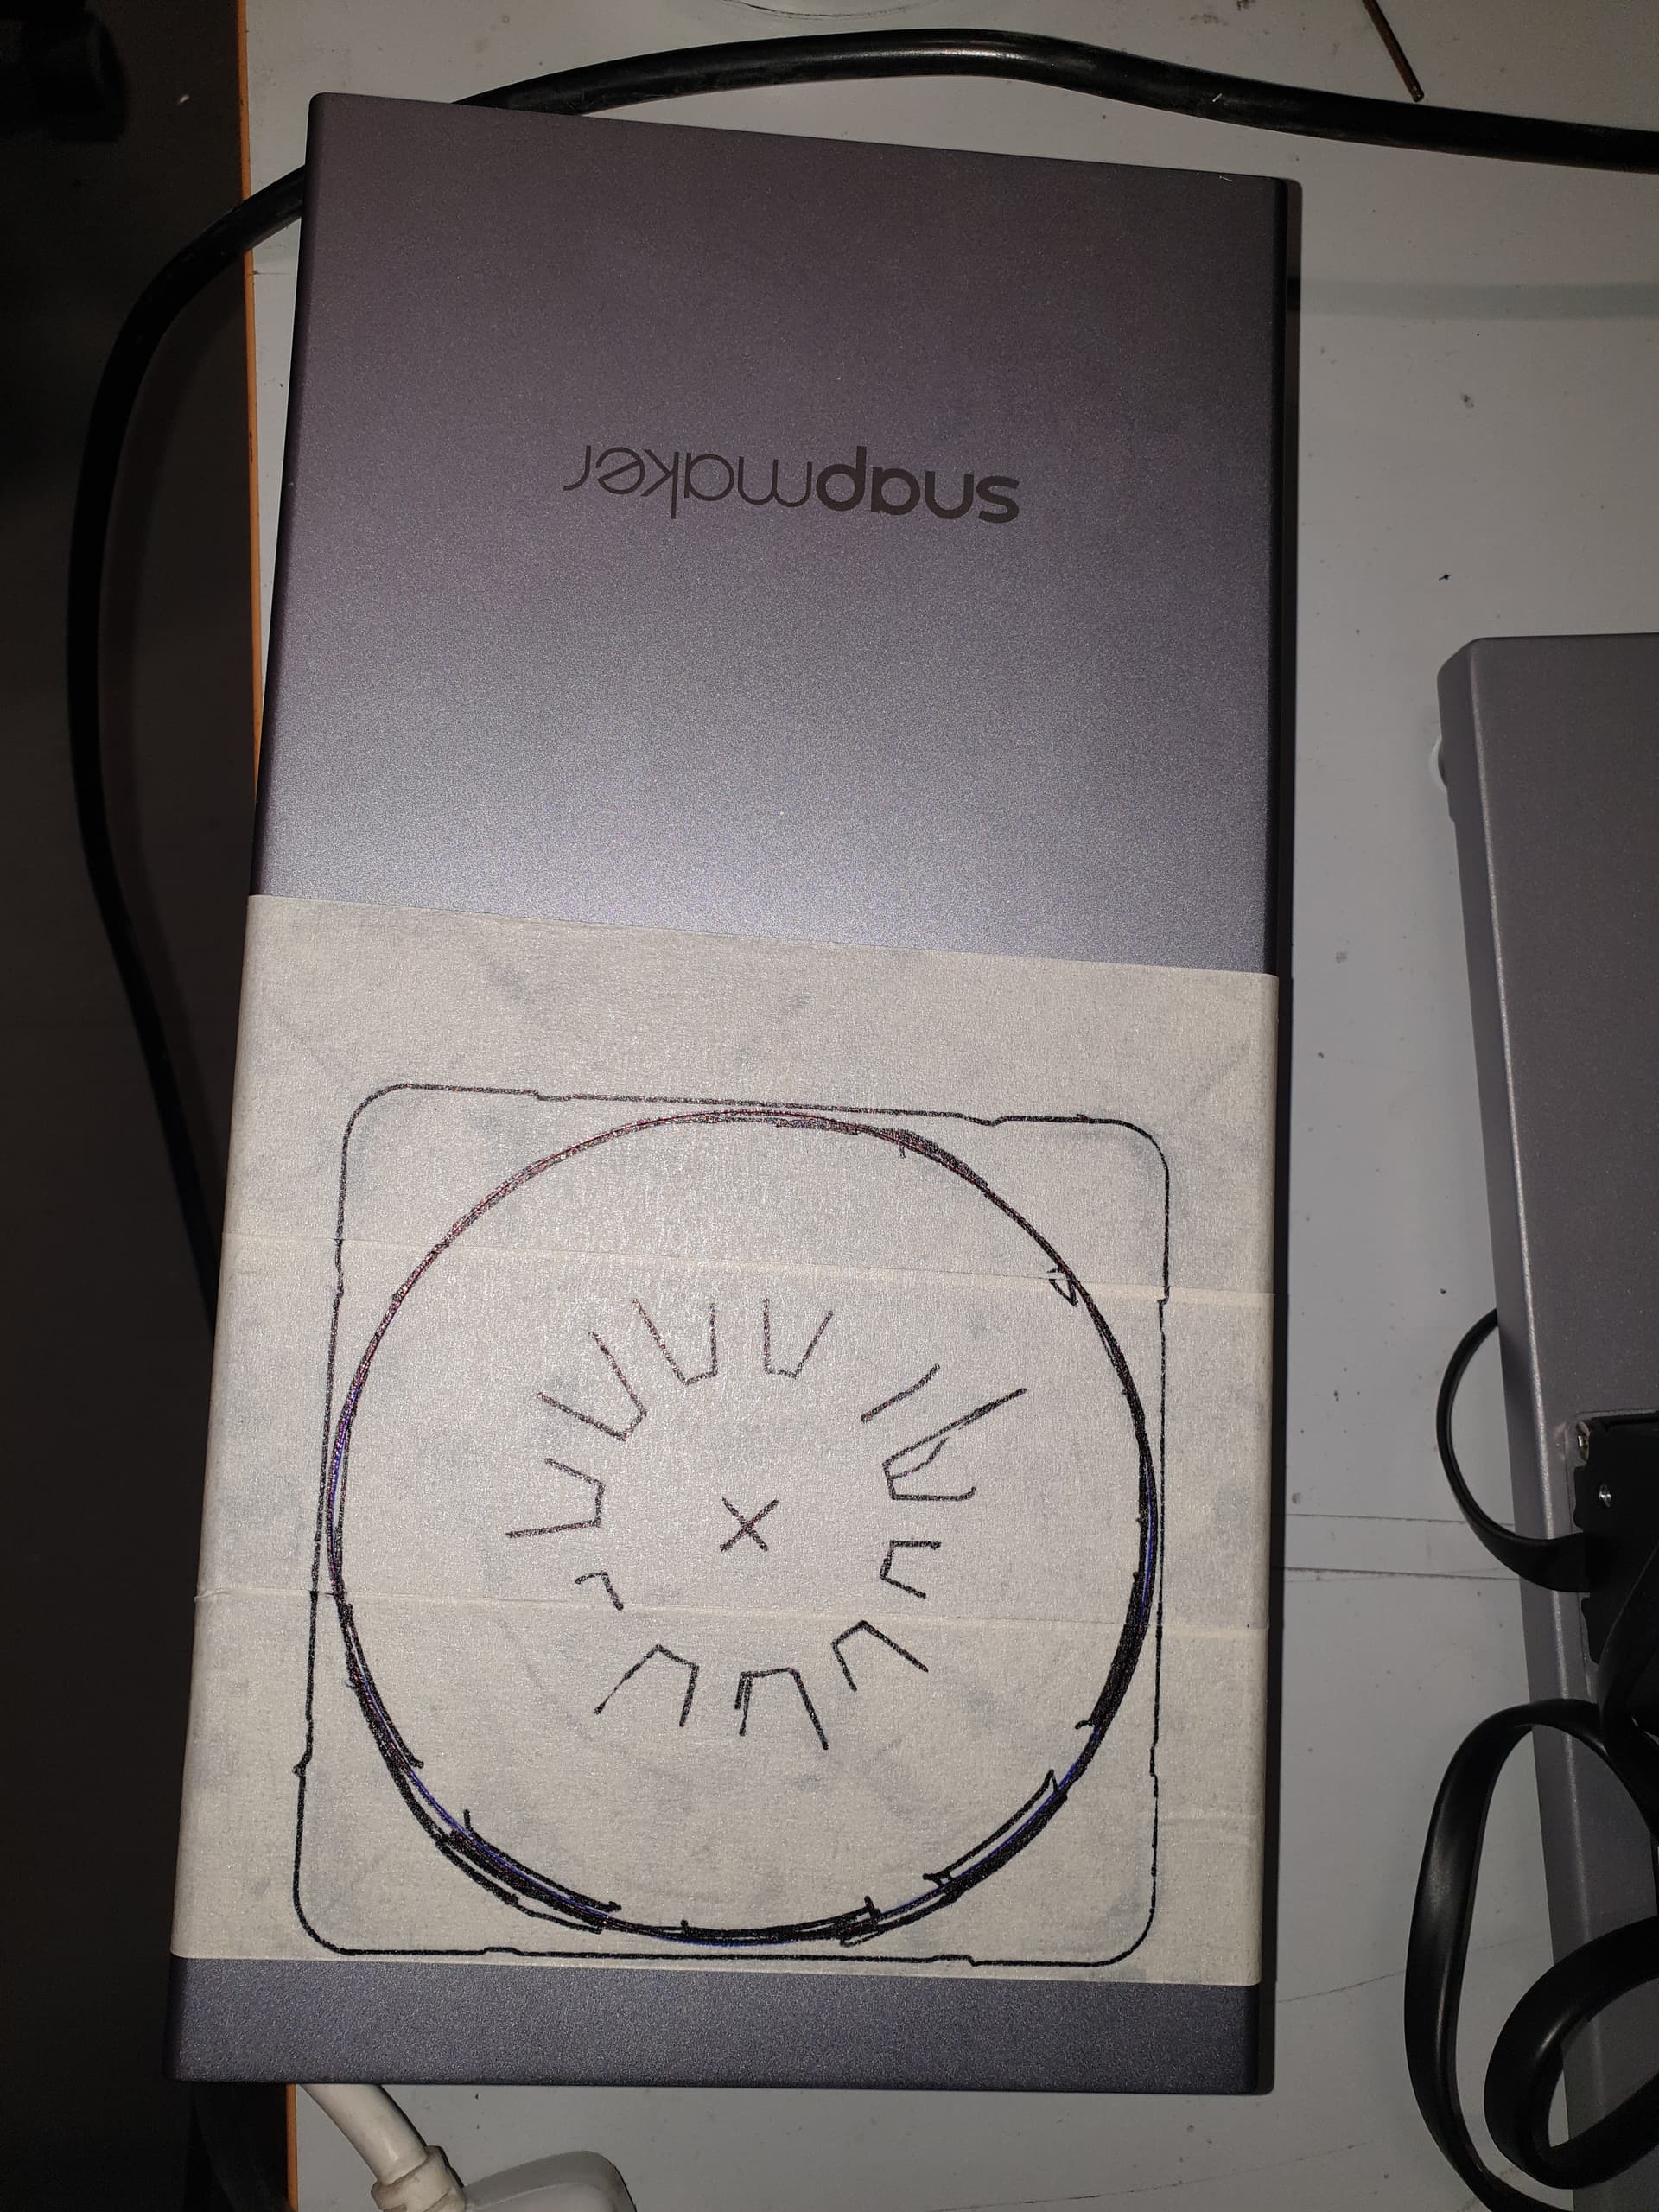
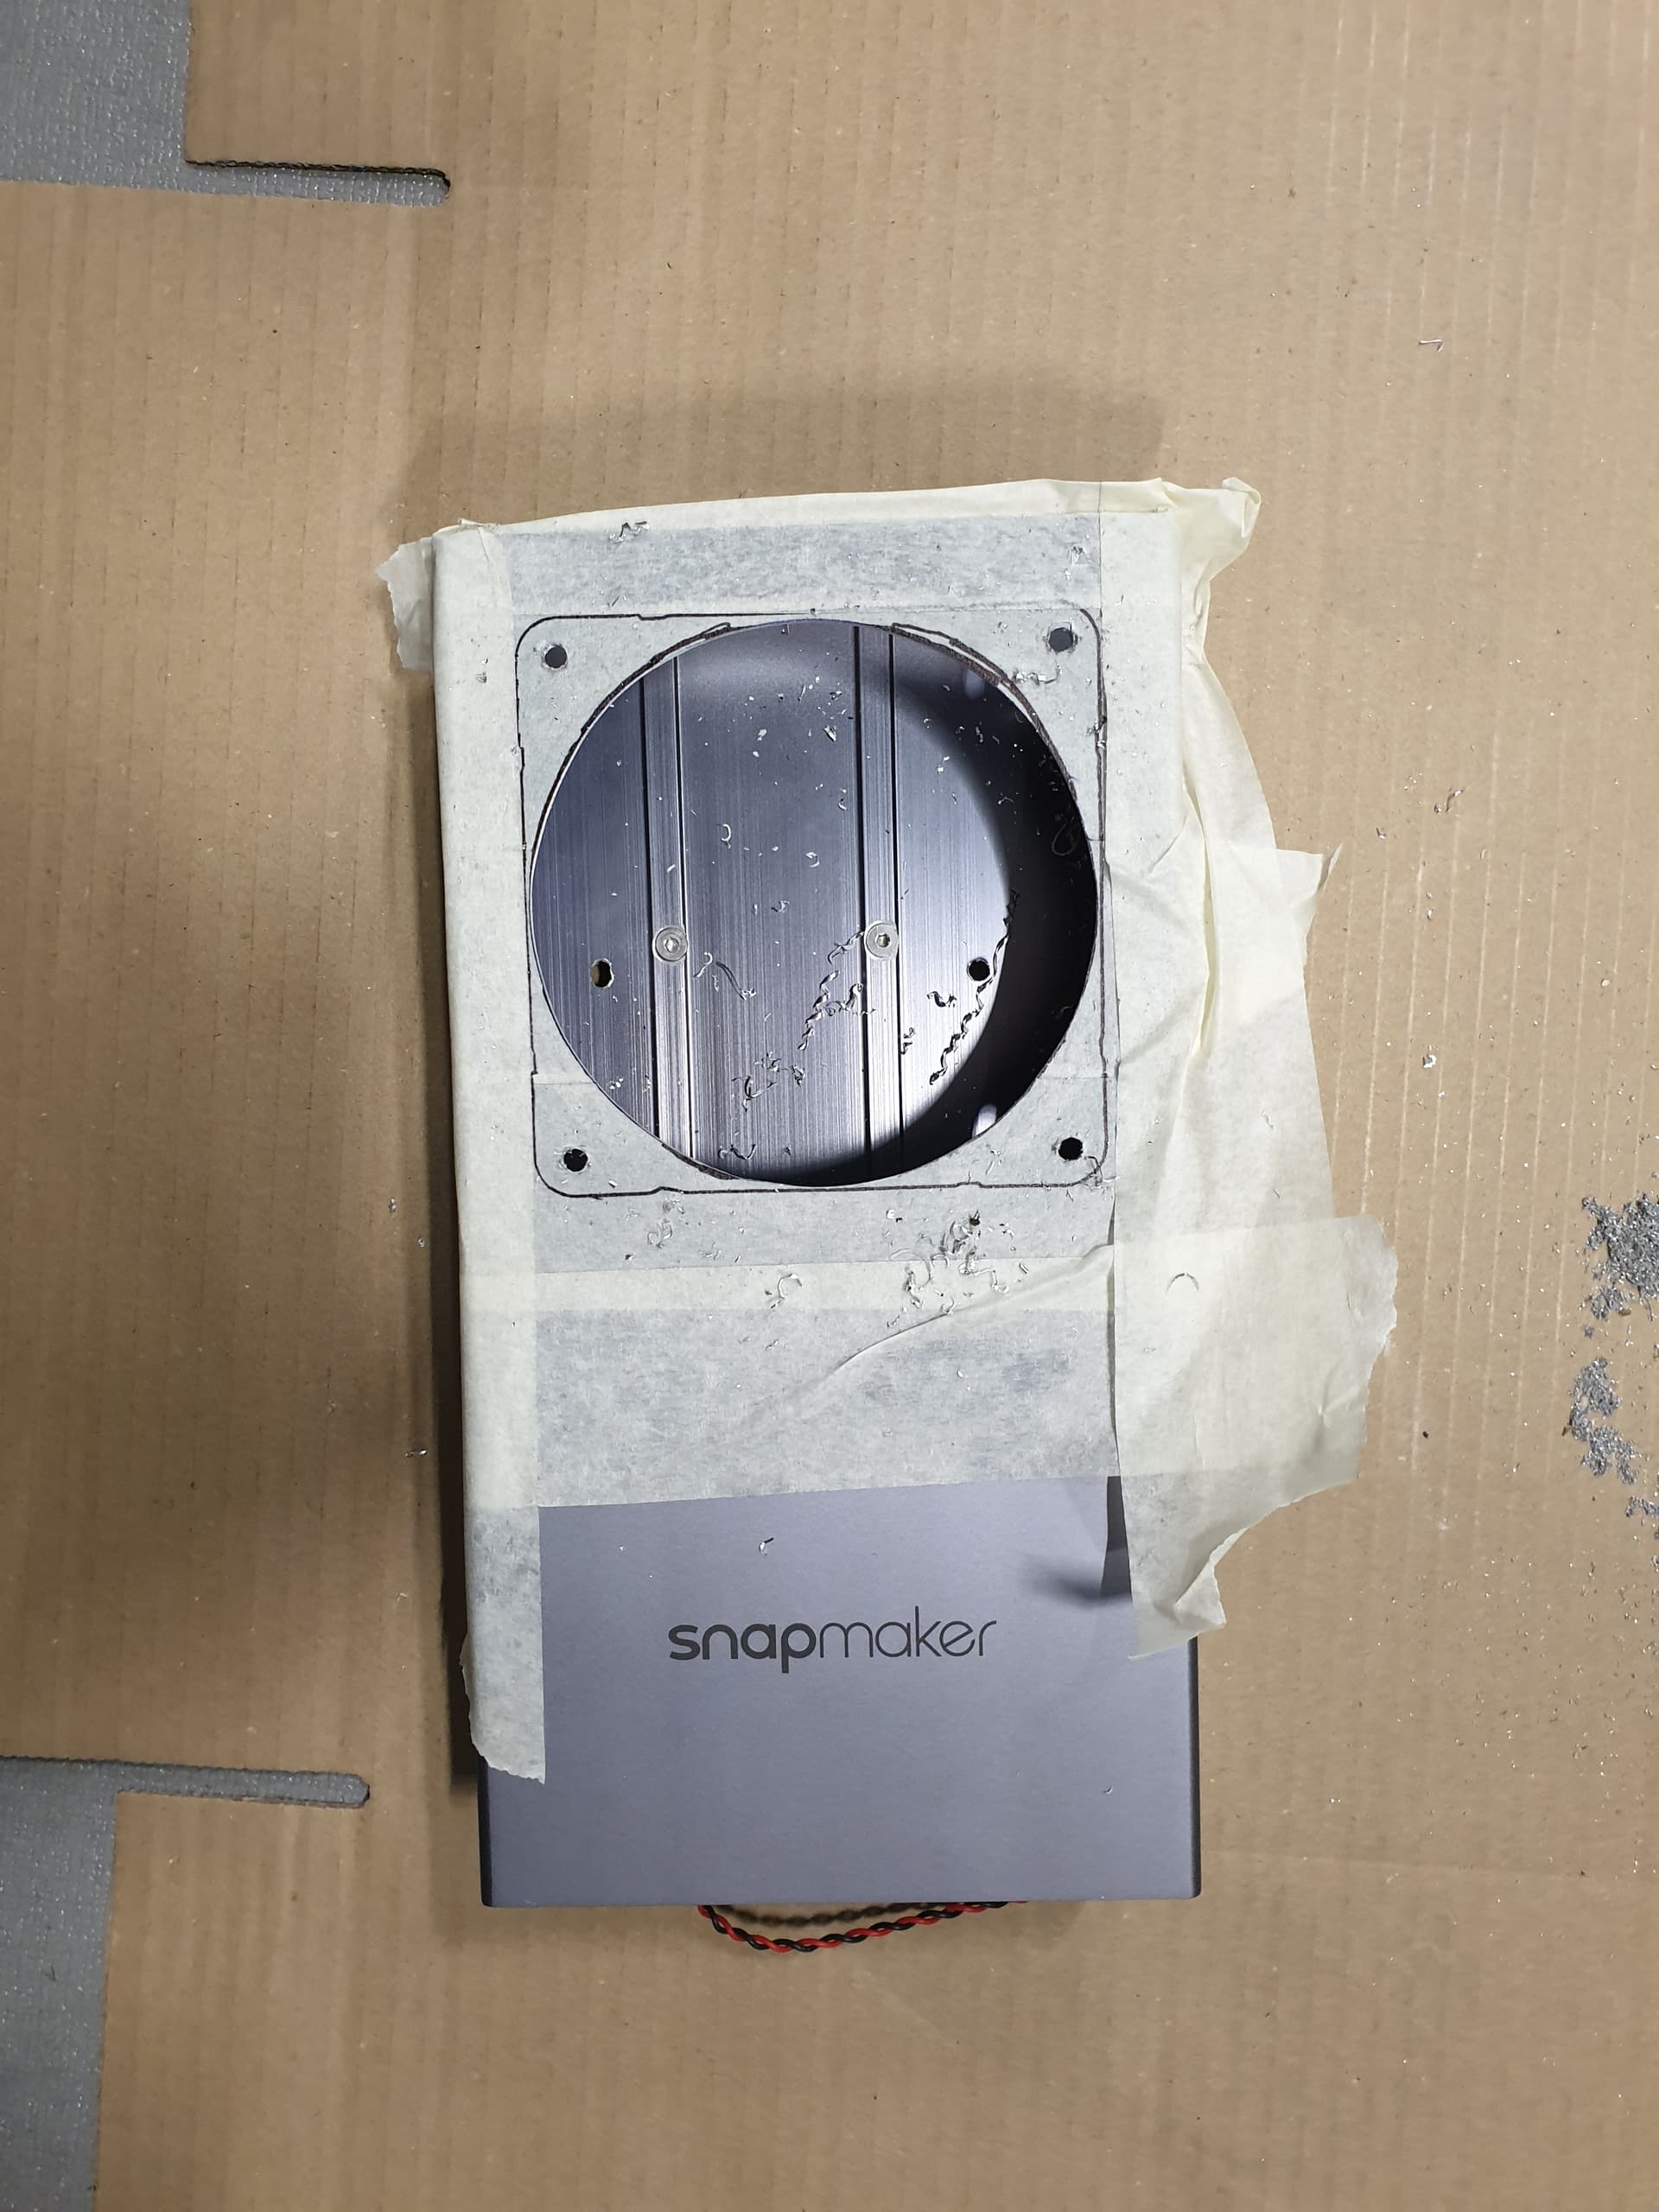
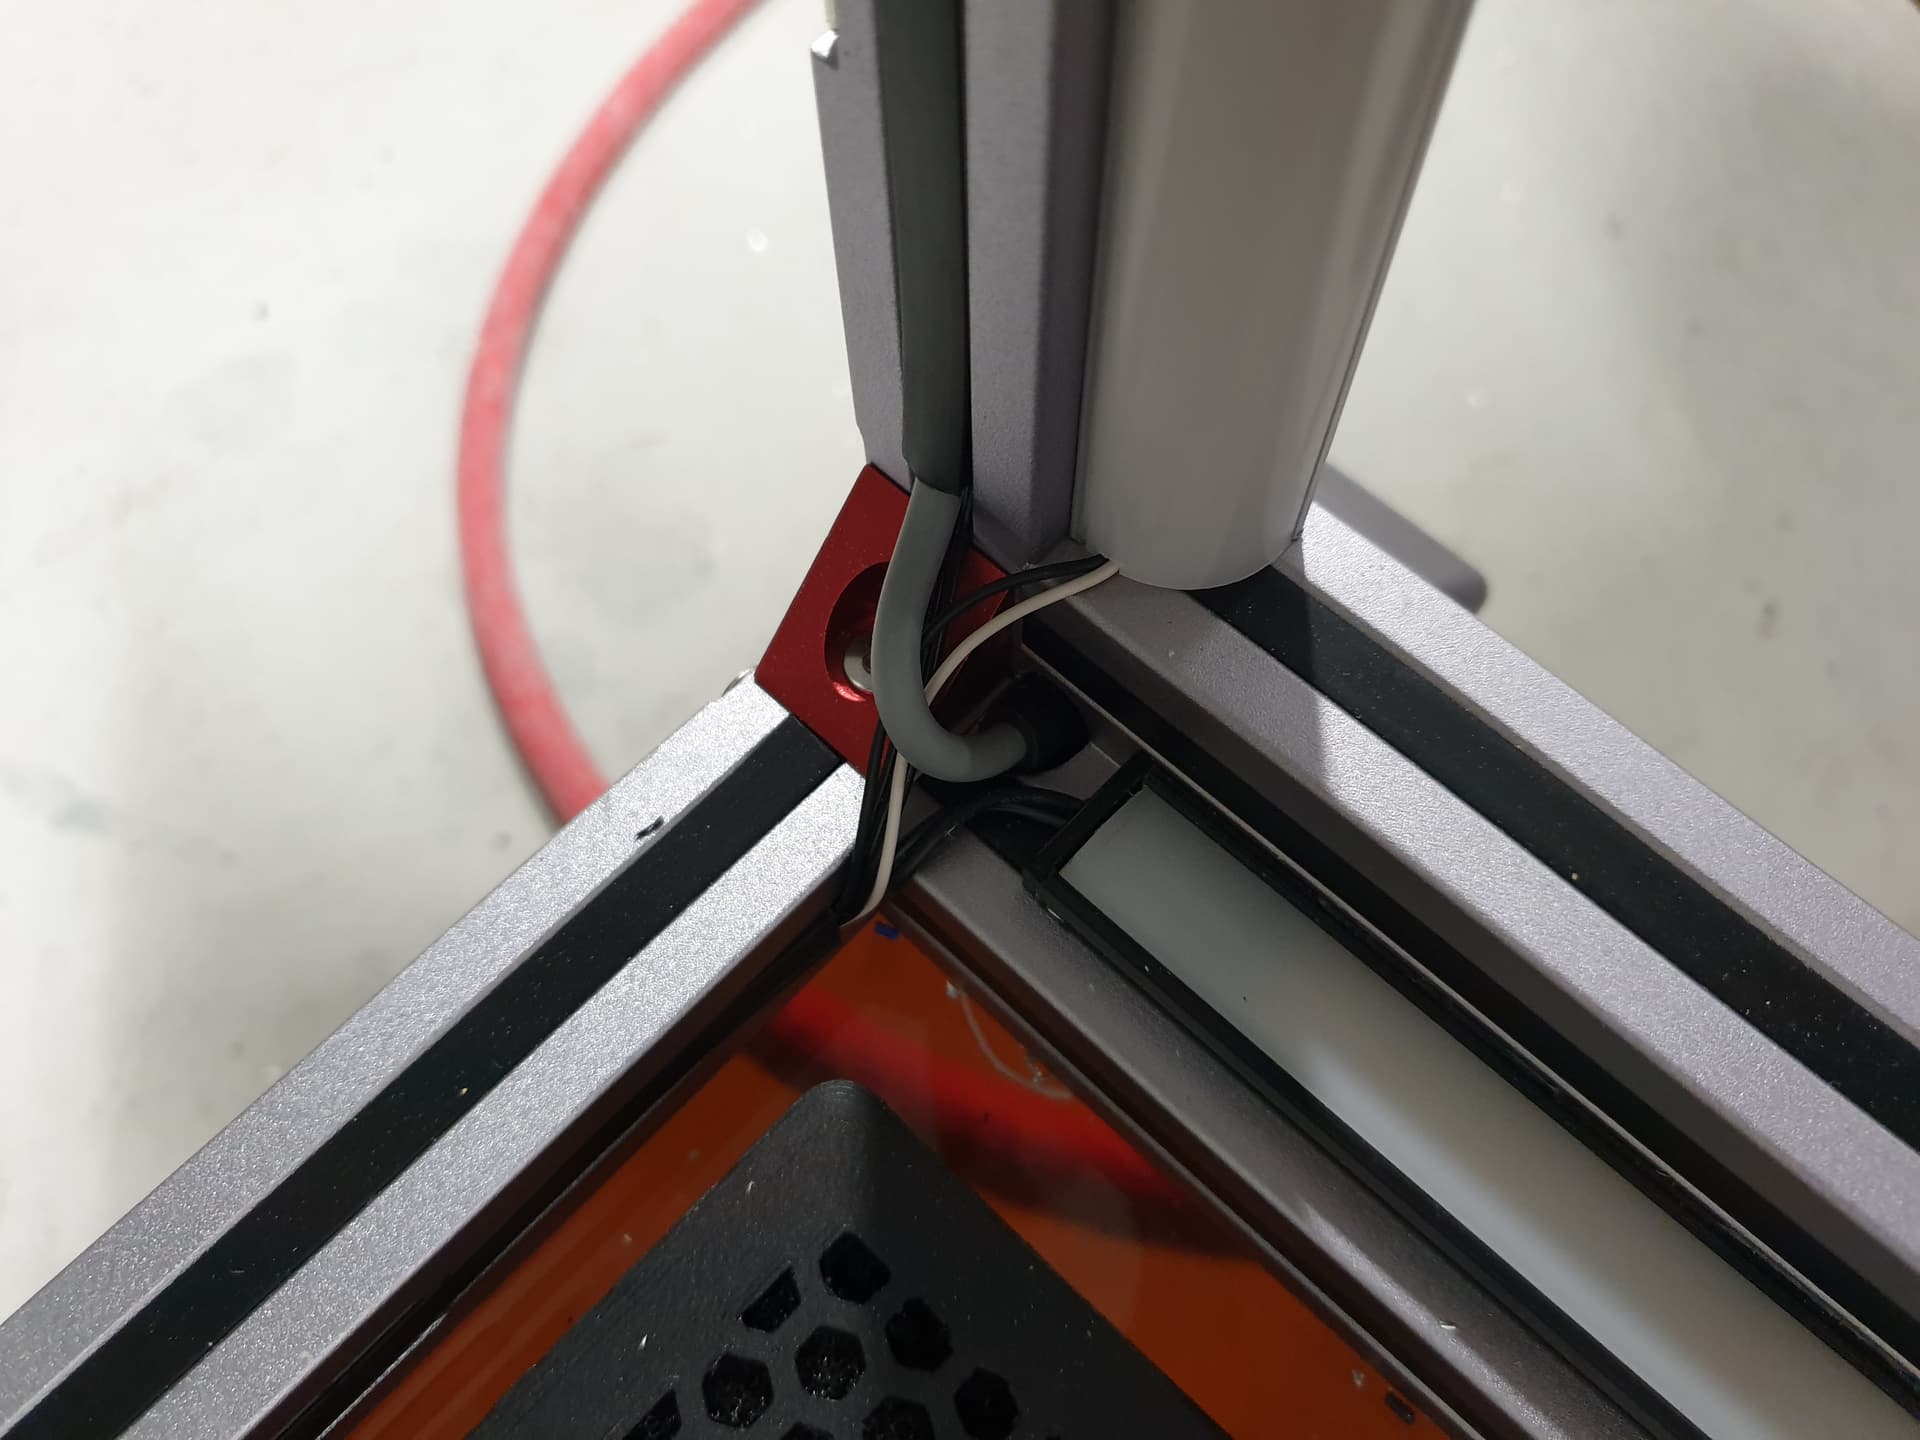
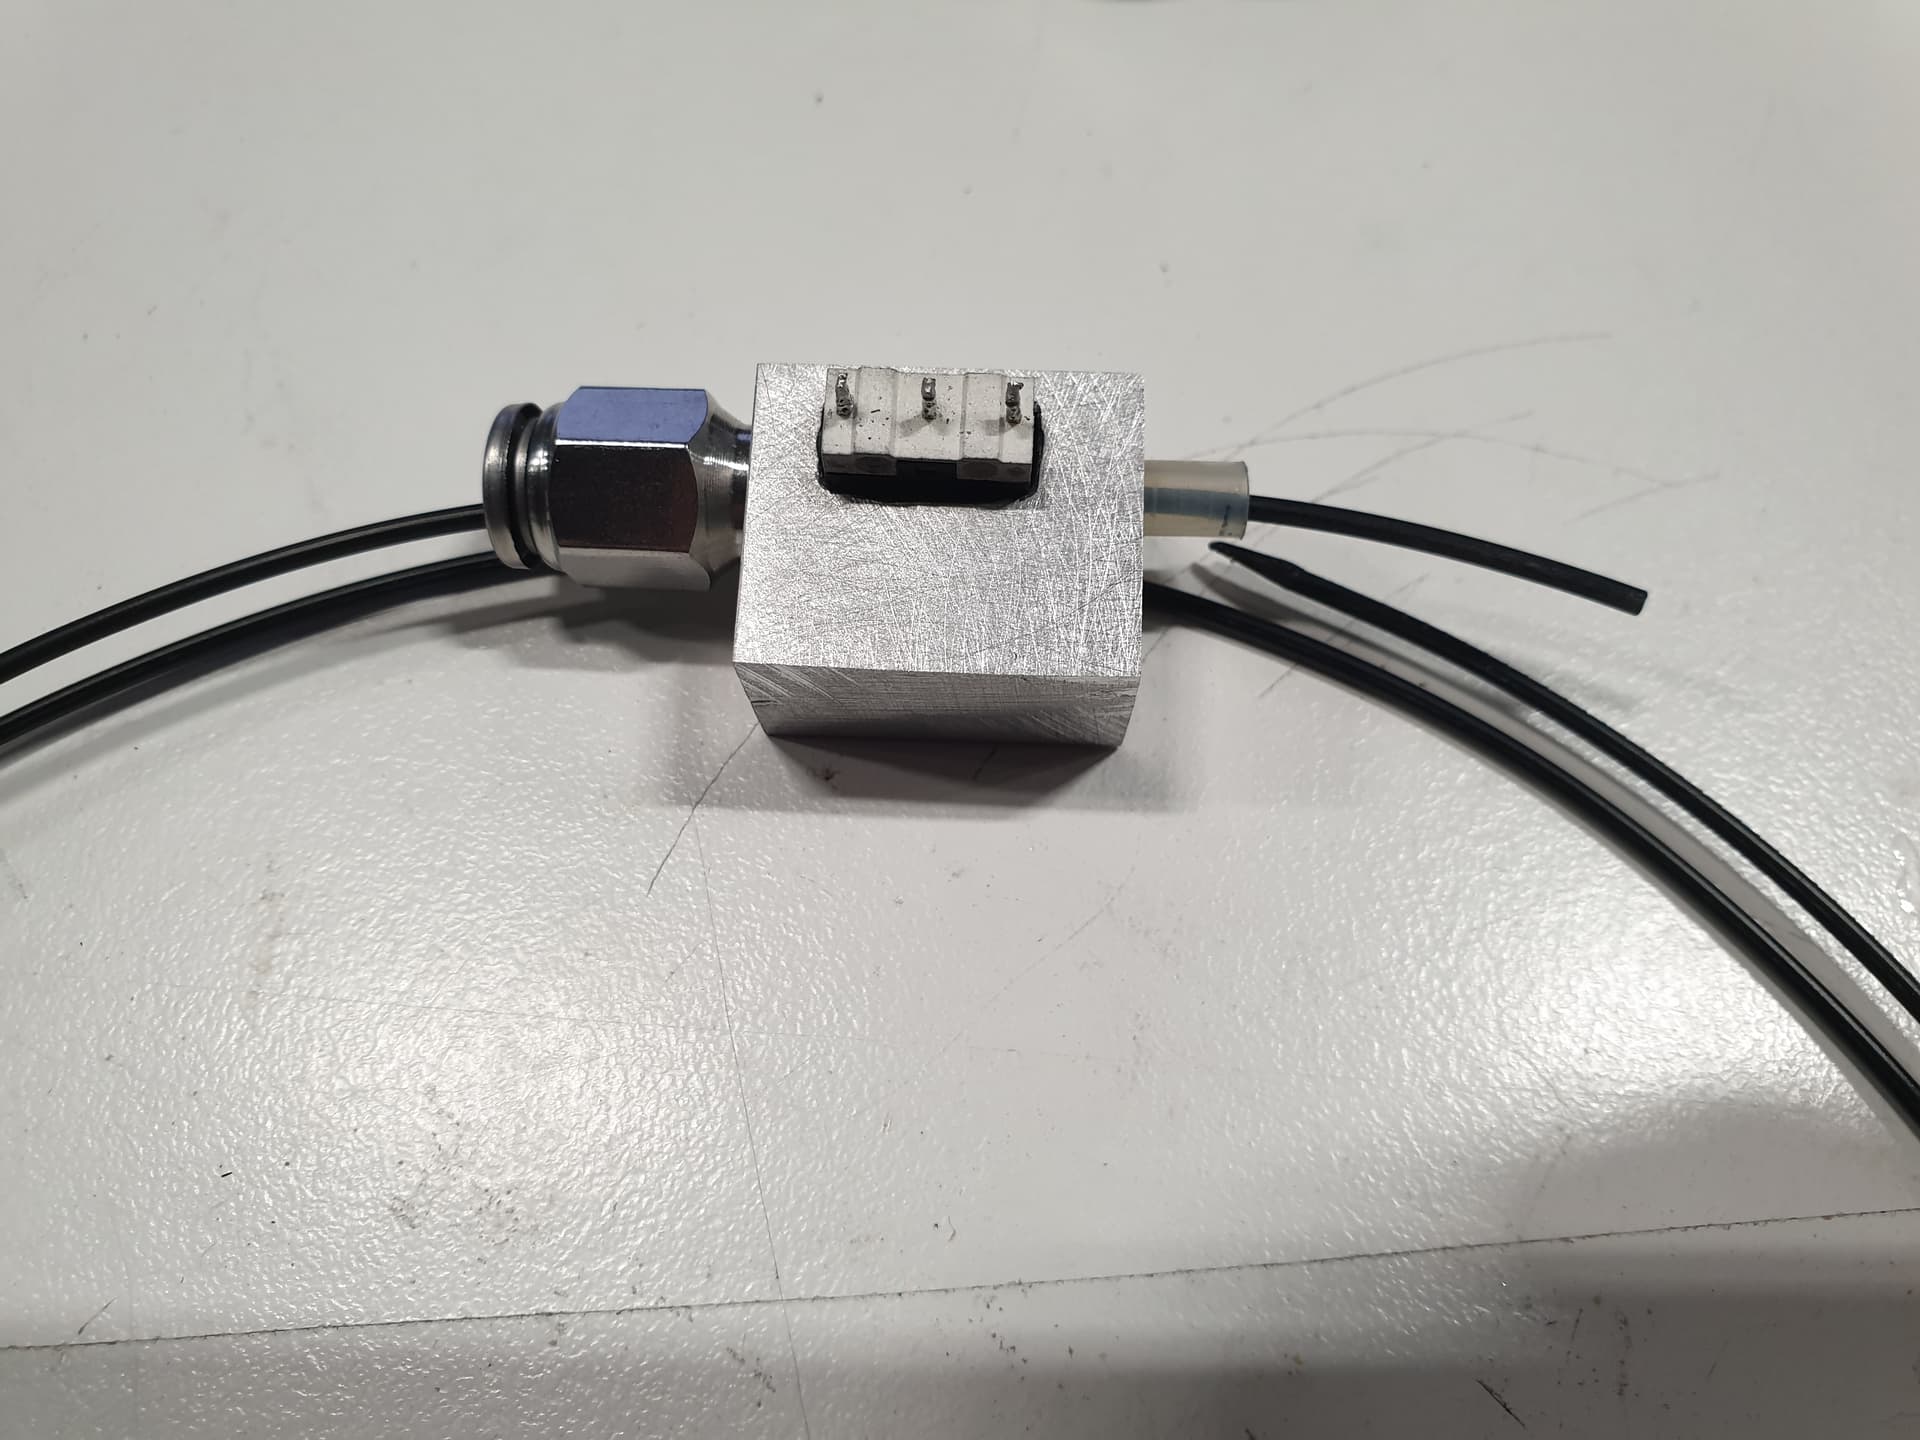
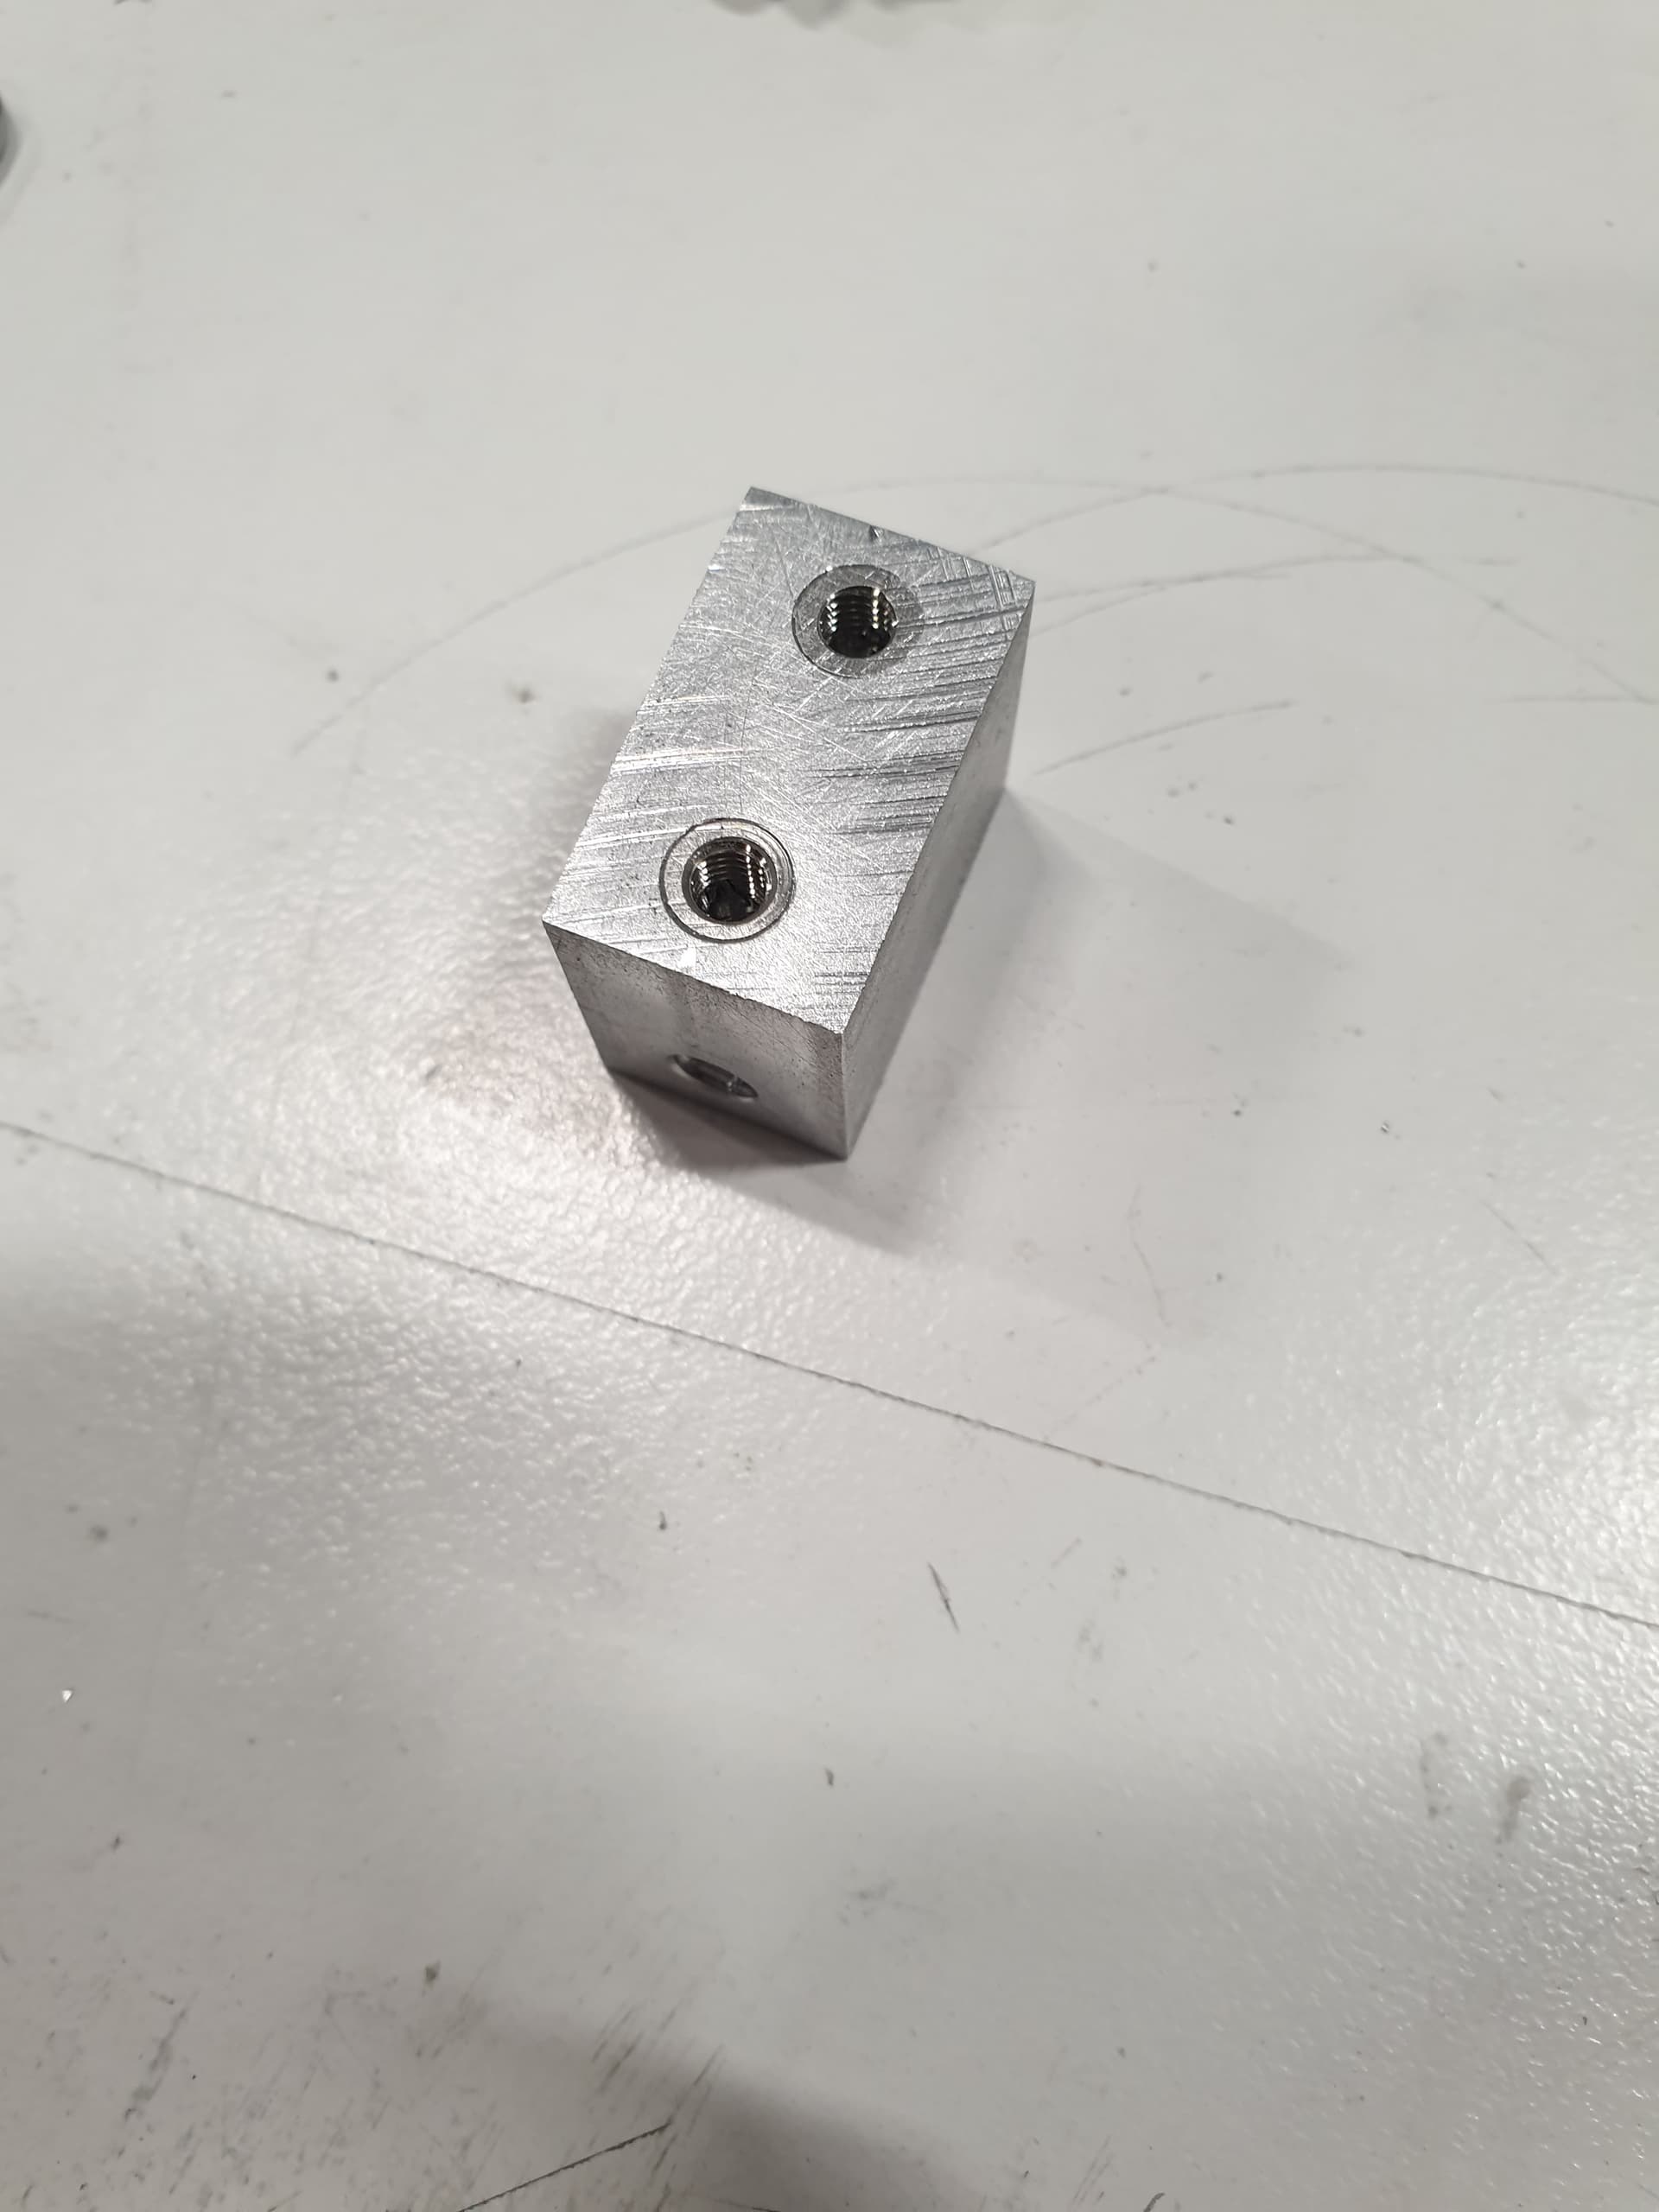
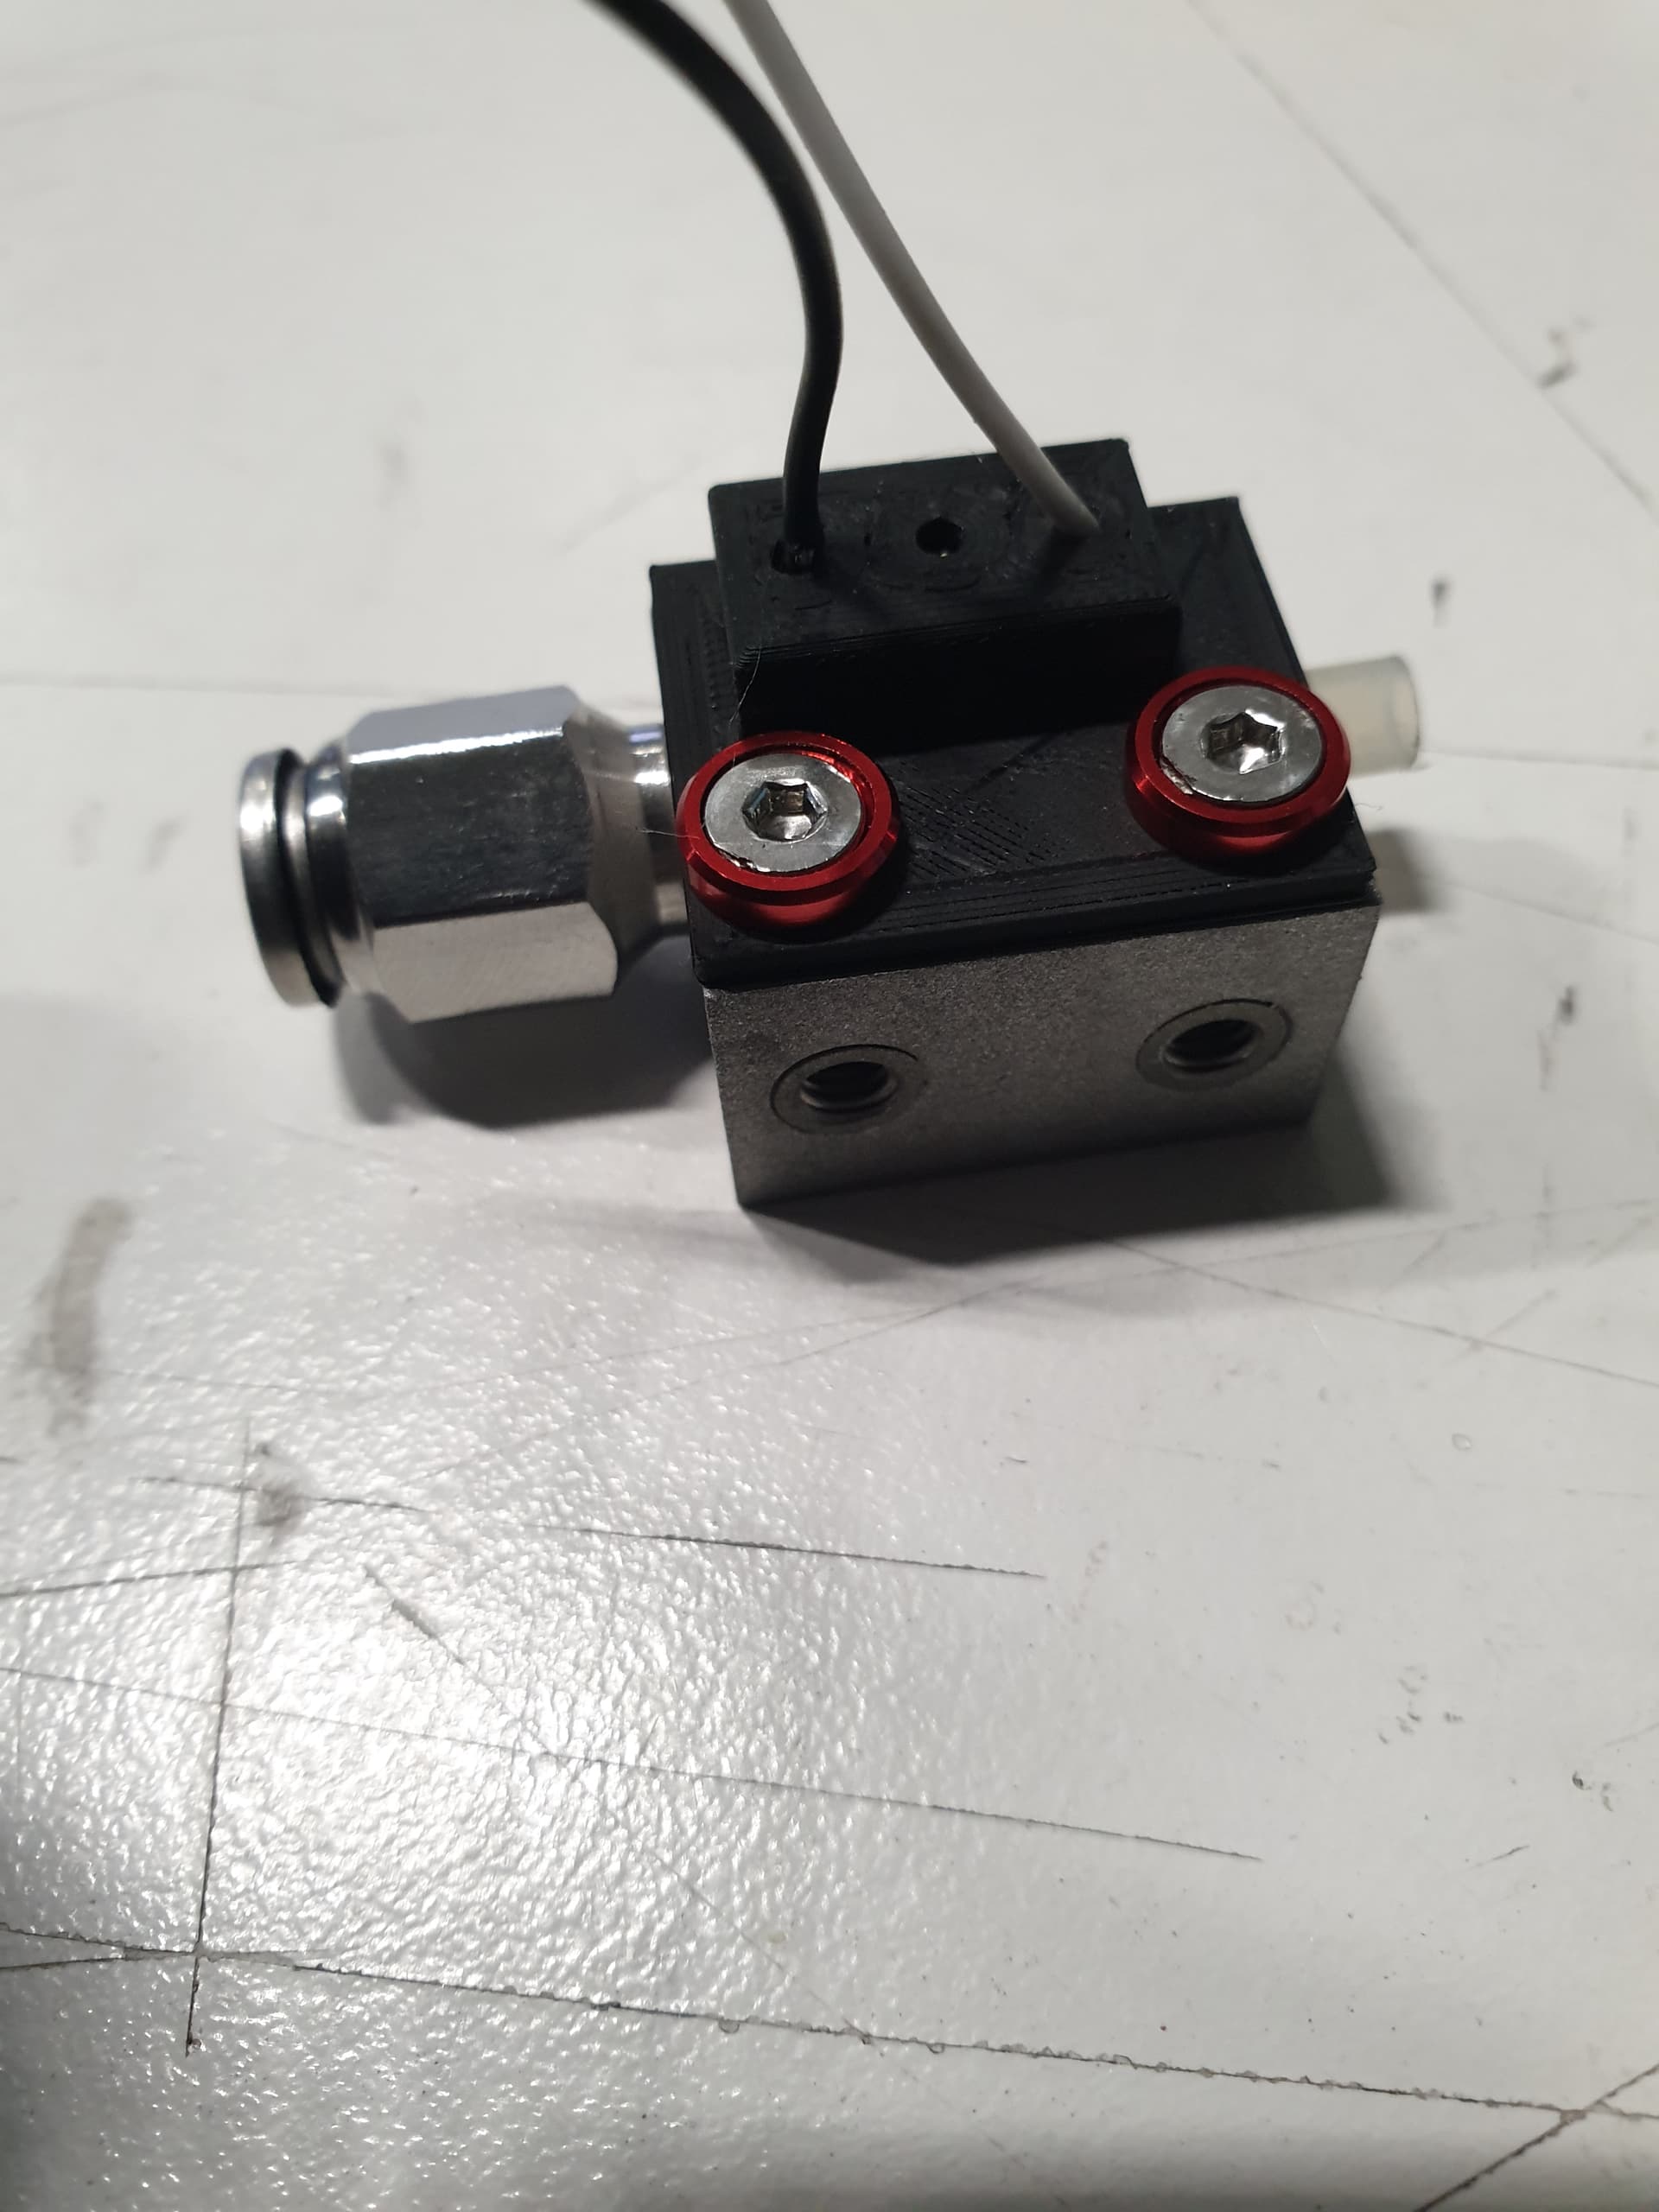
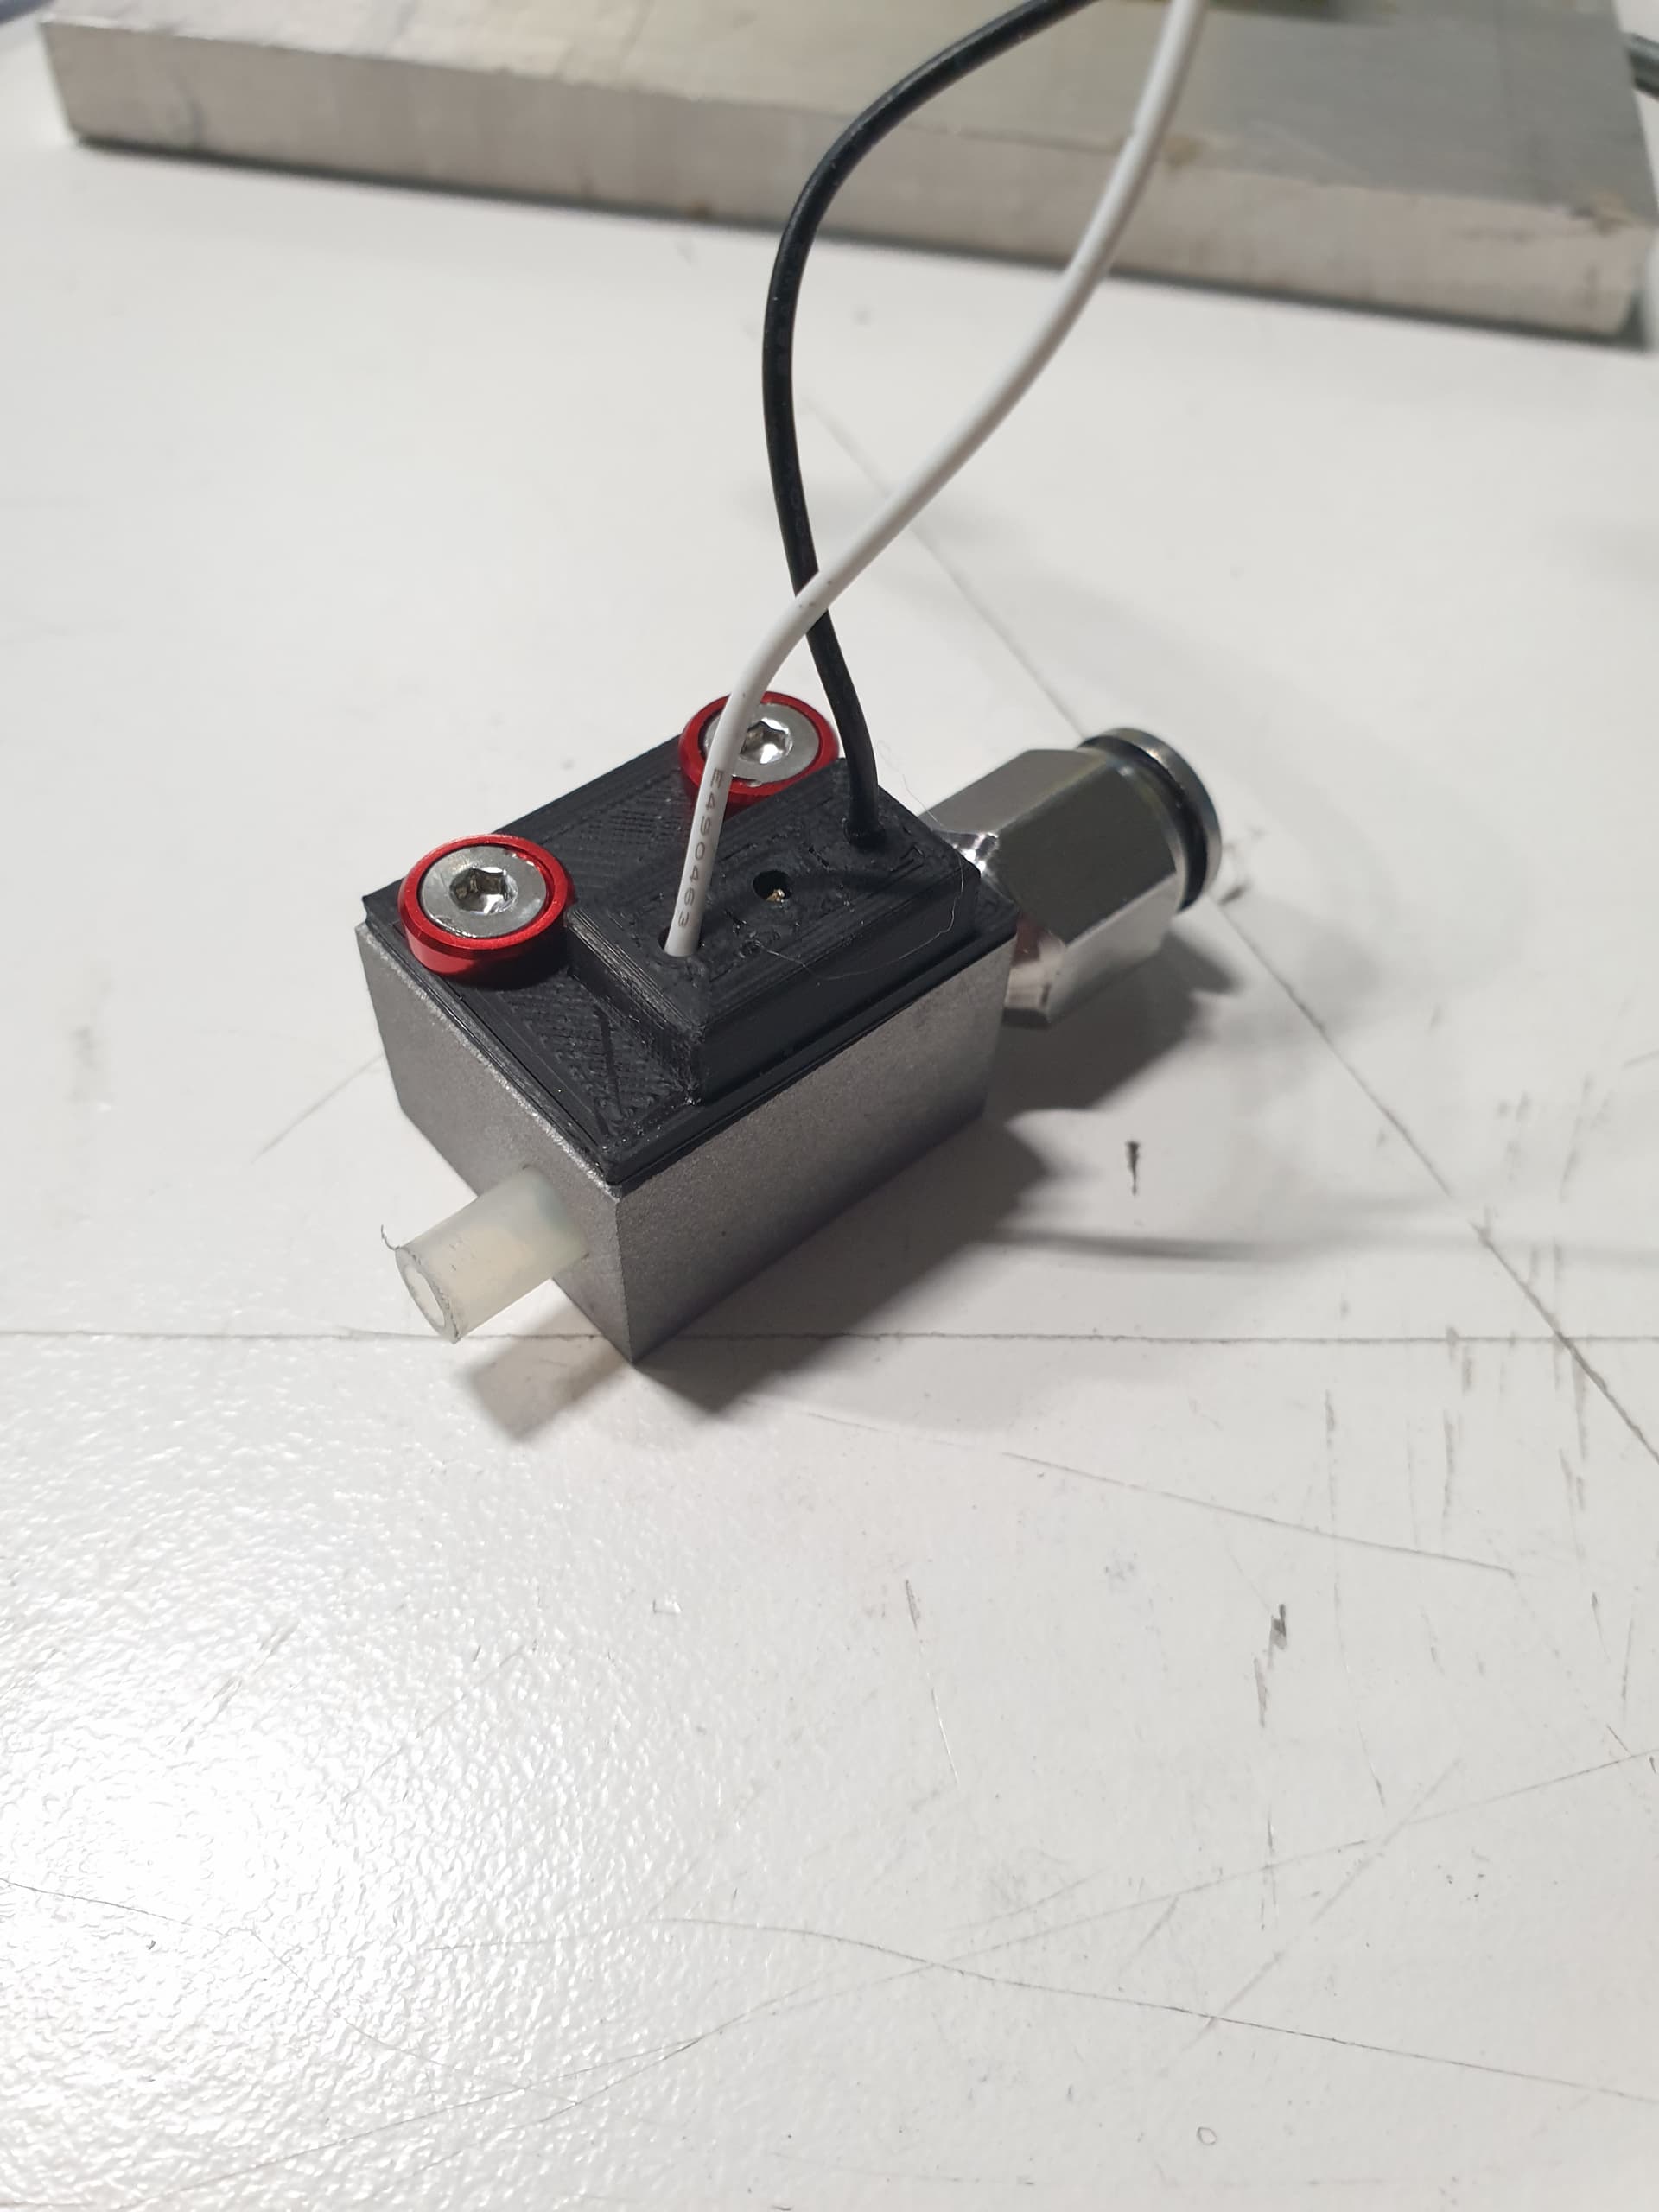
That would have been fine, but unfortunately I am not easy to please, so I decided to make the cable entirely internal with a more aggressive modification:


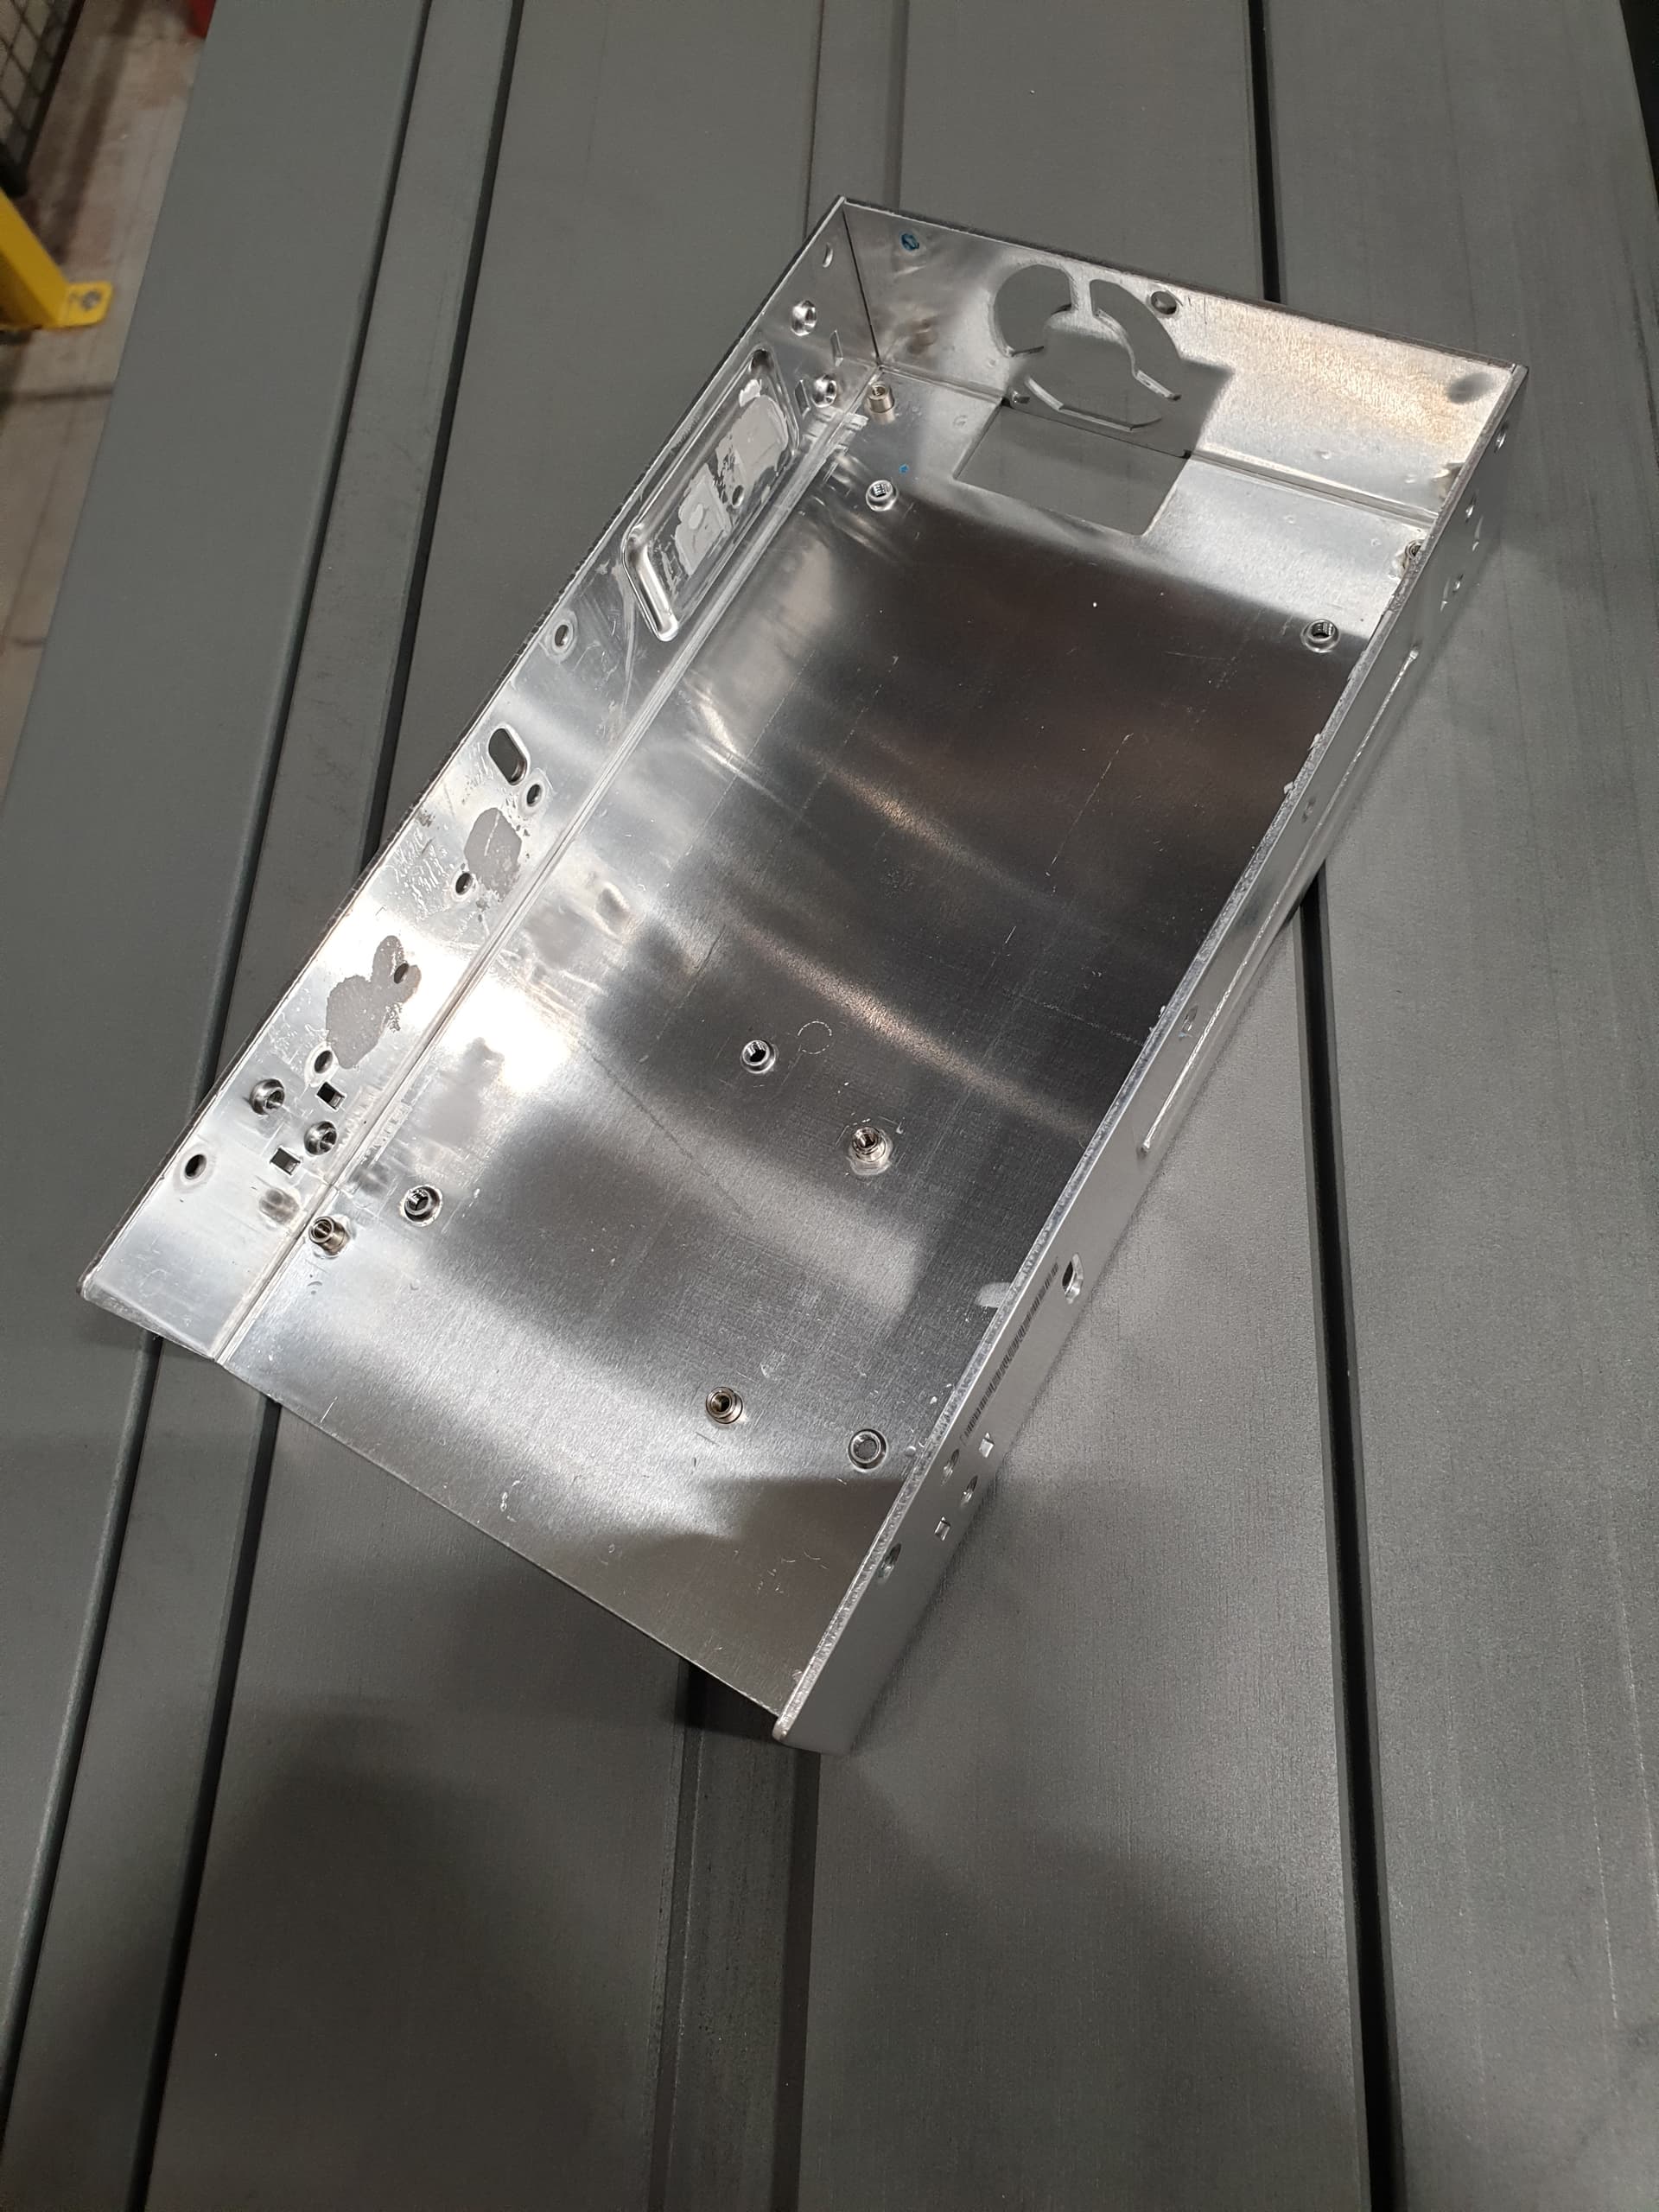
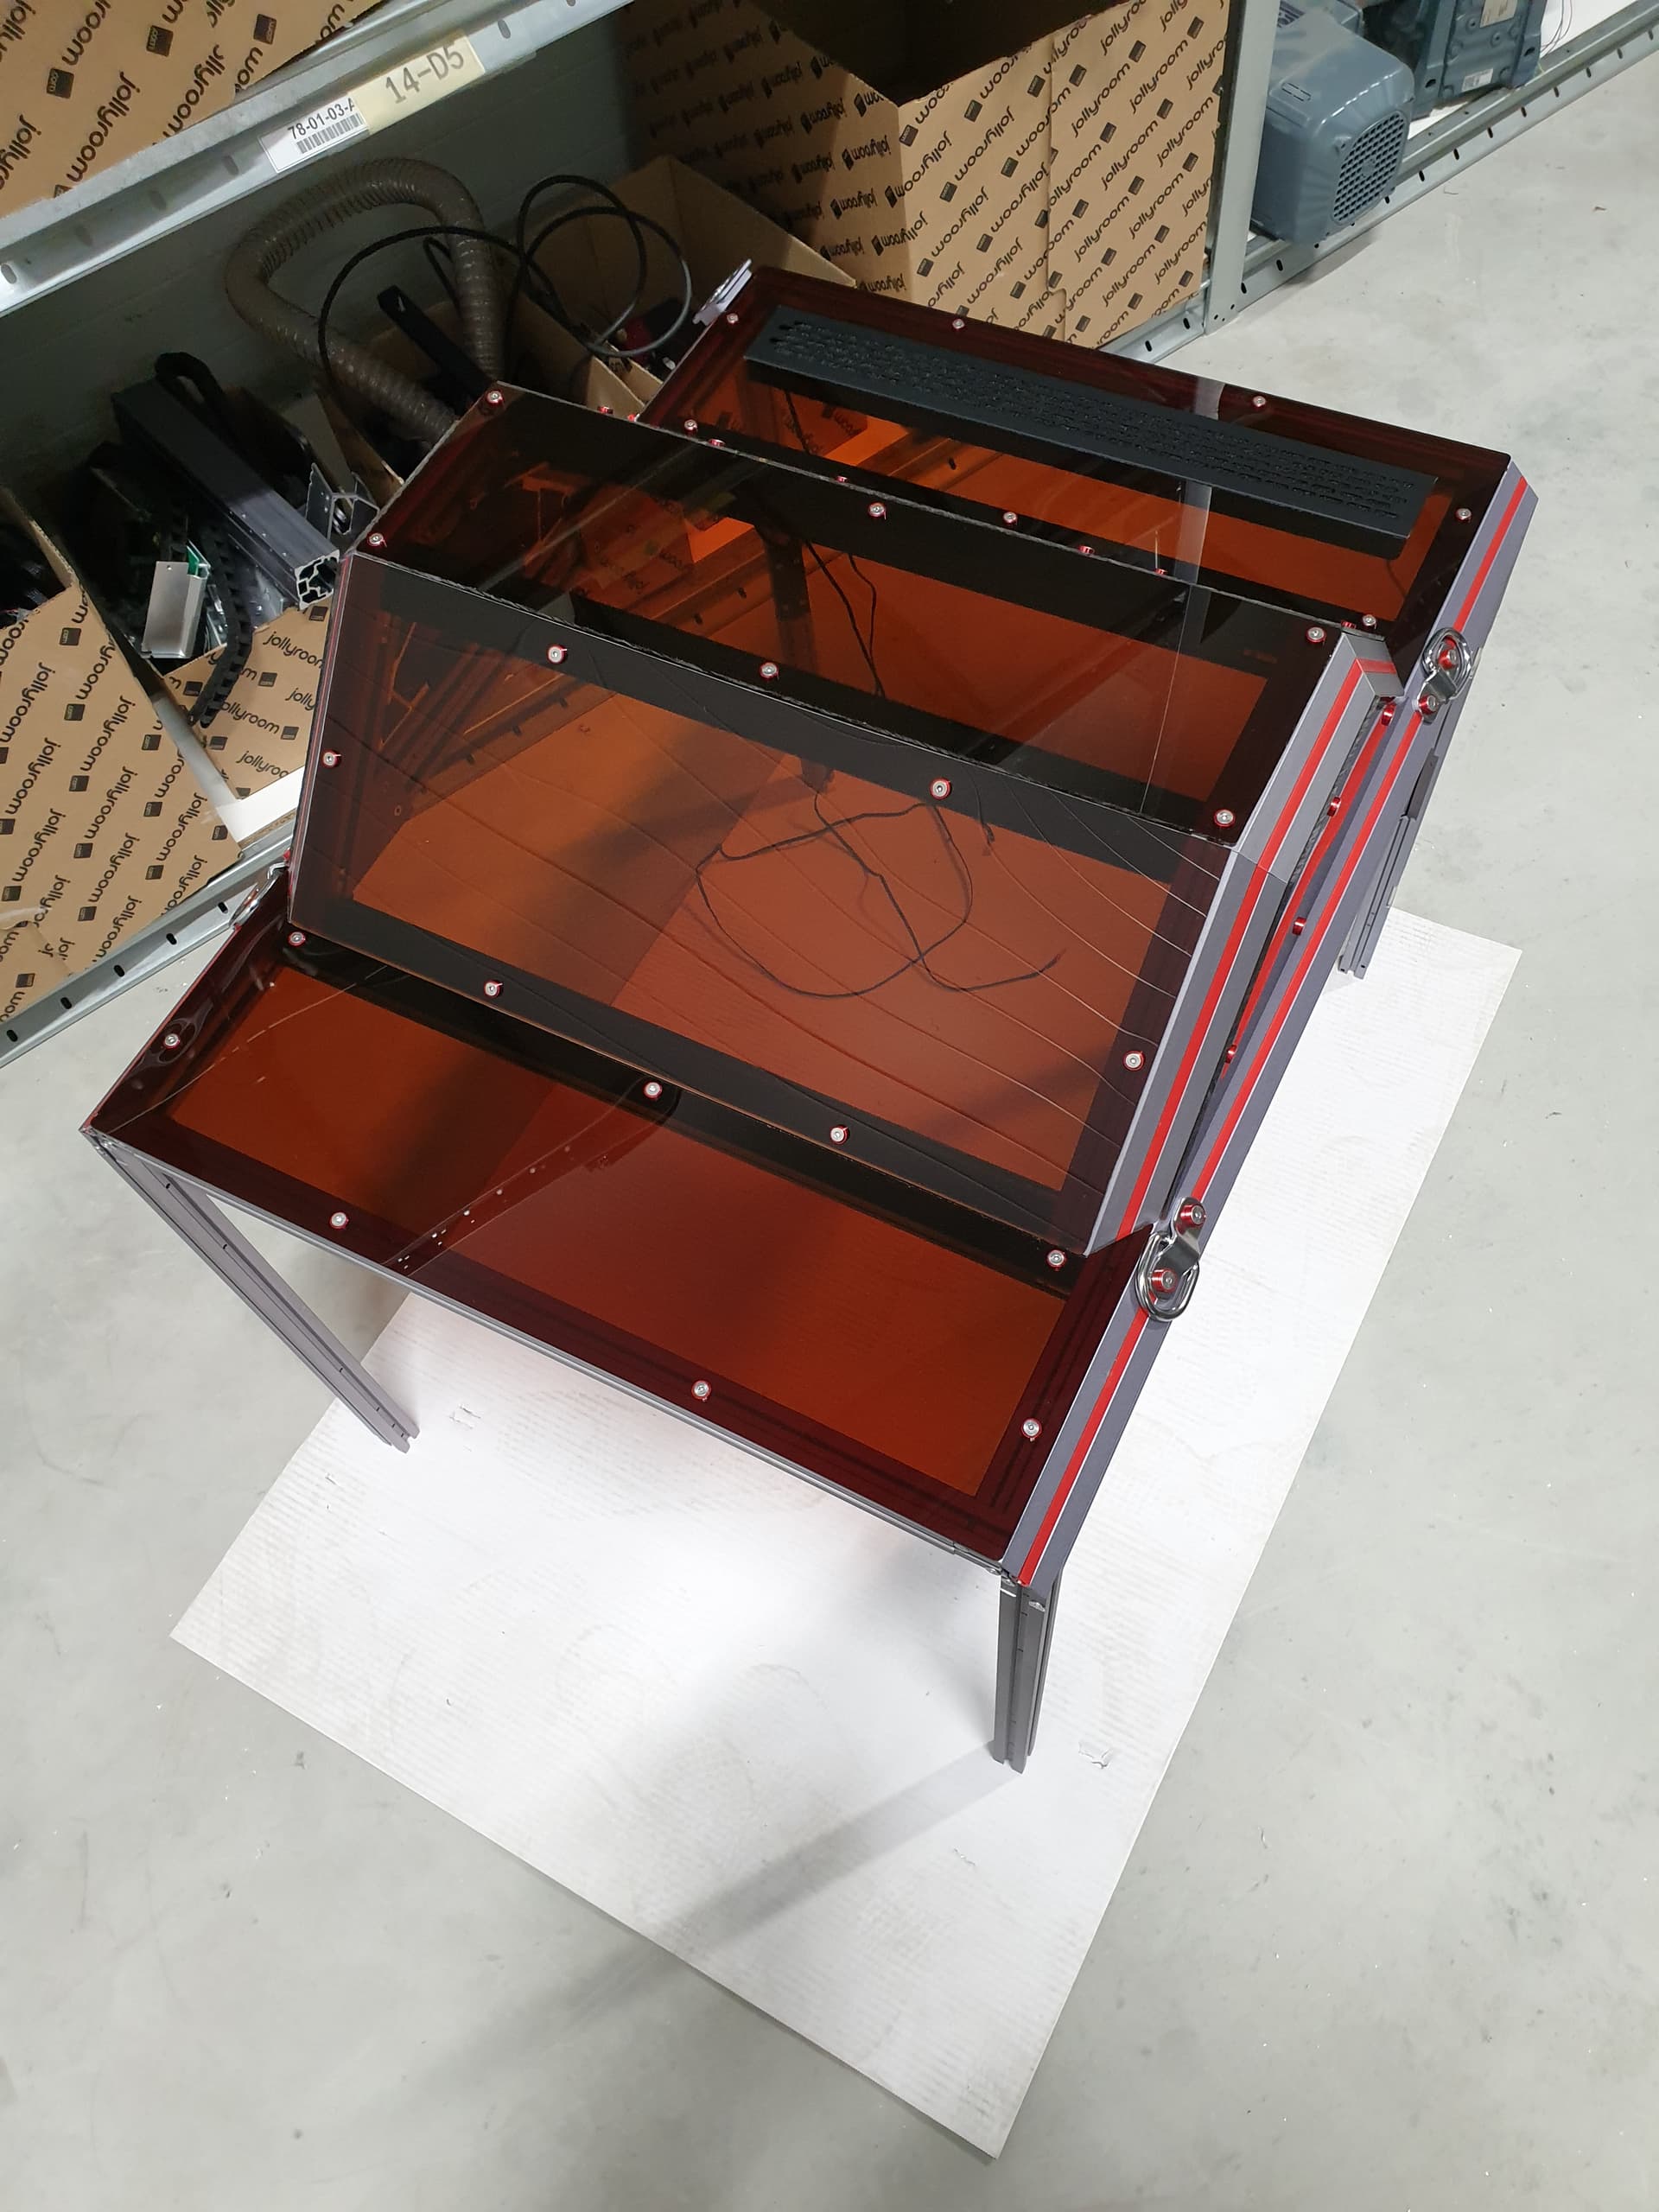
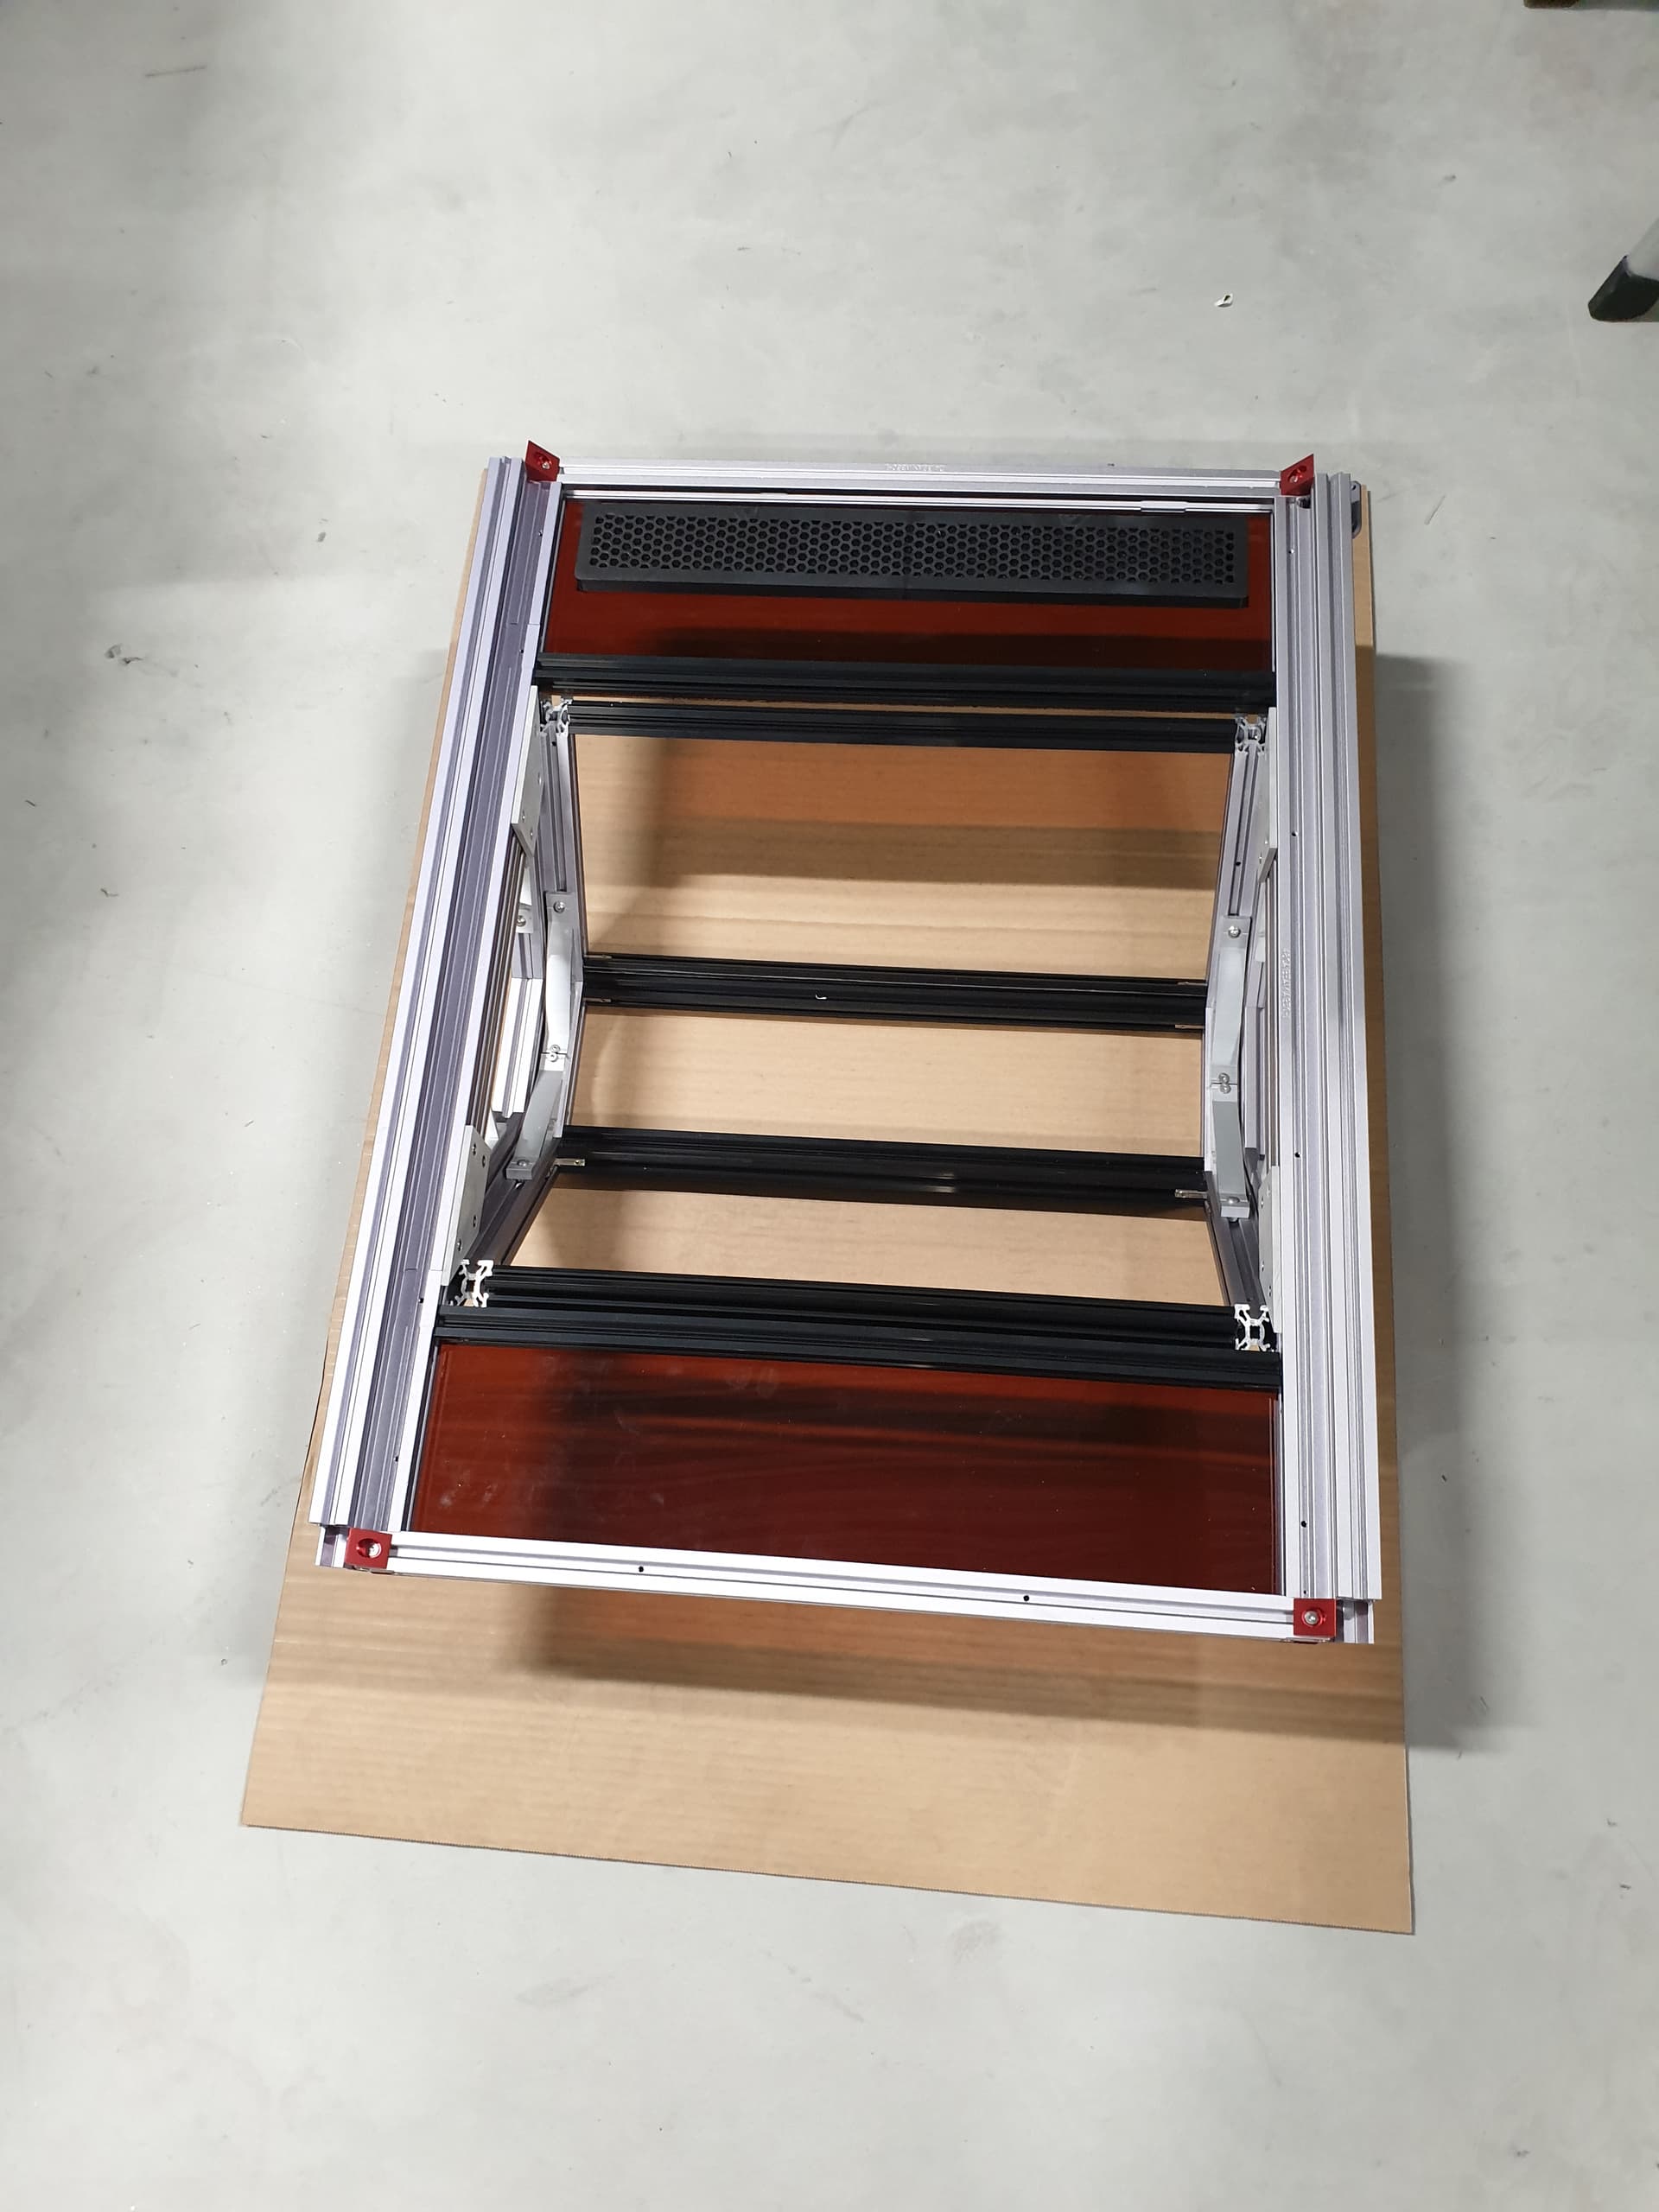
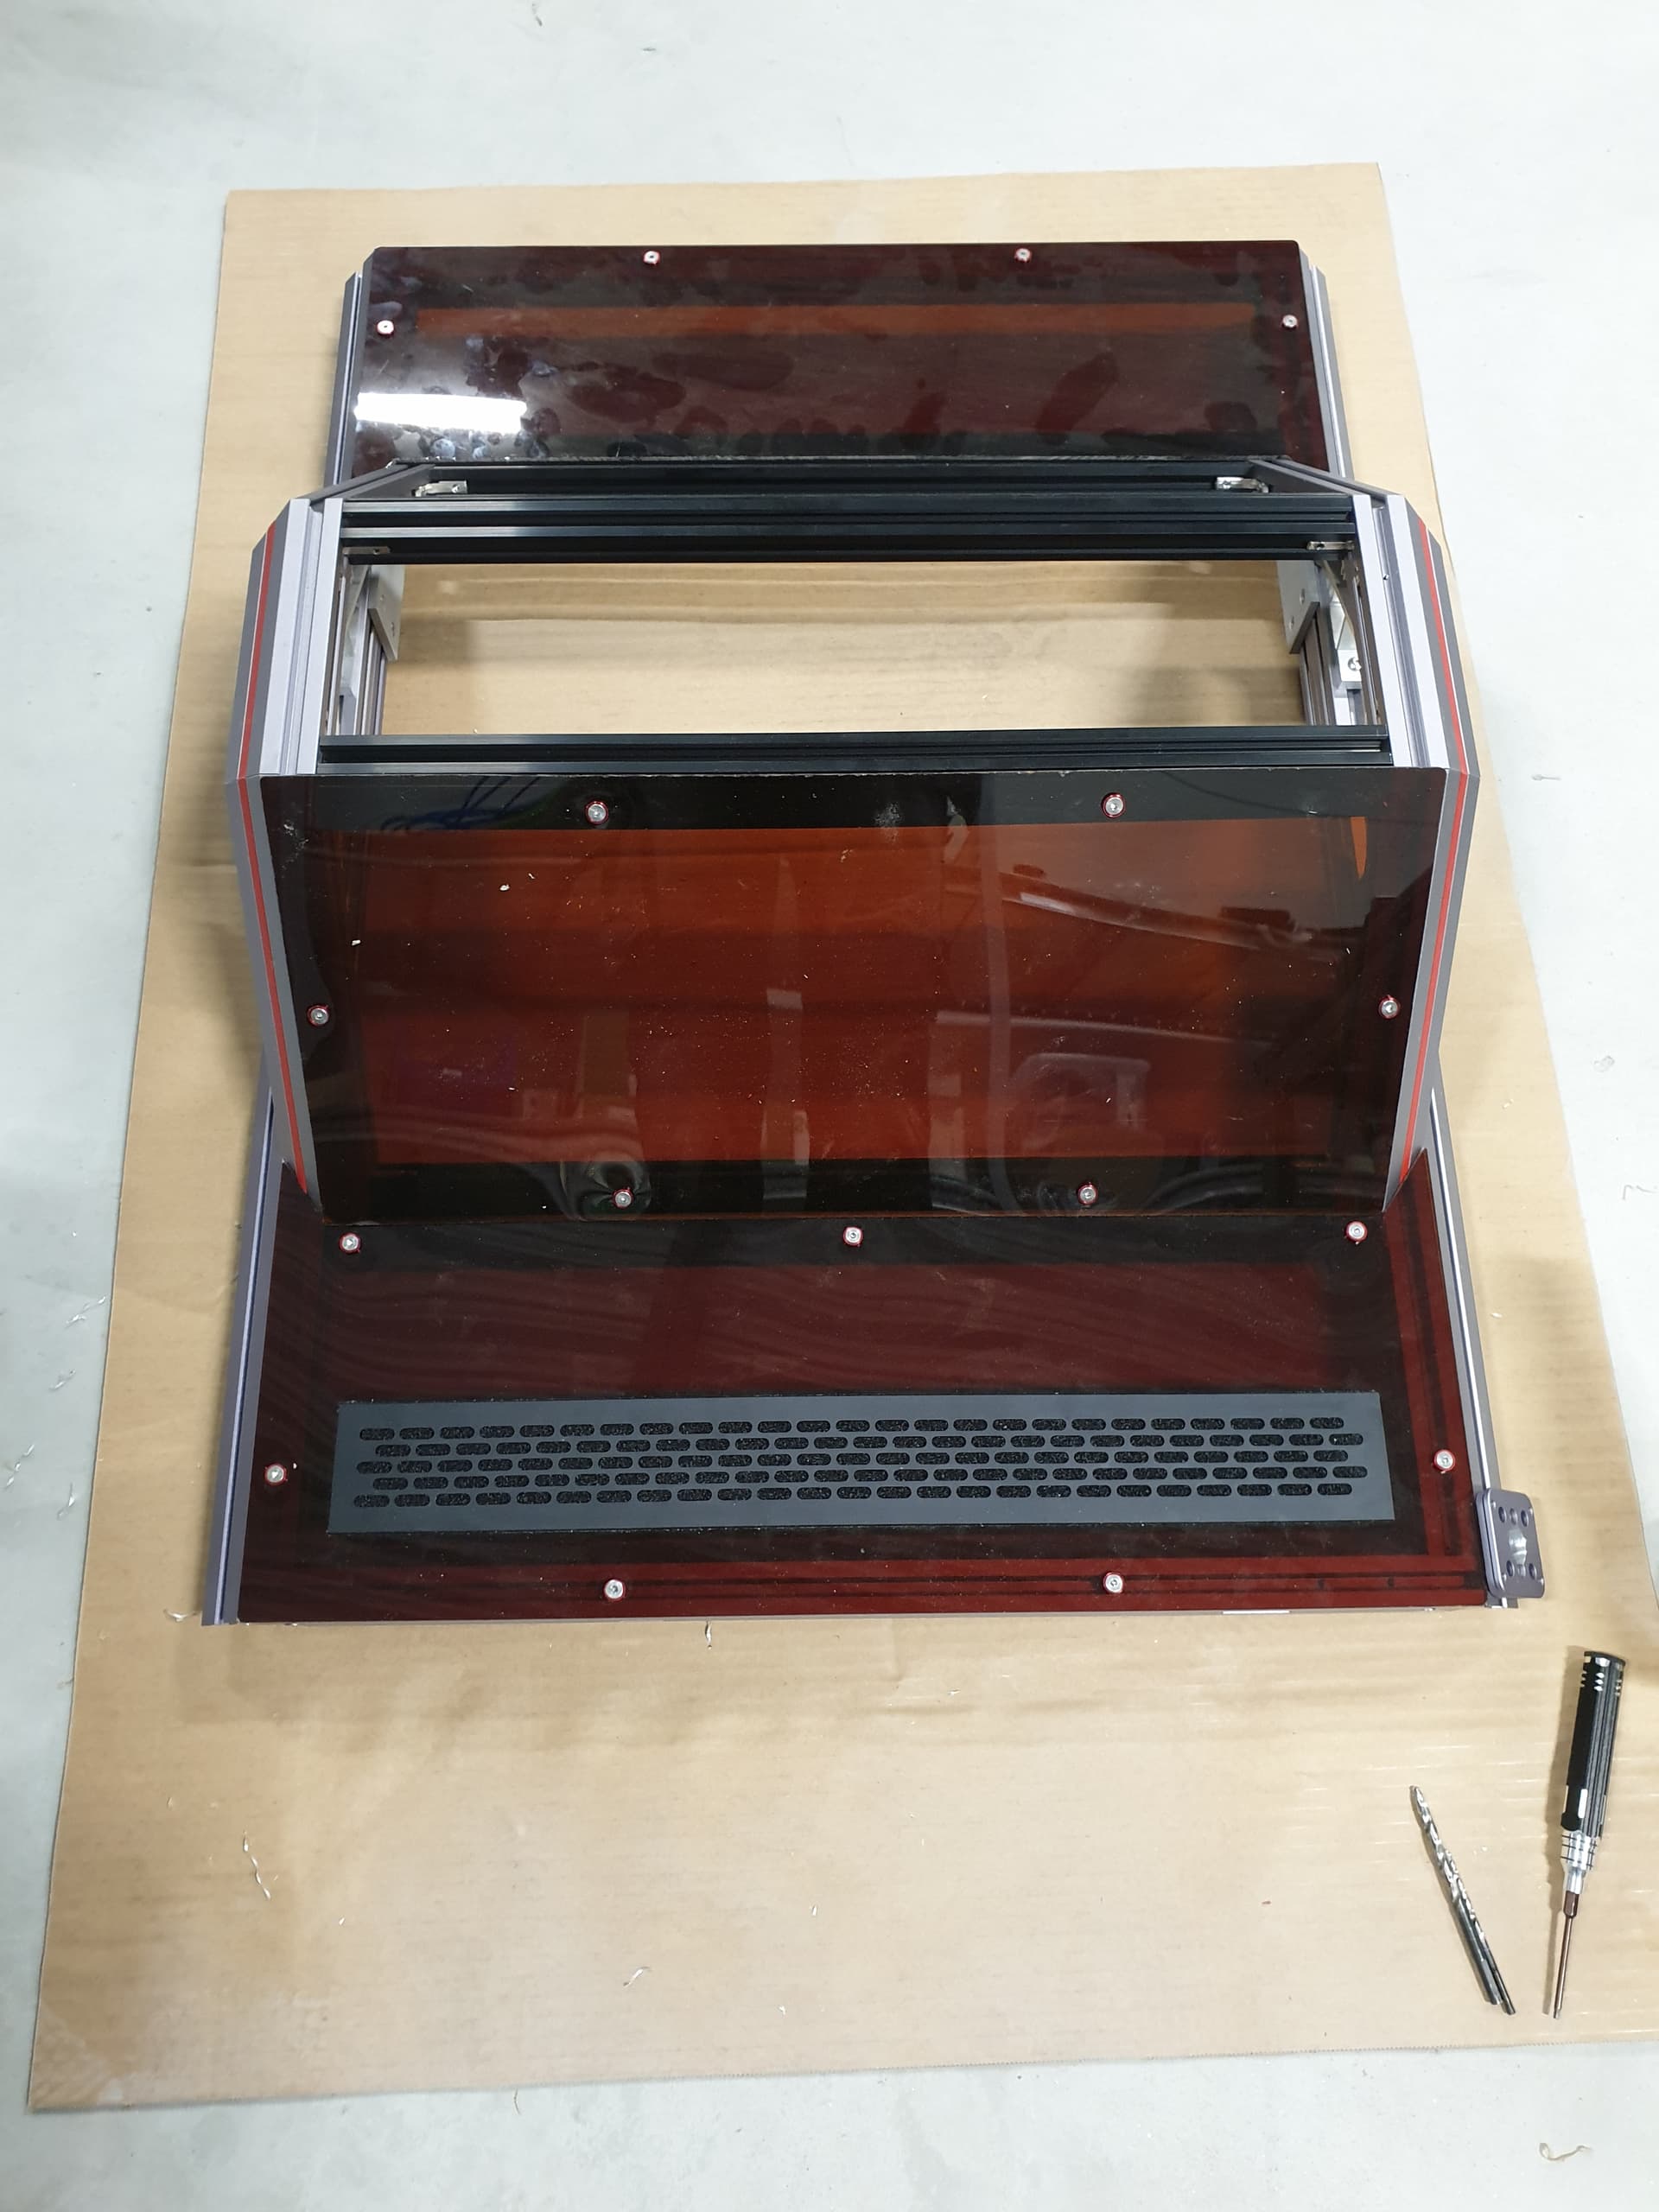
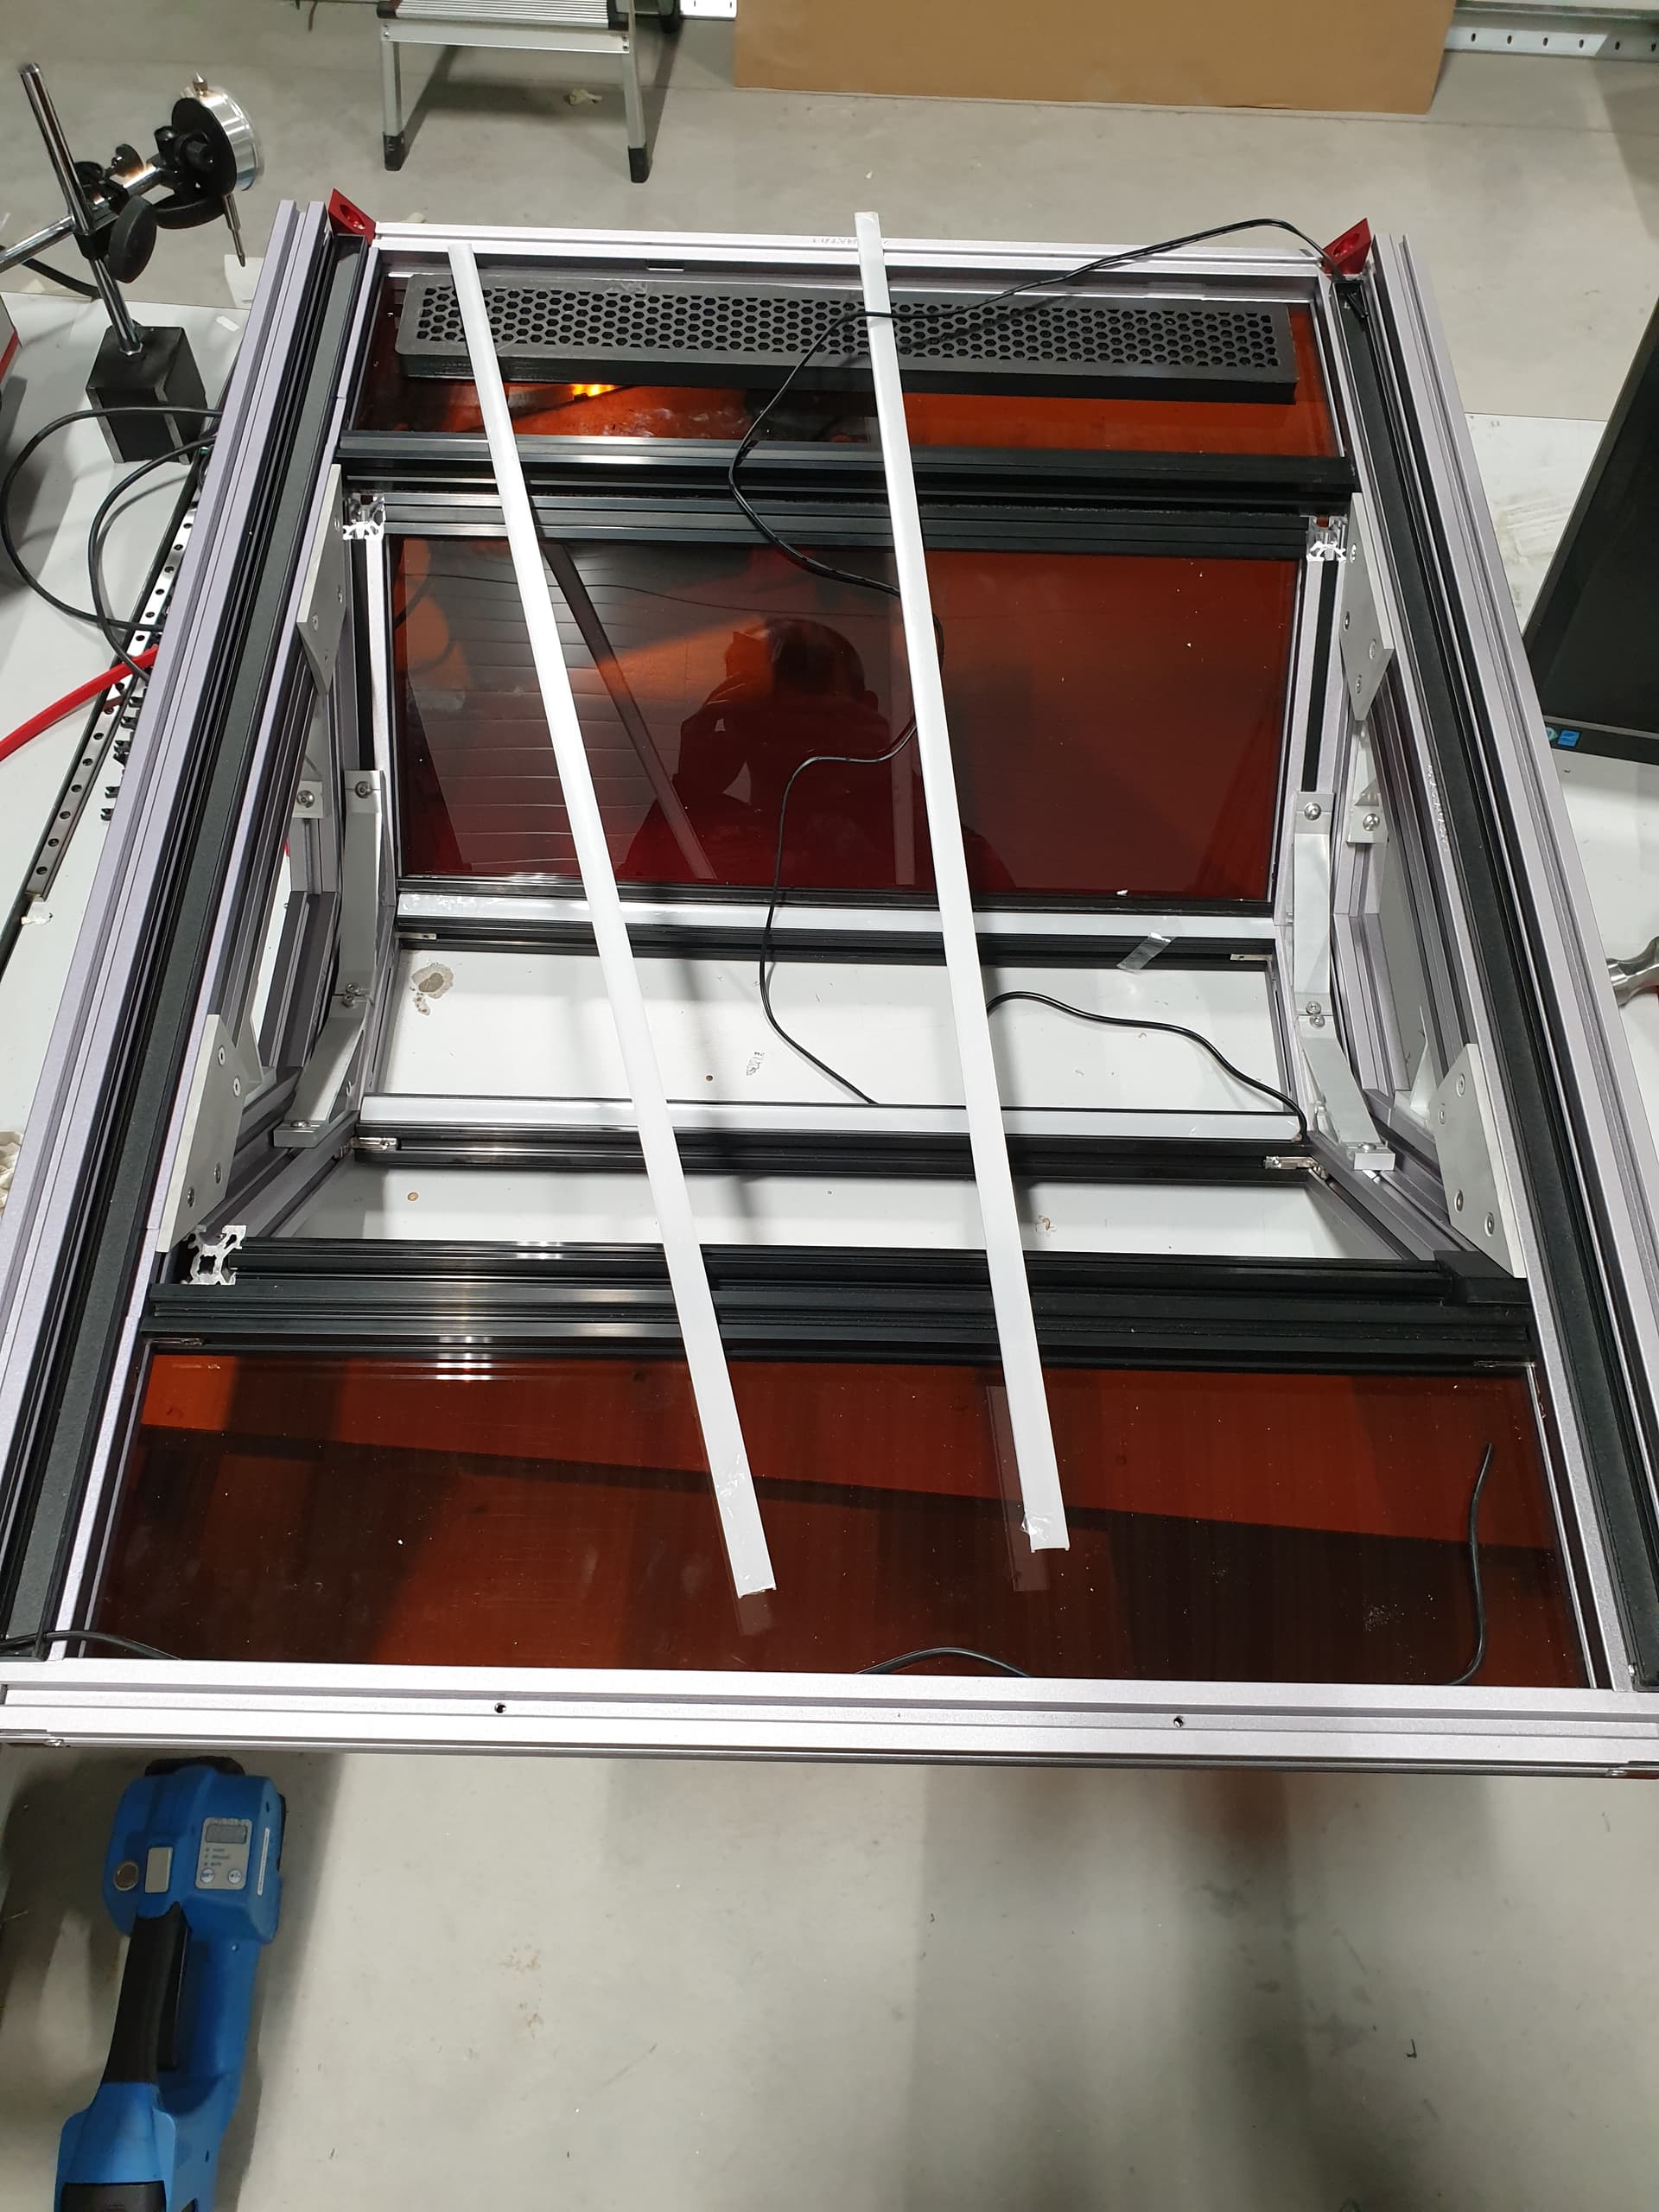
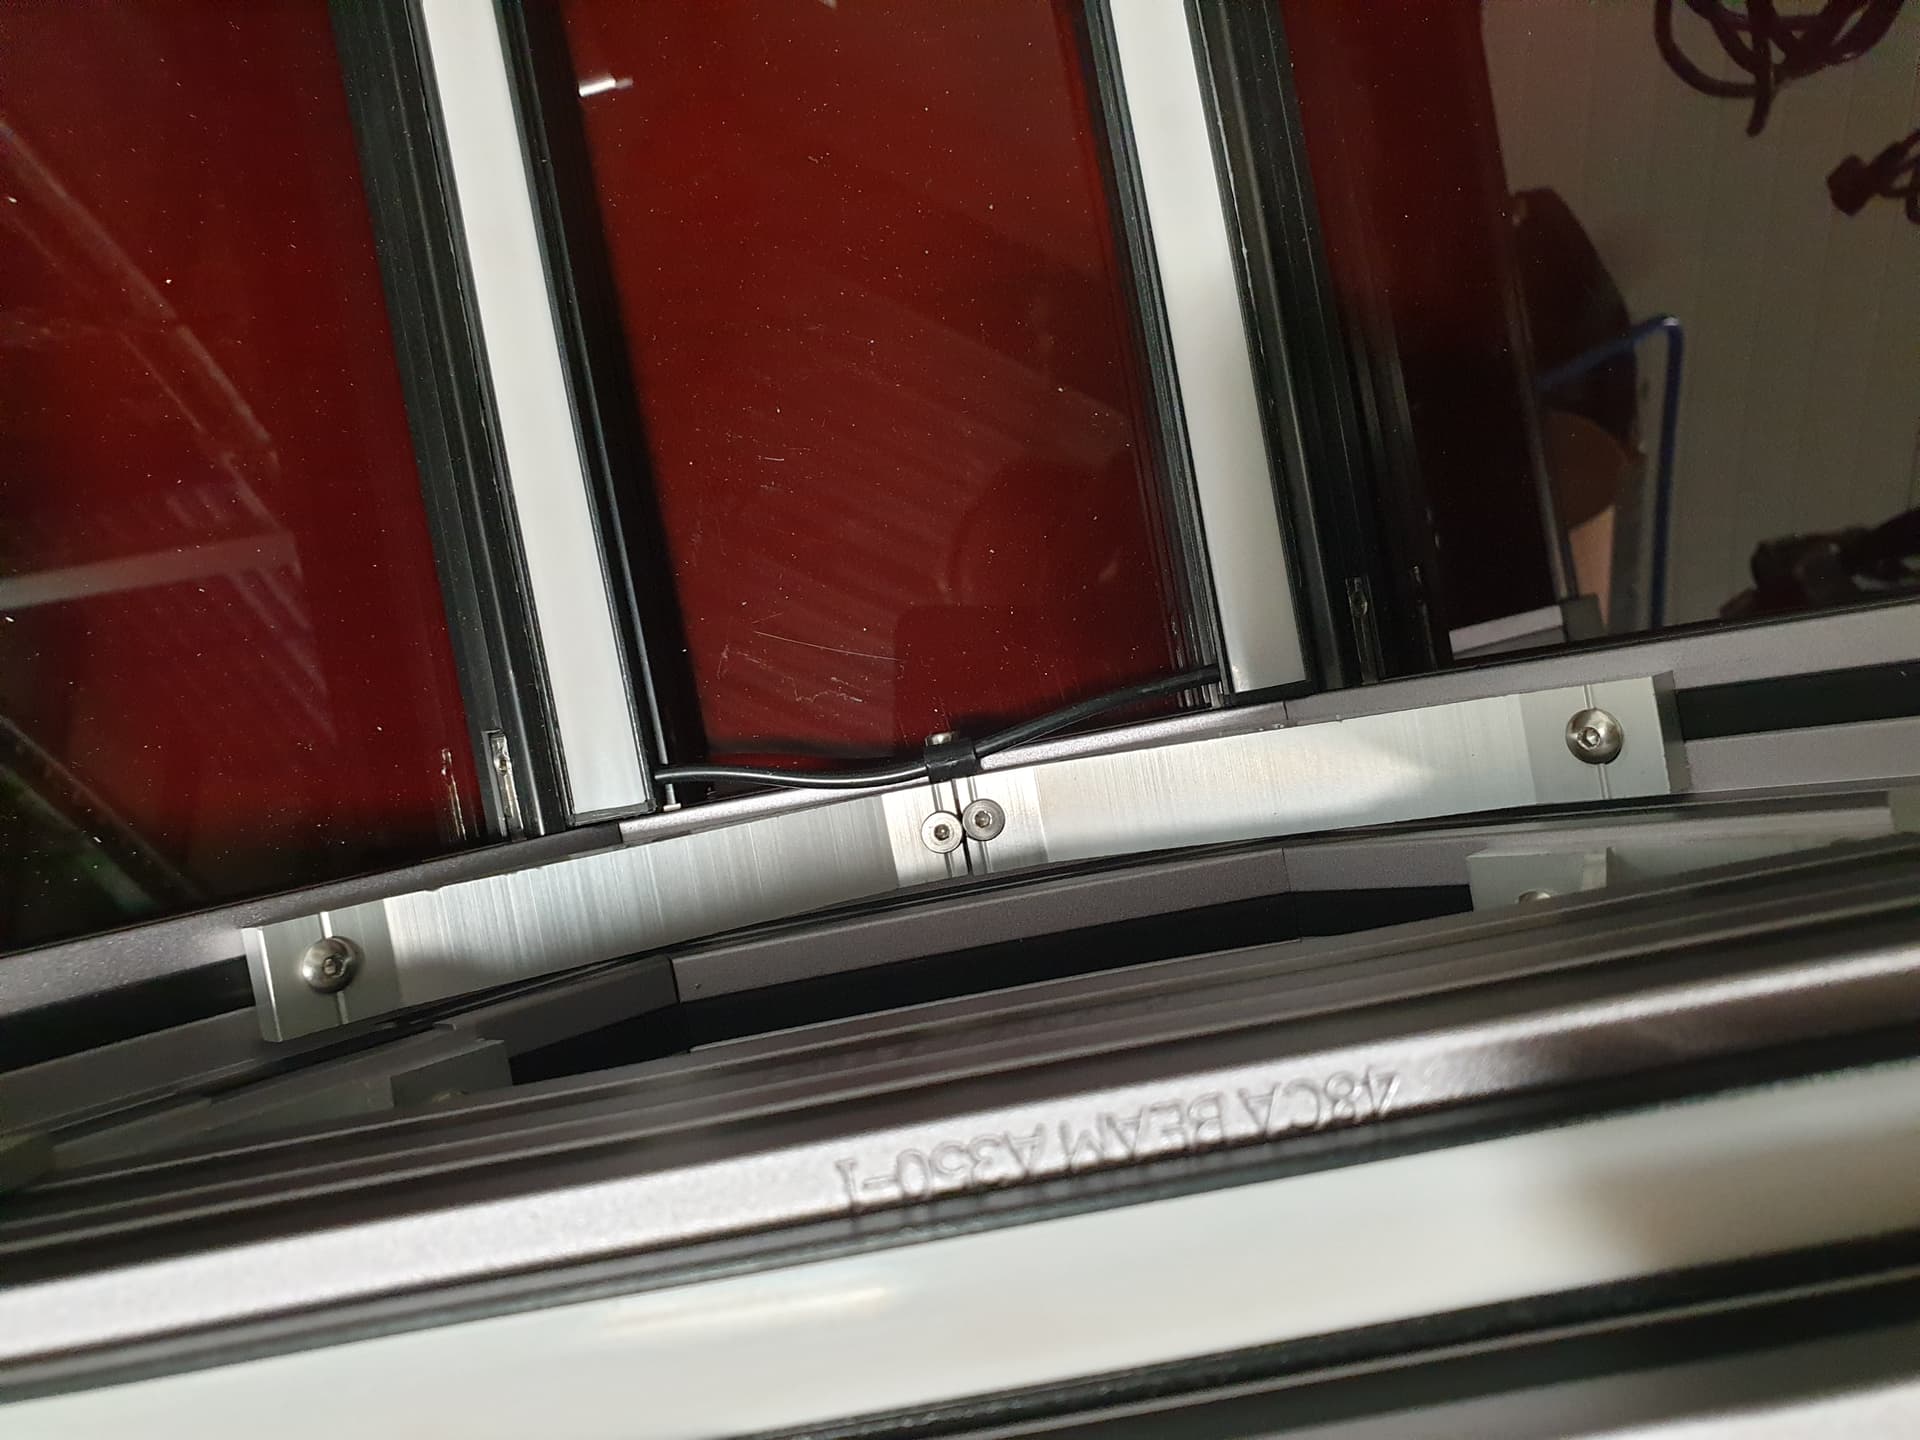
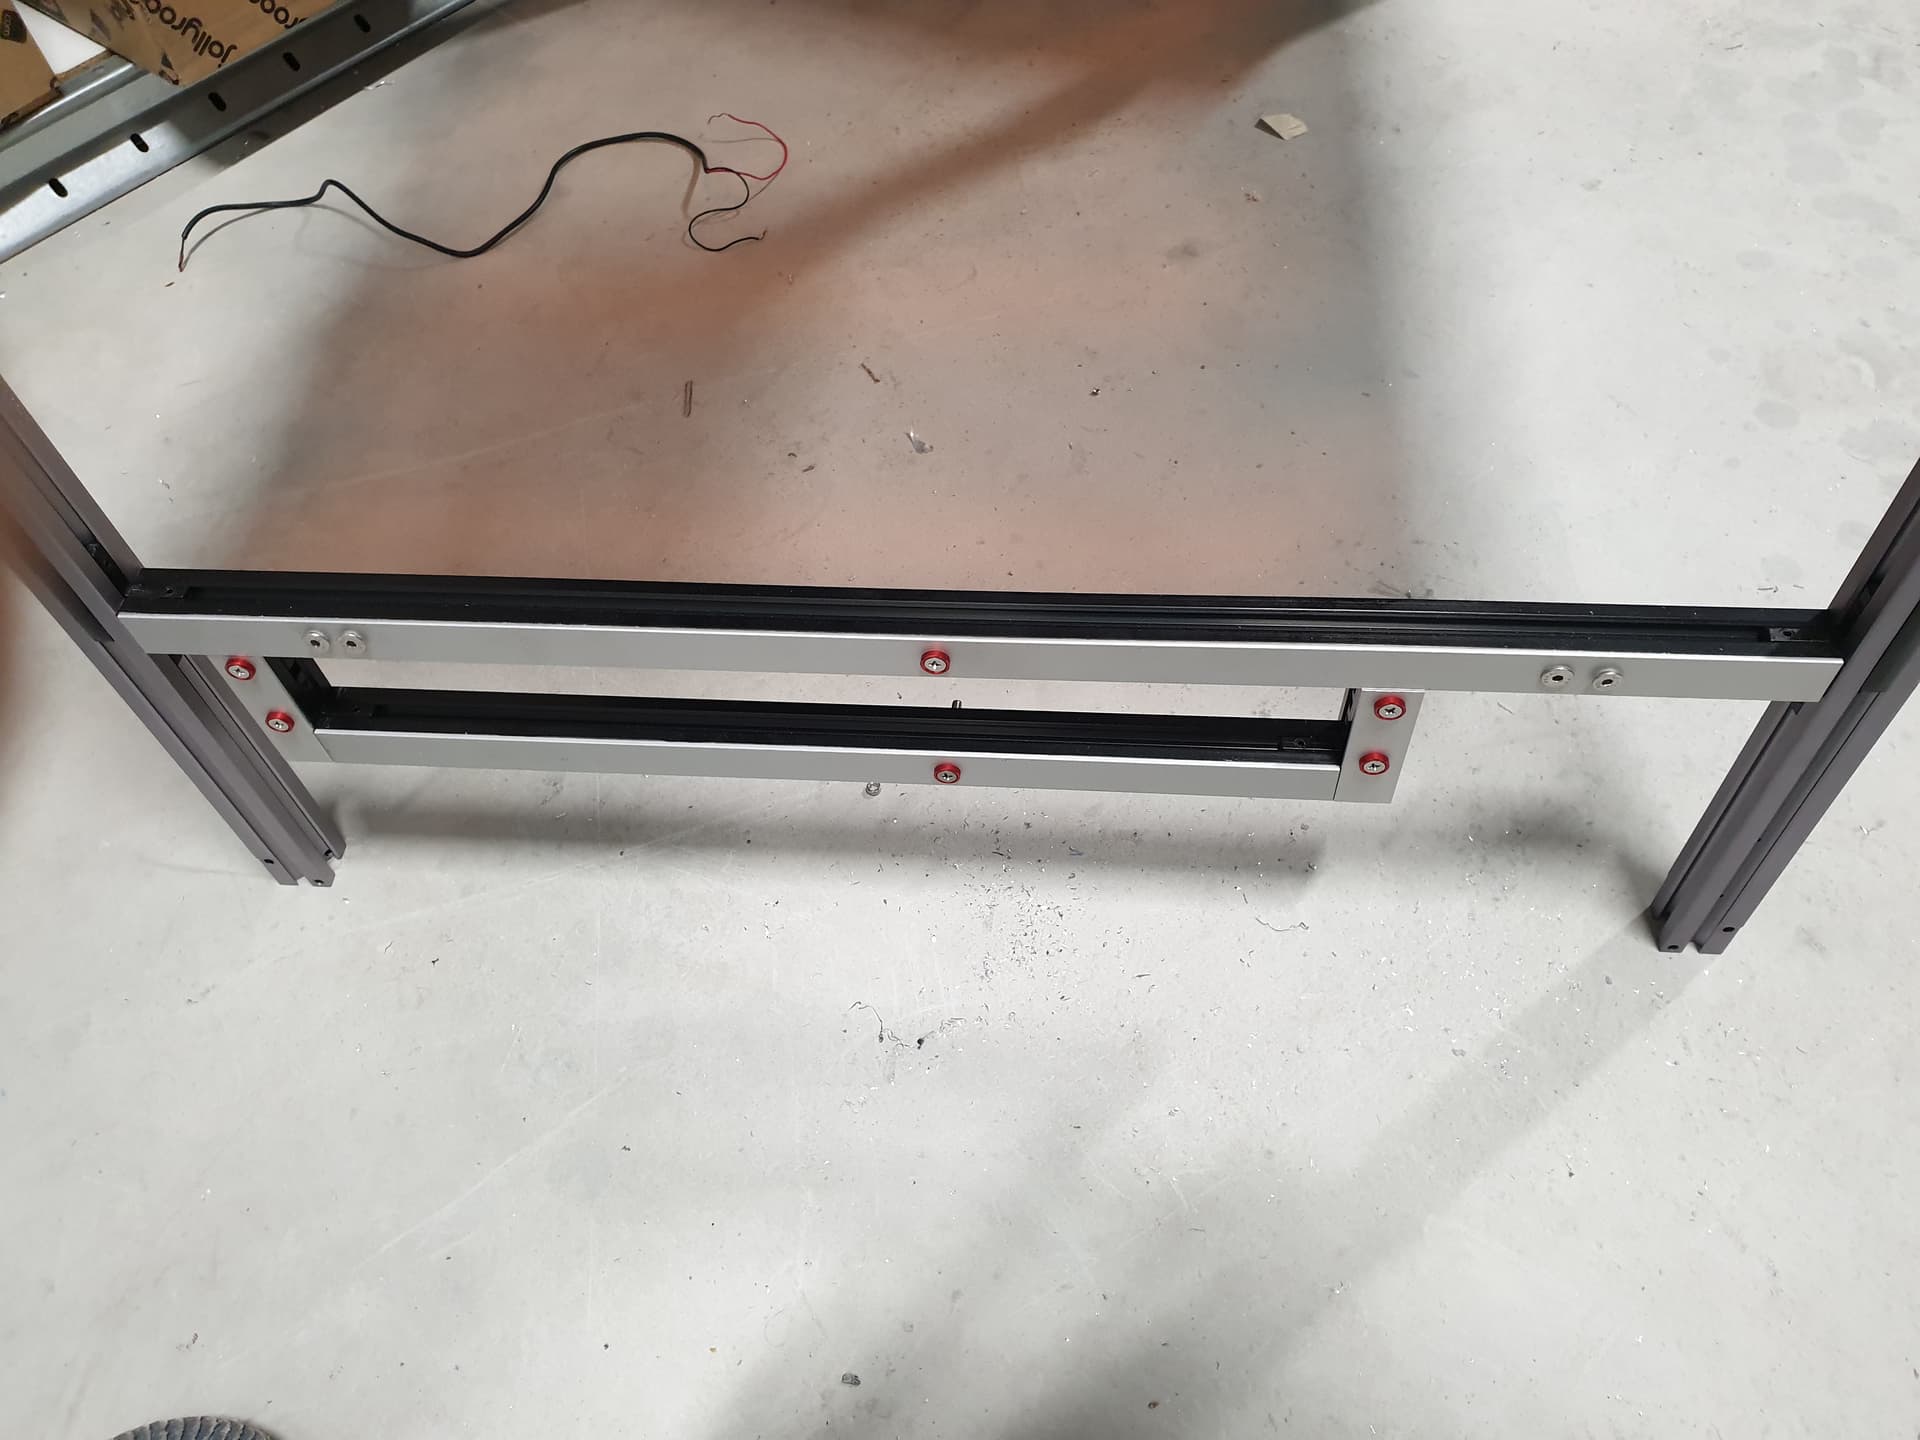
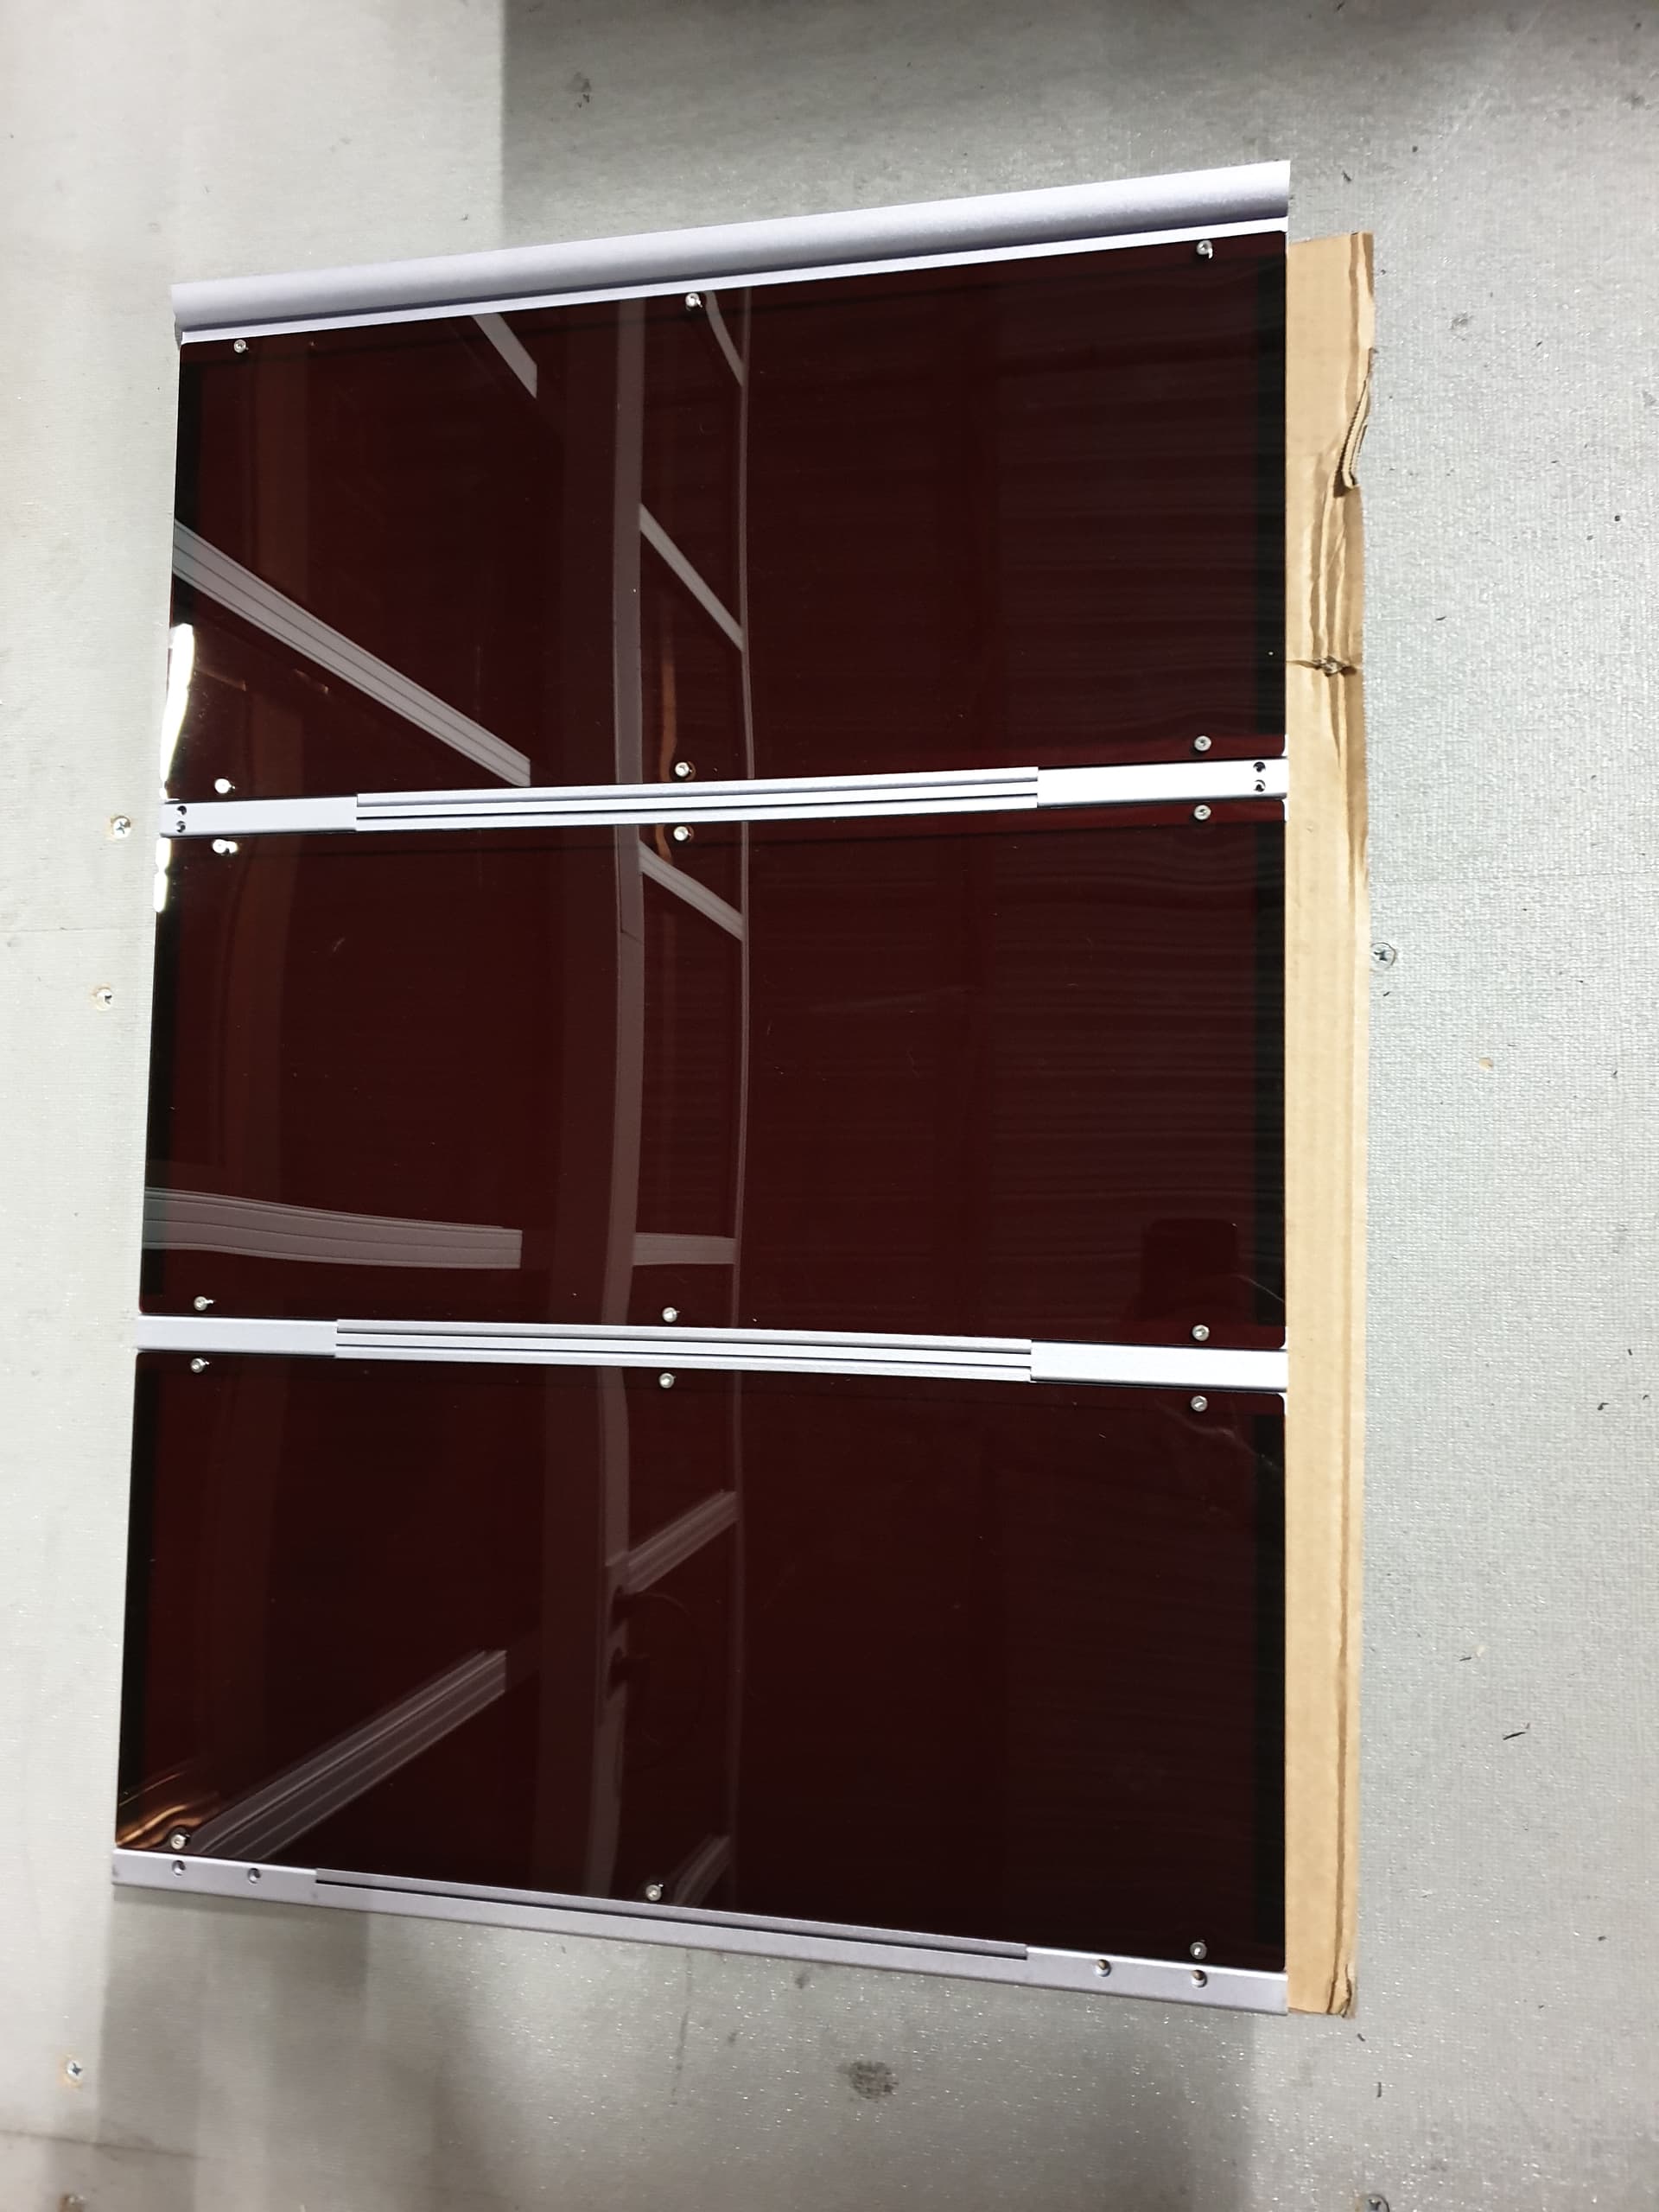
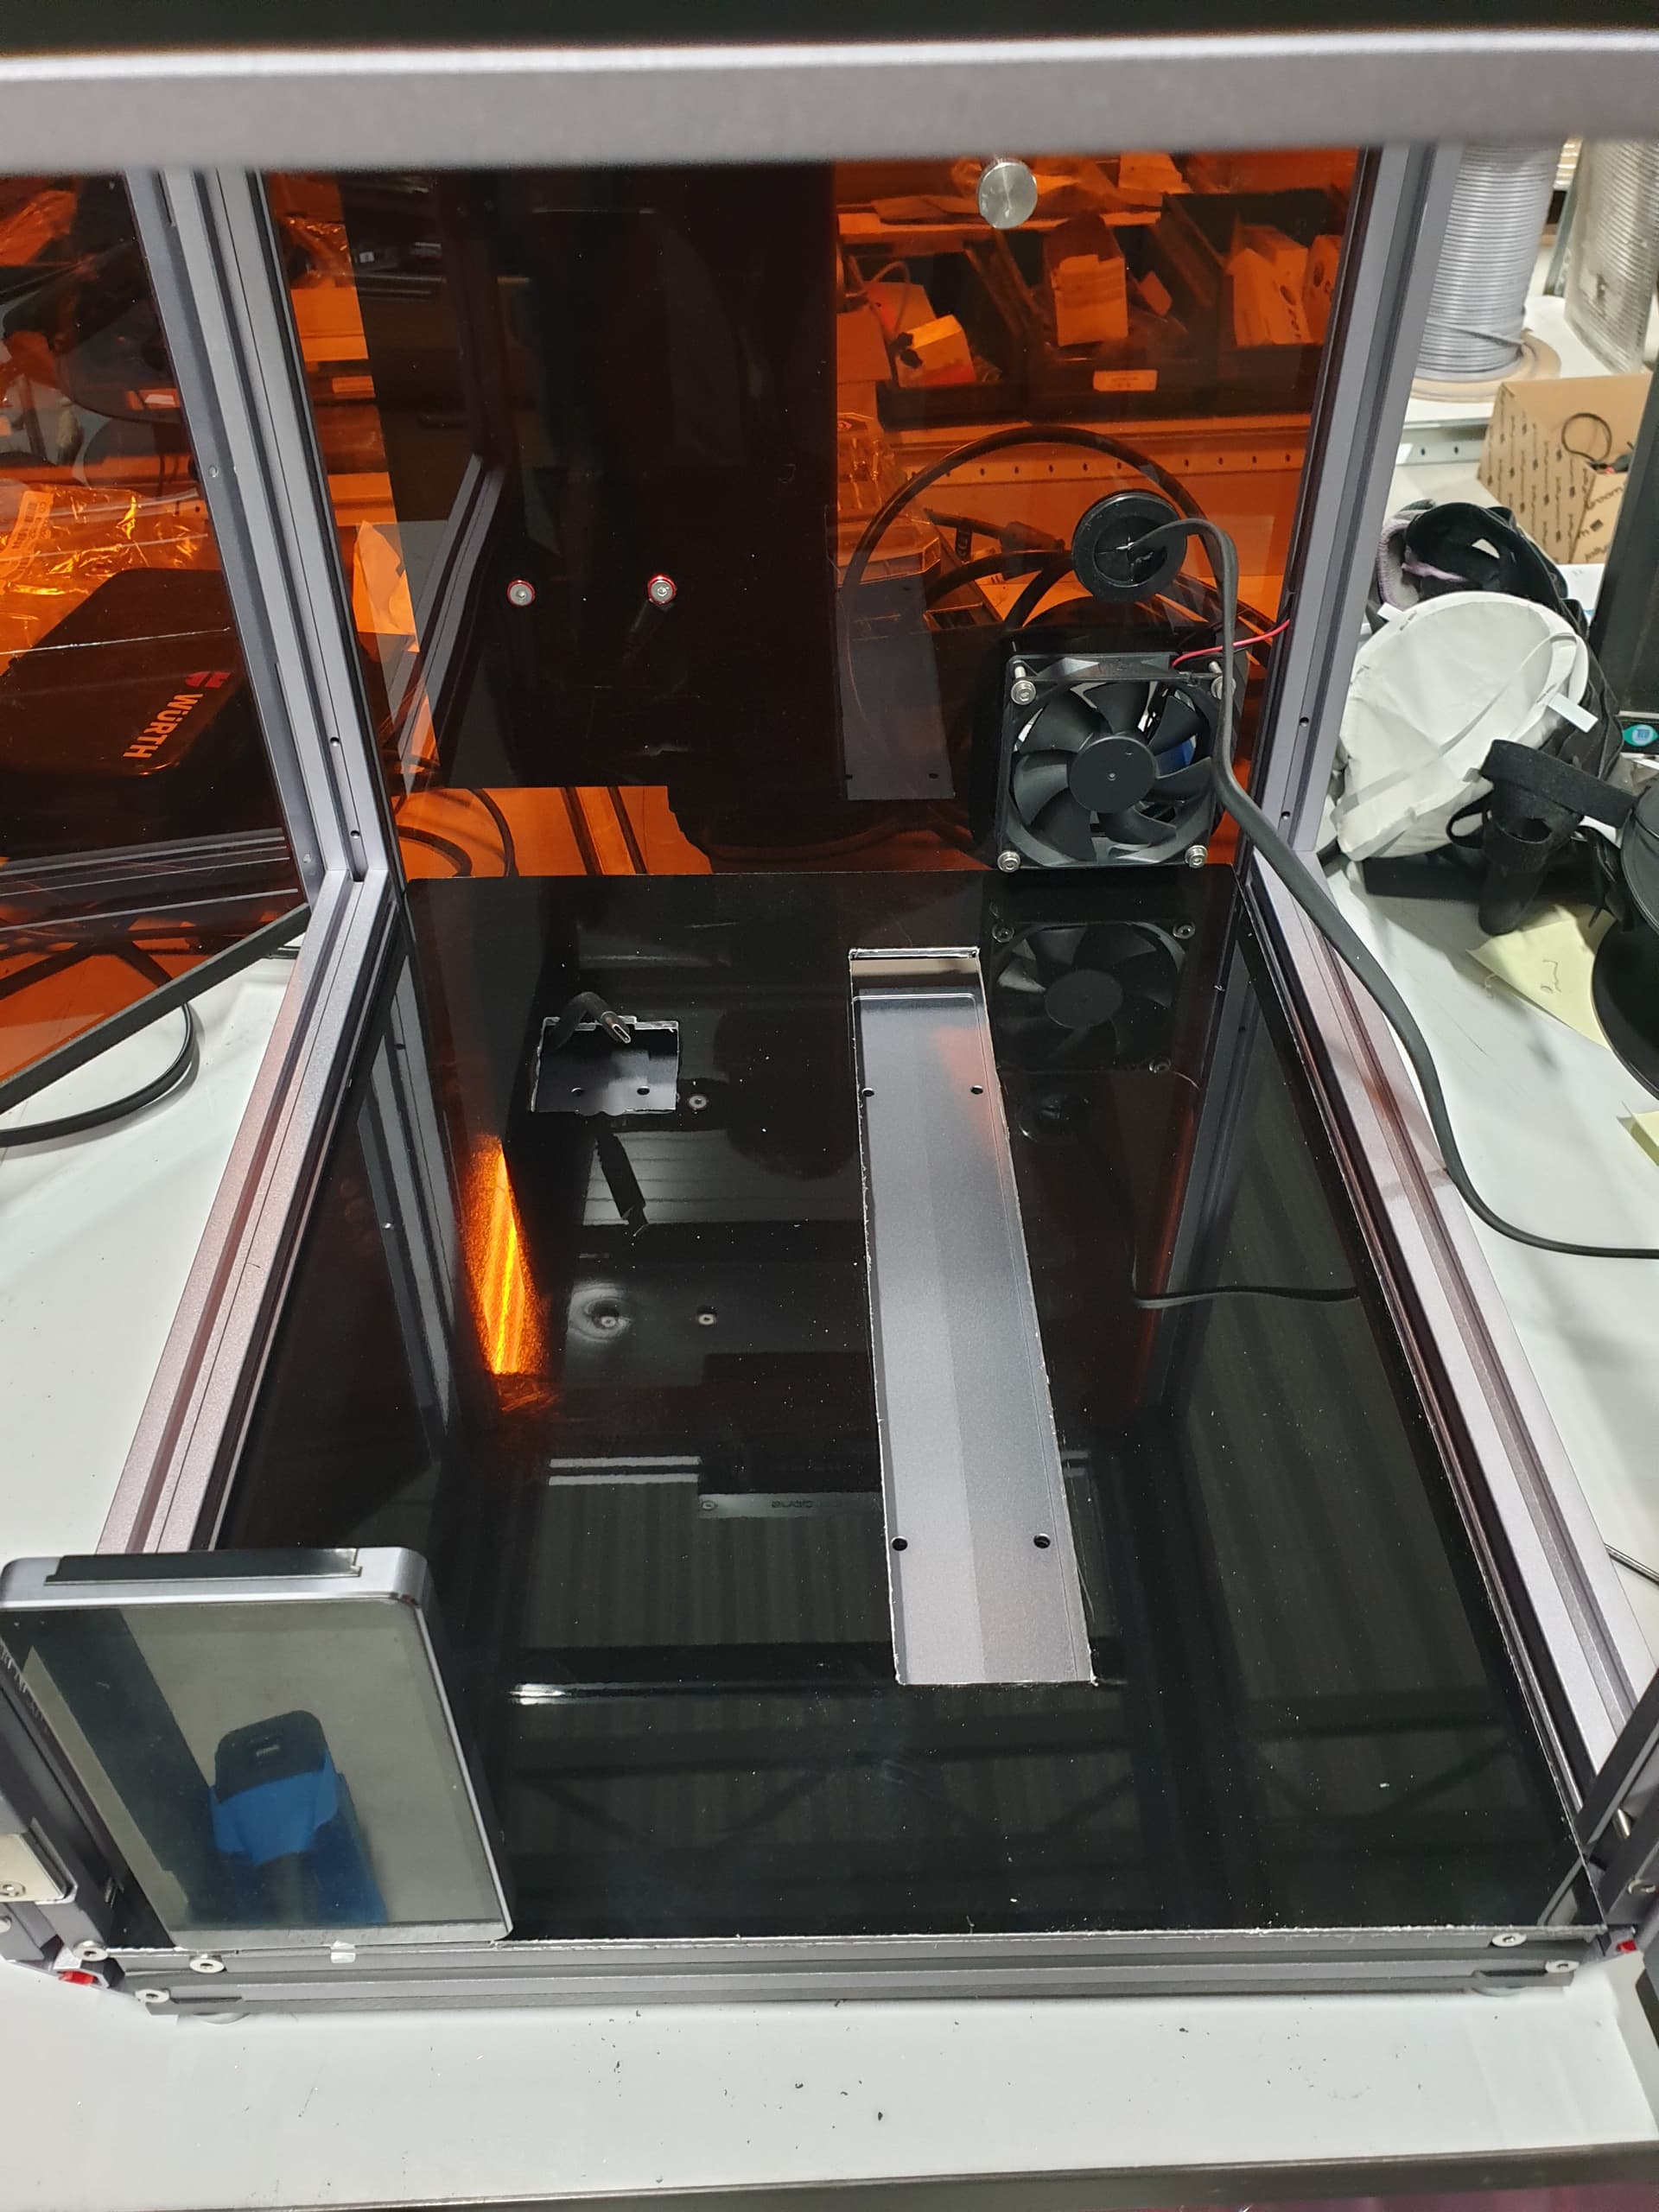
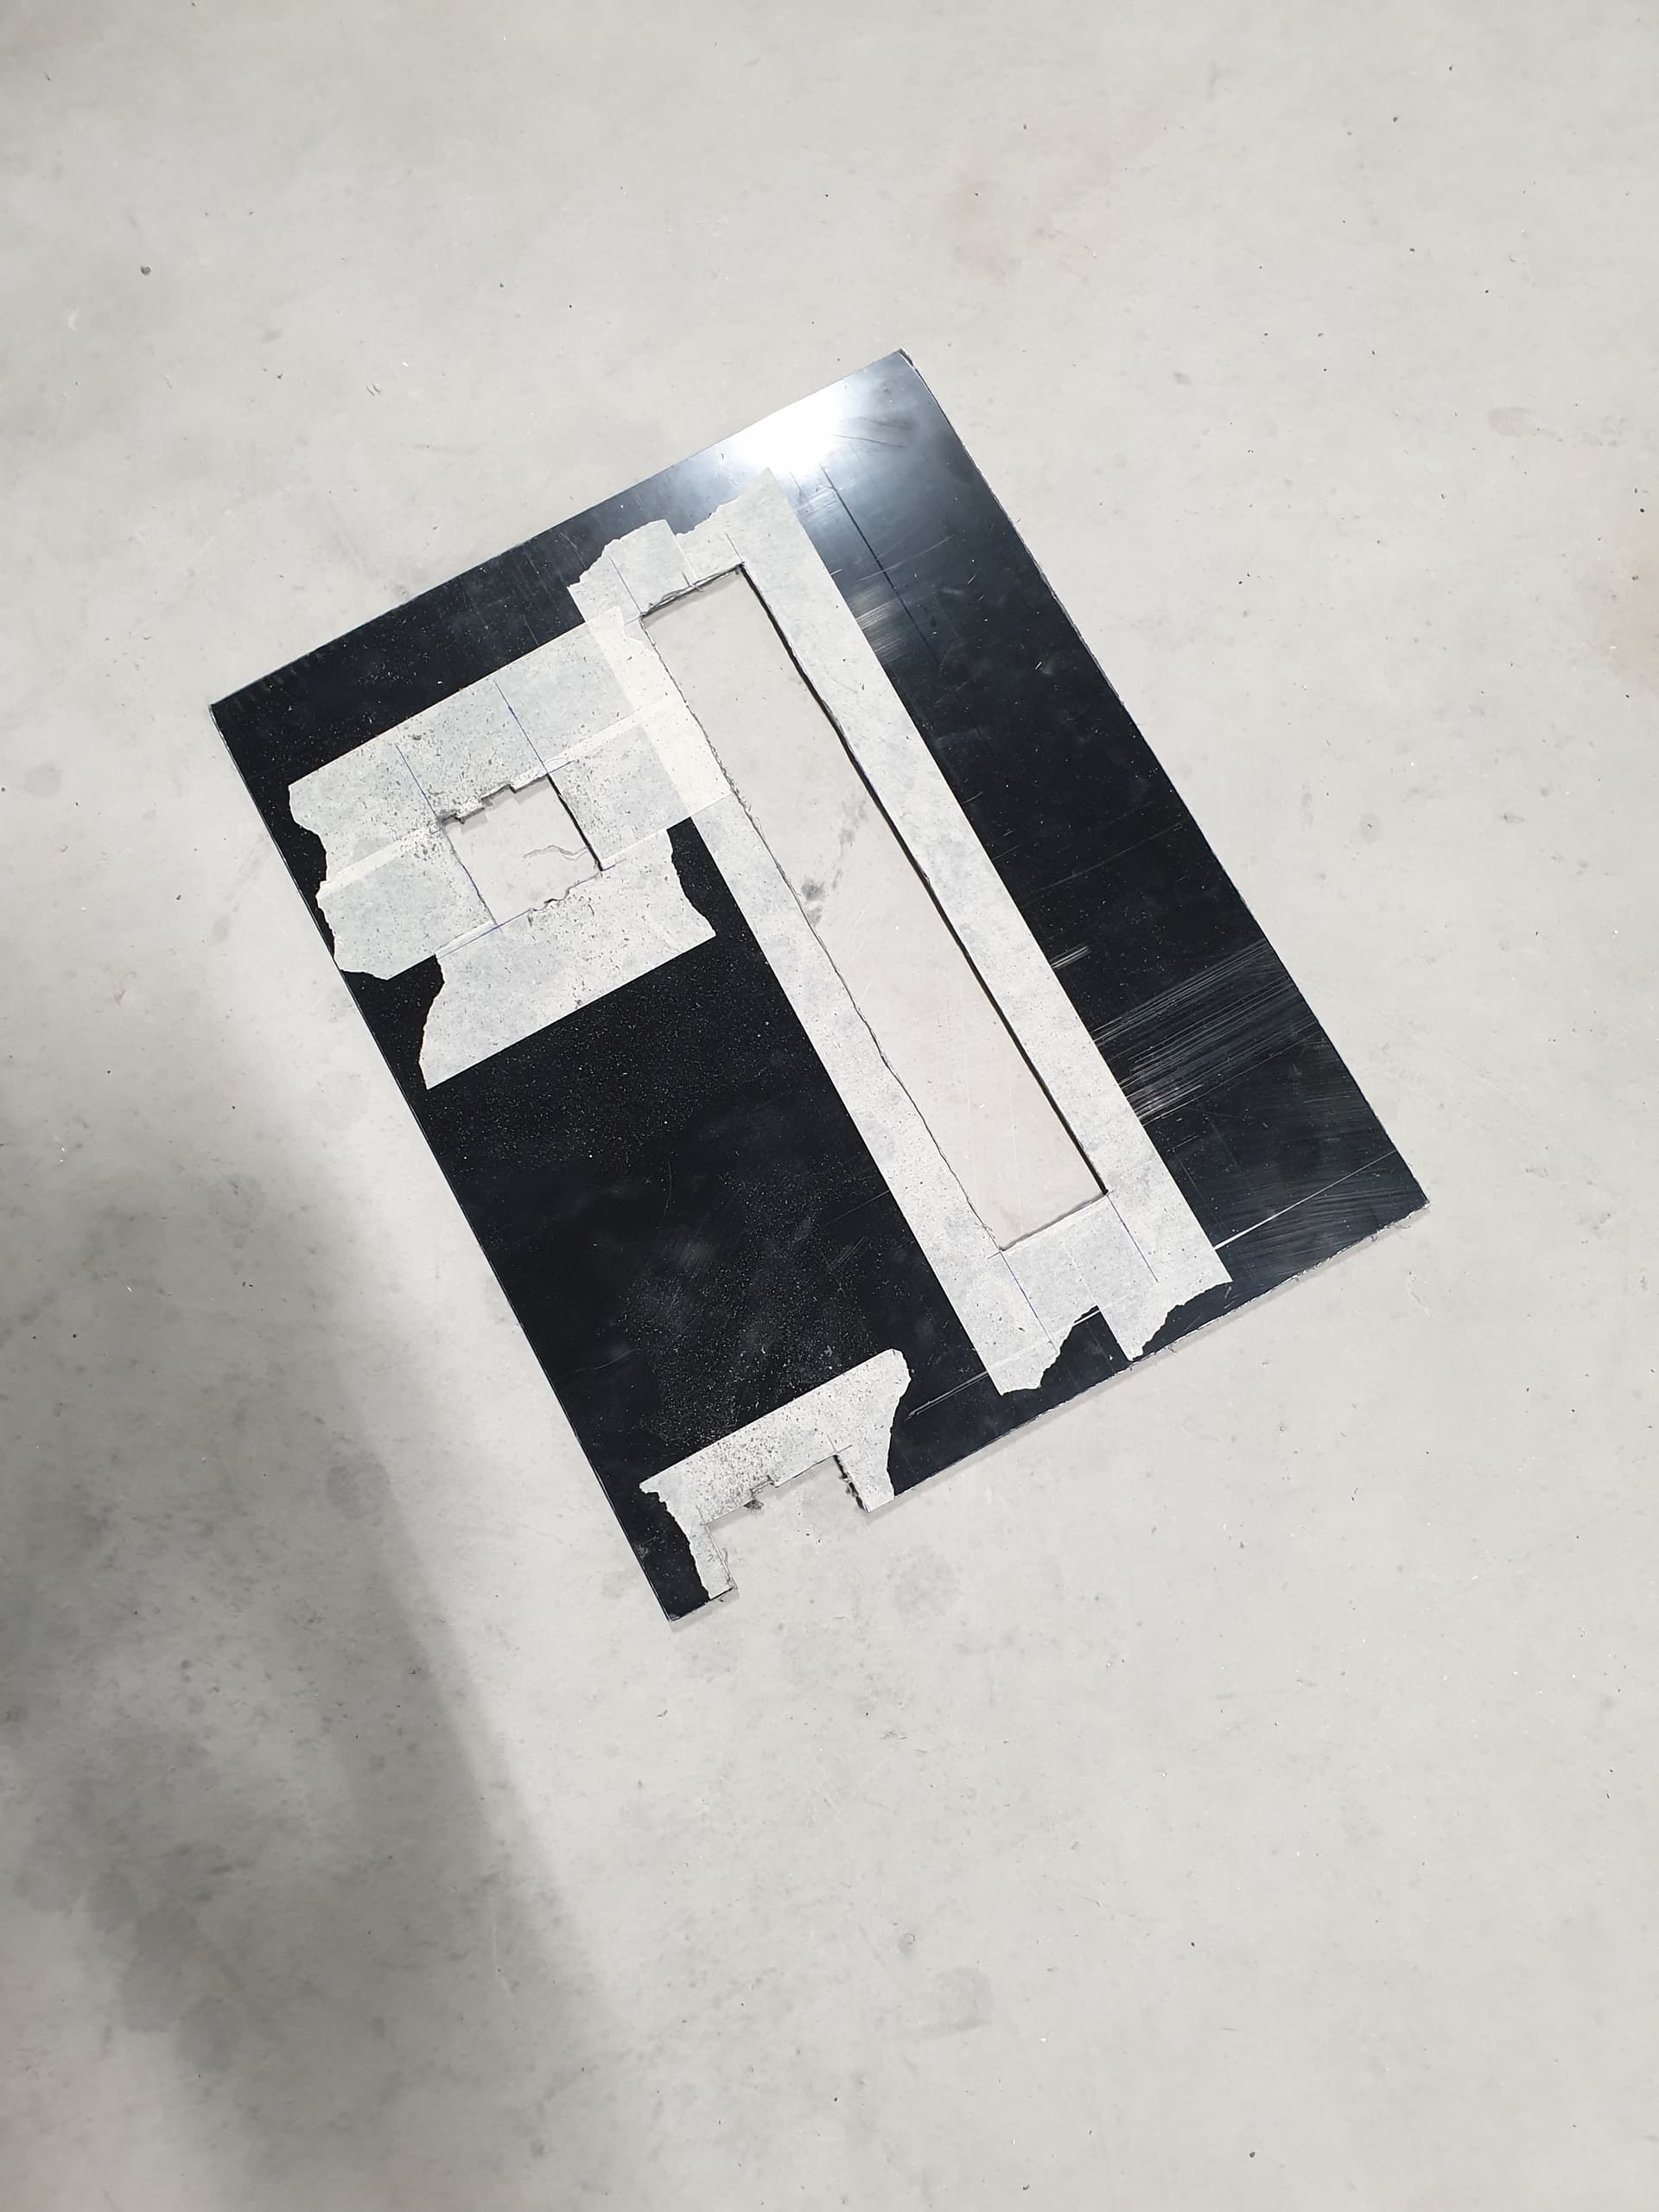
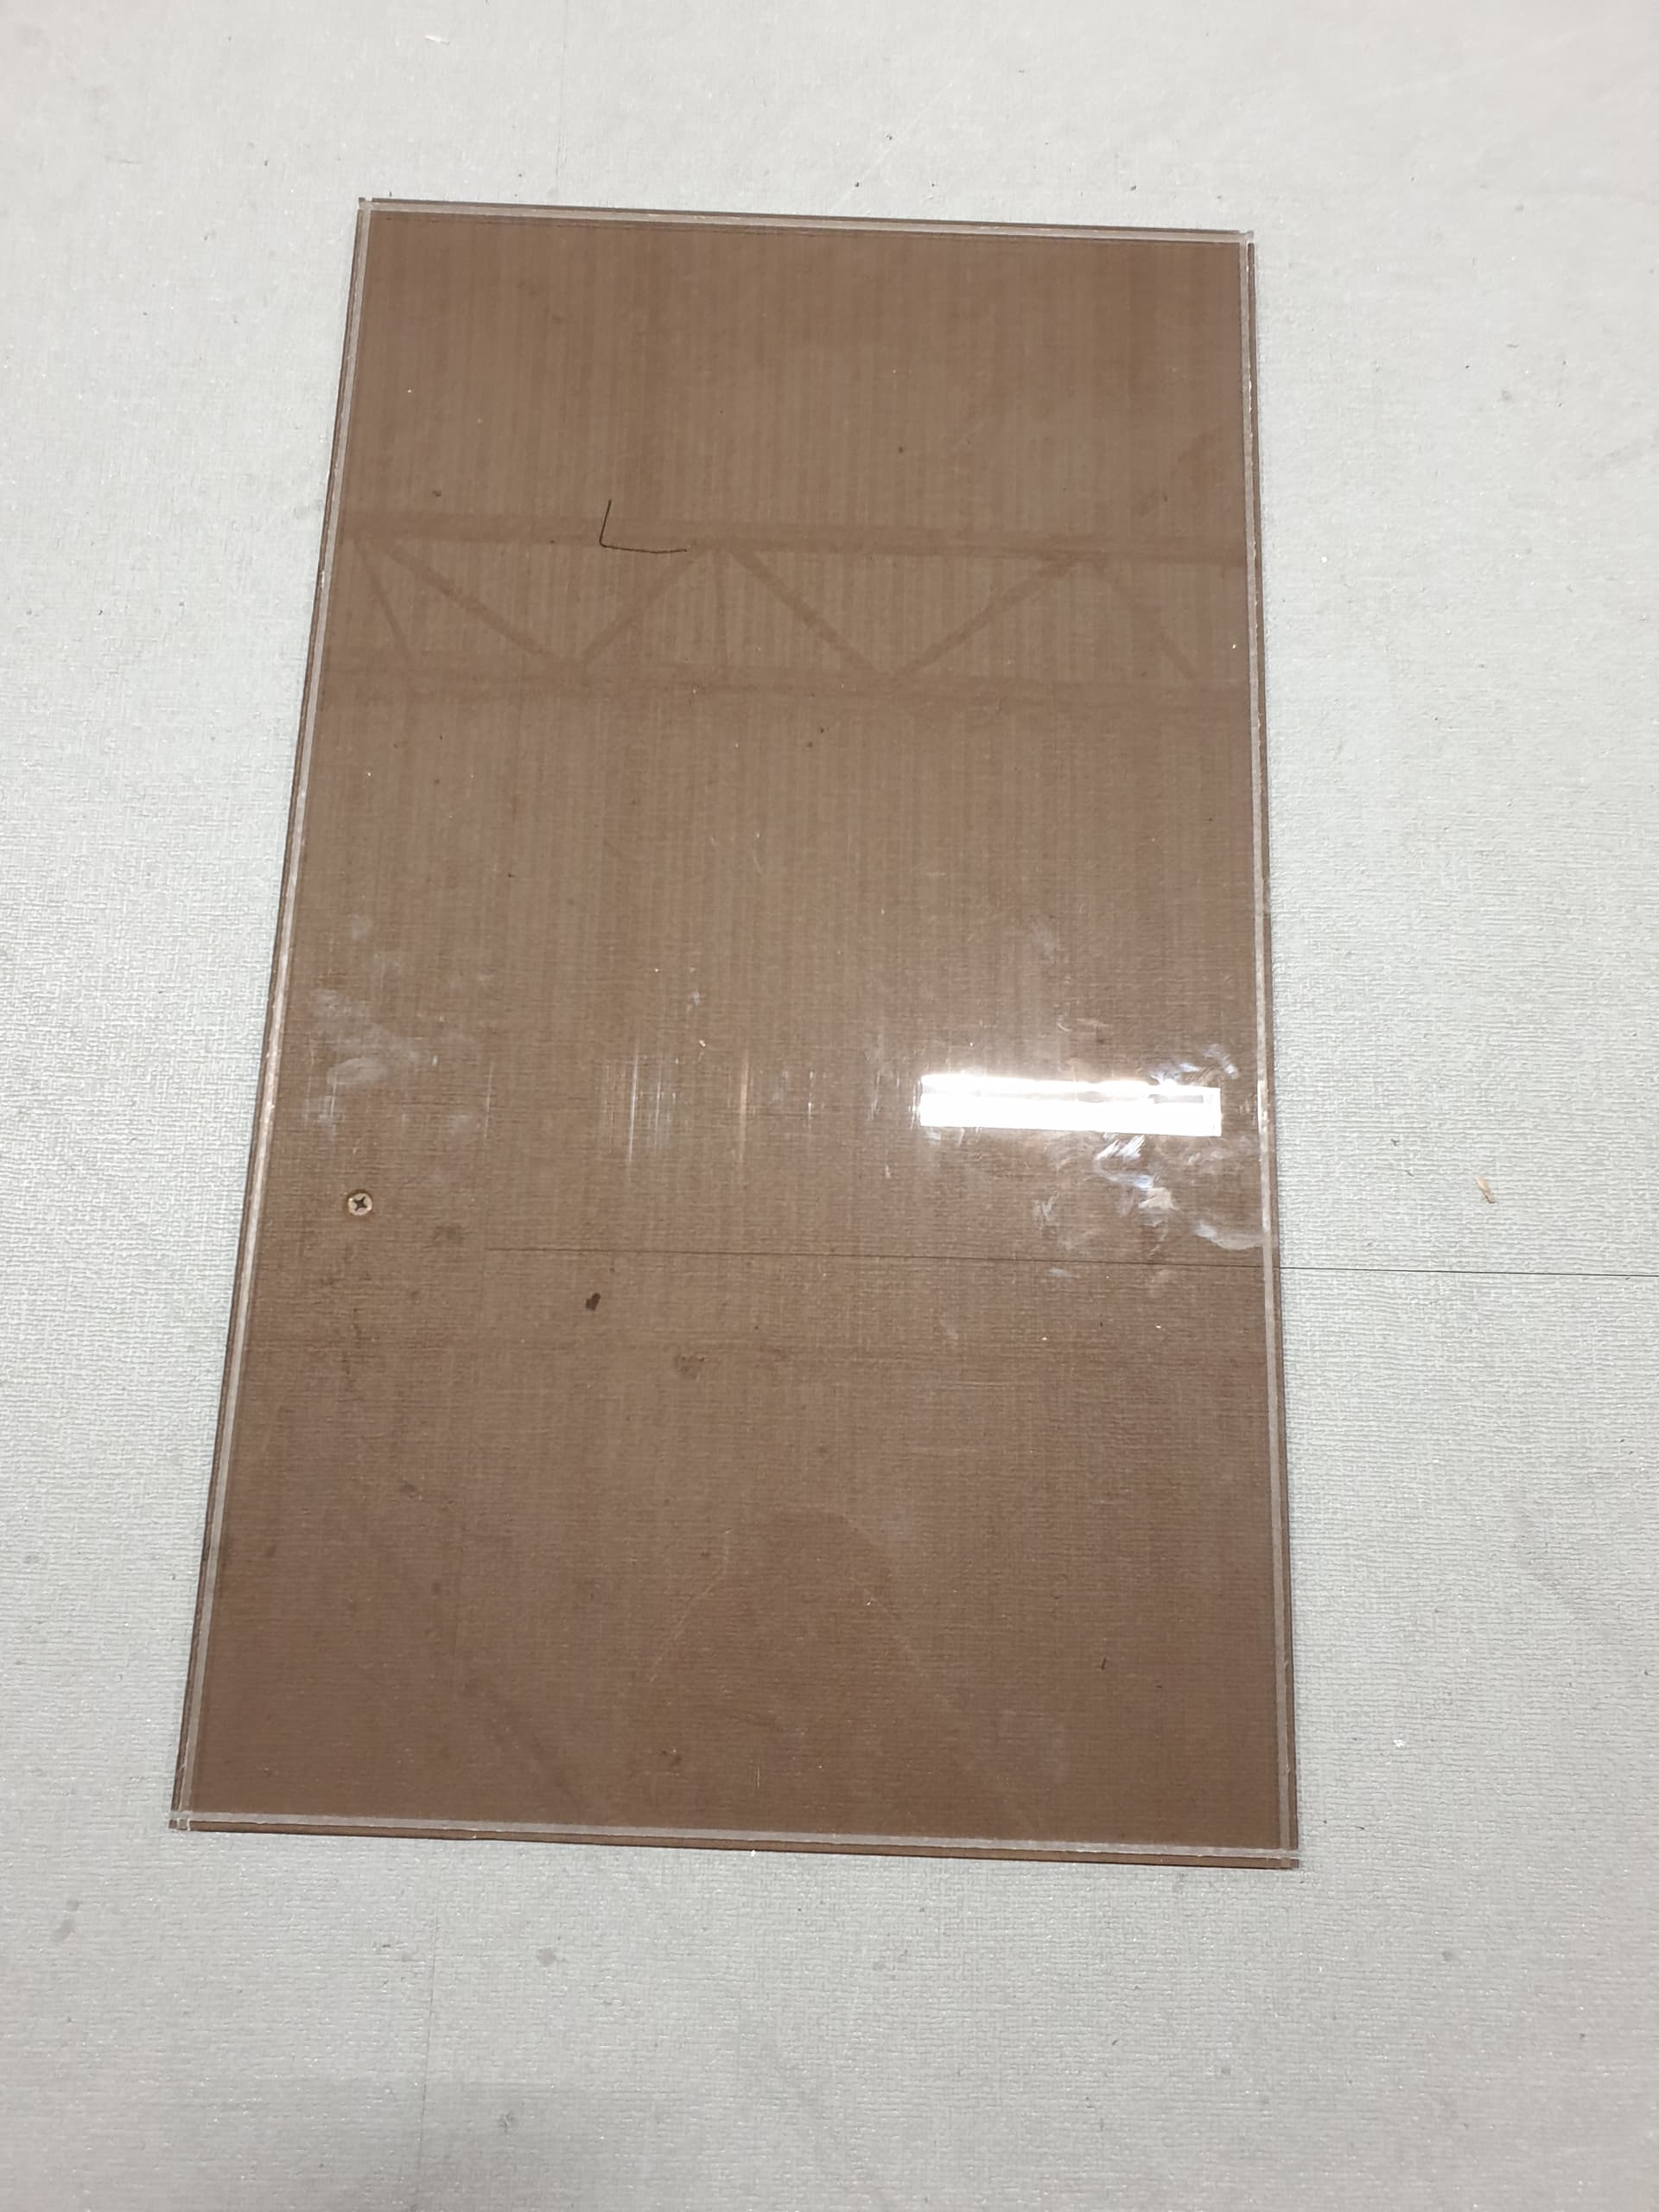
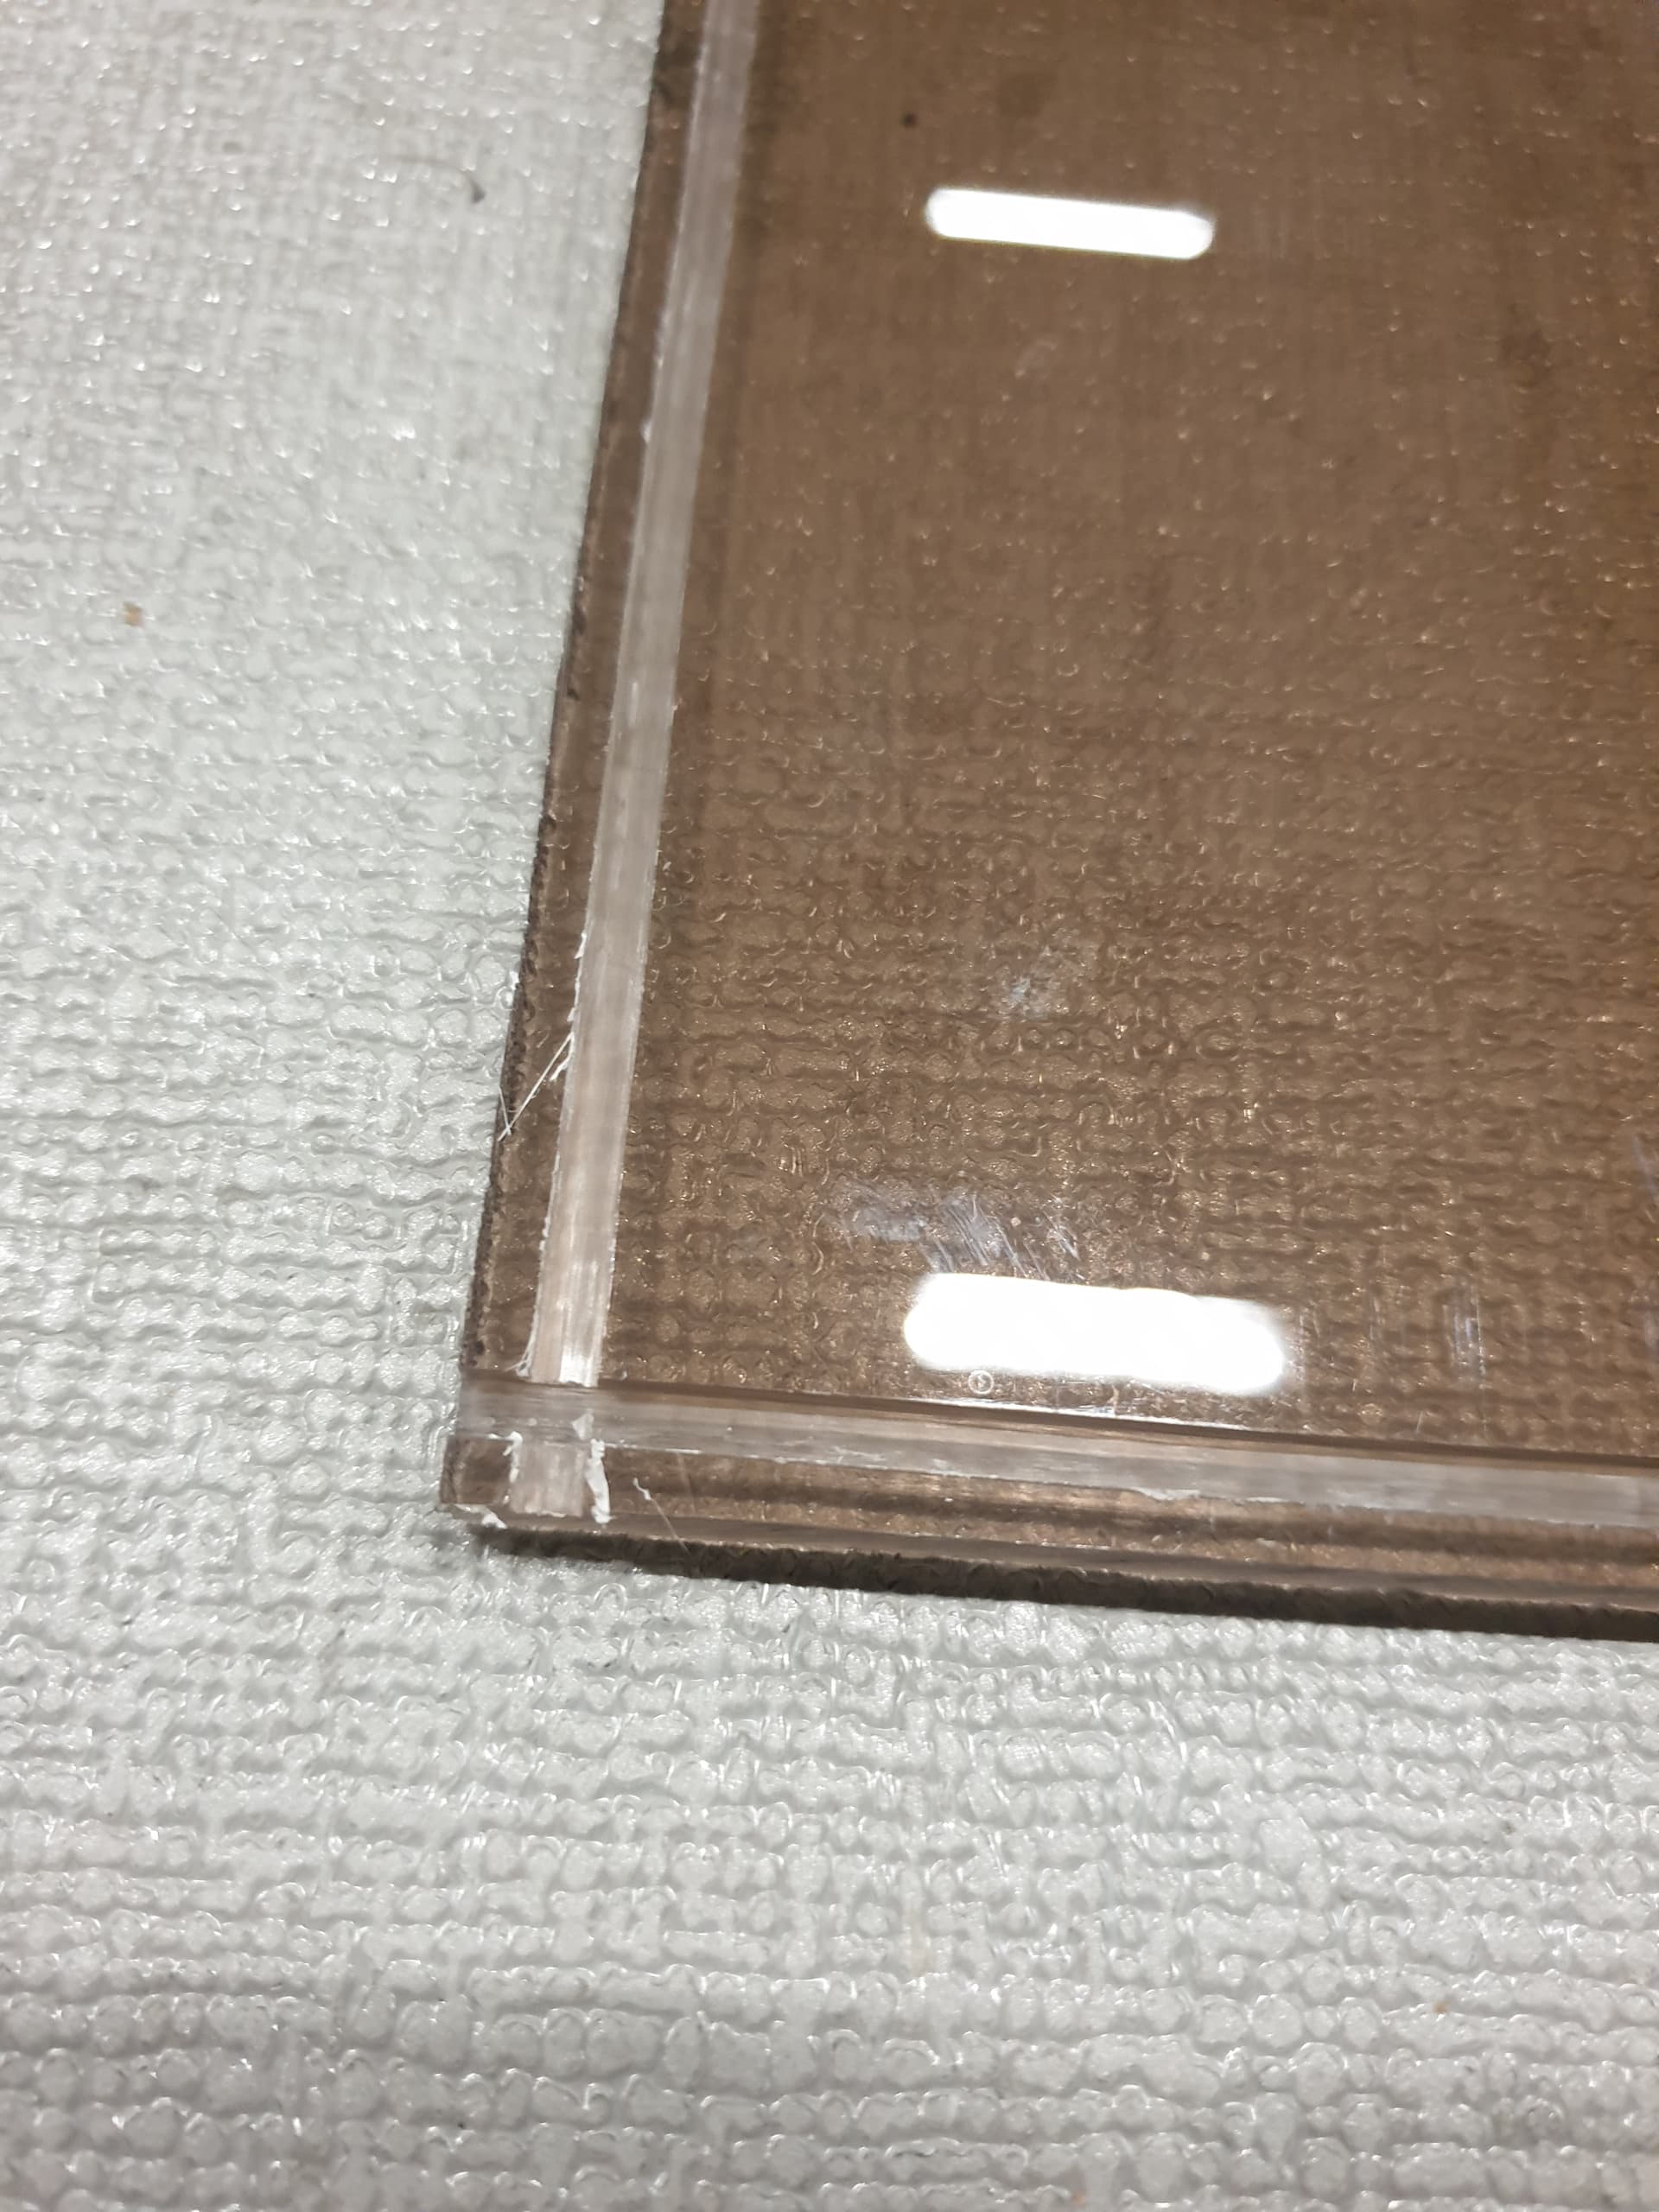
With the E stop looking a lot neater the next task was to figure out what I was going to do with the other beds when not in use. Again the enclosure was a near perfect single unit apart from the left over beds like the waste board and laser bed etc. So I decided to make a drawer that would fit under the enclosure to keep the spares in:


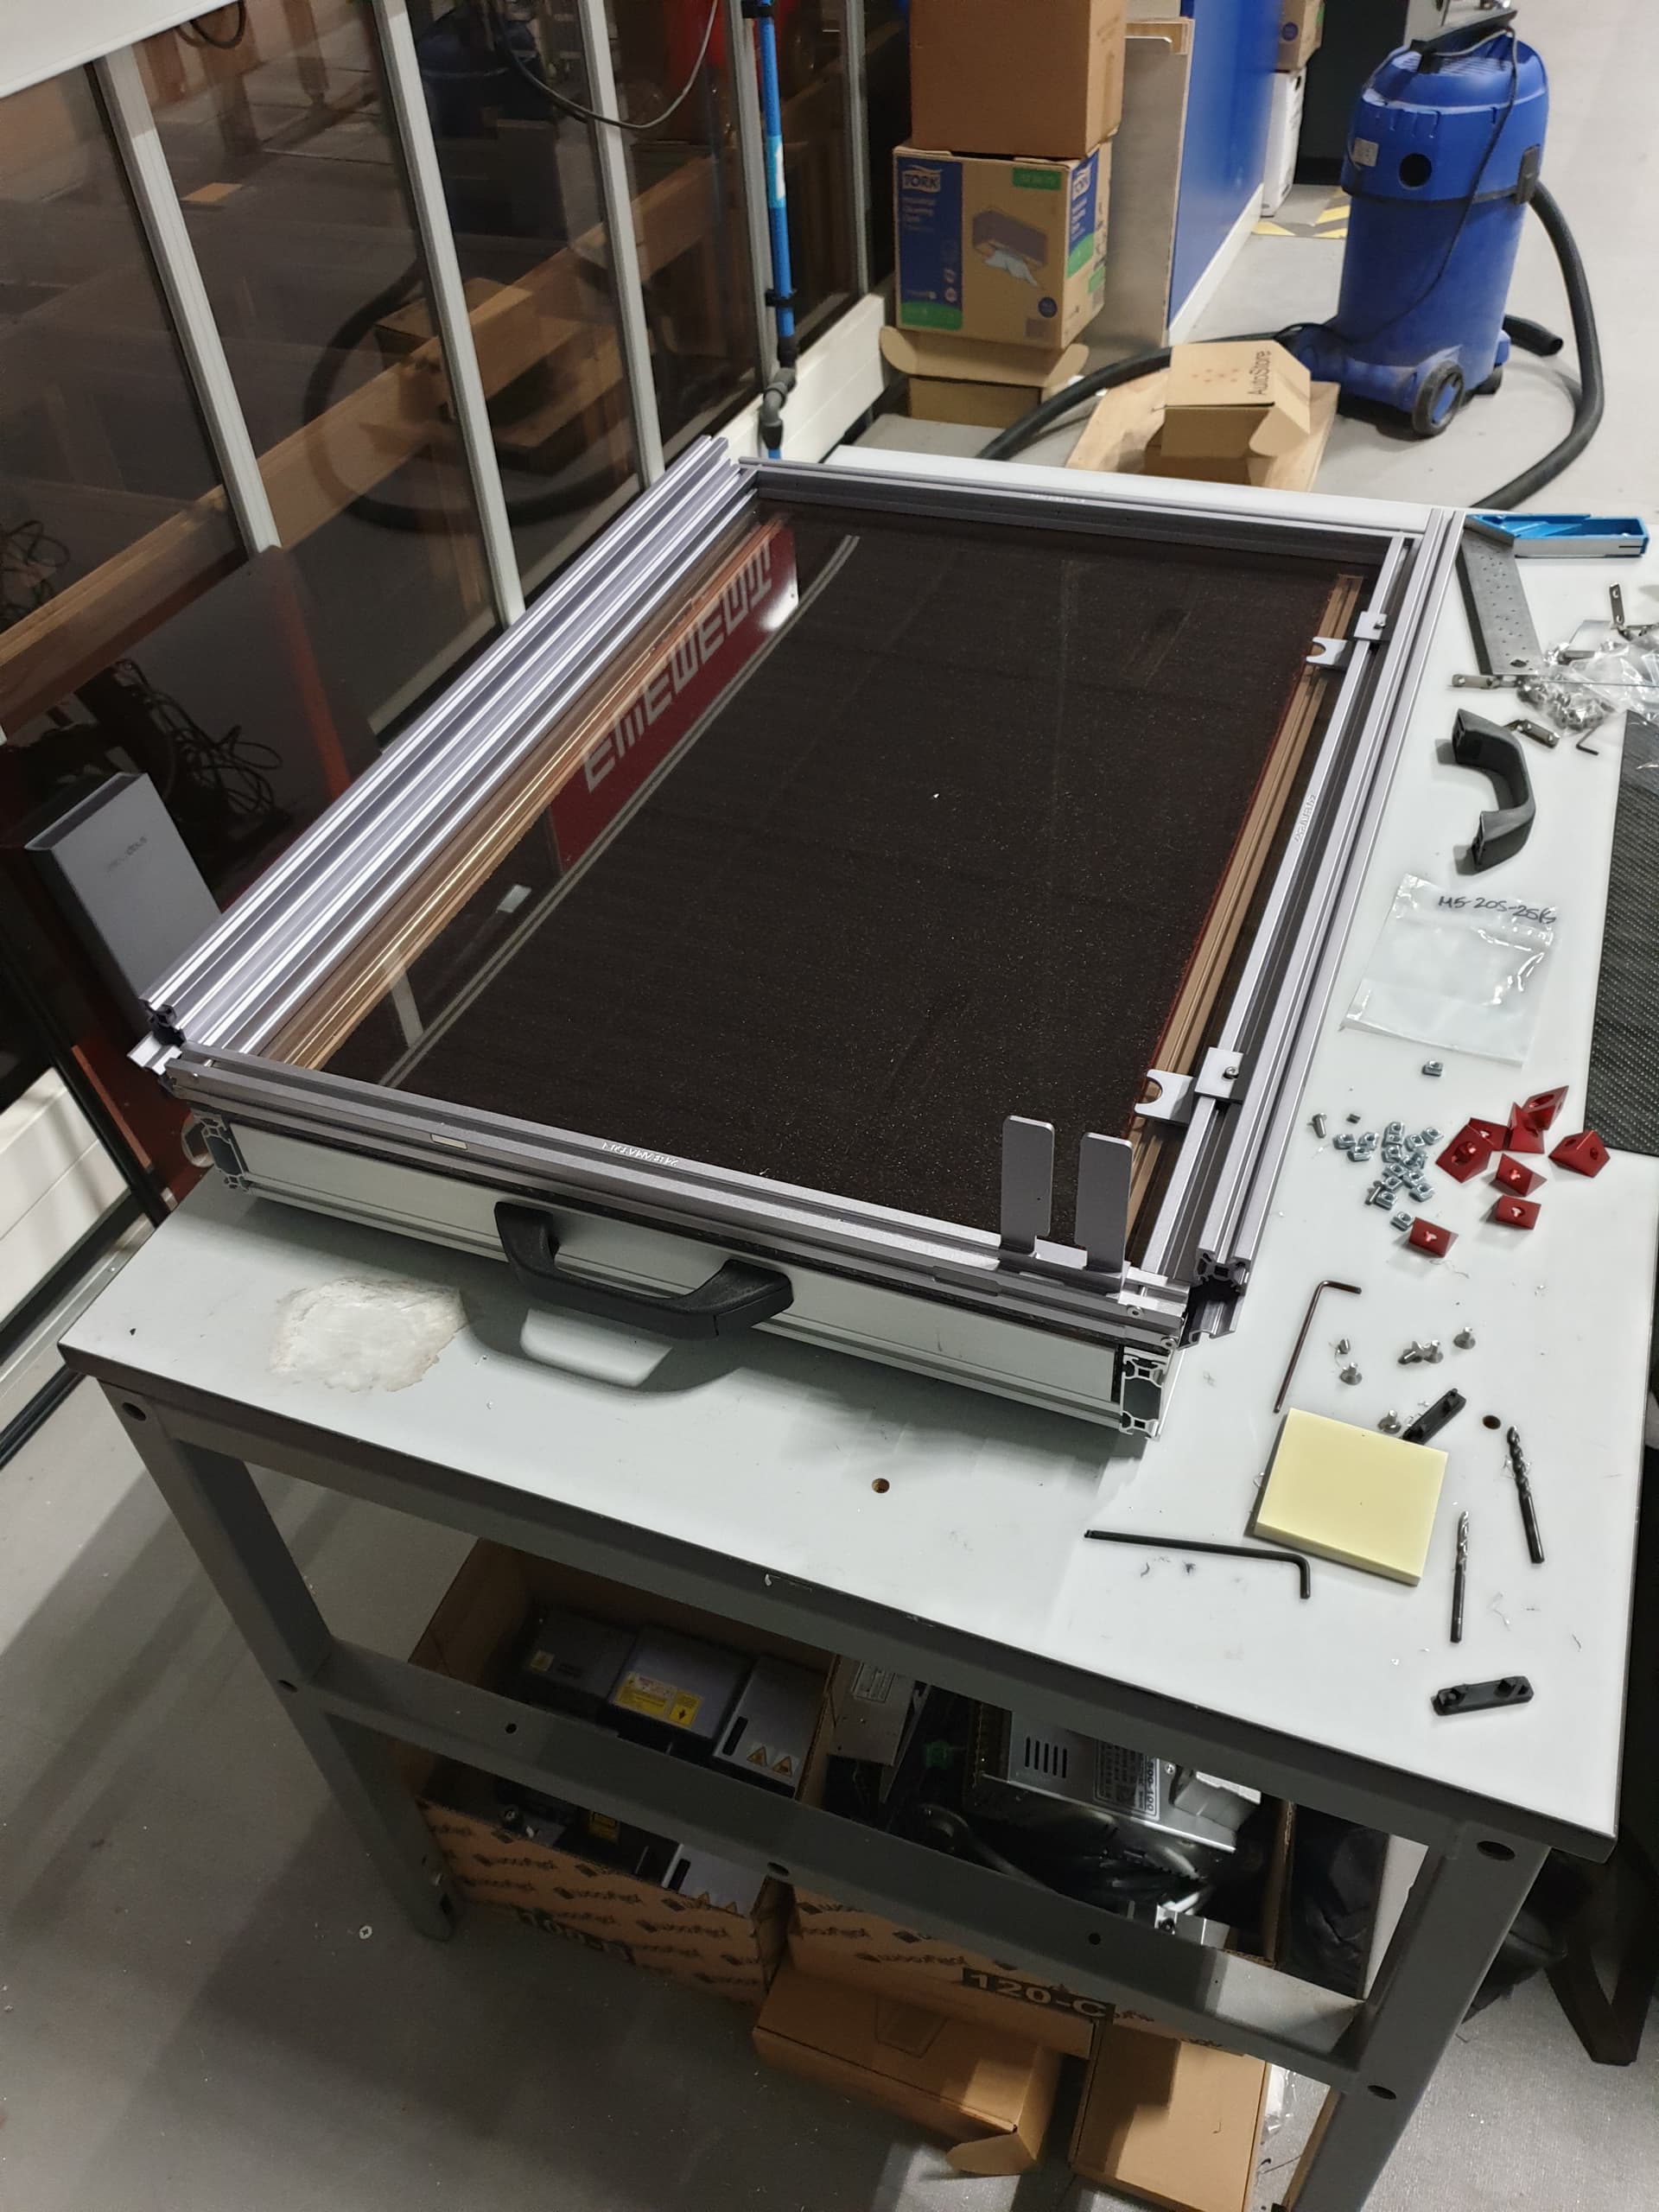
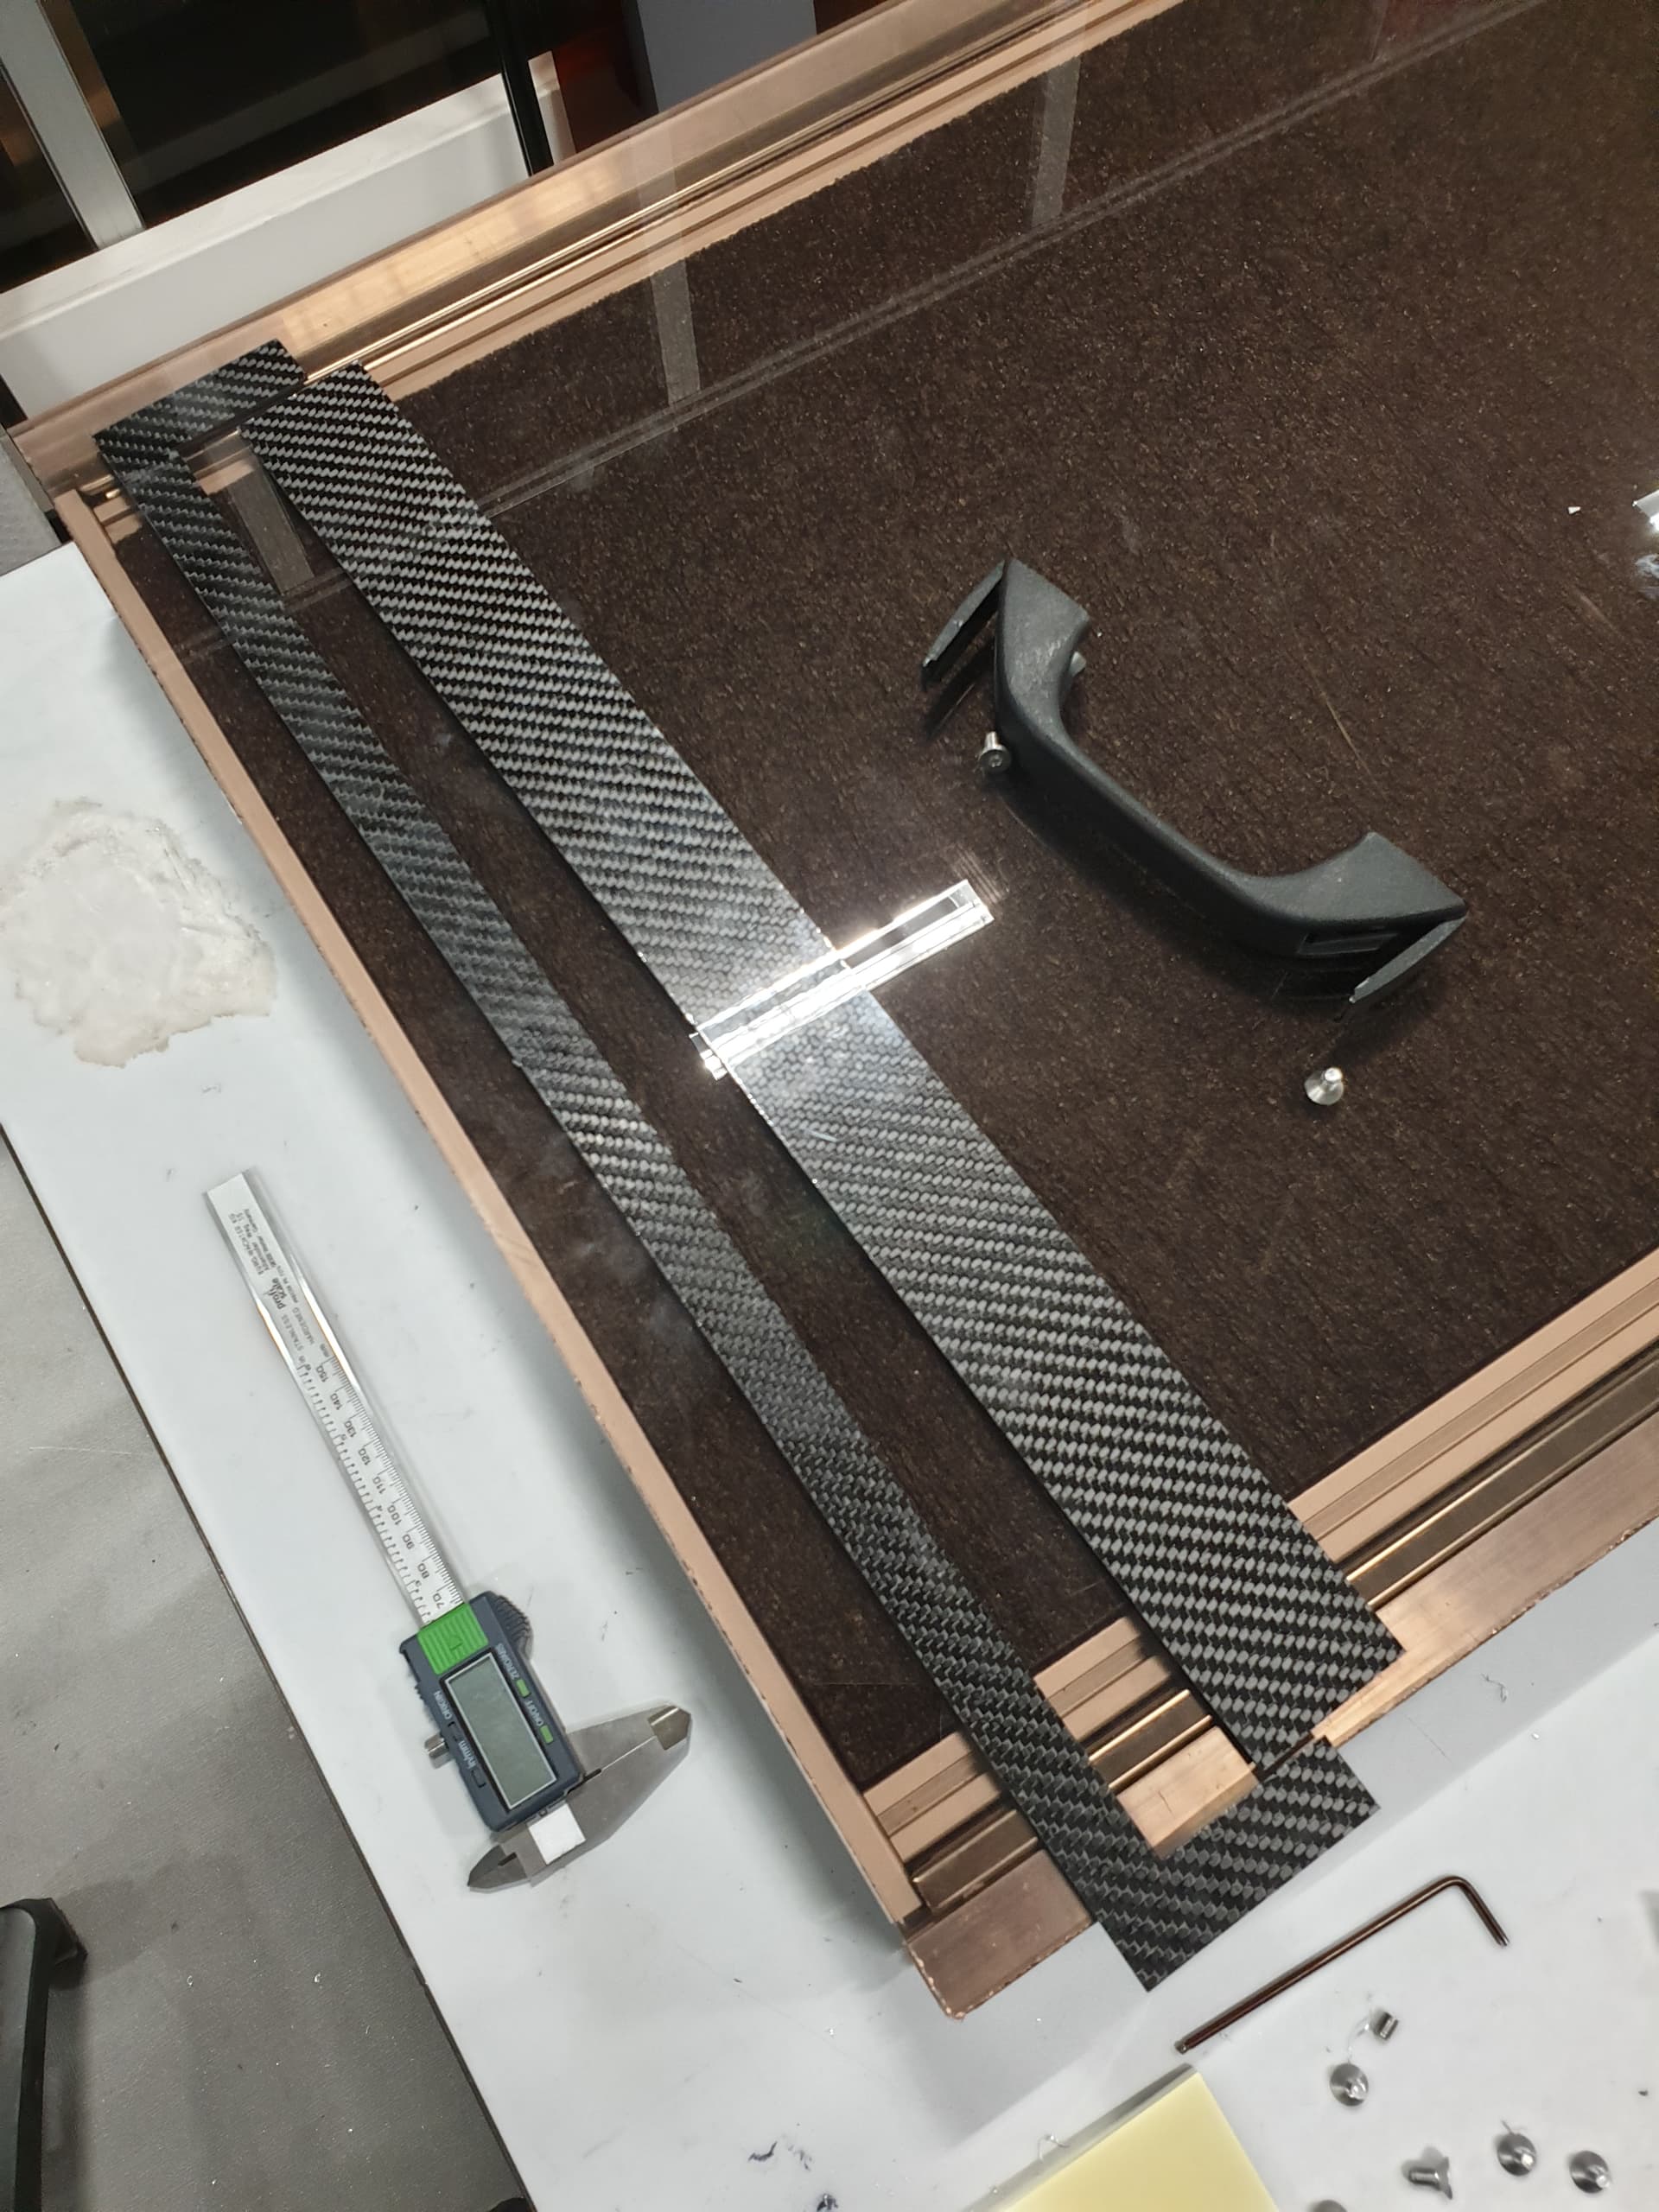
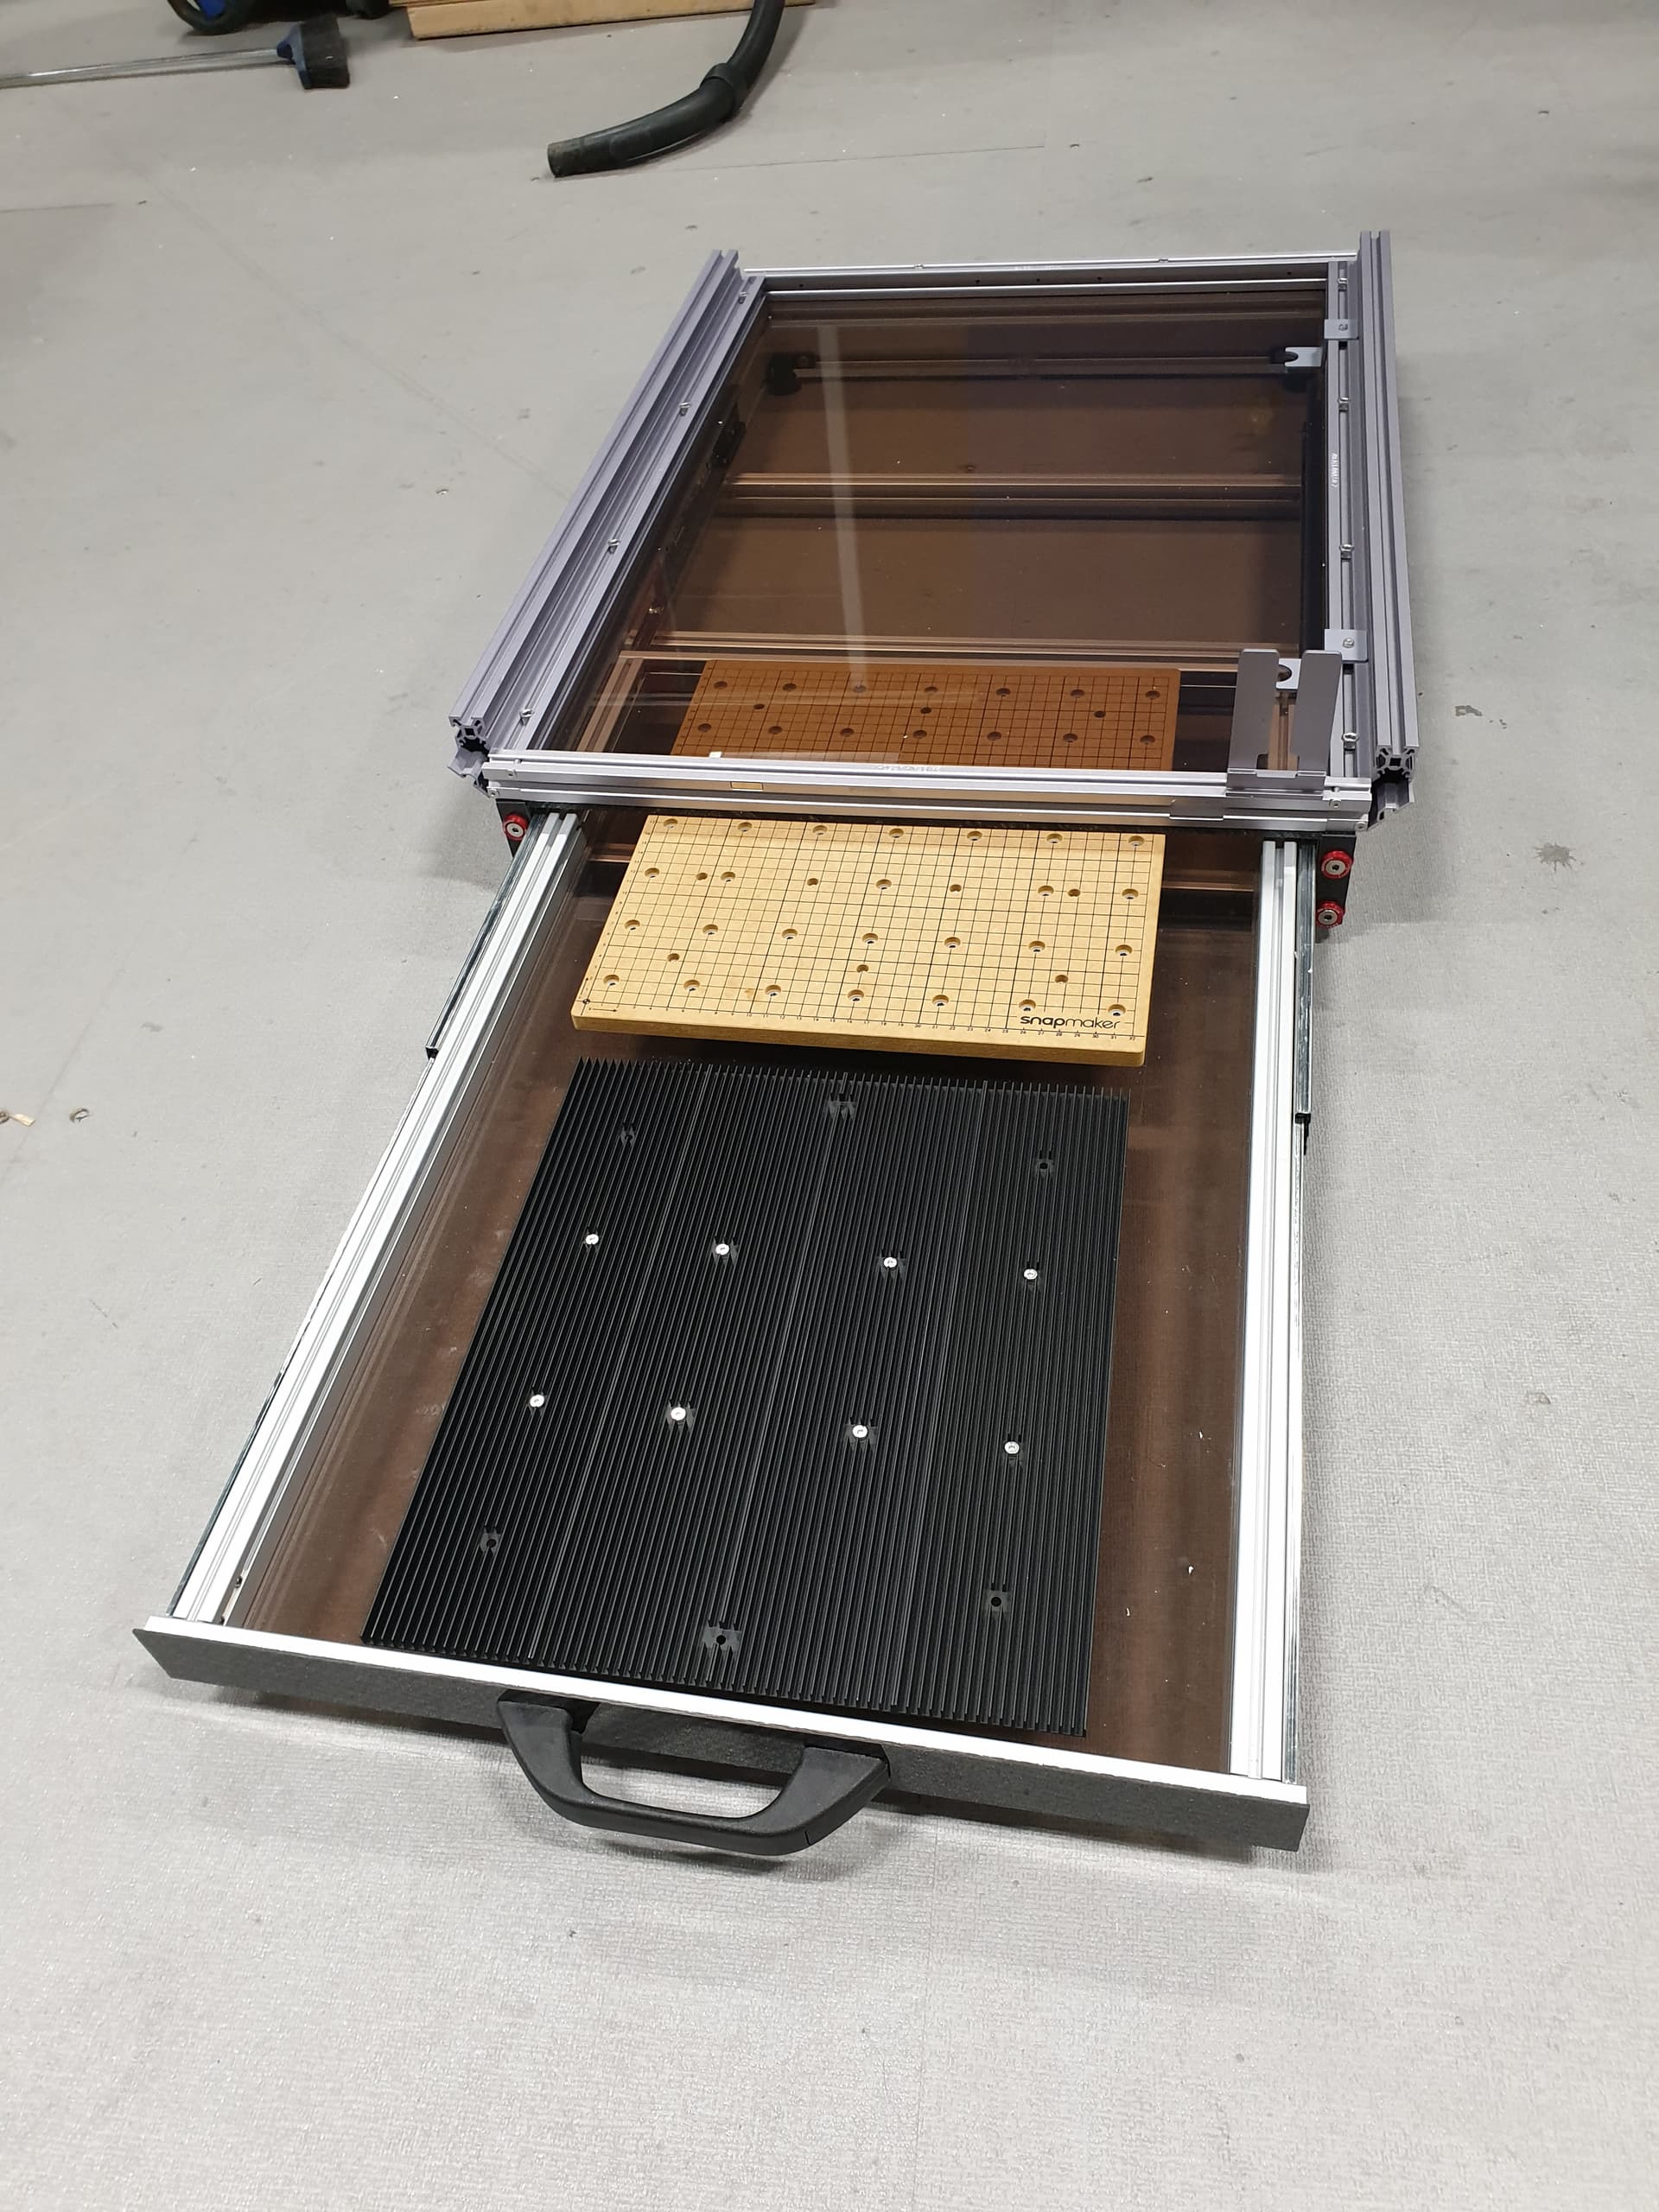
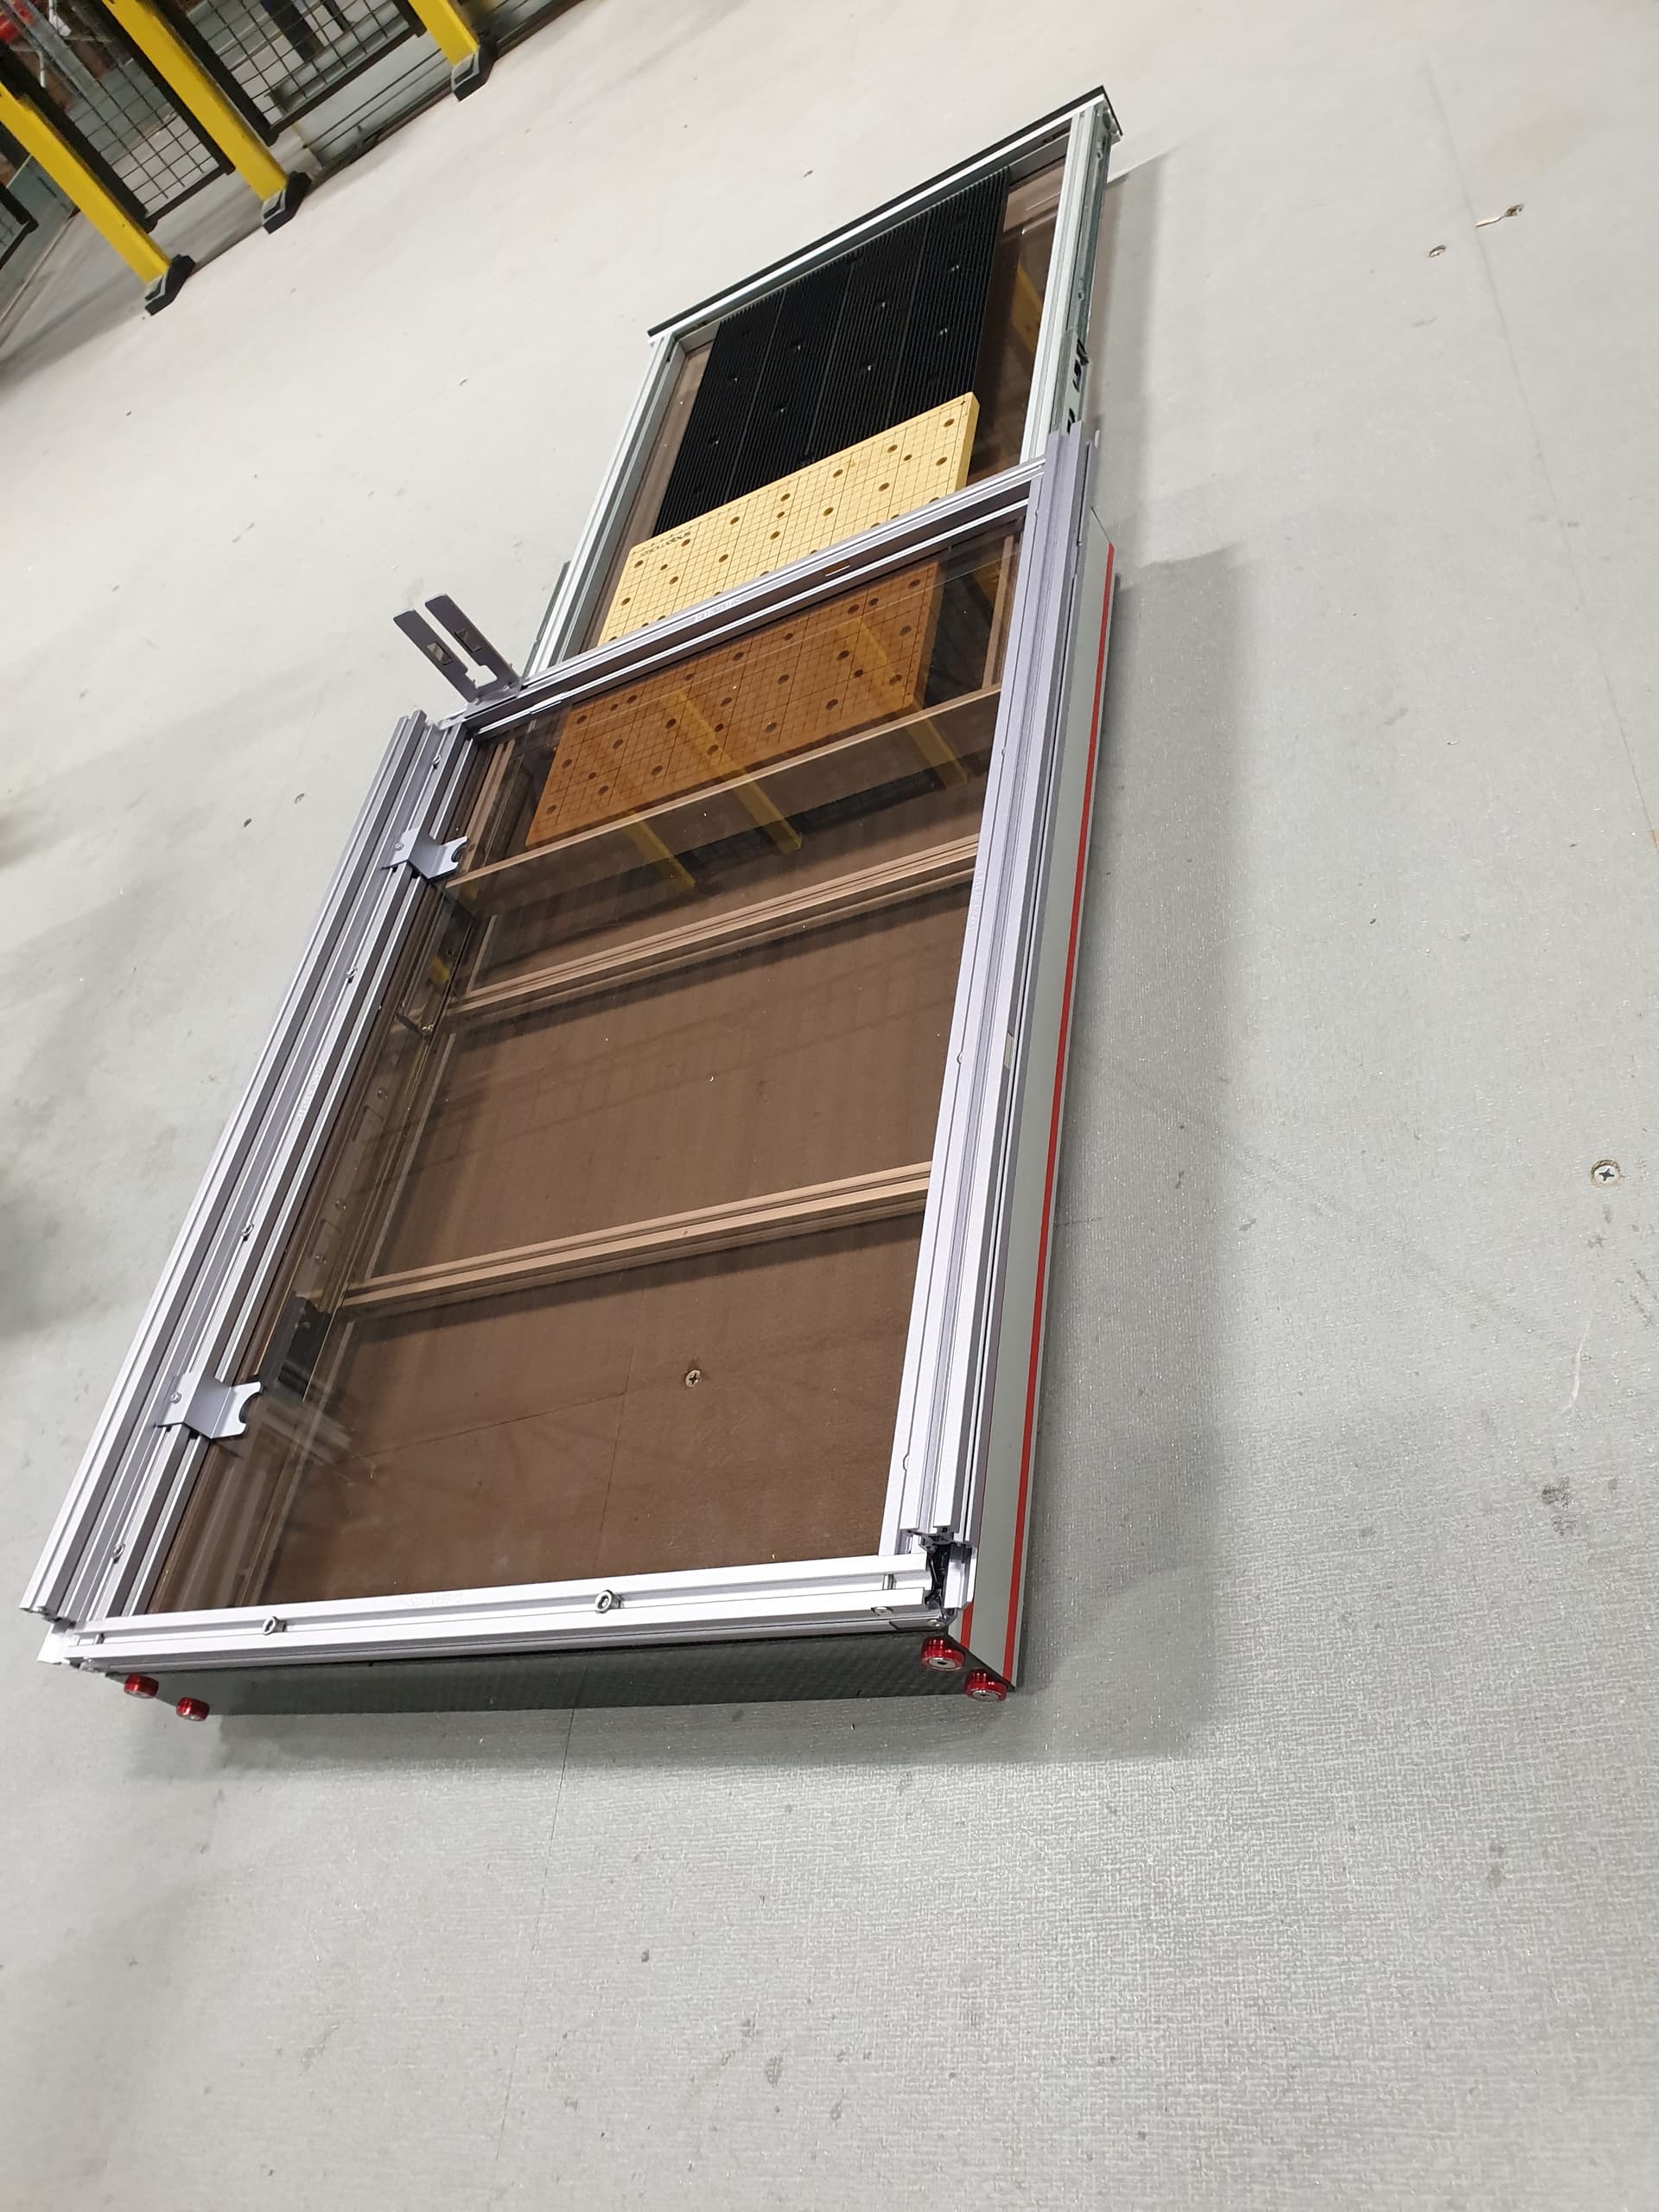
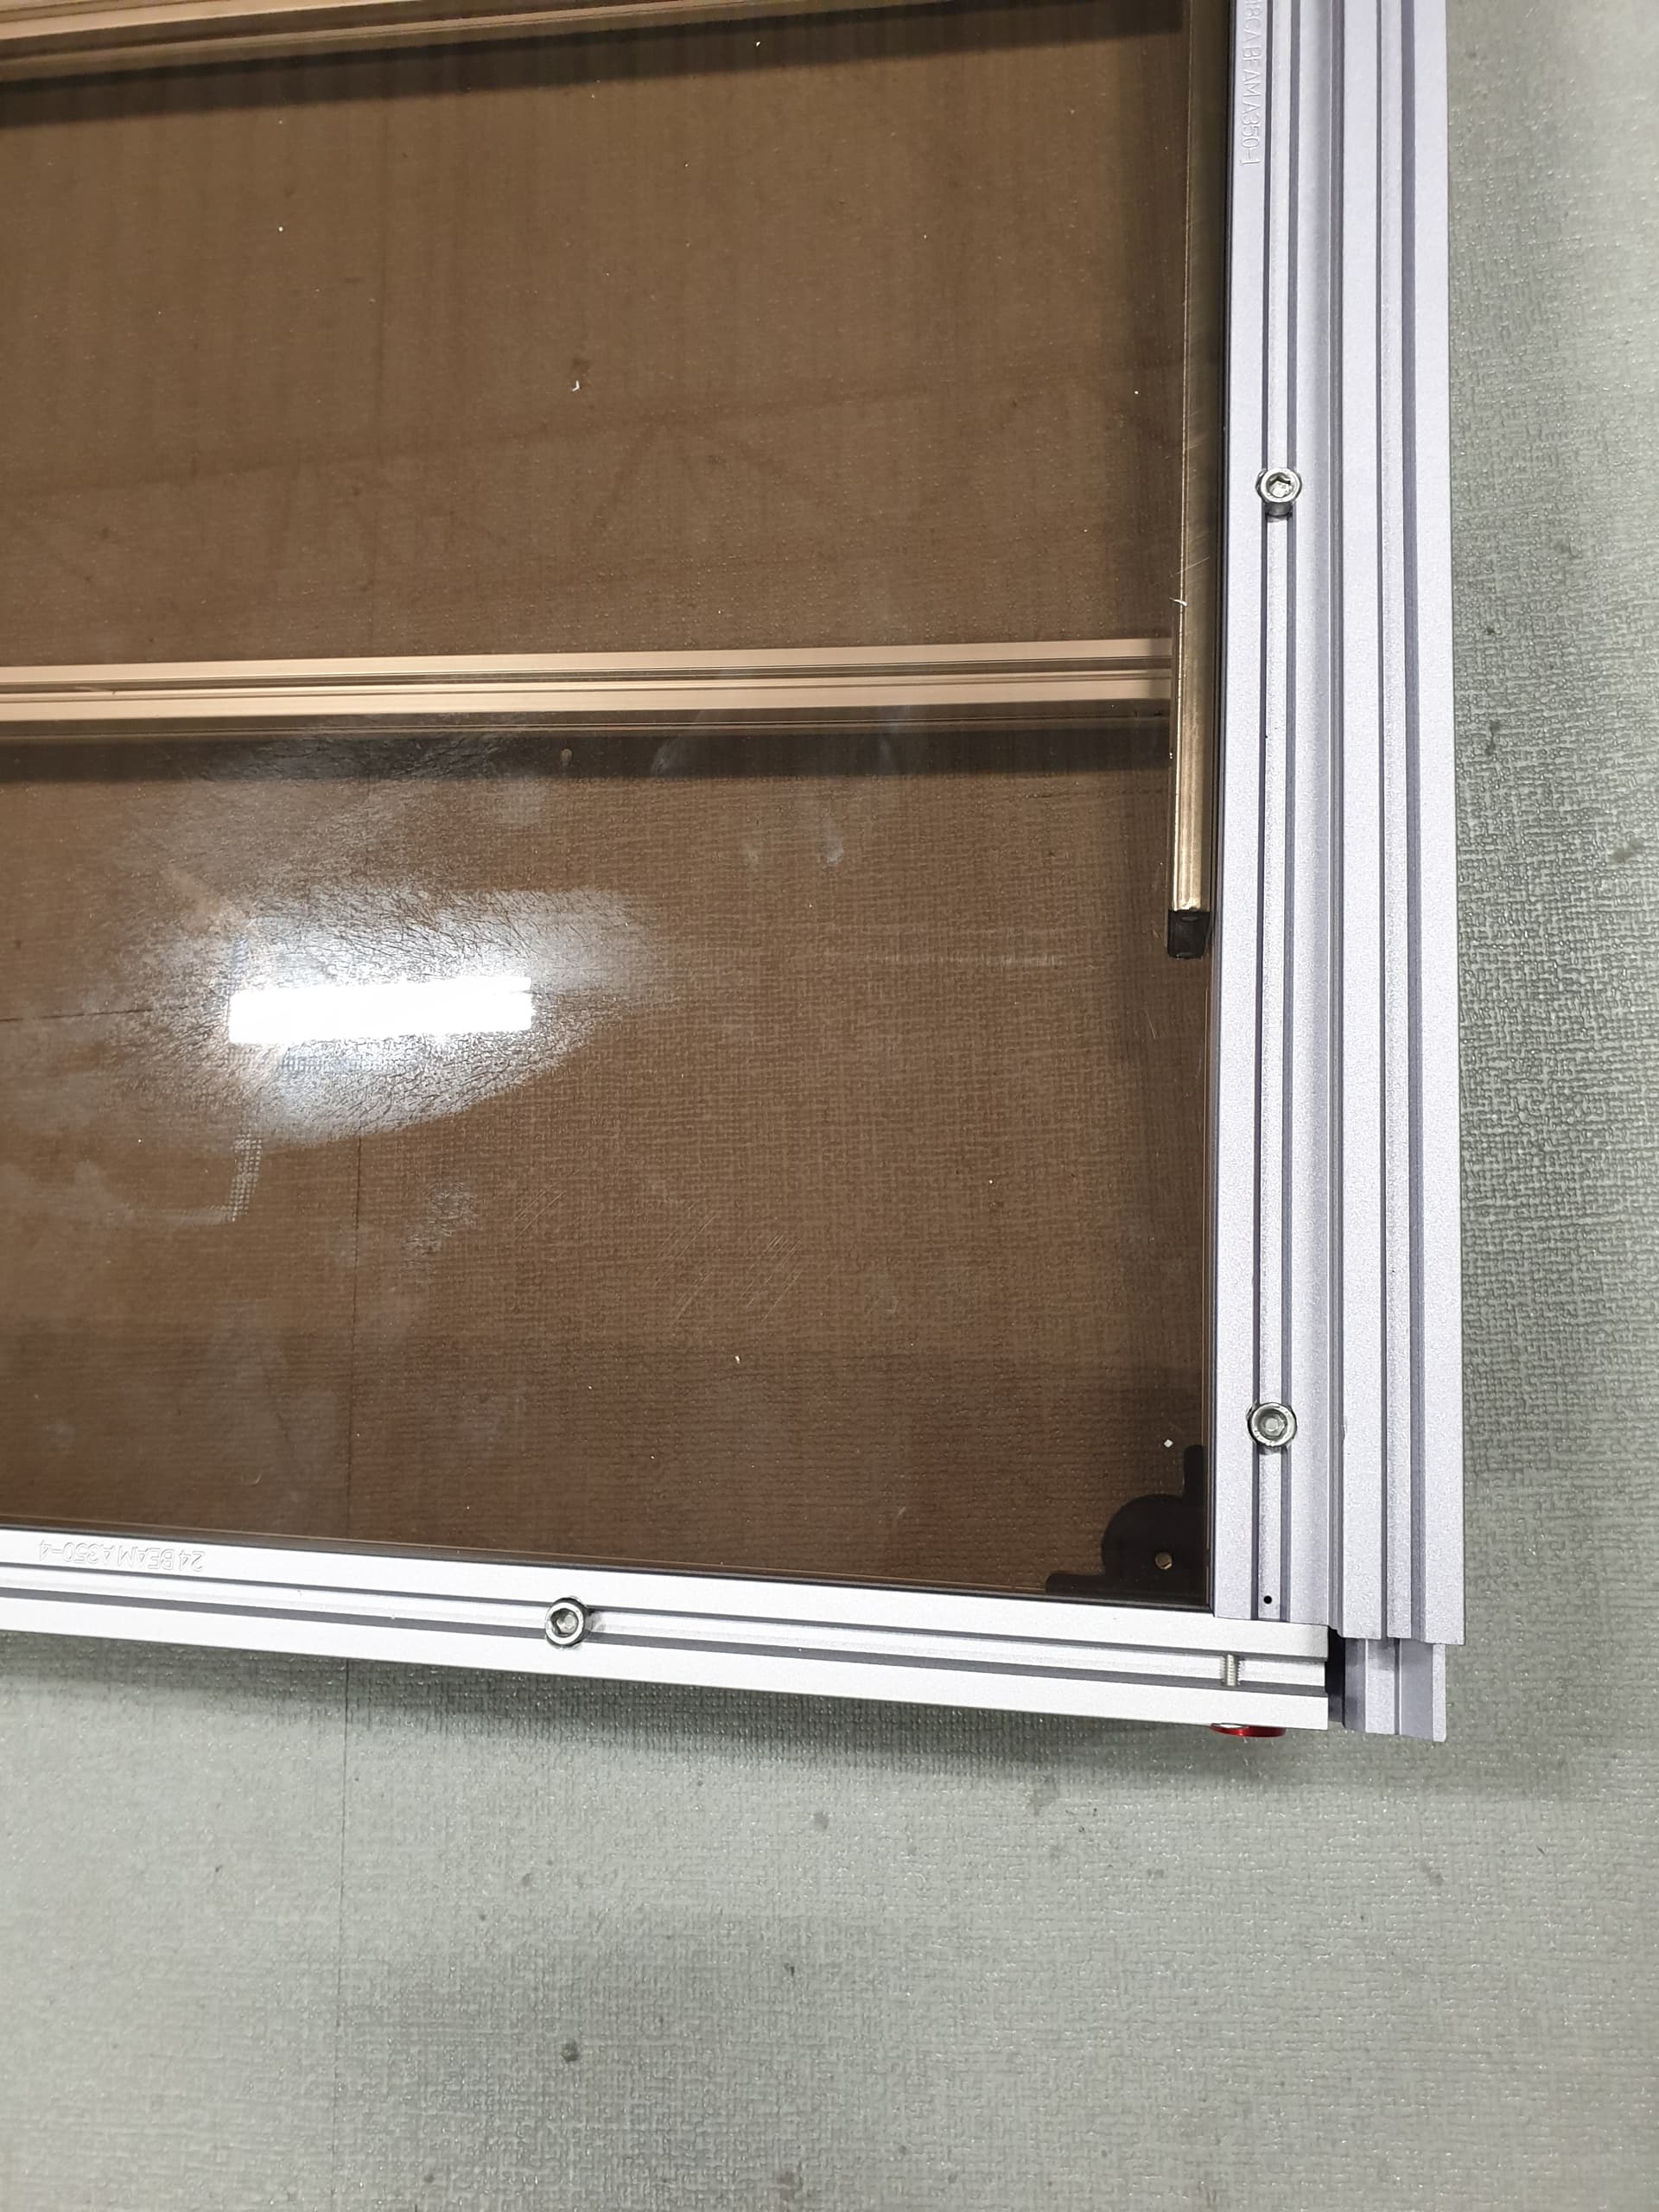
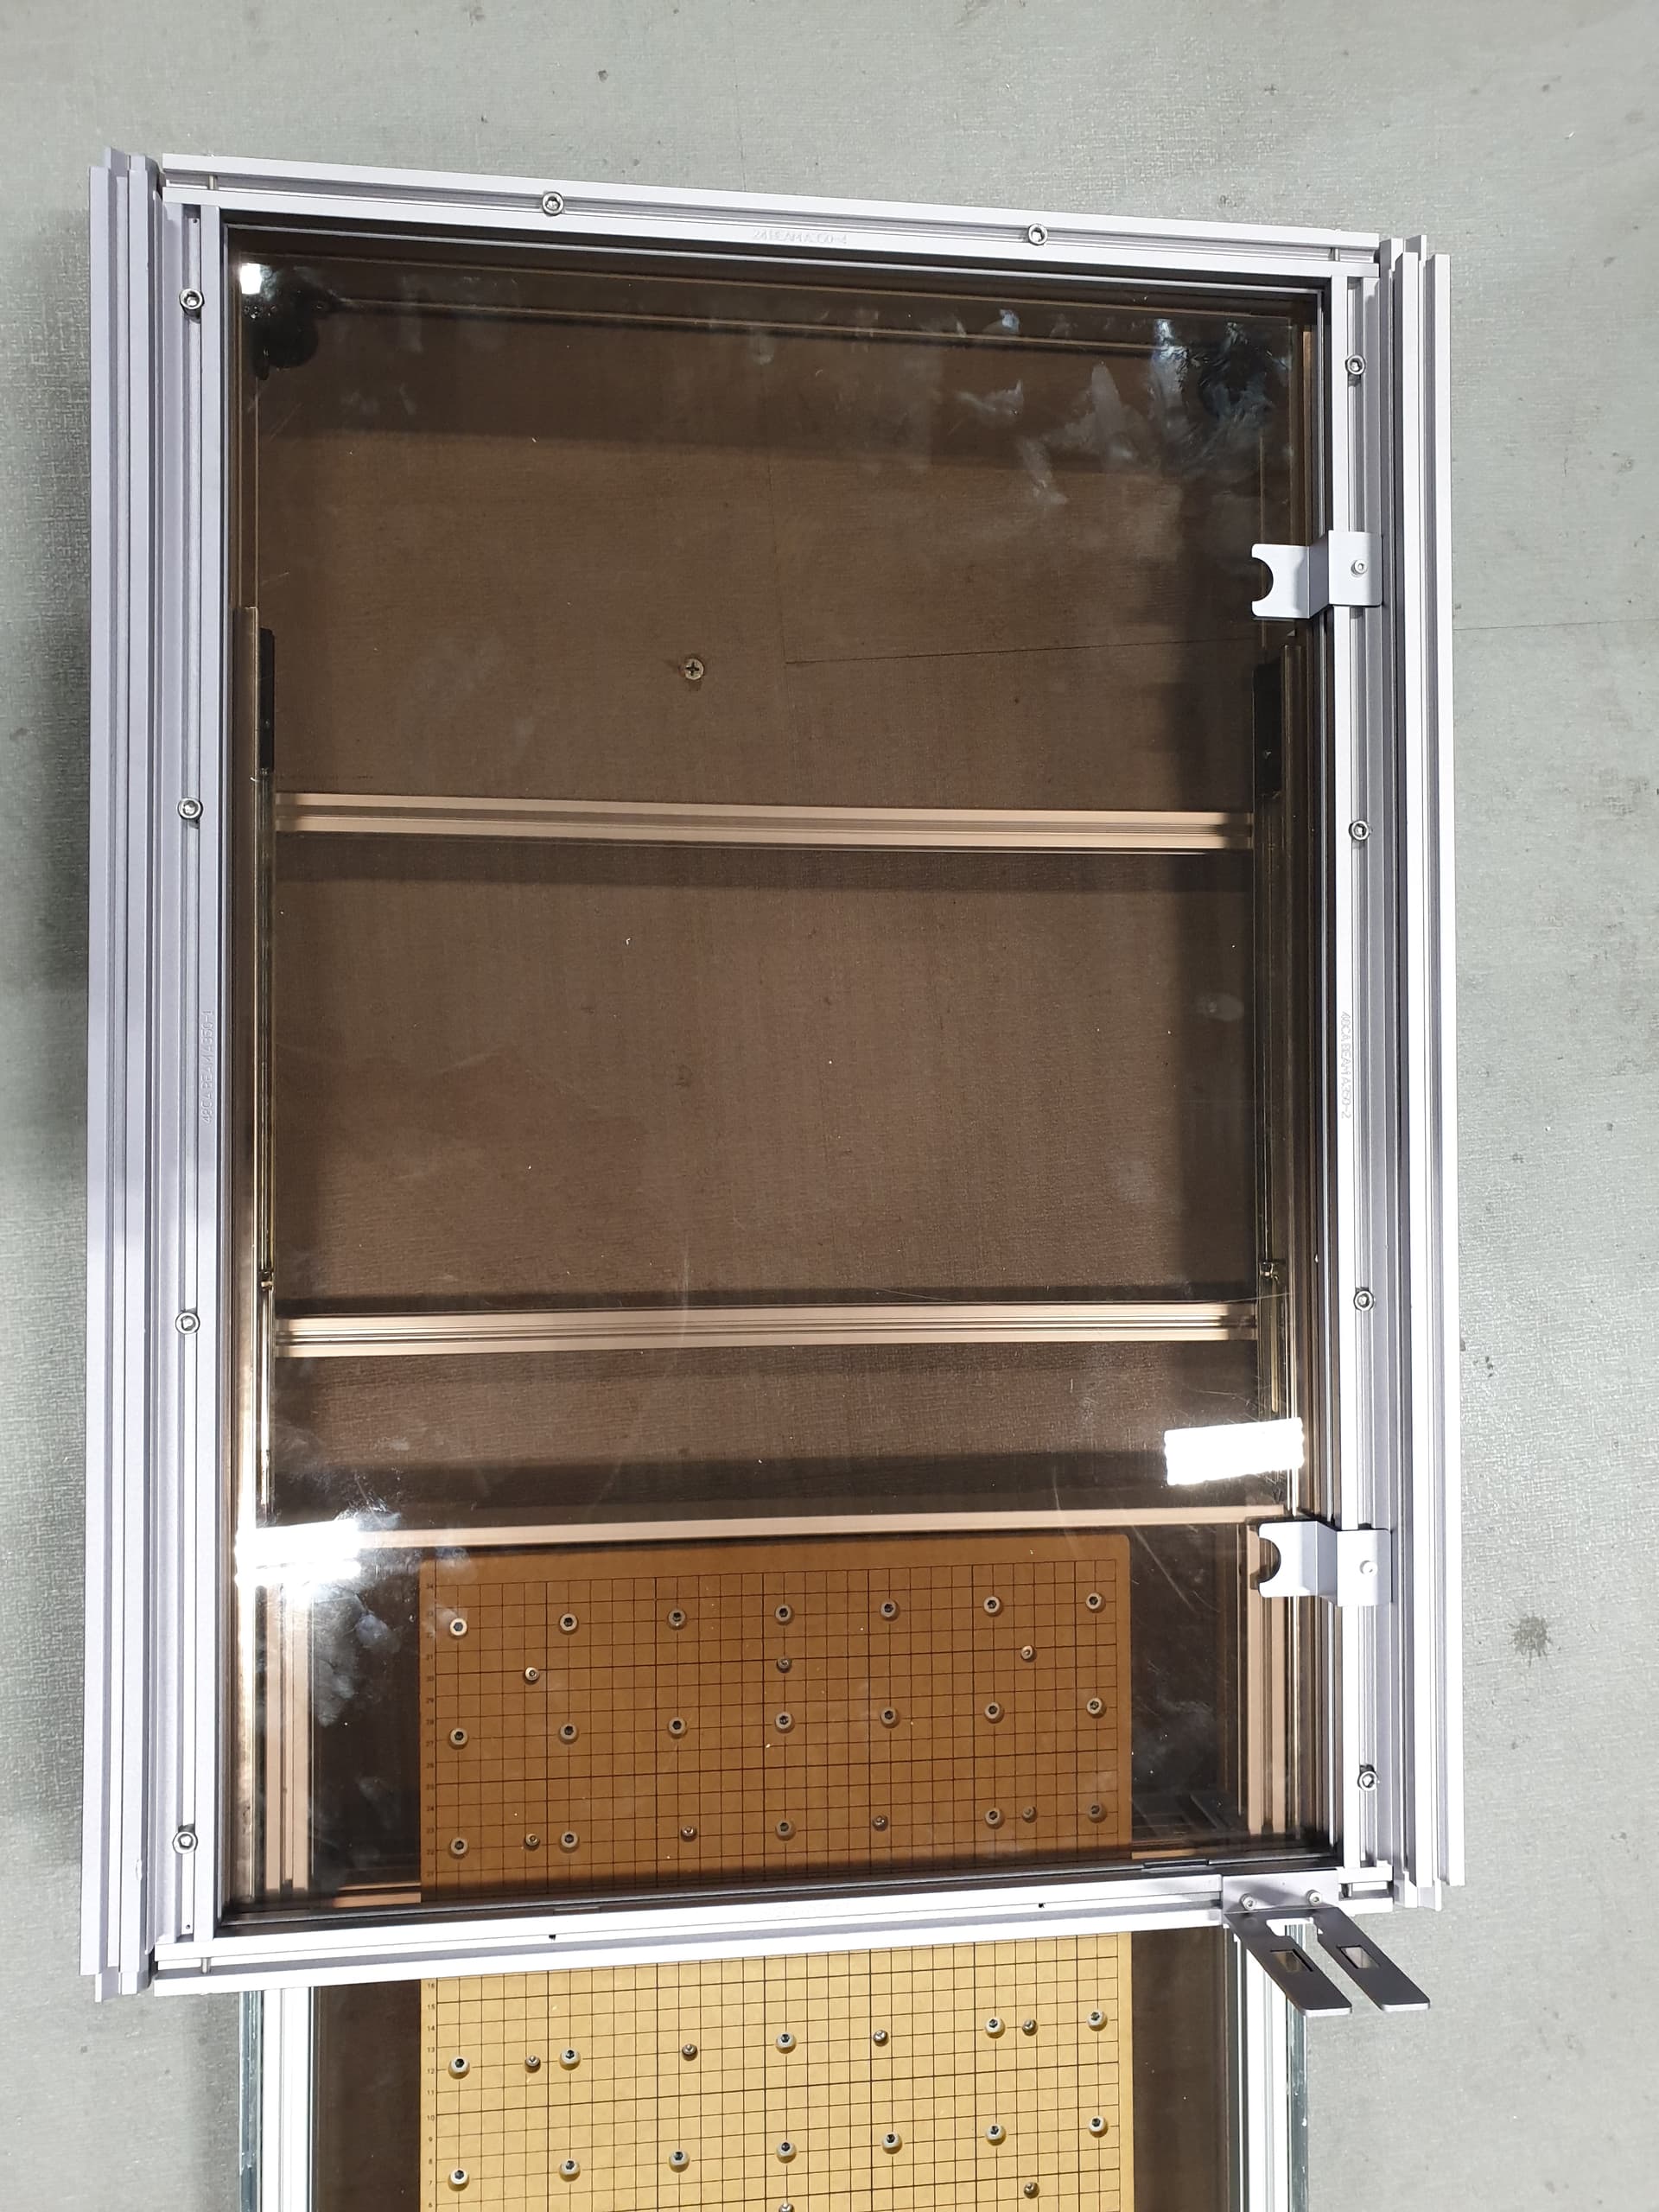
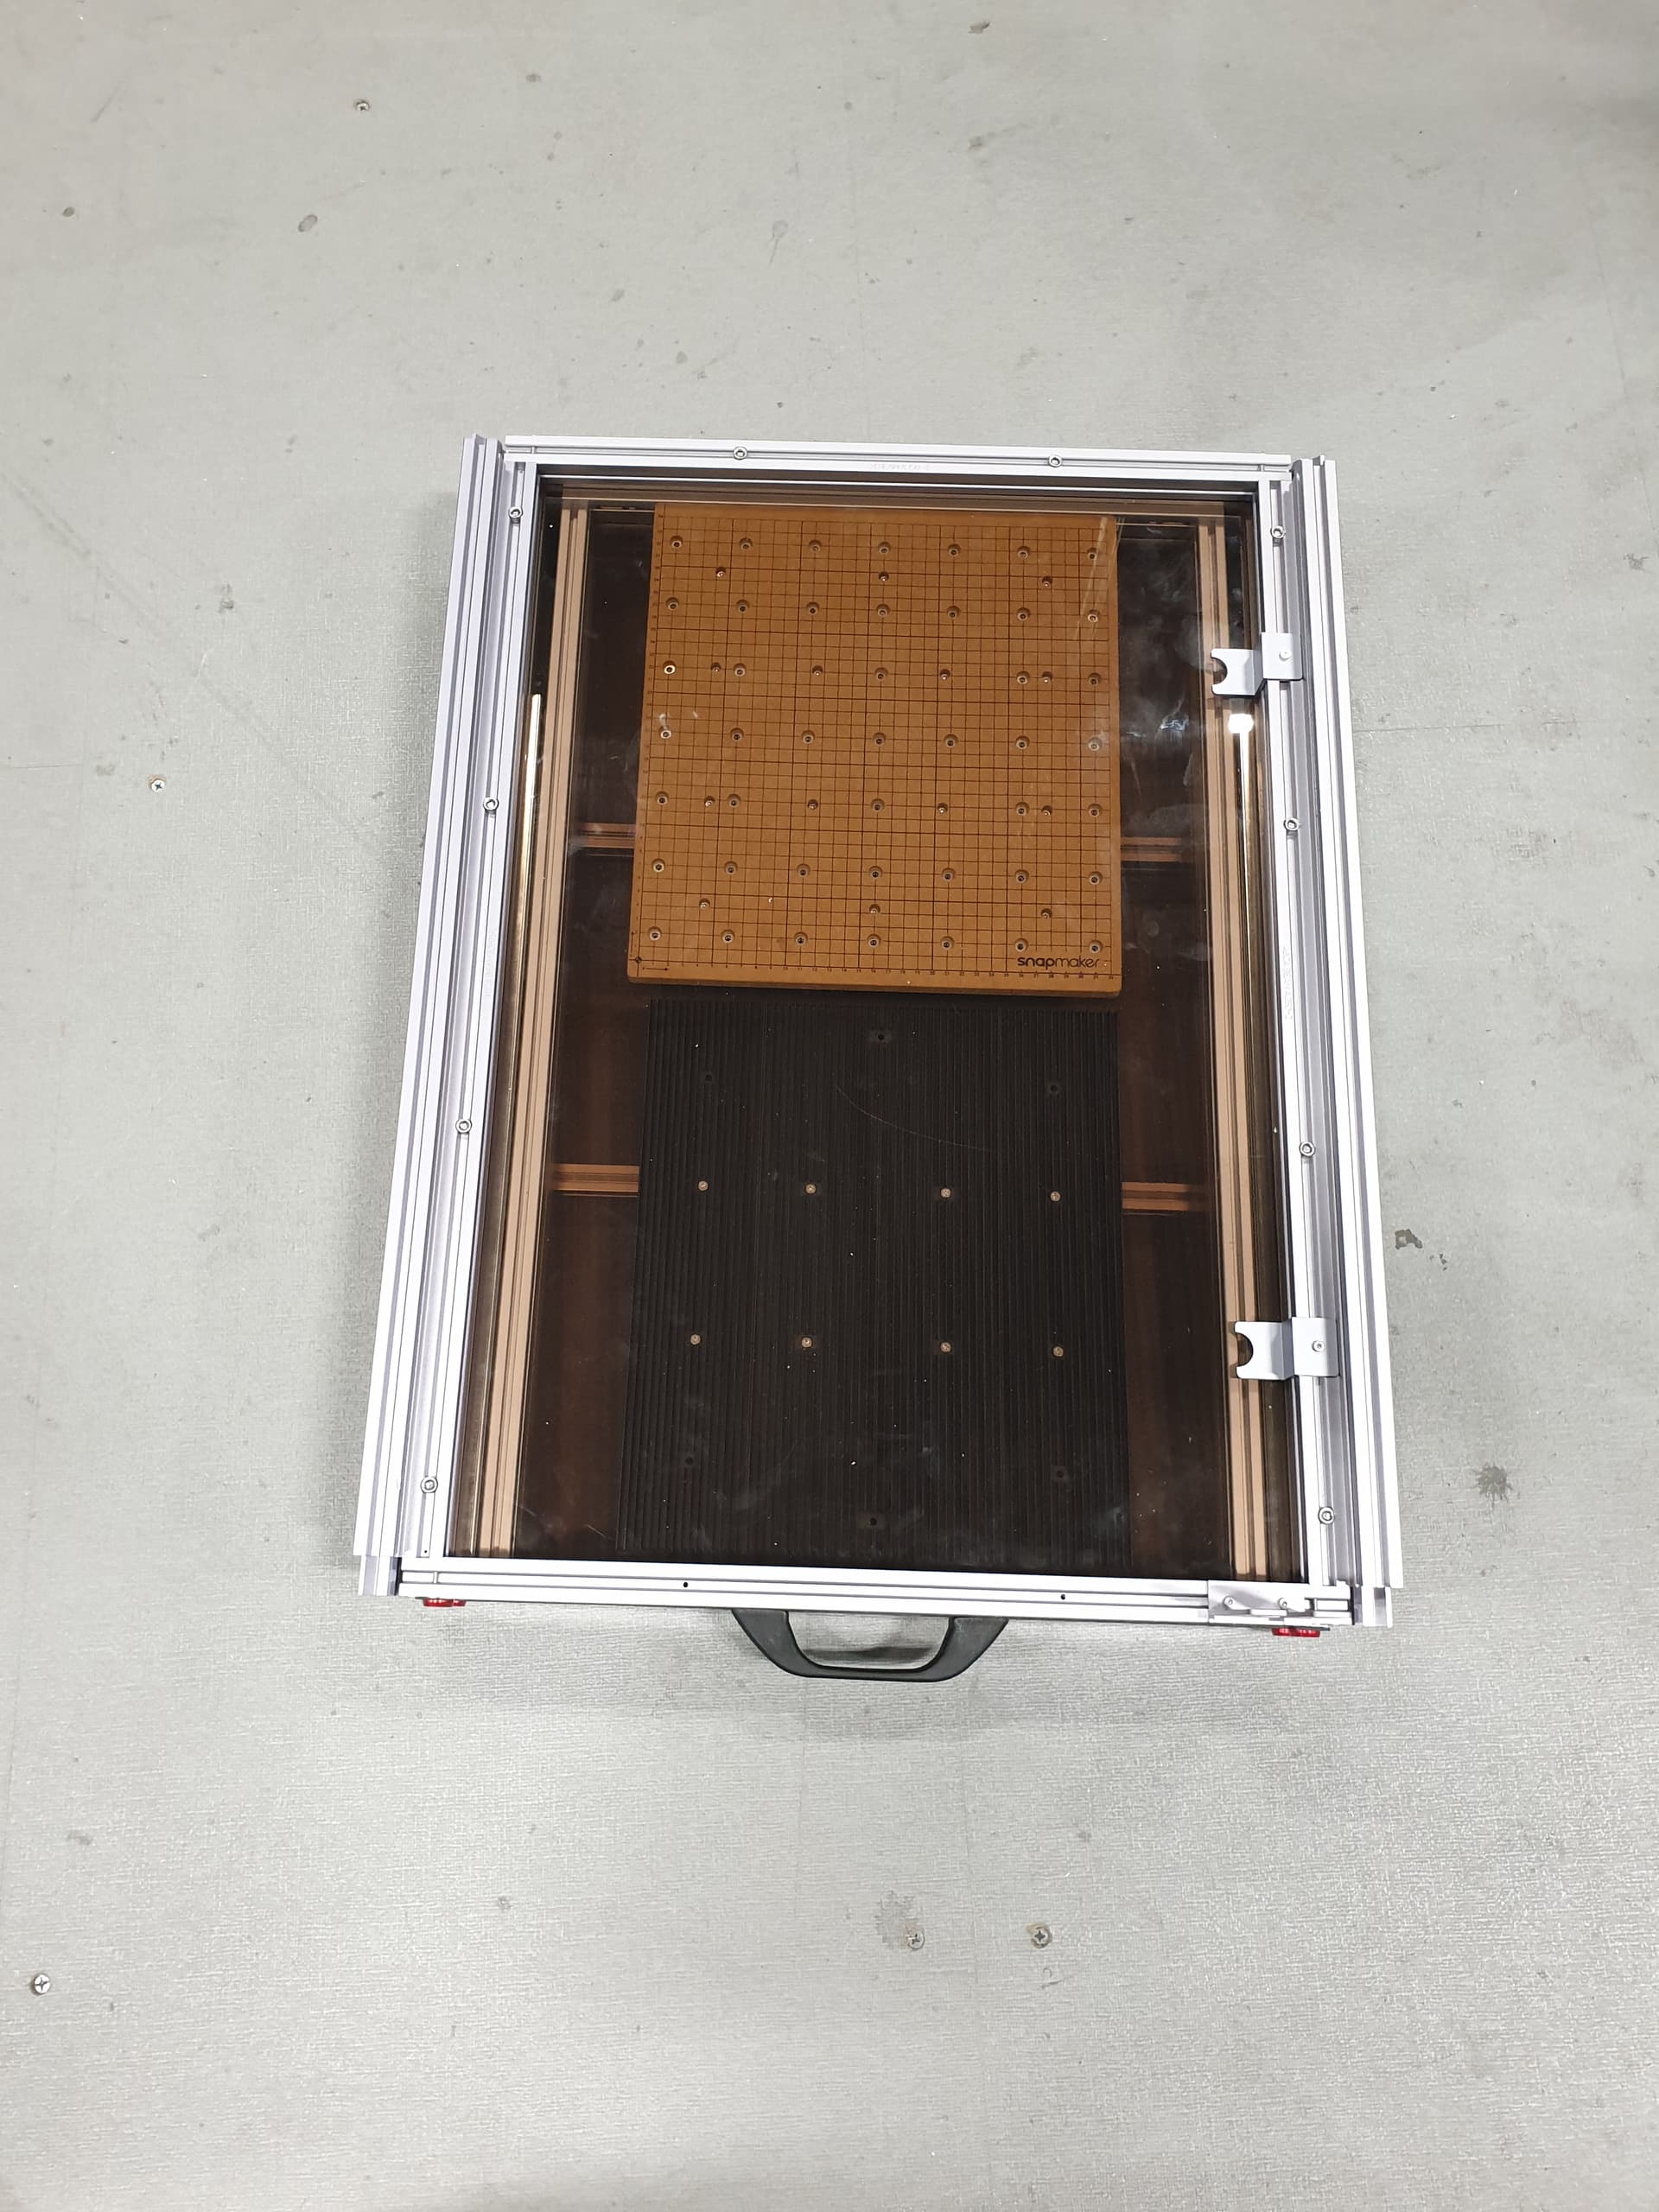
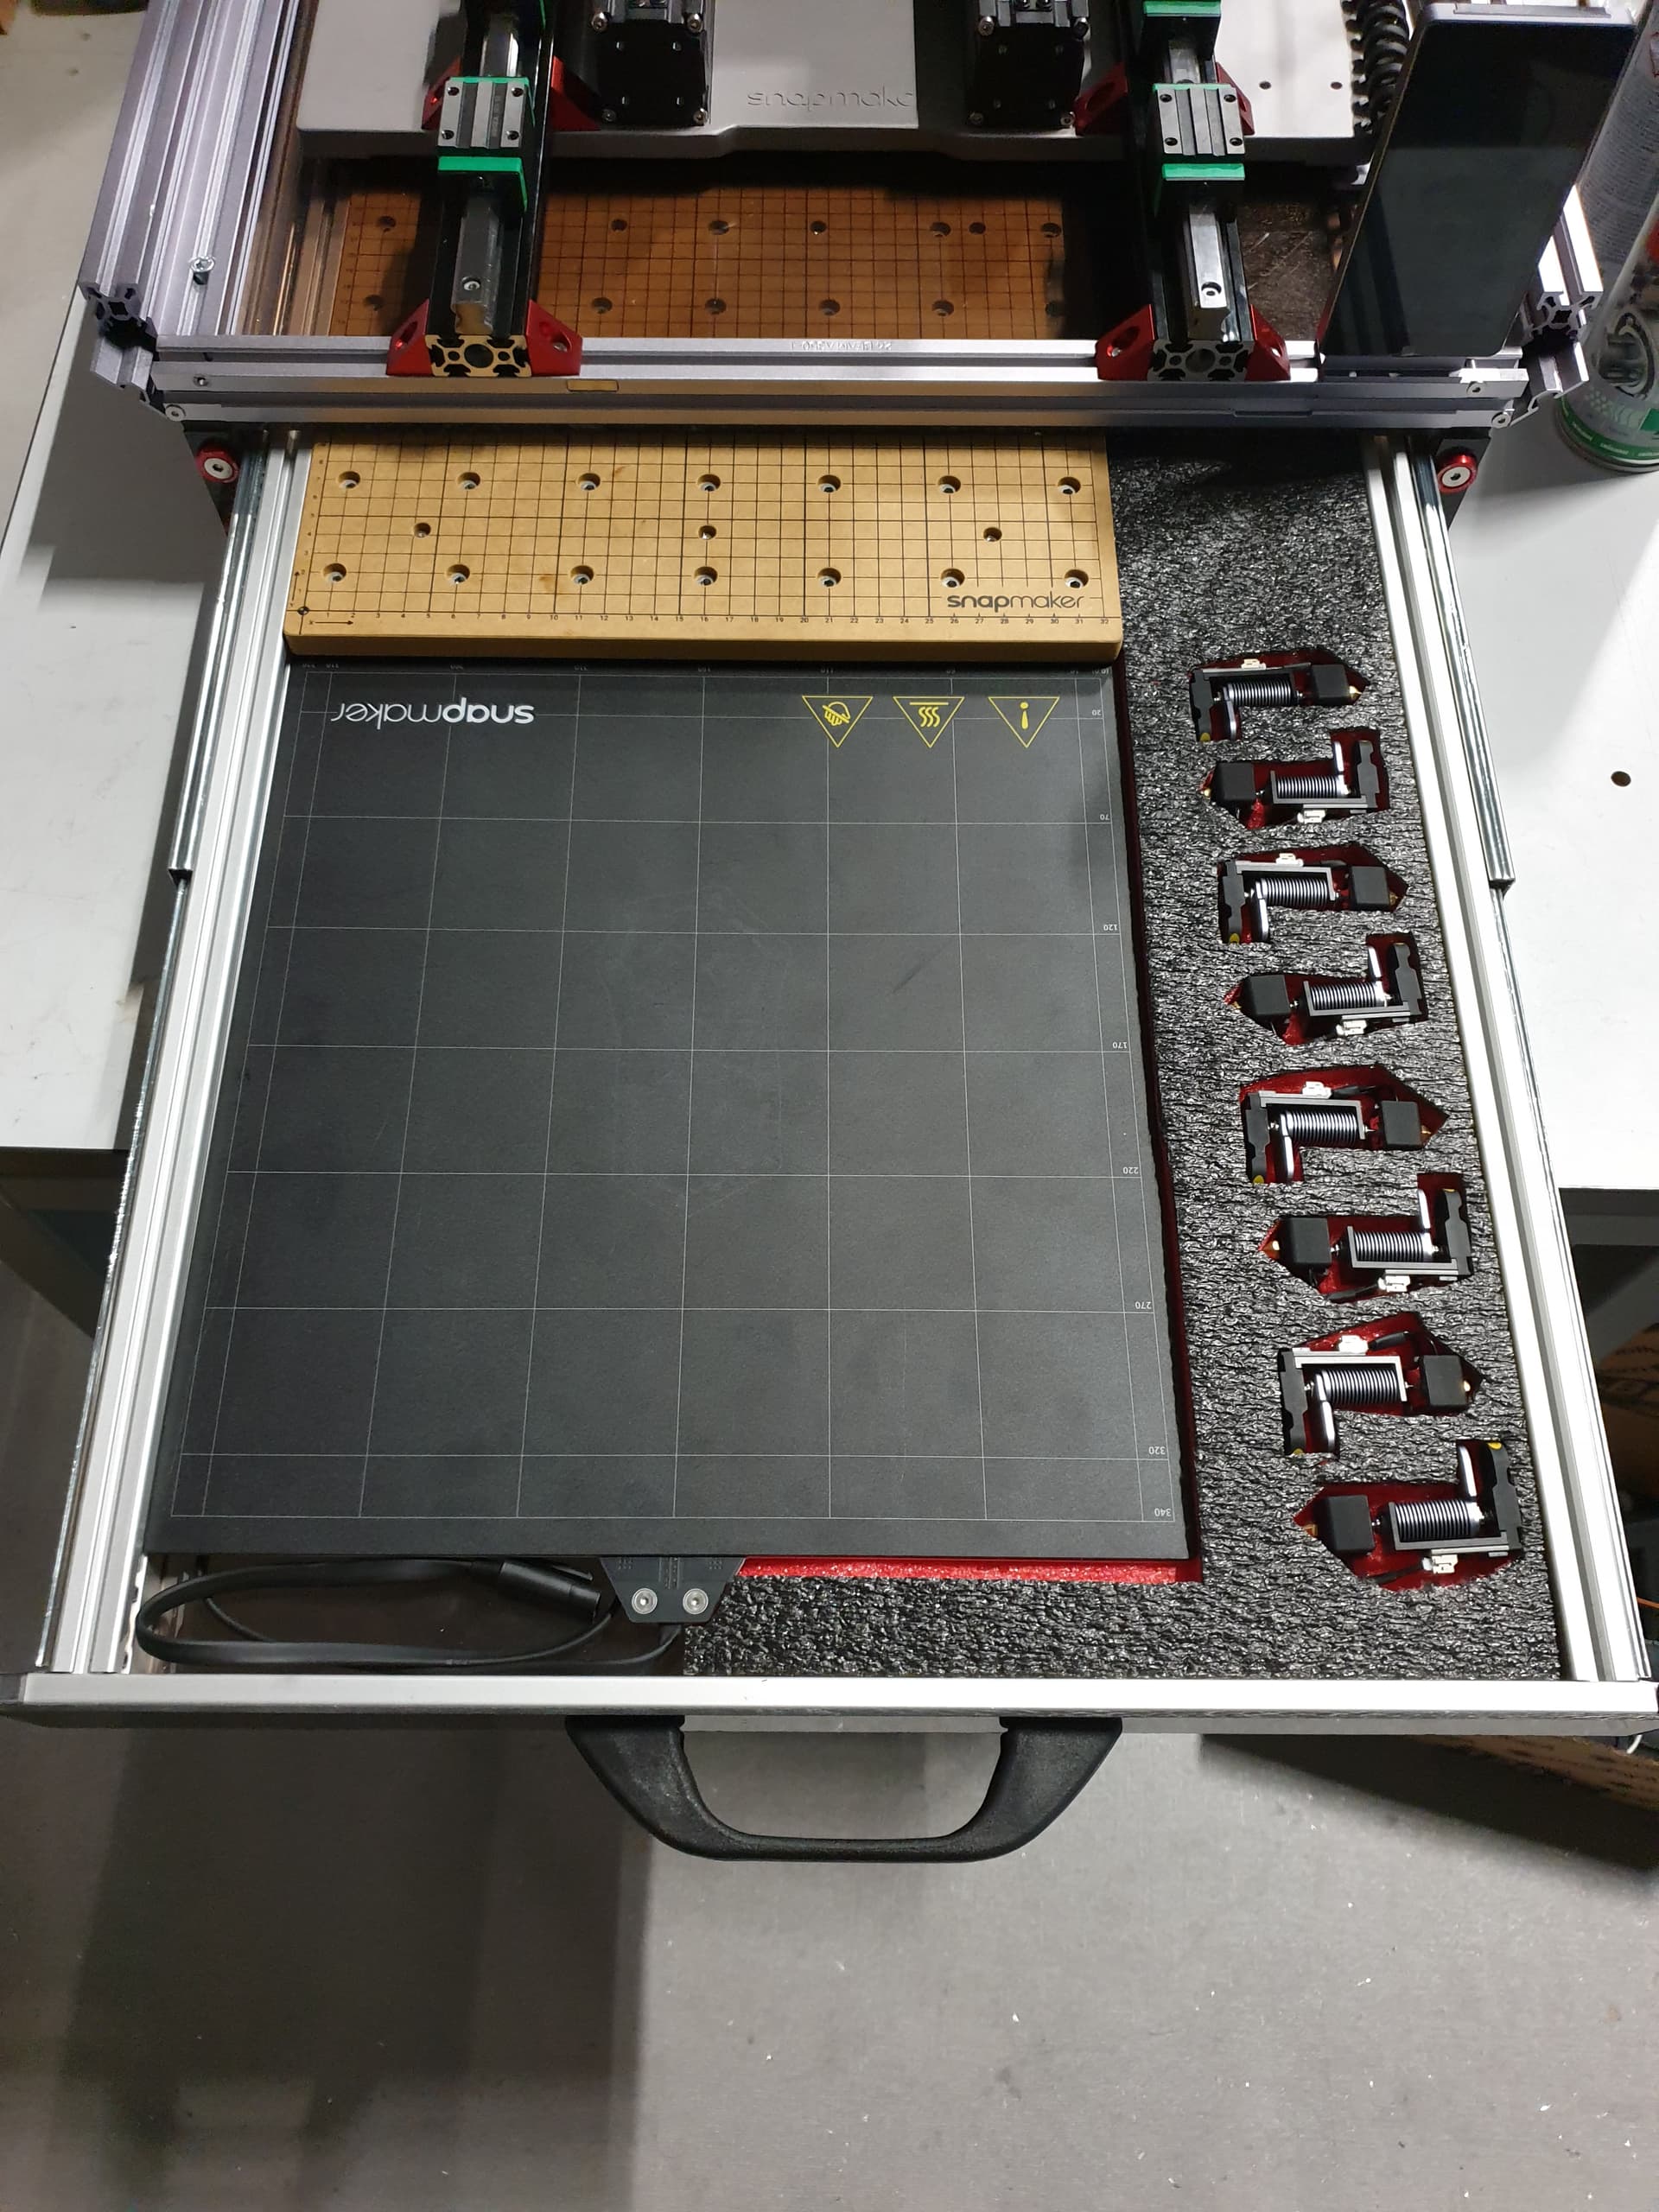
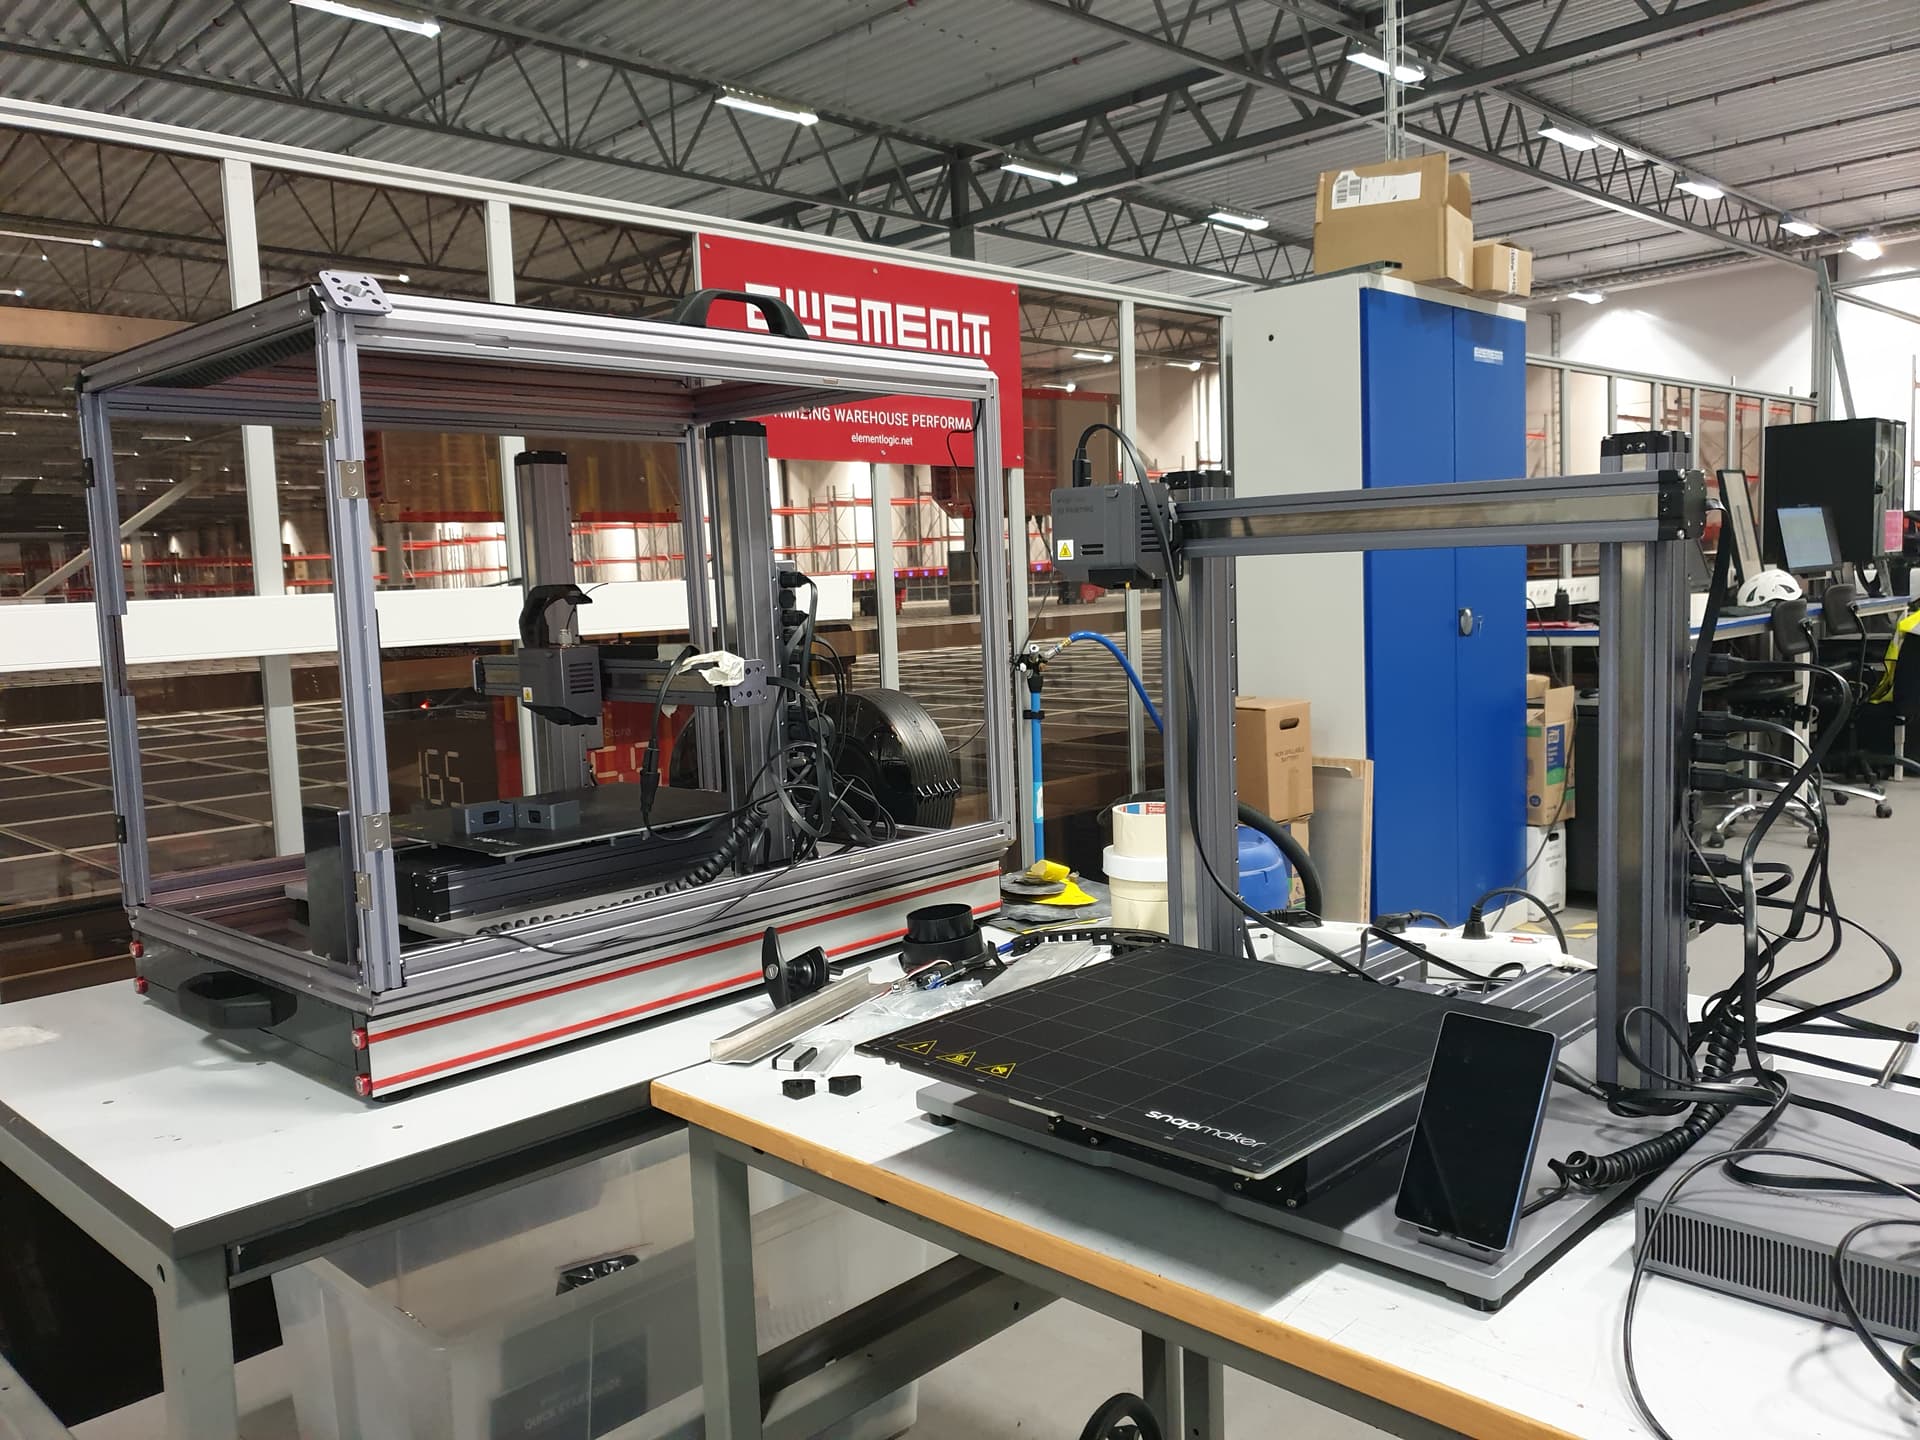
As you can see from the above pictures I also added mounting points for a strap to again make it easier to carry, and some red racing stripes to make it print faster. I also bought a second A350 from Ebay which ended up being free! the seller was some kind of fraud and got kicked off Ebay and I got my money refunded and got to keep the printer! it also turned out to be the A350T version so I plan to steal the new quieter linear rails from it in the future. For now, its purpose is to print parts for the original A350.


That is all for today, I will upload more progress tomorrow!

3 Likes

Those of you who have a keen eye would have noticed something in the last photo of the drawer. The bed wobble of death returned, screwing up everything I tried to do with the machine, so it was time to do something about it. So I added linear rails on everything:


The rails are screwed directly into some aluminium profile which is then screwed directly into the base. But I don’t want to mount the bed and have a million screws to replace each time i want to change the bed so I decided to incorporate the Snapmaker quick release system, but on a much more extreme level:


the difference in levelness is great:


Now on to the other linear rails!


After approximately 1 billion screws later the horizontal rail is sliding nicely but looking a little bland, so I decided to try anodizing, which turned out not to be that complicated:


Now its time to do something about the cabling and add some lighting I think!


That will do for now, time to work on the vertical rails:


I am starting to realise that the forum uploads the images in a different order to the way I want ruining my narrative! oh well, I felt like these side parts should go in the bucket too:


one of the threads screwed up (no pun intended) but that’s what I get for trying to thread an M3 thread into low grade aluminium.

I decided to do some more cable management on the tool head holder:


Right, that will do for now, time to get the quick release on the bed working properly, the bed frames were not level so first I had to machine them down, and then add threaded inserts and finally the quick release plates:


Ok, time for something else, the 50W CNC module isn’t really powerful enough, at the time of making this the 200W CNC module didn’t work on the 2.0 so I had to make it work. shortly after getting it working a firmware update came out, which sucks…


I didn’t document the modifications for the 200W module, but I guess it doesn’t matter, it works fine and the system believes it is a 50W module. But let’s face it, 500W would be better so lets make a custom 500W module instead:


Right, that will do for today, I will upload more tomorrow

3 Likes

Wow. Thanks for sharing!

Here are two videos of the two CNC modules that I got working with the 2.0, they both respond to speed change signals and give speed feedback:


But that is only half the challenge, because the CNC needs its own power supply, and sticking with my goal of having everything in one unit i need a way to mount it. the power supply came as an open frame design which isn’t safe to stick on the outside of the enclosure so I decided to mount it inside a snapmaker power supply.

But i thought why not beef up the original snapmaker power supply as well? so i boosted the wattage with a larger power supply and made them both quiet with some huge 120mm noctua fans:


Right, that is the original snapmaker power supply, upgraded to 500W and a new power supply for the CNC which is also 500W at 48v. the power connectors have been upgraded with custom cables that can’t be mixed up.

But now the snapmaker controller needs modifying with its own high current connector. Another issue is the controller limits the current to each port with a PTC fuse, (this is why the 40w laser module uses the combined power of two ports) but I don’t want to use two ports, I want more power, so I will have to use a larger PTC fuse to solve that.


So now that is done, I ran into a problem, the CNC module is so tall that it wont fit inside the enclosure, but it’s not a huge problem. I just have to do what any middle aged white woman would do on a weekend and RAISE THE ROOF!

As nobody actually reads what I’m writing here, that picture is going to be very confusing…


There were some minor measuring mistakes…


So that is how you raise the roof. I also added new lighting to the interior, both to the roof extension, but also to the vertical posts as well and then added a switch array on the side so each light can be turned on and off manually.


one thing I wanted to try and solve was to keep the machine clean. So I decided to cover the floor of the enclosure with something that keeps the dust out and is easy to wipe, and then hid all the electronics under the panels:


That’s as far as I have got with the dust covers, I will need to finish them later. For now I want an extractor fan. The one built in really isn’t going to do anything, so I got one of the most powerful fans I could find and built a filter. (because I am not paying for snapmaker’s air filter system!)


There is a few things I have added to the rear window. The rear has also been divided into two so that the top half can fold down. I plan to keep all the tool heads on the inside and the power supplies on the outside:


what I didn’t show is how the rear panels is reinforced, so I will show that along with the beginning of the rear door:


You might be wondering where I got the parts for the roof extension, well I bought new side panels from Snapmaker so I could have a sliding door on both sides. this isn’t a straight forward swap, but for now I will just show what I did to blank off the magnets:


Right, that will do for today, I will upload more tomorrow!

2 Likes

Thanks! I thought maybe someone here might be inspired by some of the mods I’ve done so I thought I’d share them!

This is truly impressive! Thanks so much for sharing!

This is really impressive. Are you sure there is a snapmaker inside? :grin:
Looks like german over-engineering. :see_no_evil_monkey:

I agree - and I am German :wink: Still, it also looks like a lot of fun!

And I have seen the image of the “Target” :slight_smile:

Thanks! I hope people find it inspiring to do their own mods, we are all makers after all!

thanks! there was some sort of snapmaker somewhere in there, not sure if it can still be called that legally though!

my goal is to make German overengineering look like Russian underengineering with this project! not that that is a good idea of course, but I’m having fun so it’s all good!

yay someone reads the text! I was going to break down all the details of what I did and why and how I worked it out etc, but it takes over an hour just to upload the pictures.

So a few images I missed from the last post, some cable routing for the lights and the rear window’s final form!


Ok so because the electronics have moved under the dust covers it means that connecting the heated bed or a rotary module becomes a pain, so I made some extension cables that move the ports up to the edge of the enclosure:


in the future I will make some little CNC machined labels to go on the top, I will also make one for the USB mini to the controller, so all sockets are brought out from under the dust covers.

So I have been focusing on the A350T for so long, I thought a little retail therapy would clear my head, so I went and got an A150 so I have something a little more portable. I applied some of the same mods to that so they match:


Aww they’re friends!

I didn’t feel like going anywhere near as extreme with the A150, but I might still do some rail mods as I have some rails left over and I don’t like how unbalanced the horizontal beam is, but I will see how I feel about that later.

So next I thought I’d make some quick release tool holders, I made two versions, one for mounting anywhere like on a bench or something, and one designed to fit the snapmaker rails, I was pleased with how they came out:


You can see I went through a few variations before I was happy with it. you can download them here:

I also did a quick mod to my print head to allow the attachment of a filament guide:


Nothing special, and a little bit redundant after I got the duel extruder module but still…
I thought I would have a go at building my own print module using an E3D revo, again, redundant but maybe there is some minor improvements over the snapmaker print head, it was more just to see if I can and understand a bit more about how it all works:


really getting annoyed with how the forum likes to reorder the images so they don’t make sense.


I made my own filament runout sensor, and it worked fine, but I wasn’t happy with how difficult it was to feed new filament through, it got stuck a few times because the inside isn’t smooth enough so I bought one instead:


So that’s as far as I got with the print head, there is a few more bits to do before its finished, but I had a change of job which put everything on pause for a while. Hopefully uploading here will inspire me to finish everything.

I have to finish:
the custom print head
the custom CNC module (might turn the aluminium bits red if i feel like it)
the enclosure
the rear door (this is a big job because it will support all the tool heads on the inside and the power supplies on the outside)
then just some small jobs, like getting the extractor fan working with the touch screen etc, then I can take it for a test drive on some very expensive carbon fiber and see how stable it is!

But for now, that is all I have, apart from this, you get 10 whole internet points if you can guess what this will be for:


3 Likes