I actually made a typo, and I can’t edit the original post… It should be “C-” and “B-” the - after the letter, before the numbers. So for anyone just arriving;
In the original instructions;
4a: In the find box start with “-B” and in the replace with box “-C” this is a placeholder for now. Click “replace all”
4b: Find box “B” Replace box “-B” Replace all.
4c: Find box “_-C” Replace box “_B” Replace all.
thought I’d do my specific challenges via email. I am running the file I did with the wrong updates, but using your updated B0 settings. It appears to still be rotating through the large number of rotations. So my question is should I be setting the new B0 in the Control window or later, before I start the final cut file? I don’t know if that makes the difference, but something is definitely still off. Once it starts carving, I’ll let you know if it’s carving on the right spot.
Can you explain the bit change assistant? I tried to use it… put the first bit at a random point on the model; then put my new bit in, touched the same point… when i tried to start my ‘smoothing’ file, it floated in the sky. It seemed to mess up the work origin.
How do you correctly use the bit change assistant?
Mind uploading your finishing gcode? It sounds like you had a low stepdown for the finish pass so it would air-cut for awhile. Luban doesn’t have any sort of rest machining, so you have to choose a very high stepdown, like the default 17.5mm on the ‘epoxy tooling board’ settings for the straight v-bit.
It sounds like you did the bit assistant correctly. Using it, you just follow the prompts to touch your current bit, it moves up, change bits, move it back down with the new bit and that’s it.
It shouldn’t have mattered as long as it was the same spot, I always try to make a point of doing it on the stock in the jaws myself, however. What version of firmware are you on?
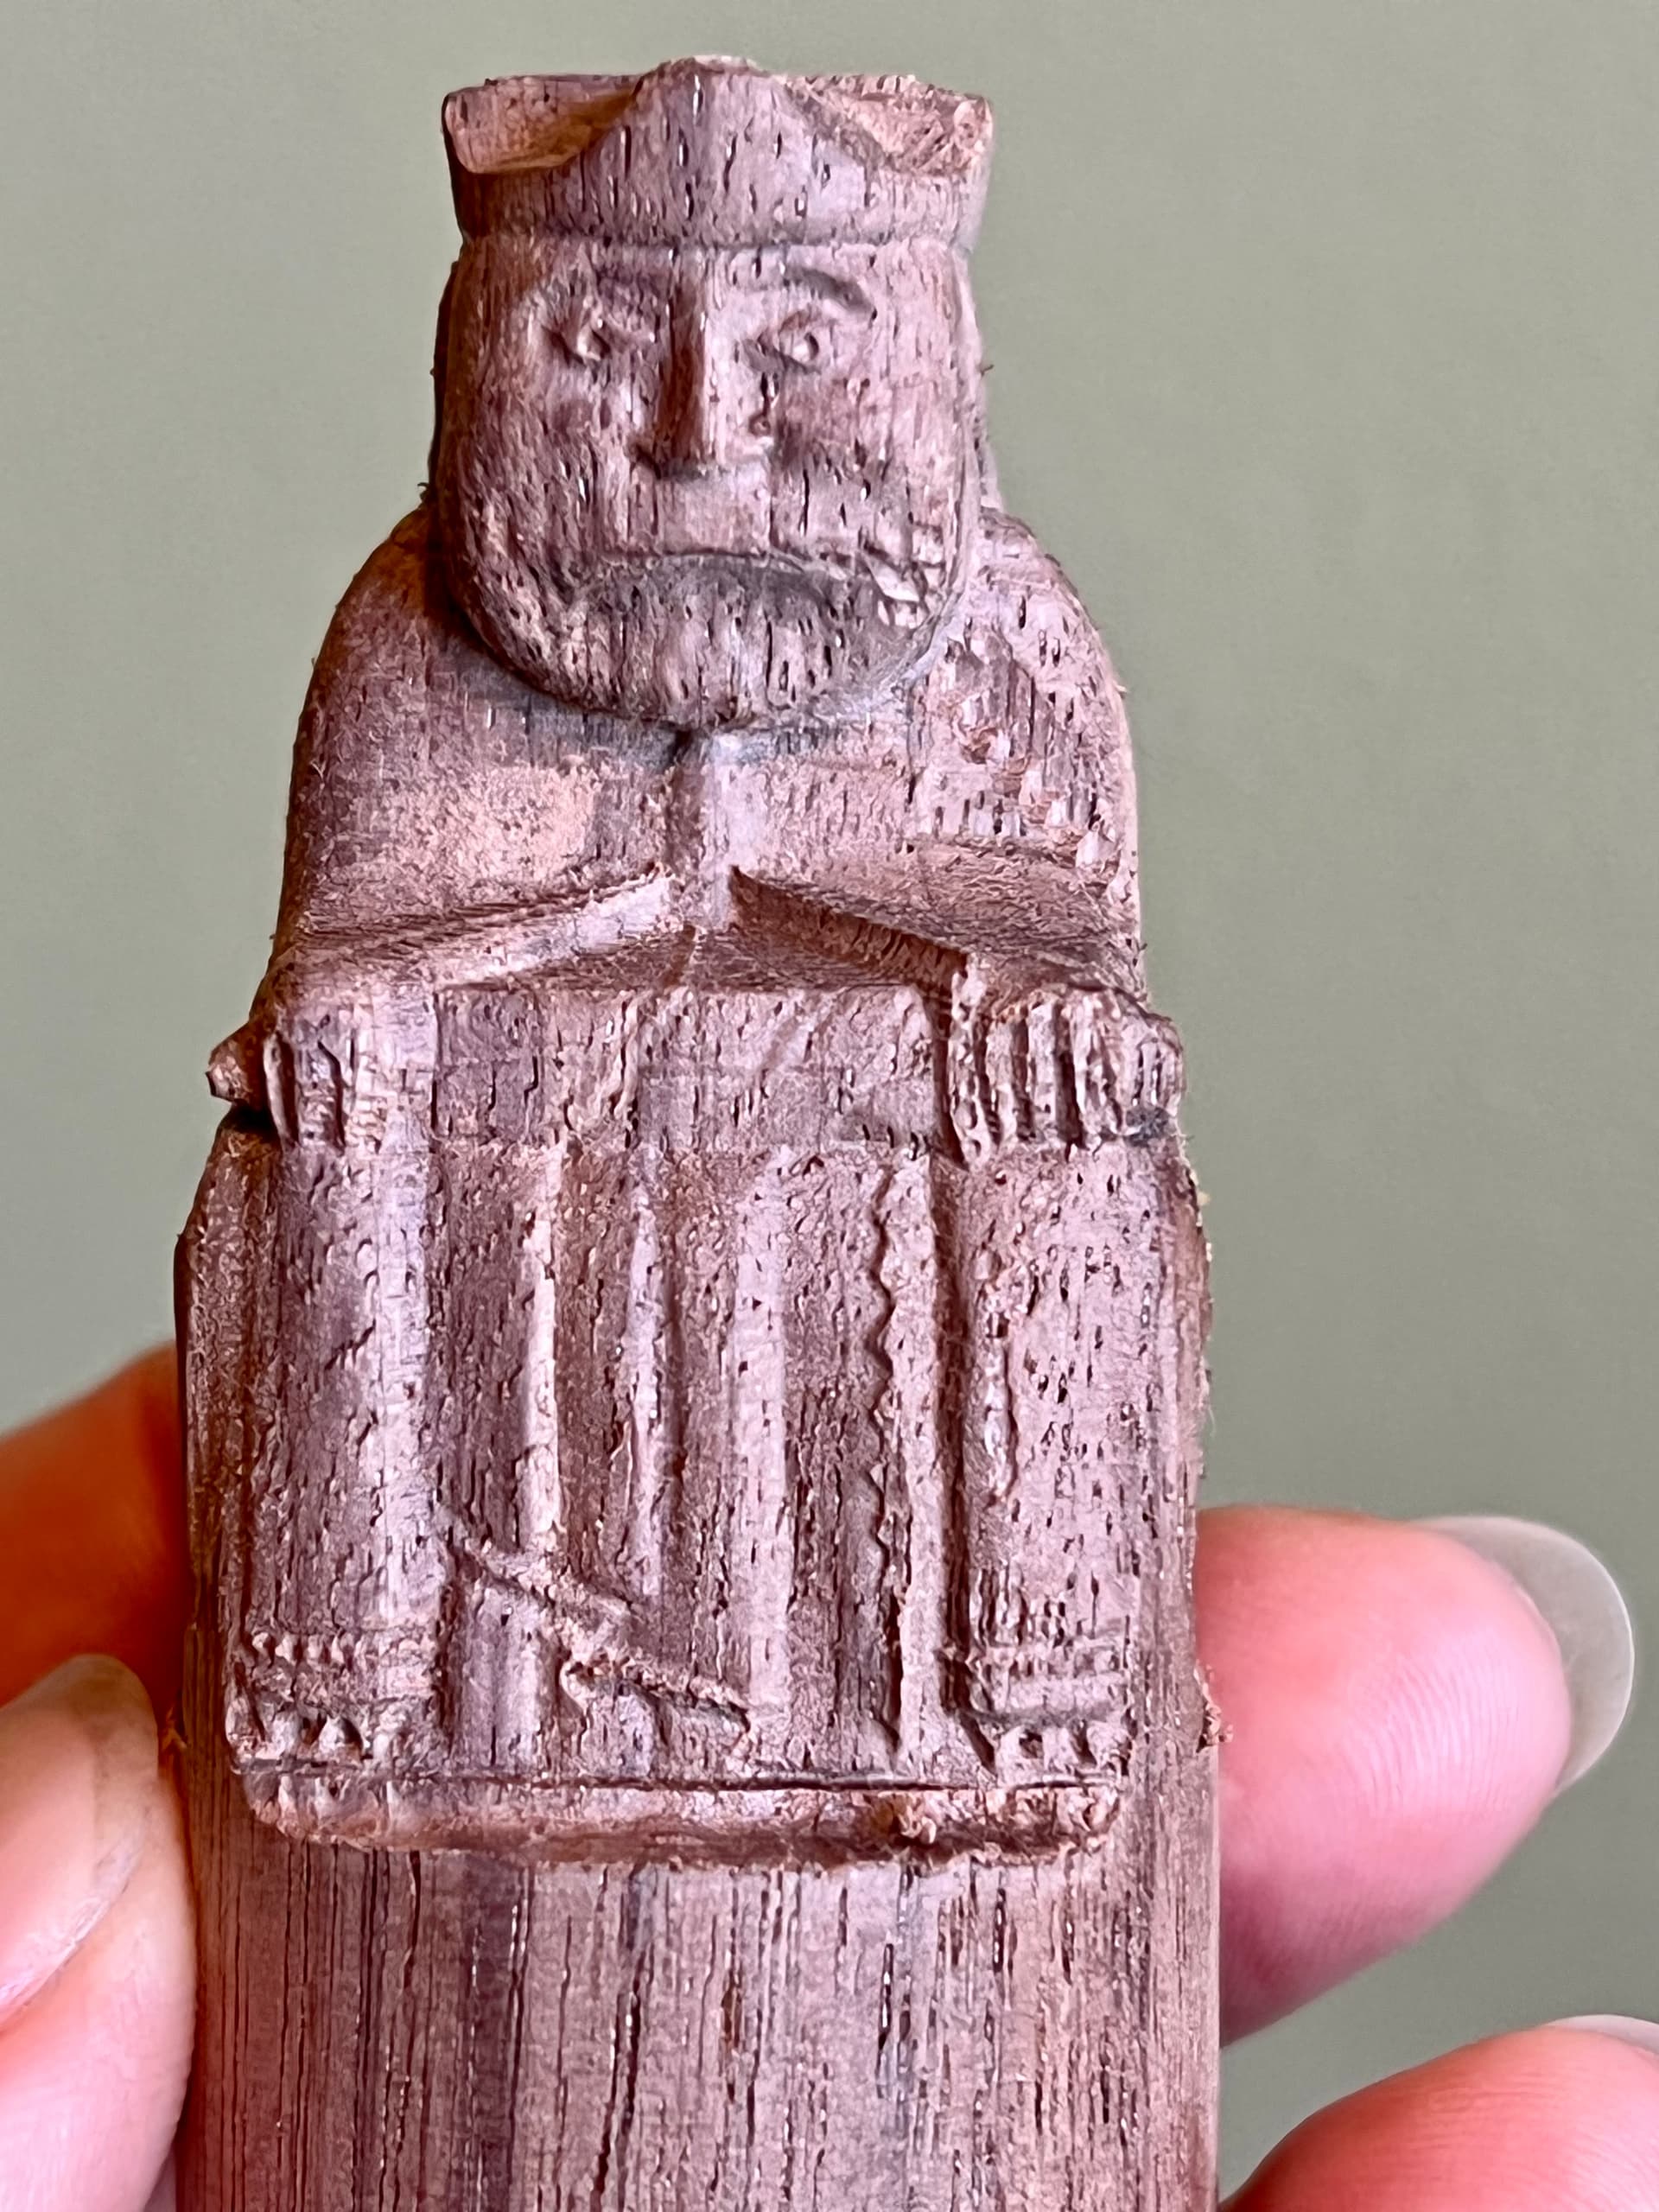
two things I have noticed: 1) there are the expected artifacts from using rotation vs. linkage (like the crown and any spaces/dips between parts; and 2) on the king there is what appears to be a reverse of his hair in back, engraved in the front. Any thoughts? Also he is a mirror image, which I suspect may be from reversing B and B-? The Queen is also a mirror image while the Rook is not, but I did not change B and B- for that one.
It crossed my mind that it might reverse, but I hadn’t experienced it. (I do admit I’ve not done any asymmetrical carves) I want to do more tests and prepare another tutorial for the CNC, but my job has me on double overtime and I have zero time. I was going to test if it mirrors, but haven’t gotten around to it. However, they look good otherwise! I encourage people to post their tests here so we can find things like this. If it’s important, it might be good to mirror the STL before generating. As I recall in my last test (for linkage mode) I DID note that linkage runs the proper direction, no B-/B reversal needed. Again, however, I would like to do more tests before absolutely confirming it. I need more of the straight groove v-bits, I still only have the one that came with the rotary and I’m afraid of breaking it, the replacements are expensive (after factoring in shipping, they do not offer them on their Amazon) and I haven’t found a good replacement 3rd party.
I bought a number of v-groove bits while I was buying a few other things during one of their sales. Shipping was not an issue as the other things had a lot. I’ve other v-bits but not with the groove, and I haven’t tried them yet. I was also wondering how much cutting before a new bit is needed, I noticed my first bit already was slightly more dull than the new ones. I have decided to try to keep track of dates and maybe number of objects. I guess number of passes would be better, but I didn’t record that.
Any thoughts on why there is an “indent” that looks like it’s the hair from the back of the model? That one confuses me. I’m less concerned about the mirroring, as you said, I think I can fix it, and even if not, I’ll just have a bunch of left-handed chess pieces!
I’m not sure, since everything else seems fine. I wonder if it was just a Luban thing, kinda like how it decided to just eat through the side of the ring I posted earlier for no apparent reason.
For mirroring, that’s easy if you have Prusaslicer (I actually use it a lot for STL editing, but it’s also my main slicer for 3d printing as well) Just open the model, right click > mirror, choose which axis to mirror it on > right click > export as STL. boop, mirrored.
If I can find the time this weekend, I’ll do some more tests. However! I did do a test I could do straight in Luban. I grabbed an asymmetrical STL, ran it through 4-axis with the v-bit to get a nice outline toolpath, did the B/B- swap, and stuffed it back into Luban to get the preview… It mirrors! Good find.
Note to anyone who uses the G-Code optimization; MIRROR THE STL FIRST, changing rotation direction mirrors the object along the B axis.
For those who use Linkage mode; B/B- change might not be required, but if you do it on the roughing pass in rotation DO IT ON THE LINKAGE FINISH AS WELL, since it mirrors the model.
I was just wondering about the roughing vs. linkage. I did my roughing on the next piece with the B/B- change and I verified it is mirrored. I plan to try linkage for the final pass, so I will do the same B/B- change. Question though, does that mean in linkage now I will be cutting in the wrong direction (i.e. more bit wear and noise)?
Theoretically, yes. If luban actually runs linkage mode in the climb direction, then reversing B will make it run backwards, however, since the passes are a lot shallower, it’s less wear.
unfortunately, linkage was a colossal failure. Even less recognizable than the previous problems. See picts of the model and what I got. Anyone get linkage to work other than the provided lion? Any recommendations?
I thought maybe it was like previous version I had where Luban randomly dug in where it was supposed to be a projection out. Previous versions also had some parts rotated, and I saw where others had that issue. Really don’t think I can figure out all of the things that went wrong here!
Same file but run using rotation for bough roughing and final (in birch and walnut). There are the obvious 3-axis artifacts, but otherwise they look good!