Dear Snapmaker Ray Owners,
Congratulations on receiving/will be receiving your Snapmaker Ray! We hope you’re excited to start using it. We wanted to provide you with some essential information to ensure a smooth and enjoyable setup experience based on feedback from our early adopters.
Quick Start Guide
You may have noticed that the traditional Quick Start Guide book is not included. However, don’t worry! We have prepared a more comprehensive online Wiki for you.
-
For first-time use: Please read the Quick Start Guide (Must Read) .
-
If you prefer to have a printable version of the assembly steps, you can download the PDF file here or from the Assembly & Installation section of the Quick Start Guide Wiki.
-
If you plan to use addons like the Rotary Module, please refer to the “Using Modules & Addons” section in the Ray manual.
-
For reference information such as indicator light meanings, please visit Snapmaker Ray - Manual - Common Information - Operation.
-
If you need information on other operations like using Ray with LightBurn, please visit Snapmaker Ray - Manual - Common Information - Operation.
Initial Setup Considerations
-
Before starting laser jobs, it is crucial to properly position the laser work platform. Please note that this step should be performed after powering on the machine, so you can find the related instructions in the Setup & Preparation section instead of the Assembly & Installation section.
-
Update both the Ray firmware and Luban to the latest versions. Download from our Support Center.
-
Read and adhere to the safety instructions, such as not leaving the machine unattended while in use and keeping explosive and flammable materials away from the machine.
Using the Wiki
-
Each Wiki article generally covers a specific topic. Therefore, while reading, you may need to click on article links multiple times to expand further and use the back button to return to the initial content.
-
To go back to the previous page, click the arrow at the top left corner of your browser.
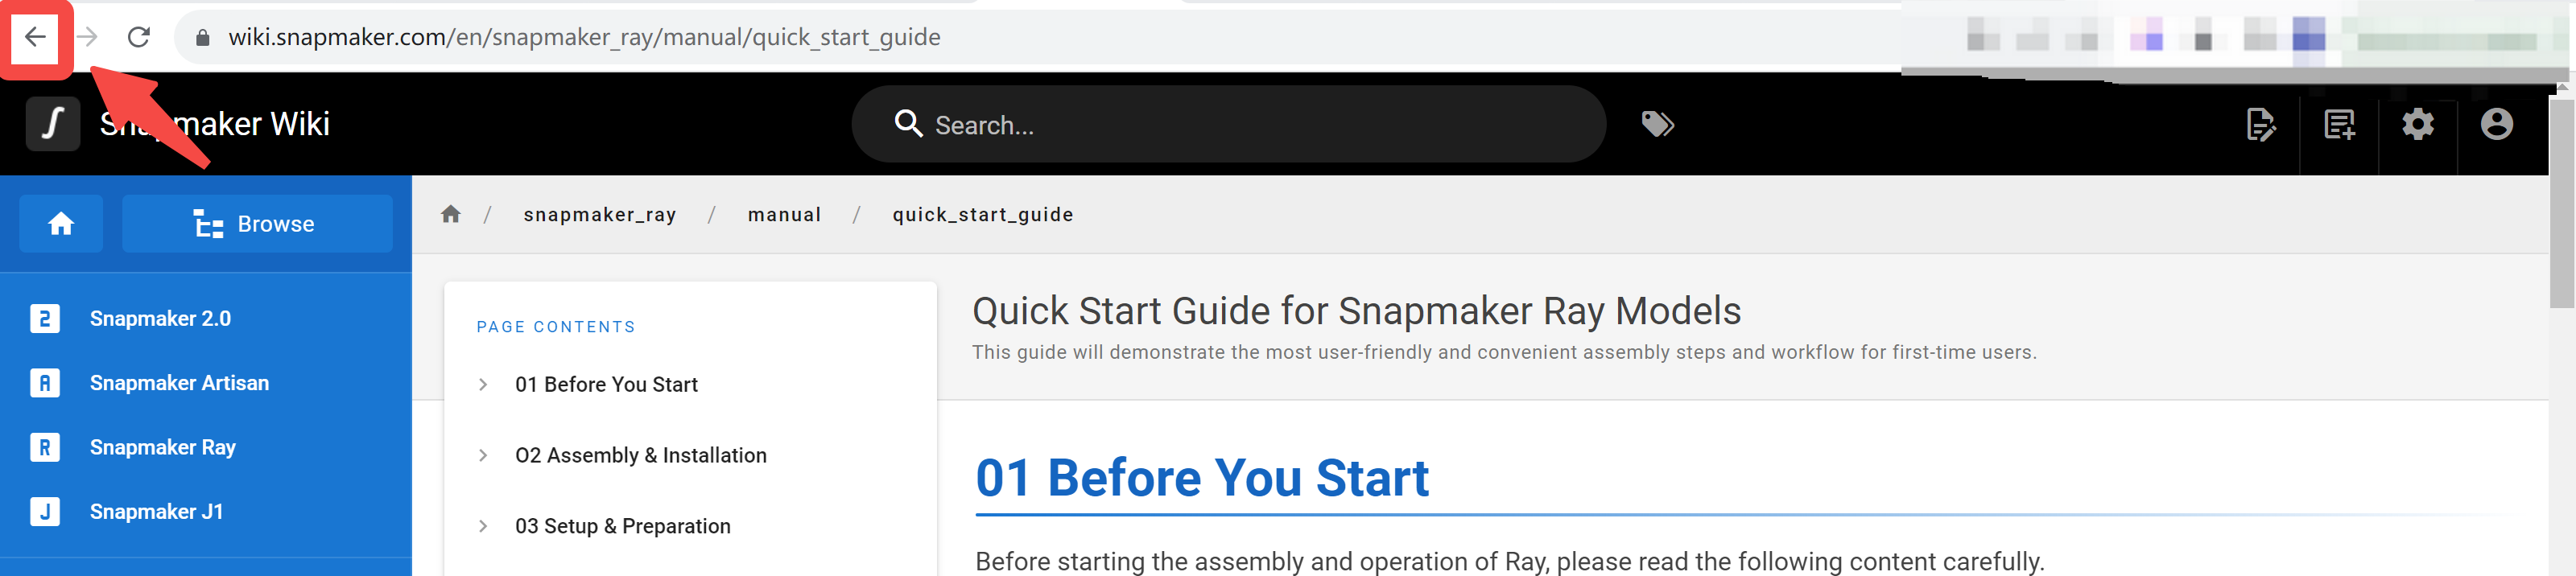
- The directory navigation at the top of the Wiki page indicates the current article’s path. Clicking on it may not take you back to the previous page you were reading. This is because our Wiki articles are independent and can be referenced in manuals for different machines. They are not necessarily located on specific paths within a particular machine’s manual.
Ray User Community - Join and Share
If you’re interested in the usage experiences shared by Ray Early Adopters or want to participate in related discussions, please check out the following user posts:
-
Early Preview of the Ray 40W from Dave
-
Unboxing, setting up, projects, and mods from Linh
Share your creations and usage tips here.
Technical Support
If you encounter any issues or need technical support, please don’t hesitate to contact our official support team. You can submit a support ticket here.
Common Questions
Lastly, if you want to learn more about common questions and problem-solving, please read the following notes:
-
If you cannot connect the machine to Snapmaker Luban, you can reset configurations and try again. Open Luban: Help - Reset Configurations.
-
If flame detection is triggered during laser work, it indicates a risk of fire. Currently, there is a lack of explanation for this situation. Here are some suggestions for what you can do when this happens:
-
Resume the laser work (if needed): Press the work switch on the controller. Work switch controls guide.
-
If the flame detection continues to trigger, you won’t be able to resume laser work directly. In this case, you can lower the flame detection threshold in Luban. Once the triggering stops, press the work switch on the controller to resume the work.
-
-
If you find that the flame sensor is being triggered too easily, you can check and adjust the following settings to better suit your application needs:
-
Set the correct focus and processing parameters (For example, the job speed might be too slow).
-
When cutting some specific materials, you may want to turn off/lower the flame detection sensitivity value to allow the laser cutting process with some spark. Access the threshold setting from Workspace - Settings - Machine Settings in Luban. Never leave the machine unattended while it is in use. Fire safety for laser machining.
-
We hope this information helps you get started with your Snapmaker Ray. If you have any further questions or need assistance, please don’t hesitate to reach out to our support team.
Best regards,
Snapmaker Team