Just wanted to say thanks for the thread. I’d read enough about this issue that I checked it out tonight when I started to get layer adhesion problems a couple weeks in. Turns out it was about 10% under as with many here. Trying a new print now with the new settings.
Here’s my summary:
Snapmaker Extruder Calibration
- Connect a computer to the Snapmaker control unit by the supplied USB cable.
- Connect with Luban. You will use the terminal there to enter Gcode values.
- Install the filament you want to use for calibration.
- Make sure it is extruding normally. You will need the nozzle at the correct temperature for the filament.
- Mark the filament exactly 120 mm from the entry point to the extruder.
- Send the Gcode M83 (Extrude Relative Mode)
- Send Gcode G1 E100 F300. This will try to extrude 100mm of filament. ([Linear Move Including Extrusion] [Extrude 100] [Feed Rate 300mm/min])
- Measure the remaining distance of the mark on the filament from the extruder. Call this value R.
- The actual amount extruded is A=120-R.
-
The correction factor C=100/A needs to be applied to the existing calibration. -
Send the Gcode command M503 (Report Settings). -
Note the M92 value in the result. It might have something like E212.21 at the end. -
Calculate the new M92 value by multiplying by C: New value = Cx*Current value*. -
Send the Gcode command M92 E*new value* (Set Stepper Value) and press enter. -
Check that the value has changed with the M503 command. -
Enter the Gcode command M500 (Save Settings) to update the firmware. -
Repeat the extrusion measurement to make sure A is close to 100.
The math:
A=K0E is the actual amount extruded with the current calibration K0 for E steps of the extruder.
We want to calculate the correction factor such that we get the desired value D:
D=CK0E
The ratio of D to A gives C:
D/A=(〖CK〗_0 E)/(K_0 E)=C
So, the new calibration factor is K1=CK0
4 Likes
Thanks all for the above information. Being that my Snapmaker 2.0 A350 is my first printer I was a bit dismayed at the quality of prints for a more expensive machine right out of the box. Then I opened the Pandora’s Box that is calibration, configuration, and settings. After fighting with a few things for days I’ve finally got the Z offset to what I think is a happy place and just performed my Extruder Calibration.
I was 11mm off on the first try landing me at an Esteps of 237.68
tested again and found I was still off by 11mm (after verifying the M503 Settings were correct for the A92 Esteps Value)
So I went up to 266.20 (11m off of the 237.68 number) and then it was spot on. Less than 1mm.
Going to perform a first layer test now and see if will help get nice smooth first layers (I’ve been having slight ridging no matter how much I tweak with the Z offset )
Then on to calibration cubes I think.
Take care!
do the linear advance next, it will BLOW YOUR MIND
1 Like
Can you provide a link here?
Teaching Tech 3D Printer Calibration (teachingtechyt.github.io)
it truly boggles the mind why this isnt mandatory part of setup.
1 Like
Sadly, After printing a calibration cube I’m still seeing issues on the edges of the letters, the corners, and still see some Z offset issues. I have searched everywhere for somewhere that shows what settings might cause individual issues with the cubes. Anyone know of any?
Issues noted:
“X” side shows issues in the center of the X on each side “melted” look
“Y” side - Right side of Y - Edge top looks melted.
Edge between two blanks are rounded and not sharp
I’m starting to get very frustrated with the machine.
Keep calm, this machine needs some love to work properly. Dont give up and you will be rewarded!
2 Likes
Thanks for the Offer to look over the prints.
here are a few shots of the cube - printed with direct G-Code through Luban upload via Wifi.
Z - Face looks fairly decent
Blanks are good except for corners are very rounded and one junction is melty
X and Y have droops at the tops and center of the letter edges and some external stringing even.
Bottom is still showing impacting of the bottom layer - I have tuned the Z-offset so many times at this point my head spins and it continues to do that.
(upload://8mq6vqgJXvzIJBgoblUaodKRu2r.jpeg)

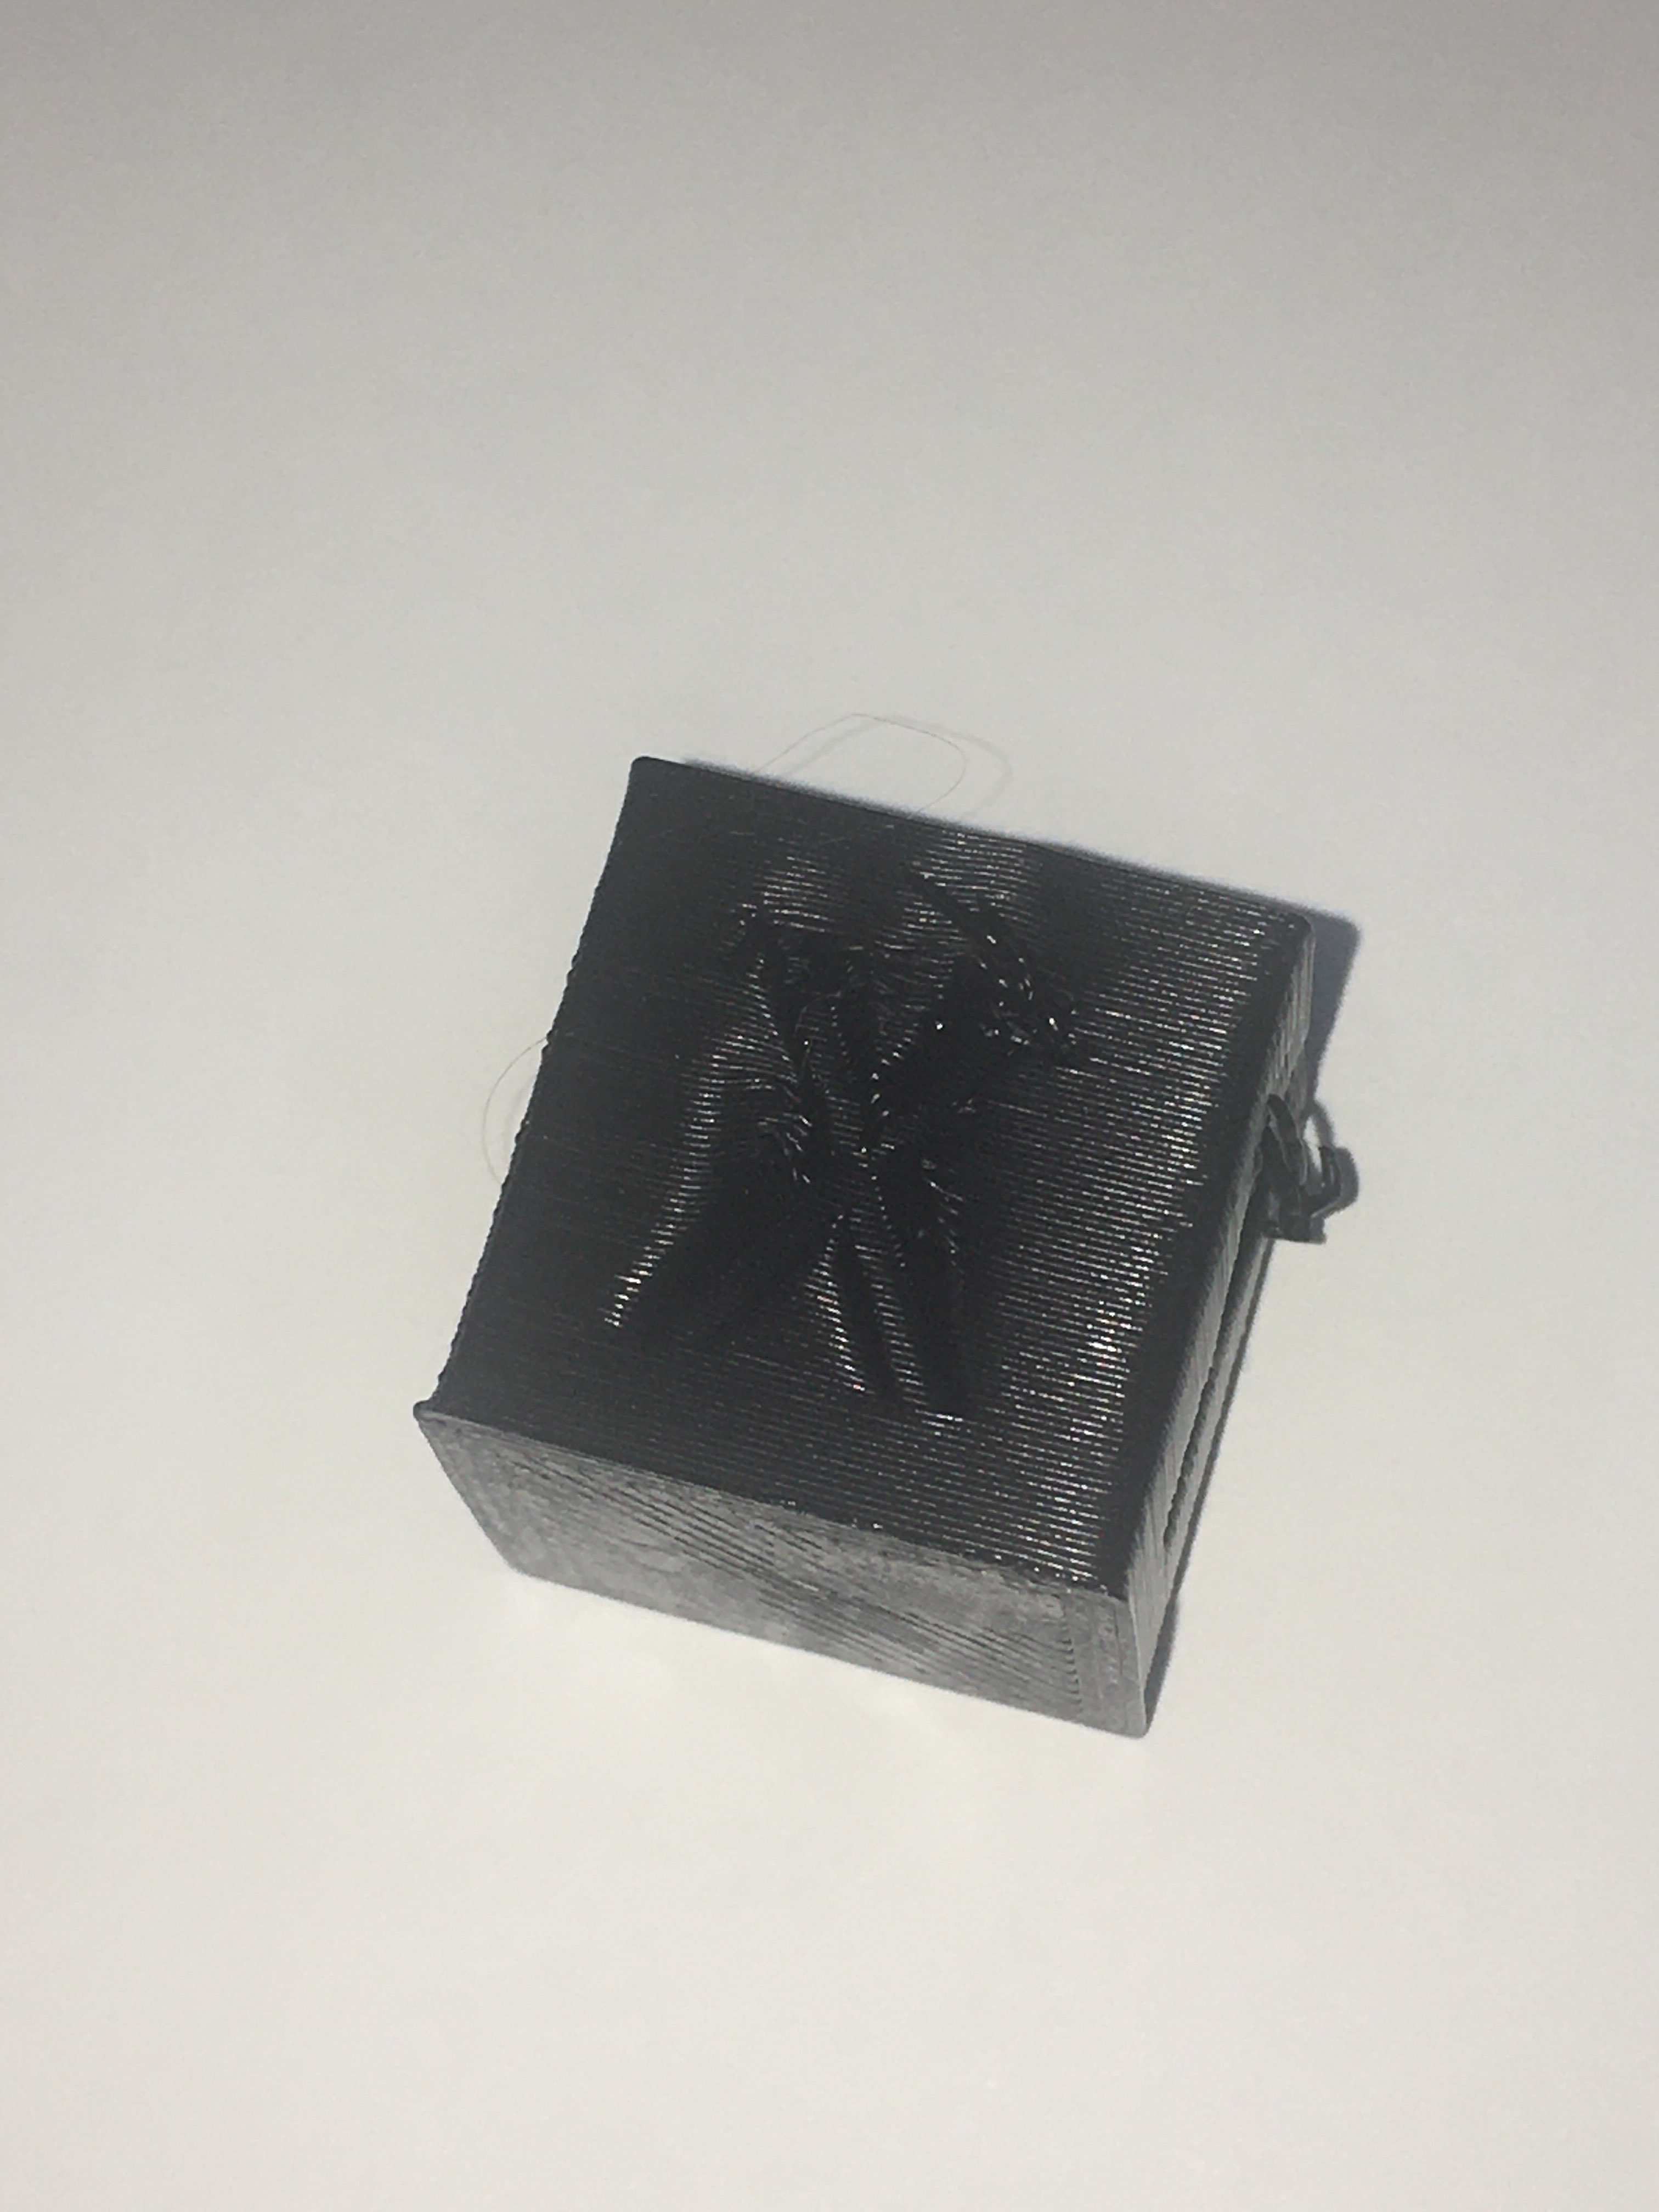


Printed with Black PLA from snapmaker that comes with the printer.
Thanks in advance for any suggestions.
Throw away the filament and get some matterhackers or at least some hatchbox. that stuff is just trash.
try to start learning how to use Cura after that if you dont already. if you do, try the slicer flow rate calibration i linked above too
1 Like
I am going to start a new thread to seek additional help in getting this machine tuned. I don’t want to hijack this one which is specifically for Extruder calibration with my continuing woes 
2 Likes
you know what man
i fucked up
that shit was in the gcode

i didnt turn supports off.
wana try again?
xyzCalibration_cube.gcode (454.2 KB)
2 Likes
Sure, I will give it a go, I am just having issues now as I printed a temperature tower and it stopped printing half way on the 180 tier. I unloaded the filament to try the ovation purple PLA I have and the extruder is scoring the PLA and not pushing it through. I can manually push it through but it just balloons out to the side and in very small volume. So I’m guessing the nozzle is clogged now thanks to the garbage heat levels of the snapmaker filament. Once I can get the needle to clean it or swap to the provided “backup” hot end, I will try loading the new filament once I get it.
180 is too cold for most filament. most pla seems to do best right at 200., but 190 - 220 is a decent range for testing in my opinion.
And yeah dont be shy about nozzle changes. you can actually just buy nozzles themselves. i would probably buy 4 or 5 hotends to have on hand then a box of nozzles from amazon mk8 is the designation.
1 Like
That’s why I like the temp towers that go down in temp as they build up.
That’s a feature, not a problem.
That way when you get below the temp that gives good adhesion you know it, while still being able to test the other temps.
-S
Hi guys,
Thanks again for support.
I have only taken the time to print PLA so far, getting there. Done my cold e-step calibration and things are working well.
Starting using TPE yesterday for fun, and I am running through the same calibration process in order to get sound results on this new material.
I need some help to get my head straight. The E-step we change has a direct effect of the gears of the extruder as far as I understand it, but the flow rate we change in Cura for example, what does it affects? I can only see the same gears so my question is, changing the e-step or the flow rate is technically the same?
Thanks for your help
Stan
Hey,
Extruder E Steps calibrated for 100 mm mean: How much steps, the stepper motor needs to do to move 100 mm of filament.
The flow value in the slicer is for software based fine tuning.
Ok, thanks for the clarification. It’s a slicer fine tuning, so it writes a gcode that affects something phisically on the machine, right? But what? The only thing I can see is the same stepper motor. So aren’t the two the same? Hope my question is clear?