No matter how many times I re-adjust the base plate screws and re-do the calibration, the prints suck. I have read other comments about using tape, glue sticks, etc. I think that’s too much work. If I have to go that route then so be it, but I thought the calibration would be enough.
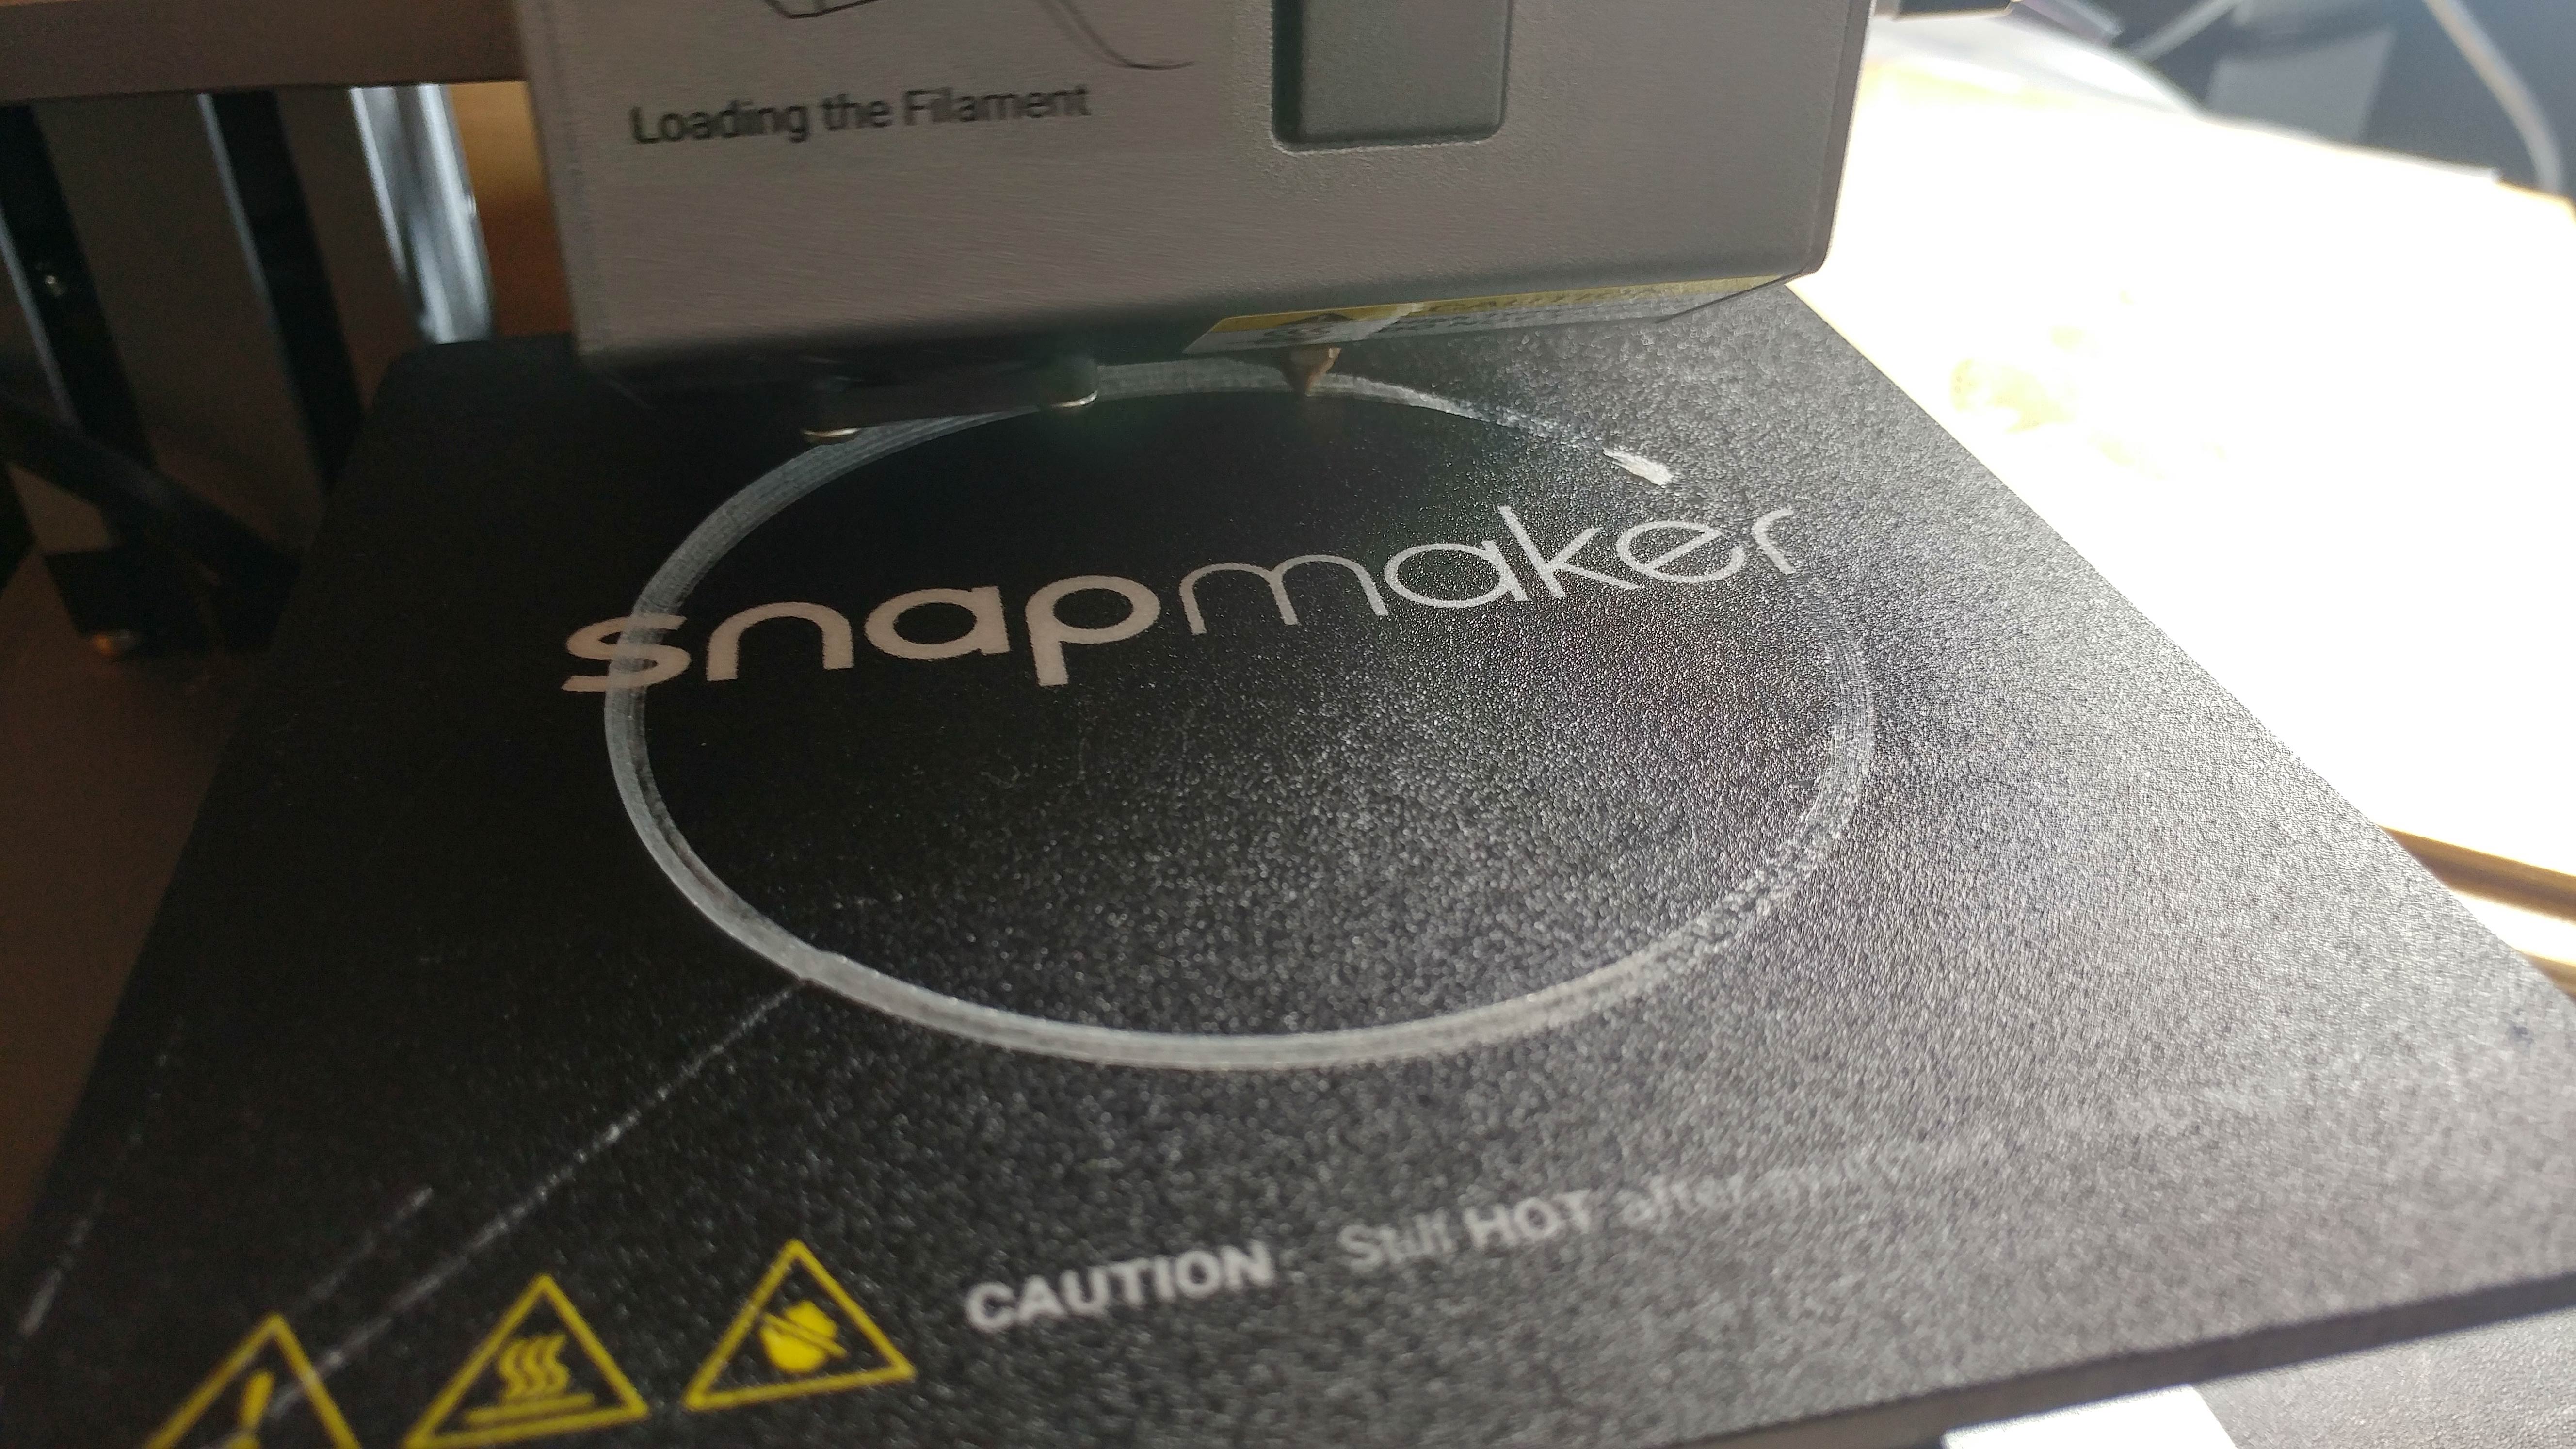
It seems between point 4 and 3 and on to 2 the nozzle is scrapping the plate and from 1 to 4 it’s not close enough.
@nwestwind you don’t have to adjust the baseplate screws to calibrate. Make sure the screws are tight enough, but use the onscreen controls to move the module z-axis up and down to calibrate at each point. Go from point 1 to 4 in that order. Don’t forget to click “Save” when you’re done calibrating.
Yea, I 100% agree with kelvin8r. calibration is the best thing you can do. but you are working against yourself to adjust both the bottom and top. Turn the baseplate screws hand tight and only use the touch screen for calibration.
Also, some people have had luck with the filament that came with the unit. I have not. I only got 1 print to work with it. Other PLA filaments have been perfect for me. I am not using any tape or glue or anything other than a clean sticker. Every few prints you should wipe it down with some alcohol to make sure the residue build up is minimal. If you can’t get some of those single rows up, you may have to replace the sticker. Good news is you should have several. Hopefully they open up a store so I can purchase some more as I don’t plan on using tape/glue anytime soon.
@Nate I do try to add rafts when I remember to turn them on! But I am still having a terrible time with the leveling.
I’ve re-watched the leveling video(s) on YouTube from Snapmaker.
and this guy
plus many more.
I am SO frustrated with this I’m almost ready to go back to the laser and never do 3D again. I’ve wasted TONS of material just trying to level every print.
Between 3 and 2, it does not seem to remember any calibration. It just seems to scape along. I have taken the Y-axis off, retightened the screws to finger tight. I’ve followed the quick start, I’ve tried the “follow this order” for the tightening.
I’ve tried tightening and loosening the screws while it’s printing and have had better results with that but the prints still are pretty bad.
I’ve done the calibration numerous times over many many days, before and after each print, and it just doesn’t work I don’t think the device saves the calibration correctly.
NOTHING works. I’m done with 3D printing on this thing. Thanks everyone for the comments.
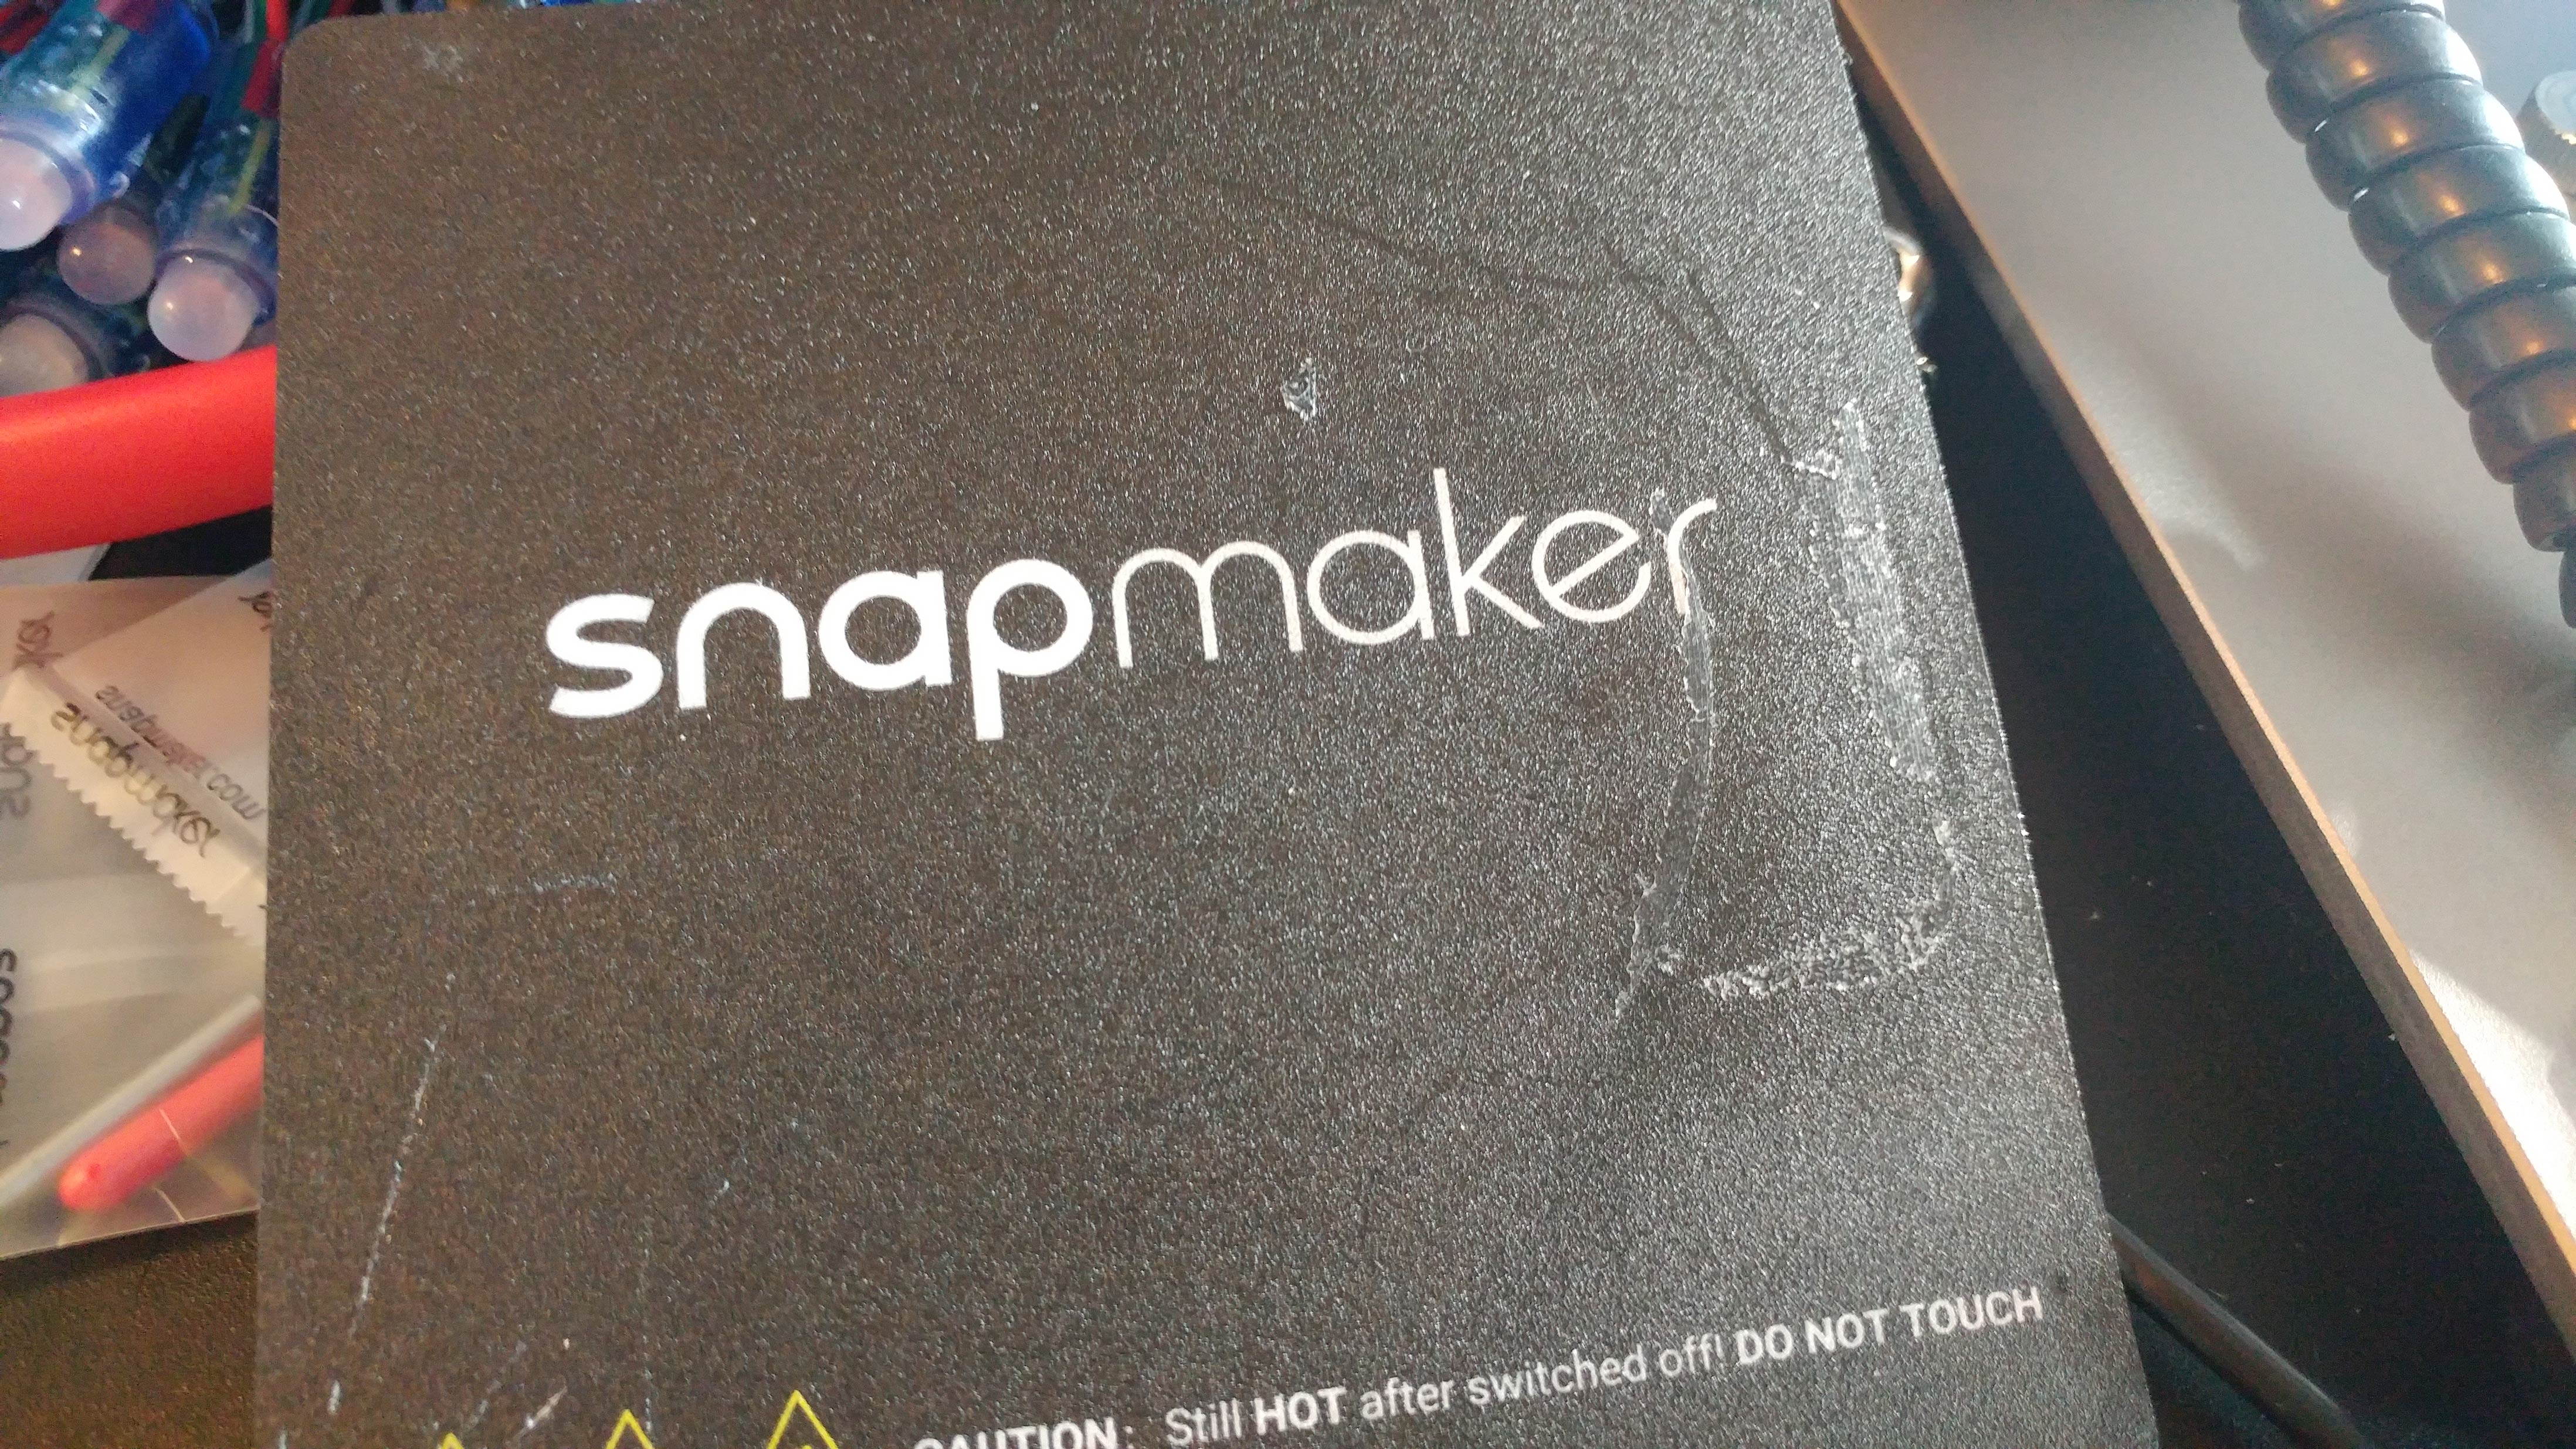
I can’t the plastic off the right side from corner 2 to 3. Nothing has helped the calibration. You can see to the right of the word “touch” there’s black dot from where the nozzle keeps sticking into the base. Is that normal?
Yeah, I have. And thanks for the share. I have basically given up on the 3D printing. I don’t think this thing is working correctly. I did 20+ min videos of me doing the calibration and starting some prints and nothing has worked and I don’t even want to share the videos because it’s just me ranting about how bad this whole process is and how disappointed I am. I have had 2 successful prints but they’re far from great. Acceptable to some degree, but the precision is garbage.
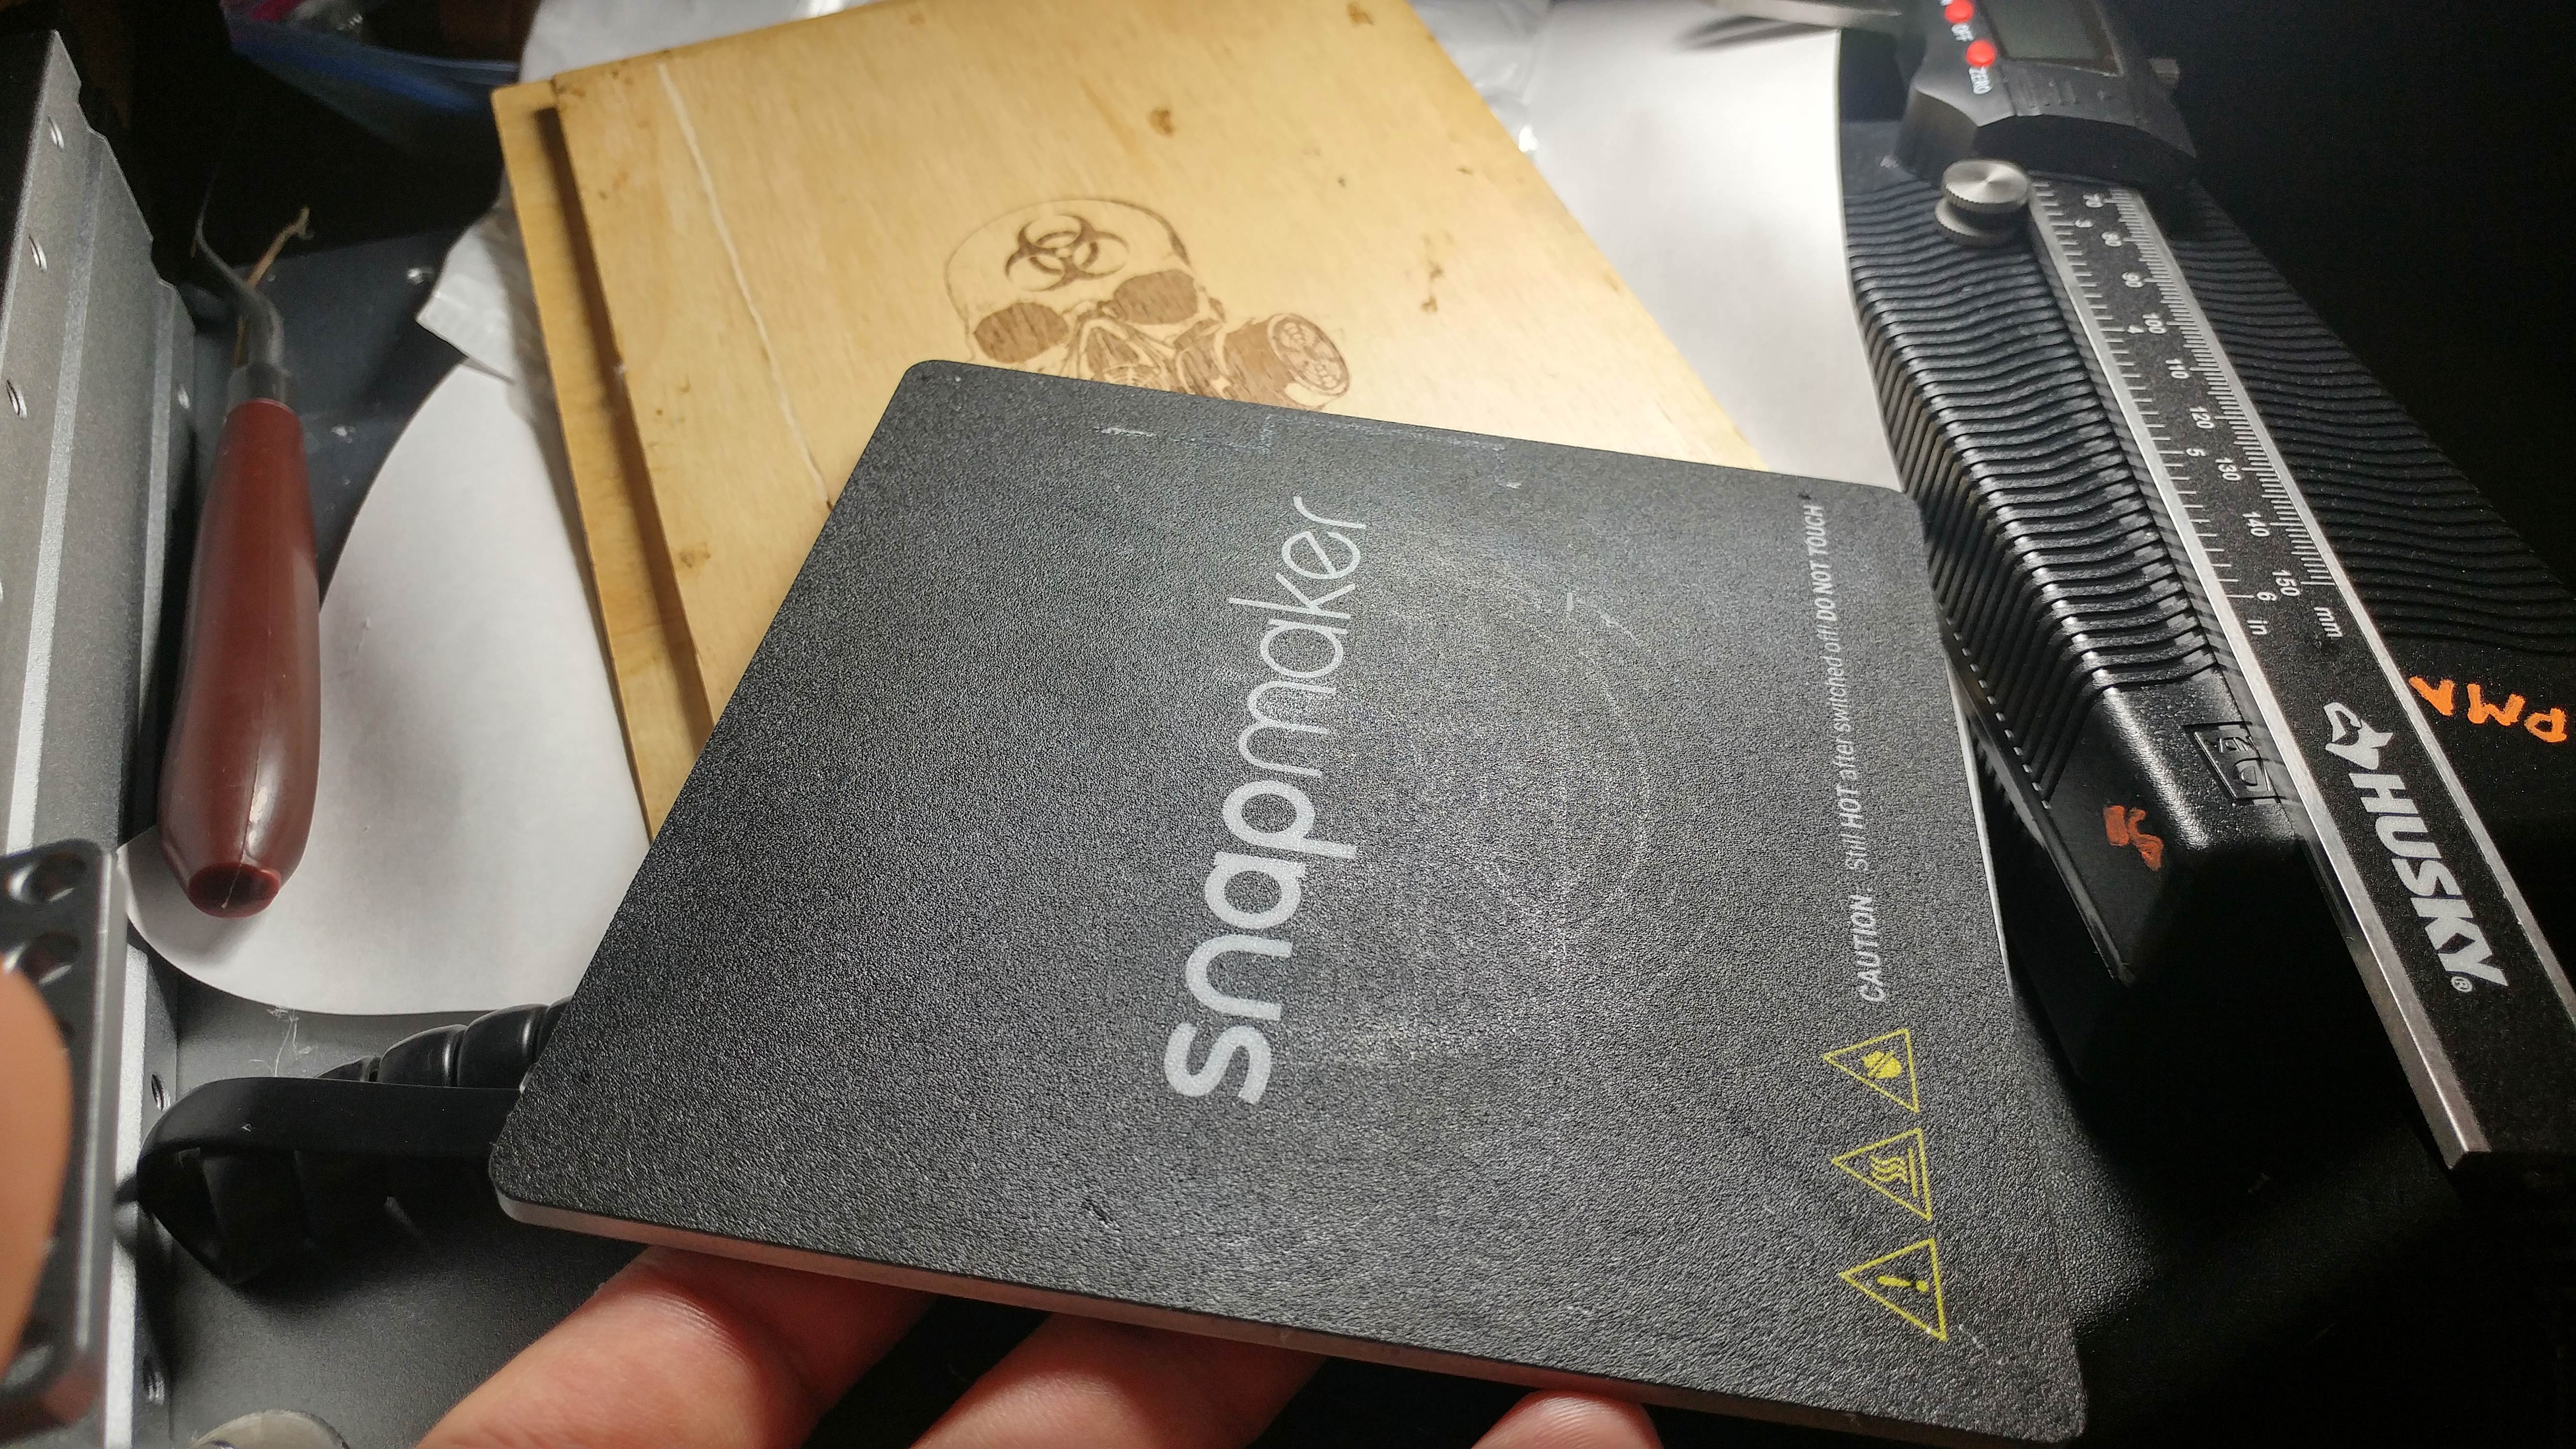
Hi, sad to see you are experiencing the same kind of troubles I have had. Many failed prints later, and after trying like a gazillion different increasingly slower print modes, I put a steel ruler to the bed and concluded that I actually had a slightly concave bed, curving down between points 1 and 2 (and 4 and 3) which made calibration impossible! Filiament on the left and right would be crushed into the bed while it was barely touching the plate in the middle of them.
I opened a support ticket and, a video documenting the problem later, a replacement bed is now on its way to me.
Sometimes the hardware is the problem and it’s a bugger every time. Especially when you are inexperienced (which makes you more likely to blame yourself rather than the hardware, which by the way everyone else is having such a great time with).
@gaffe I am starting to think the Snapmaker is messed up. I’ve tried almost everything. I will be breaking out a ruler here soon. I just started a print and I just did the calibration and it’s STILL awful! It is the worst between points 2-3 and it never seems to stick correctly.
If I print at the bottom left corner things work a little better but I’m starting to believe the bed is messed up and the saving of the calibration doesn’t work.
@nwestwind If that’s the first layer, it looks like it is too far from the bed. It should look “smooshed” into the bed. You could try lower the extruder 0.05mm from your current calibration. You could also try increasing the bed temperature by 10C for the first (initial) layer, e.g. I have mine set at 60C initial, 50C rest of the print. Hope that helps.
Your bed looks warped in between 2 and 3. i would use painters tape and glue and lower hotend a little closer to the bed. if you havent already set the thing on fire.
Ok boys, just unpacked my printer Snapmaker 1 like a week ago and it was lying around in the garage for like 5 months. First try was nice when I did the calibration and printed out the first toy. Since, it was consisting of two parts and my son decided two glue half of the room while trying to finish the toy I decided to print another one. To my disappointment i tried like 7 times and either the nozzle was scratching of what it printed out, or it printed in the mid-air. I tried everything, like e-v-e-r-y-thing, nothing worked, each time calibrating never helped out. So I decided to update the firmware and followed the steps. Then when the printer returned to the factory settings I did another calibration. What I did is following: I folded a catalogue/magazine glossy A4 paper, it became A5 size, then I’ve calibrated the nozzle down so that you could pull the paper out, but not in anymore and it worked! Now it prints safely and so far the hardest part was the first layer, it does not scratch off the print out, nor it doesn’t print in mid-air. Of course it might fail me in the next 36 hours of printing on high quality, but so far so good. Just don’t over-press the nozzle down, while calibrating, push down the paper so it would be hard to pull-out, but not too hard, and you should not be able to push the paper forward, while able to pull the paper out. Also while calibrating select the middle 0.2 mm option, not the lesser, or bigger options. Hope that helps.


 But I am still having a terrible time with the leveling.