10W First Impressions (Contribute Yours)

I haven’t had the module long (a few hours, not long enough to formulate a real review or anything) but there’s a few things that stick out to be annoying, but at the same time, it lives up to the ‘massive power upgrade’ claim.

First off; the very first test.
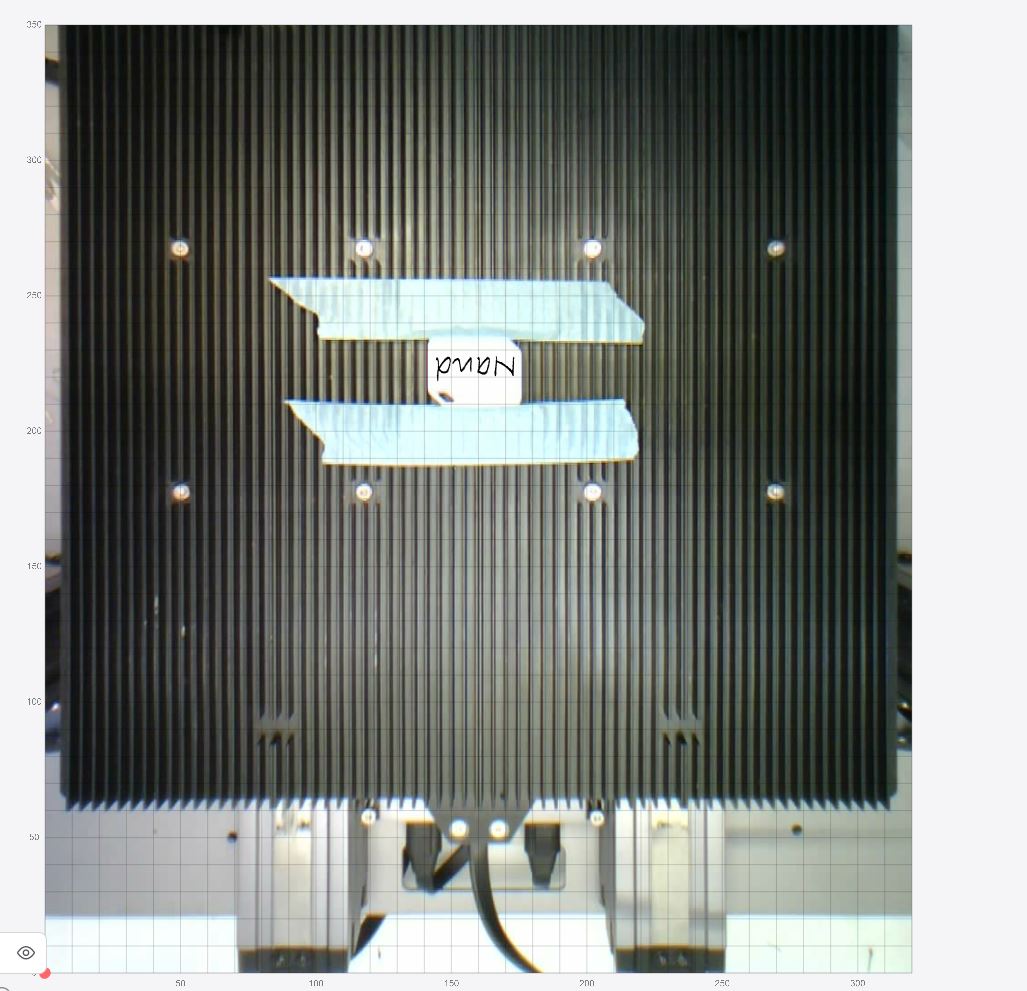
Material; 5mm Maple plywood, poplar core.


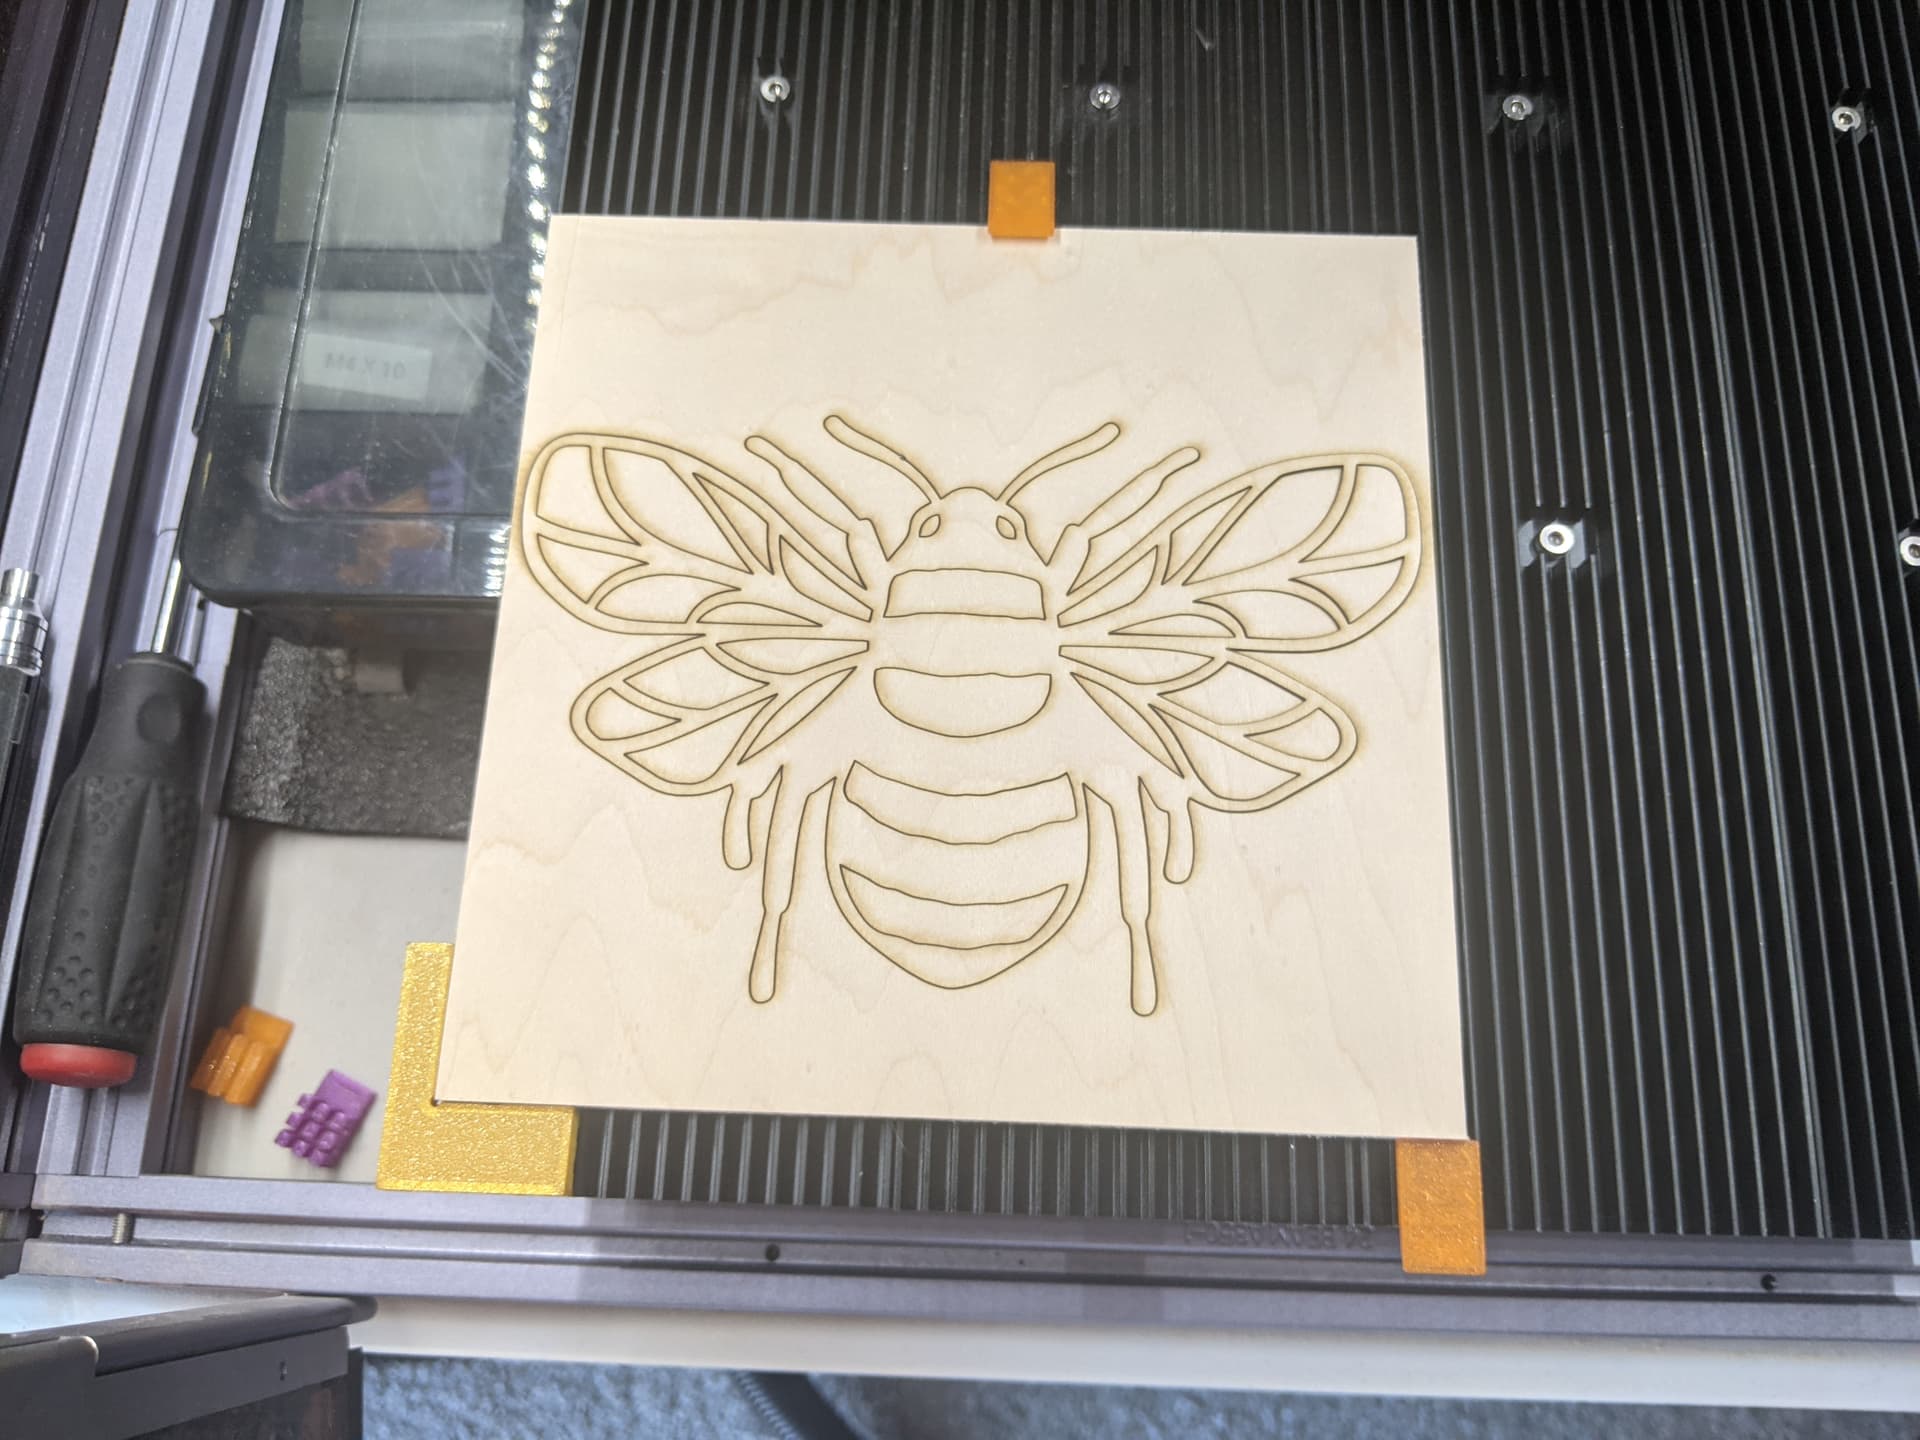
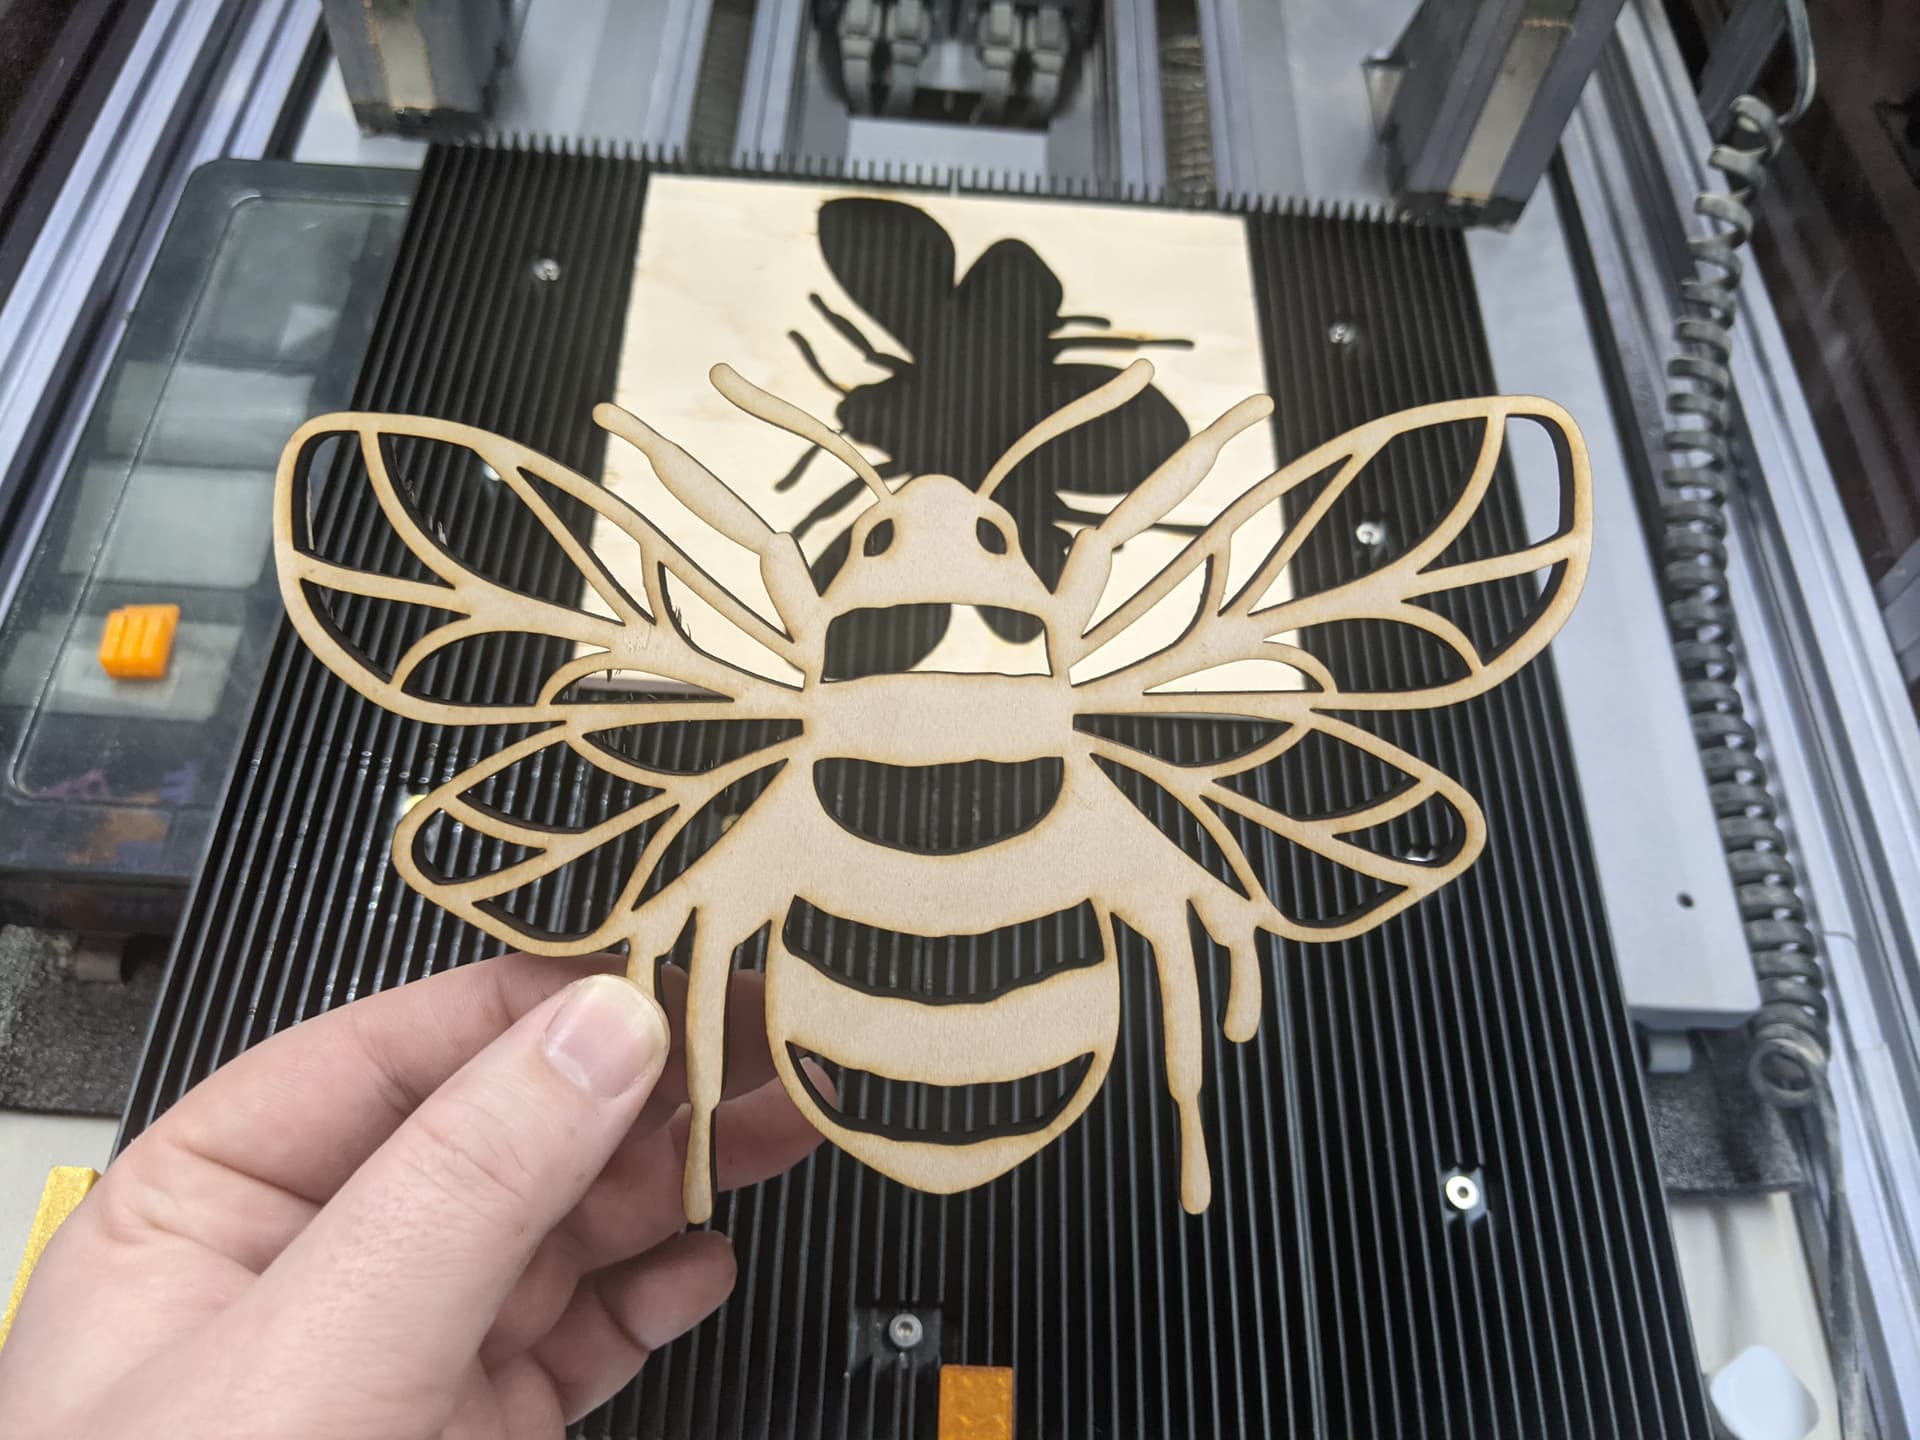
Using the default 5mm settings in Luban 4, one pass, took 14 minutes. I’ll note to put lifters under it to keep sticky smoke residue off my plate in the future, but impressive results. So the power upgrade is definitely there.

Next came setting up for the new true origin… this is where things go a little mank. Apparently Luban has a problem with origin mode. The bee was done with the image capture, worked great. However, trying origin mode it seemed a bit random as to where it actually started. Even manually adding in G53 and loading it back into Luban, it was… way off. Something like ~30mm difference from sending the file to the snapmaker and running it locally. Maybe a restart would have helped? I don’t know. Moving on.

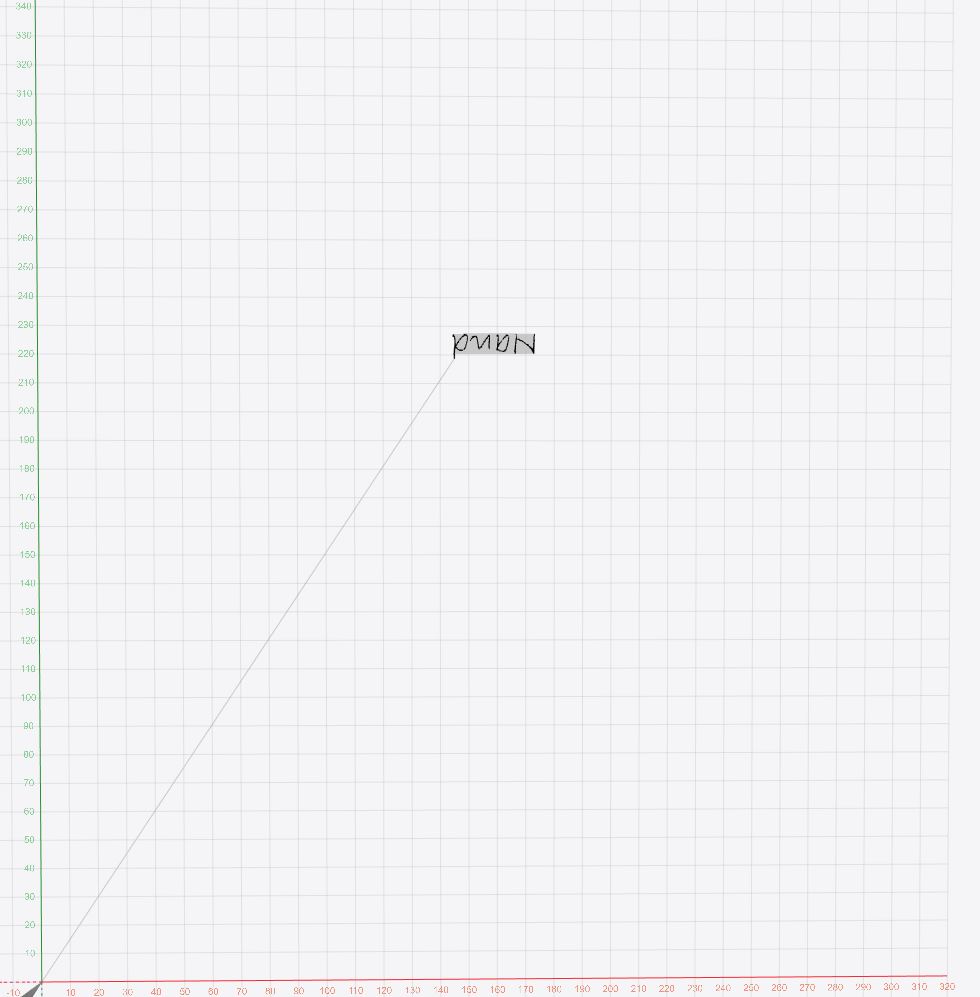
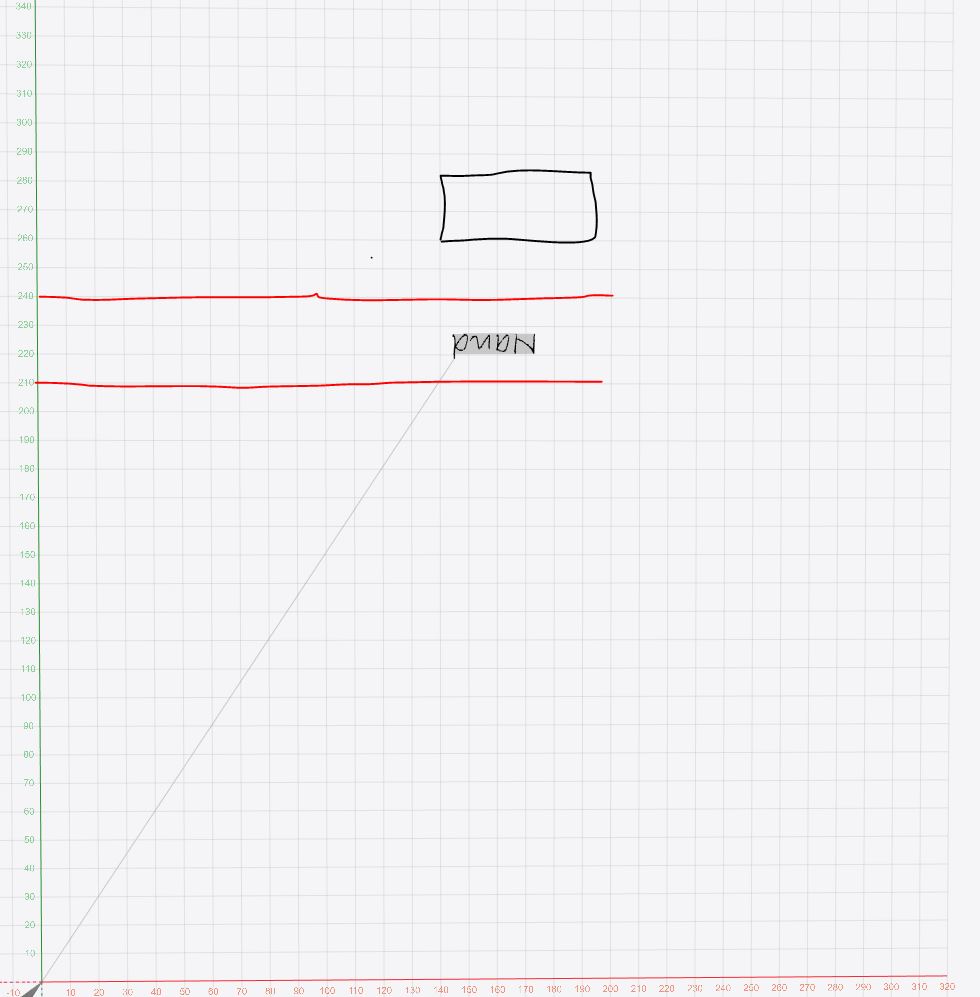
I made a 10x10 square, set 10mm from X/Y, G53’d the gcode and ended up with X4.5 Y19, so my new true origin is X5.5Y-9 (change from my 1.6W module X2Y-15). Work speed was 3000, still cut deep, surprisingly. During this test I found out another really annoying thing about the new auto focus (which is nice and accurate it seems comma but)…

It FORCES centering your object if you run it locally on the machine. In Luban, clicking auto mode will move the toolhead over the object in the corner in my test, but running on the machine it centers the toolhead and just says “place the object in the center of the platform” with no options to move the toolhead. So if you’re using an origin method not centered, unless you have a large object, you can’t use the new fancy auto thickness measurement.

The manual method touches down using the calibration card, no option to manually input the thickness locally. However, if you run it in Luban, manual mode just asks for the thickness (like 1.6W “auto” mode). Hopefully Snapmaker lets us move the toolhead over our object instead of moving our object under the toolhead before measuring thickness in the future.

I’ll update this thread with more impressions and information as I do more tests, feel free to put your experiences in this thread too! My next test will be anodized aluminum and then I’ll see if I can come up with some stainless to test… Maybe I’ll personalize a spoon… :stuck_out_tongue:

8 Likes

I like the look of that, one pass 5mm cut??

Not entirely understanding your origin descriptions…guess I’ll find out soon, mine supposedly delivers today, hope to do a test lasering by Weds.

Also like your corner-crowd and edge clamps…off to Thingiverse to see if I can find them! I’ve done very little lasering and so far been using ‘museum putty’ globs as my ‘clamps’.

PrusaPrinters ;p these are my custom corners. Look up laser bed clips for the small ‘clamps’.

2 Likes

I got my 10W laser Sat and didn’t have much time this weekend but got it installed. I was so excited to try it on a piece of aluminum. Worked exactly the same as the old laser as it didn’t touch the aluminum at all. Not sure if it set it up wrong or what’s going on. Any suggestions?

I guess you need to coat the aluminium. Perhaps this helps: Metal engraving. Engraving on steel, aluminum with an Endurance diode 445 nm 10 watt laser. - YouTube - Did not do anything like that yet myself, so cannot share first-hand experience…

1 Like

Thanks for the info, I’m gonna open a case with support and I’ll post of the results

One thing I noticed, for folks with the enclosure - you can’t run the 10W laser with door detection turned off. It behaves the same way as if the door is open - the laser is on, but at minimal power. I just engraved the aluminum dog tag/keychain they sent as a sample and it worked like a champ… after I figured out that door detection has to be on.

Huh, a bit weird. It is possible to run the laser with no enclosure at all - at least there’s a review video out that demonstrates this.

I hoped that was it but the enclosure is set to Door Detection on

Except for stainless steel, metals need to have a coating. (and SS still works better with.) Something to be removed or that causes a reaction with the metal.
Anodized aluminum works. Bare aluminum doesn’t.

-S

Finally did a test of stainless steel, now I have a custom triforce spoon. :stuck_out_tongue:


Settings were Line mode engrave, 0.12 interval, 100mm/min workspeed, and 100% power. No type of coating, bare SS.

6 Likes

You’re too powerful. Somebody stop him.

2 Likes

apparently the coating works. I tried an old license plate from the garage. The back with bare metal didn’t engrave at all. I did the front and it worked great.

Has anyone tried stone yet??

Slate was already engravable with the old 1.6W laser, with the 10W laser it should be beans.

I am having a strange problem also. Calibrated the laser fine. then used the supplied keychain and attached it at the center of the bed. tried to engrave my name on it. But when i have the text middle on the keychain. it shows it in the workspace at the exact same spot ( between 210 and 240 ) but starts the engraving about 5 centimeters higher than the keychain is? what is going wrong here?

Ah found it. The blue square in the calibration of the photo took the edges of the bed as edge of the calibration corner. Manually adjusted the square to the 4 point and now it is good.

Stone works just fine:

300mm/s, 100%:

300mm/s 80%:

Looks like I could still go considerably faster/lower power, but each of these runs took ~30s

5 Likes

I have already received the 10 w laser. I am doing tests with a 2.3mm rubber sheet (it gives off a very bad smell…). I’m trying to make a rubber stamp with a word. Any idea how to configure luba so that it cuts the parts where the letters are not? With the vector option, I cut the outline of the letters, but not the entire other area. And with the other B/W, grayscale and halftone options, it doesn’t quite cut it right either. A vector option would be needed but would cut off the inverted part of the word or picture. Any ideas ?


Well, I’ve been doing tests all afternoon and finally something positive comes out and it’s pretty quick to do. I’ll keep trying, but at least I’m clear that you can make rubber stamps with rubber sheets.

2 Likes