So, I learned a lot about the hot end through this process.
I ended up with a PETG spaghetti bomb one night after leaving a print running. The strands got up into the hot end, and in trying to remove the PETG, even with the hot end “hot,” the silicone boot thingy got torn.
No biggie, I thought. It’s still functional. Well, I’m here to tell you that this little silicone sleeve is not merely cosmetic. It exists to help insulate the hot end from the fan air flow so the heating element doesn’t overwork. These temperature fluctuations can also result in extra stringing/blobs/zits.
I did a lot of calibration tests, and eventually the hot end clogged beyond my ability to unclog. Having spare hot ends, I did my first hot end replacement. My prints worked better, to be sure. I think the hot end had to work extra hard to keep the correct temperature. Also, I put a 2.5 hot end into my 2.0 printhead, if anyone wondered if that was viable.
In other news, I managed to get my PETG settings polished up. I’ll share benchy pics in a follow-up.
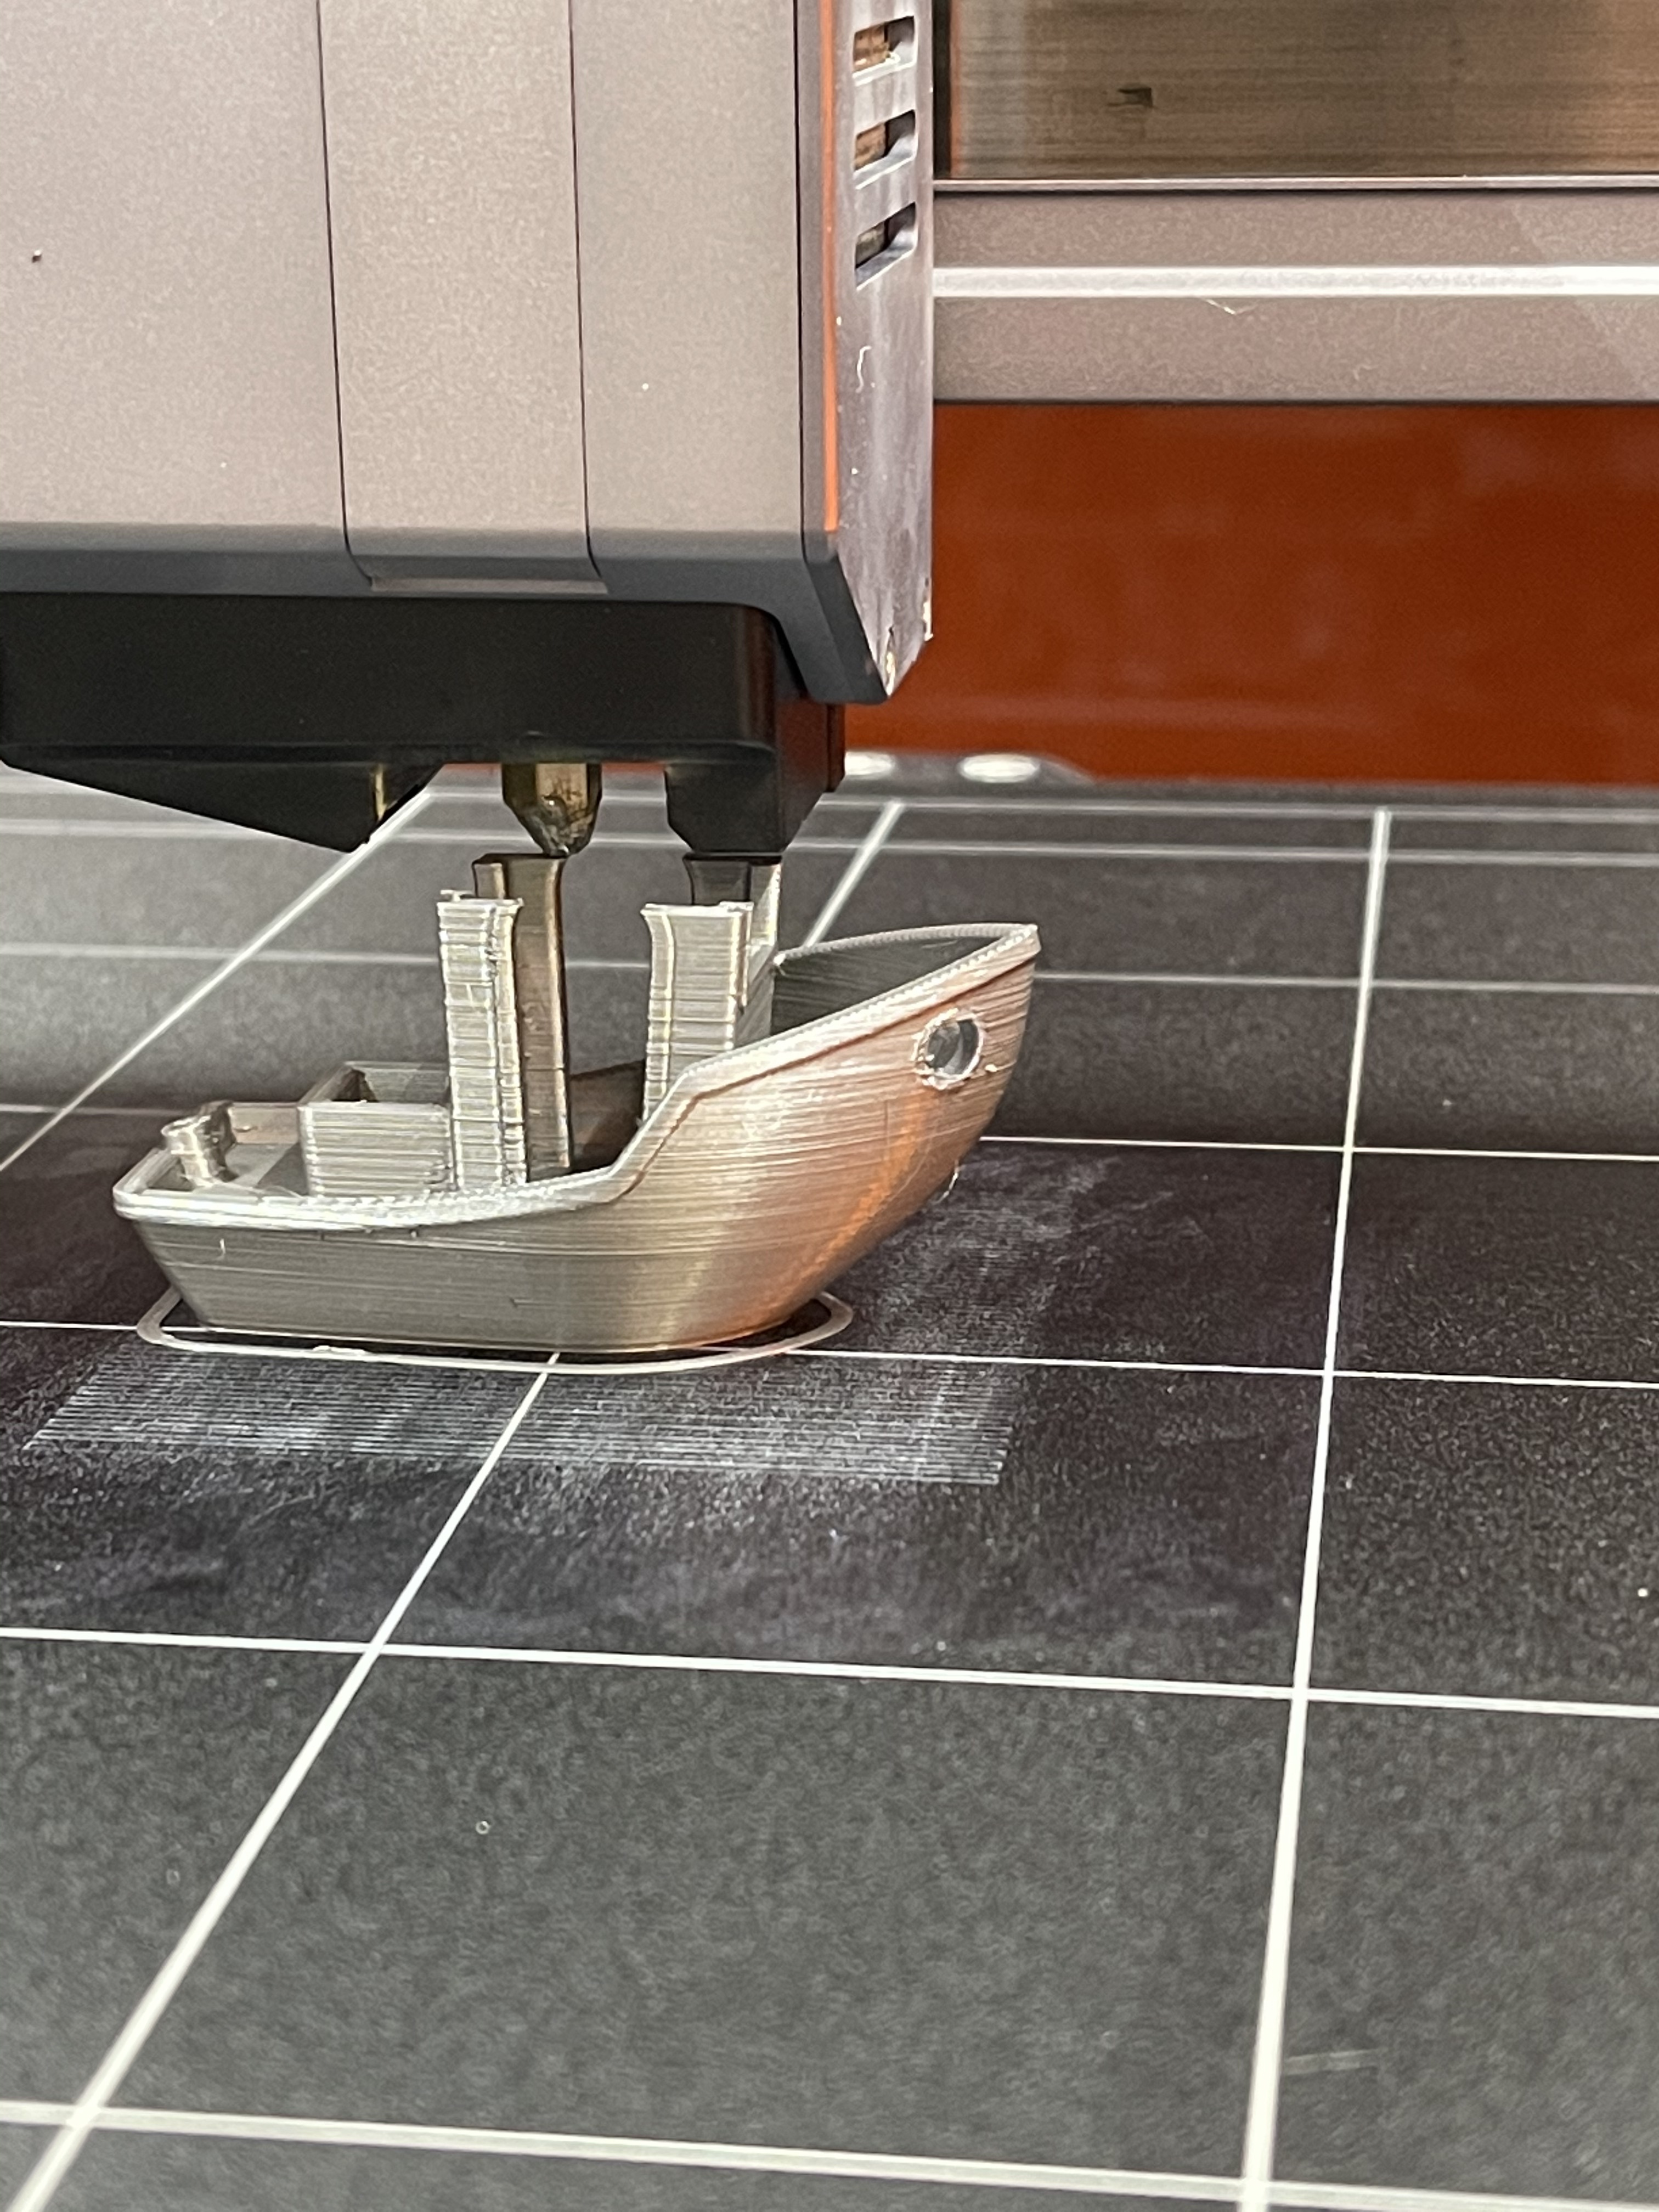
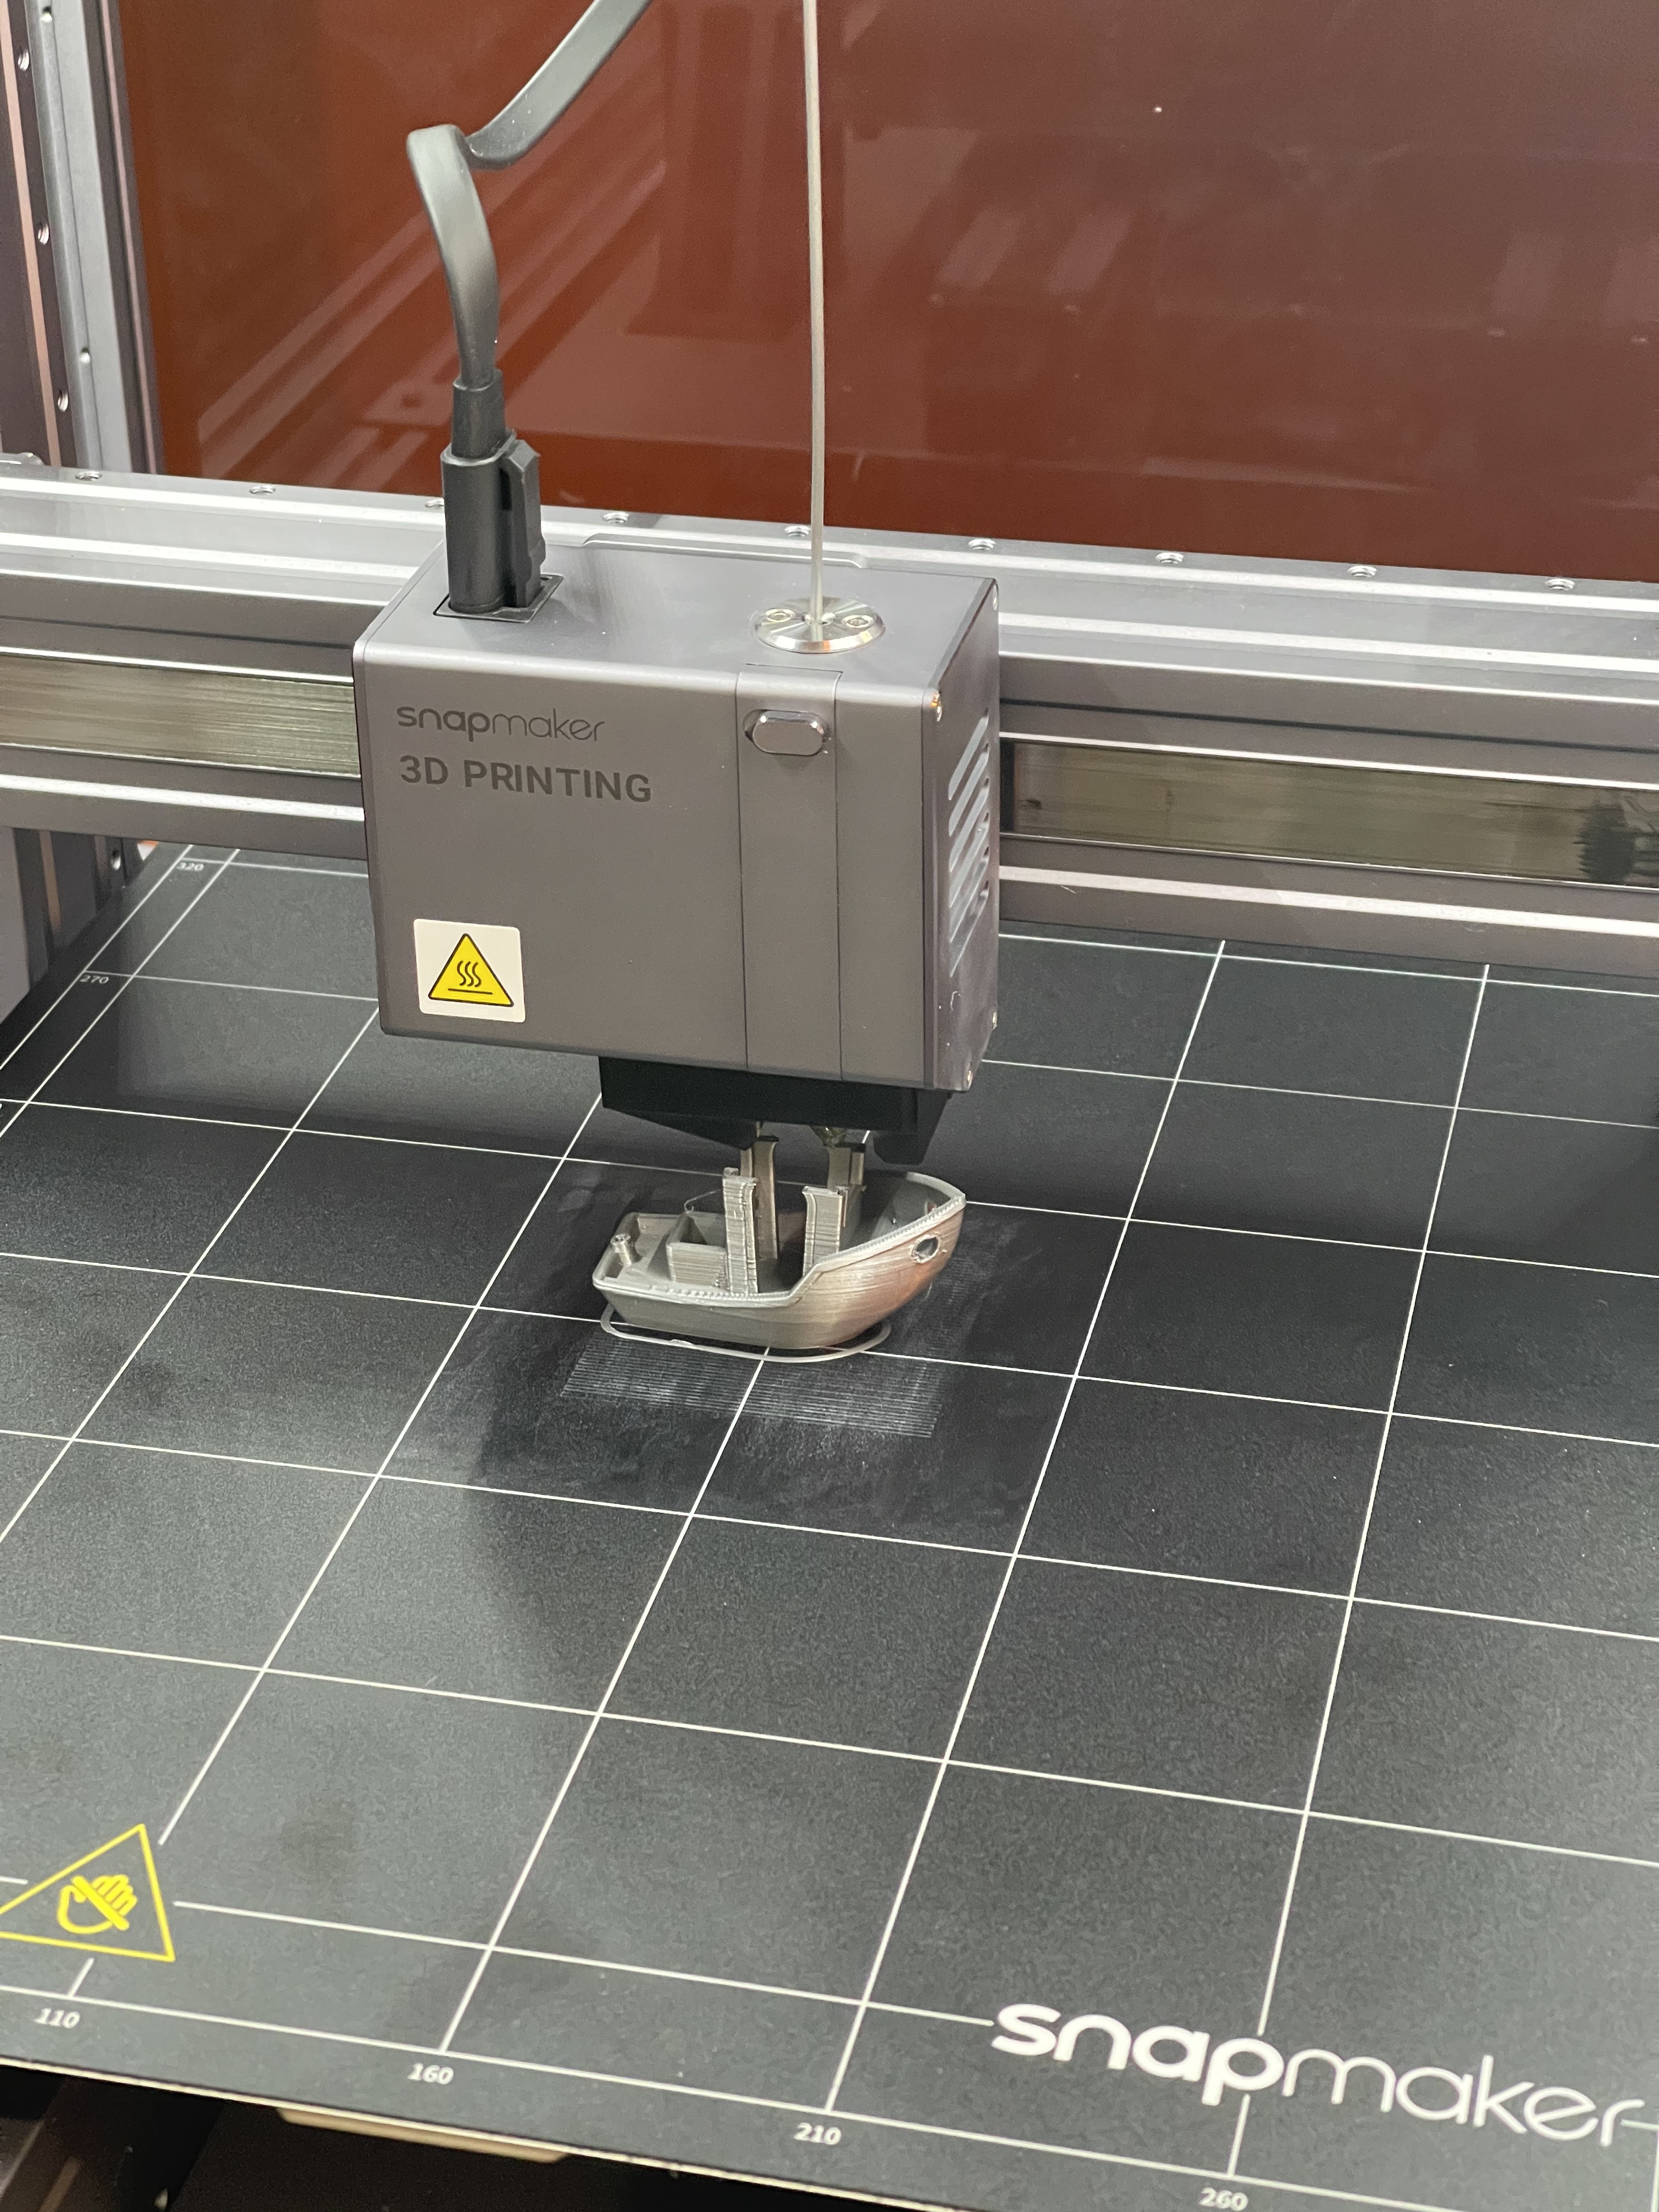
The small amount of stringing you see here is all that was produced—this is exactly what came off the printer, uncleaned. Yes, it was indeed that clean a print with gooey, stringy PETG!
This is not to say it came out perfectly. There are still a few layers that were not quite as clean:
This particular benchy was printed at a 0.2 layer height. I honestly think it’s actually a bit nicer in some respects than the 0.16. What matters to me is that I can print at 0.16 without horrible stringing and blobbing.
Did you output the PET-G directly onto a Snapmaker print sheet and did it peel cleanly?
I think the PET-G sticks to the print sheet and is hard to remove…
As you can see from the second photo, I did print to the Snapmaker sheet. I used a very thin coat of the purple Elmer’s glue stick is all. If you look closely, you can see the hint of it under the benchy.
I always use glue stick on PETG. Not always necessary but just adds an extra margin of safety.
Not sure why you find it such a hassle. Just wipe it on quickly (and not even that carefully) and lasts for half a dozen or more prints. Rinse it off after under the sink.
Definitely less hassle than dealing with it either not adhering, or more likely not wanting to release.
-S
Since the printing area is large, it is troublesome to apply the glue stick to the entire surface.
It takes a lot of effort to peel it off to the middle.
I damaged the print sheed the first time I tried petg. Now I use that side with no glues/tapes every time I want to use petg, because it IS a hassle to apply glue everytime and then it’s not so easily cleaned.
It works and doesn’t overstick, but bottom has some markings from the original print. It’s a tradeoff that works for me.
You don’t have to apply the glue every time. It easily lasts for 5-6 prints and that was just being overly cautious. I’ve started playing around to see how long I can go with out re-coating and and currently at 9 prints and still going.
Cleaning is just warm water and a wet paper towel under the sink. I like the glue stick that’s purple until it dries because it does the opposite when you wet it to wash it off so it’s easy to see when it’s gone. After I dry it off I usually wipe it down with IPA but its not necessary.