Summary:
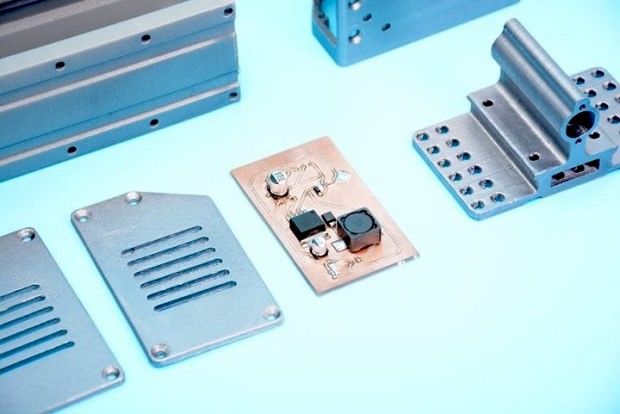
There are lots of makers who want to customize a Snapmaker Laser Module. And Snapmaker could do that, since Snapmaker can make 3D prints and mill PCB. In this tutorial, I will be making a demonstration – How to make a custom Snapmaker Laser Module
Score : 8.8
Time: 6
Difficulty to Gain Materials: 10
Complexity: 10
Postprocessing: 8
Knowledge Required: 10
Work flow: https://www.instructables.com/id/SnapmakerDIY-Laser-Module/
Download: https://www.thingiverse.com/thing:2894529
2 Likes
I used Snapmaker to print the shell. In the parameter section I chose “High quality” and have not added support. Since this model can be printed out even without support. If we add the support, the side attach with the support will be rough. Of course if we do not add support some part of the model are rough. Thus, it is much more saving in PLA material and have no use for post-processing (demolish the support) by comparison that we don’t add support.
1 Like
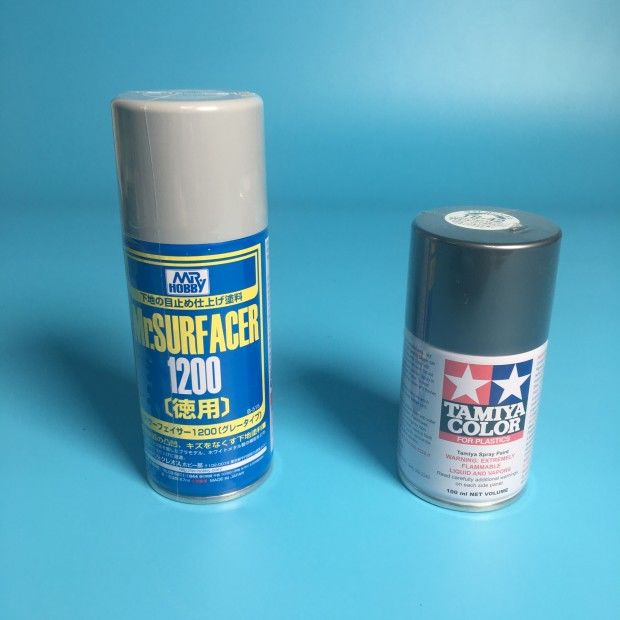
Here I post-processed 3D prints using MR.HOBBY.Inc – Mr.SURFACER 1200 blocking Paint and Tamiya Spray Paint TS-42. It will make the 3D prints look better.
First of all I used 320 Cw abrasive paper polish the surface of 3D prints. And Spray the 1200 blocking paint.Then I used 400 Cw abrasive paper polish it again. And Spray the 1200 blocking paint. Used 800 Cw, 1600 Cw abrasive paper repeat the processes. Until the 3D prints feels smooth. In the end I applied 3D prints Light Gun Metal with Tamiya TS-42 SprayPaint.
Tips: For each thin layer, spray 3-4 times until the color is uniform and the spray paint thickness is moderate.
1 Like
Here I used CNC Carving Module of Snapamaker to mill PCB. SnapmakerJS software is powerful. There are lots of setting options allowing me to generate Gcode files easily.
I used the V-Bit tools to mill PCB. Here is my parameter setting:
Mill Layout :
- Cutting Diameter: 3.175
- Point Angle: 30
- Jog Speed: 800
- Work Speed: 250
- Plunge Speed: 500
- Carve Path: Outline
- Resolution: 256 x 256
- Size(mm): 「 40 x 40 & 33.5 x 59.7 」
- Target Depth: 0.08
- Step Down: 0.08
- Jog Height: 3
- Stop Height: 10
Cut the layout from the copper clad board :
- Cutting Diameter: 3.175
- Point Angle: 30
- Jog Speed: 800
- Work Speed: 250
- Plunge Speed: 500
- Carve Path: Outline
- Resolution: 256 x 256
- Size(mm): 「 40 x 40 & 33.5 x 59.7 」
- Target Depth: 1.5 (According the thickness of your copper clad board; mm)
- Step Down: 0.2
- Jog Height: 3
- Stop Height: 10
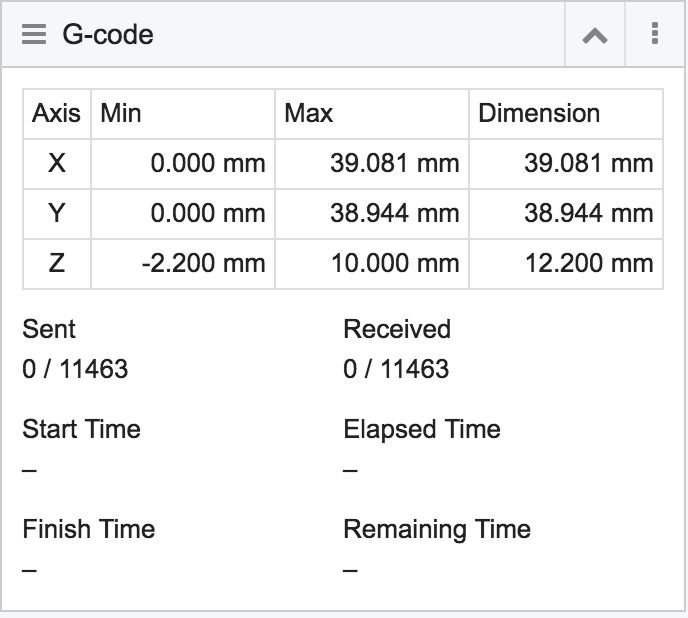
We need to adjust the Size option above. Because the Size set in the software is the Size of the SVG file. There are blank Space in the SVG file, but what we really want is the Size of the pattern. So we need to set a value first, and then Preview after generating the Gcode to see if it’s the size we want.
Tips:we could generate the Gcode of layout and Gcode of cutting together. And then upload them to the disk. Open Gcode of layout. When snapmaker finished, open Gcode of cutting.

1 Like
Punch some holes and solder the RJ45-VERTICAL.

1 Like
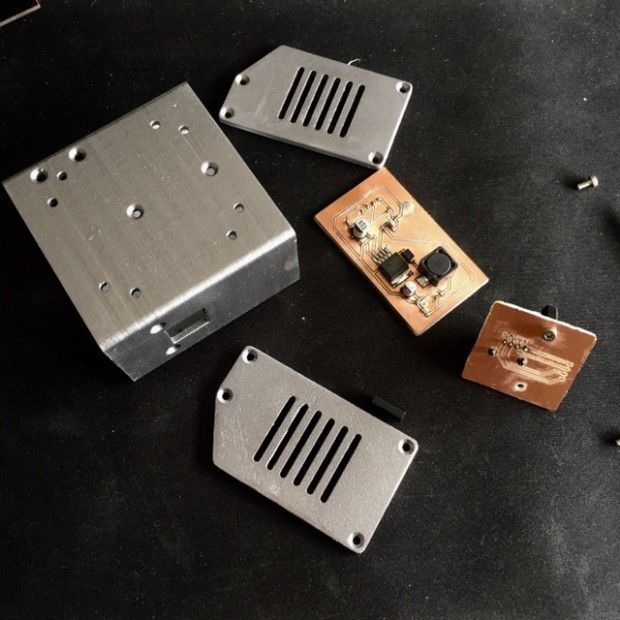
To assemble it, we need connect the circuit board with electric wire.
2 Likes
hi
is it available or not if i change the material of 350 mm laser tube to 1.6 w laser tube?


